
Articles
How To Wash Cedar Siding
Modified: August 28, 2024
Discover the best techniques and tips to wash cedar siding in our informative articles. Ensure your home's exterior stays clean and pristine with our expert guidance.
(Many of the links in this article redirect to a specific reviewed product. Your purchase of these products through affiliate links helps to generate commission for Storables.com, at no extra cost. Learn more)
Introduction
Welcome to our comprehensive guide on how to wash cedar siding. Cedar siding is a popular choice for many homeowners due to its natural beauty and durability. However, over time, it can become dirty and grimy, detracting from its aesthetic appeal. Regularly cleaning your cedar siding not only helps maintain its appearance but also extends its lifespan.
In this article, we will walk you through the step-by-step process of washing cedar siding, ensuring that you achieve optimal results. From gathering the necessary tools and materials to scrubbing and rinsing the cedar siding, we’ve got you covered.
Before we begin, it’s essential to note that washing cedar siding is a relatively simple task that can be done by most homeowners. However, if your cedar siding is severely damaged, it’s best to consult a professional or consider repairing or replacing it before attempting to clean it.
Now, let’s dive into the details of how to properly wash your cedar siding and bring back its natural luster and beauty.
Key Takeaways:
- Proper preparation, gentle scrubbing, and thorough rinsing are essential for effectively cleaning cedar siding. Remember to use mild detergents, protect your eyes and skin, and allow the siding to air dry naturally for best results.
- Regular maintenance and cleaning will not only enhance the appearance of cedar siding but also prolong its lifespan. By following the step-by-step guide, homeowners can ensure their cedar siding remains a stunning feature of their home’s exterior.
Read more: How Much Is Cedar Siding
Step 1: Preparing the Tools and Materials
Before you start washing your cedar siding, it’s important to gather all the necessary tools and materials. Having everything prepared beforehand will make the process more efficient and ensure that you have everything you need at hand.
Here’s a checklist of what you will need:
- Bucket or large container
- Soft-bristle brush or sponge
- Garden hose with adjustable nozzle
- Mild detergent or specialized cedar cleaner
- Protective gloves
- Protective eyewear
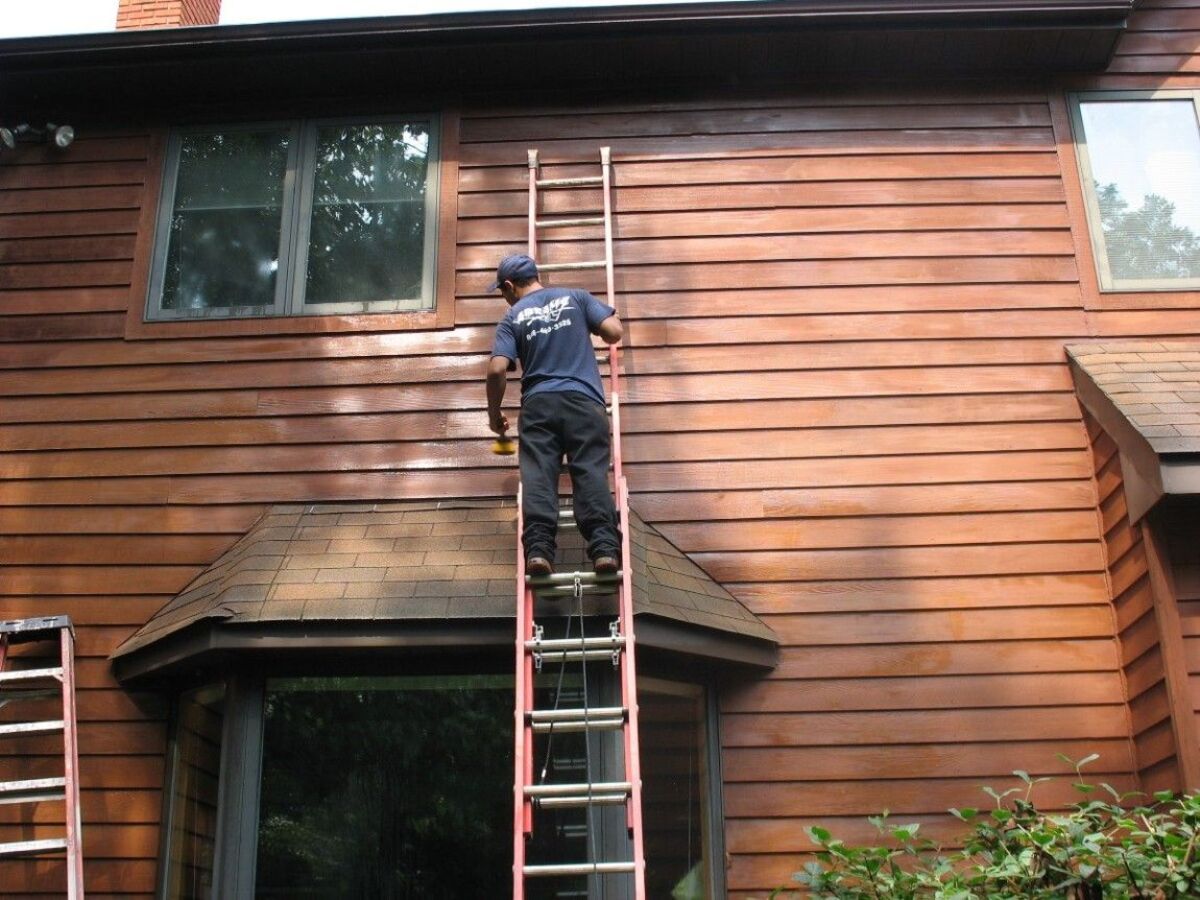
- Ladder or scaffolding (if needed)
Make sure to choose a mild detergent or a specialized cedar cleaner that is suitable for exterior use. Avoid using harsh chemicals or bleach as they can damage the cedar siding. If you are unsure about which cleaner to use, consult with a local home improvement store or ask a professional for recommendations.
Additionally, it’s essential to wear protective gloves and eyewear to protect your skin and eyes from any potential splashes or chemical reactions. Safety should always be a priority when handling cleaning solutions.
Once you have gathered all the necessary tools and materials, you are ready to move on to the next step: preparing the cedar siding for cleaning.
Step 2: Preparing the Cedar Siding
Before applying any cleaning solution to the cedar siding, it’s important to prepare the surface by removing any loose dirt, debris, or cobwebs. This will ensure that the cleaning solution can penetrate the surface more effectively and provide better cleaning results.
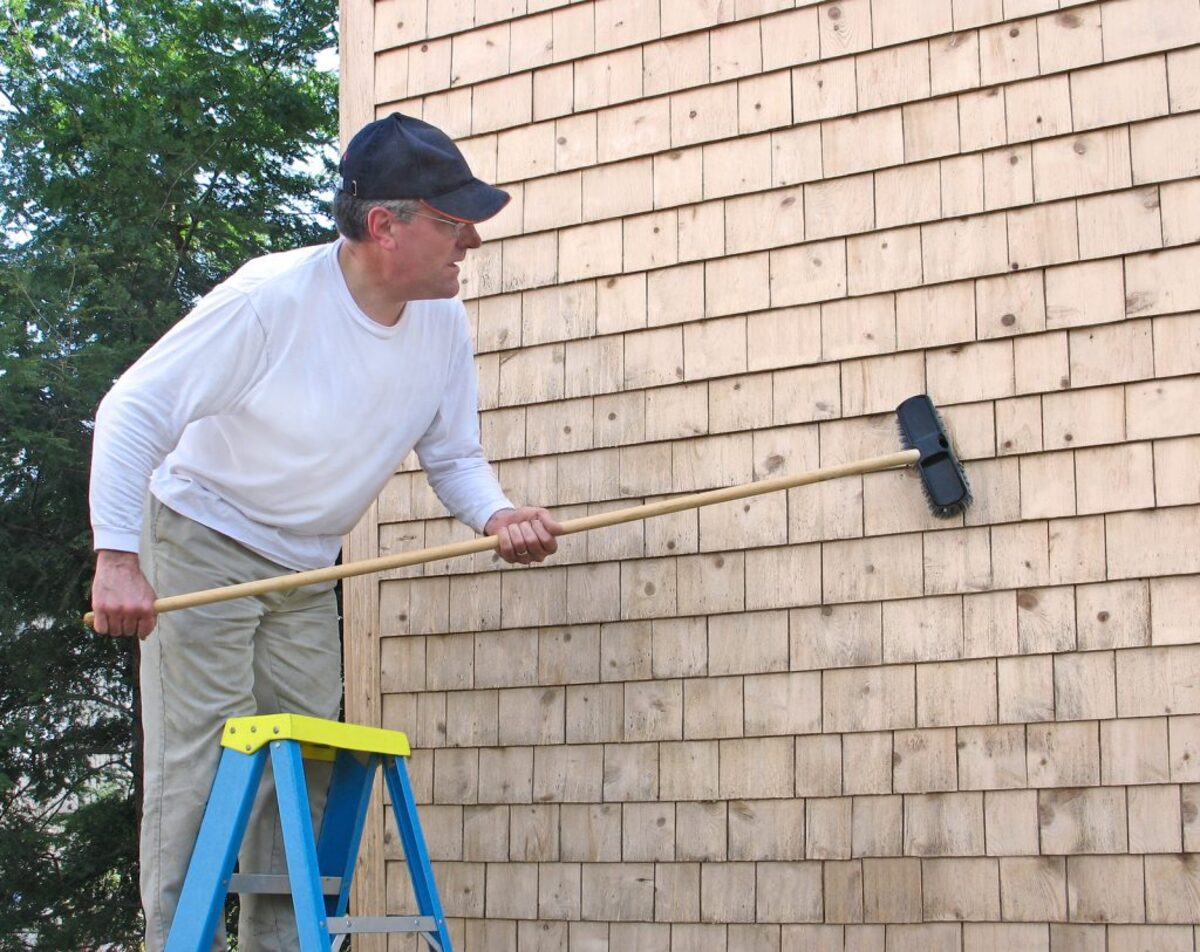
Start by using a broom or a soft-bristle brush to gently sweep away any loose dirt or cobwebs from the cedar siding. Be careful not to apply too much pressure, as you don’t want to scratch or damage the wood.
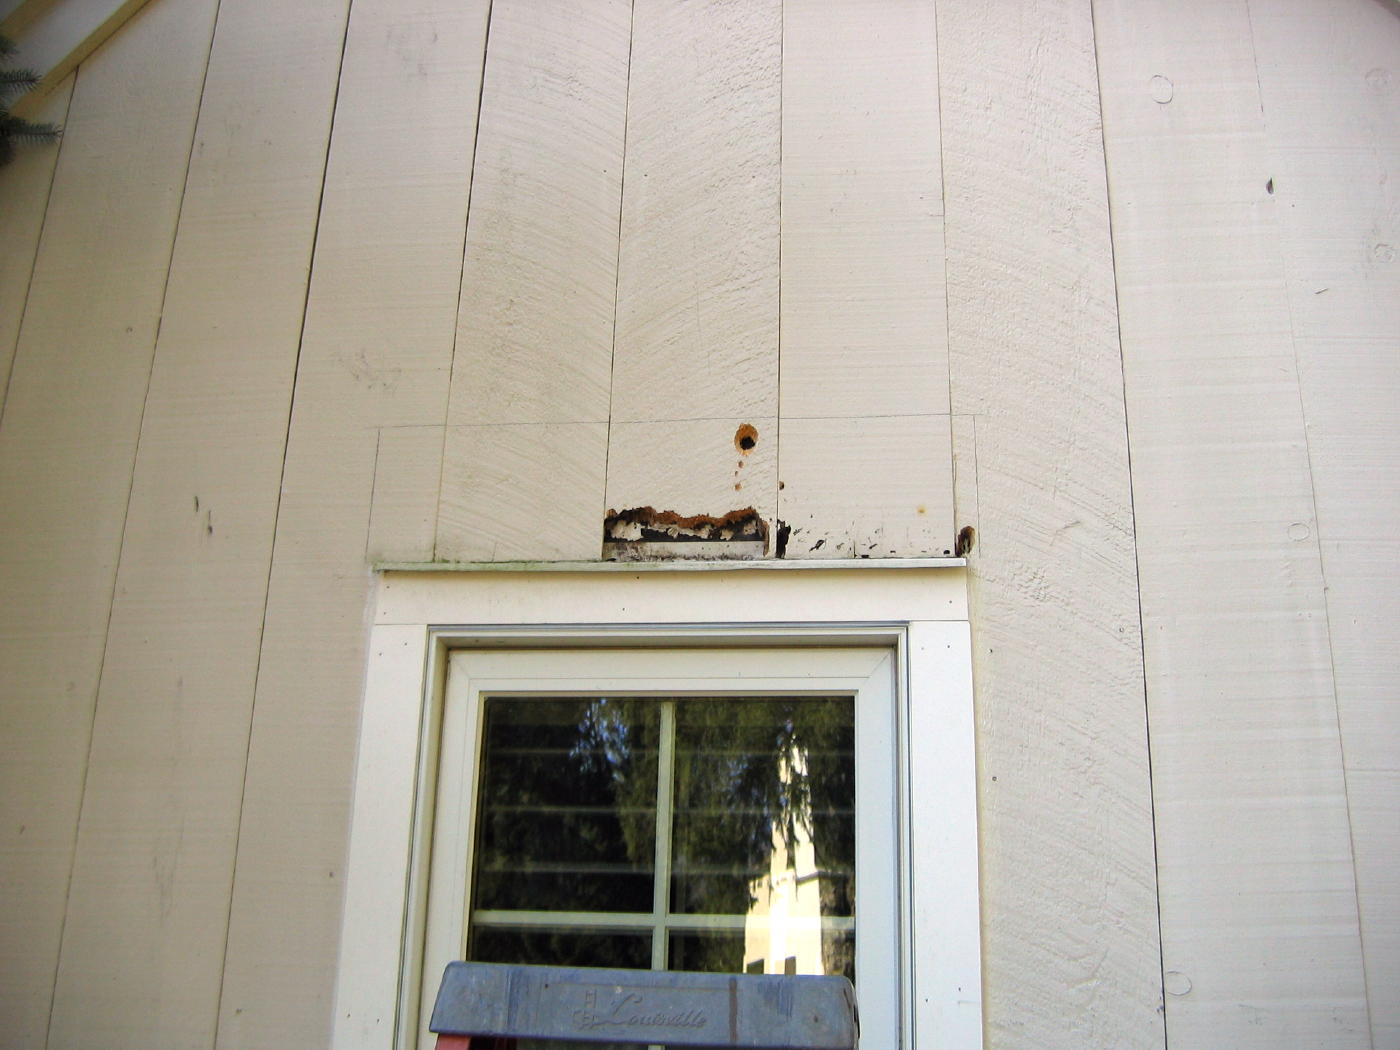
Next, inspect the cedar siding for any loose or damaged boards. If you come across any, it’s important to address these issues before proceeding with the cleaning process. Repair or replace any damaged boards to maintain the integrity of your cedar siding.
If you notice any areas with mold or mildew growth, it’s recommended to treat them with a specialized cleaner or a mixture of white vinegar and water. Apply the solution to the affected area and let it sit for a few minutes before gently scrubbing with a soft-bristle brush or sponge.
Once you have removed any loose dirt, debris, and addressed any necessary repairs, you are ready to move on to the next step: mixing the cleaning solution.
Step 3: Mixing the Cleaning Solution
Now that you have prepared the cedar siding, it’s time to mix the cleaning solution that will effectively remove dirt, grime, and stains from the wood surface. The type of cleaning solution you use will depend on the condition of your cedar siding and personal preference.
If you prefer using a natural cleaning solution, a mixture of warm water and mild dish soap can do the trick. Fill a bucket or large container with warm water and add a small amount of dish soap. Mix the solution well until it becomes sudsy.
Alternatively, you can choose to use a specialized cedar cleaner specifically designed for cleaning wooden surfaces. These cleaners are formulated to effectively remove dirt and stains without causing damage to the cedar siding. Follow the manufacturer’s instructions on the product label to ensure the proper dilution ratios.
It’s important to avoid using bleach or harsh chemicals, as they can discolor or damage the cedar siding.
Once you have mixed the cleaning solution, it’s time to move on to the next step: applying the cleaning solution to the cedar siding.
Step 4: Applying the Cleaning Solution
With the cleaning solution ready, it’s time to begin the process of applying it to the cedar siding. This step will help loosen and remove dirt, grime, and stains from the wood’s surface.
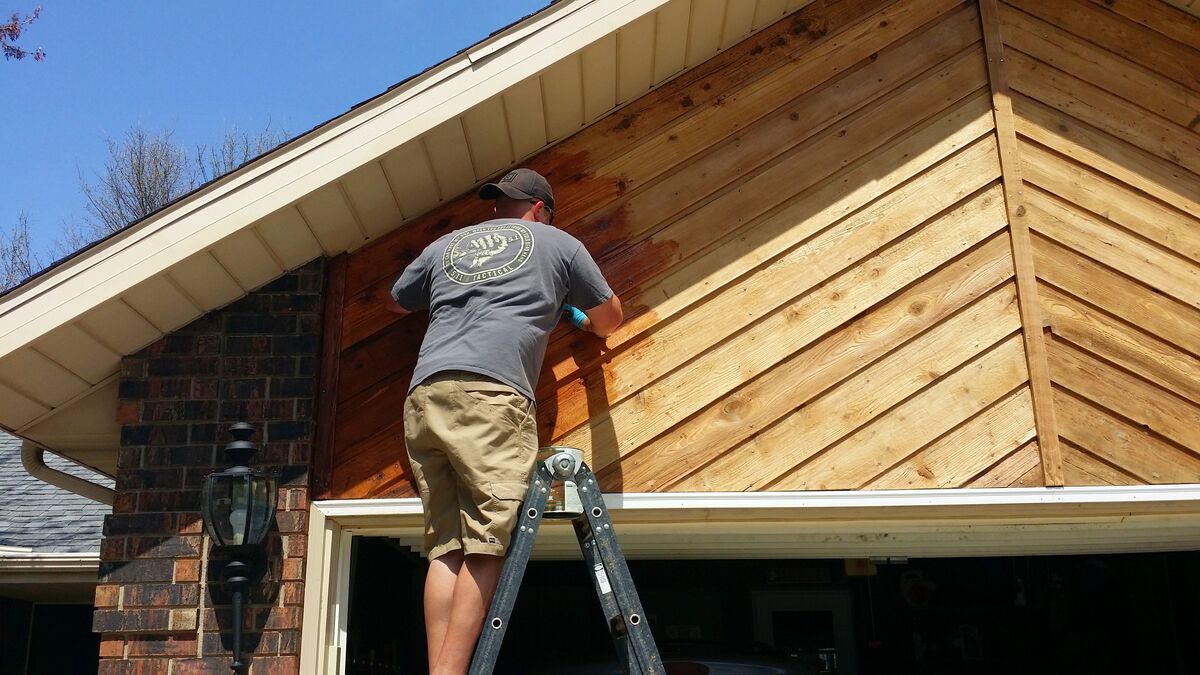
Start by dipping a soft-bristle brush or sponge into the cleaning solution. Make sure it is well saturated but not dripping excessively. Begin applying the solution to the cedar siding, working in small sections at a time.
Gently scrub the surface of the cedar siding, applying slight pressure to remove any stubborn spots or stains. Pay close attention to areas that are particularly dirty or stained, such as near gutters or where the siding is exposed to heavy weathering.
As you work your way along the cedar siding, periodically dip the brush or sponge back into the cleaning solution to replenish it. This will ensure that the cleaning solution remains effective throughout the process.
If your cedar siding has intricate details or hard-to-reach areas, you can use a soft-bristle brush or an old toothbrush to reach those spots. By thoroughly applying and scrubbing the cleaning solution, you will effectively remove dirt and grime from all areas of the cedar siding.
Once you have applied the cleaning solution to the entire surface of the cedar siding, it’s time to move on to the next step: scrubbing the cedar siding.
When washing cedar siding, use a gentle cleaning solution and a soft-bristle brush to avoid damaging the wood. Rinse thoroughly with water and allow the siding to dry completely before applying any sealant or stain.
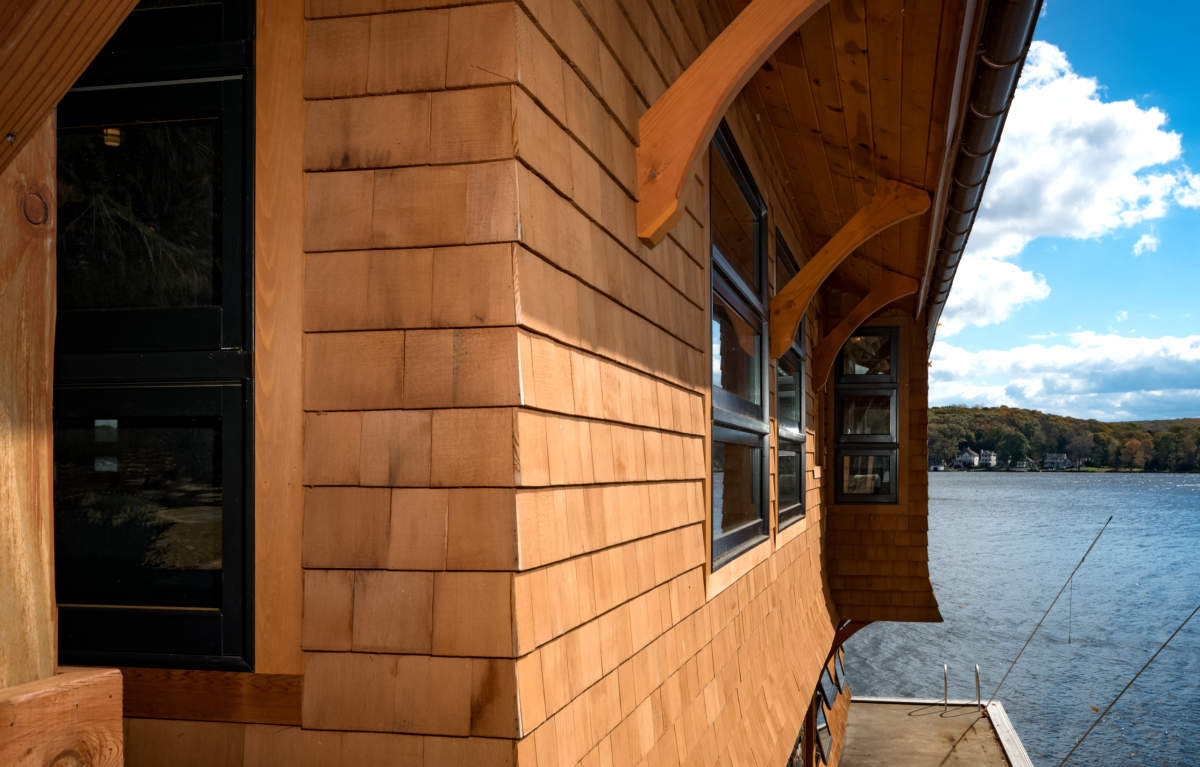
Read more: What Is Cedar Shake Siding
Step 5: Scrubbing the Cedar Siding
Now that the cleaning solution has been applied to the cedar siding, it’s time to scrub the surface to further remove dirt, grime, and stains. This step will require a bit of elbow grease but is essential for achieving a thorough clean.
Using your soft-bristle brush or sponge, scrub the cedar siding in a gentle circular motion. Start from the top and work your way down, ensuring that you cover all areas evenly. Pay extra attention to heavily soiled areas or spots with stubborn stains.
While scrubbing, take care not to apply excessive pressure that could damage the wood. The goal is to remove the dirt and grime without causing any harm to the cedar siding. If you encounter any particularly stubborn stains, apply a bit more pressure and continue scrubbing until the stain is lifted.
If you come across any difficult-to-clean spots or areas with mold or mildew growth, spend a bit more time scrubbing and use a back-and-forth motion to agitate the surface and effectively remove any buildup.
As you scrub, periodically dip the brush or sponge into the cleaning solution to ensure that it remains saturated and effective. This will help maintain its cleaning power as you work your way along the cedar siding.
Continue scrubbing the cedar siding until you are satisfied with the cleanliness of the surface. Once you have thoroughly scrubbed all areas, it’s time to move on to the next step: rinsing the cedar siding.
Step 6: Rinsing the Cedar Siding
After scrubbing the cedar siding, it’s essential to rinse off the cleaning solution and any remaining dirt or grime. This step will help ensure that the cedar siding is left clean and free of any residue.
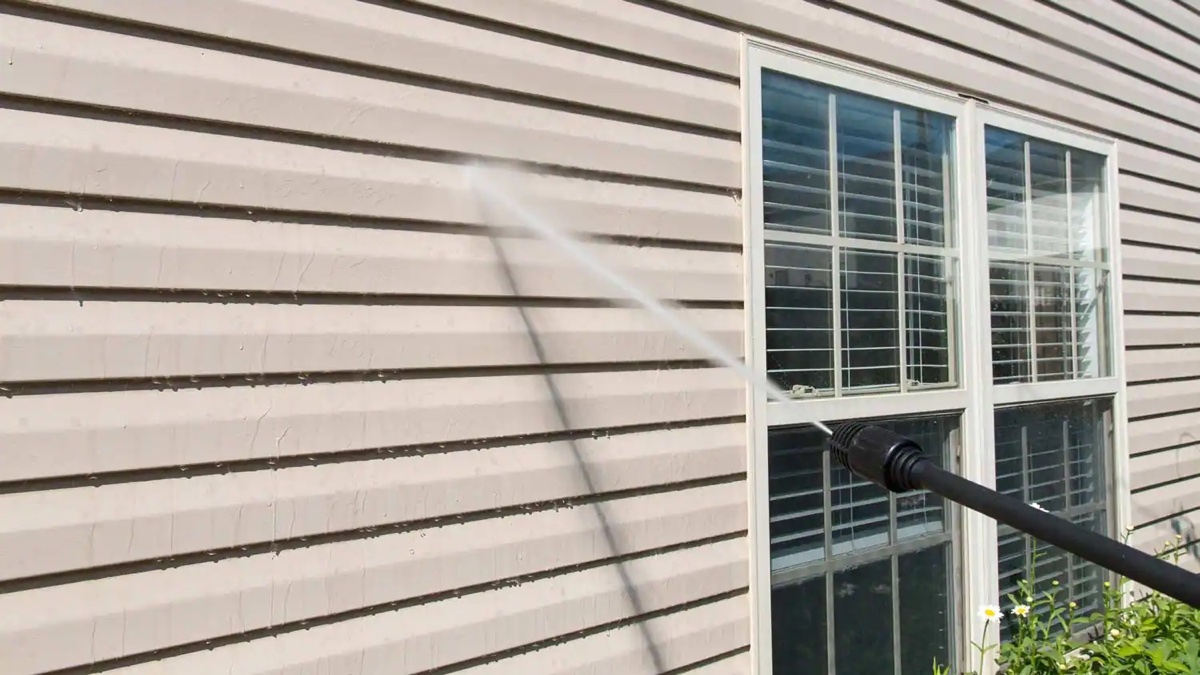
Begin by using a garden hose with an adjustable nozzle to rinse the cedar siding. Start from the top and work your way down, allowing the water to cascade over the surface and wash away the cleaning solution. Use a gentle spray setting to avoid damaging the wood.
Be thorough in your rinsing process, making sure to rinse off all areas of the cedar siding. Pay special attention to any crevices, corners, or hard-to-reach spots that may still have some residue or cleaning solution clinging to them.
Continue rinsing until the runoff water appears clear and free of any soapy residue. This will indicate that all the cleaning solution and dirt have been effectively rinsed away.
If you encounter any stubborn spots or areas with remaining grime, you can use a soft-bristle brush or sponge to agitate the surface while rinsing. This extra step can help remove any lingering residue for a thorough clean.
Once you are confident that the cedar siding has been fully rinsed, it’s time to move on to the final step: drying the cedar siding.
Step 7: Drying the Cedar Siding
Now that the cedar siding has been thoroughly rinsed, it’s important to properly dry it to prevent any moisture-related issues and to restore its natural beauty. This final step will ensure that the cedar siding remains in optimal condition.
Start by allowing the cedar siding to air dry naturally. Avoid exposing it to direct sunlight, as this can cause the wood to dry too quickly and potentially lead to cracking or warping.
If possible, choose a day with mild temperatures and low humidity to aid in the drying process. Open windows or doors nearby to allow for proper ventilation, which will help expedite drying.
Patience is key in this step, as it may take several hours or even a full day for the cedar siding to completely dry, depending on the weather conditions. Avoid rushing the process to ensure the best results.
Once the cedar siding is fully dry, take a moment to inspect the surface for any remaining water spots or streaks. If you notice any, you can use a clean and dry cloth or towel to gently buff them away.
It’s important to note that if you are planning to apply any protective coatings or stains to the cedar siding, it’s crucial to follow the manufacturer’s instructions regarding the recommended drying time. Allow the wood to thoroughly dry before proceeding with any further treatments.
With the cedar siding now clean and dry, you can admire the renewed beauty of your home’s exterior. Regular maintenance and cleaning will help prolong the lifespan of your cedar siding and keep it looking its best for years to come.
That concludes our step-by-step guide on how to wash cedar siding. We hope you found this information helpful and that it assists you in achieving a beautiful and well-maintained cedar siding for your home.
Remember, proper care and regular cleaning will protect and preserve the natural allure of cedar siding, ensuring that it remains a stunning feature of your home’s exterior.
Conclusion
Congratulations! You have successfully learned how to wash cedar siding and restore its natural beauty. Regular cleaning and maintenance of your cedar siding will not only enhance its appearance but also prolong its lifespan. By following the step-by-step guide outlined in this article, you can ensure that your cedar siding remains in optimal condition for years to come.
Remember, preparation is key. Gather all the necessary tools and materials before beginning the cleaning process. Take the time to inspect and prepare the cedar siding by removing any loose dirt, debris, and addressing any necessary repairs.
Mixing the appropriate cleaning solution is essential to achieve effective and safe results. Whether you choose a mild dish soap and water mixture or a specialized cedar cleaner, ensure that it is suitable for exterior use and does not contain harsh chemicals.
Applying and scrubbing the cleaning solution requires a gentle touch and attention to detail. Be thorough in your scrubbing, paying extra attention to heavily soiled areas and stubborn stains. Take care not to apply excessive pressure that could damage the wood.
Rinsing off the cleaning solution is crucial to remove any residue and ensure a clean finish. Use a garden hose with an adjustable nozzle to thoroughly rinse the cedar siding, paying attention to all areas, including hard-to-reach spots.
Finally, allow the cedar siding to air dry naturally. Patience is important during this step, as rushing the drying process can lead to damage. Once dry, inspect the surface for any remaining water spots or streaks and buff them away gently if necessary.
With regular maintenance and cleaning, your cedar siding will continue to impress with its natural beauty and durability. Remember to consult professionals or product manufacturers for specific guidance on cleaning and maintenance if needed.
Thank you for reading our comprehensive guide on how to wash cedar siding. We hope you found it helpful and informative. By following these steps, you can keep your cedar siding looking its best and maintain the charm of your home’s exterior for years to come.
Frequently Asked Questions about How To Wash Cedar Siding
Was this page helpful?
At Storables.com, we guarantee accurate and reliable information. Our content, validated by Expert Board Contributors, is crafted following stringent Editorial Policies. We're committed to providing you with well-researched, expert-backed insights for all your informational needs.




0 thoughts on “How To Wash Cedar Siding”