Home>Articles>How To Stain Or Paint Cedar Shake Siding For A Pretty Finish
Articles
How To Stain Or Paint Cedar Shake Siding For A Pretty Finish
Modified: October 27, 2024
Get expert tips on how to stain or paint cedar shake siding for a beautiful finish. Read our informative articles for step-by-step instructions and professional advice.
(Many of the links in this article redirect to a specific reviewed product. Your purchase of these products through affiliate links helps to generate commission for Storables.com, at no extra cost. Learn more)
Introduction
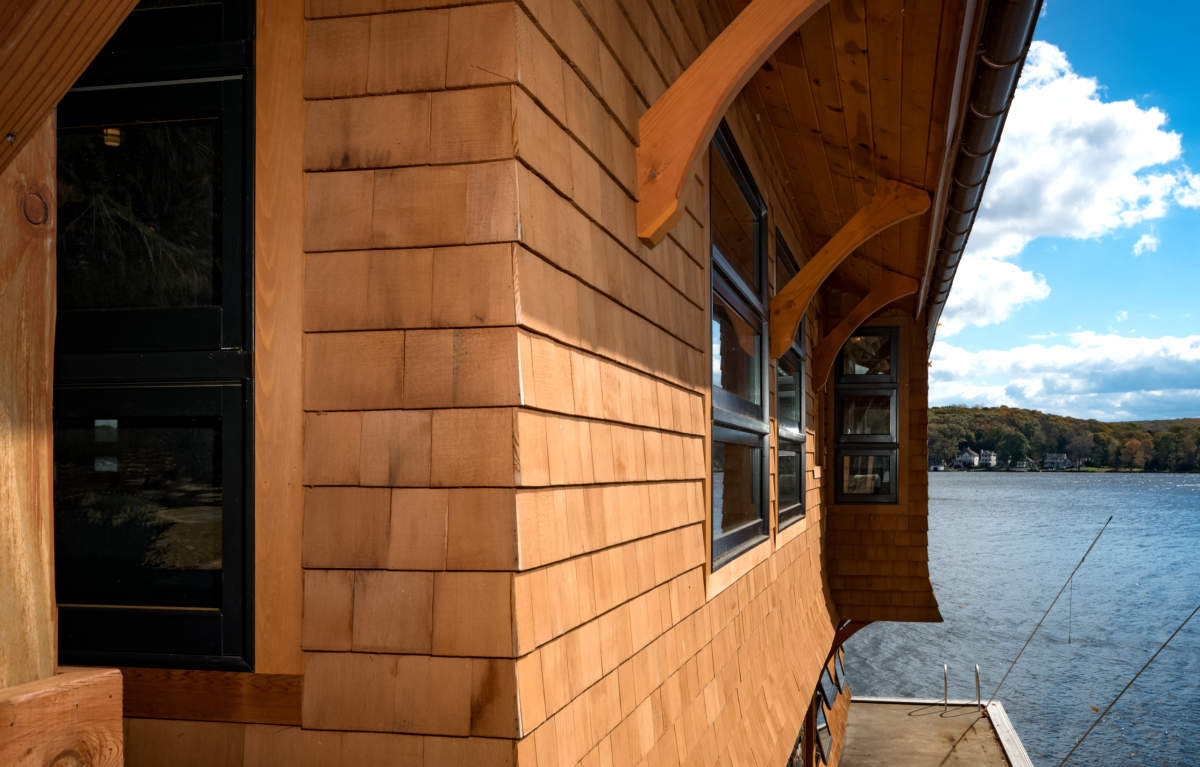
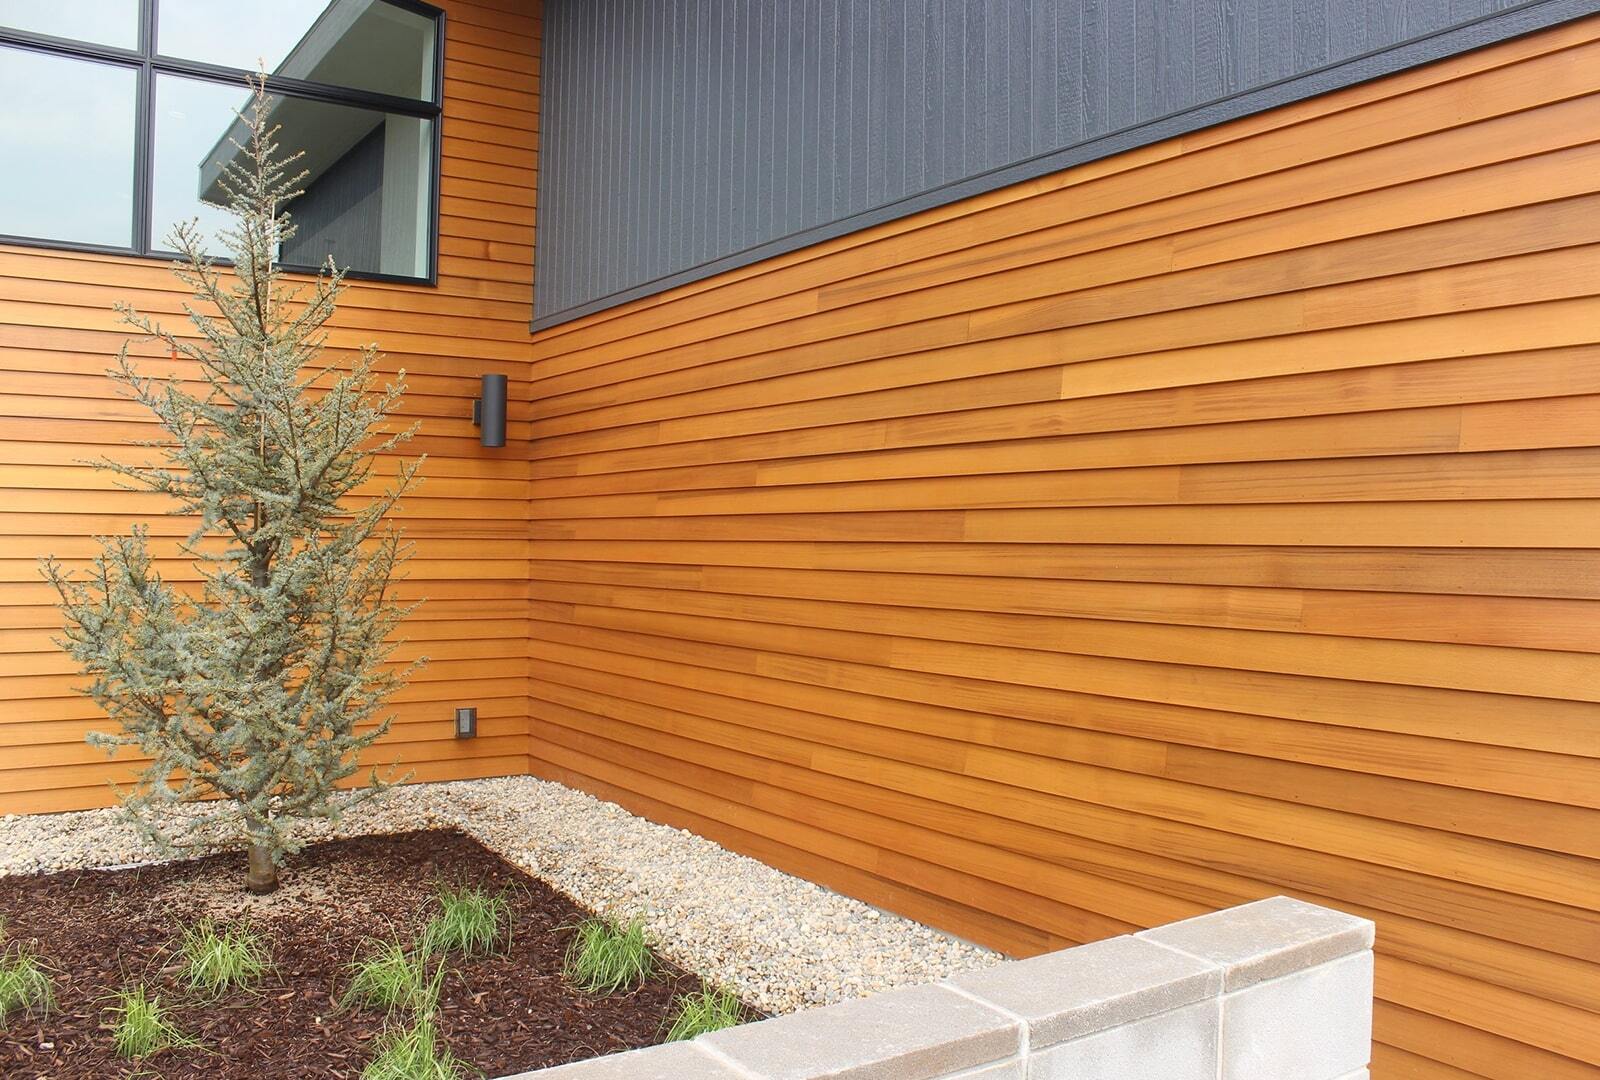
Welcome to this comprehensive guide on how to stain or paint cedar shake siding for a pretty finish. Cedar shake siding is a popular choice for exterior cladding due to its natural beauty and durability. However, over time, the elements can take a toll on its appearance, causing it to fade or become weathered. Staining or painting cedar shake siding is a great way to revive its look and protect it from further damage.
In this article, we will walk you through the step-by-step process of preparing, cleaning, repairing, priming, and applying the stain or paint to your cedar shake siding. We will also provide tips on choosing the right stain or paint color and offer maintenance advice to ensure your finish lasts for years to come.
Before we dive into the details, it’s important to note that staining and painting are two distinct processes, each with its own advantages and considerations. Stains penetrate the wood to enhance its natural color and grain, while paints form a protective barrier on the surface. Depending on your preference and the condition of your cedar shake siding, you can choose to stain or paint to achieve the desired look.
Now, let’s get started with the prep work necessary before staining or painting your cedar shake siding.
Key Takeaways:
- Proper preparation is crucial for staining or painting cedar shake siding. Cleaning, repairing, and priming the surface sets the stage for a beautiful and long-lasting finish that protects the wood from the elements.
- Choosing the right stain or paint color, considering UV protection and weather resistance, and maintaining the finish through regular inspections and touch-ups are essential for preserving the beauty and integrity of cedar shake siding.
Read more: What Is Cedar Shake Siding
Prep Work
Before you begin staining or painting your cedar shake siding, there are a few important steps you need to take to ensure a successful and long-lasting finish.
- Clean the surface: Start by thoroughly cleaning the cedar shake siding to remove dirt, debris, and any existing finishes. You can use a power washer or a scrub brush along with a mild detergent to clean the surface. Be sure to rinse off the soap residue and allow the siding to dry completely before proceeding.
- Sand the surface: After the siding is dry, it’s a good idea to lightly sand the surface to remove any rough spots or splinters. This will help create a smooth and even base for the stain or paint to adhere to. Use a fine-grit sandpaper and sand in the direction of the grain.
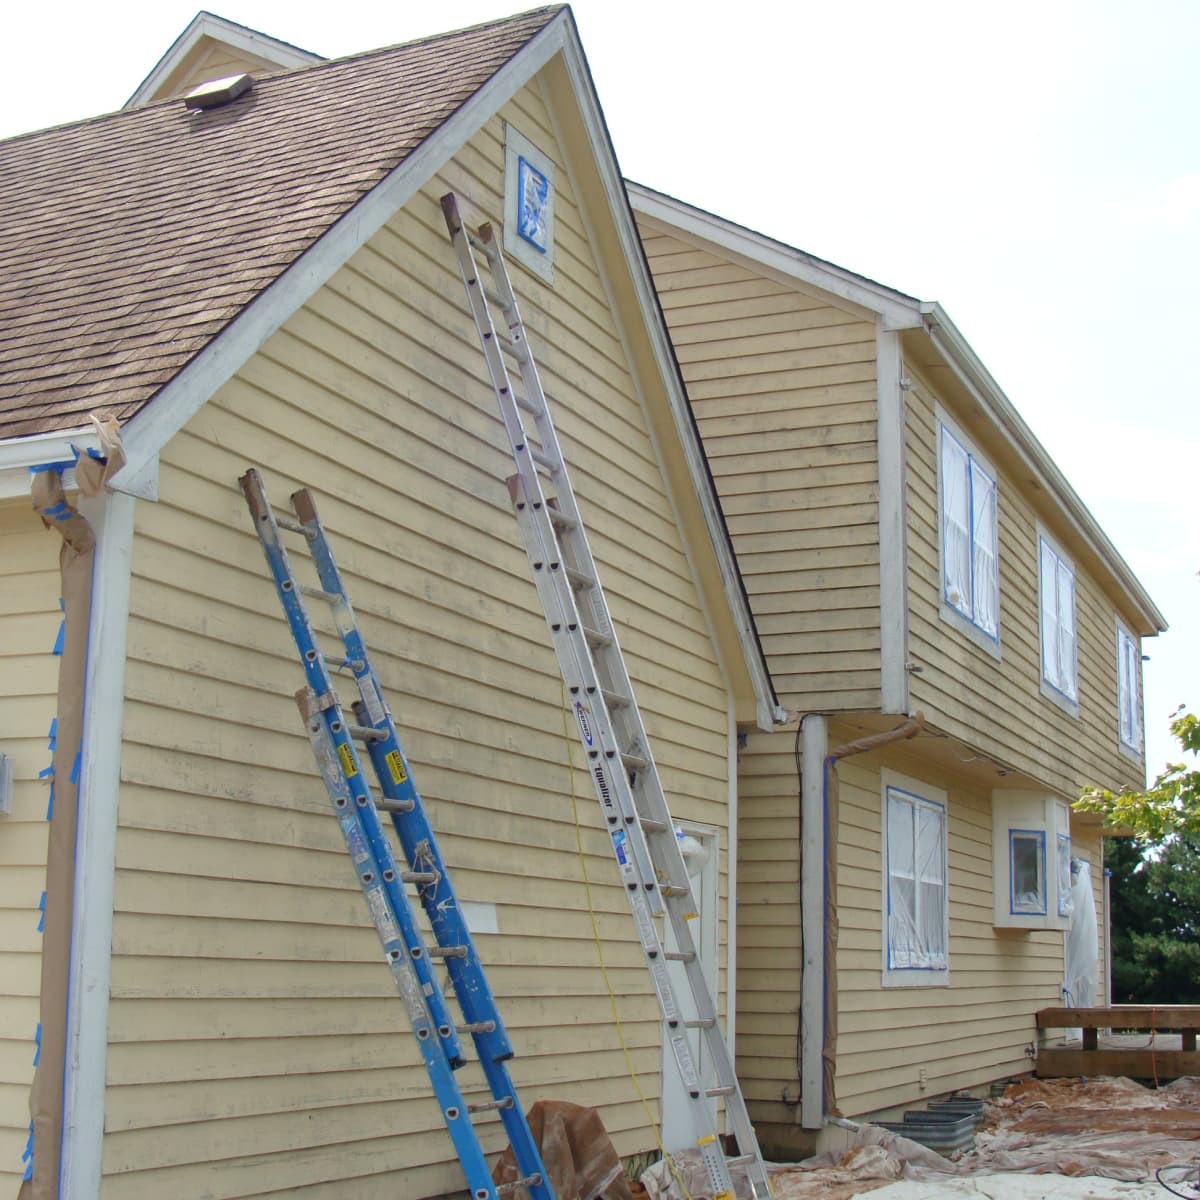
- Protect surrounding areas: Before you start staining or painting, take the time to protect any nearby surfaces or landscaping. Cover windows, doors, and plants with plastic sheets or drop cloths to prevent overspray or accidental drips from causing damage.
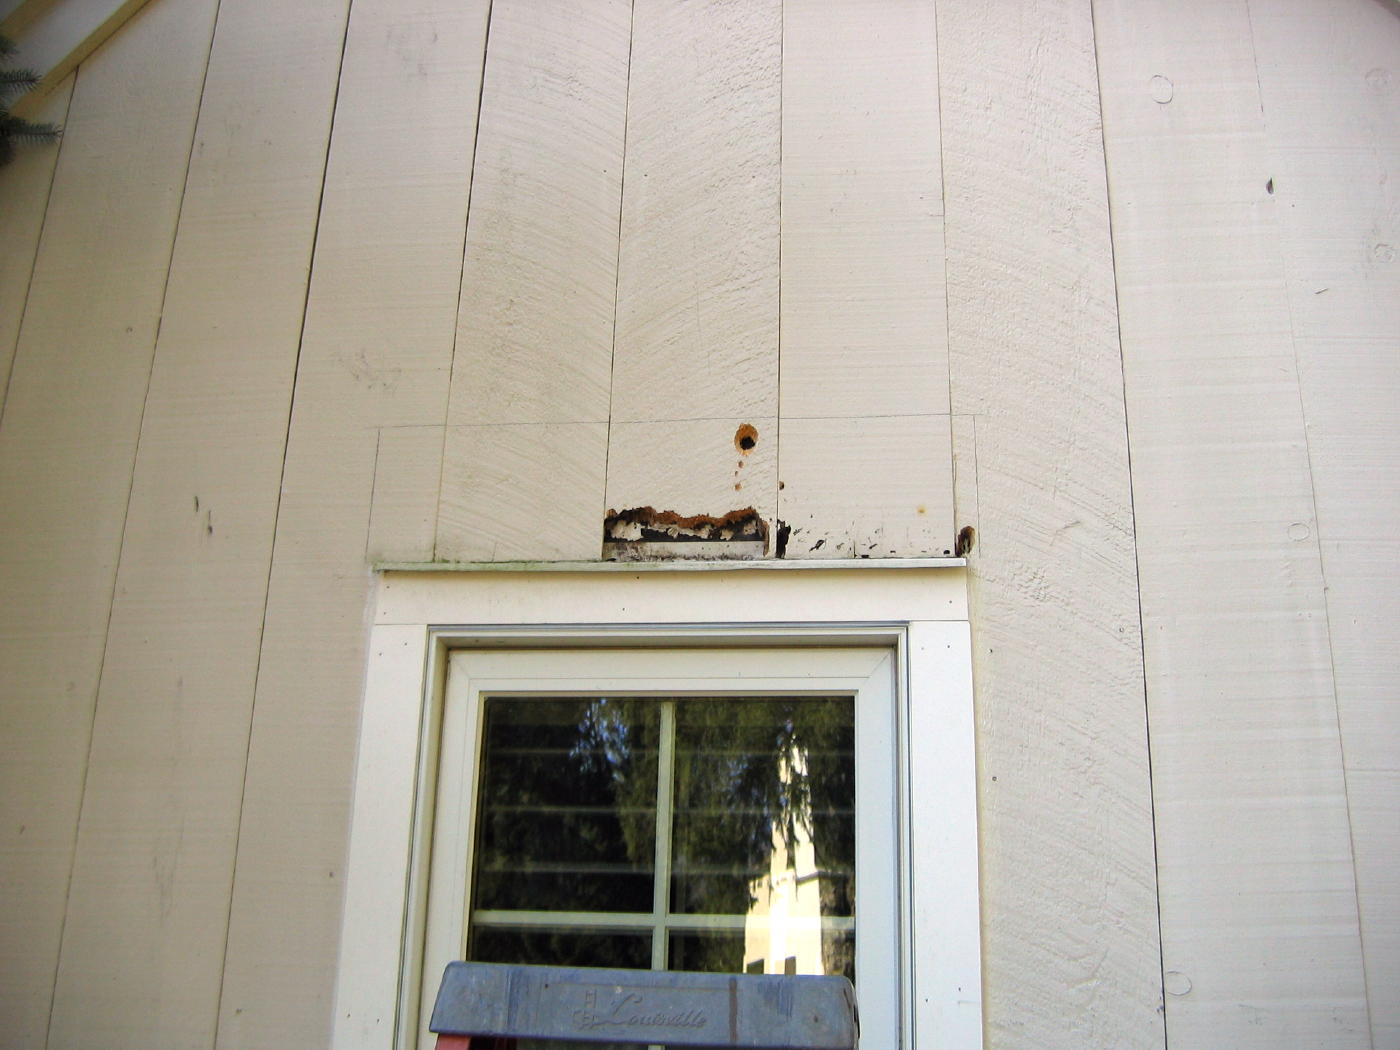
- Inspect for damage: While you’re preparing the surface, make sure to closely inspect the cedar shake siding for any signs of damage or rot. Replace any severely damaged shakes and repair any minor issues, such as loose boards or nails. It’s crucial to address these issues before applying the stain or paint to ensure a stable and long-lasting finish.
By properly preparing the cedar shake siding, you’ll create an ideal foundation for the stain or paint application. This will not only enhance the final appearance but also prolong the life of your siding.
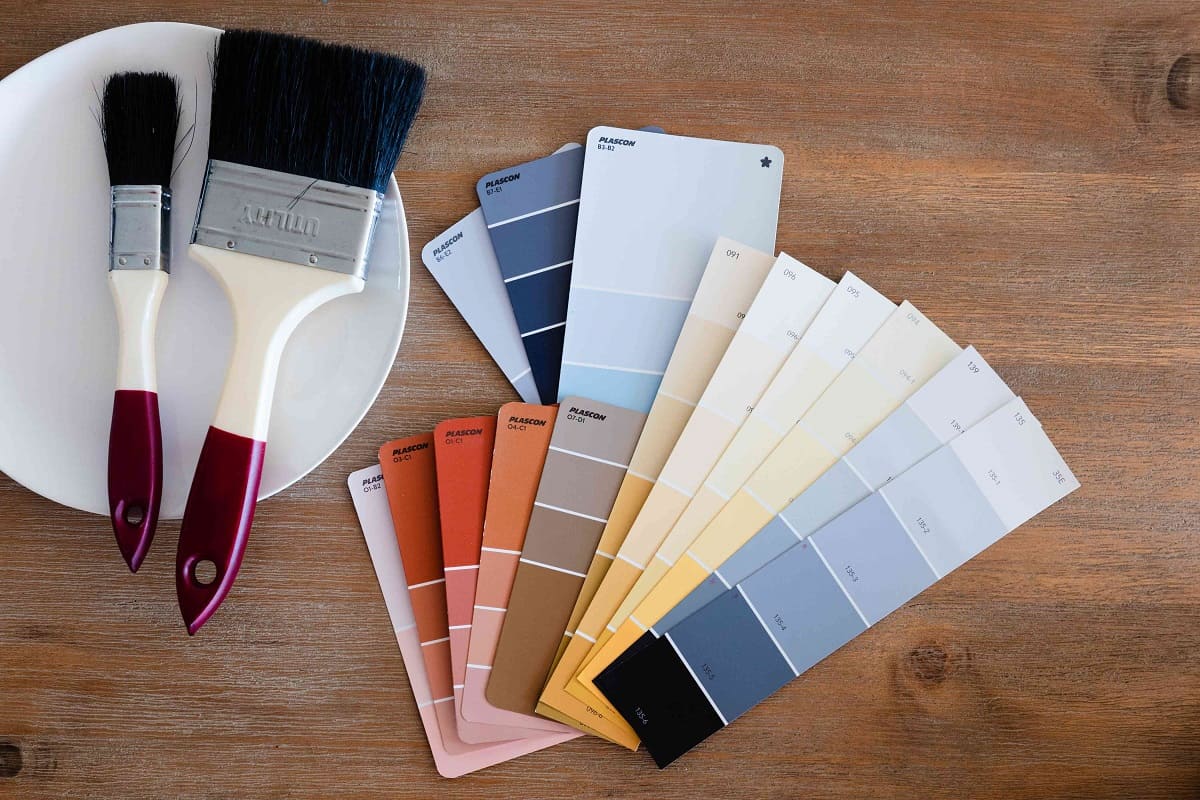
Choosing the Right Stain or Paint
When it comes to selecting the right stain or paint for your cedar shake siding, there are a few factors to consider to achieve the desired look and durability.
- Natural vs. Solid: Determine whether you want to enhance the natural beauty of the cedar with a transparent or semi-transparent stain, or if you prefer a solid paint color for a more uniform appearance. Natural stains allow the grain and texture of the wood to show through, while solid paints provide greater color coverage.
- Color: Consider the overall aesthetics of your home and choose a stain or paint color that complements the existing exterior elements. Take into account the style of your home, the landscaping, and the surroundings to ensure a harmonious look.
- UV Protection: Cedar shake siding is exposed to the sun’s ultraviolet (UV) rays, which can lead to fading and discoloration over time. Look for stains or paints with UV protection properties to minimize this effect and keep your siding looking vibrant for longer.
- Water and Weather Resistance: Choose a stain or paint that offers excellent water and weather resistance. Cedar shake siding is prone to moisture damage, so selecting a product with these protective properties will help extend the life of your siding.
- Durability: Consider the durability of the stain or paint. Look for products that are specifically formulated for exterior use and offer long-lasting protection against fading, cracking, peeling, and blistering.
- Environmental Impact: If you are environmentally conscious, you may want to choose stains or paints that are low in volatile organic compounds (VOCs) and eco-friendly. These products have minimal impact on the environment and can be a safer choice for you and your family.
Take your time to research different stain and paint options, read reviews, and consult with professionals if needed. By choosing the right stain or paint for your cedar shake siding, you can enhance the beauty of your home while also ensuring its long-term protection.
Cleaning the Cedar Shake Siding
Before you start the staining or painting process, it’s essential to thoroughly clean the cedar shake siding to remove dirt, grime, and any existing finishes. This ensures a clean and smooth surface for the stain or paint to adhere to.
Here’s a step-by-step guide on how to properly clean your cedar shake siding:
- Gather your materials: You will need a power washer or a garden hose with a nozzle attachment, a scrub brush, a mild detergent or cleaner specifically formulated for exterior use, and a bucket.
- Prepare the cleaning solution: Fill the bucket with water and add the recommended amount of mild detergent or cleaner according to the instructions on the packaging. Mix well to create a soapy solution.
- Wet the siding: Begin by thoroughly wetting the cedar shake siding using a power washer or a garden hose with a nozzle attachment. This helps loosen dirt and debris from the surface.
- Apply the cleaning solution: Dip the scrub brush into the soapy solution, and starting from the top of the siding, scrub the surface in a downward motion. Pay special attention to heavily soiled areas and any stains. Work in small sections to ensure thorough cleaning.
- Rinse the siding: Once you have scrubbed a section, use the power washer or garden hose to rinse off the cleaning solution. Start from the top and work your way down to ensure all soap residue is removed.
- Repeat if necessary: If the siding is still dirty or stained, you may need to repeat the cleaning process. Use more cleaning solution or apply a stain remover specifically formulated for cedar shake siding to stubborn stains.
- Allow the siding to dry: After rinsing off the cleaning solution, allow the cedar shake siding to dry completely before proceeding. This may take a few days depending on weather conditions.
By following these steps, you can effectively clean your cedar shake siding and create an optimal surface for the stain or paint application. Remember to always exercise caution when using power washers and follow the manufacturer’s instructions for proper use.
Repairing Damaged or Rotten Shakes
Before you start the staining or painting process on your cedar shake siding, it’s important to inspect the surface for any damaged or rotten shakes. Addressing these issues beforehand will ensure a stable and long-lasting finish. Here’s a step-by-step guide on how to repair damaged or rotten shakes:
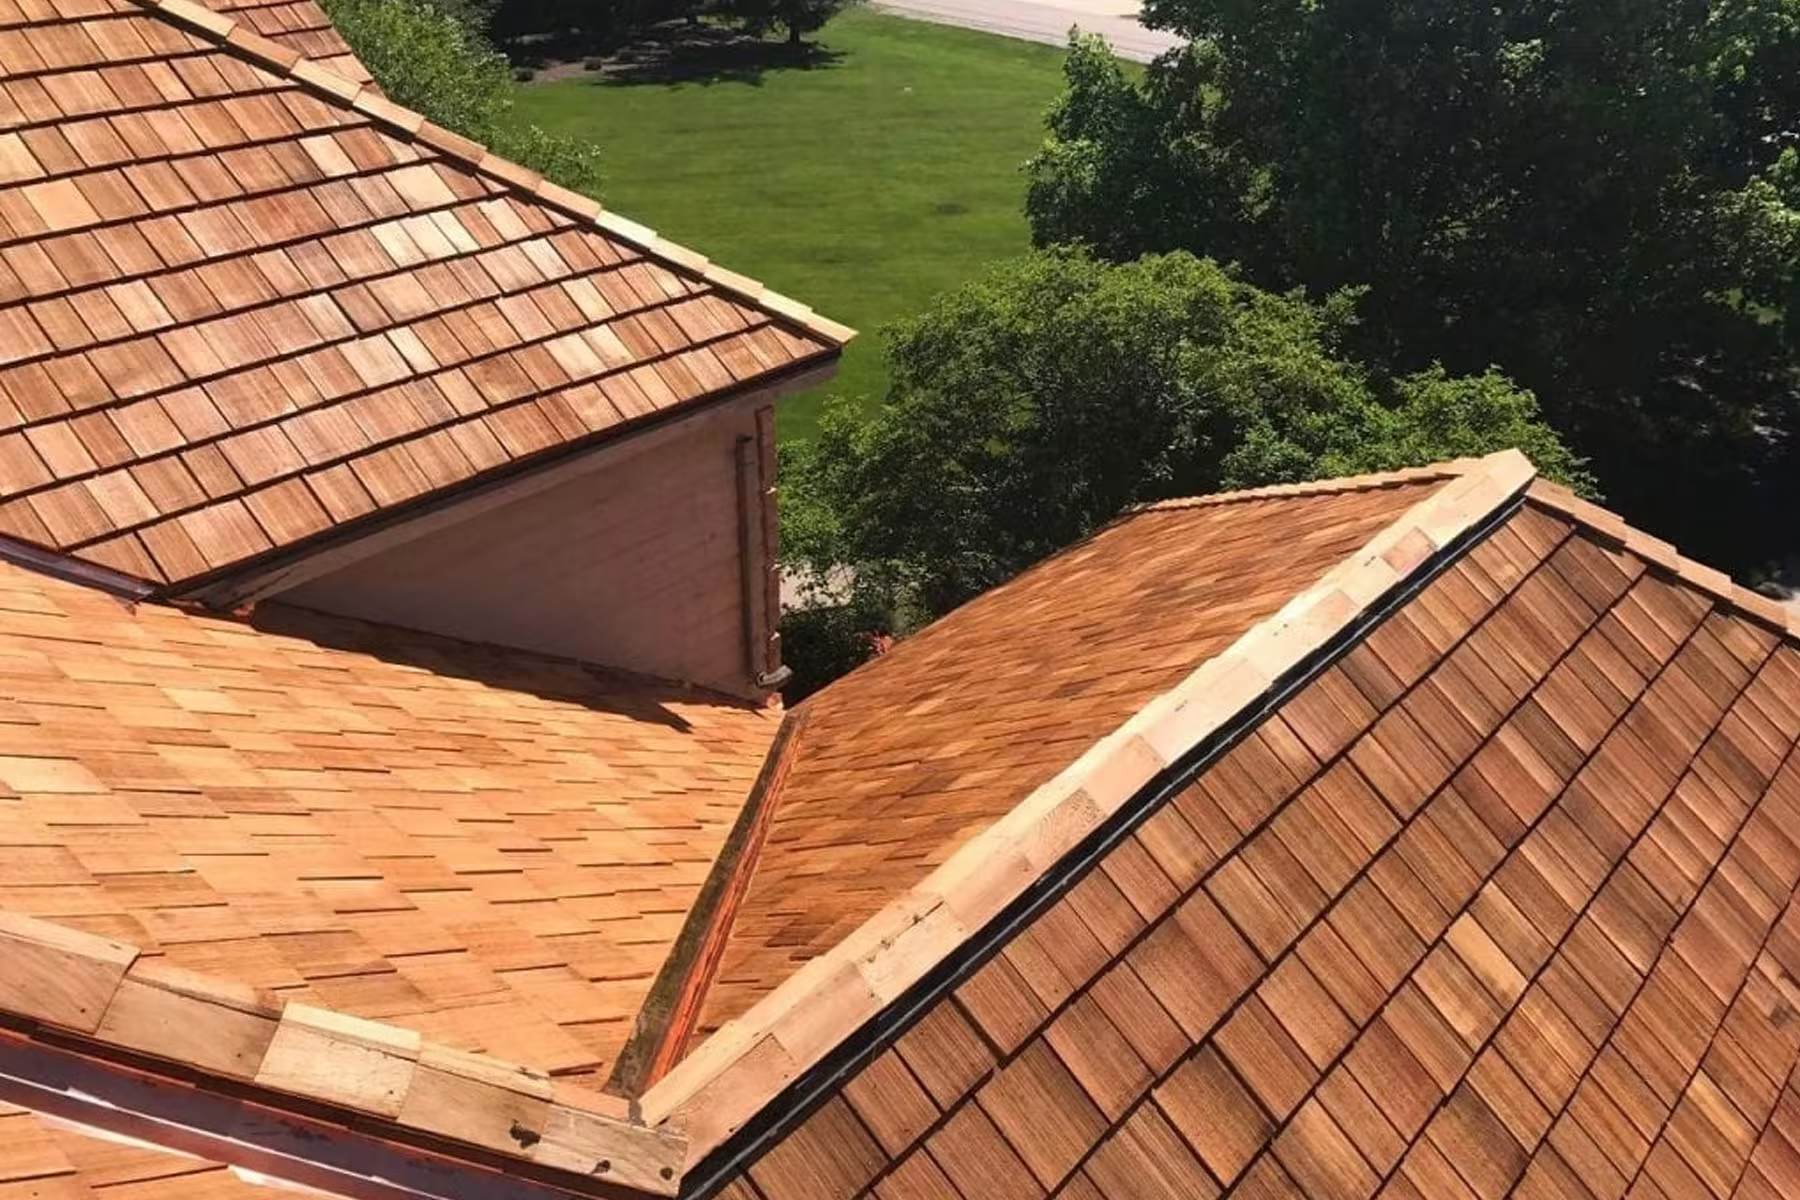
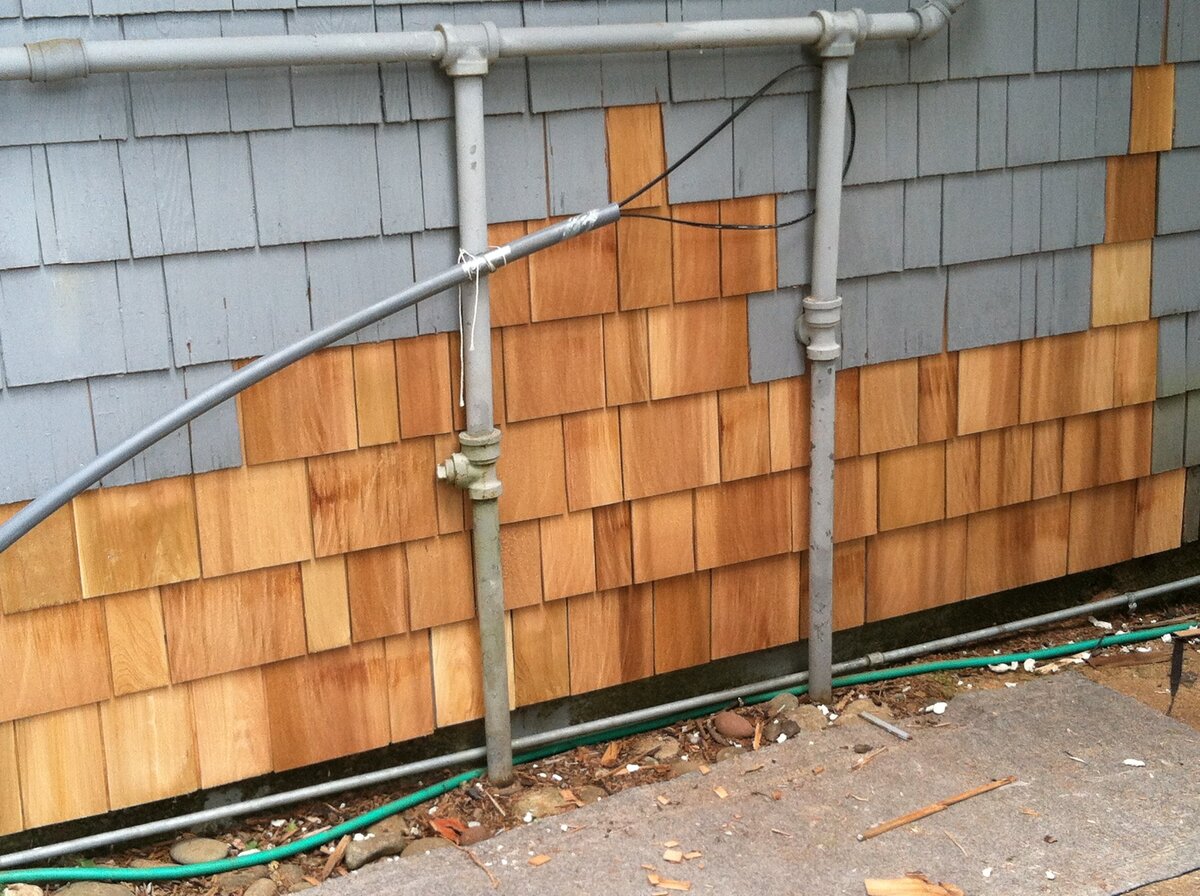
- Identify the damaged shakes: Carefully inspect the cedar shake siding, looking for any shakes that are cracked, split, or showing signs of rot. Pay attention to areas where water may have accumulated, such as near the ground or around windows and doors.
- Remove the damaged shakes: Using a pry bar or a hammer and chisel, carefully remove the damaged shakes. Start by removing the nails securing the shake to the siding. Take caution to avoid damaging the surrounding shakes.
- Prepare the replacement shakes: Measure the size of the removed shake to ensure a proper fit for the replacement. Cut a new cedar shake to the appropriate size using a saw. Make sure the replacement shake matches the thickness and profile of the existing shakes to maintain a consistent appearance.
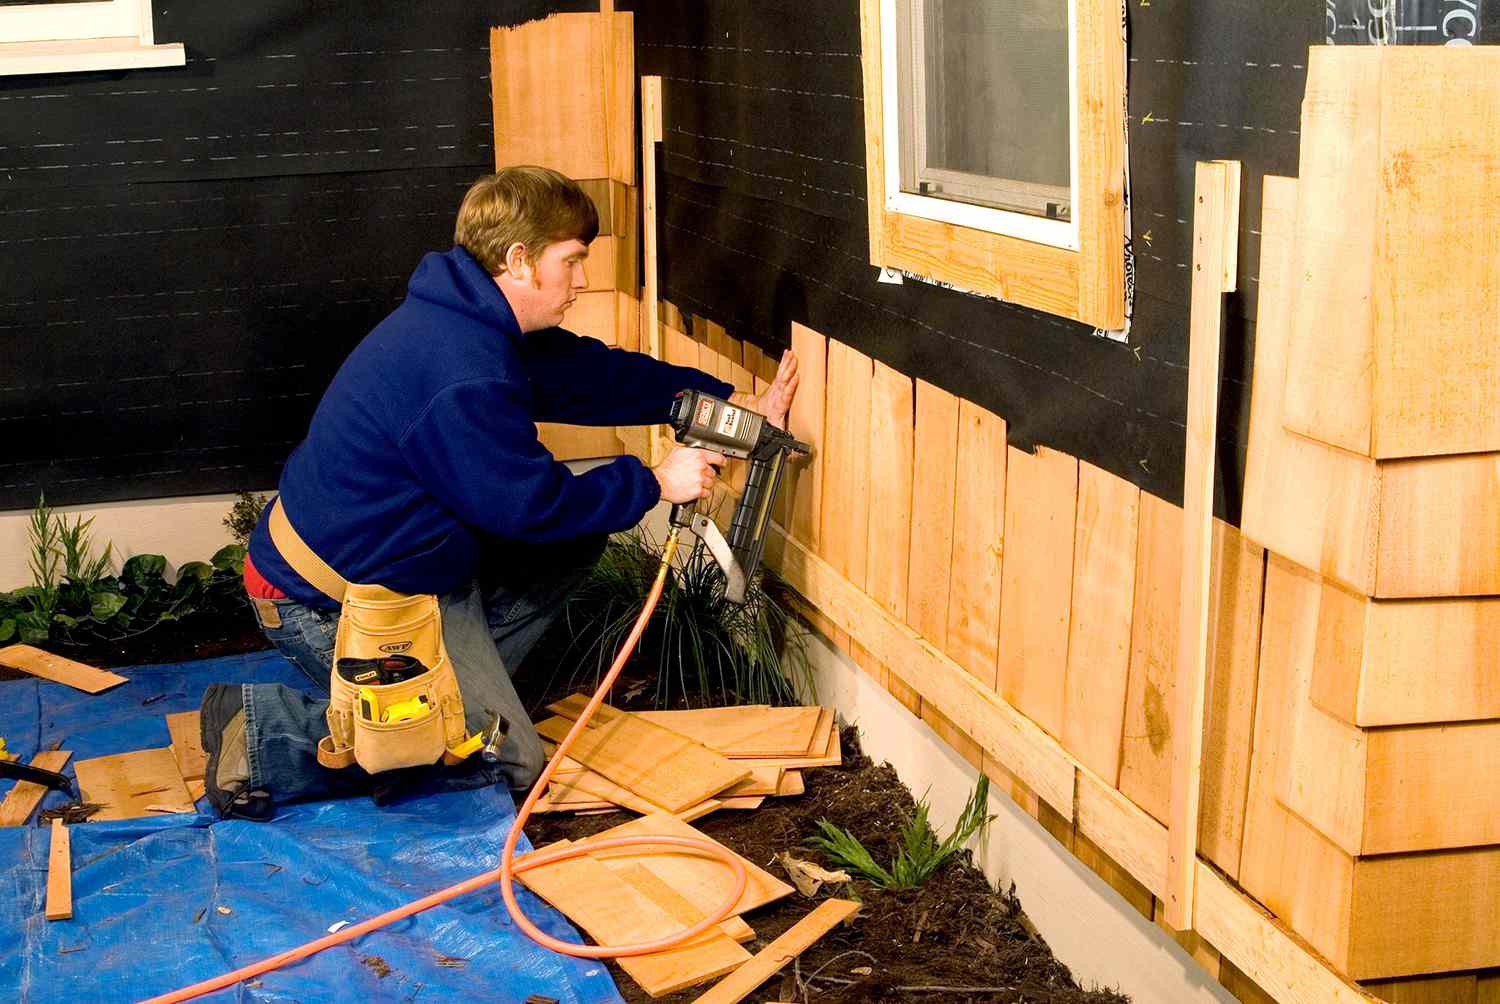
- Install the replacement shake: Apply a layer of exterior-grade adhesive to the back of the replacement shake. Position it in place, ensuring it aligns with the existing shakes. Use galvanized finish nails to secure the shake, placing them in the same pattern as the surrounding shakes.
- Fill any gaps or cracks: If there are any gaps or cracks around the newly installed shake, fill them with a high-quality wood filler or caulk. Smooth out the filler with a putty knife and allow it to dry according to the manufacturer’s instructions.
- Sand and prime: Once the filler is dry, you can sand the repaired area to create a smooth surface. Prime the repaired shake and the surrounding area to ensure proper adhesion of the stain or paint.
- Continue with the staining or painting process: After the repair work is complete and the primer has dried, you can proceed with the staining or painting process following the steps outlined in the subsequent sections of this guide.
It’s important to address any damaged or rotten shakes before applying the stain or paint to ensure the stability and longevity of your cedar shake siding. Taking the time to repair these issues will help maintain the overall integrity and appearance of your siding for years to come.
When staining or painting cedar shake siding, make sure to clean the surface thoroughly and apply a primer before adding the final coat. This will help the finish to adhere better and last longer.
Read more: How To Install Vinyl Cedar Shake Siding
Priming the Cedar Shake Siding
Before applying the stain or paint to your cedar shake siding, it’s important to prime the surface. Priming helps create a strong bond between the wood and the finish, ensuring better adhesion and durability. Here’s a step-by-step guide on how to prime your cedar shake siding:
- Clean the siding: Ensure that the cedar shake siding is clean and free from any dust, debris, or loose particles. If needed, give the siding a gentle wash and allow it to dry completely before priming.
- Select a suitable primer: Choose a high-quality exterior primer that is specifically formulated for use on wood surfaces. Look for a product that offers excellent adhesion, seals the wood, and provides a good foundation for the stain or paint.
- Prepare the work area: Cover any nearby surfaces or landscaping to protect them from primer overspray. Use plastic sheets or drop cloths to prevent accidental damage during the priming process.
- Apply the primer: Use a brush or a roller to apply the primer to the cedar shake siding. Start from the top and work your way down, applying an even coat of primer. Pay attention to the edges and corners to ensure complete coverage.
- Allow the primer to dry: Follow the manufacturer’s instructions regarding drying time. Give the primer sufficient time to dry and cure before proceeding with the next step. This usually takes several hours or overnight.
- Sand if necessary: Inspect the primed surface for any rough areas or imperfections. If needed, lightly sand the primer using fine-grit sandpaper to create a smooth and even surface for the stain or paint.
- Clean off any dust: After sanding, make sure to clean off any sanding dust or residues from the primed siding. Use a clean cloth or a soft brush to remove any particles that could affect the final finish.
By priming your cedar shake siding, you provide a solid and prepared surface for the stain or paint to adhere to. This step not only enhances the overall finish but also protects the wood from moisture and other elements that may cause damage.
Once the primer is dry and the surface is prepared, you can move on to the next step: applying the stain or paint to achieve the desired finish for your cedar shake siding.
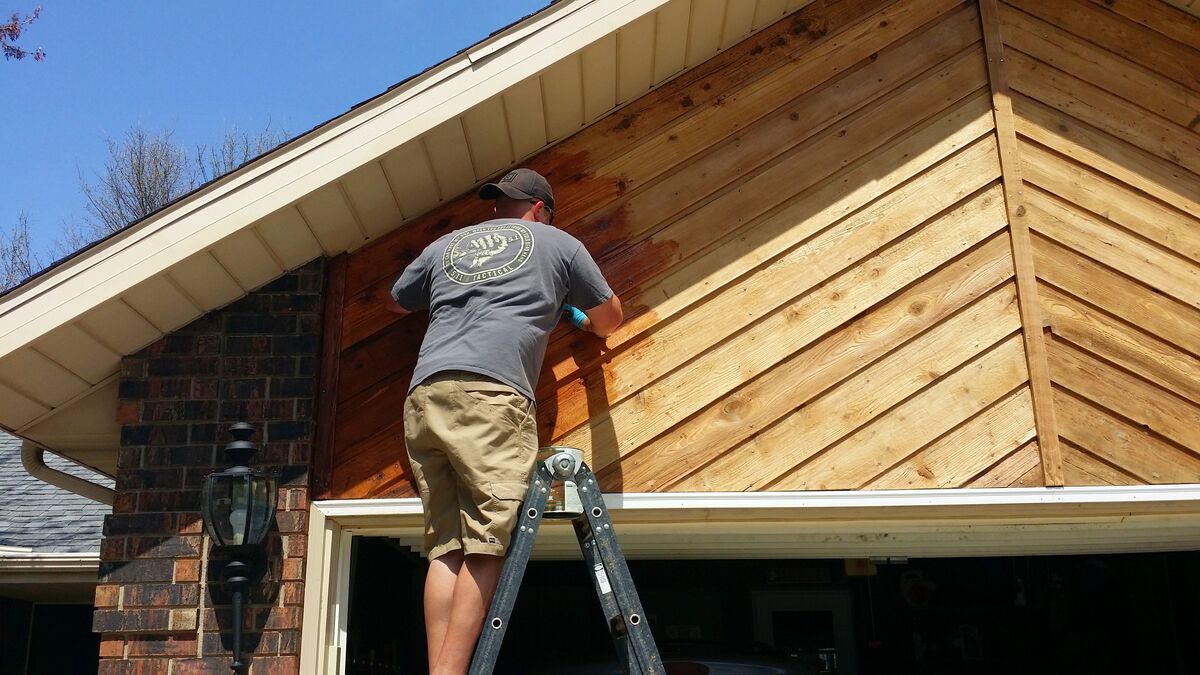
Applying the Stain or Paint
Now that you have completed the preparatory steps, it’s time to apply the stain or paint to your cedar shake siding. Follow these guidelines to achieve a beautiful and long-lasting finish:
- Choose the right applicator: Depending on the size and texture of your cedar shake siding, you can use a brush, roller, or sprayer to apply the stain or paint. Brushes are ideal for reaching into crevices and ensuring thorough coverage, while rollers and sprayers can offer faster application for larger areas.
- Stir or shake the product: Before you begin, make sure to thoroughly stir or shake the stain or paint according to the manufacturer’s instructions. This ensures that the color and other ingredients are evenly distributed.
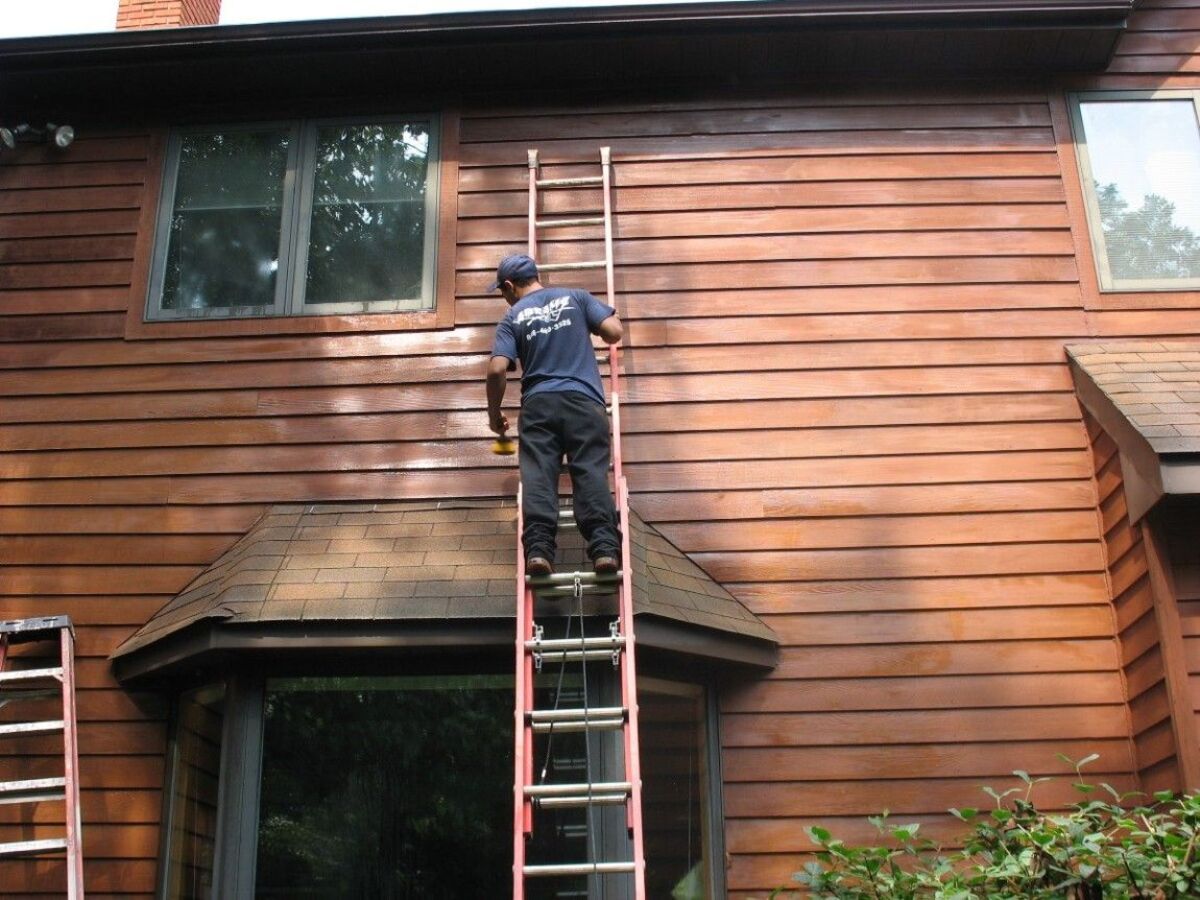
- Start from the top: Begin the application process from the top of the cedar shake siding, working your way down. This allows any drips or excess product to be caught and blended into subsequent coats.
- Apply an even coat: Dip your applicator into the stain or paint, then apply it to the siding using smooth and even strokes. Work in small sections, overlapping each stroke to ensure complete coverage and prevent any streaks or patches.
- Pay attention to the grain: Follow the direction of the wood grain while applying the stain or paint. This helps to preserve the natural appearance of the cedar shake siding and provides a more consistent finish.
- Work in manageable sections: To avoid the stain or paint drying too quickly, work in manageable sections or panels. This allows you to maintain a wet edge and blend the strokes seamlessly.
- Apply multiple coats if needed: Depending on the desired depth of color and coverage, you may need to apply multiple coats of stain or paint. Follow the manufacturer’s instructions regarding drying time between coats.
- Allow for proper drying time: After applying the final coat, allow the stain or paint to dry thoroughly before exposing it to any moisture or weather conditions. This ensures maximum adhesion and longevity of the finish.
Remember, different stains or paints have varying drying times and requirements, so be sure to read and follow the instructions provided by the manufacturer.
By following these steps, you can achieve a professional-looking finish on your cedar shake siding. Take your time during the application process to ensure even coverage and a stunning end result.
Maintaining the Finish
After successfully staining or painting your cedar shake siding, it’s important to maintain the finish to keep it looking beautiful and protect it from the elements. Here are some tips to help you maintain the longevity and appearance of your finish:
- Inspect regularly: Regularly inspect your cedar shake siding for any signs of damage or wear. Look for peeling, cracking, or fading of the stain or paint, as well as any signs of moisture or mold. Catching and addressing issues early can prevent further damage.
- Perform routine cleaning: Regularly clean your cedar shake siding to remove dirt, pollen, and other debris. Use a soft brush or a gentle hose spray to rinse off the surface. Avoid using abrasive cleaners or pressure washers, as they can damage the finish.
- Touch up as needed: Over time, your cedar shake siding may experience areas where the finish begins to wear or chip. When this occurs, touch up those areas with a small brush, matching the color and finish of the original stain or paint. This will help maintain a consistent appearance.
- Protect from moisture: Moisture is one of the biggest threats to the longevity of your cedar shake siding finish. Ensure that any water sources, such as sprinklers or downspouts, are directed away from the siding. Regularly check for any signs of water infiltration and address them promptly.
- Trim nearby vegetation: Trim any bushes, shrubs, or trees near your cedar shake siding to prevent them from rubbing or scratching the surface. This will help preserve the integrity of the finish and prevent unnecessary wear and tear.
- Consider periodic reapplication: Depending on the quality of the stain or paint used, you may need to reapply the finish every few years. Follow the manufacturer’s recommendations for when to reapply, and be sure to properly prepare the siding before doing so.
- Protect from direct sunlight: Ultraviolet (UV) rays from the sun can cause the finish on your cedar shake siding to fade and deteriorate. If possible, provide shade or use a UV protection product to shield the siding from direct sunlight.
By following these maintenance tips, you can extend the life of your finish and keep your cedar shake siding looking its best. Regular upkeep and proactive care will ensure that your siding remains beautiful and protected for years to come.
Conclusion
Congratulations! You have now learned the ins and outs of staining or painting cedar shake siding for a pretty finish. By following the steps outlined in this comprehensive guide, you can transform the appearance of your home while protecting your siding from the elements.
Remember, proper prep work is essential before embarking on the staining or painting process. Cleaning the surface, repairing any damage, and applying a primer will ensure a smooth and durable finish. Choosing the right stain or paint color, considering UV protection and weather resistance, will help you achieve the desired look and longevity.
Throughout the application process, take your time and pay attention to detail. Apply the stain or paint evenly, following the grain of the wood, and allow for proper drying time between coats. By maintaining the finish with regular inspections, cleaning, and touch-ups, you can preserve the beauty of your cedar shake siding for years to come.
Always refer to the manufacturer’s instructions and recommendations for the specific stain or paint products you choose. Different brands may have varying guidelines, drying times, and maintenance requirements.
Now that you have the knowledge and understanding to stain or paint your cedar shake siding, go ahead and begin your project. Enjoy the process and watch as your home’s exterior transforms into a stunning showcase of beauty and protection.
Remember, if you feel unsure about any step or require additional assistance, don’t hesitate to consult a professional. They can provide expert guidance tailored to your specific needs and ensure a successful outcome.
Happy staining or painting, and may your cedar shake siding shine with a beautiful and long-lasting finish!
Frequently Asked Questions about How To Stain Or Paint Cedar Shake Siding For A Pretty Finish
Was this page helpful?
At Storables.com, we guarantee accurate and reliable information. Our content, validated by Expert Board Contributors, is crafted following stringent Editorial Policies. We're committed to providing you with well-researched, expert-backed insights for all your informational needs.


0 thoughts on “How To Stain Or Paint Cedar Shake Siding For A Pretty Finish”