Articles
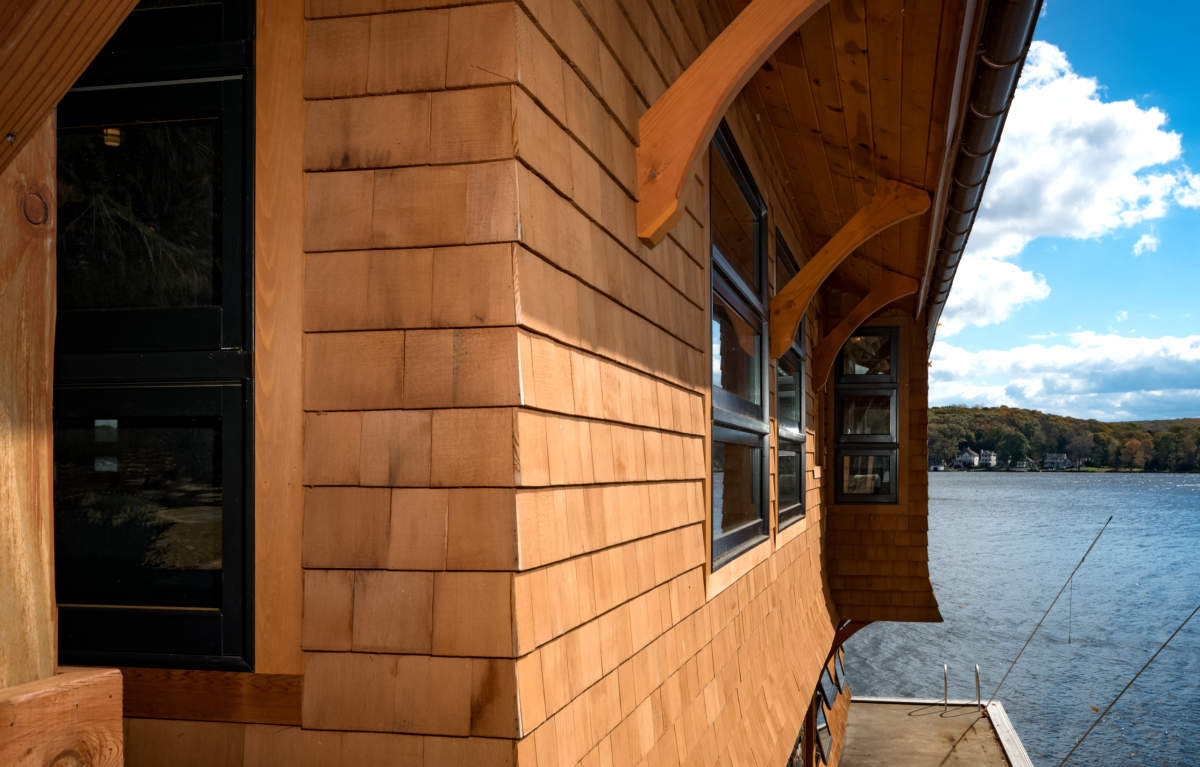
How To Restore Weathered Cedar Siding
Modified: January 8, 2024
Learn how to restore weathered cedar siding with our informative articles. Improve the look of your home's exterior with expert tips and techniques.
(Many of the links in this article redirect to a specific reviewed product. Your purchase of these products through affiliate links helps to generate commission for Storables.com, at no extra cost. Learn more)
Introduction
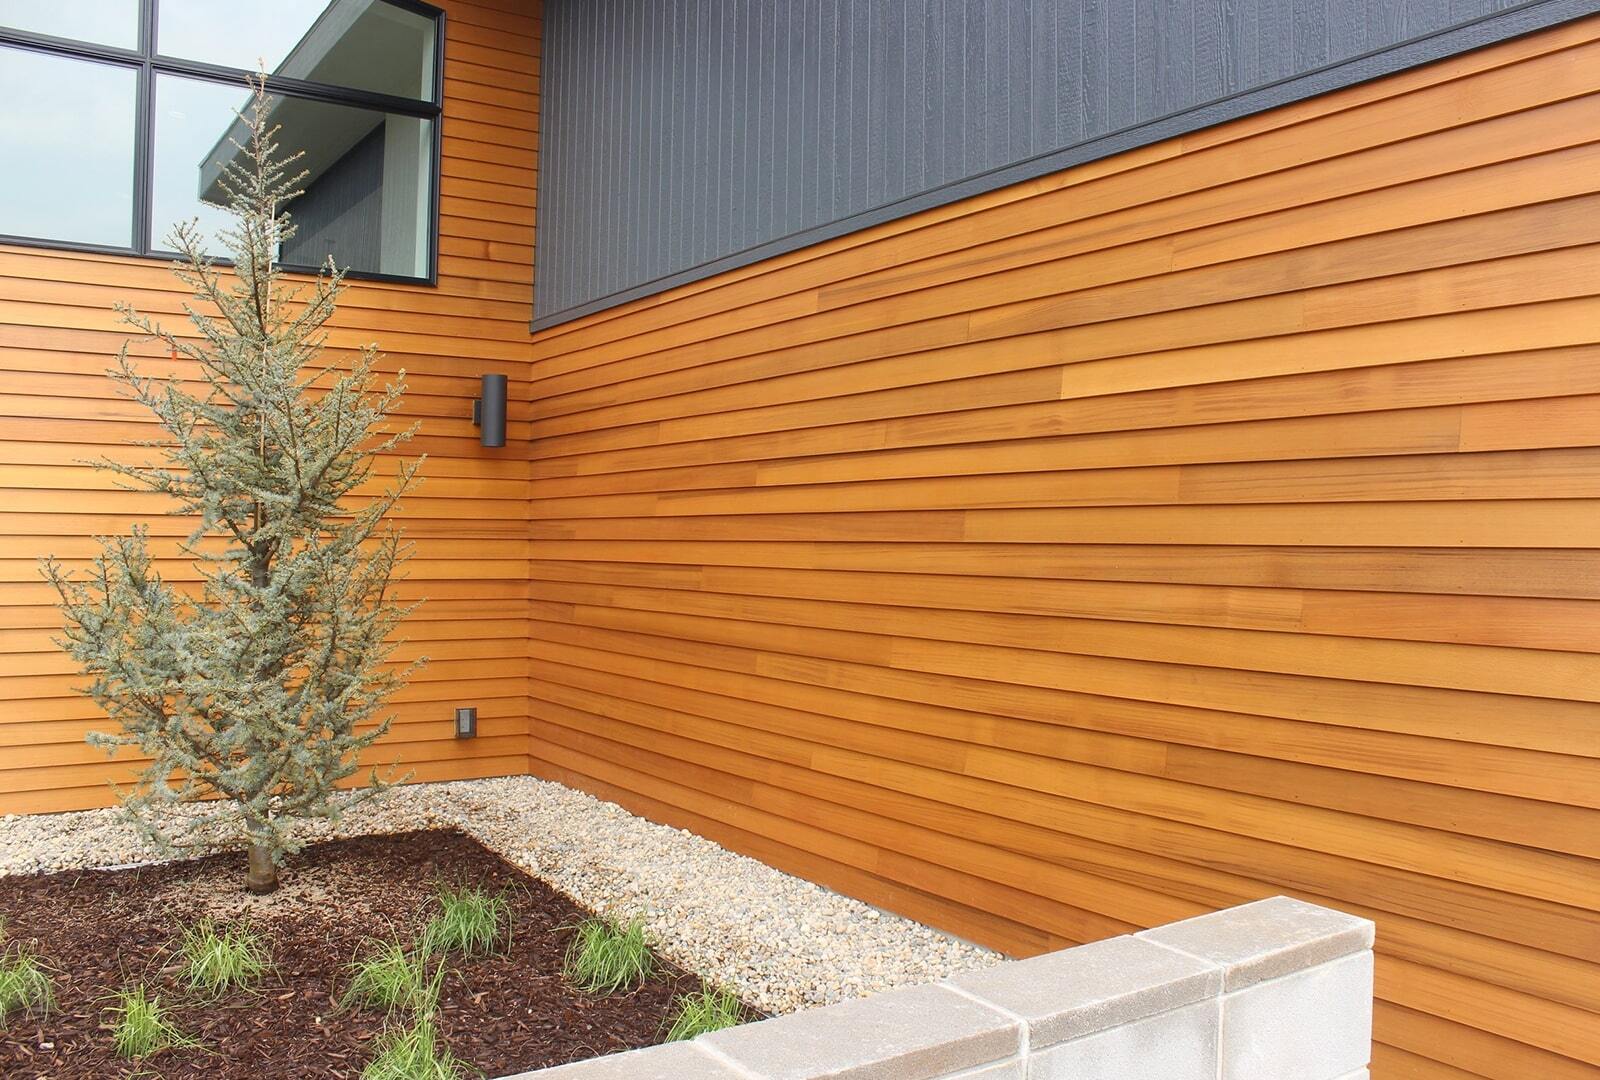
Weathered cedar siding can be a common issue for homeowners. Over time, exposure to the elements can cause the cedar wood to fade, become discolored, and lose its natural beauty. Restoring weathered cedar siding not only improves the aesthetic appeal of your home, but it also helps protect the wood from further damage.
In this article, we will guide you through the process of restoring weathered cedar siding, from assessing the condition of the wood to applying the right stain or sealant. By the end of this guide, you will have all the information you need to bring back the natural beauty and longevity of your cedar siding.
So, let’s get started and revive your weathered cedar siding!
Key Takeaways:
- Restoring weathered cedar siding involves assessing the condition, thorough cleaning, choosing the right stain, and proper application. Regular maintenance is crucial for preserving the beauty and longevity of the wood.
- To revive weathered cedar siding, attention to detail, patience, and the right products are essential. Professional assistance may be needed for complex issues or if unsure about any aspect of the restoration process.
Read more: How To Restore Vinyl Siding
Assessing the Condition of Weathered Cedar Siding
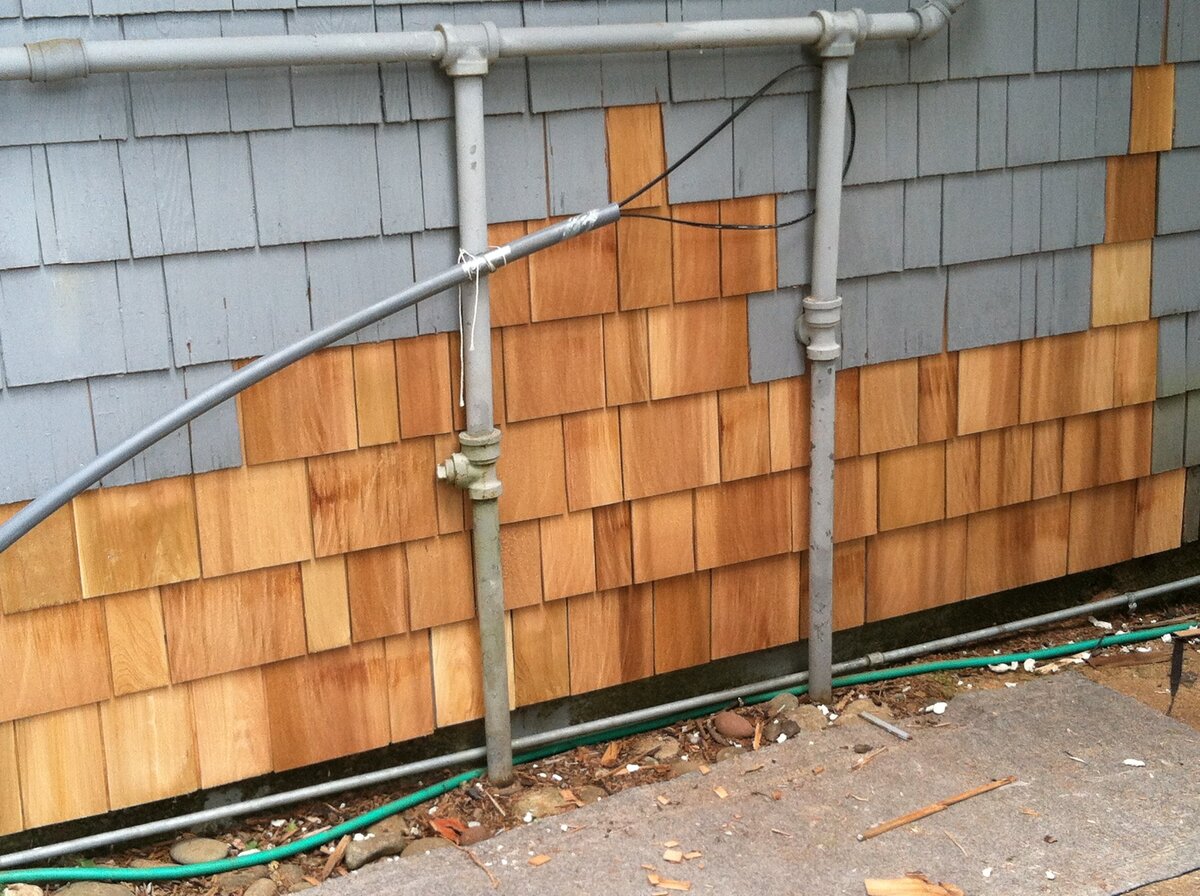
Before embarking on the restoration process, it is crucial to assess the condition of your weathered cedar siding. This step will help you determine the level of damage and identify any underlying issues that need to be addressed.
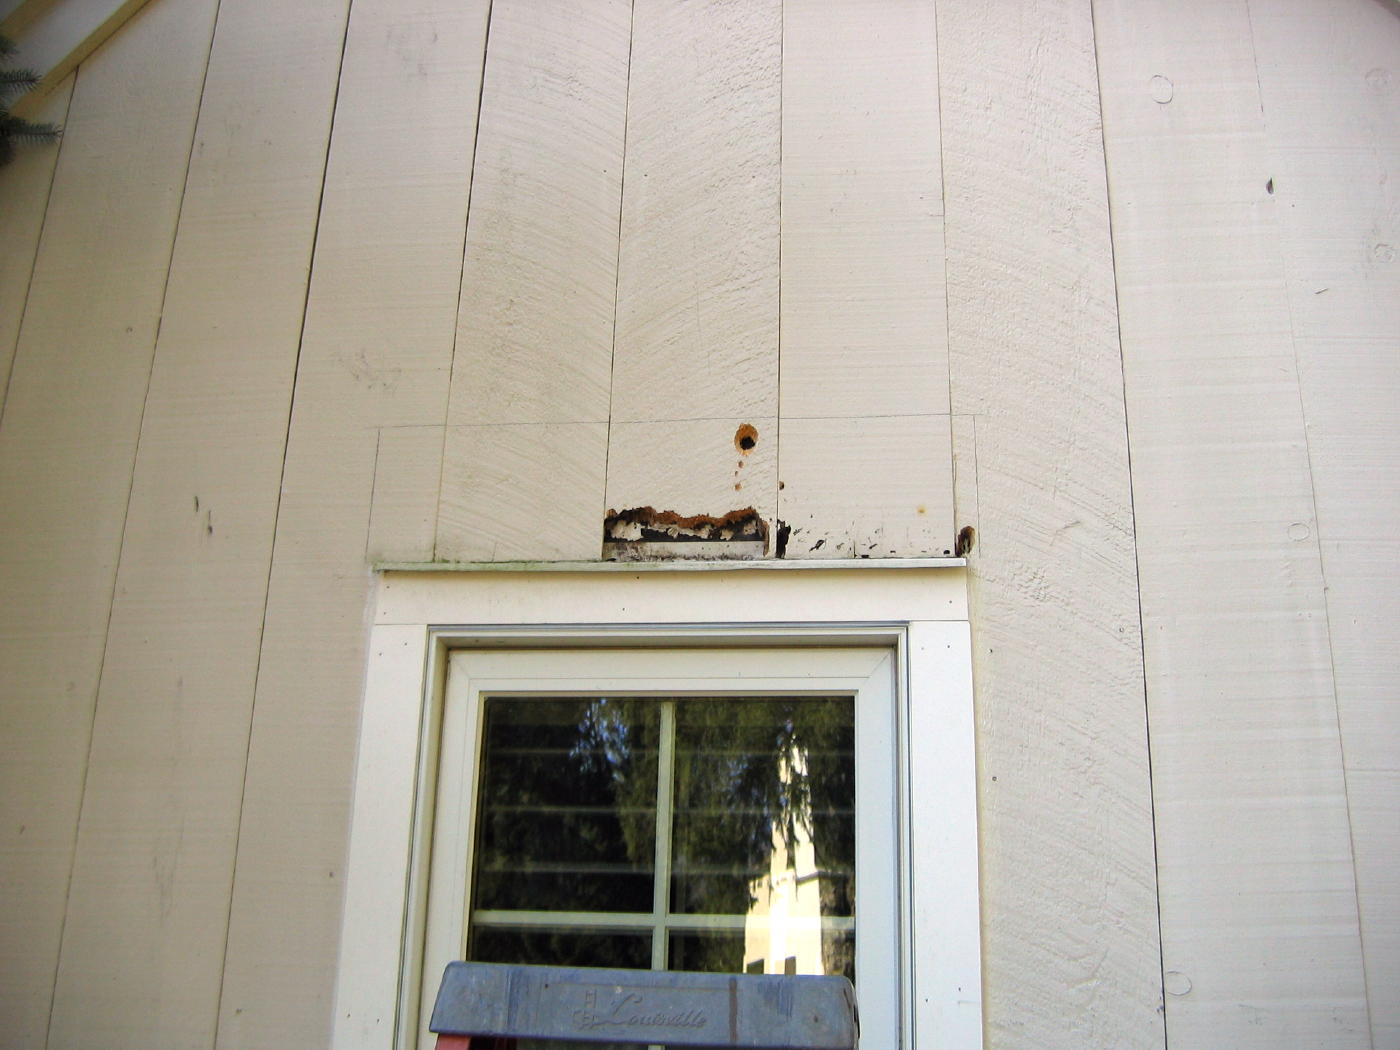
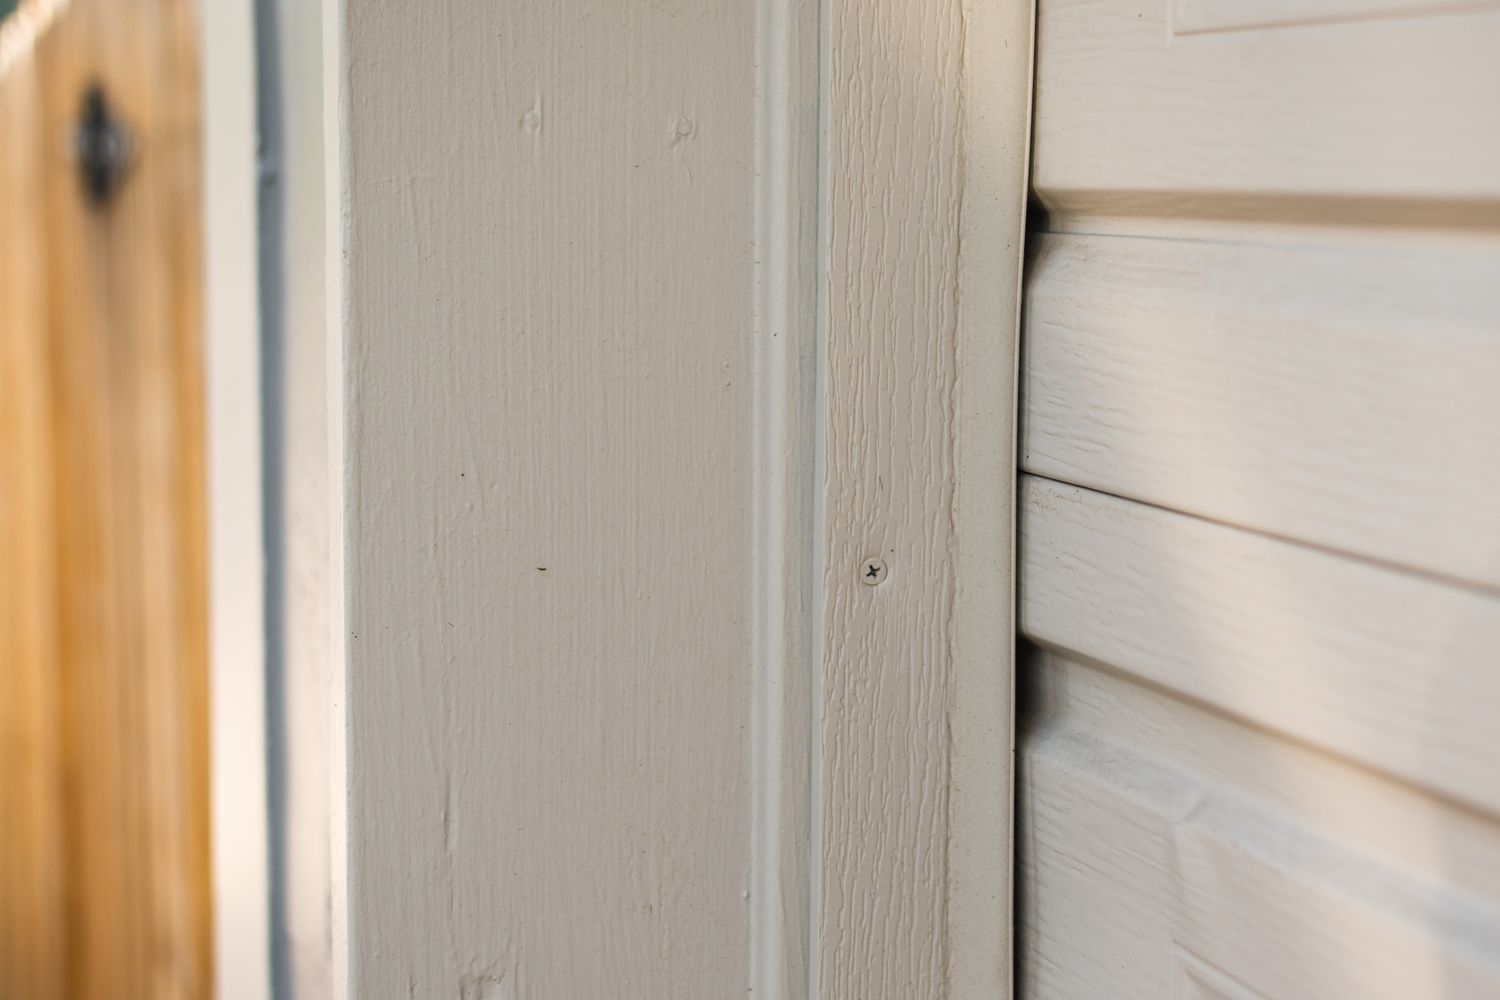
Start by visually inspecting the siding for signs of discoloration, cracking, peeling, or mold and mildew growth. Take note of any areas that are severely damaged or rotted, as they may require more extensive repairs or replacement. Additionally, check for any loose or missing boards that need to be re-secured.
Next, assess the overall structural integrity of the cedar siding. Use a screwdriver or a similar tool to gently probe the wood in several areas. If you find soft or spongy spots, it indicates rotting or water damage. These areas will need to be addressed before proceeding with the restoration process.
It is also essential to check for any signs of insect infestation, such as termites or carpenter ants. Look for small holes, sawdust, or hollow-sounding wood. If you suspect an infestation, it is recommended to consult a professional for proper treatment and removal.
Finally, consider the age of your cedar siding. Older siding may have a more weathered appearance and require extra care during the restoration process. Keeping these factors in mind will help you determine the best approach for restoring your weathered cedar siding.
Remember, if you are unsure about the condition of your cedar siding or need assistance with the assessment, it is always wise to consult with a professional contractor who specializes in siding restoration.
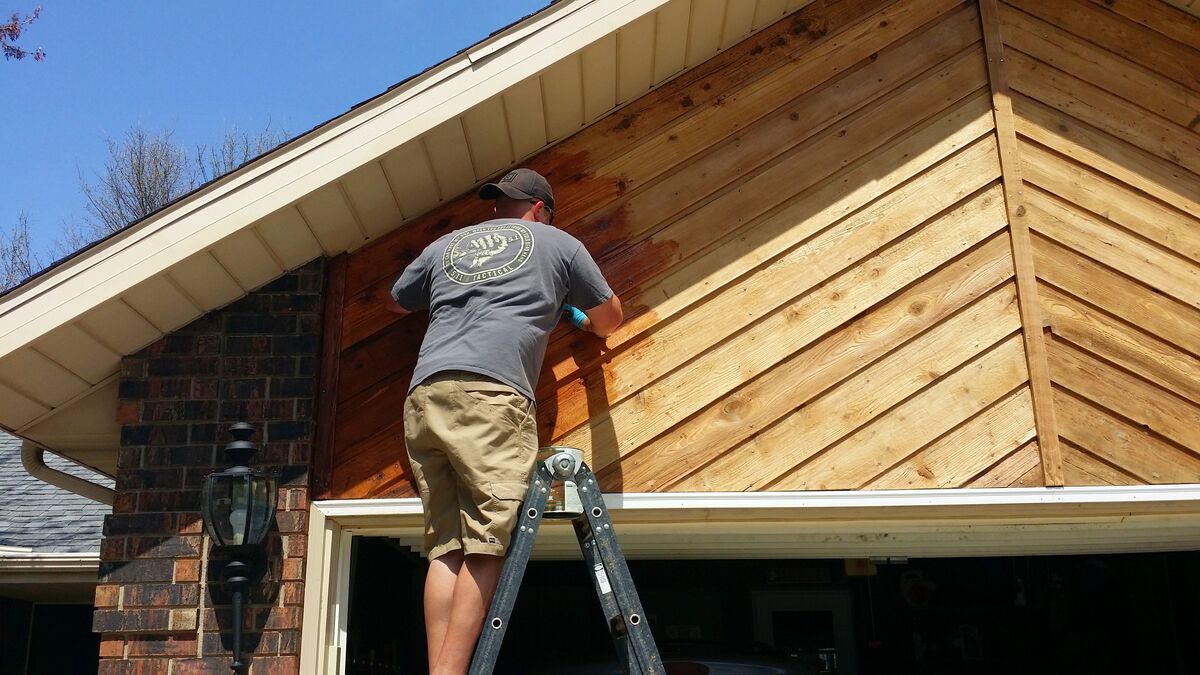
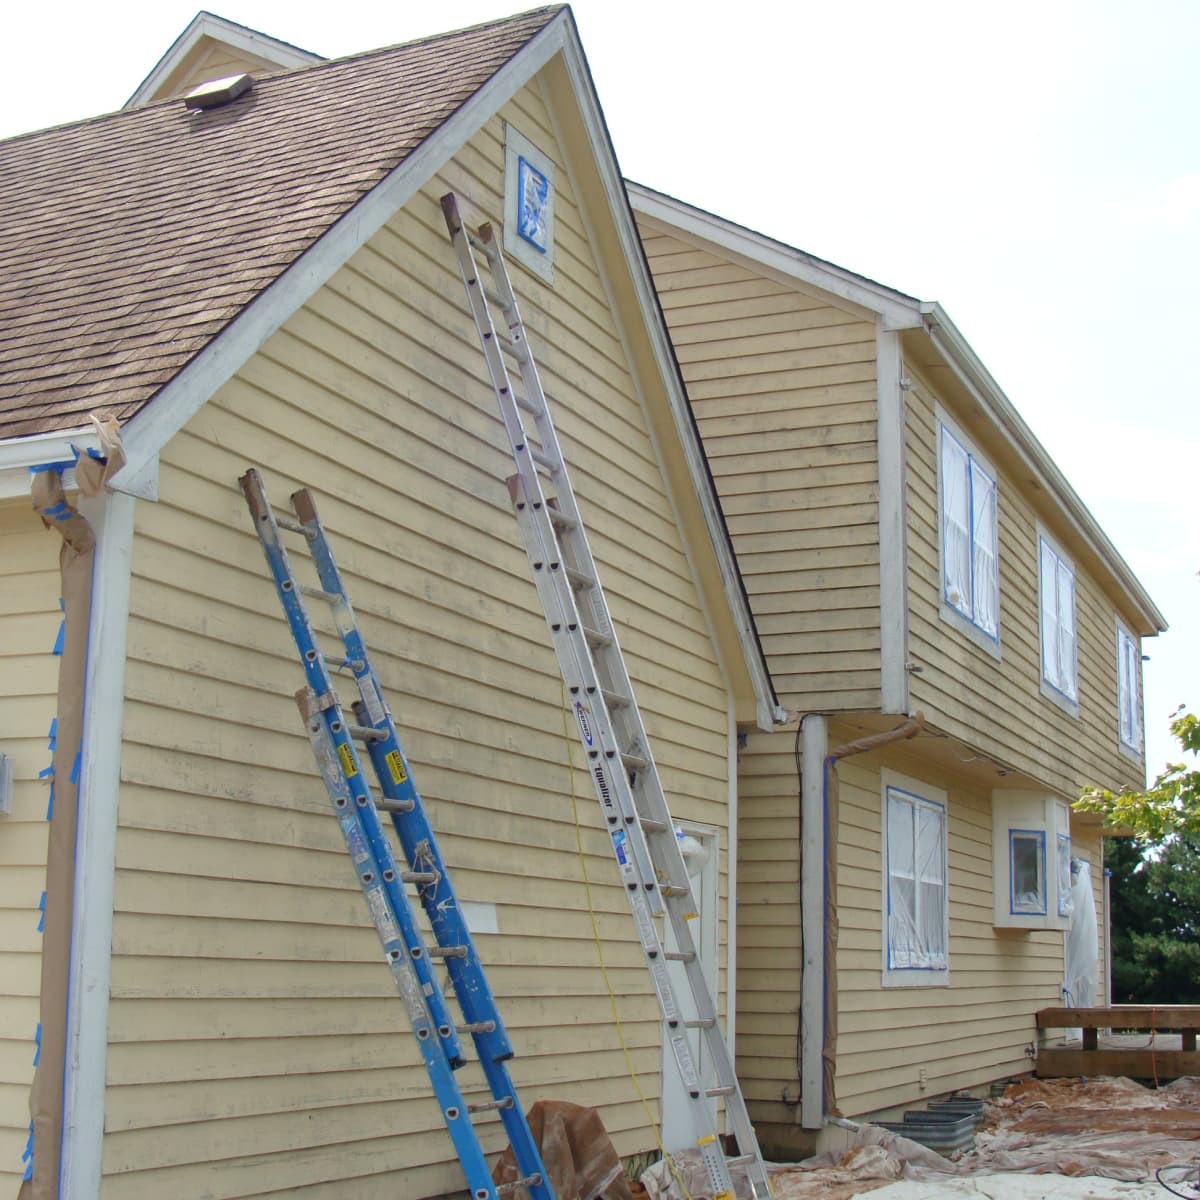
Cleaning and Preparing the Surface
Once you have assessed the condition of your weathered cedar siding, the next step is to thoroughly clean and prepare the surface. Cleaning the siding will remove dirt, grime, and any mildew or mold that may have accumulated over time. Properly preparing the surface will ensure optimal adhesion of the stain or sealant and help achieve long-lasting results.
Start by clearing any debris, such as leaves or branches, from the surface of the cedar siding. Use a soft-bristle brush or a broom to gently sweep away loose dirt and cobwebs. Be careful not to use excessive force that could damage the wood.
Next, mix a solution of warm water and mild detergent or a specialized siding cleaner. Follow the manufacturer’s instructions for the appropriate dilution ratio. Wet the cedar siding with a garden hose, and then apply the cleaning solution using a soft brush or a pressure washer on a low setting. Work in small sections at a time, scrubbing the surface gently to remove any dirt or stains.
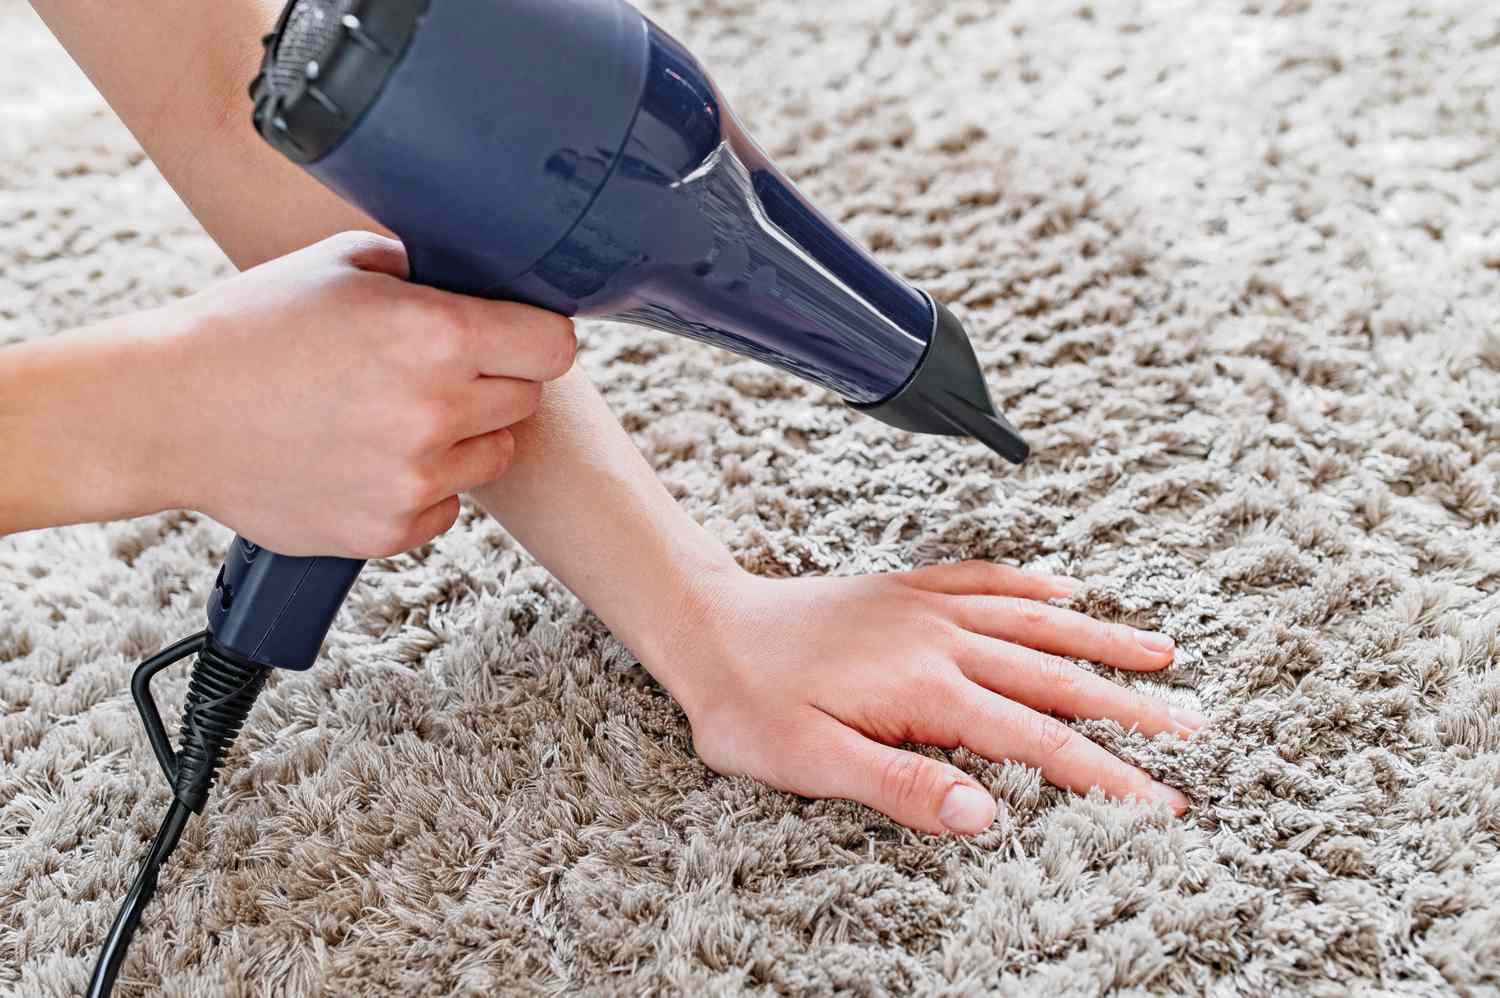
Rinse the siding thoroughly with clean water to remove any soap residue. Ensure that all cleaning solution is completely washed away before proceeding to the next step. Allow the cedar siding to dry completely for at least 24 hours before applying any stain or sealant.
After the siding is dry, inspect the surface for any loose or peeling paint. Use a scraper or sandpaper to remove any loose paint or existing finishes. This step will create a smooth and even surface for the stain or sealant to adhere to.
If there are any areas of the cedar siding that have mildew or mold growth, it is crucial to address these issues before proceeding. Mix a solution of one part bleach to three parts water, and apply it to the affected areas using a soft brush or sponge. Allow the solution to sit for 10-15 minutes before rinsing it off with clean water. Repeat this process if necessary until the mildew or mold is removed.
By properly cleaning and preparing the surface of your weathered cedar siding, you are setting the stage for a successful restoration process. The next step is to choose the right stain or sealant to protect and restore the natural beauty of the wood.
Choosing the Right Stain or Sealant
Choosing the right stain or sealant is crucial for the successful restoration of your weathered cedar siding. Not only will it enhance the appearance of the wood, but it will also provide protection against moisture, UV rays, and other elements. Here are some factors to consider when selecting a stain or sealant:
1. Type of Stain:
There are two main types of stains: oil-based and water-based. Oil-based stains penetrate the wood deeper, providing a longer-lasting finish and better protection against moisture. Water-based stains are easier to clean up and have a lower odor, making them more environmentally friendly.
2. Transparency Level:
Stains come in different transparency levels: clear, semi-transparent, and solid. Clear stains allow the natural grain and color of the wood to show through, while semi-transparent stains provide a hint of color while still allowing the wood’s texture to be visible. Solid stains offer maximum color coverage, effectively hiding any imperfections or discoloration in the wood.
3. Color and Tone:
The color and tone of the stain should complement your home’s exterior and your personal preference. Consider the overall aesthetic you want to achieve, whether it’s a natural wood look or a specific color that matches the style of your home.
4. UV Protection:
Look for a stain or sealant that offers UV protection. The sun’s UV rays can cause fading and discoloration of the wood over time, so choosing a product with UV inhibitors will help prolong the life of your cedar siding.
5. Longevity and Maintenance:
Consider the durability of the stain or sealant and how often it will need to be reapplied. Some products have a longer lifespan and require less frequent maintenance, which can save you time and effort in the long run.
6. Application Method:
Check the recommended application method for the stain or sealant. Some products may require a brush, roller, or sprayer. Ensure that you have the necessary tools and equipment to apply the stain effectively.
Take these factors into account and do thorough research to find the stain or sealant that best suits your needs. Consulting with professionals or visiting a local home improvement store can provide valuable guidance and product recommendations.
Once you have chosen the right stain or sealant, it’s time to apply it to your weathered cedar siding and bring back its natural beauty.
To restore weathered cedar siding, start by cleaning the surface with a mild detergent and water. Then, sand the siding to remove any rough spots and apply a protective sealant to prevent future weathering.
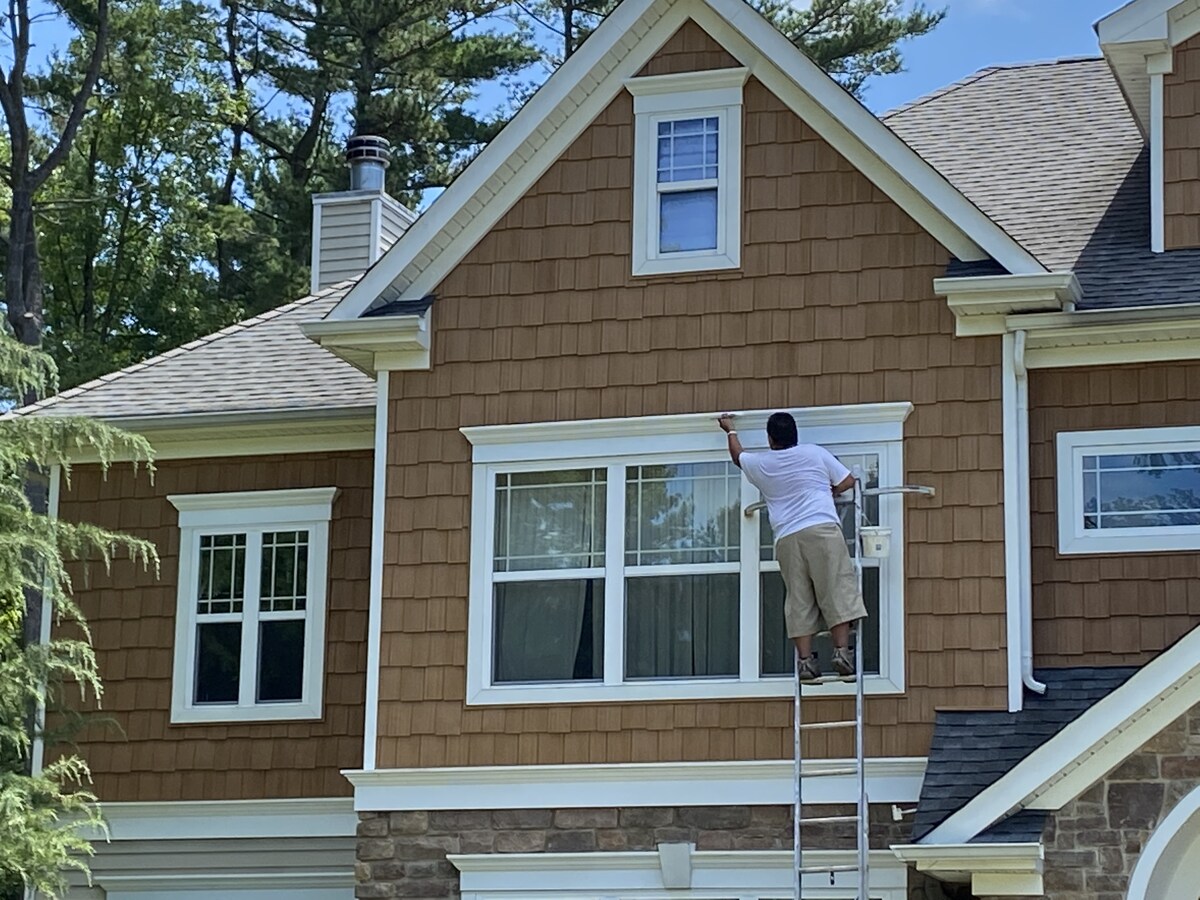
Applying the Stain or Sealant
Now that you have chosen the right stain or sealant for your weathered cedar siding, it’s time to apply it and bring new life to the wood. Follow these steps for a successful application:
1. Prepare the Work Area:
Ensure that the surrounding area is well-protected. Cover nearby plants, windows, and other surfaces with plastic sheets or drop cloths to prevent any accidental staining.
2. Stir the Stain:
Before applying the stain, thoroughly stir it to ensure an even consistency. Use a paint stirrer or a mixing stick to blend the pigments and solvents properly.
3. Test the Stain:
Perform a small test patch on a discreet area of the cedar siding to ensure that the stain or sealant achieves the desired color and coverage. It’s essential to check for any potential issues before proceeding with the whole application.
4. Apply the Stain:
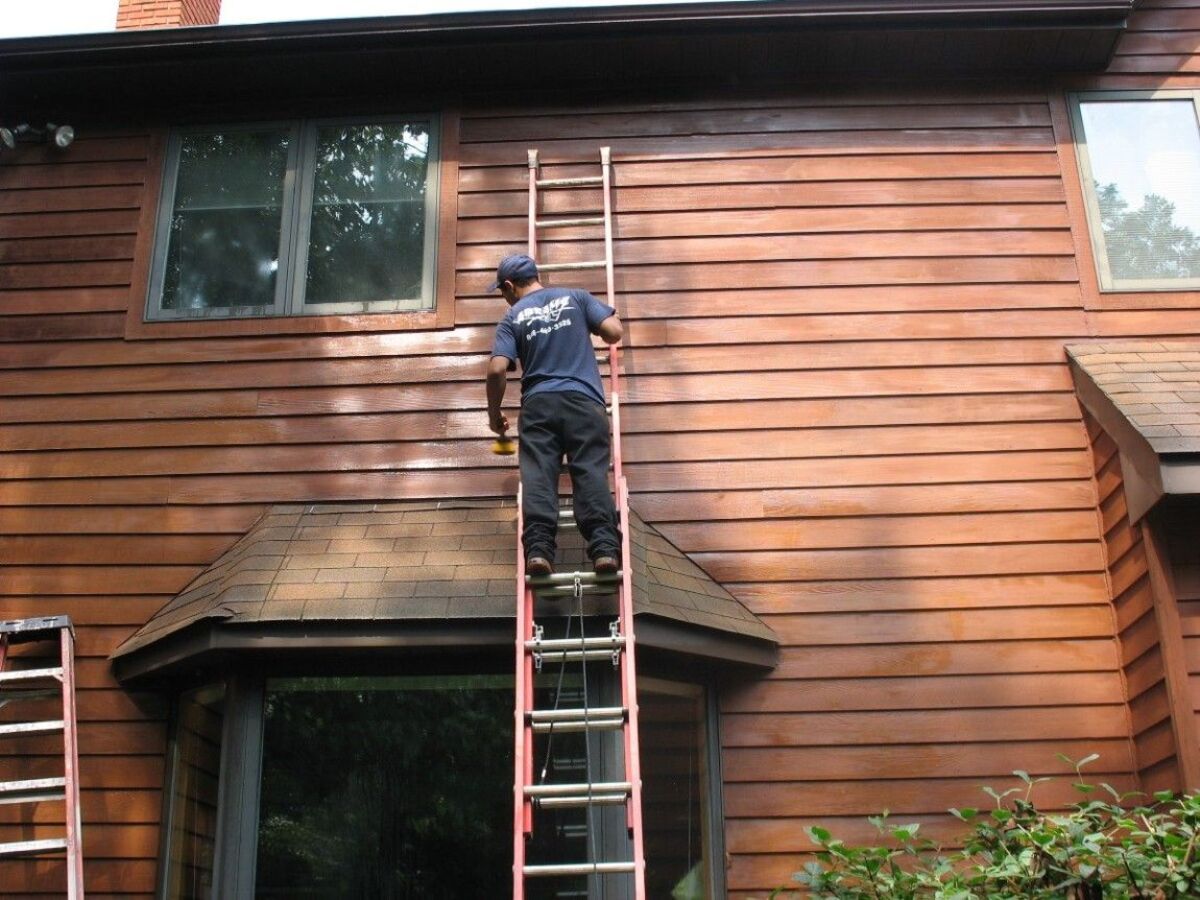
Start by applying the stain or sealant to the cedar siding using a brush, roller, or sprayer, depending on the product’s instructions. Work in small sections and apply an even coat, following the natural grain of the wood. Be careful to avoid drips and overlap marks by maintaining a consistent and steady application.
5. Work from Top to Bottom:
Begin at the top of the siding and work your way down, ensuring that all surfaces are covered. This technique prevents any drips or stains from occurring on previously treated areas.
6. Allow for Proper Drying Time:
Follow the manufacturer’s instructions for the recommended drying time. This will vary depending on the type of stain or sealant you are using. Avoid any contact or exposure to moisture until the cedar siding is completely dry.
7. Apply Additional Coats (if necessary):
If you desire a darker or more saturated color, you can apply additional coats of stain or sealant. However, always allow each coat to dry completely before applying the next one.
8. Clean Up:
Properly clean your tools and equipment after applying the stain or sealant. Follow the manufacturer’s instructions for cleaning solvents and disposal of any remaining materials.
By following these steps, you will achieve a professional-looking finish and protect your weathered cedar siding for years to come. Remember to take your time and pay attention to detail during the application process.
Read more: How Much Is Cedar Siding
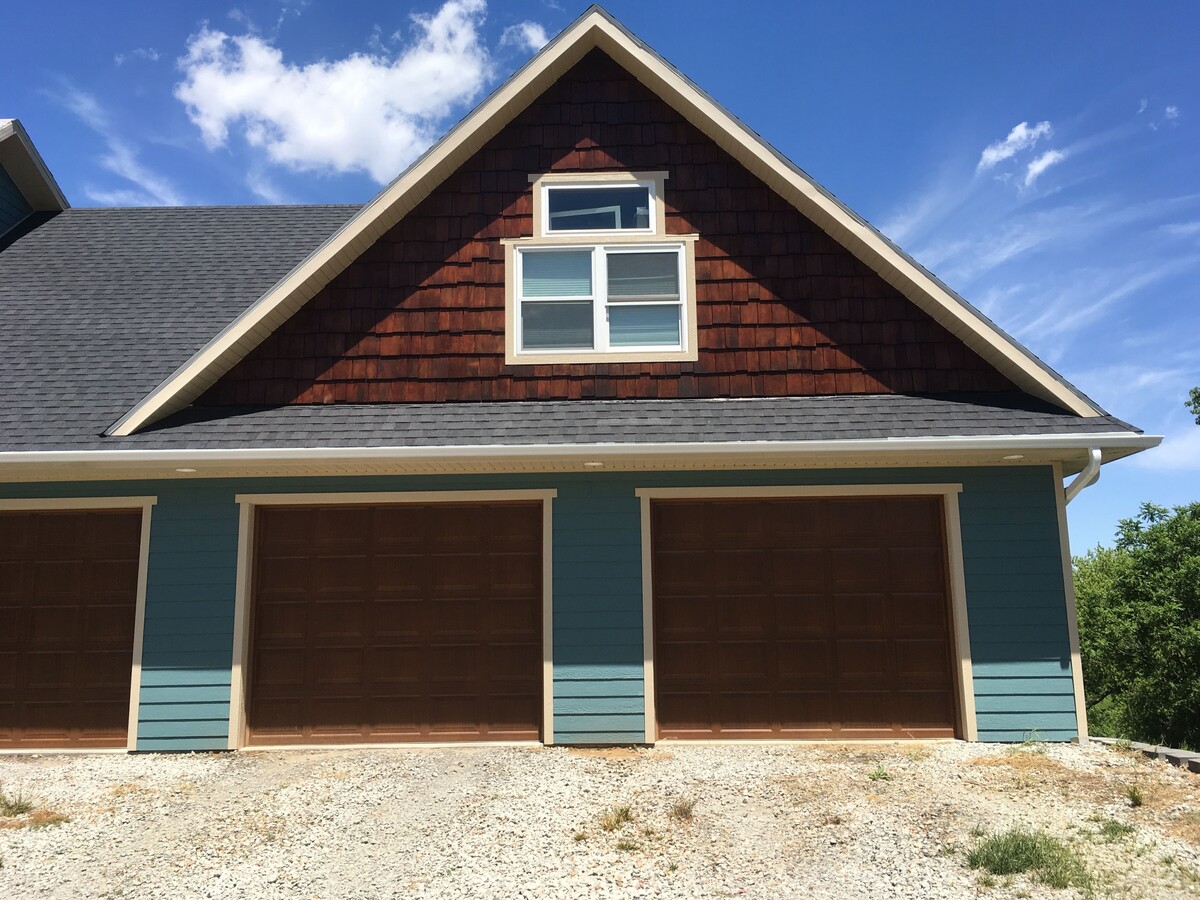
Maintaining and Preserving the Restored Cedar Siding
Once you have successfully restored your weathered cedar siding, it’s important to maintain and preserve its beauty and protection. Regular maintenance will help prolong the lifespan of the siding and keep it looking its best. Here are some key steps to follow:
1. Regular Cleaning:
Periodically clean the cedar siding to remove dirt, debris, and mildew. Use a soft brush or a pressure washer on a low setting, along with a mild detergent or specialized siding cleaner. Avoid using harsh chemicals or abrasive cleaning tools that can damage the wood.
2. Inspect for Damage:
Regularly inspect the siding for any signs of damage, such as cracks, peeling, or rot. Promptly address any issues to prevent further deterioration. Repair or replace any damaged boards to maintain the structural integrity of the cedar siding.
3. Monitor the Finish:
Keep an eye on the condition of the stain or sealant. Over time, the finish may start to fade or wear away. If you notice any areas where the wood is exposed, it is essential to reapply the stain or sealant to provide adequate protection.
4. Prevent Water Damage:
Ensure that water does not accumulate or pool on the cedar siding. Trim any overhanging tree branches or foliage that can cause excess moisture and promote mold or mildew growth. Keep gutters and downspouts clear to prevent water from seeping behind the siding.
5. Minimize Exposure to Sunlight:
The sun’s UV rays can cause the cedar siding to fade and deteriorate over time. Consider using window coverings or awnings to provide shade and reduce direct sunlight exposure on the siding.
6. Seasonal Inspections:
Perform regular inspections of the cedar siding at the start of each season. Look for any weather-related damage, such as cracks or loose boards, and address them promptly. These inspections will help you catch and fix any issues before they worsen.
7. Professional Maintenance:
Consider hiring a professional every few years to perform a thorough inspection and maintenance of your cedar siding. Professionals have the expertise and knowledge to identify potential problems and provide the proper treatments and protective coatings.
By following these maintenance practices, you can keep your restored cedar siding in excellent condition for years to come. Remember that proper care and attention are crucial for preserving the beauty and functionality of the wood.
Conclusion
Restoring weathered cedar siding is a rewarding project that can enhance the beauty and value of your home. By carefully assessing the condition of the siding, cleaning and preparing the surface, choosing the right stain or sealant, and applying it properly, you can bring back the natural allure of the wood and protect it from further damage.
Regular maintenance and preservation measures are essential to prolong the lifespan of your restored cedar siding. By keeping the surface clean, inspecting for damage, monitoring the finish, and taking preventive measures against water damage and sunlight exposure, you can enjoy the beauty and durability of your siding for years to come.
Remember, proper cedar siding restoration and maintenance require attention to detail, patience, and the right products. If you are unsure about any aspect of the process or need assistance, don’t hesitate to consult with professionals who specialize in siding restoration.
Reviving the natural beauty of weathered cedar siding not only improves the curb appeal of your home but also adds value and protection. So, roll up your sleeves, follow the steps outlined in this guide, and get ready to admire your newly restored cedar siding!
Frequently Asked Questions about How To Restore Weathered Cedar Siding
Was this page helpful?
At Storables.com, we guarantee accurate and reliable information. Our content, validated by Expert Board Contributors, is crafted following stringent Editorial Policies. We're committed to providing you with well-researched, expert-backed insights for all your informational needs.


0 thoughts on “How To Restore Weathered Cedar Siding”