Articles
How To Cap A Cedar Shingle Roof
Modified: October 18, 2024
Learn how to cap a cedar shingle roof with our informative articles. Find expert tips and step-by-step instructions to ensure a successful roofing project.
(Many of the links in this article redirect to a specific reviewed product. Your purchase of these products through affiliate links helps to generate commission for Storables.com, at no extra cost. Learn more)
Introduction
Welcome to our comprehensive guide on how to cap a cedar shingle roof! If you’re a homeowner or a DIY enthusiast looking to tackle a roofing project, this article is here to provide you with step-by-step instructions on how to cap a cedar shingle roof effectively and efficiently.
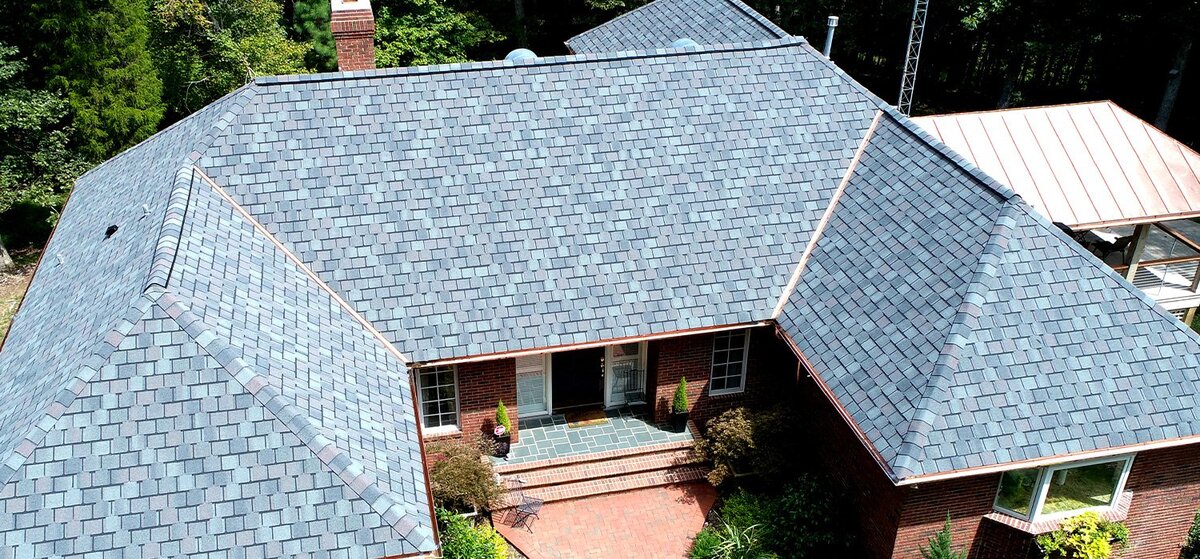
A cedar roof is not only aesthetically pleasing but also durable, providing excellent insulation and protection against various weather conditions. However, over time, the ridge of a cedar shingle roof may become worn or damaged, requiring attention and maintenance.
The process of capping a cedar shingle roof involves adding a protective layer to the ridge of the roof, extending its lifespan and preventing the entry of elements such as water and debris. This not only enhances the overall appearance of the roof but also protects against potential leaks and damage.
In this article, we will walk you through the process of capping a cedar shingle roof in a step-by-step manner. From assessing the roof condition to gathering the necessary supplies, preparing the roof surface, measuring and cutting shingles, and ultimately capping the roof ridge, we will cover everything you need to know to successfully complete this project.
Throughout the article, we will provide you with valuable tips, best practices, and guidance to ensure that your cedar shingle roof capping project is a success. Whether you’re a seasoned DIYer or a beginner taking on your first big project, this guide will equip you with the knowledge and confidence to tackle the task at hand.
So, let’s get started with the first step: assessing the condition of your cedar shingle roof!
Key Takeaways:
- Capping a cedar shingle roof involves assessing, preparing, and installing shingles with precision and care. This process not only enhances the roof’s appearance but also provides essential protection against the elements.
- Attention to detail, proper maintenance, and proactive measures are crucial for preserving the longevity and functionality of a newly capped cedar shingle roof. Regular inspections and finishing touches ensure lasting satisfaction and protection.
Read more: What Is A Roof Shingle
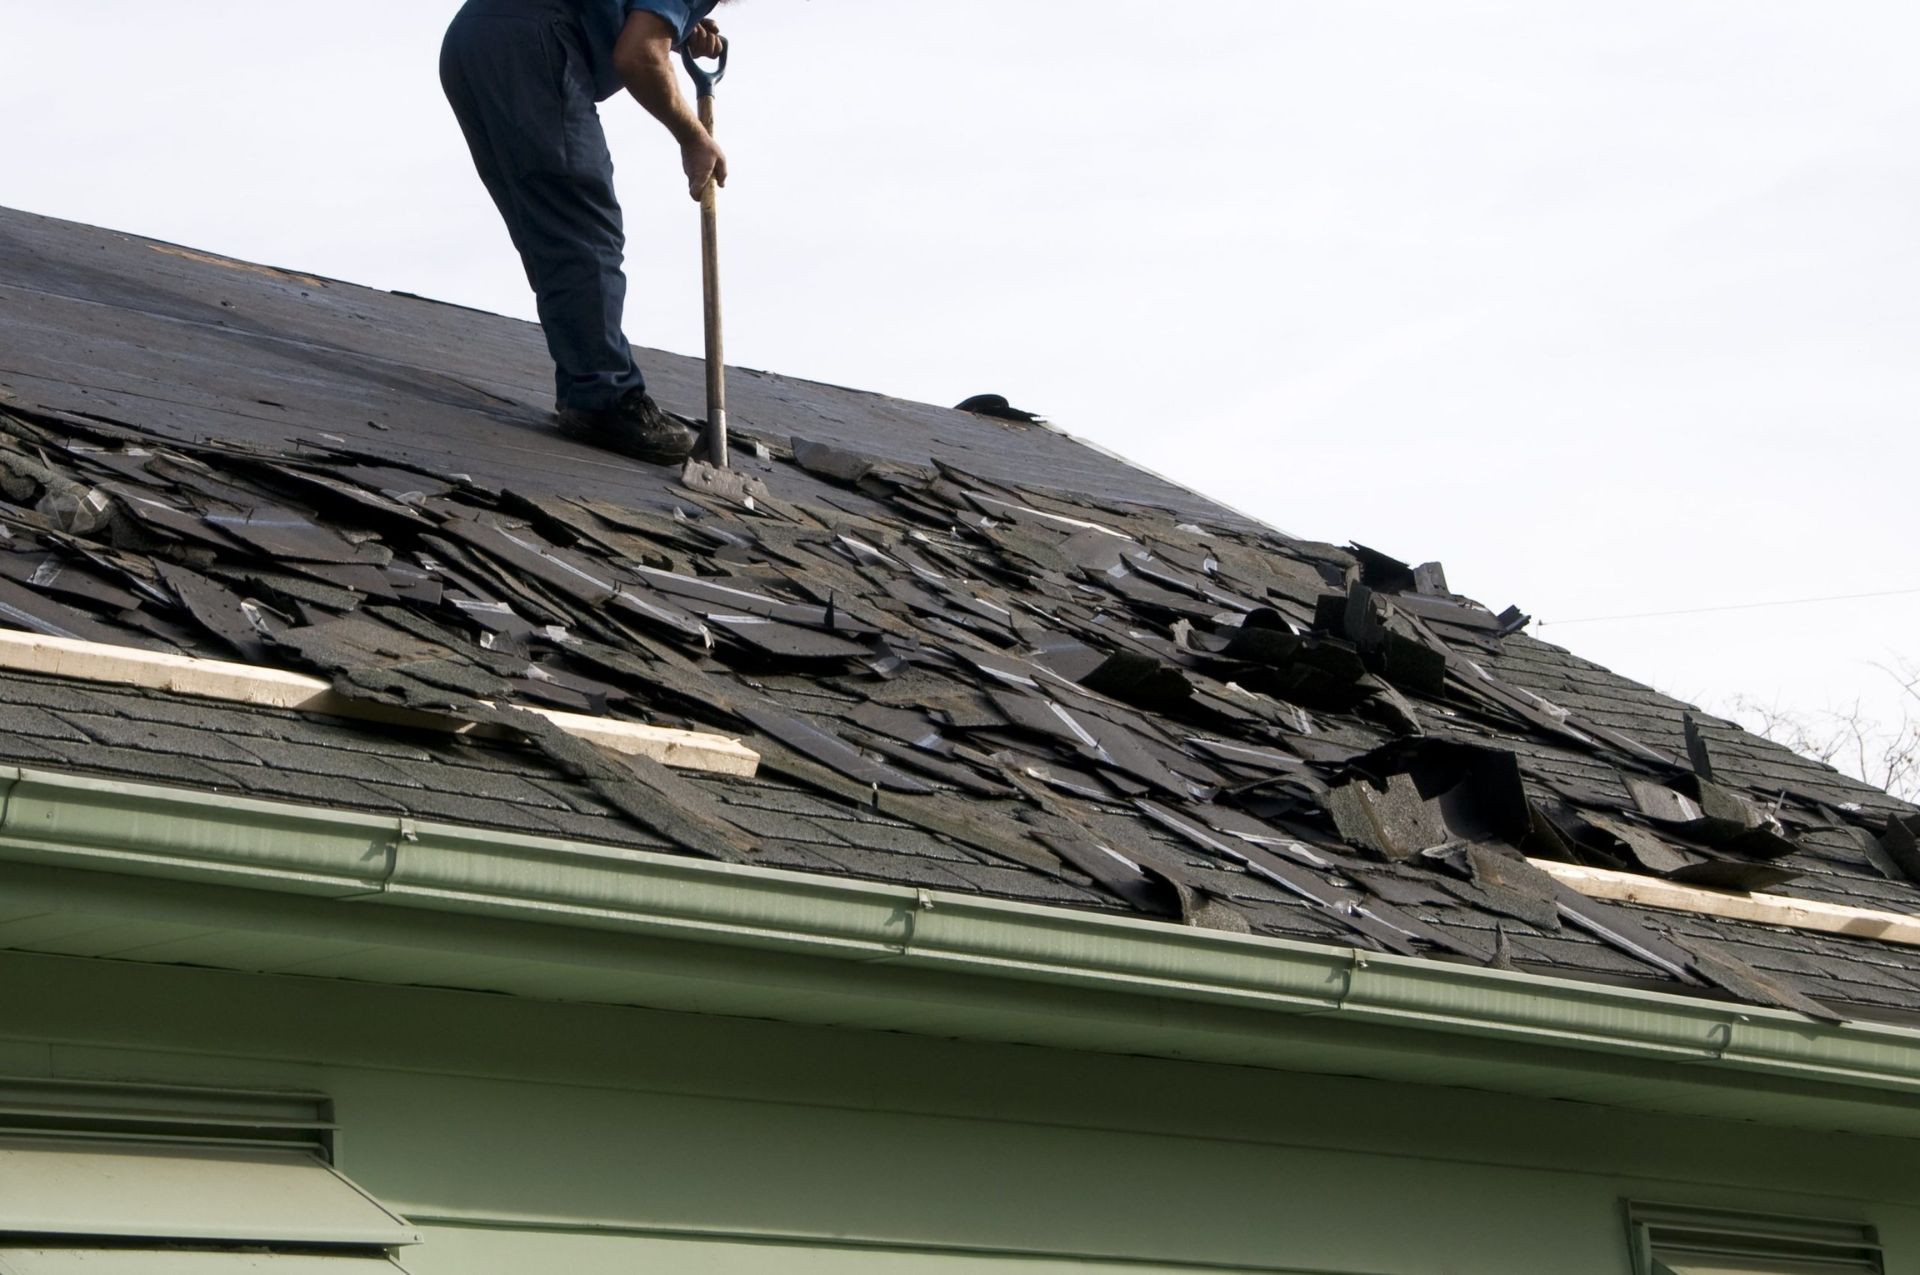
Step 1: Assessing the Roof
Before you begin capping your cedar shingle roof, it is crucial to assess the condition of the roof to determine if any repairs or replacements are needed. Here are some key points to consider during the assessment:
- Inspect the shingles: Take a close look at the existing cedar shingles on the roof. Look for signs of damage, such as cracks, splits, or curling edges. Pay attention to areas where the shingles are loose or missing. Note any areas that require repair or replacement.
- Check for leaks: Examine the interior of your home for any signs of water leaks or water damage. Look for water stains or discoloration on the ceilings and walls, as well as dampness in the attic or upper floor. Identifying leaks beforehand will help you address potential problem areas during the capping process.
- Assess the overall condition: Evaluate the general state of the cedar shingle roof. Take note of its age, as cedar shingle roofs generally have a lifespan of around 20-30 years. If your roof is approaching the end of its lifespan or has significant damage, you may need to consider a full roof replacement rather than just capping the ridge.
- Consider local weather conditions: Take into account the climate and weather patterns in your area. Cedar shingles are durable and well-suited for various weather conditions, but extreme conditions like heavy snowfall or high winds can impact their longevity. If your region experiences harsh weather, it is essential to ensure the roof is in optimal condition and can withstand the elements.
By thoroughly assessing the condition of your cedar shingle roof, you’ll have a clear understanding of the necessary repairs and improvements needed before moving forward with the capping process. Remember, it’s always better to address any underlying issues beforehand to ensure the longevity and effectiveness of the roof’s capping.
Once you’ve assessed the roof and identified any repairs or replacements needed, you can proceed to the next steps, which involve gathering the necessary supplies for the project.
Step 2: Gather Supplies
Now that you have assessed the condition of your cedar shingle roof, it’s time to gather the necessary supplies for capping the roof ridge. Here’s a list of essential supplies you’ll need:
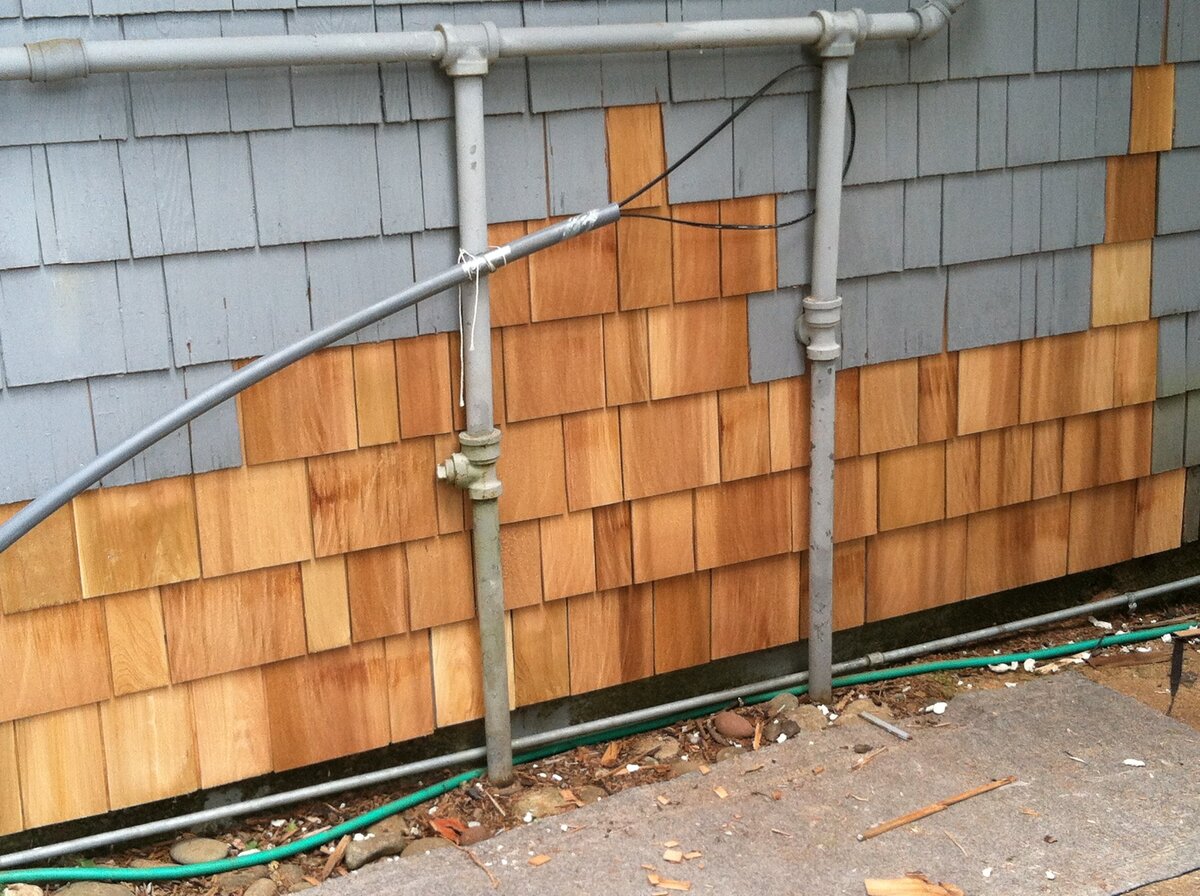
- Cedar shingles: Purchase enough cedar shingles to cover the entire roof ridge. Ensure that they are of high quality and match the existing shingles in terms of size, color, and thickness.
- Underlayment: You’ll need underlayment material to provide an extra layer of protection beneath the cedar shingles. Common options include roofing felt or synthetic underlayment. Make sure to choose a reliable underlayment that is compatible with cedar shingles.
- Nails and a nail gun or hammer: Use corrosion-resistant nails to securely attach the cedar shingles and underlayment to the roof. A nail gun can make the installation process faster and more efficient, but a hammer will also suffice.
- Roofing adhesive or caulking: This will be used to provide additional waterproofing and secure the cedar shingles in place. Choose a high-quality adhesive or caulking that is compatible with cedar and suitable for outdoor use.
- Roofing tools: Ensure you have the necessary tools, such as a roofing knife, measuring tape, chalk line, ladder, and safety equipment. These will aid in measuring, cutting, and securely attaching the shingles.
- Protective gear: It’s important to prioritize safety, so don’t forget to wear appropriate gear such as gloves, safety glasses, and sturdy footwear while working on the roof.
Before purchasing the supplies, take accurate measurements of the roof ridge to determine the quantity of materials required. It’s always a good idea to buy some extra shingles and nails in case of any unforeseen issues or mistakes during the installation process.
Once you have gathered all the necessary supplies, you’re ready to move on to the next step, which involves preparing the roof for capping.
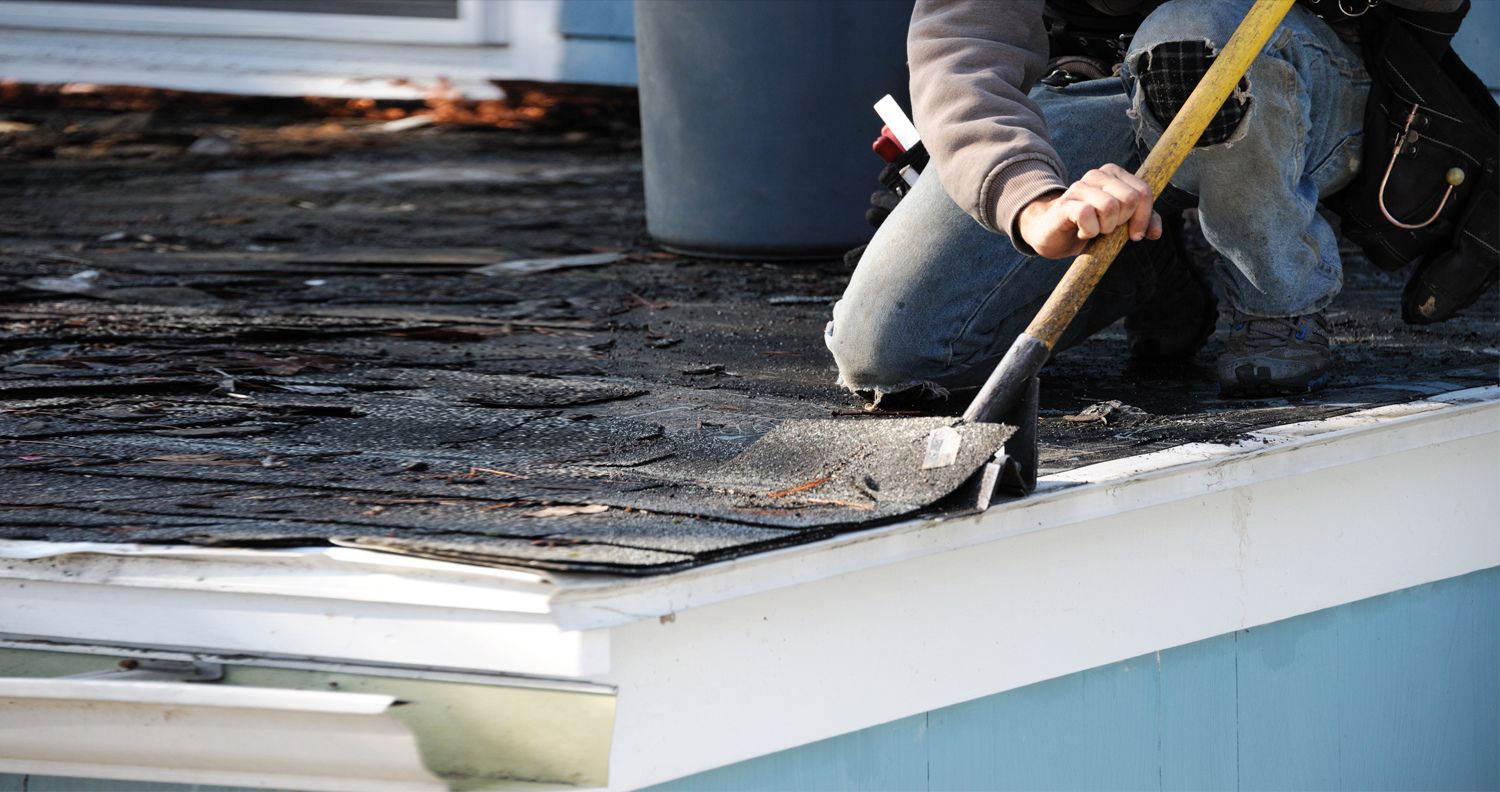
Step 3: Prepare the Roof
Before you can begin capping the cedar shingle roof, it’s essential to properly prepare the surface. This preparation ensures that the roof is clean, smooth, and ready for the installation process. Here’s what you need to do:
- Clean the roof: Remove any debris, dirt, or moss that may have accumulated on the roof surface. Use a broom or a leaf blower to sweep away loose debris, and then use a scrub brush or a pressure washer to clean the roof. This will ensure a clean surface for the underlayment and shingle installation.
- Repair any damaged areas: Inspect the roof for any damaged areas, such as cracked or rotten shingles. Replace or repair these areas before proceeding with the capping process. This step is crucial for maintaining the integrity and longevity of your roof.
- Apply primer: If you notice any bare wood or exposed areas on the roof, apply a primer to seal and protect the wood. This will help prevent moisture damage and ensure the underlayment and shingles adhere properly.
- Install drip edge: Consider installing a drip edge along the eaves of the roof to prevent water from seeping underneath the cedar shingles. This metal strip will redirect water away from the roof edge, protecting the underlying structure and prolonging the lifespan of the shingles.
- Inspect the underlayment: Ensure that the existing underlayment is in good condition and free from tears or damage. If necessary, replace any worn-out underlayment before proceeding with the capping process.
Preparing the roof surface is an essential step that sets the foundation for a successful cedar shingle roof capping project. By cleaning the roof, making necessary repairs, applying primer, and ensuring the underlayment is in good condition, you’ll create an optimal surface for the installation of the shingles.
Once you’ve completed the preparation process, you can move on to the next step, which involves installing the underlayment for added protection.
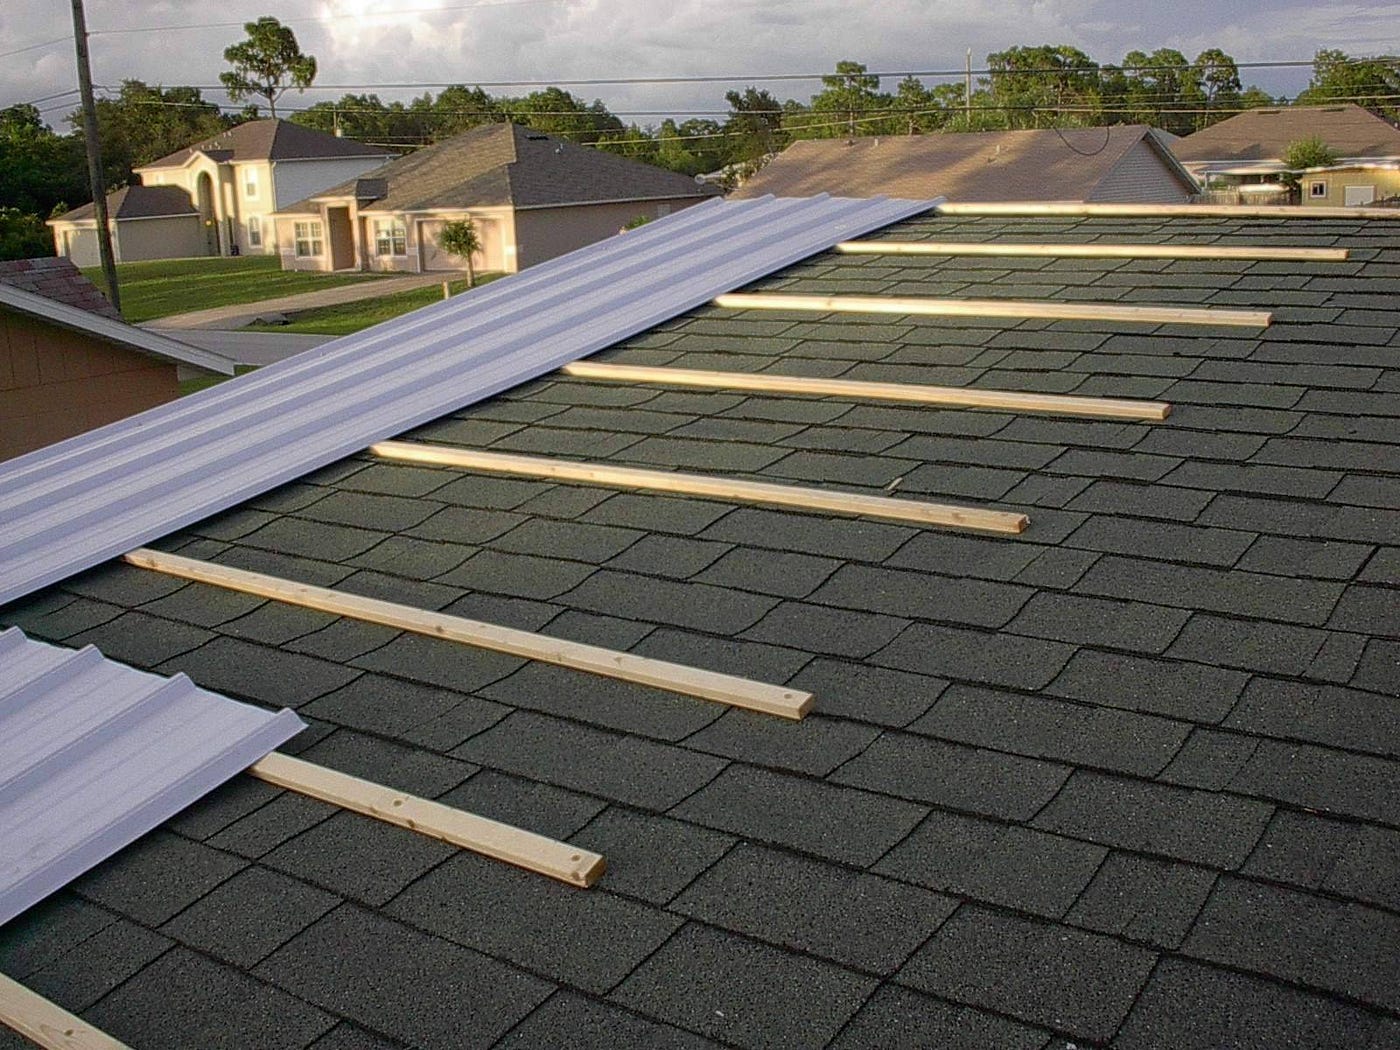
Step 4: Install Underlayment
With the roof surface prepared, it’s time to move on to installing the underlayment. The underlayment provides an extra layer of protection between the cedar shingles and the roof deck, helping to prevent moisture penetration and improve the overall durability of the roof. Here’s how to install the underlayment:
- Start at the bottom: Begin by laying the first row of underlayment at the lower edge of the roof, where the ridge will start. Ensure that the underlayment overhangs the edge of the roof by a few inches to allow for proper water runoff.
- Secure the underlayment: Attach the underlayment to the roof deck using nails or staples, spaced about 6-12 inches apart. Make sure the underlayment is flat and taut, without any wrinkles or sagging.
- Overlap the underlayment: For subsequent rows, overlap the underlayment with the previous row by a few inches. This overlap ensures that water will not seep in between the layers and provides a continuous barrier against moisture.
- Repeat the process: Continue installing the underlayment in rows, working your way up the roof towards the ridge. Trim the underlayment as needed around vents, chimneys, or other roof protrusions, ensuring a proper fit.
- Inspect the underlayment: Once the underlayment is fully installed, carefully inspect it for any tears, gaps, or loose sections. Secure any loose areas and patch any damaged spots with roofing adhesive or tape.
When installing the underlayment, remember to always follow the manufacturer’s instructions and local building code requirements. Pay attention to proper overlap and secure attachment to ensure optimal performance of the underlayment.
With the underlayment in place, you’re ready to move on to the next step: measuring and cutting the cedar shingles to fit the roof’s ridge.
When capping a cedar shingle roof, be sure to use stainless steel or hot-dipped galvanized nails to prevent rust stains. Overlap the cap shingles to ensure proper water shedding.
Read more: How To Shingle A Gable Roof
Step 5: Measure and Cut Shingles
Once the underlayment is installed, it’s time to measure and cut the cedar shingles to fit the roof’s ridge. This step ensures a proper and precise fit, resulting in a neat and cohesive appearance. Here’s how to measure and cut the shingles:
- Measure the ridge: Use a measuring tape to determine the length and width of the roof’s ridge. This measurement will guide you in cutting the cedar shingles to the correct size.
- Account for overlap: Keep in mind that each cedar shingle should overlap the previous one for proper water shedding. Typically, a 2-inch overlap is sufficient, but check the manufacturer’s recommendations for the specific shingles you are using.
- Mark the shingles: On each cedar shingle, mark the measurement you obtained for the width of the ridge, accounting for the desired overlap. Use a pencil or chalk to make accurate and visible marks.
- Cut the shingles: Using a sharp roofing knife or a circular saw equipped with a fine-toothed blade, cut along the marked lines on the cedar shingles. Take your time and ensure clean and precise cuts for a professional-looking finish.
- Verify the fit: Once you’ve cut the first few shingles, verify that they fit properly on the roof’s ridge. Make any necessary adjustments or recuts as needed before proceeding to install all the shingles.
It’s important to maintain a consistent and uniform appearance when cutting the cedar shingles. Pay attention to the grain direction and color matching for a seamless integration with the existing roof shingles.
Additionally, consider cutting the shingles slightly longer than the ridge measurement to allow for any adjustments or fine-tuning during the installation process. It’s always better to trim a shingle down if needed rather than having one that is too short.
With the cedar shingles accurately measured and cut, you’re now ready to move on to the next step, which involves applying the shingles to the roof’s ridge.
Step 6: Apply Shingles to the Roof
With the cedar shingles cut to size, it’s time to apply them to the roof’s ridge. This step involves securely attaching the shingles to the underlayment, creating an attractive and weather-resistant ridge. Here’s how to apply the shingles:
- Start at one end: Begin at one end of the roof’s ridge and place the first cut cedar shingle in position. Ensure that it aligns with the edge of the roof and covers the underlayment, with the desired amount of overlap on the adjacent shingle.
- Secure the shingle: Use corrosion-resistant nails or a nail gun to attach the cedar shingle to the underlayment and roof deck. Place the nails near the top edge of the shingle and drive them at a slight angle to prevent splitting. For added security, you can also use roofing adhesive or caulking to secure the shingle in place.
- Continue layering: Repeat the process with the remaining cut cedar shingles, layering them on top of each other with the desired overlap. Ensure that each shingle is securely fastened and aligns with the previous shingle to create a seamless appearance.
- Trim the final shingle: When reaching the end of the ridge, you may need to trim the final shingle to fit the remaining space. Measure and mark the shingle’s size, accounting for the desired overlap, and cut it accordingly. Ensure a snug fit before securing it in place.
- Inspect the installation: Once all the shingles are installed, carefully inspect the ridge for any loose or improperly secured shingles. Make any necessary adjustments and add additional nails or adhesive if needed to ensure a secure and durable installation.
During the installation process, pay attention to the alignment and spacing of the shingles to maintain a visually pleasing and uniform appearance. Take care to ensure that the nails or fasteners penetrate the shingle without causing damage or splitting.
Remember to work carefully and methodically to create a neat and professional finish. Take your time to ensure that each cedar shingle is installed securely and provides proper coverage and protection for the roof’s ridge.
With the cedar shingles applied, it’s time for the final step: capping the roof ridge to provide a finished and polished look.
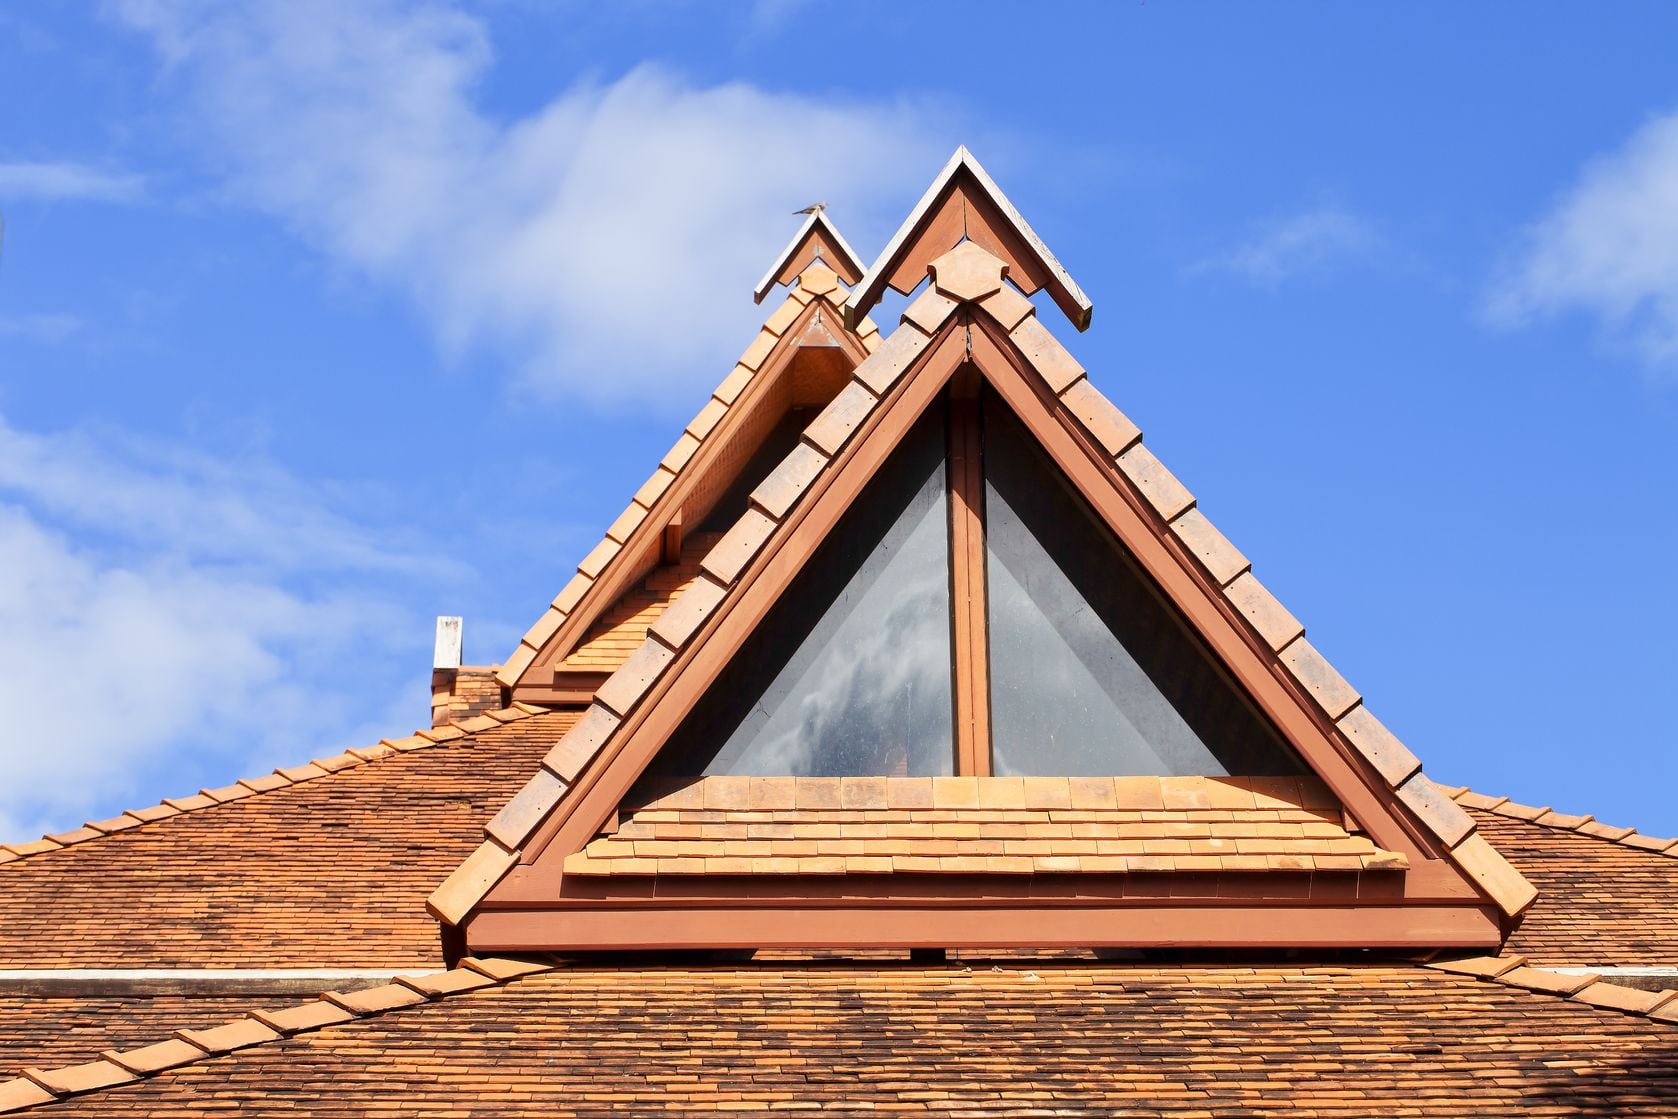
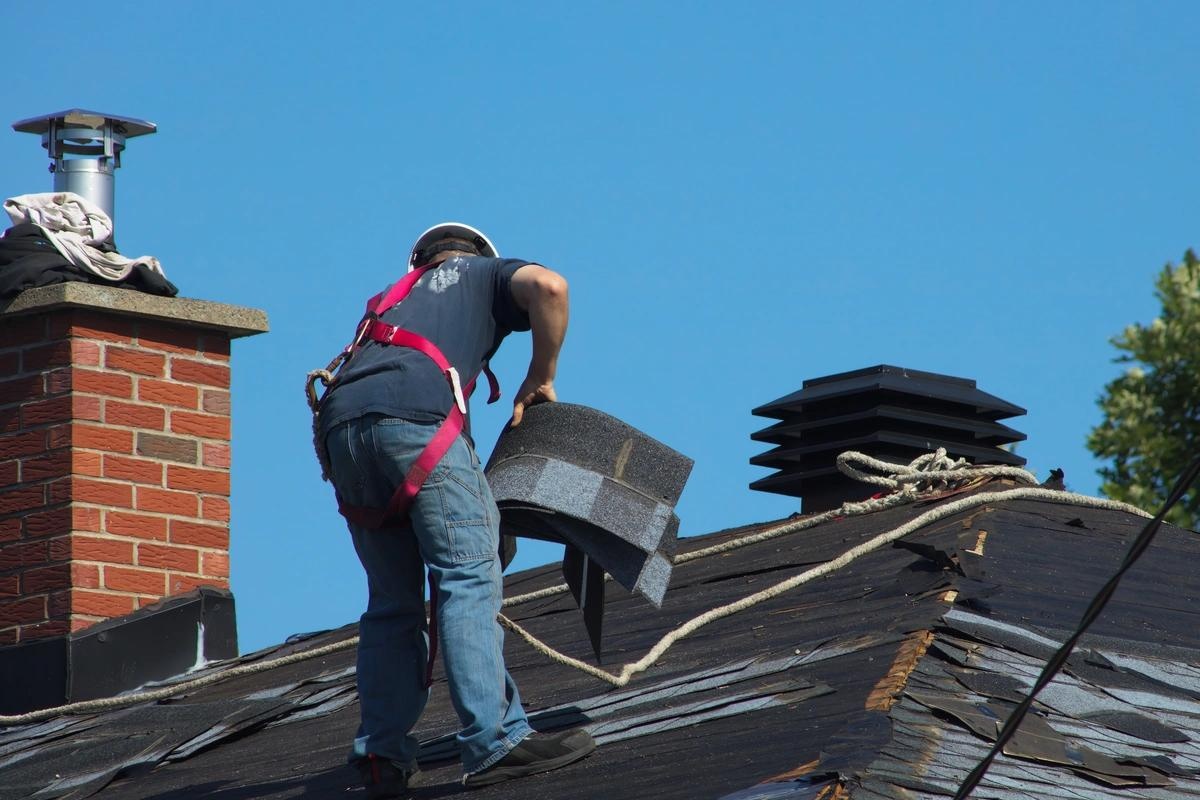
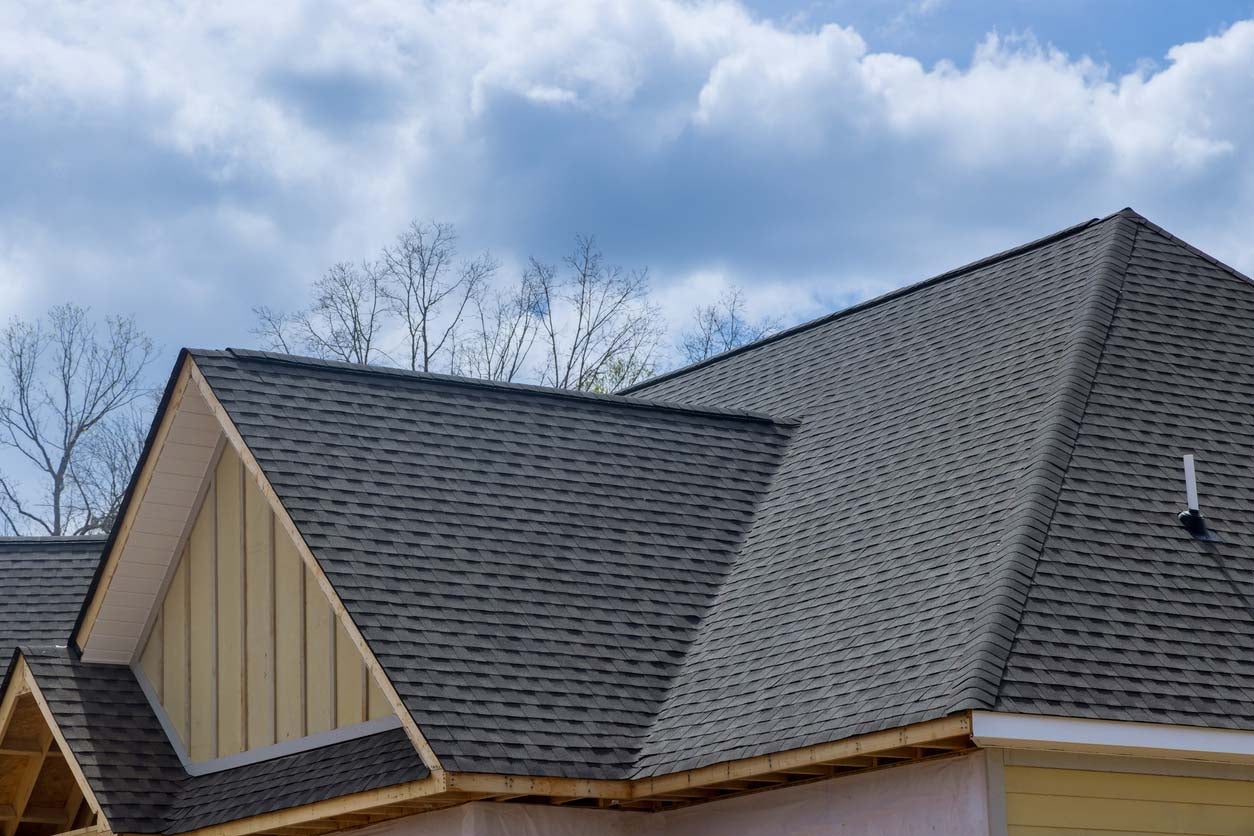
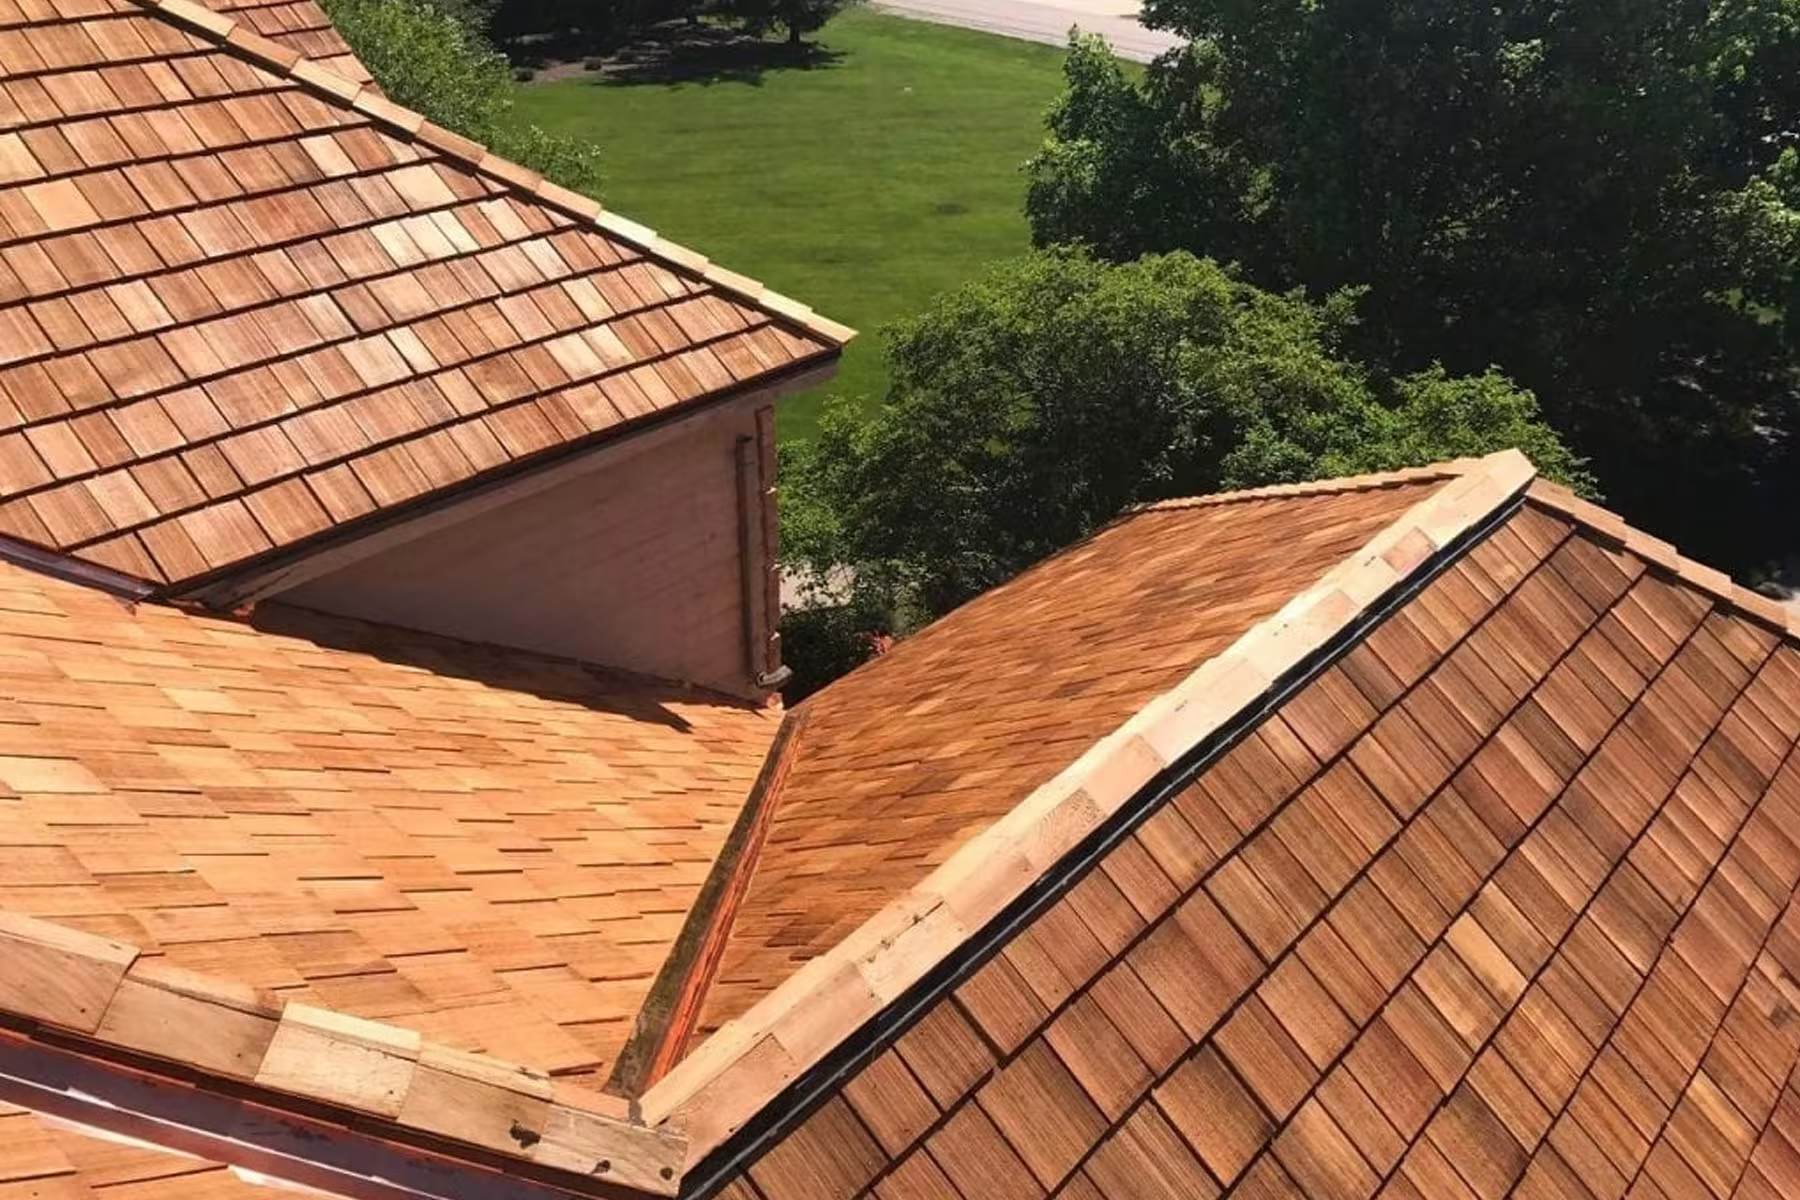
Step 7: Cap the Roof Ridge
Now that the cedar shingles are installed onto the roof’s ridge, it’s time to cap the ridge to provide a finished and polished look. Capping the roof ridge not only enhances the appearance of the entire roof but also adds an additional layer of protection against water infiltration. Here’s how to cap the roof ridge:
- Choose the ridge cap material: Select the appropriate material for your ridge cap. Common options include pre-made ridge cap shingles, cedar ridge caps, or metal ridge cap materials. Consider the style and overall aesthetic of your roof when making your choice.
- Measure and cut the ridge caps: Measure the length of the ridge and cut the ridge cap materials to match. Allow for a slight overhang on each end to ensure proper water shedding and protection.
- Apply roofing adhesive or caulking: Apply a line of roofing adhesive or caulking along the underside of the ridge cap. This will help secure it to the cedar shingles and provide an additional layer of waterproofing.
- Place the ridge caps: Carefully position the ridge caps over the ridge, ensuring an even and uniform alignment. Press them down firmly into place, allowing the adhesive or caulking to create a strong bond with the shingles.
- Secure the ridge caps: Utilize corrosion-resistant nails or screws to securely fasten the ridge caps to the roof. Drive the fasteners through the ridge cap and into the roof deck at regular intervals, taking care not to penetrate the shingles beneath.
- Inspect for any gaps: After securing the ridge caps, inspect the installation for any visible gaps or areas that may require additional adhesive or caulking. Seal any gaps to ensure optimal waterproofing and protection against the elements.
When capping the roof ridge, it’s crucial to maintain consistency in both the material and style of the ridge caps. This helps create a cohesive and unified appearance. If you’re unsure about the installation process, consider consulting a roofing professional for guidance and assistance.
With the ridge caps in place, your cedar shingle roof is now beautifully capped, providing a clean and polished finishing touch. However, before you consider the project complete, there are a few finishing touches to consider in the next step.
Step 8: Finishing Touches
After capping the roof ridge, it’s time to add those final finishing touches to ensure the longevity and visual appeal of your cedar shingle roof. These small details can make a significant difference in the overall appearance and functionality of your roof. Here are some finishing touches to consider:
- Inspect for any loose or protruding nails: Take a close look at the cedar shingles and ridge caps to ensure that all nails or screws are properly secured. Hammer down any nails that may be sticking out or replace any loose fasteners to prevent them from causing damage to the shingles or becoming a safety hazard.
- Seal any gaps or cracks: Use roofing adhesive or caulking to seal any noticeable gaps or cracks where the shingles meet the ridge caps or other roof protrusions. This will provide an extra layer of protection against water infiltration and improve the overall durability of your roof.
- Clean up debris: Remove any debris or leftover materials from the roof and gutter system. This will ensure proper water flow and prevent potential clogs or damage. Regularly cleaning your roof will help maintain its appearance and prolong its lifespan.
- Regular maintenance: Set up a regular maintenance routine for your cedar shingle roof. This may include periodic inspections, cleaning, and addressing any potential issues promptly. Regular maintenance will help prevent costly repairs down the line and extend the life of your roof.
- Consider additional protection: Depending on your location and climate, you may want to consider additional protective measures such as installing gutter guards or applying a roof coating. These extra steps can help prolong the life of your roof and mitigate potential damage caused by debris, weather conditions, or UV rays.
By paying attention to these finishing touches, you can ensure that your newly capped cedar shingle roof remains in optimal condition for many years to come. Regular maintenance and proactive measures will help protect your investment and keep your roof looking its best.
Congratulations! You have successfully completed the process of capping your cedar shingle roof. Your beautiful and functional roof will now provide you with years of protection and add value to your home.
If you have any further questions about maintaining your cedar shingle roof or need assistance with any other roofing projects, don’t hesitate to consult a professional for guidance and expertise.
Remember, a well-capped roof not only enhances the aesthetics of your home but also provides valuable protection for years to come.
Read more: What Are The Best Roof Shingles
Conclusion
Congratulations on completing the process of capping your cedar shingle roof! By following the step-by-step instructions outlined in this guide, you have successfully enhanced the appearance and durability of your roof. Capping the roof ridge not only adds a polished and finished look but also provides an extra layer of protection against potential leaks and damage caused by the elements.
Throughout this guide, we have covered important steps such as assessing the roof condition, gathering the necessary supplies, preparing the roof surface, installing underlayment, measuring and cutting shingles, applying shingles to the roof, capping the roof ridge, and adding those final finishing touches. By paying attention to each step and ensuring precision in your work, you have created a well-capped cedar shingle roof that will provide you with years of satisfaction and protection.
Remember, proper maintenance and regular inspections are key to preserving the longevity of your roof. Schedule routine check-ups to address any potential issues early on and perform necessary repairs or maintenance as needed. By taking proactive measures, you can extend the life of your cedar shingle roof and avoid costly repairs in the future.
We hope this comprehensive guide has been helpful in your journey to cap a cedar shingle roof. By combining your dedication and skill with the knowledge provided, you have completed a project that will not only enhance the aesthetic appeal of your home but also provide the necessary protection for years to come.
If you have any further questions or need assistance with any other roofing projects, do not hesitate to consult professionals in the field. They can offer guidance, advice, and expertise to ensure your roofing endeavors are successful.
Once again, congratulations on your successful completion of capping your cedar shingle roof. Enjoy the beauty and functionality it will bring to your home for years to come!
Frequently Asked Questions about How To Cap A Cedar Shingle Roof
Was this page helpful?
At Storables.com, we guarantee accurate and reliable information. Our content, validated by Expert Board Contributors, is crafted following stringent Editorial Policies. We're committed to providing you with well-researched, expert-backed insights for all your informational needs.


0 thoughts on “How To Cap A Cedar Shingle Roof”