Articles
How To Install Vinyl Cedar Shake Siding
Modified: October 28, 2024
Learn how to properly install vinyl cedar shake siding with our step-by-step articles. Gain practical tips and expert advice for a flawless installation.
(Many of the links in this article redirect to a specific reviewed product. Your purchase of these products through affiliate links helps to generate commission for Storables.com, at no extra cost. Learn more)
Introduction
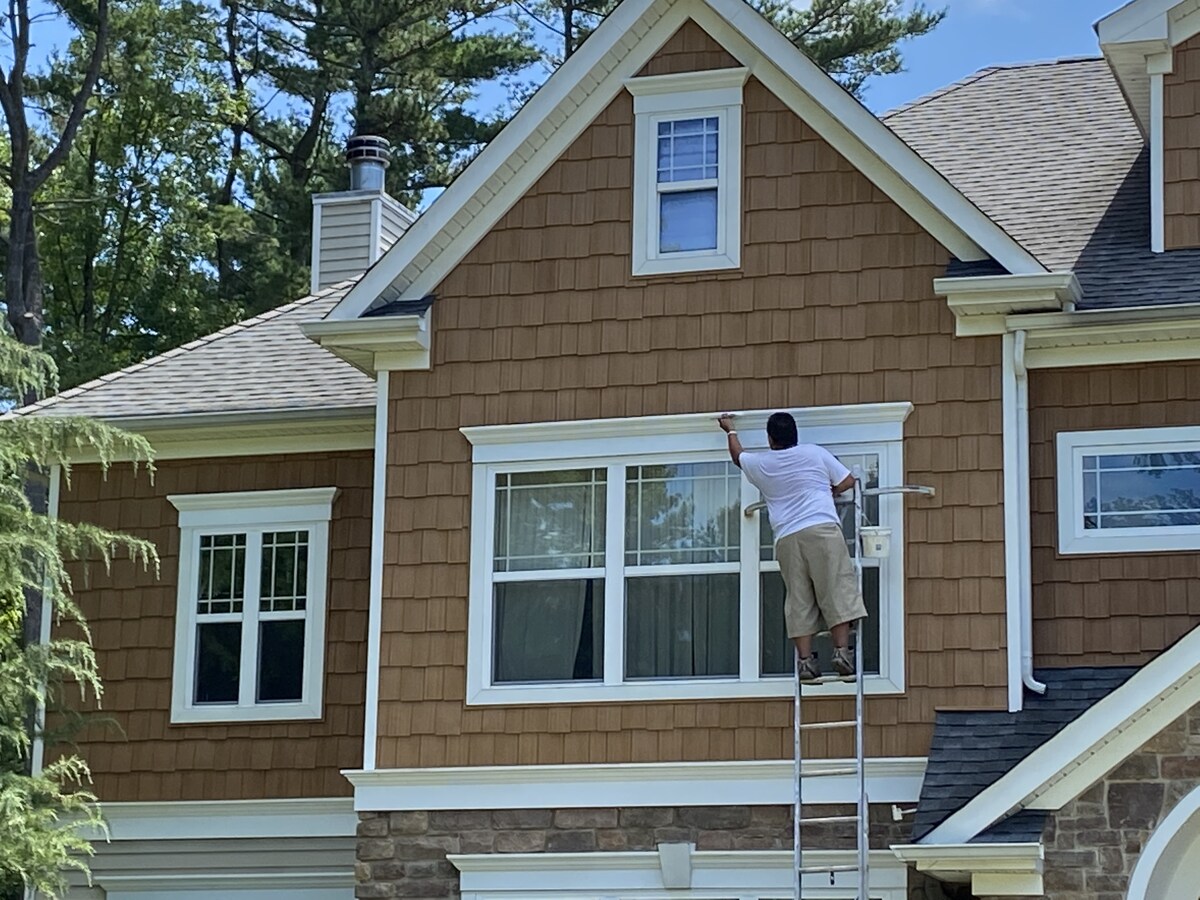
Vinyl cedar shake siding offers homeowners a beautiful and durable alternative to traditional wood siding. With its realistic wood grain texture and low maintenance requirements, it has become a popular choice for enhancing the curb appeal and protecting the exterior of homes. Whether you’re looking to replace your existing siding or update the look of your home, installing vinyl cedar shake siding is a project you can tackle with the right tools and knowledge.
In this article, we will provide you with a step-by-step guide on how to install vinyl cedar shake siding. From gathering the necessary tools and materials to completing the installation and maintaining the siding, you’ll have all the information you need to successfully complete the project.
Before we dive into the installation process, it’s important to note that installing vinyl cedar shake siding requires some basic carpentry skills and tools. If you’re not comfortable with DIY projects or don’t have the necessary experience, it may be best to hire a professional to do the job. However, if you’re ready to tackle the challenge, let’s get started!
Key Takeaways:
- Installing vinyl cedar shake siding requires careful preparation, precise installation, and thorough maintenance. It enhances the aesthetic appeal of your home while providing long-lasting protection against the elements.
- Properly caulking and sealing the joints, regular cleaning, and seasonal inspections are essential for preserving the beauty and durability of vinyl cedar shake siding. Following the step-by-step guide ensures a successful and rewarding installation process.
Read more: What Is Cedar Shake Siding
Step 1: Gather the Necessary Tools and Materials
Before you begin installing vinyl cedar shake siding, it’s essential to gather all the tools and materials you’ll need for the project. Having everything on hand will not only save you time but also ensure a smooth installation process. Here’s a list of the tools and materials you’ll need:
- Vinyl cedar shake siding panels
- Starter strips
- Corner pieces
- Trim pieces
- Nails or screws
- Level
- Tape measure
- Pencil
- Siding snips or utility knife
- Hammer or drill
- Caulk gun
- Paintbrush or roller
- Siding cleaner
- Bucket and sponge
It’s important to note that the tools and materials required can vary depending on the specific brand and style of vinyl cedar shake siding you choose. Always refer to the manufacturer’s instructions for the recommended tools and materials to ensure a proper installation.
Once you have all the tools and materials ready, you can proceed to the next step: preparing the exterior surface for installation.
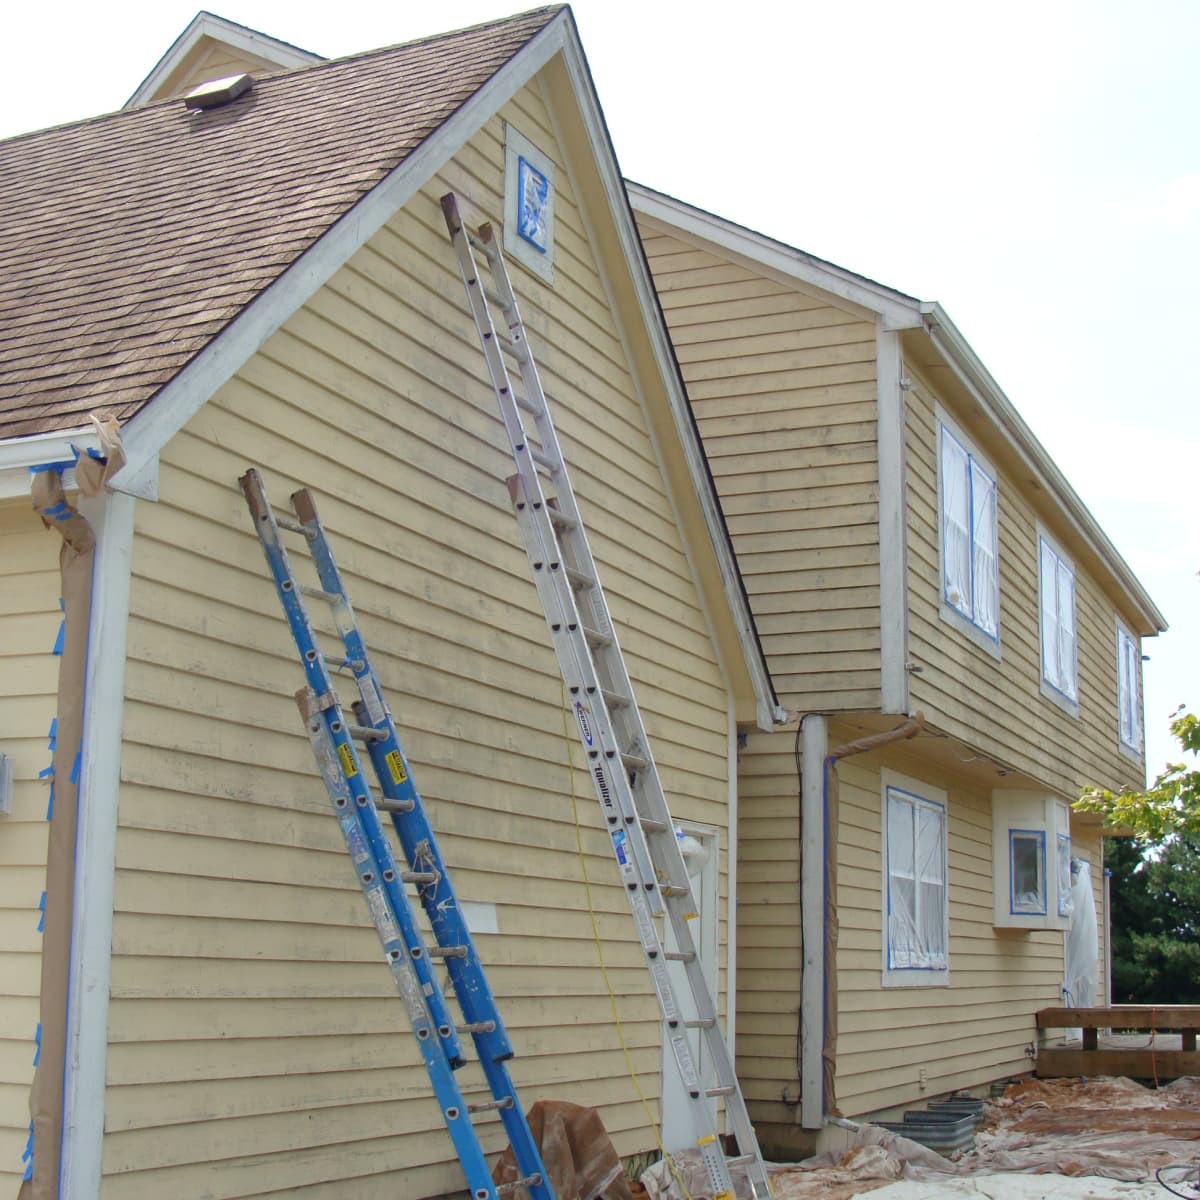
Step 2: Prepare the Exterior Surface
Before you can start installing vinyl cedar shake siding, it’s crucial to properly prepare the exterior surface of your home. This step ensures a smooth and secure installation that will last for years to come. Here’s how to prepare the surface:
- Remove existing siding: If your home has existing siding, you’ll need to remove it before installing the vinyl cedar shake siding. Use a pry bar or siding removal tool to carefully detach the old siding, making sure not to damage the underlying structure.
- Clean the surface: Thoroughly clean the exterior surface of your home to remove any dirt, debris, or old paint. Use a siding cleaner and a sponge or soft brush to scrub the surface, paying special attention to any areas with mold or mildew. Rinse off the cleaner with water and allow the surface to dry completely.
- Inspect for damage: Check the exterior surface for any signs of damage, such as rot or water damage. Repair or replace any damaged areas to ensure a solid foundation for the vinyl cedar shake siding.
- Apply a weather barrier: Before installing the siding, it’s recommended to apply a weather barrier or house wrap to provide additional protection against moisture and drafts. Follow the manufacturer’s instructions for proper installation of the weather barrier.
By properly preparing the exterior surface, you’re setting the stage for a successful and long-lasting vinyl cedar shake siding installation. Once the surface is clean and ready, you can move on to the next step: installing the starter strip.
Step 3: Install the Starter Strip
The starter strip is an important component of vinyl cedar shake siding installation. It provides a secure base for the siding panels and ensures a proper alignment and spacing. Here’s how to install the starter strip:
- Measure and cut: Start by measuring the length of the wall where you’ll be installing the siding. Use a saw or snips to cut the starter strip to the correct size.
- Position the starter strip: Position the starter strip along the bottom of the wall, making sure it is level. Use a level to ensure straight and even placement.
- Secure the starter strip: Use nails or screws to secure the starter strip to the wall. Place the fasteners at regular intervals to ensure a secure hold.
- Overlap the starter strips: If your wall requires multiple starter strips, make sure to overlap them by a few inches. This will create a smooth transition and provide additional stability.
Installing the starter strip is a critical step in the vinyl cedar shake siding installation process. It provides a solid foundation for the siding panels and ensures a professional-looking finished product. Once you have successfully installed the starter strip, you’re ready to begin installing the vinyl cedar shake siding itself.
Step 4: Begin Installing the Vinyl Cedar Shake Siding
Now that the starter strip is in place, it’s time to start installing the vinyl cedar shake siding panels. This step requires precision and attention to detail to ensure a seamless and visually appealing result. Follow these steps to begin the installation:
- Measure and mark: Measure the height of the wall and mark the desired location of the first row of siding panels. Use a level and pencil to make sure the marks are straight and even.
- Attach the siding: Start at one end of the wall and align the first siding panel with the marks you made. Secure it to the wall using the manufacturer-recommended nails or screws. Be sure to follow the specific installation guidelines provided by the manufacturer.
- Continue installing: Place the next siding panel next to the first one, ensuring a tight fit and proper alignment. Secure it to the wall using the same method as before. Repeat this process until you reach the end of the row.
- Stagger the seams: For a more visually appealing result, stagger the seams of the siding panels. This means that the end of one panel should not line up directly with the end of the panel below it. Instead, offset the panels to create a staggered pattern.
- Check for level: Regularly check that the siding panels are level and square as you install them. Adjust as needed to ensure a straight and even installation.
Remember to follow the manufacturer’s instructions for the specific vinyl cedar shake siding you are using. Different brands and styles may have specific installation guidelines that need to be followed for optimal results.
Continue installing the siding panels row by row until you reach the top of the wall. Once you have completed the initial installation, you can move on to the next step: cutting and trimming the siding pieces.
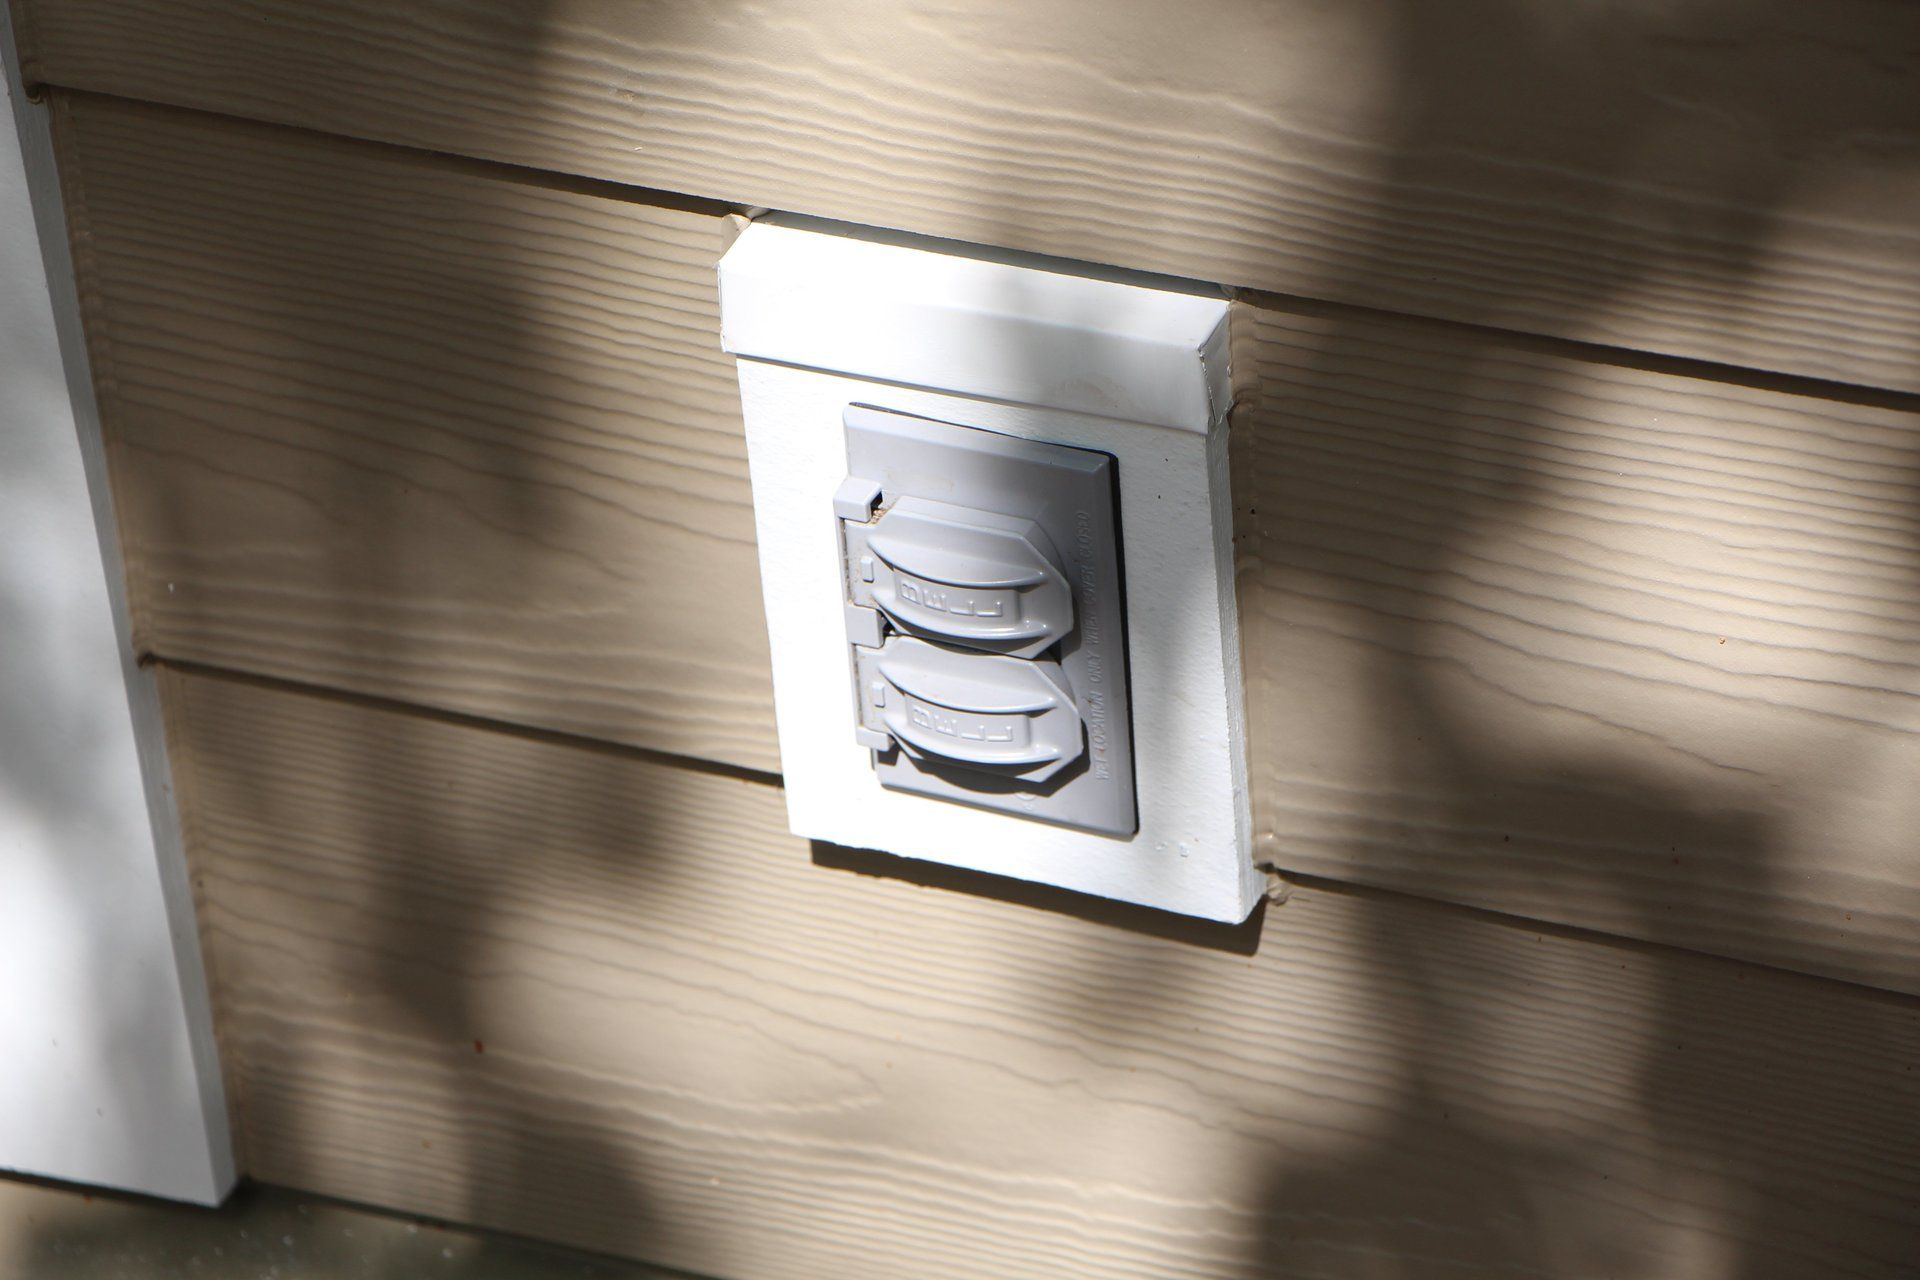
Step 5: Cut and Trim the Siding Pieces
After installing the vinyl cedar shake siding panels, it’s time to cut and trim the pieces to fit around windows, doors, corners, and other areas that require special attention. This step is essential for achieving a professional and polished finish. Follow these steps to cut and trim the siding pieces:
- Measure and mark: Carefully measure the area where the siding piece needs to fit. Use a tape measure to ensure accurate measurements and mark the siding panel accordingly with a pencil.
- Cut the siding piece: Use siding snips or a utility knife to cut the siding panel along the marked line. Make sure to apply firm and even pressure to ensure a clean and precise cut.
- Test the fit: After cutting the siding piece, test the fit by placing it in the designated area. Ensure that it aligns properly and makes a snug fit. If necessary, make any additional adjustments or trim the piece further.
- Install the trimmed piece: Once you are satisfied with the fit, secure the trimmed piece to the wall using the appropriate fasteners recommended by the manufacturer. Make sure it is level and aligned with the rest of the siding.
It is important to take your time and be precise when cutting and trimming the siding pieces. Accuracy is crucial to achieve a seamless and professional-looking installation.
Continue this process of measuring, marking, cutting, and installing the siding pieces for all areas that require special attention, such as windows, doors, corners, and any other architectural features on the wall.
With the siding pieces cut and trimmed to fit perfectly, you’re ready to move on to the next step: installing corner pieces and trim.
When installing vinyl cedar shake siding, make sure to properly prepare the surface by removing any old siding, repairing any damaged areas, and installing a moisture barrier to protect against water damage.
Step 6: Install Corner Pieces and Trim
Installing corner pieces and trim is an important step in the vinyl cedar shake siding installation process. These components not only provide a finished look but also help protect the edges and corners of the siding. Follow these steps to properly install corner pieces and trim:
- Measure and cut: Measure the height of the corner where the corner piece will be installed. Use a saw or snips to cut the corner piece to the correct size.
- Position the corner piece: Position the corner piece on the designated corner, ensuring it is aligned and level. Use a level to double-check the placement.
- Secure the corner piece: Secure the corner piece to the wall using the manufacturer-recommended nails or screws. Place the fasteners at regular intervals to ensure a secure hold.
- Install the trim: Measure and cut the trim pieces that will go along the edges and corners of the siding. Position them in the desired locations and secure them using the appropriate fasteners.
- Ensure a seamless look: Pay attention to the alignment and spacing of the corner pieces and trim to ensure a seamless and visually appealing result. Make any necessary adjustments to achieve the desired look.
Installing corner pieces and trim adds a final touch to your vinyl cedar shake siding installation. These components not only enhance the overall aesthetics but also provide protection against potential damage.
Continue this process for all corners and edges where corner pieces and trim are needed. Ensure that each piece is properly aligned and securely fastened to the wall.
With the corner pieces and trim in place, you’re one step closer to completing the vinyl cedar shake siding installation. The next step is to complete the siding installation itself.
Step 7: Complete the Siding Installation
Now that you have installed the vinyl cedar shake siding panels, cut and trimmed the pieces, and installed the corner pieces and trim, it’s time to complete the siding installation. This step involves finishing any remaining siding work and ensuring that all panels are securely in place. Follow these steps to complete the siding installation:
- Check for loose panels: Carefully inspect the entire wall to make sure all siding panels are securely attached. If you notice any loose panels, secure them with additional fasteners.
- Create a consistent look: Check the alignment and spacing of the siding panels to ensure a consistent appearance. Make any adjustments as necessary to achieve a visually pleasing result.
- Secure any loose trim: Check that all trim pieces are securely fastened and not loose. If you notice any loose trim, use the appropriate fasteners to secure it.
- Ensure proper flashing: Verify that all areas requiring flashing, such as windows and doors, have been properly protected. Flashing helps redirect water and prevent moisture damage.
- Inspect for any gaps: Look for any gaps or openings between the siding panels and the wall. Fill these gaps with caulk or sealant to provide an additional barrier against water and drafts.
- Double-check the overall appearance: Step back and take a look at the completed siding installation to ensure it meets your expectations. Make any necessary touch-ups or adjustments to achieve your desired outcome.
Completing the siding installation involves attention to detail and thorough inspection. Taking the time to ensure all siding panels and trim are secure and properly aligned will result in a visually appealing and long-lasting installation.
Once you have completed the siding installation to your satisfaction, the next step is to caulk and seal the joints to provide further protection against the elements.
Step 8: Caulk and Seal the Joints
After completing the vinyl cedar shake siding installation, it’s important to caulk and seal the joints to create a watertight and airtight seal. Caulking and sealing the joints will help prevent water leakage, drafts, and potential damage to the siding. Follow these steps to properly caulk and seal the joints:
- Select a high-quality caulk: Choose a caulk that is specifically designed for outdoor use and is compatible with vinyl siding. Look for a caulk that is weather-resistant and long-lasting.
- Inspect the joints: Carefully inspect all the joints between siding panels, trim pieces, corners, windows, and doors. Look for any gaps or spaces where water or air could penetrate.
- Clean the joints: Before applying caulk, make sure the joints are clean and free from any dirt or debris. Use a brush or damp cloth to remove any loose particles.
- Apply the caulk: Load the caulk into a caulk gun and carefully apply a thin and even bead of caulk along the joints. Use a smooth, steady motion to achieve a neat and consistent application.
- Smooth the caulk: Immediately after applying the caulk, use a caulk smoothing tool or your finger to smooth and feather the caulk along the joints. This will create a seamless and professional finish.
- Remove excess caulk: Use a damp cloth or sponge to remove any excess caulk before it dries. Make sure to clean up any mess and leave the area looking neat and tidy.
- Allow the caulk to dry: Follow the manufacturer’s instructions regarding the drying time for the caulk. Avoid touching or disturbing the caulk until it has completely dried.
Caulking and sealing the joints is an important step in maintaining the integrity and longevity of the vinyl cedar shake siding. It helps prevent moisture intrusion, improves energy efficiency, and enhances the overall appearance of the siding installation.
Once the caulk has fully dried, you’re ready to move on to the final step: cleaning and maintaining the vinyl cedar shake siding.
Read more: How To Install Shake Siding
Step 9: Clean and Maintain the Vinyl Cedar Shake Siding
Regular cleaning and maintenance of your vinyl cedar shake siding will help preserve its appearance and extend its lifespan. Following these steps will ensure that your siding stays in excellent condition:
- Clean the siding: Use a garden hose or pressure washer to remove dirt, dust, and debris from the surface of the siding. Start from the top and work your way down, using a gentle spray to avoid damaging the siding.
- Scrub stubborn stains: For stubborn stains, mix a solution of mild detergent and water. Use a soft brush or sponge to scrub the stained areas gently. Rinse thoroughly with clean water to remove any soap residue.
- Inspect for damage: Regularly inspect the siding for any signs of damage, such as cracks, dents, or loose panels. Repair or replace any damaged sections to maintain the integrity of your vinyl cedar shake siding.
- Avoid abrasive materials: When cleaning, avoid using abrasive materials like steel wool or brushes with stiff bristles, as they can scratch or damage the surface of the siding. Opt for soft cloths or sponges instead.
- Avoid harsh chemicals: Refrain from using harsh chemicals, solvents, or abrasive cleaners on your vinyl cedar shake siding, as they can cause discoloration or damage. Stick to mild detergents or specialized vinyl siding cleaners.
- Trim vegetation: Keep trees, bushes, and other vegetation trimmed away from the siding to prevent damage from branches or excessive moisture. This will also help maintain proper air circulation and prevent mold or mildew growth.
- Monitor for mold and mildew: If you notice any signs of mold or mildew on your siding, promptly address the issue. Use a mildew cleaner and follow the manufacturer’s recommendations for safe and effective removal.
- Perform seasonal inspections: Conduct regular inspections of your siding before and after each season. Look for any signs of wear, damage, or areas that may need touch-ups or repairs.
By following these cleaning and maintenance practices, you can keep your vinyl cedar shake siding looking its best for years to come. Regular upkeep will not only enhance its appearance but also protect it from potential damage caused by dirt, debris, and the elements.
Remember to always refer to the manufacturer’s guidelines for specific cleaning recommendations and any maintenance tips that may be specific to your vinyl cedar shake siding.
With proper cleaning and maintenance, your vinyl cedar shake siding will continue to enhance the beauty of your home and provide durable protection for years to come.
Conclusion
Installing vinyl cedar shake siding can significantly enhance the curb appeal of your home while providing durability and low maintenance. By following the step-by-step guide outlined in this article, you’ll be equipped with the knowledge and tools to successfully complete the installation process.
From gathering the necessary tools and materials to cleaning and maintaining the siding, each step is essential for achieving a professional and long-lasting result. By properly preparing the surface, installing the starter strip, and meticulously placing and trimming the siding panels, you’ll create a beautiful and seamless finish.
Don’t forget the importance of properly caulking and sealing the joints to maintain the integrity of the siding and protect against moisture intrusion. Regular cleaning, maintenance, and inspections will ensure that your vinyl cedar shake siding remains in optimal condition for years to come.
Whether you’re looking to update the exterior of your home or replace worn-out siding, installing vinyl cedar shake siding is a rewarding and worthwhile project. Not only will it enhance the aesthetic appeal of your property, but it will also provide long-lasting protection against the elements.
Remember, if you’re unsure of your DIY skills or are not comfortable with the installation process, it’s always best to consult with a professional siding installer. They have the experience and expertise to tackle the project efficiently and effectively.
Now that you have the knowledge and guidance to install vinyl cedar shake siding, it’s time to embark on the journey of transforming your home’s exterior. Enjoy the process and the satisfaction of a job well done as you admire the beauty and durability of your newly installed vinyl cedar shake siding.
Ready to enhance your home's exterior even further? Don’t miss our expert roundup of the hottest vinyl siding trends for the upcoming year. If you're curious about a classic option, find out why cedar shake siding remains a popular choice among homeowners. For those who love tackling new challenges, our guide on DIY home projects offers plenty of inspiration and practical advice to get you started. Dive into these articles and transform your living space with style and confidence.
Frequently Asked Questions about How To Install Vinyl Cedar Shake Siding
Was this page helpful?
At Storables.com, we guarantee accurate and reliable information. Our content, validated by Expert Board Contributors, is crafted following stringent Editorial Policies. We're committed to providing you with well-researched, expert-backed insights for all your informational needs.


0 thoughts on “How To Install Vinyl Cedar Shake Siding”