
Tableware
How To Make Coasters Waterproof
Modified: January 4, 2024
Learn how to make your tableware coasters waterproof and protect them from water damage. Follow our simple steps and enjoy your durable and long-lasting coasters.
(Many of the links in this article redirect to a specific reviewed product. Your purchase of these products through affiliate links helps to generate commission for Storables.com, at no extra cost. Learn more)
Introduction
Welcome to our guide on how to make coasters waterproof. Coasters are an essential accessory for any home or office, protecting surfaces from unsightly water rings and heat damage. However, not all coasters are created equal when it comes to water resistance. If you want to ensure that your coasters are waterproof and long-lasting, this article is for you.
In this guide, we will walk you through the step-by-step process of making your coasters waterproof. We will cover everything from choosing the right materials to applying a waterproof sealant and testing the effectiveness of your newly waterproofed coasters. So, let’s get started!
Key Takeaways:
- Choose the right material for your coasters, such as cork, ceramic, stone, or silicone, to ensure optimal water resistance and durability. Consider personal preference, intended use, and aesthetic appeal when making your selection.
- Properly prepare and apply a waterproof sealant to your coasters, ensuring thorough drying and testing for water resistance. Follow manufacturer’s instructions and take your time to create long-lasting, reliable waterproof coasters.
Read more: How To Make Rope Coasters
Step 1: Choosing the Right Material
When it comes to making coasters waterproof, the first step is choosing the right material. The material you select will play a crucial role in determining the water resistance and durability of your coasters. Here are a few options to consider:
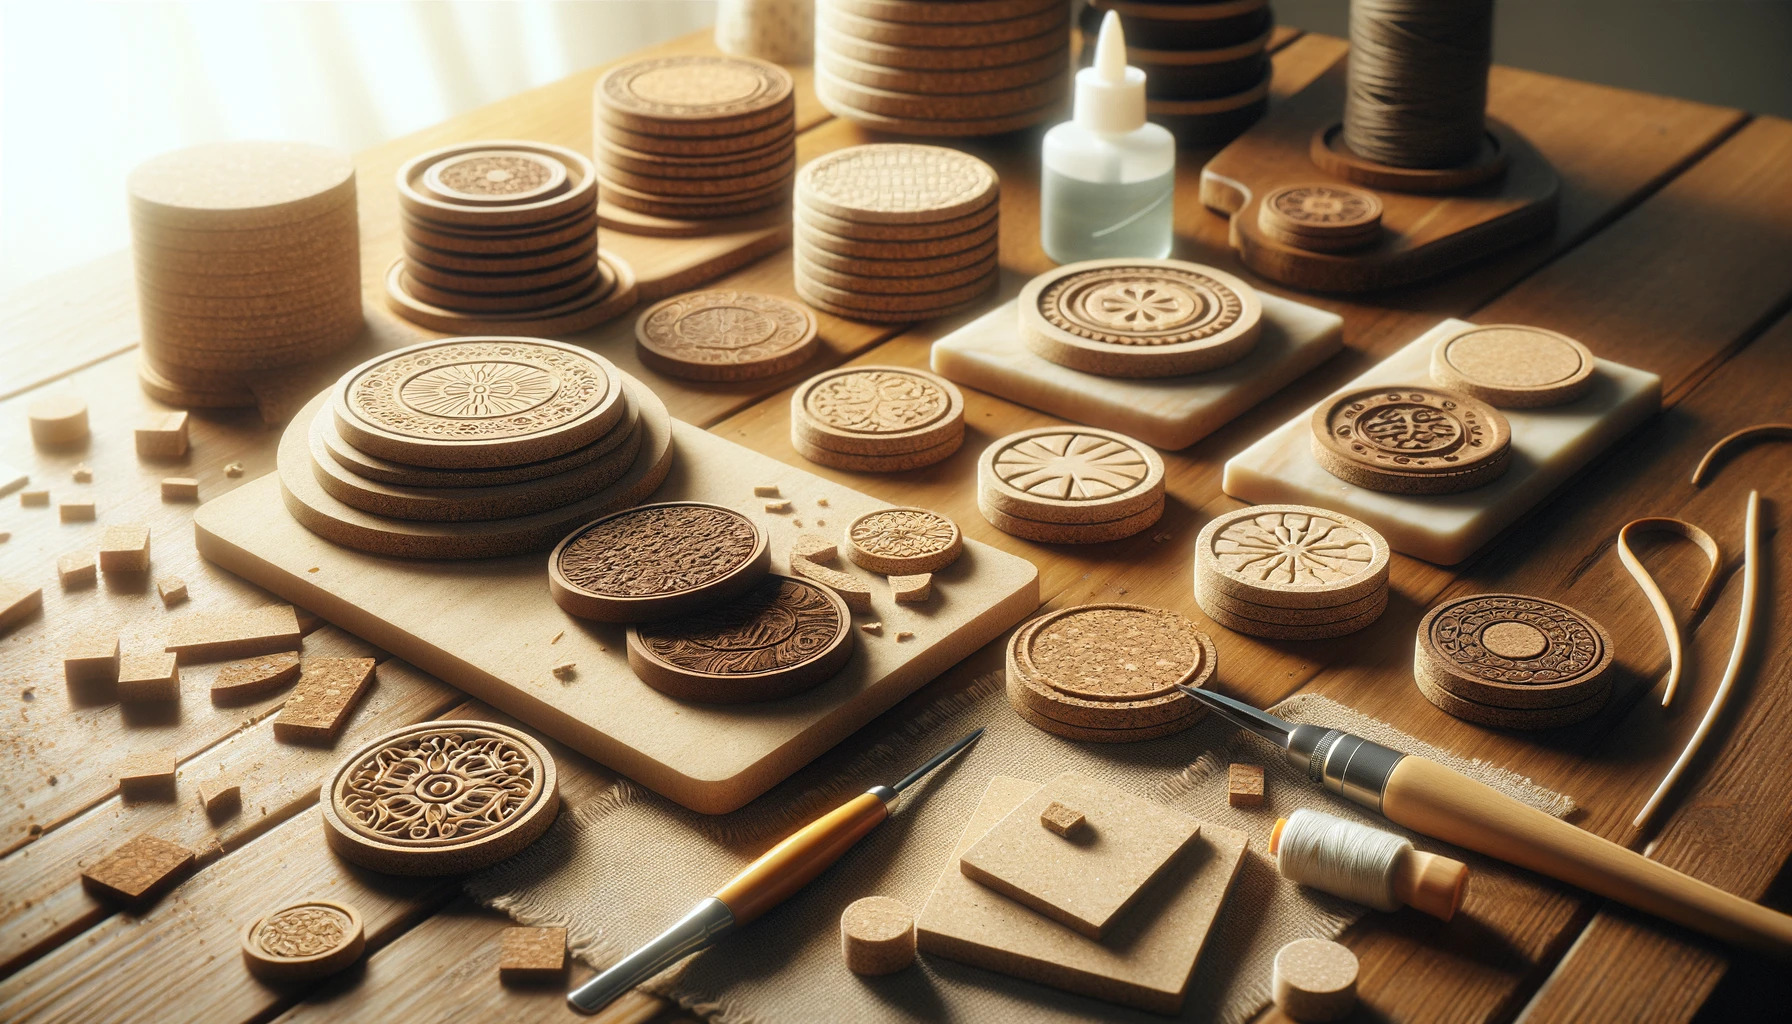
- Cork: Cork is a popular material for coasters due to its natural water resistance. It absorbs moisture without becoming saturated, making it an excellent choice for preventing water rings. Look for coasters made from quality cork that is at least 1/4 inch thick for optimal water resistance.
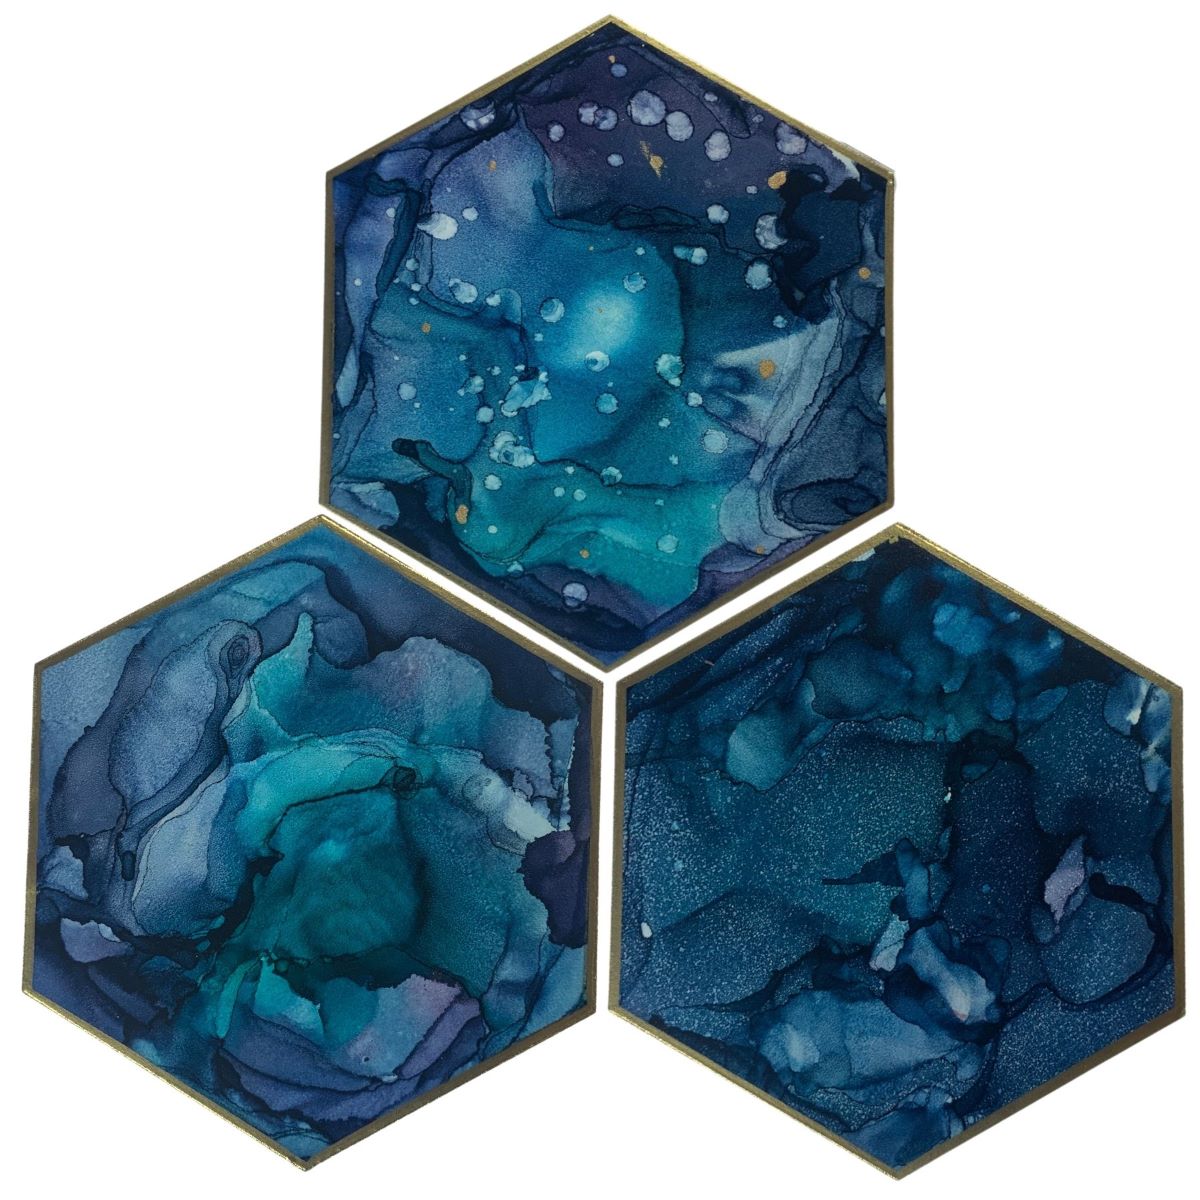
- Ceramic: Ceramic coasters are another great option for waterproofing. They are typically coated with a glaze that makes them impervious to liquids. Look for ceramic coasters with a smooth and non-porous surface to ensure maximum water resistance.
- Stone: Stone coasters, such as those made from marble or granite, are not only aesthetically pleasing but also highly water-resistant. These materials naturally repel water, making them an excellent choice for keeping your coasters waterproof.
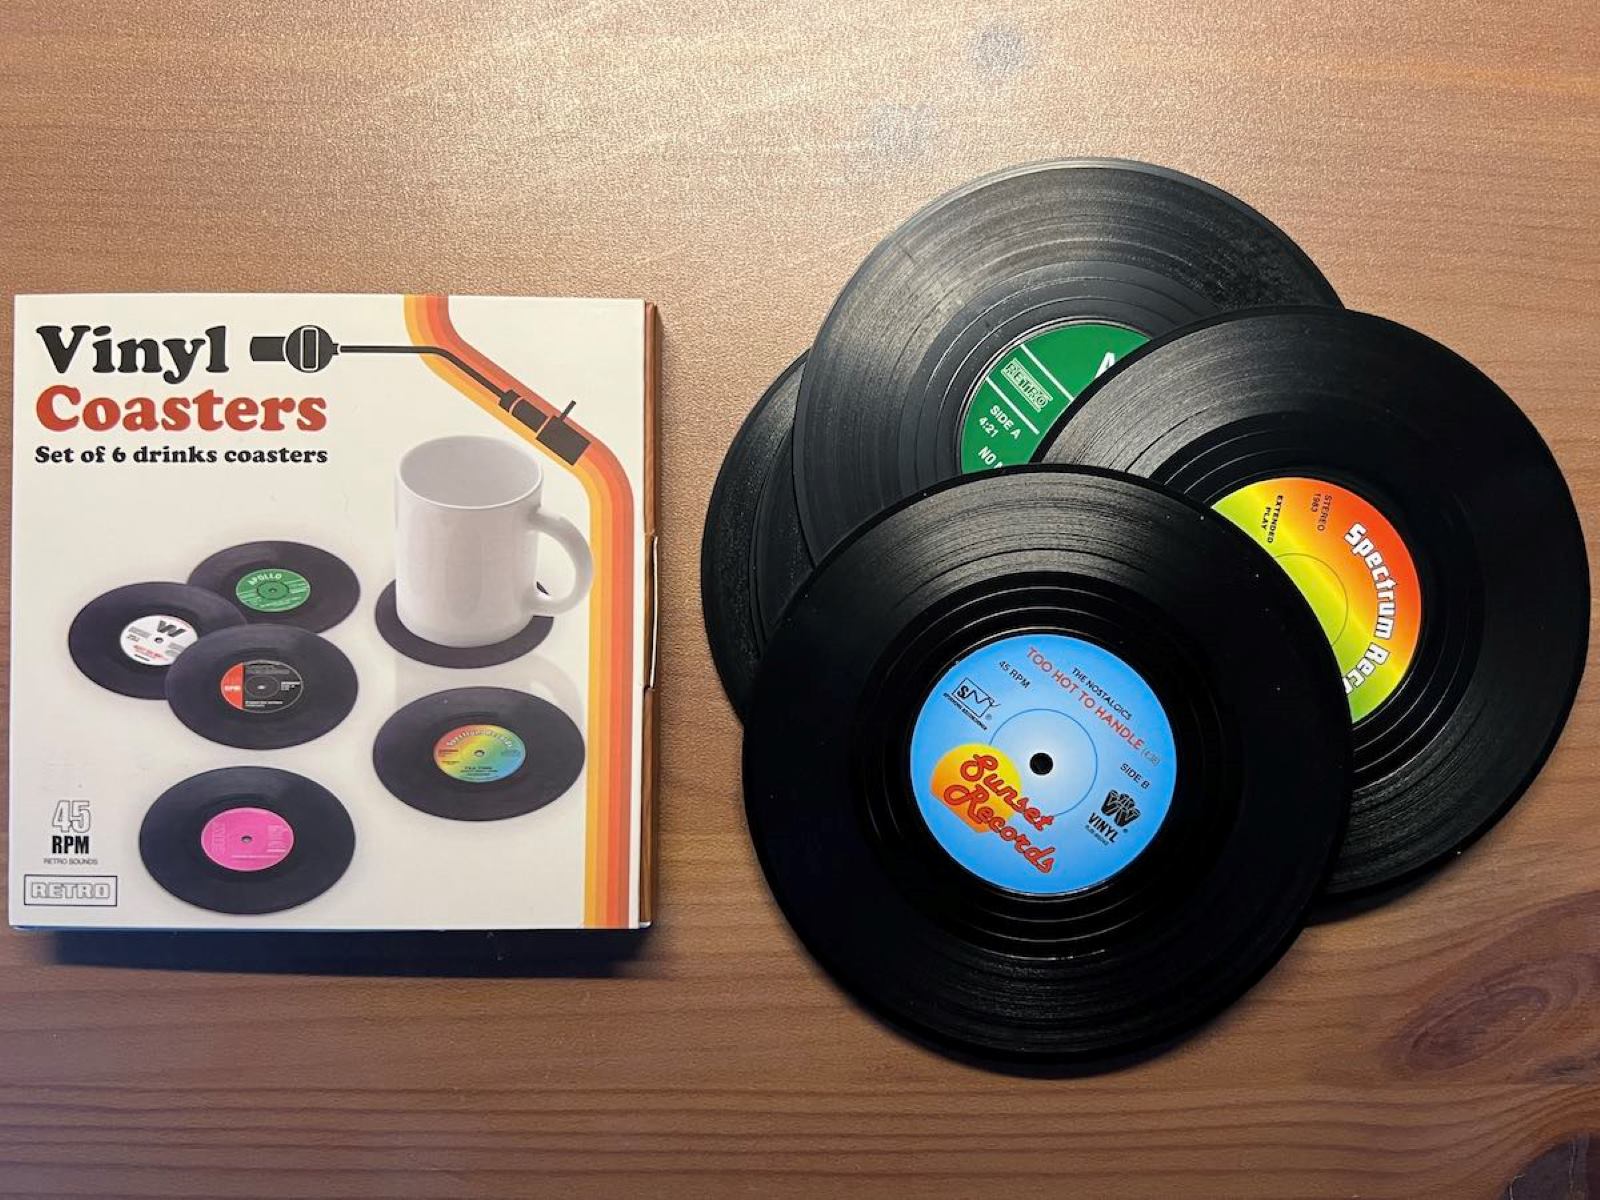
- Silicone: Silicone coasters are becoming increasingly popular due to their flexibility and excellent water resistance. They are easy to clean and maintain and can withstand high temperatures without warping or melting.
When selecting the right material for your coasters, consider factors such as your personal preference, the intended use, and the overall aesthetic you want to achieve. It’s also worth considering the durability and ease of maintenance of the chosen material.
Once you’ve chosen the material for your coasters, you can move on to the next step: preparing the coasters for waterproofing.
Step 2: Preparing the Coasters
Before applying a waterproof sealant to your coasters, it’s essential to properly prepare them to ensure optimal adhesion and longevity of the waterproofing. Follow these steps to prepare your coasters:
- Clean the coasters: Start by thoroughly cleaning the coasters to remove any dust, dirt, or residue. Use a mild soap or cleaning solution and a soft cloth or sponge to gently scrub the surface. Rinse the coasters with water and allow them to dry completely.
- Sand the surface (if necessary): If your coasters have any rough or uneven spots, gently sand the surface with fine-grit sandpaper. This will help create a smooth and uniform surface for the waterproof sealant to adhere to.
- Protect the edges (if applicable): If your coasters have any exposed edges, consider applying painter’s tape or masking tape to protect them during the waterproofing process. This will ensure that the sealant only covers the top surface of the coasters.
- Ensure a clean and well-ventilated workspace: It’s important to work in a clean and well-ventilated area to avoid any potential contamination or inhalation of fumes from the sealant. Set up a workspace with good air circulation and cover the area with a drop cloth or newspaper to protect it from any spills.
By properly preparing your coasters, you create a suitable foundation for the waterproofing process. This will help the sealant adhere better and provide long-lasting protection against water damage.
Now that your coasters are clean and ready, it’s time to move on to the next step: applying the waterproof sealant.
Step 3: Applying Waterproof Sealant
Applying a waterproof sealant is a crucial step in making your coasters water-resistant. The sealant forms a protective barrier that prevents liquids from seeping into the material of the coasters. Follow these steps to apply the waterproof sealant:
- Choose the right sealant: There are various sealant options available, such as polyurethane, epoxy resin, or clear acrylic sealants. Choose a sealant that is specifically designed for the material of your coasters. Read the manufacturer’s instructions carefully to ensure compatibility and proper application.
- Apply the sealant: Start by stirring the sealant thoroughly to ensure an even consistency. Use a clean, soft brush or foam applicator to apply a thin and even coat of sealant to the top surface of the coasters. Make sure to cover the entire surface, including the edges, if desired.
- Follow the drying time: Allow the sealant to dry according to the manufacturer’s instructions. This typically takes a few hours, but it’s crucial to give it enough time to fully cure and form a durable waterproof layer.
- Apply additional coats (optional): Depending on the level of waterproofing you desire, you can apply additional coats of sealant. Allow each coat to dry completely before applying the next one. Keep in mind that more coats may result in a thicker and more durable waterproof barrier.
While applying the sealant, ensure that you work in a well-ventilated area and follow the manufacturer’s safety precautions. Some sealants may emit strong fumes or require specific handling instructions.
Once you have applied the waterproof sealant and allowed it to dry, you are ready to move on to the next step: drying the coasters.
To make coasters waterproof, apply a thin layer of waterproof sealant or varnish to the surface of the coaster. This will help protect it from moisture and spills.
Step 4: Drying the Coasters
After applying the waterproof sealant to your coasters, it is important to allow them to dry thoroughly. This ensures that the sealant cures properly and forms a strong and durable barrier against water. Follow these steps to effectively dry your coasters:
- Select a drying area: Choose a clean and well-ventilated space where you can place the coasters to dry. Avoid areas with high humidity or dust that may affect the drying process.
- Avoid direct sunlight: Place the coasters in a location away from direct sunlight. Excessive heat from the sun can cause the sealant to cure too quickly or unevenly, compromising its effectiveness.
- Allow sufficient drying time: The drying time will vary depending on the type of sealant used. Refer to the manufacturer’s instructions for the recommended drying time. Generally, it can range from a few hours to overnight.
- Ensure proper airflow: Promote airflow around the coasters by placing them on a drying rack or elevated surface. This allows air to circulate and speeds up the drying process.
- Avoid touching or moving the coasters: Once the coasters are in the drying area, avoid touching or moving them until they are completely dry. This prevents smudging or damaging the sealant before it has fully cured.
Remember, it is essential to follow the specific drying instructions provided by the sealant manufacturer. Rushing the drying process may result in an ineffective waterproof seal. Patience is key to achieving long-lasting and reliable waterproof coasters.
Once the coasters are thoroughly dried, it’s time to move on to the final step: testing the waterproofing.
Read more: How To Make Concrete Coasters
Step 5: Testing the Waterproofing
After you have applied the waterproof sealant and allowed the coasters to dry completely, it’s important to test their water resistance. Testing will help ensure that the sealant has created an effective barrier against liquids. Follow these steps to test the waterproofing of your coasters:
- Prepare the testing materials: Gather a small amount of water and a clean cloth or paper towel for testing.
- Drip water onto the coasters: Begin by dripping a few drops of water onto the surface of the coasters. Ensure that the water covers a small area of the coasters.
- Observe the water behavior: Watch how the water behaves on the surface of the coasters. If the waterproofing is effective, the water should bead up and remain on the surface without seeping into the material. This indicates that the sealant has created a reliable barrier against liquids.
- Check for any signs of absorption: After a few minutes, carefully wipe away the water with a clean cloth or paper towel. Inspect the surface of the coasters for any signs of water absorption or damage. If the surface remains dry and undamaged, it is a positive indication that the waterproofing has been successful.
- Repeat the test if needed: If you notice any areas where the water seeped through or the surface absorbed moisture, you may need to reapply the sealant and repeat the waterproofing process to ensure full coverage.
Testing the waterproofing of your coasters is an important step in verifying their effectiveness. It allows you to identify any areas that may need additional attention and make necessary adjustments to ensure optimal water resistance.
Congratulations! You have now successfully completed all the steps to make your coasters waterproof. With proper care and maintenance, your coasters will provide long-lasting protection against water damage and keep your surfaces looking pristine.
Disclaimer: The information provided in this article is for educational purposes only. Always follow the manufacturer’s instructions when using sealants and other waterproofing products.
Now go ahead and enjoy your waterproof coasters!
Conclusion
Protecting your tabletops and surfaces from water rings and damage is essential, and making your coasters waterproof is a simple and effective solution. By following the steps outlined in this guide, you can ensure that your coasters are not only stylish but also provide reliable water resistance.
Remember, choosing the right material for your coasters is the first crucial step. Whether you opt for cork, ceramic, stone, or silicone, each material offers its unique benefits in terms of water resistance and durability.
Preparing your coasters properly before applying the waterproof sealant is equally important. Cleaning the surface, sanding if necessary, and protecting the edges will ensure a smooth and well-prepared base for the waterproofing process.
Applying the waterproof sealant requires careful attention to detail. Selecting the right sealant for your coaster material and applying thin, even coats will help create a protective barrier against liquids. Allow sufficient drying time between each coat to ensure proper curing.
Once your coasters are dry, it is crucial to test their water resistance. Dripping water onto the surface and observing how it behaves will confirm the effectiveness of the waterproofing. Any signs of absorption or damage may indicate the need for additional sealant application.
By following these steps and regularly maintaining your waterproof coasters, you can enjoy worry-free use and prolong their lifespan.
Remember, always refer to the manufacturer’s instructions for the specific sealant you are using, as different products may have varying application and curing requirements.
Now that you have the knowledge and know-how to make your coasters waterproof, go ahead and protect your surfaces while adding a touch of style to your home or office. Enjoy your beverage without worrying about damaging your furniture!
Frequently Asked Questions about How To Make Coasters Waterproof
Was this page helpful?
At Storables.com, we guarantee accurate and reliable information. Our content, validated by Expert Board Contributors, is crafted following stringent Editorial Policies. We're committed to providing you with well-researched, expert-backed insights for all your informational needs.


0 thoughts on “How To Make Coasters Waterproof”