Articles
How To Waterproof Exterior Walls
Modified: December 7, 2023
Looking for articles on how to waterproof exterior walls? Get expert tips and advice on keeping your walls protected and maintaining the longevity of your home.
(Many of the links in this article redirect to a specific reviewed product. Your purchase of these products through affiliate links helps to generate commission for Storables.com, at no extra cost. Learn more)
Introduction
Waterproofing exterior walls is an essential step in ensuring the longevity and durability of your property. The exterior walls of a building are constantly exposed to harsh weather conditions, such as rain, humidity, and temperature fluctuations. Over time, these elements can cause damage, deterioration, and even structural issues if left unchecked. By effectively waterproofing your exterior walls, you can prevent water intrusion, mold growth, and water-related damages.
In this article, we will guide you through the process of waterproofing your exterior walls, step by step. From assessing the wall condition to applying the appropriate sealants and coatings, you’ll learn how to protect your property against water damage and maintain its structural integrity.
Key Takeaways:
- Protect your property from water damage by following these steps to effectively waterproof your exterior walls. Regular maintenance and inspections are crucial for long-term durability.
- Consider adding exterior coatings for extra protection and aesthetic appeal. Installing a drainage system may be necessary to manage water runoff and prevent accumulation against the walls.
Read more: How To Waterproof A Brick Wall
Step 1: Assess the Wall Condition
Before starting any waterproofing project, it’s crucial to assess the condition of your exterior walls. Look for signs of existing water damage, such as dampness, discoloration, peeling paint, or mold growth. Inspect the walls closely and pay attention to any cracks, gaps, or loose mortar joints.
If you notice any structural issues or significant damage, it’s advisable to contact a professional contractor or building expert for further evaluation. They can provide expert advice and recommend suitable solutions to address the underlying problems.
Furthermore, consider the type of material your exterior walls are made of. Different materials require specific waterproofing techniques, so understanding the composition of your walls will help determine the most effective waterproofing products and methods.
Finally, take note of any areas that are prone to natural water accumulation, such as low-lying areas or spots where rainwater tends to collect. This information will be valuable when deciding on additional measures, such as installing drainage systems or redirecting water flow away from the walls.
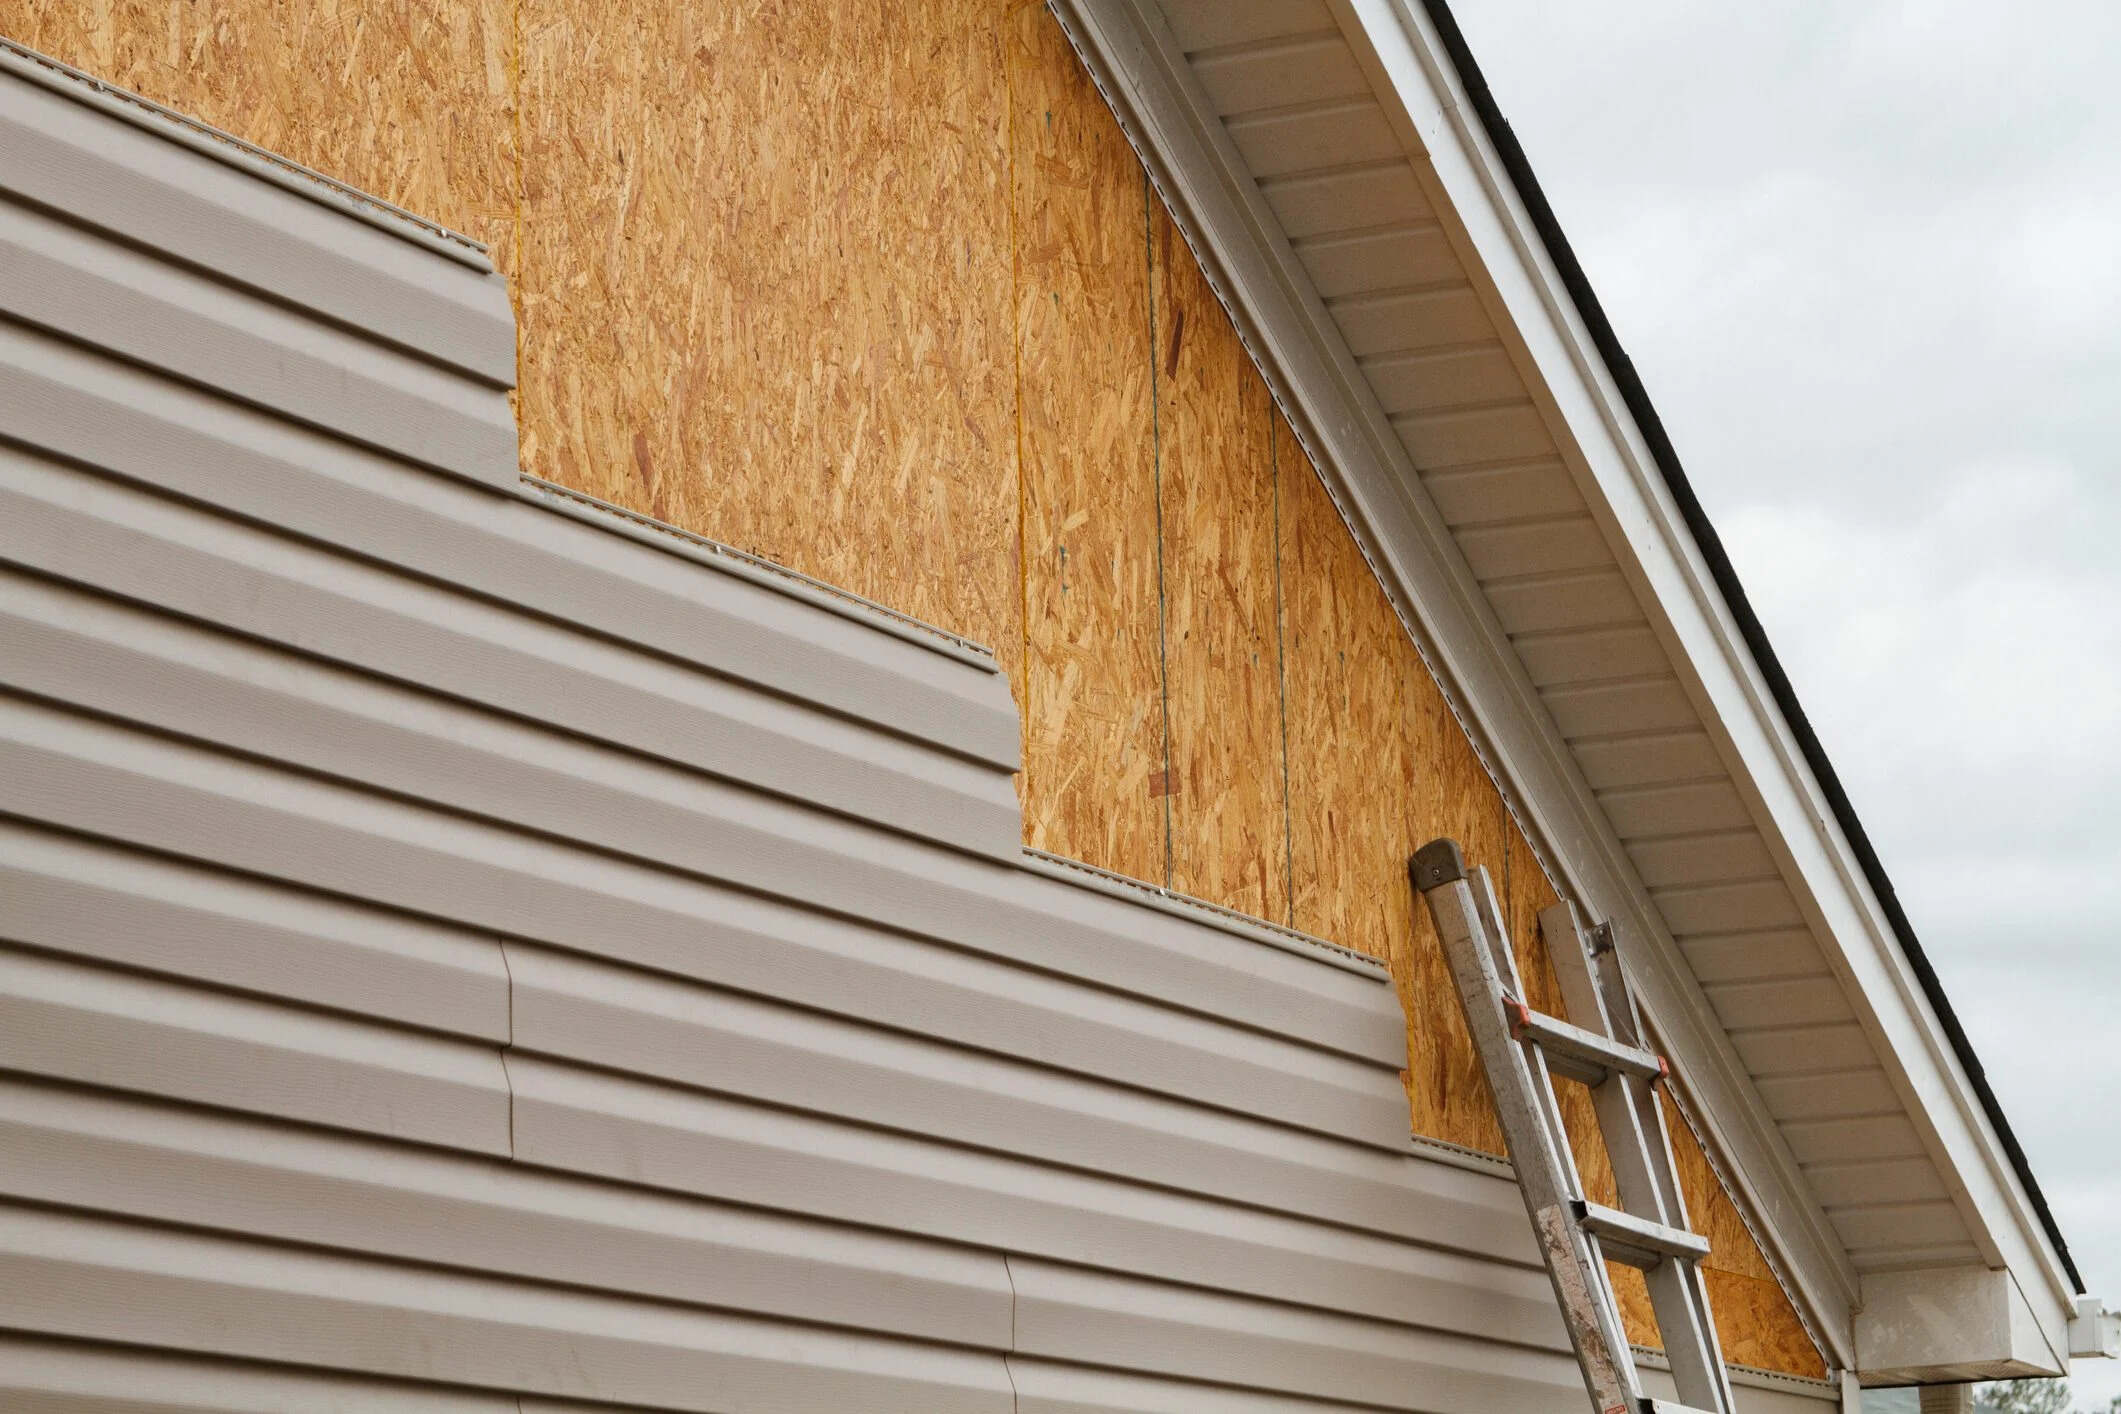
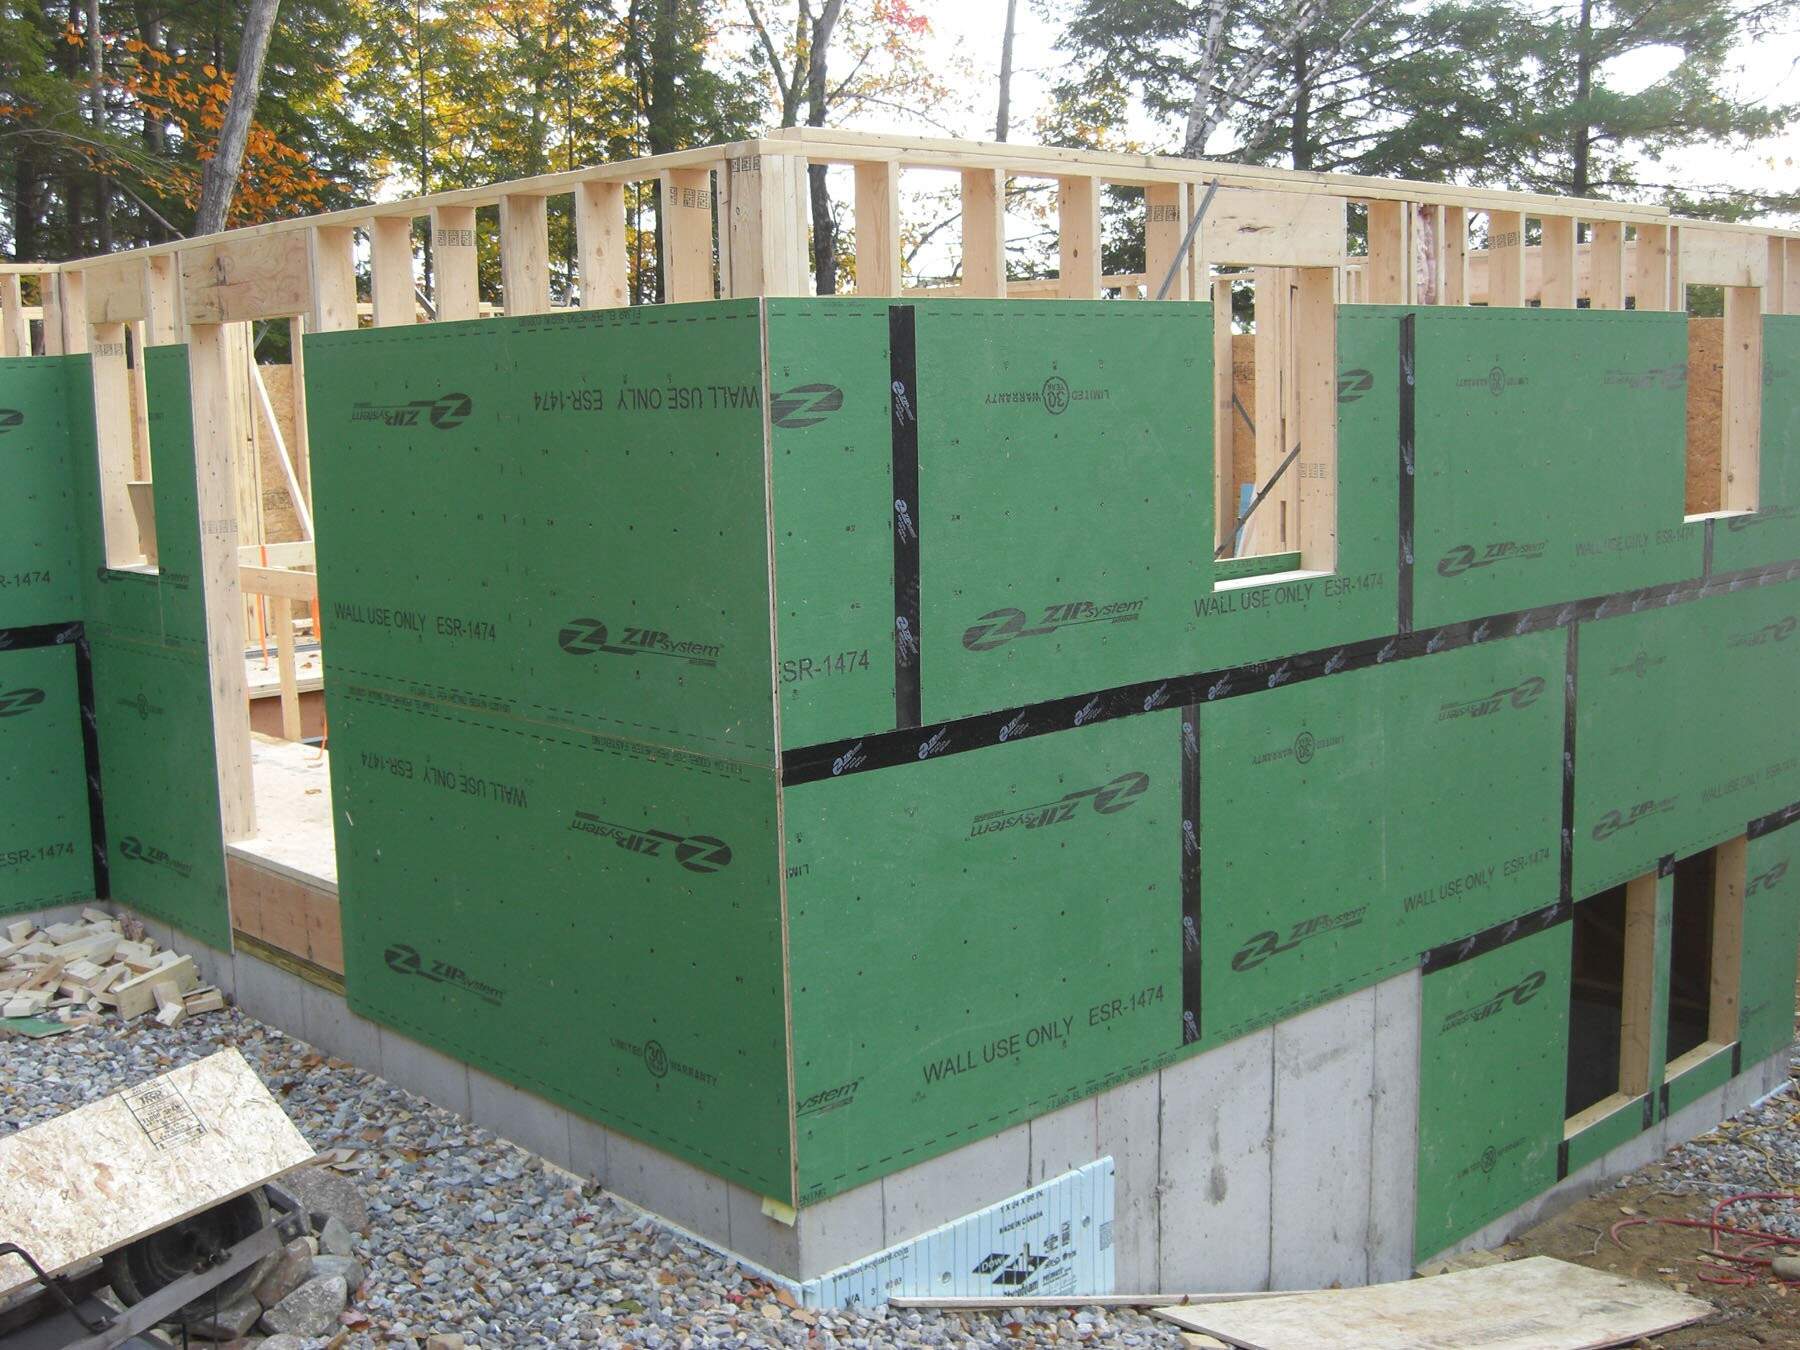
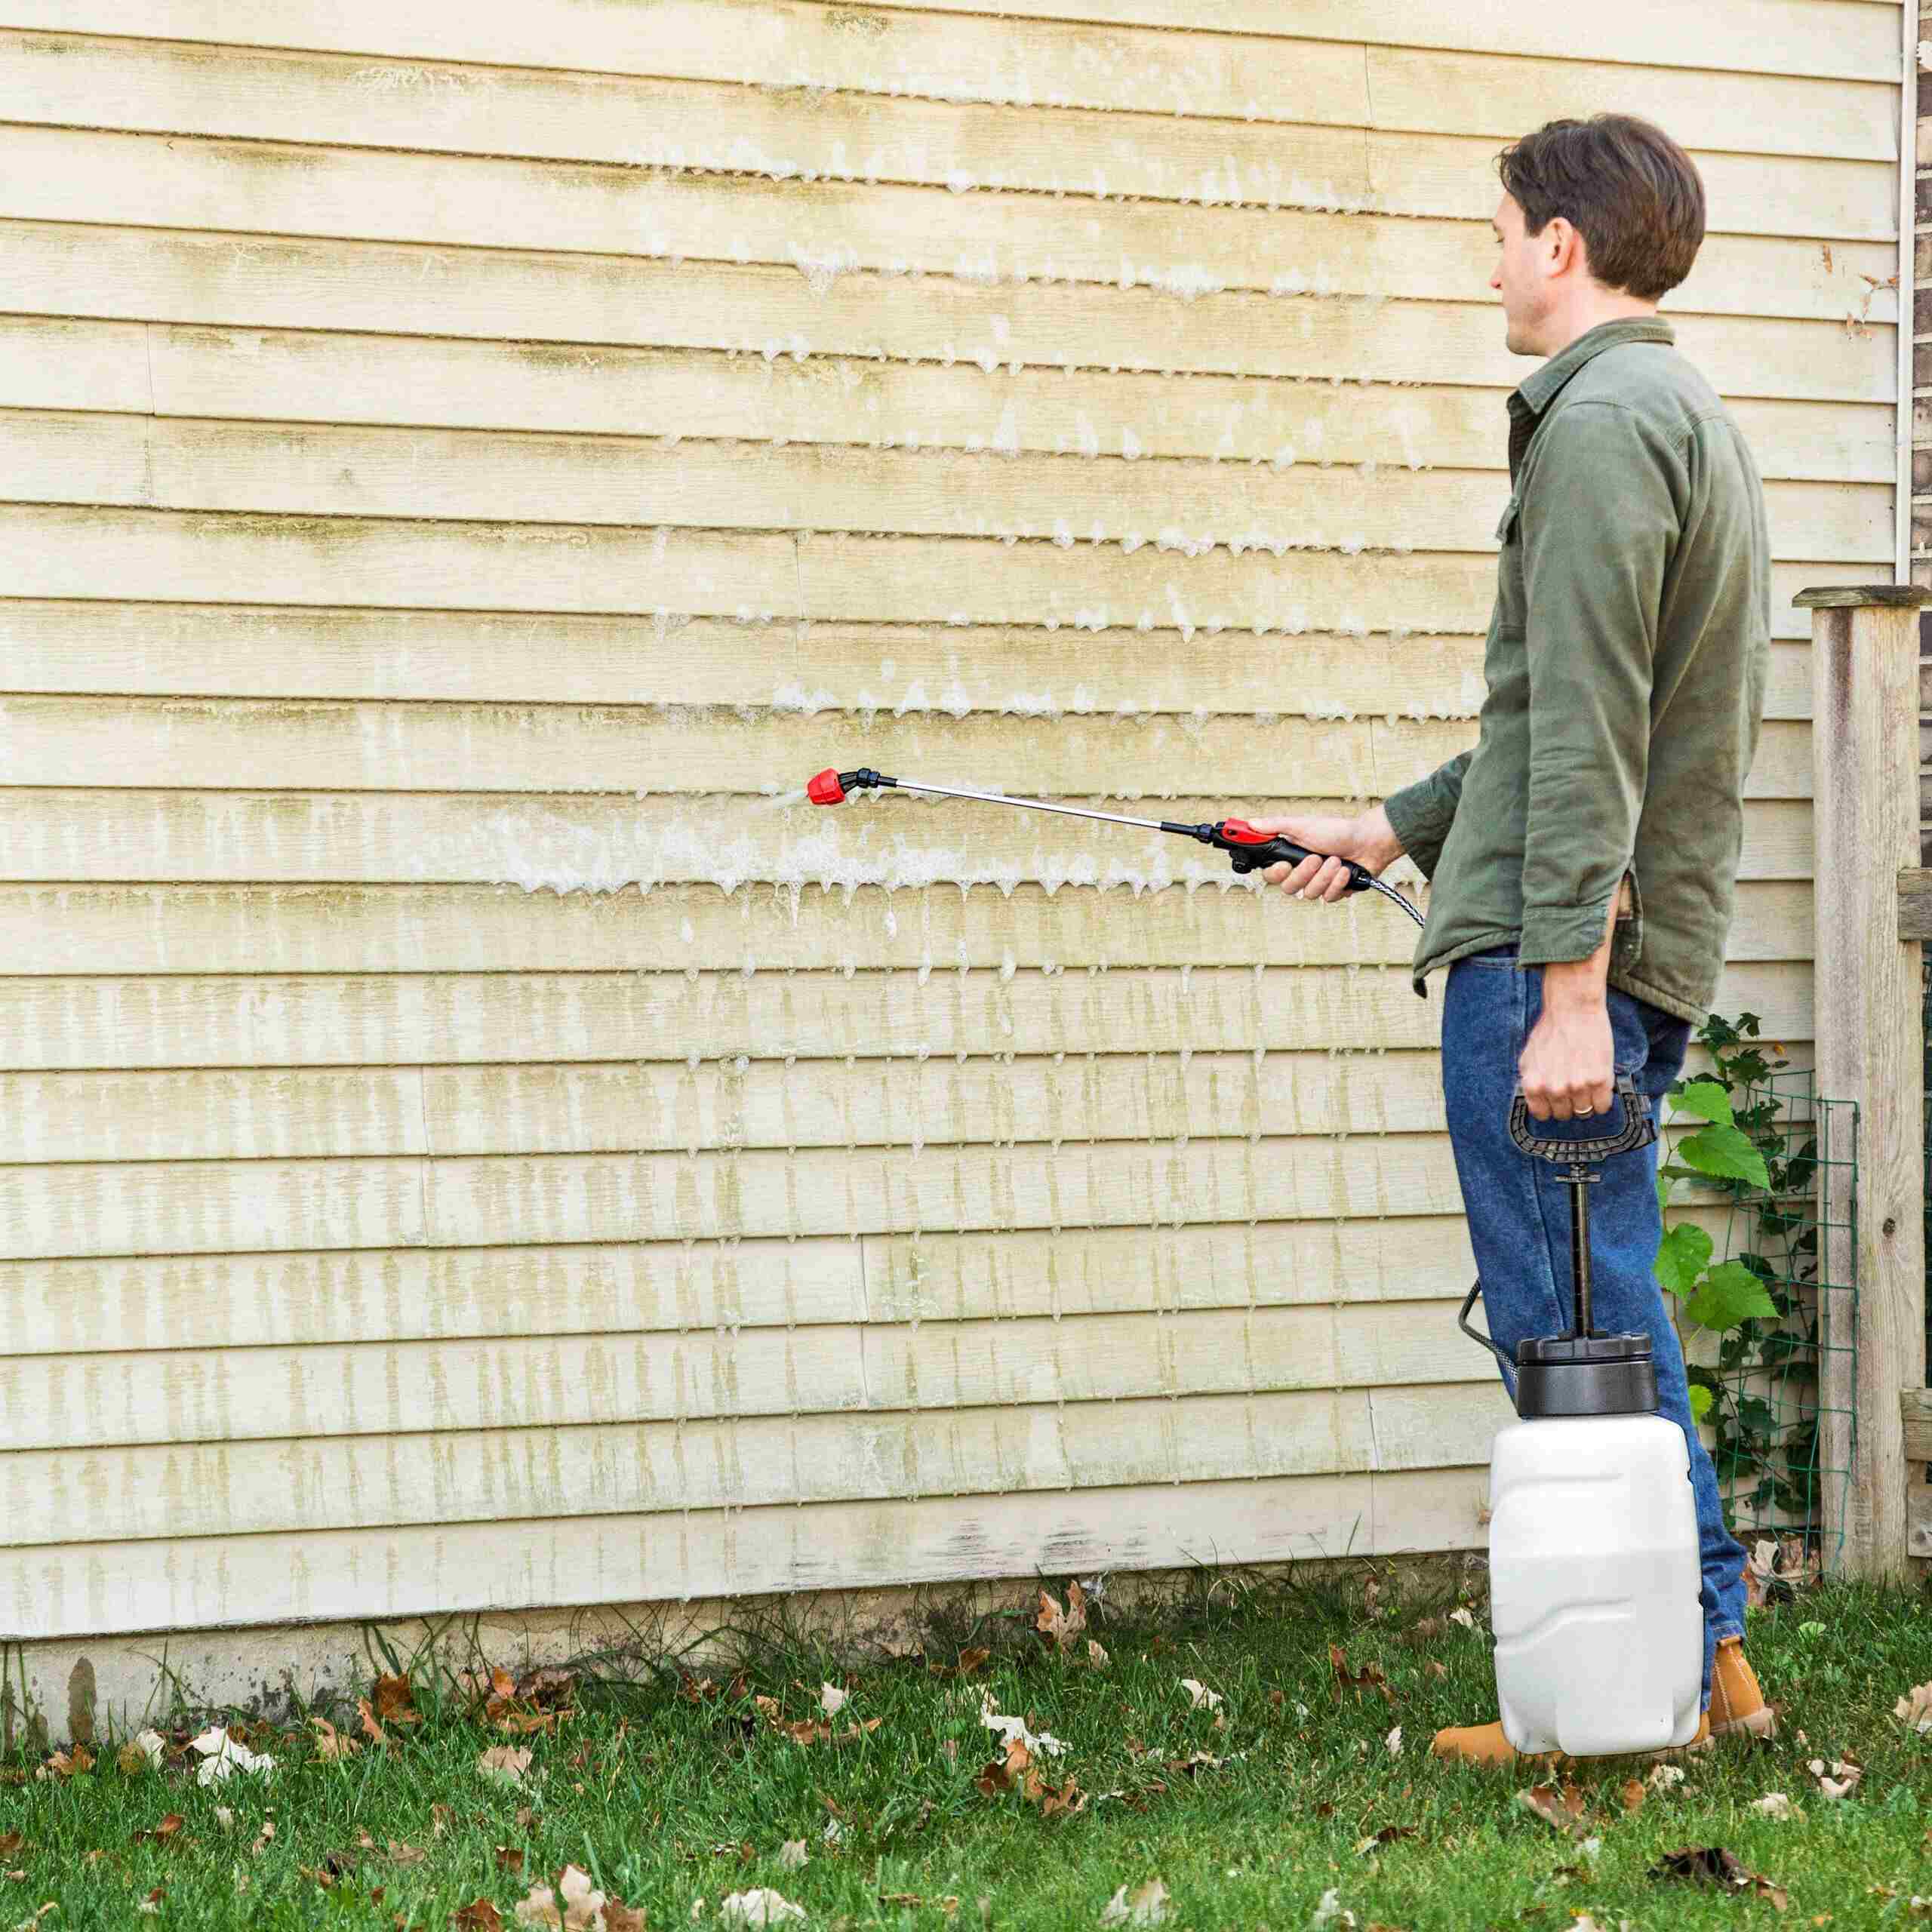
Step 2: Clear the Wall Surface
Once you have assessed the condition of your exterior walls, the next step is to clear the wall surface from any dirt, debris, or loose materials. This ensures proper adhesion and effectiveness when applying the waterproofing products.
Start by removing any plants, vegetation, or climbing vines that may be growing on the walls. These can trap moisture against the surface and lead to water damage. Use a stiff brush or a pressure washer to scrub away any dirt, grime, or loose paint. Pay extra attention to areas with mold or mildew growth, as these should be thoroughly cleaned using an appropriate cleaning solution.
If there are any cracks, gaps, or loose mortar, it’s essential to remove any existing loose material and repair it before proceeding. Use a chisel or a pointed trowel to carefully chip away the damaged portions. Once the cracks are cleaned out, fill them with an appropriate patching compound or mortar mix, ensuring a smooth and level surface.
After clearing the wall surface, allow it to dry completely before moving on to the next step. Remember that applying waterproofing products on a damp surface can compromise their effectiveness and durability.
By clearing the wall surface, you create a clean and solid foundation for the waterproofing materials, ensuring proper adhesion and long-lasting results.
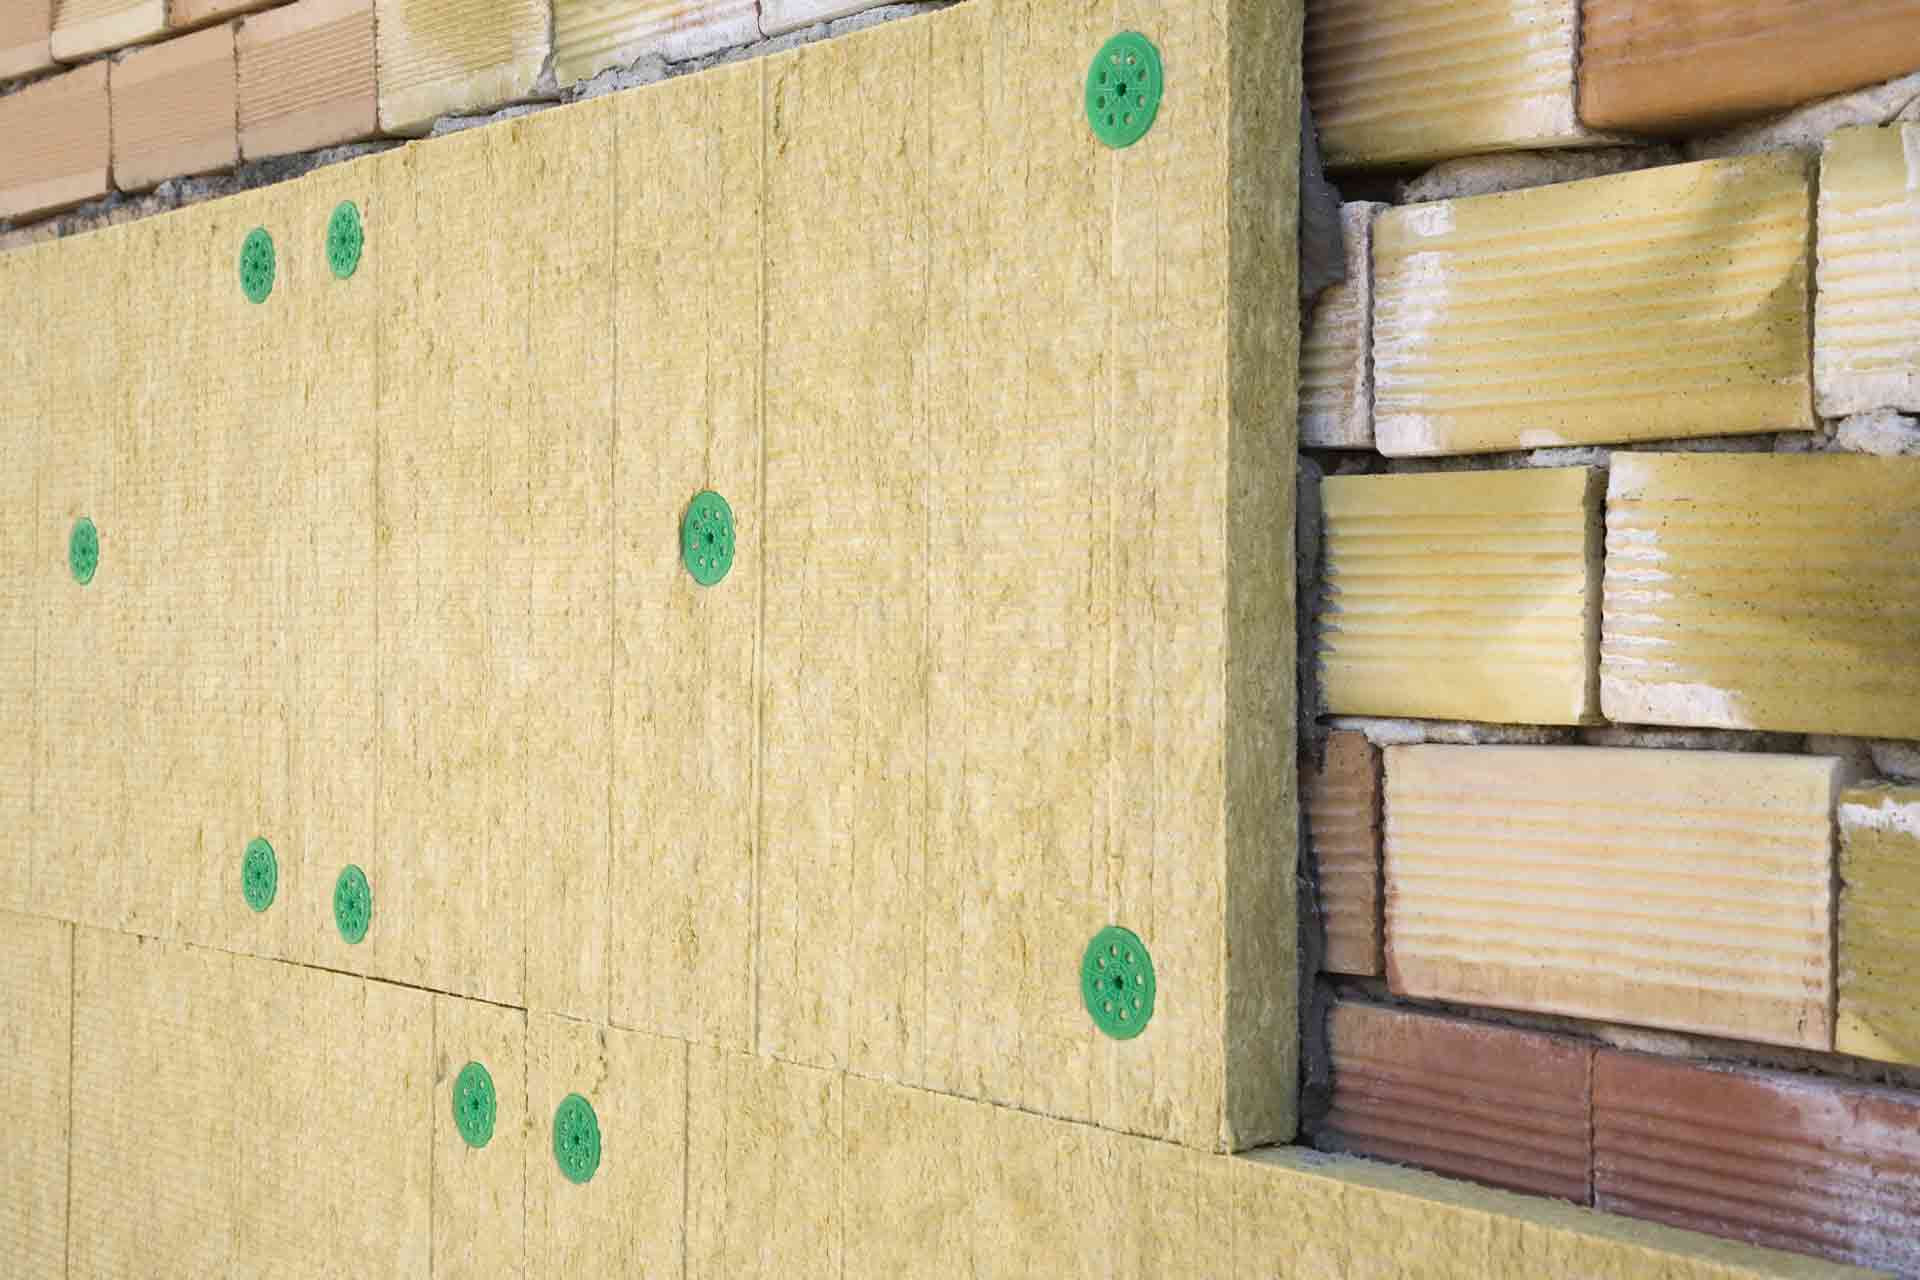
Step 3: Repair Cracks and Damages
Repairing cracks and damages in your exterior walls is a crucial step in preventing water intrusion and ensuring the effectiveness of your waterproofing efforts. Even small cracks can allow water to seep into the walls, causing further damage and compromising the integrity of the structure.
Start by examining the walls closely and identifying any cracks or damages. Use a wire brush or a scraper to remove any loose material from the crack. This will ensure that the repair material adheres properly to the wall surface.
Next, choose an appropriate repair material based on the type of wall material and the extent of the damage. For small cracks, a flexible or elastomeric caulking compound can be used. Apply the compound into the crack using a putty knife or a caulking gun, making sure to fill it completely and level it with the wall surface.
For larger cracks or structural damages, it may be necessary to use a patching compound or mortar mix. Mix the compound according to the manufacturer’s instructions and apply it to the damaged area using a trowel. Smooth the surface of the patch and blend it with the surrounding wall for a seamless finish.
Once the cracks and damages are repaired, allow the repair material to cure and dry completely before proceeding to the next step.
By taking the time to repair cracks and damages, you ensure that your exterior walls are structurally sound and capable of withstanding water penetration. This step is crucial for the long-term effectiveness of the waterproofing process.
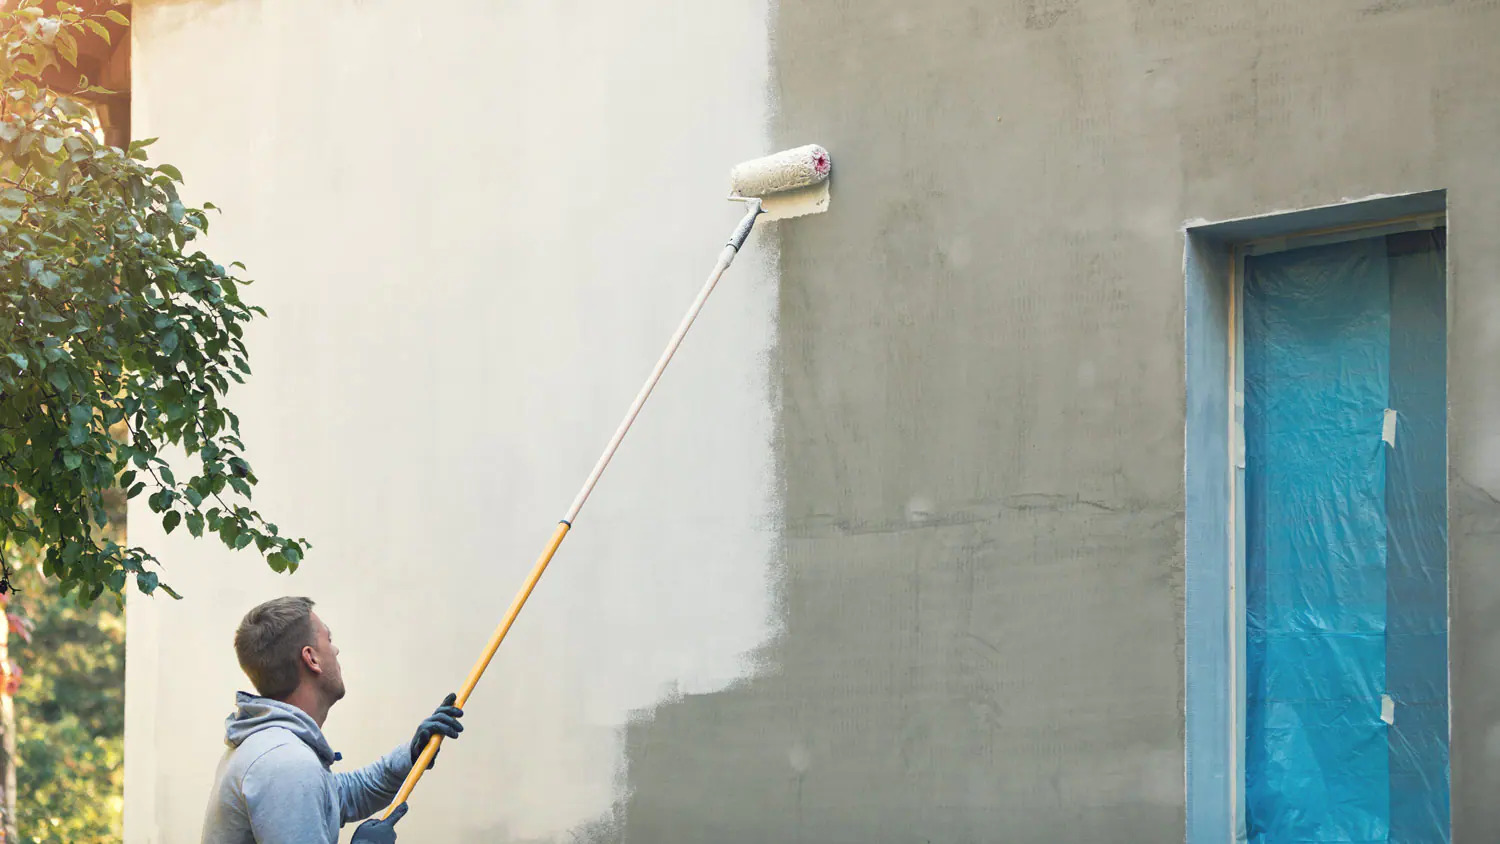
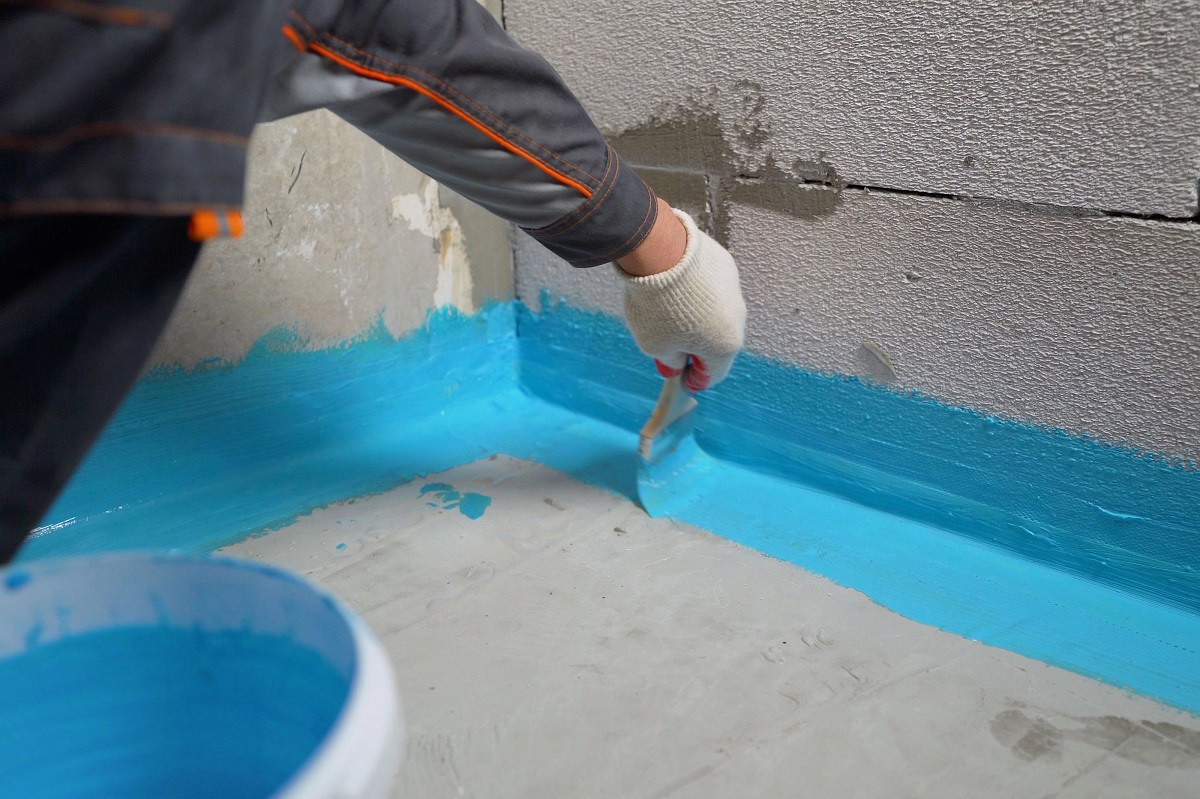
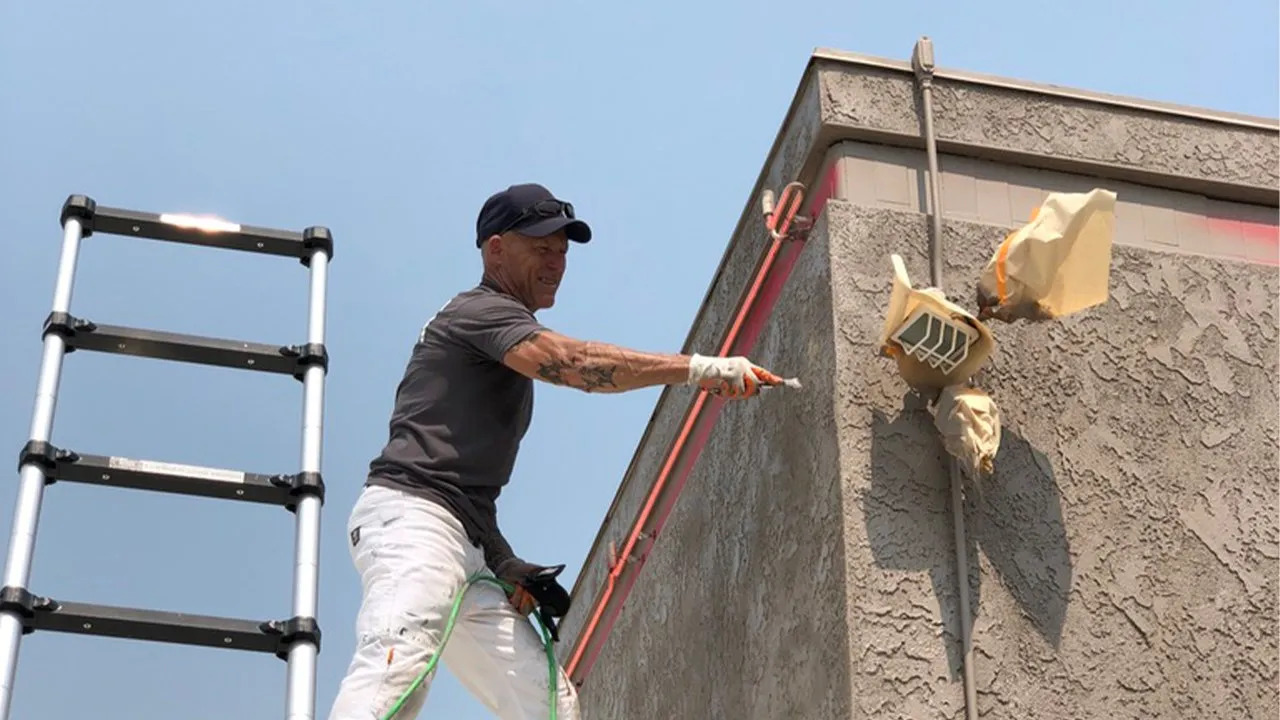
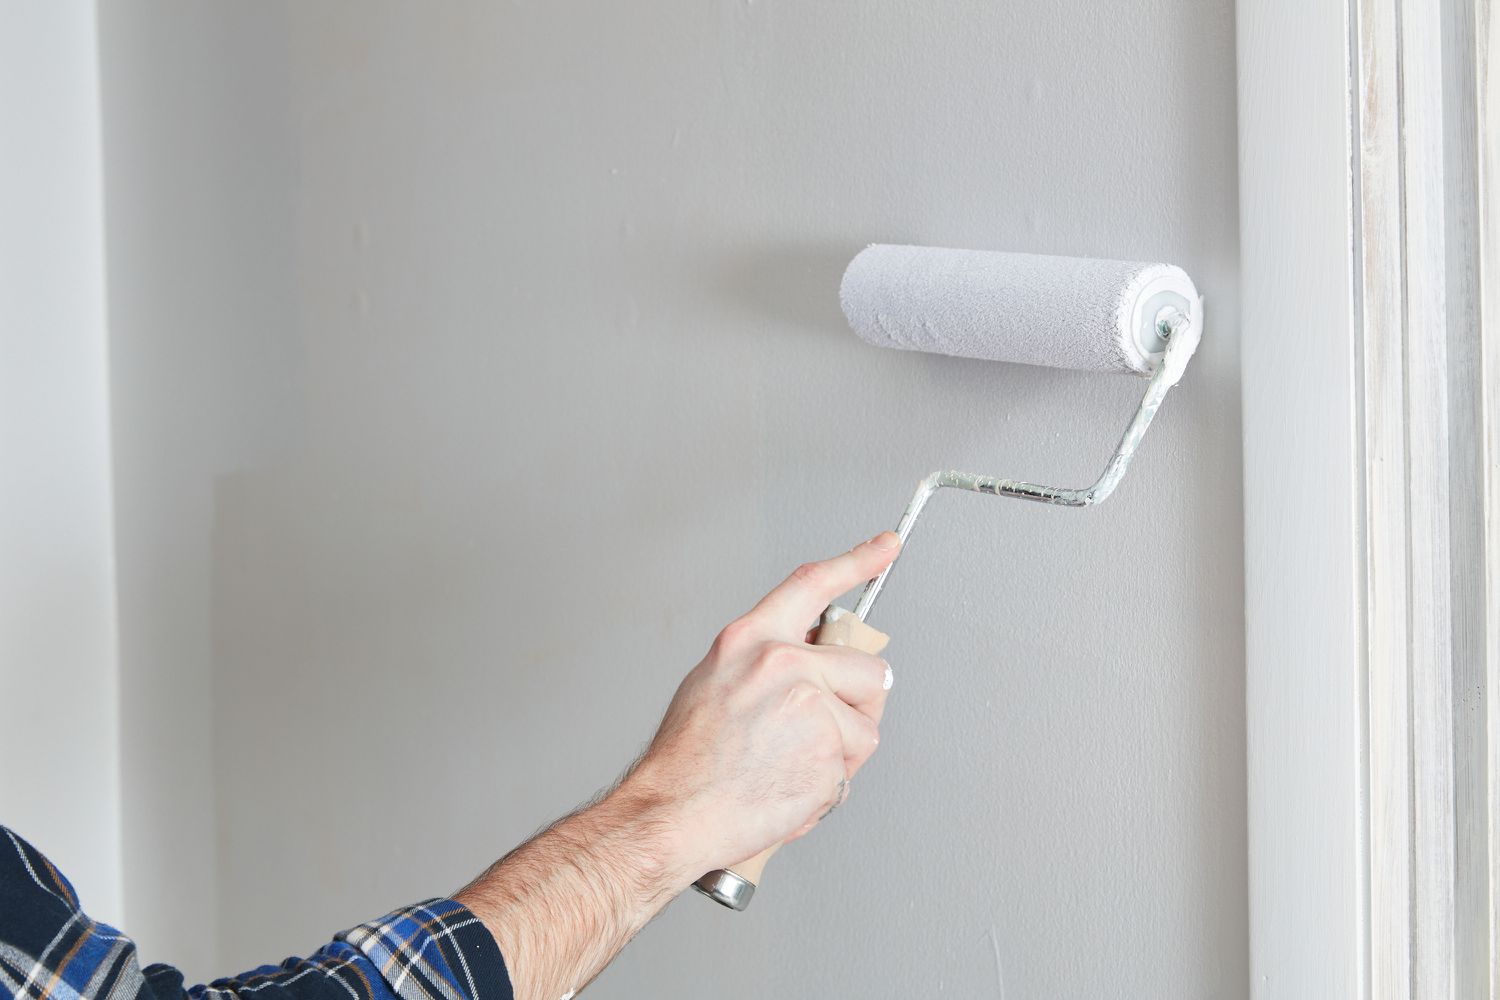
Step 4: Apply Waterproofing Sealant
Applying a waterproofing sealant is a key step in protecting your exterior walls from water damage. A high-quality sealant creates a barrier that prevents water from penetrating the walls while allowing moisture trapped inside to escape, ensuring the longevity and structural integrity of the walls.
Before applying the sealant, make sure the wall surface is clean, dry, and free from any dust or debris. This will ensure proper adhesion and effectiveness of the sealant. If necessary, use a pressure washer or a stiff brush to clean the surface thoroughly.
Choose a waterproofing sealant that is specifically designed for your wall material, such as a silicone-based or acrylic-based sealant. Follow the manufacturer’s instructions for application, as different sealants may have specific requirements.
Apply the sealant using a brush or a roller, ensuring even coverage across the entire wall surface. Pay special attention to areas prone to water intrusion, such as around windows, doors, and corners. Apply multiple coats if necessary to achieve the desired level of protection.
Allow the sealant to dry and cure according to the manufacturer’s instructions. This may take several hours or even days, depending on the type of sealant and the weather conditions.
Remember to regularly inspect and maintain the sealant to ensure its effectiveness over time. Reapply the sealant if you notice any signs of wear or deterioration.
By applying a waterproofing sealant, you create a protective barrier on your exterior walls that helps prevent water penetration and maintain the integrity of the structure. This step is crucial in safeguarding your property against water damage.
Apply a waterproofing sealant or paint specifically designed for exterior walls to create a protective barrier against moisture and prevent water damage.
Read more: How To Frame Exterior Walls
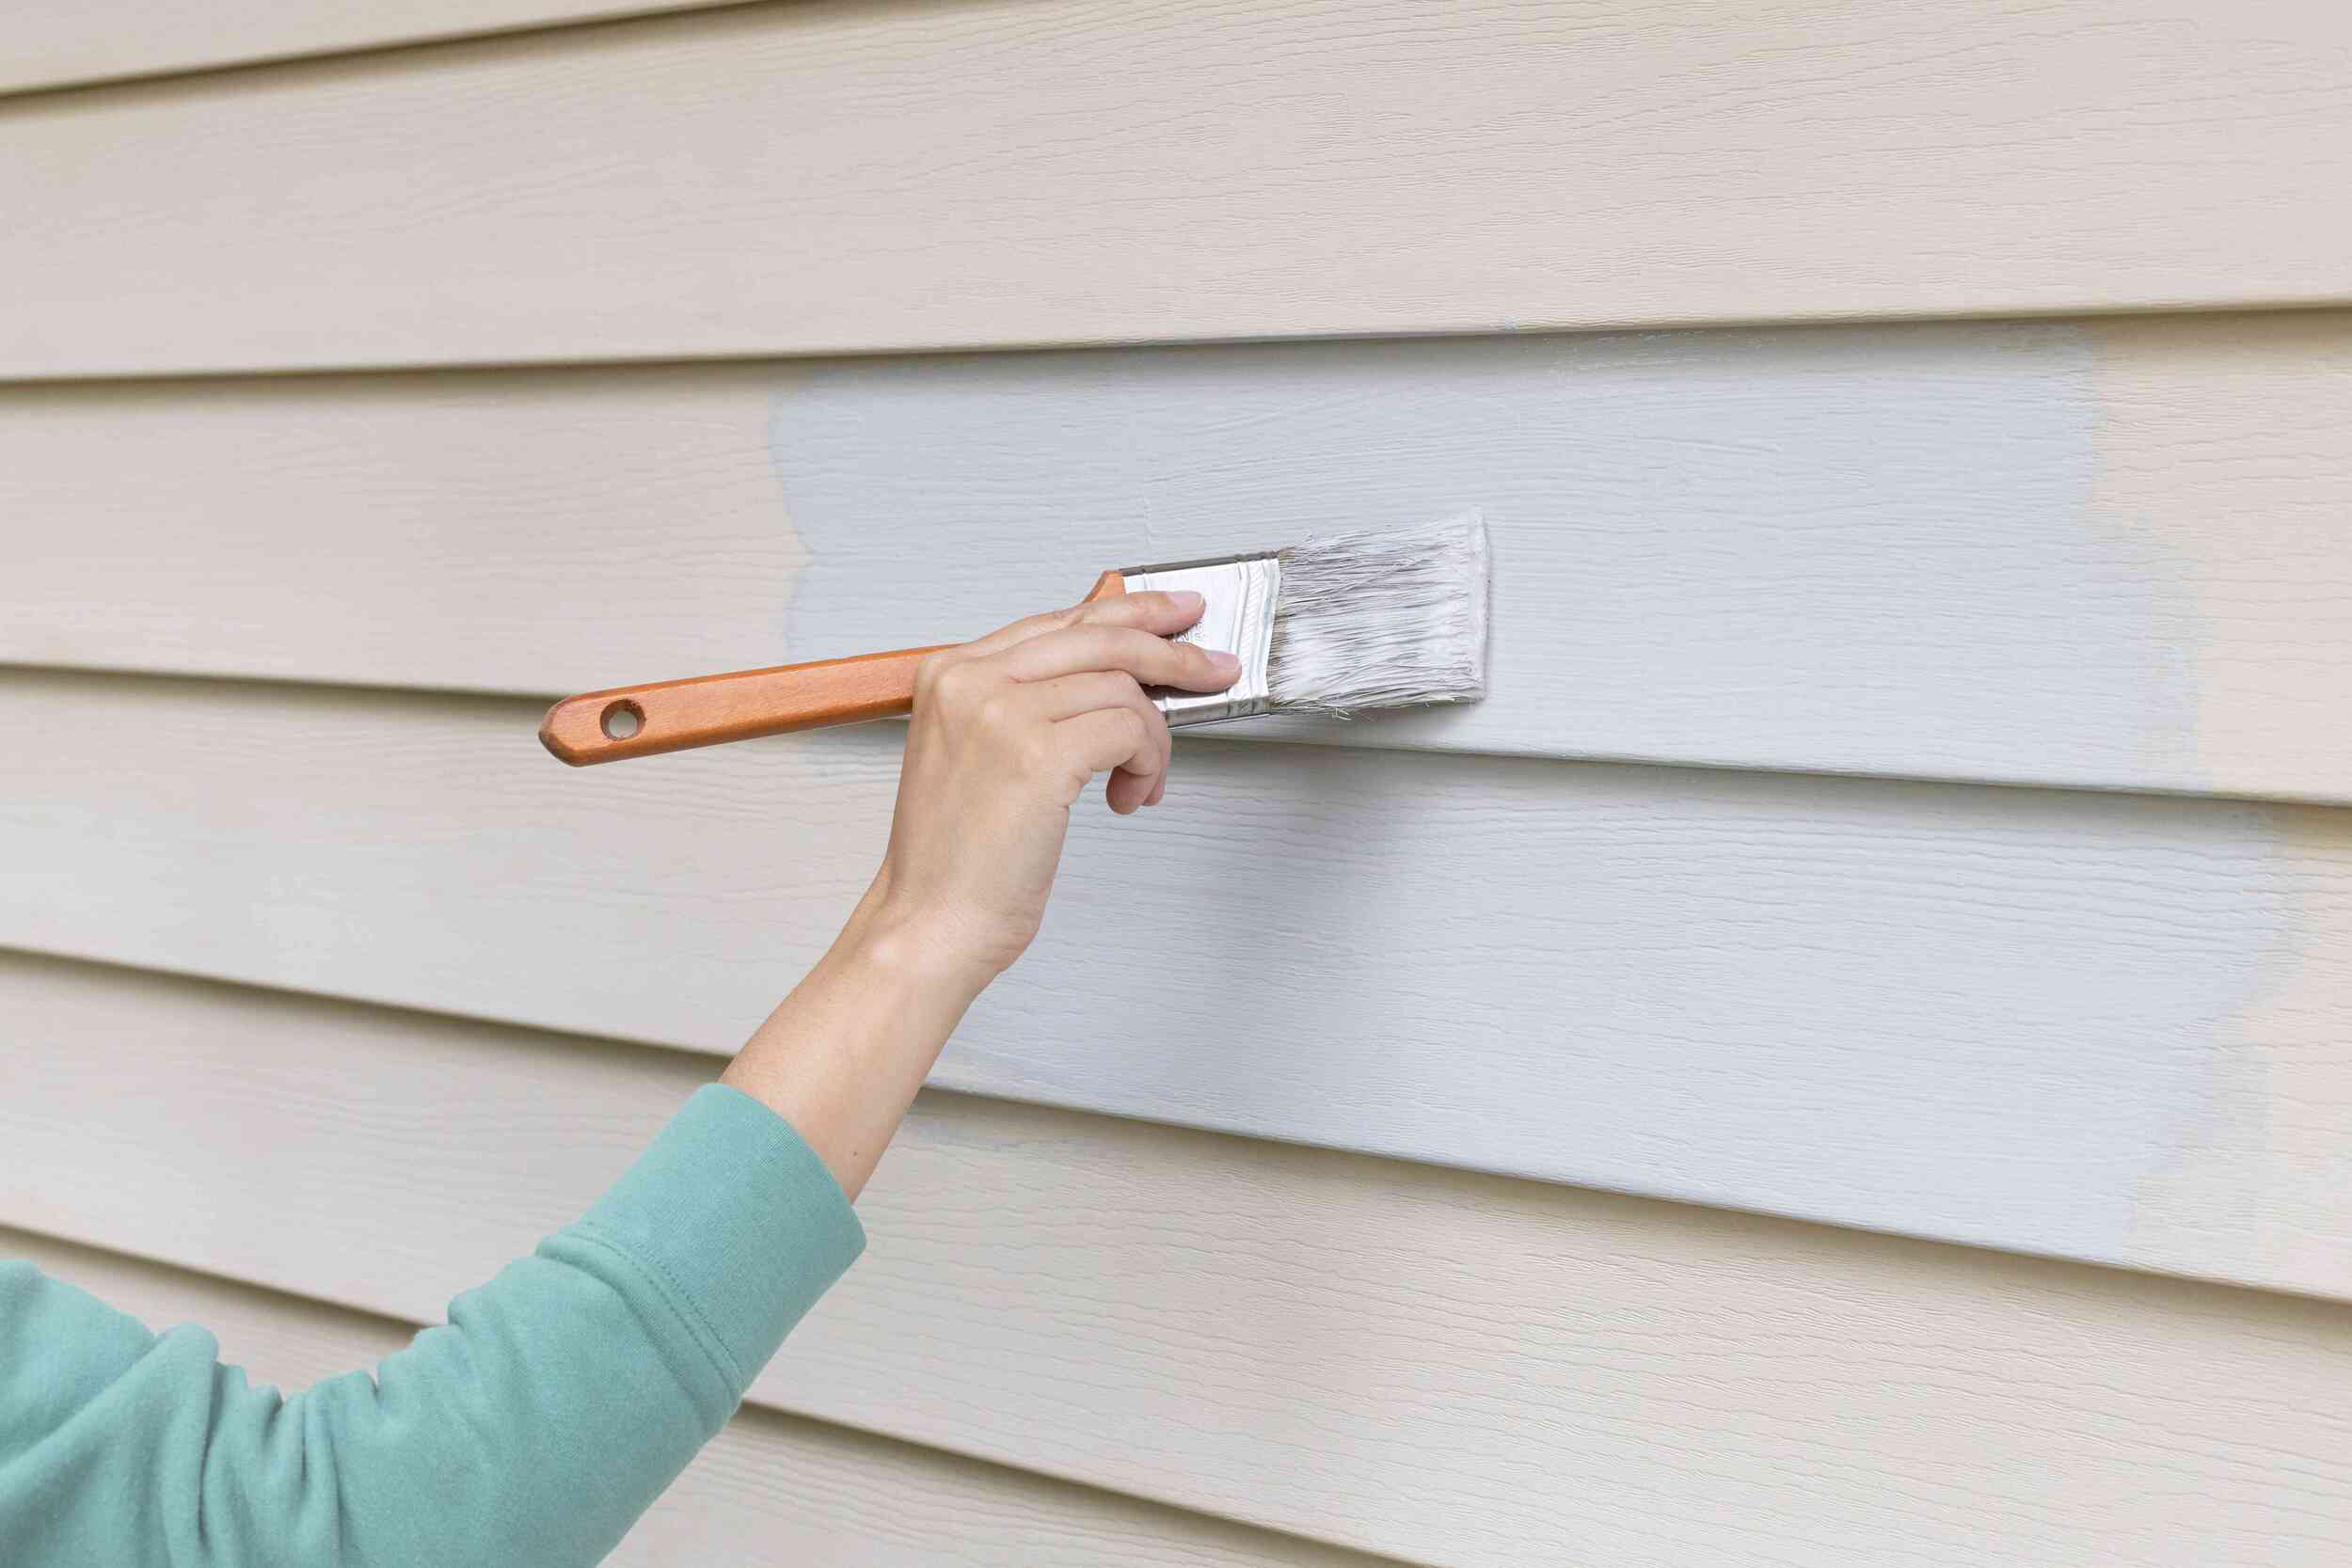
Step 5: Consider Exterior Coatings
In addition to applying a waterproofing sealant, considering exterior coatings for your walls can provide an extra layer of protection and enhance the durability of your waterproofing efforts. Exterior coatings offer a range of benefits, such as increased resistance to water penetration, UV protection, and even aesthetic enhancements.
There are various types of exterior coatings available, each with its own advantages and application methods. Some popular options include elastomeric coatings, masonry paints, and textured coatings.
Elastomeric coatings are flexible and highly durable, making them an excellent choice for areas with frequent movement or expansion. They provide excellent water resistance and can bridge small cracks, improving the overall waterproofing of the walls.
Masonry paints are typically acrylic-based and offer both waterproofing and decorative features. They come in a wide range of colors, allowing you to refresh the appearance of your property while providing an additional layer of protection against water damage.
Textured coatings are ideal for walls with rough surfaces or a desire for a textured finish. These coatings offer excellent waterproofing capabilities while adding a visually appealing texture to the walls.
Before applying an exterior coating, ensure that the wall surface is clean, dry, and free from any loose material or debris. Follow the manufacturer’s instructions for application, which may involve using a roller, brush, or sprayer depending on the type of coating.
Consider your specific needs, climate conditions, and budget when deciding on the type of exterior coating to use. Consulting with a professional or seeking advice from experts in the field can help you make an informed decision.
By considering exterior coatings, you can add an extra layer of protection to your exterior walls, enhancing the waterproofing capabilities and overall durability of your property.
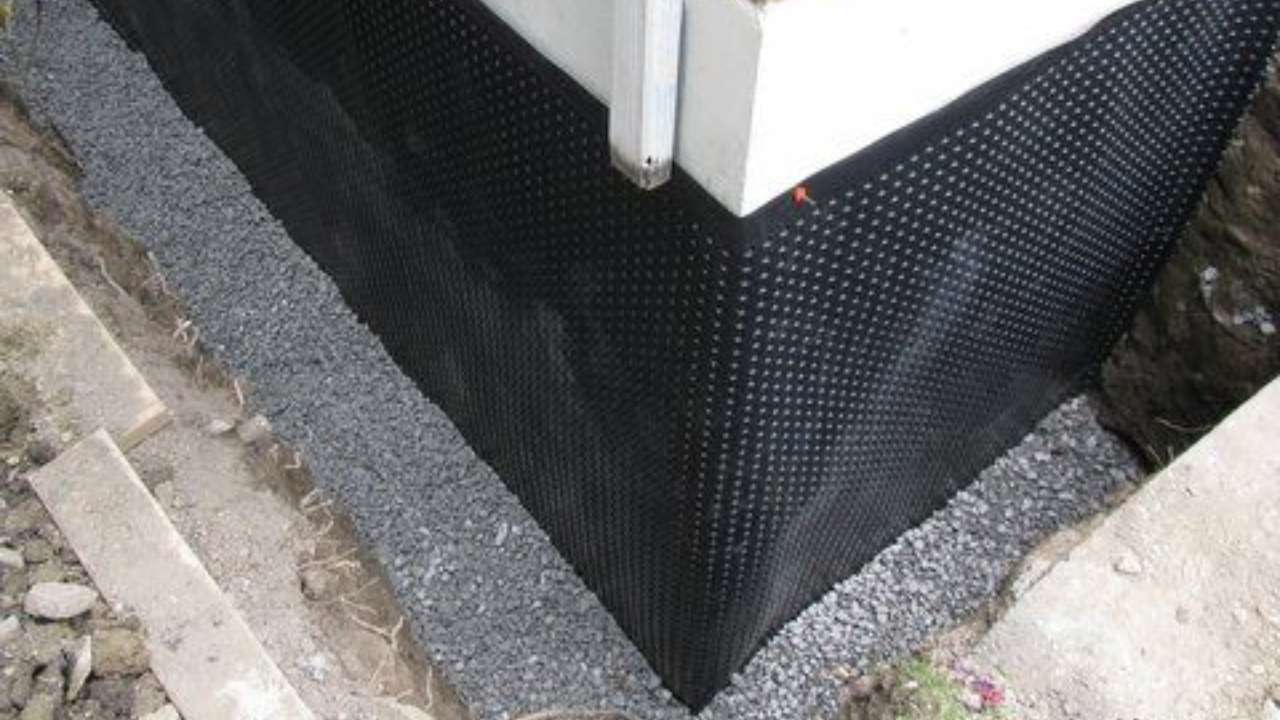
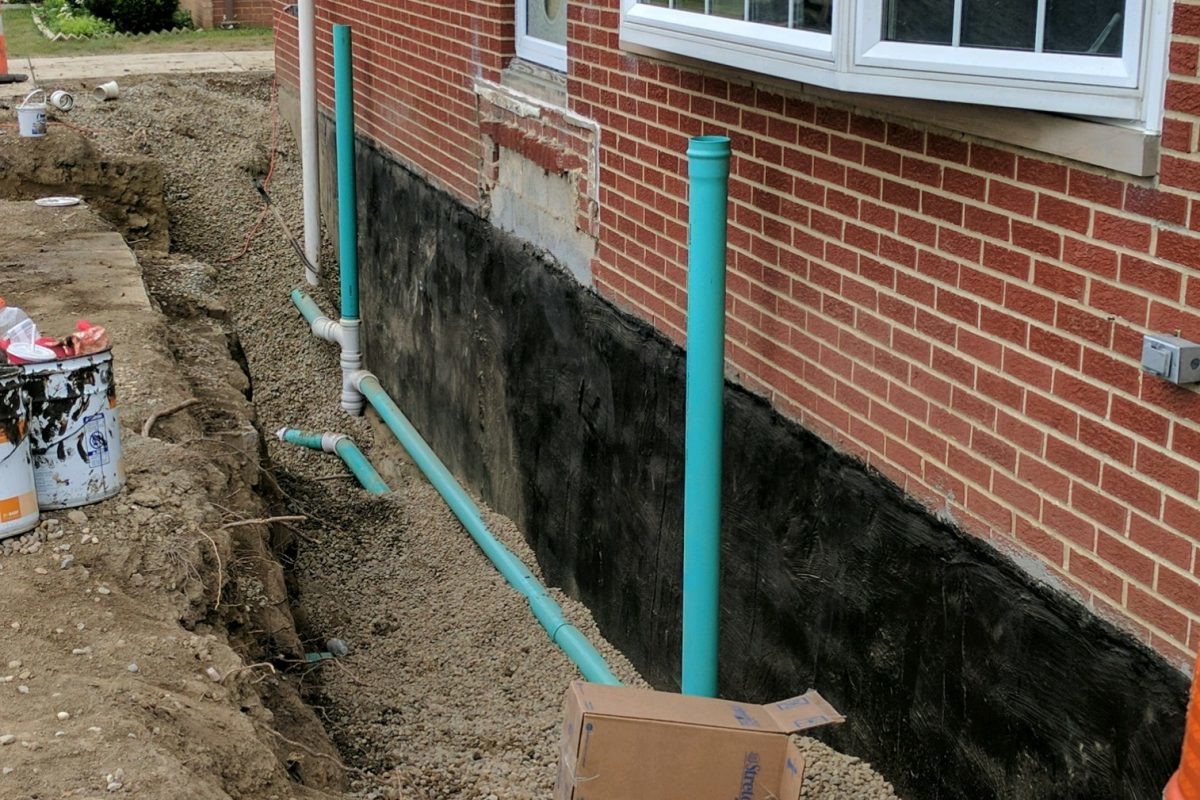
Step 6: Install Drainage System if Needed
In some cases, installing a drainage system can be necessary to effectively waterproof your exterior walls. A drainage system helps to manage water runoff and prevents water from accumulating against the walls, reducing the risk of water infiltration and potential damage.
Assess your property to determine if a drainage system is needed. Look for signs of water pooling or areas where water tends to accumulate, such as at the base of the walls or near downspouts. If there are low-lying areas or inadequate drainage, a drainage system can help redirect the water away from the walls.
There are several types of drainage systems to consider, including French drains, surface drains, or gutter systems. French drains consist of a perforated pipe placed in a trench filled with gravel to collect and redirect water underground. Surface drains collect water from the surface and channel it away through a system of pipes. Gutter systems collect rainwater from the roof and route it away from the walls through downspouts.
Consult with a professional or a drainage system specialist to determine the most suitable option for your property. They can assess the terrain and advise on the best placement and design for the drainage system.
Installation of a drainage system typically involves excavation or modification of the landscape. It is important to follow building codes and regulations and consider any potential impact on neighboring properties.
Once the drainage system is installed, regularly inspect and maintain it to ensure proper functionality and effectiveness. Clear any debris, such as leaves or debris, from the drains or gutters to prevent clogs and backups.
By installing a drainage system, you can effectively manage water runoff and prevent water accumulation against your exterior walls. This step is especially crucial in areas with heavy rainfall or poor drainage conditions.
Step 7: Maintain and Inspect Regularly
Maintaining and inspecting your waterproofed exterior walls on a regular basis is essential to ensure their long-term effectiveness and identify any potential issues promptly. By implementing a regular maintenance routine, you can catch small problems before they escalate into costly repairs or extensive damages.
Here are some maintenance and inspection tasks to include in your routine:
- Inspect for any signs of water intrusion, such as dampness, discoloration, or mold growth. Address any issues immediately, as they may indicate a failure in the waterproofing system.
- Regularly clean the wall surfaces to remove dirt, debris, and organic growth that can compromise the effectiveness of the waterproofing. Use a mild detergent and a soft-bristled brush to avoid damaging the surface.
- Check the condition of the sealant and exterior coatings. Look for any signs of wear, cracking, or peeling. Repair or reapply as necessary to maintain proper protection against water damage.
- Inspect and clean the drainage system regularly. Clear any debris, such as leaves or dirt, from drains, gutters, and downspouts. Ensure that the system is properly directing water away from the walls.
- Monitor the surrounding landscape and make sure it slopes away from the walls to prevent water pooling or excessive water exposure.
- Conduct routine checks on any structural elements, such as windows, doors, and joints, to ensure there are no leaks or gaps that could allow water to seep in.
- Consider scheduling professional inspections periodically to assess the overall condition of the waterproofing system and identify any potential issues.
By maintaining and inspecting your waterproofed exterior walls regularly, you can prolong their lifespan and ensure that they continue to provide adequate protection against water damage. Timely maintenance and repairs will help preserve the structural integrity of your property and save you from costly repairs in the long run.
Conclusion
Waterproofing your exterior walls is an essential step in protecting your property from water damage and ensuring its long-term durability. By following the steps outlined in this article, you can effectively safeguard your walls against the harmful effects of moisture, preventing issues such as mold growth, structural deterioration, and potential costly repairs.
Remember to assess the condition of your walls, clear the surface from dirt and debris, repair any cracks or damages, and apply a suitable waterproofing sealant. Consider adding exterior coatings for extra protection and enhance the aesthetic appeal of your property. If needed, install a drainage system to manage water runoff and redirect it away from the walls.
Don’t forget to conduct regular maintenance and inspections to identify any potential issues and address them promptly. Cleaning the surface, checking the condition of the sealant and coatings, inspecting the drainage system, and monitoring the surrounding landscape are all important tasks in maintaining the effectiveness of your waterproofing efforts.
By taking the time to properly waterproof your exterior walls and implementing a consistent maintenance routine, you can enjoy a well-protected property that withstands the test of time. Consult with professionals if needed, and ensure you follow any manufacturer’s instructions for the products and materials used.
Investing in waterproofing your exterior walls is a proactive and wise decision that will save you from potential damage and costly repairs in the future. Prioritize the protection of your property and enjoy the peace of mind that comes with knowing your walls are fortified against water intrusion.
Frequently Asked Questions about How To Waterproof Exterior Walls
Was this page helpful?
At Storables.com, we guarantee accurate and reliable information. Our content, validated by Expert Board Contributors, is crafted following stringent Editorial Policies. We're committed to providing you with well-researched, expert-backed insights for all your informational needs.


0 thoughts on “How To Waterproof Exterior Walls”