
Articles
How To Waterproof A Concrete Floor
Modified: January 5, 2024
Learn effective techniques and tips for waterproofing your concrete floor with our informative articles. Ensure long-lasting protection and prevent water damage.
(Many of the links in this article redirect to a specific reviewed product. Your purchase of these products through affiliate links helps to generate commission for Storables.com, at no extra cost. Learn more)
Introduction
Welcome to our guide on how to waterproof a concrete floor. Whether you have a basement, a garage, or any other concrete floor that is in need of protection against moisture, this comprehensive article will provide you with the knowledge and steps necessary for effective waterproofing.
Concrete is a durable and versatile material, but it is inherently porous, meaning that it can absorb water and moisture if not properly sealed. Over time, this can lead to issues such as mold growth, water damage, and deterioration of the concrete itself. By waterproofing your concrete floor, you can prevent these problems and ensure the longevity and performance of your flooring.
In this guide, we will walk you through the step-by-step process of how to waterproof a concrete floor. From cleaning and preparing the surface to applying a waterproofing membrane and sealer, we will cover all the necessary techniques and materials required for a successful waterproofing project.
Before we dive into the details, it’s important to note that waterproofing a concrete floor is a task that requires careful planning and execution. It is essential to follow the instructions provided by manufacturers for the specific products you are using and to take necessary safety precautions.
So, without further ado, let’s get started with step one: cleaning and preparing the concrete surface for waterproofing.
Key Takeaways:
- Properly cleaning, sealing, and applying a waterproofing membrane to your concrete floor is essential for preventing water damage, mold growth, and deterioration. Follow the step-by-step process for effective and long-lasting waterproofing.
- Allowing sufficient drying and curing time for the applied materials is crucial for creating a robust barrier against water penetration. Regular maintenance and prompt repairs will ensure the continued effectiveness of your waterproofing efforts.
Read more: How To Waterproof A Concrete Swimming Pool
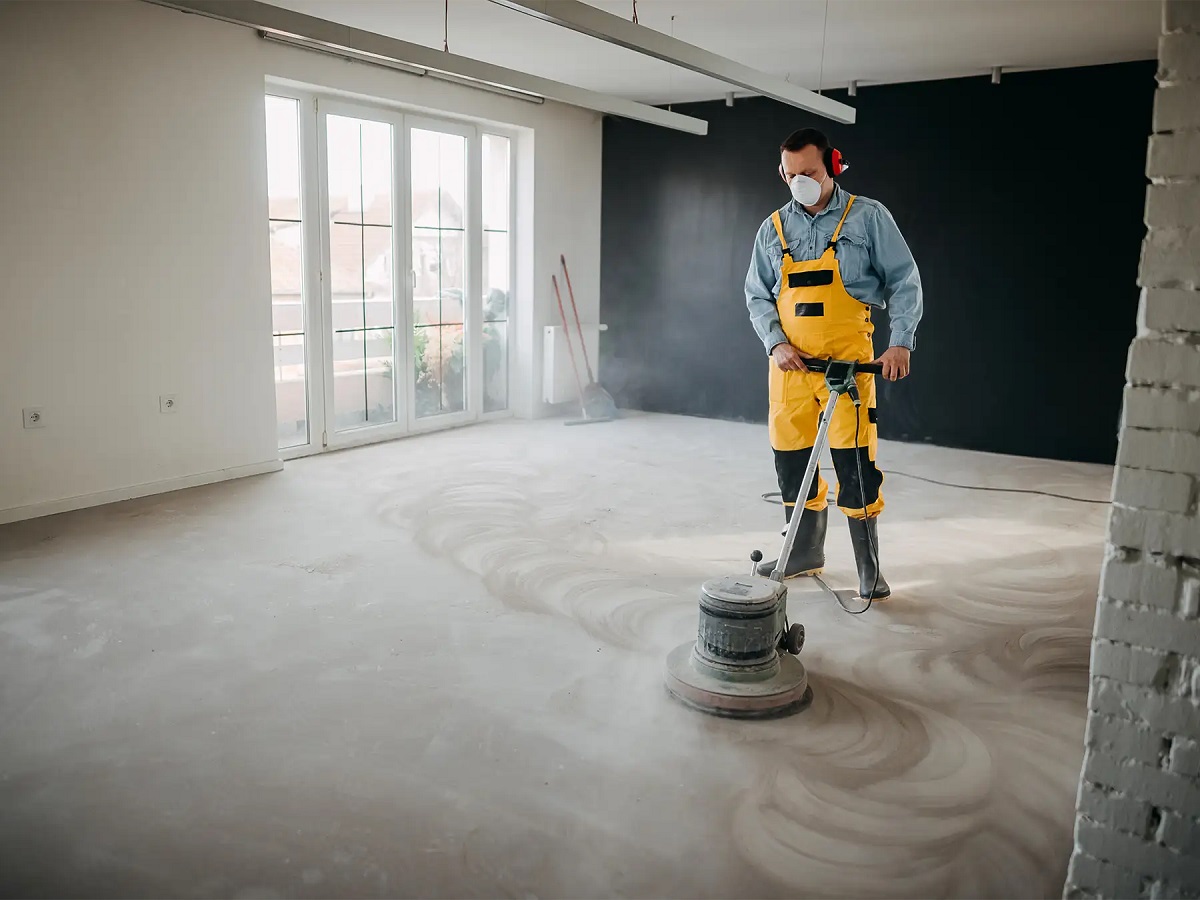
Step 1: Clean and Prepare the Concrete Surface
Before you begin the process of waterproofing your concrete floor, it is crucial to ensure that the surface is clean and free from any dirt, oil, grease, or other contaminants. This step is essential because any impurities on the concrete can interfere with the proper adhesion of the waterproofing products.
Here’s what you’ll need to do:
- Sweep or vacuum the floor: Start by removing any loose debris, dust, or dirt from the concrete surface. Use a broom or a vacuum cleaner to thoroughly clean the floor. Pay attention to corners and edges where dirt tends to accumulate.
- Scrub the floor: For more stubborn stains or areas with oil and grease, you may need to use a concrete degreaser or cleaner. Follow the manufacturer’s instructions and scrub the floor using a stiff-bristle brush or a scrubbing machine. Rinse the floor thoroughly with water to remove any residue.
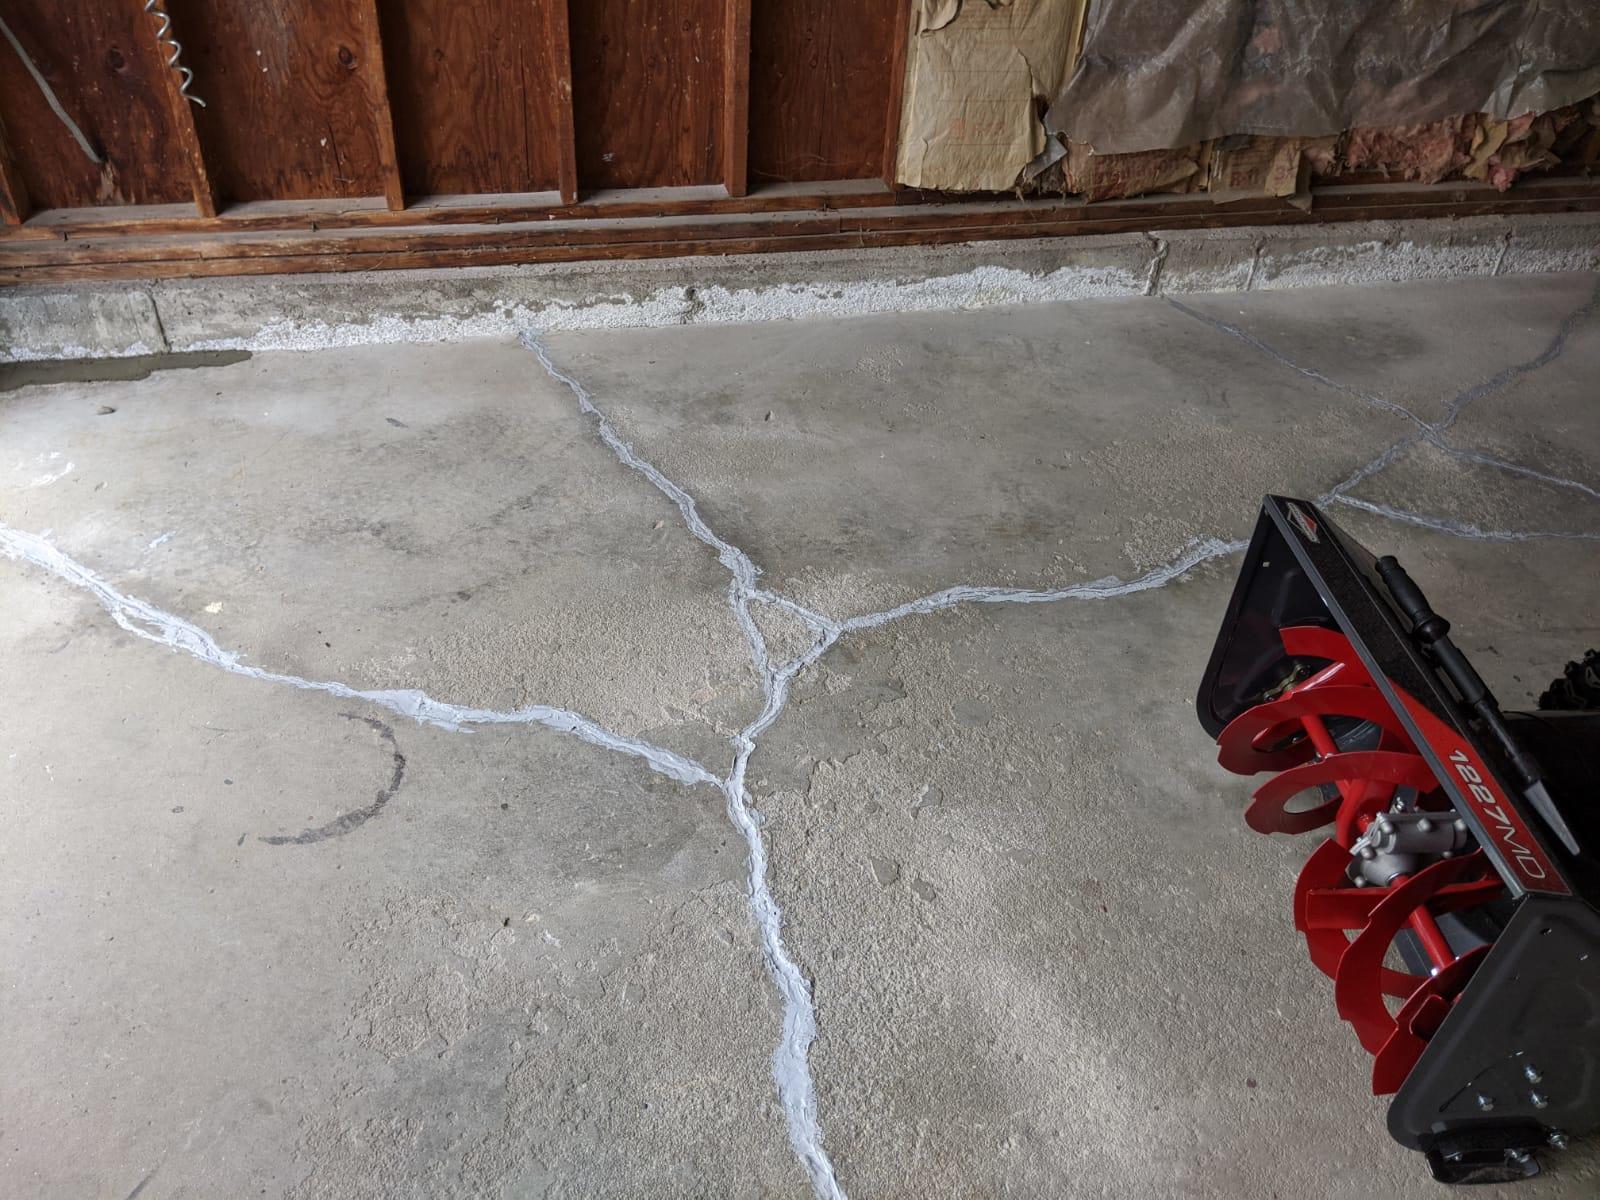
- Check for cracks or damage: Inspect the concrete surface for any cracks, holes, or other forms of damage. These must be repaired before proceeding with the waterproofing process. Use a concrete repair compound to fill in the cracks and level any uneven areas. Allow the repairs to dry completely before moving on.
By thoroughly cleaning and repairing the concrete surface, you are ensuring a clean and smooth base for the subsequent steps of the waterproofing process. This step is crucial for the effectiveness and longevity of the waterproofing treatment.
Now that the concrete surface is clean and prepared, it’s time to move on to step two: applying a concrete sealer.
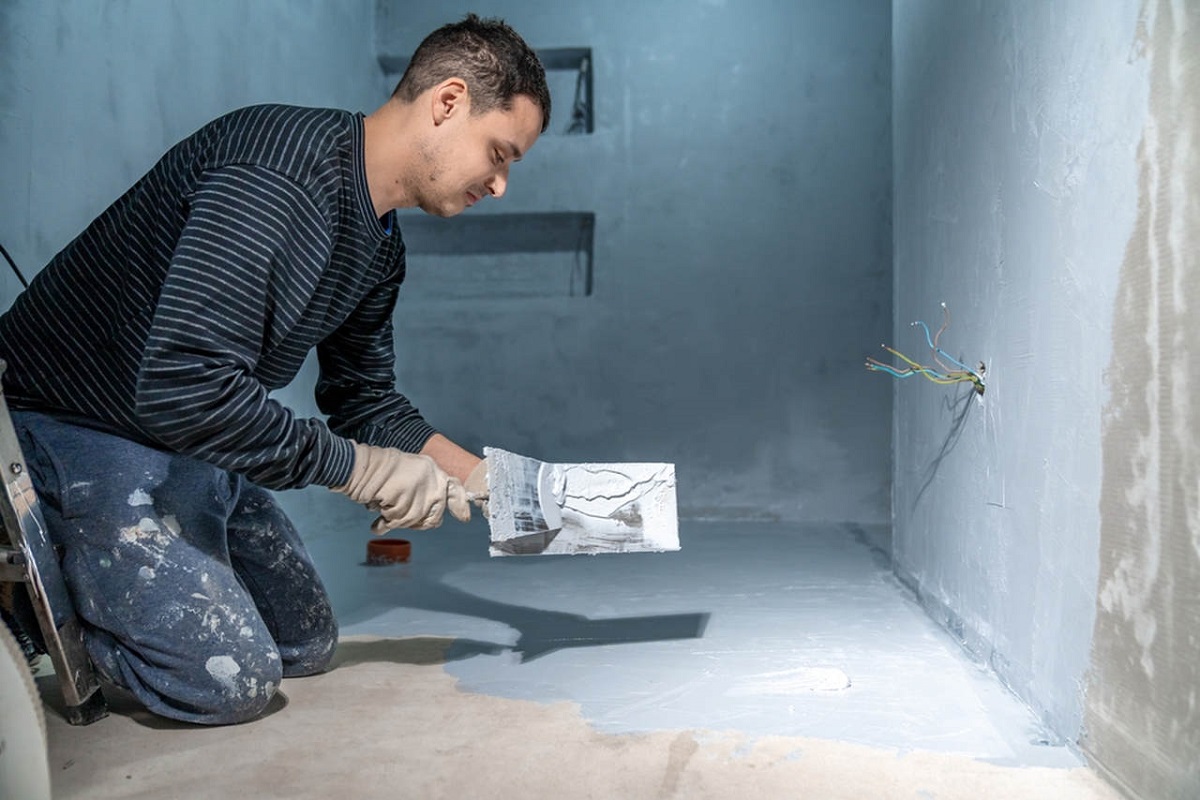
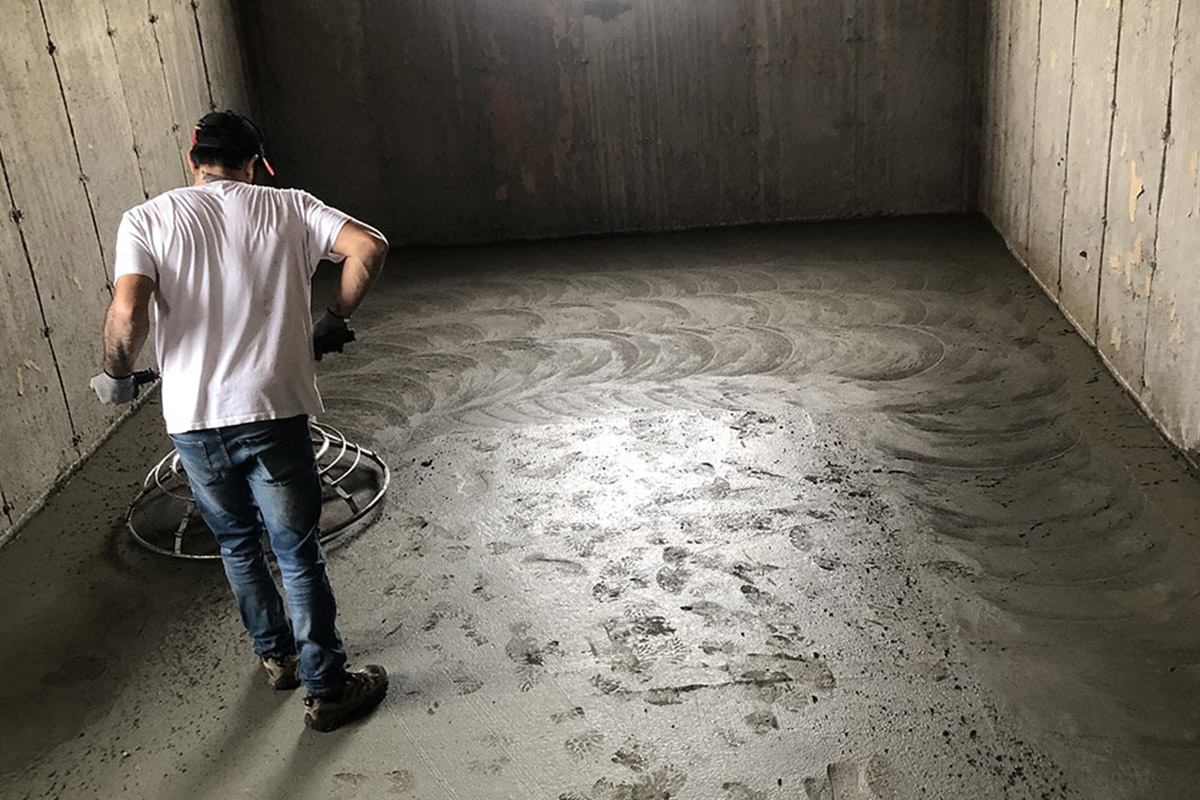
Step 2: Apply a Concrete Sealer
Once the concrete surface is clean and prepared, the next step in waterproofing your concrete floor is to apply a concrete sealer. A concrete sealer is a protective coating that helps to seal the pores of the concrete, preventing water from penetrating and causing damage.
Here’s how you can apply a concrete sealer:
- Select the right type of sealer: There are different types of concrete sealers available, including penetrating sealers and film-forming sealers. The type you choose will depend on factors such as the level of protection you require, the type of concrete, and the desired finish. Read the manufacturer’s instructions and choose a sealer suitable for your specific needs.
- Prepare the sealer and the tools: Mix the concrete sealer according to the manufacturer’s instructions. Use a paint mixer or stir stick to ensure that it is well-blended. Additionally, gather the necessary tools, such as a paint roller or brush, a paint tray, and protective gear, including gloves and goggles.
- Apply the sealer: Start by cutting in along the edges of the floor using a brush. Then, pour the sealer into the paint tray and load the roller or brush. Apply the sealer in even and thin coats, working in small sections. Ensure that the sealer is spread evenly and that there are no puddles or drips. For larger areas, you may need to use a paint sprayer for a more efficient application.
- Allow for drying time: Follow the manufacturer’s instructions regarding the drying time of the sealer. Typically, it takes a few hours for the sealer to dry to touch, and a full cure can take up to 24 hours. Avoid walking on the surface or placing any furniture or heavy objects during this time.
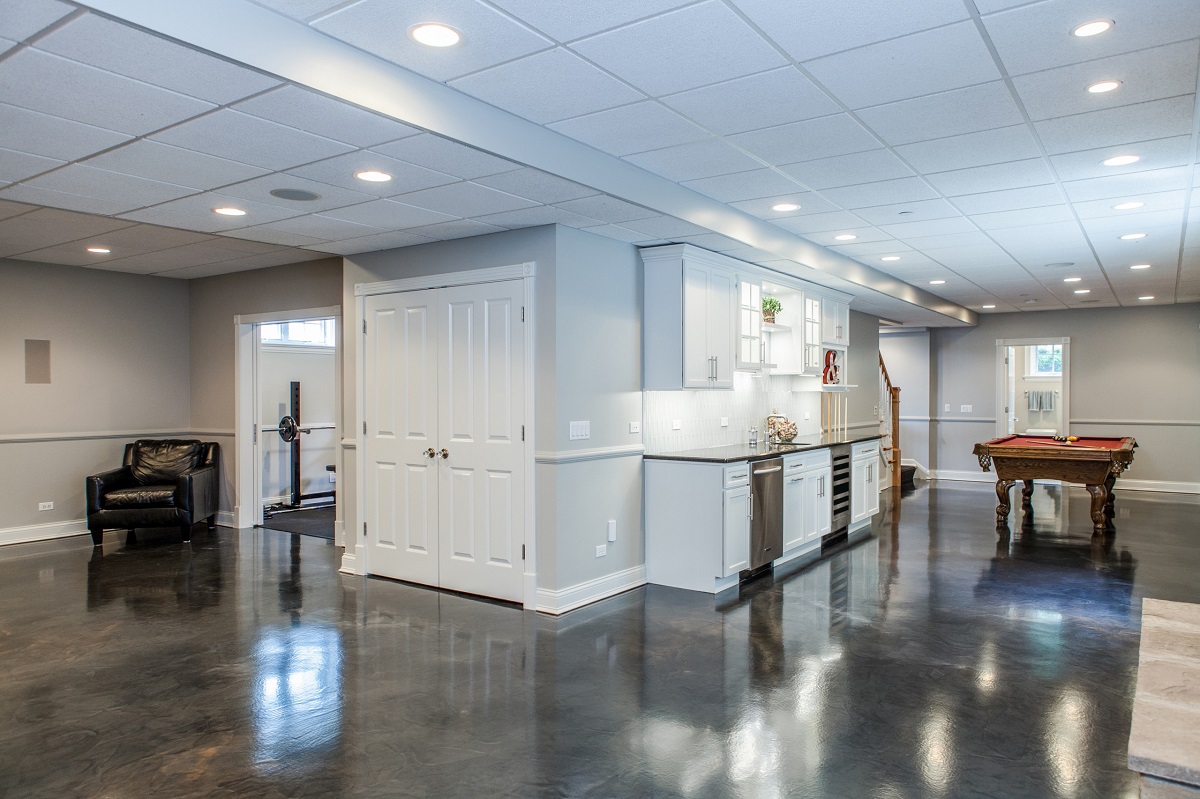
Applying a concrete sealer serves as the first line of defense against water damage. It helps to create a barrier on the surface, preventing moisture intrusion. The sealer also enhances the appearance of the concrete by adding a protective and glossy finish.
With the concrete sealer applied, we can now move on to step three: applying a waterproofing membrane.
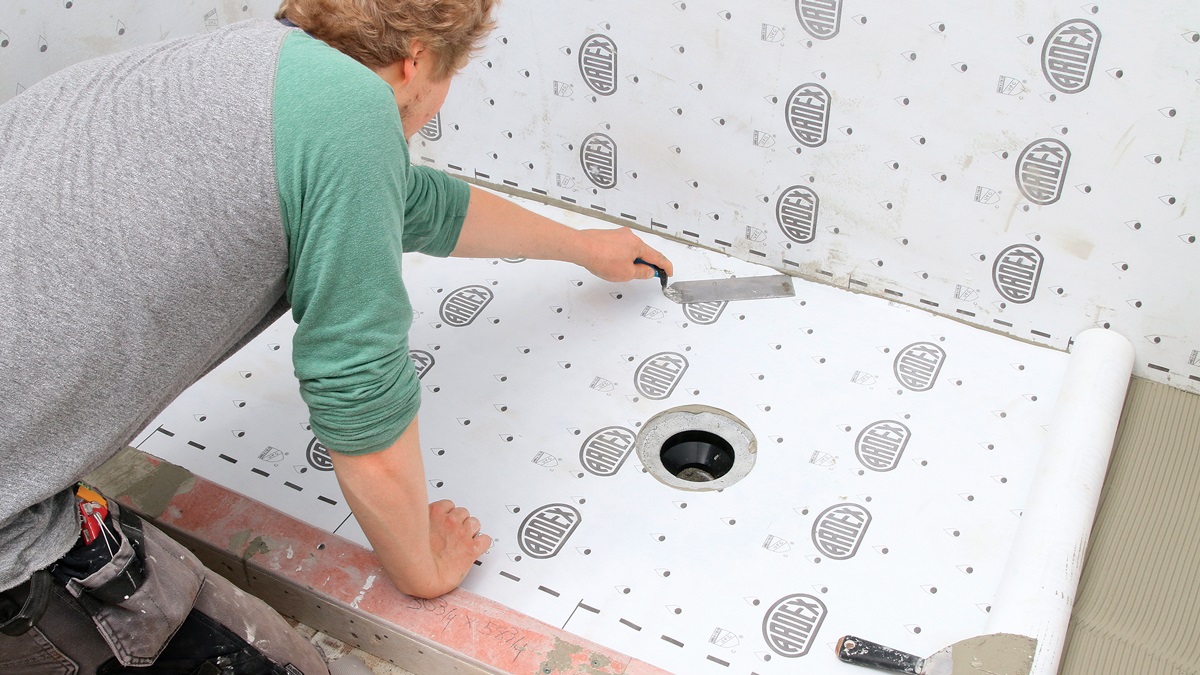
Step 3: Apply a Waterproofing Membrane
Applying a waterproofing membrane is an essential step in ensuring the long-term waterproofing of your concrete floor. A waterproofing membrane is a thin layer of material that provides an additional barrier against moisture, preventing water from seeping through and causing damage.
Follow these steps to apply a waterproofing membrane:
- Choose the right waterproofing membrane: There are various types of waterproofing membranes available, including liquid membranes and sheet membranes. Consider factors such as the level of protection needed, the application method, and the compatibility with the concrete sealer you’ve used. Research and select a waterproofing membrane that suits your specific requirements.
- Prepare the surface: Ensure that the concrete surface is clean and dry before applying the waterproofing membrane. Remove any dust, debris, or loose particles. If there are any cracks or gaps in the concrete, it’s advisable to fill them in with a compatible concrete repair compound and allow it to cure before proceeding.
- Apply the waterproofing membrane: Following the manufacturer’s instructions, apply the waterproofing membrane using a brush, roller, or trowel, depending on the type of membrane. Start at one corner of the room and work your way across, spreading a consistent and even layer of the membrane. Make sure to overlap the edges to create a continuous seal. Pay extra attention to areas prone to water ingress, such as seams, joints, and corners.
- Allow for drying time: The drying time of the waterproofing membrane can vary depending on the product and environmental conditions. Follow the manufacturer’s guidelines to determine the appropriate drying time. It’s essential to ensure that the membrane is completely dry and cured before proceeding to the next steps.
Applying a waterproofing membrane adds an extra layer of protection to your concrete floor, significantly reducing the risk of moisture infiltration. It helps to create a seamless and watertight barrier that keeps your floor dry and prevents issues such as mold growth and water damage.
Now that the waterproofing membrane is in place, let’s move on to step four: filling in cracks and repairing damaged areas.
Apply a concrete sealer to the floor to prevent water penetration. Make sure to clean and dry the surface before applying the sealer for best results.
Step 4: Fill in Cracks and Repair Damaged Areas
Properly filling in cracks and repairing damaged areas in your concrete floor is crucial for ensuring a watertight seal and preventing water from seeping through. Cracks and damaged areas can compromise the effectiveness of the waterproofing treatment, so it’s essential to address them before proceeding.
Follow these steps to fill in cracks and repair damaged areas:
- Clean the cracks and damaged areas: Use a wire brush or a crack chaser to remove any loose debris, dirt, or old sealant from the cracks and damaged areas. Ensure that the surfaces are clean and free from any loose particles that could hinder the adhesion of the repair material.
- Choose the right repair material: Select a high-quality concrete repair compound or epoxy specifically designed for filling cracks and repairing damaged concrete. Read the manufacturer’s instructions to ensure that the product is suitable for your specific needs.
- Prepare the repair material: Mix the repair material according to the manufacturer’s instructions. Use a stir stick or a mixing paddle to achieve a smooth and consistent consistency. Make sure to mix only the amount you can work with within the specified pot life of the product.
- Fill in the cracks: Using a trowel, putty knife, or a specialized crack injection tool, carefully fill the cracks with the repair material. Ensure that the material fully penetrates and fills the crack, allowing it to level with the surrounding surface. Smooth out the surface for a seamless finish.
- Repair damaged areas: For larger damaged areas, such as holes or spalled sections, follow the manufacturer’s instructions for applying the repair material. Use a trowel or a float to apply the material, making sure to fill and level the damaged area. Smooth out the surface for a uniform finish.
- Allow for curing time: The curing time of the repair material can vary depending on the product and environmental conditions. Follow the manufacturer’s guidelines to determine the appropriate curing time. Avoid walking or placing any weight on the repaired areas until they are fully cured.
By properly filling in cracks and repairing damaged areas, you ensure that there are no weak points in your concrete floor’s waterproofing. This step plays a critical role in maintaining the integrity and effectiveness of the waterproofing treatment.
Now that the cracks and damaged areas have been addressed, it’s time to move on to step five: applying a second coat of concrete sealer.
Read more: How To Waterproof Basement Floor
Step 5: Apply a Second Coat of Concrete Sealer
Applying a second coat of concrete sealer is an important step in enhancing the waterproofing and durability of your concrete floor. The second coat helps to ensure complete coverage, reinforce the protective barrier, and provide an extra layer of defense against moisture penetration.
Follow these steps to apply a second coat of concrete sealer:
- Prepare the surface: Ensure that the first coat of concrete sealer has cured completely before applying the second coat. The curing time may vary depending on the product, so refer to the manufacturer’s instructions for guidance. Clean the surface to remove any dust or debris that may have accumulated.
- Mix the sealer: If needed, mix the second coat of concrete sealer according to the manufacturer’s instructions. Use a stir stick or a paint mixer to ensure that the sealer is well-blended.
- Apply the sealer: Using a paint roller or brush, apply the second coat of sealer evenly onto the concrete surface. Work in small sections, taking care to overlap the edges for consistent coverage. Avoid excessive application that can lead to pooling or thick layers. Follow the application guidelines provided by the manufacturer.
- Allow for drying time: Allow the second coat of sealer to dry according to the manufacturer’s instructions. This may take several hours or even a full day. During the drying period, ensure that the area is well-ventilated and avoid foot traffic, furniture placement, or any other activities that may disrupt the drying process.
- Inspect the results: Once the second coat has dried, inspect the surface for any missed spots or uneven areas. If necessary, touch up those areas with a small brush or roller, ensuring a uniform application.
Applying a second coat of concrete sealer provides an additional layer of protection and ensures the integrity of the waterproofing. The second coat fills in any gaps or areas missed in the first application, ensuring a complete and robust seal.
Now that the second coat of sealer has been applied, it’s time to move on to the final step: allowing sufficient drying time.
Step 6: Allow Sufficient Drying Time
Allowing sufficient drying time is a crucial step in the process of waterproofing a concrete floor. Proper drying ensures that the applied sealers, membranes, and repair materials fully cure and bond to the concrete surface, creating a hard and durable barrier against moisture.
Follow these guidelines to allow sufficient drying time for your waterproofed concrete floor:
- Refer to product instructions: Different sealers, waterproofing membranes, and repair materials have varying drying times. It is essential to carefully read and follow the manufacturer’s instructions provided on the product packaging.
- Consider environmental factors: Environmental conditions play a significant role in drying time. Factors such as temperature, humidity, and airflow can affect the drying process. Ensure that the room or area is well-ventilated and maintain suitable environmental conditions as recommended by the manufacturer.
- Be patient: It is crucial to allow ample time for the materials to dry and cure fully. Rushing the process can compromise the effectiveness of the waterproofing treatment and may lead to premature failure. Avoid walking on the surface or placing heavy furniture or objects until the drying time is complete.
- Monitor curing time: Regularly check the drying progress and compare it to the manufacturer’s instructions. Some sealers and membranes may require multiple days to achieve full curing. Patience during the curing process will ensure optimal results and long-lasting protection for your concrete floor.
By allowing sufficient drying time, you give the applied materials the opportunity to harden and create a robust barrier against water penetration. This step is critical to the overall effectiveness and durability of the waterproofing treatment.
With the concrete floor now properly dried and cured, your waterproofing project is complete. You can enjoy the peace of mind that your concrete floor is protected against water damage and is ready to withstand the test of time.
As a final note, it’s important to periodically inspect your waterproofed concrete floor for signs of wear or areas that may require reapplication of sealers or membranes. Regular maintenance and addressing any issues promptly will help ensure the continued effectiveness of your waterproofing efforts.
Thank you for following our guide on how to waterproof a concrete floor. We hope this information has been helpful, and your waterproofing project is a success!
Conclusion
Congratulations, you’ve reached the end of our guide on how to waterproof a concrete floor. By following the steps outlined in this article, you have learned the necessary techniques and materials to protect your concrete floor from water damage and ensure its longevity.
From cleaning and preparing the concrete surface to applying a concrete sealer, waterproofing membrane, and addressing cracks and damaged areas, each step plays a crucial role in creating a strong barrier against water intrusion.
Remember to choose the right products for your specific needs, follow the manufacturer’s instructions closely, and allow sufficient drying and curing time for each applied material. Patience and attention to detail during the process will result in a more effective and durable waterproofing treatment.
Additionally, it’s essential to stay proactive by regularly inspecting your waterproofed concrete floor for any signs of wear or areas that may require reapplication of sealers or membranes. Prompt maintenance and repairs will ensure long-lasting protection against moisture and potential damage.
We hope that this guide has provided you with valuable insights and guidance on how to waterproof a concrete floor. By implementing these steps, you can enjoy a dry and moisture-resistant concrete floor that will withstand the test of time.
Thank you for choosing our guide, and we wish you success in your future waterproofing endeavors!
Frequently Asked Questions about How To Waterproof A Concrete Floor
Was this page helpful?
At Storables.com, we guarantee accurate and reliable information. Our content, validated by Expert Board Contributors, is crafted following stringent Editorial Policies. We're committed to providing you with well-researched, expert-backed insights for all your informational needs.


0 thoughts on “How To Waterproof A Concrete Floor”