Articles
How To Waterproof Shower Floor
Modified: October 20, 2024
Learn how to waterproof your shower floor with these informative articles. Protect your bathroom from water damage and ensure a long-lasting, leak-free shower.
(Many of the links in this article redirect to a specific reviewed product. Your purchase of these products through affiliate links helps to generate commission for Storables.com, at no extra cost. Learn more)
Introduction
Welcome to our comprehensive guide on how to waterproof a shower floor. When it comes to bathroom renovations, one aspect that often gets overlooked is the importance of waterproofing the shower area. Whether you are building a new shower or renovating an existing one, proper waterproofing is crucial to prevent water damage and costly repairs in the future.
A waterproof shower floor is not only essential for protecting the structure of your bathroom but also for maintaining a clean and hygienic environment. Excessive moisture in the shower area can lead to the growth of mold and mildew, which can be detrimental to your health. By taking the time to properly waterproof your shower floor, you can ensure the longevity of your bathroom and create a space that is both functional and visually appealing.
In this guide, we will walk you through the step-by-step process of waterproofing your shower floor. We will cover everything from the materials you will need to the techniques for applying the waterproofing membrane. By following our instructions, you can confidently take on this project and achieve professional-level results.
Before we dive into the details, it is important to note that waterproofing a shower floor is a task that requires precision and attention to detail. Make sure to familiarize yourself with the instructions and seek professional assistance if needed. Now, without further ado, let’s get started on creating a watertight shower floor that will stand the test of time.
Key Takeaways:
- Properly waterproofing your shower floor is essential for protecting against water damage, mold growth, and costly repairs, ensuring the longevity and functionality of your bathroom.
- Choosing the right waterproofing method, applying the membrane with precision, and thorough testing are crucial steps in creating a watertight shower floor that will stand the test of time.
Read more: How To Waterproof A Concrete Floor
Importance of Waterproofing Shower Floors
When it comes to bathroom renovations or construction, one crucial aspect that often gets overlooked is the proper waterproofing of the shower floor. Many homeowners focus on aesthetic elements such as tile selection and fixtures but neglect the importance of ensuring a watertight shower enclosure. Here are some reasons why waterproofing a shower floor is of utmost importance:
- Protection against water damage: The primary purpose of waterproofing is to protect the underlying structure of your bathroom from water damage. Over time, if water seeps through the shower floor, it can lead to structural deterioration and costly repairs. Waterproofing creates a barrier that prevents water from penetrating the floor and reaching the subfloor or surrounding walls.
- Prevention of mold and mildew: Moisture is the perfect breeding ground for mold and mildew. Without proper waterproofing, water can accumulate in the shower area, creating a damp environment that promotes the growth of mold and mildew. These fungi not only damage your bathroom surfaces but can also pose health risks, triggering allergies and respiratory problems. Waterproofing helps keep moisture at bay, preventing the growth of mold and mildew.
- Extended lifespan of your bathroom: By effectively waterproofing your shower floor, you are investing in the longevity of your bathroom. Water damage can compromise the integrity of the floor and walls, leading to costly repairs or even complete renovations. Waterproofing ensures that your bathroom remains in good condition for years to come.
- Enhanced hygiene: A waterproof shower floor is easier to clean and maintain. Waterproofing eliminates the chances of water seeping into porous surfaces, making it more difficult to clean and promoting the growth of bacteria. With a properly waterproofed shower floor, you can wipe away excess water and ensure a hygienic bathing environment.
- Increased property value: A bathroom with a properly waterproofed shower floor adds value to your home. Potential buyers prioritize bathrooms that are free from water-related issues and are more likely to favor properties with well-maintained shower areas. Waterproofing your shower floor not only protects your investment but also makes it more appealing to future buyers.
As you can see, the importance of waterproofing a shower floor cannot be overstated. It is a proactive measure that prevents water damage, mold growth, and costly repairs. By investing the time and effort into properly waterproofing your shower floor, you are ensuring the longevity, hygiene, and value of your bathroom. Now that you understand the significance, let’s move on to the materials you will need for this project.
Materials Needed
Before you begin the process of waterproofing your shower floor, it’s important to gather all the necessary materials. Having everything on hand will help ensure a smooth and efficient project. Here is a list of the materials you will need:
- Waterproofing membrane: This is the primary material used to create a barrier against water. There are various types of waterproofing membranes available, such as liquid-applied membranes or sheet membranes. Research and choose the one that is most suitable for your shower floor.
- Primer: A primer is necessary to prepare the surface before applying the waterproofing membrane. It helps improve adhesion and ensures a strong bond between the membrane and the shower floor.
- Waterproofing tape: Waterproofing tape, also known as sealing tape, is used to reinforce and seal joints, corners, and seams. It provides an extra layer of protection against water penetration.
- Caulking compound: Caulk is used to seal gaps between the shower floor and walls, as well as around fixtures such as drains and pipes. Choose a waterproof caulk suitable for bathroom use.
- Notched trowel: A notched trowel is used to spread the waterproofing membrane evenly on the shower floor. The size of the trowel notches will depend on the thickness of the membrane recommended by the manufacturer.
- Paint roller or brush: A paint roller or brush is used to apply the waterproofing membrane to larger areas. Opt for a high-quality roller or brush to ensure smooth and even application.
- Utility knife: A utility knife is essential for cutting the waterproofing membrane, tape, and any excess materials. Make sure to use a sharp utility knife for precise cuts.
- Protective gloves and goggles: Always prioritize safety when working with chemicals and waterproofing materials. Wear protective gloves and goggles to protect your skin and eyes during the application process.
- Cleaning materials: Before you start waterproofing, make sure to clean the shower floor thoroughly. This may include a broom or vacuum to remove any debris, as well as a suitable bathroom cleaner and sponge for cleaning the surface.
Make sure to check the manufacturer’s guidelines for any specific materials or tools they recommend for their waterproofing products. Having all the necessary materials readily available will streamline the process and ensure a successful waterproofing job. Once you have gathered everything, it’s time to prepare the shower floor before applying the waterproofing membrane.
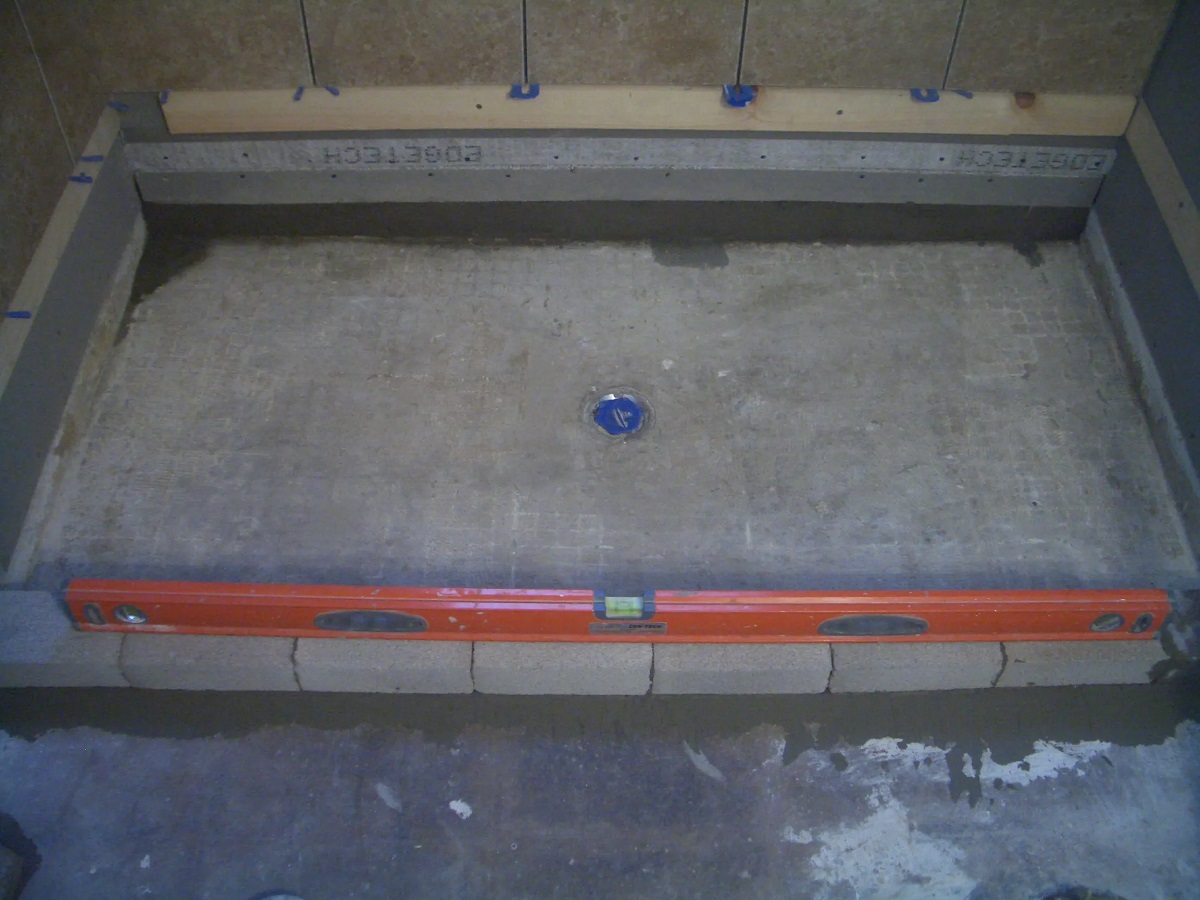
Preparing the Shower Floor
Properly preparing the shower floor is a crucial step in ensuring a successful waterproofing project. Here are the steps to follow:
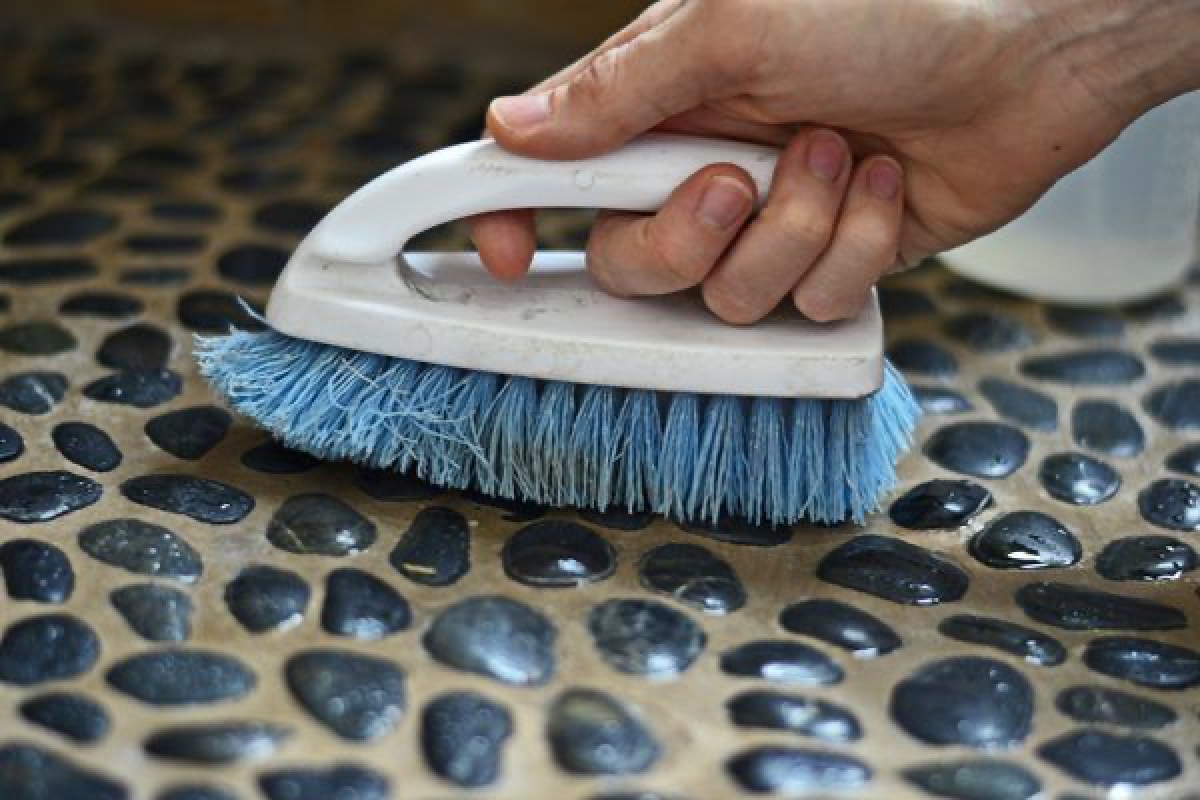
- Clean the shower floor: Start by thoroughly cleaning the shower floor. Remove any debris, dirt, or residue using a broom or vacuum cleaner. Next, use a suitable bathroom cleaner and a sponge to clean the surface. Make sure to remove any soap scum or grime that may hinder the adhesion of the waterproofing materials.
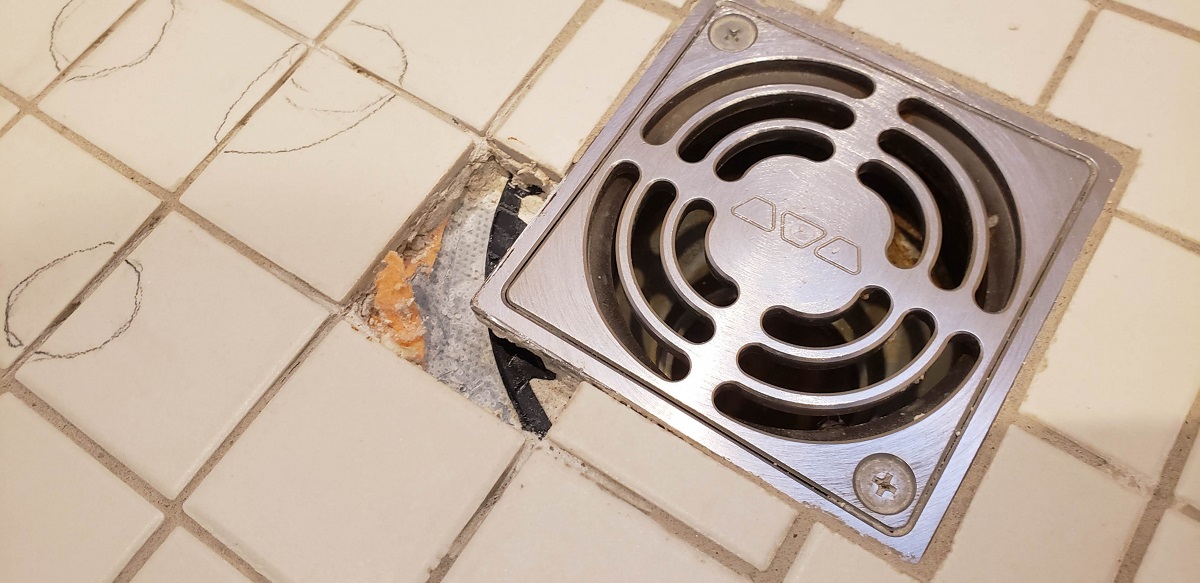
- Inspect for damage: Check the shower floor for any existing damage, cracks, or loose tiles. It’s important to address these issues before applying the waterproofing membrane. Repair any damages or replace any loose tiles to ensure a sturdy and even surface.
- Address plumbing and drainage: Take the time to inspect the shower floor’s plumbing and drainage system. Ensure that all drains, pipes, and fixtures are properly sealed and in good condition. If any repairs or replacements are necessary, attend to them now to prevent future water leaks or problems.
- Smooth out any uneven surfaces: If you notice any uneven areas on the shower floor, use a leveling agent or thin-set mortar to even them out. This will create a flat and stable surface for the waterproofing membrane to adhere to.
- Apply a primer: Before applying the waterproofing membrane, apply a primer to the shower floor. The primer improves adhesion and creates a strong bond between the substrate and the waterproofing material. Follow the manufacturer’s instructions for proper primer application and drying time.
By properly preparing the shower floor, you are setting the stage for a successful waterproofing job. Cleaning the surface, addressing any damages, and ensuring proper drainage will help create a solid foundation for the waterproofing membrane. Once the shower floor is thoroughly prepped, you can move on to choosing the waterproofing method that best suits your needs.
Choosing the Waterproofing Method
When it comes to waterproofing a shower floor, there are several methods to choose from. The method you select will depend on various factors, including the type of shower floor, the condition of the substrate, and personal preference. Here are three commonly used waterproofing methods:
- Sheet Membrane: This method involves using a waterproofing sheet membrane, typically made of materials like PVC or CPE (chlorinated polyethylene). The membrane is applied to the shower floor, creating a barrier against water. Sheet membranes offer excellent waterproofing protection and are relatively easy to install. They are ideal for concrete or cement board substrates.
- Liquid Membrane: Liquid membrane systems consist of a liquid-applied waterproofing material that is rolled or brushed onto the shower floor. These membranes are often made of elastomeric compounds that provide flexibility and durability. Liquid membranes are great for irregularly shaped or hard-to-reach areas. They can be applied to various substrates, including concrete, cement board, or even existing tile surfaces.
- Hybrid Systems: Hybrid systems combine the best of both sheet and liquid membrane methods. They typically involve applying a liquid membrane as a base layer and then reinforcing it with a sheet membrane. This hybrid approach offers the benefits of both systems and can provide increased protection in areas prone to movement or stress.
When choosing a waterproofing method, it’s important to consider factors such as the ease of installation, compatibility with your shower floor substrate, and the level of protection required. Research the various options available and consult with professionals if needed, to determine the best method for your specific shower floor.
Regardless of the waterproofing method you choose, ensure that the materials you use are of high quality and specifically designed for shower floor applications. Following the manufacturer’s instructions and guidelines is essential for achieving effective and long-lasting waterproofing results.
Once you have chosen the method that suits your needs, it’s time to move on to applying the waterproofing membrane to your shower floor. Proper application is key to creating a watertight seal, so let’s explore the steps involved.
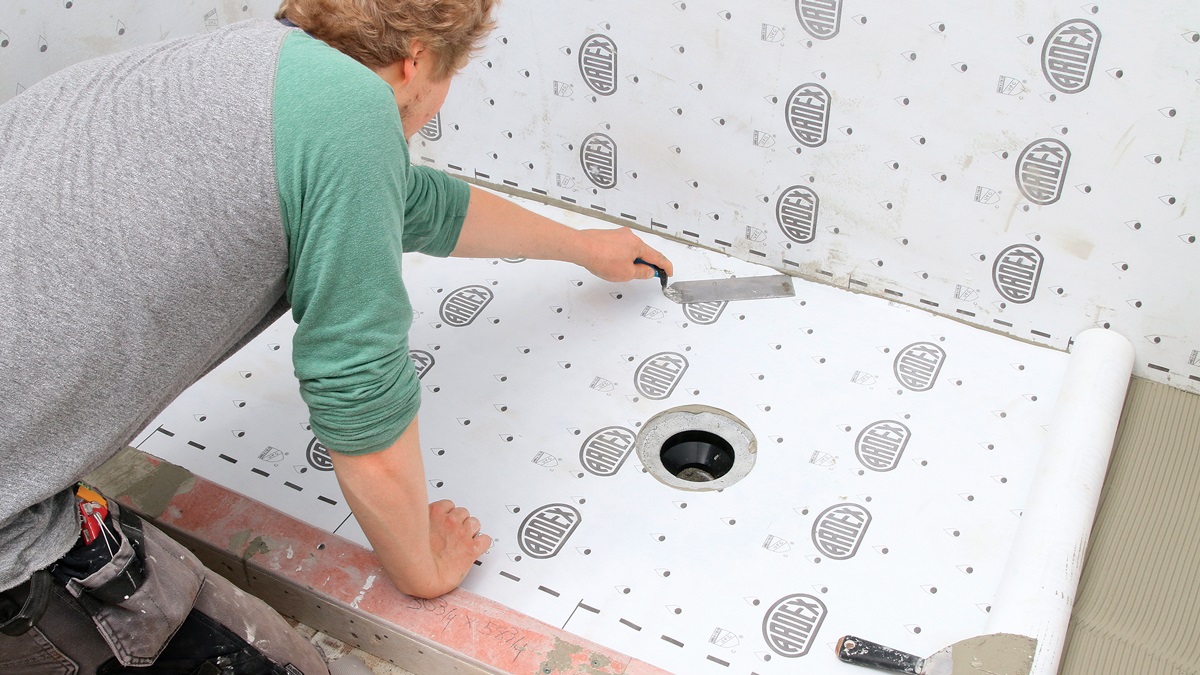
Apply a waterproofing membrane to the shower floor to prevent water damage. Make sure to follow the manufacturer’s instructions for proper application.
Read more: How To Waterproof Basement Floor
Applying the Waterproofing Membrane
Applying the waterproofing membrane is a critical step in ensuring a watertight shower floor. Follow these steps to properly apply the membrane:
- Mix the membrane: If you are using a liquid-applied membrane, carefully follow the manufacturer’s instructions for mixing the product. Use a stirring stick or drill with a paddle attachment to ensure the membrane is well-mixed and ready for application.
- Start with the corners: Begin by applying the waterproofing membrane to the corners of the shower floor. Use a brush or roller to apply a generous amount of the membrane, making sure to completely cover the corners and create a smooth, even layer. This will help reinforce these crucial areas, which are prone to water penetration.
- Continue with the walls: Apply the membrane to the walls surrounding the shower floor, extending it a few inches above the height of the finished shower enclosure. Use a brush or roller to create a consistent layer of the membrane, ensuring that it adheres well and forms a seamless connection with the floor membrane.
- Apply the membrane to the floor: Using a notched trowel, spread the waterproofing membrane over the shower floor. Apply it in thin, even layers, working in small sections at a time. The trowel notches will help create a uniform thickness as recommended by the manufacturer. Make sure to cover the entire floor surface, including any slopes or recessed areas.
- Overlaps and seams: If you are using a sheet membrane, carefully overlap each sheet by the recommended amount, typically around 2 inches. Press the sheets firmly onto the floor, ensuring a tight seal. If using a liquid membrane, apply additional coats as per the manufacturer’s instructions to ensure proper thickness and coverage.
- Allow for drying and curing: After applying the waterproofing membrane, allow it to dry and cure according to the manufacturer’s instructions. This can vary depending on the type of membrane used. Avoid any foot traffic or water exposure until the membrane is fully dried and cured.
During the application process, pay special attention to the corners, joints, and seams. These areas are critical and require extra protection. Use waterproofing tape or reinforcing fabric to seal and strengthen these vulnerable points. Apply the membrane and tape according to the manufacturer’s instructions, ensuring a secure and effective seal.
Remember, the key to a successful waterproofing membrane application is following the manufacturer’s guidelines closely and paying attention to detail. Take your time and ensure that every part of the shower floor is properly covered and protected. Once the membrane is applied, it’s time to seal the joints and corners for added protection.
Sealing the Joints and Corners
Sealing the joints and corners of your shower floor is an essential step in creating a watertight barrier and preventing any potential leaks. Follow these steps to effectively seal the joints and corners:
- Clean the joints and corners: Before applying any sealing material, ensure that the joints and corners are clean and free from any dust, debris, or excess waterproofing membrane. Use a brush or vacuum cleaner to remove any loose particles.
- Choose the right sealer: Select a high-quality, waterproof sealer suitable for your shower floor material. There are various options available, such as silicone or polyurethane sealants. Make sure the sealer is specifically designed for wet environments.
- Apply the sealer to the joints: Using a caulk gun, carefully apply the sealer to the joints between the shower floor and walls. Start at one end and slowly move along the joint, creating an even and continuous line of sealant. Ensure that the sealer completely fills the gaps and forms a proper seal.
- Seal the corners: Similar to the joints, apply the sealer to the corners of the shower floor. Start at the bottom corner and work your way up, ensuring that the sealant covers the entire corner area. Smooth out the sealer using a caulk smoothing tool or your finger to create a neat and tidy finish.
- Allow for drying and curing: Let the sealer dry and cure according to the manufacturer’s instructions. This can take several hours to a few days, depending on the type of sealer used. Avoid any water exposure or excessive moisture during this time to allow the sealant to fully set and create a strong bond.
- Inspect for any missed spots: Once the sealer is dry, carefully inspect the joints and corners for any missed spots or gaps in the sealant. If necessary, apply additional sealer to ensure complete coverage and a proper seal.
Sealing the joints and corners is vital for preventing any water leakage and maintaining the integrity of your shower floor. Take your time during this step to ensure that every joint and corner is properly sealed. This extra layer of protection will further enhance the waterproofing of your shower floor and help maintain a dry and leak-free shower area.
Once the joints and corners are sealed, it’s important to perform a thorough test of the waterproofing to ensure its effectiveness.
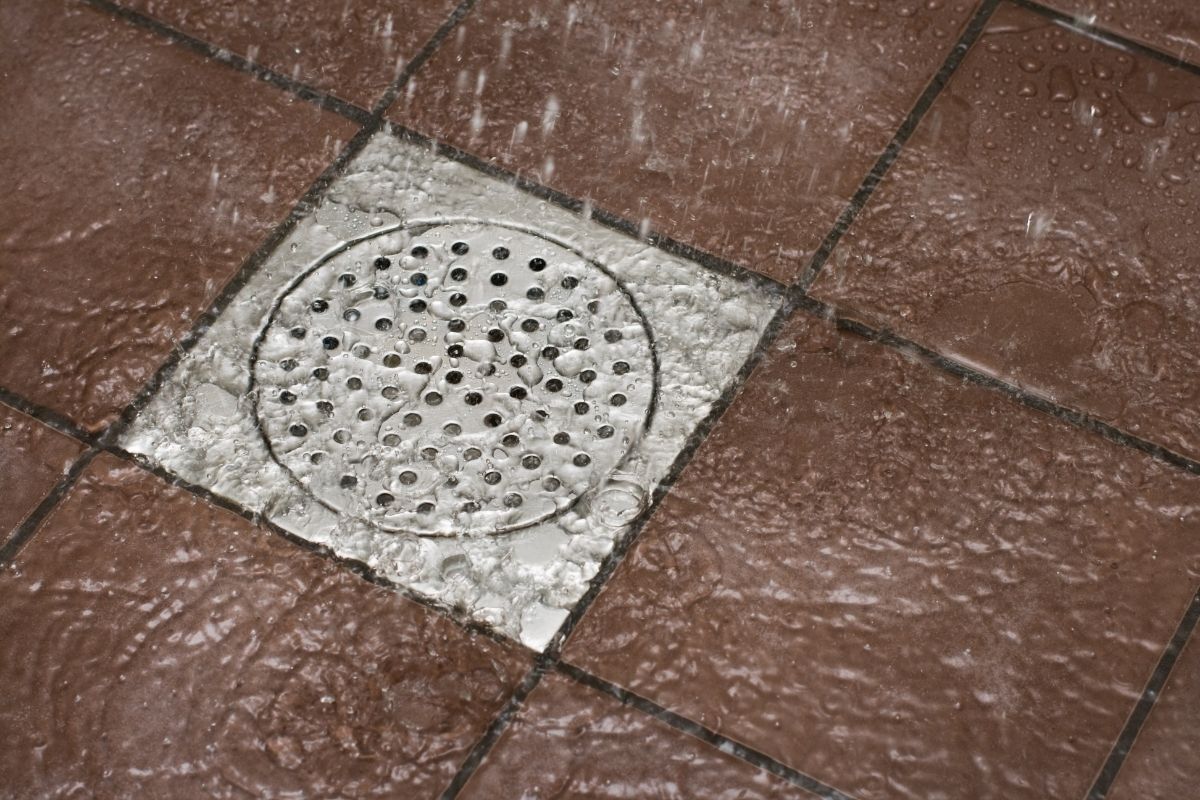
Testing the Waterproofing
After completing the application of the waterproofing membrane and sealing the joints and corners, it’s crucial to test the effectiveness of the waterproofing. This step will give you peace of mind and ensure that your shower floor is properly protected against water damage. Here’s how you can test the waterproofing:
- Tape the drain: Start by taping off the drain with a waterproof tape to prevent any water from draining out during the test. Make sure the tape creates a secure, watertight seal around the drain.
- Fill the shower pan with water: Using a bucket or hose, fill the shower pan with water. Aim for a water depth of about 2-3 inches, covering the entire shower floor surface. Take care not to overflow the water onto surrounding areas.
- Let the water sit: Allow the water to sit in the shower pan for at least 24 hours. During this time, monitor the shower floor closely for any signs of leakage or water seepage. Check the joints, corners, and any areas prone to water penetration.
- Inspect for leaks: After the 24-hour period, carefully examine the entire shower floor for any signs of water leakage. Look for damp spots, discoloration, or water seeping through the walls or floor. Even the tiniest drops of water can indicate a leak that needs to be addressed.
- Address any leaks: If you notice any leaks during the testing phase, mark the areas and dry them thoroughly. Once the shower floor is completely dry, inspect the marked areas closely to determine the source of the leak. Depending on the type of waterproofing method used, you may need to reapply the membrane, reinforce the joints, or add additional sealant.
Testing the waterproofing is a critical step to ensure the integrity of your shower floor. By identifying and addressing any leaks or weaknesses, you can take corrective measures before proceeding with the final stages of your bathroom renovation or construction.
If you detect any significant leaks or issues during the testing phase that you are unsure how to resolve, it’s best to contact a professional for assistance. They will have the expertise and knowledge to assess the situation accurately and provide the necessary solutions.
Once you have successfully tested the waterproofing and addressed any leaks, you can move on to the final steps to complete your waterproof shower floor.
Finishing Touches
Now that you have ensured the waterproofing of your shower floor, it’s time to add the finishing touches to complete the project. These final steps will not only enhance the aesthetic appeal of your shower but also contribute to its functionality and longevity. Here’s what you can do:
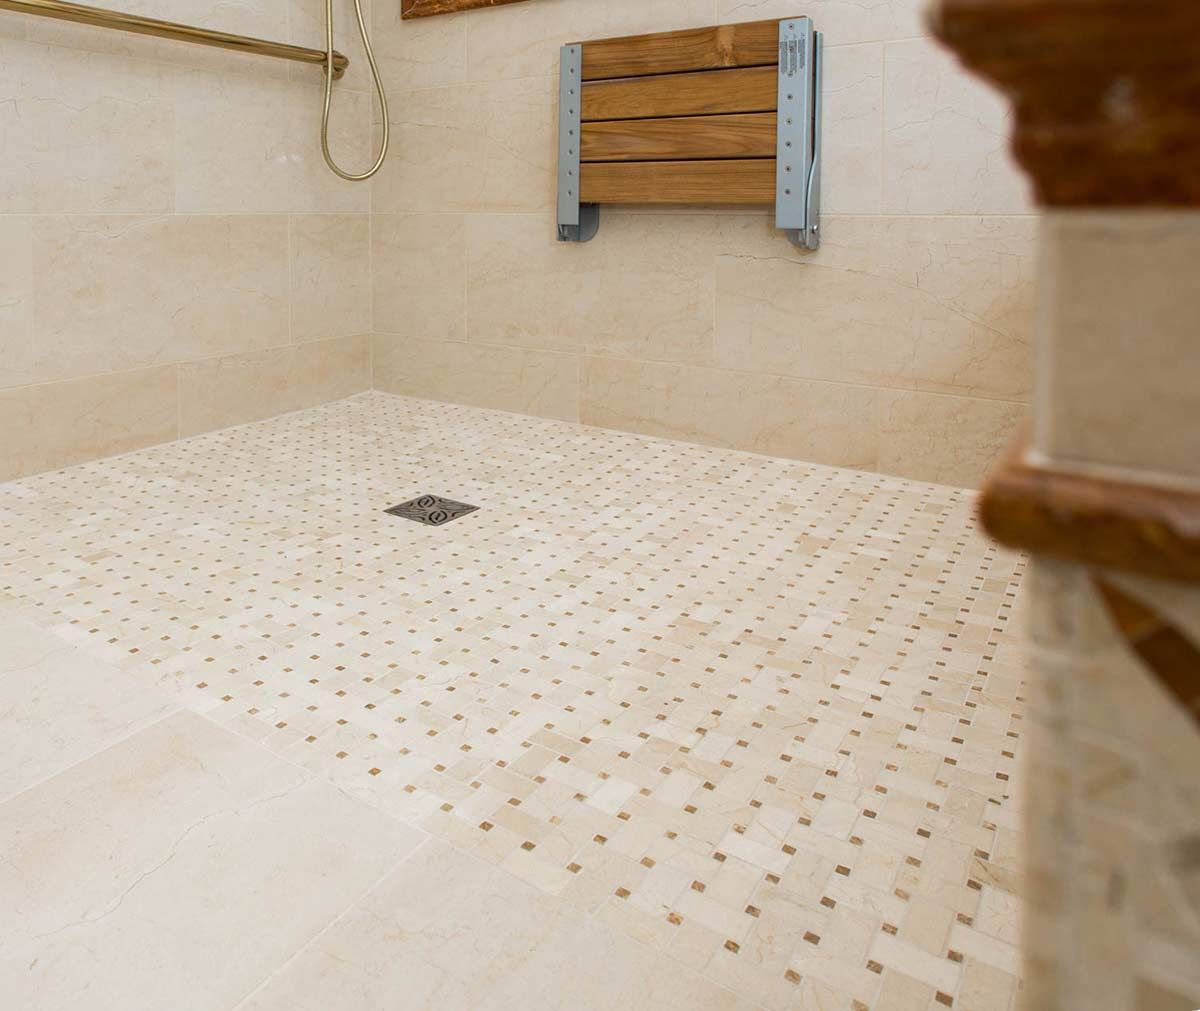
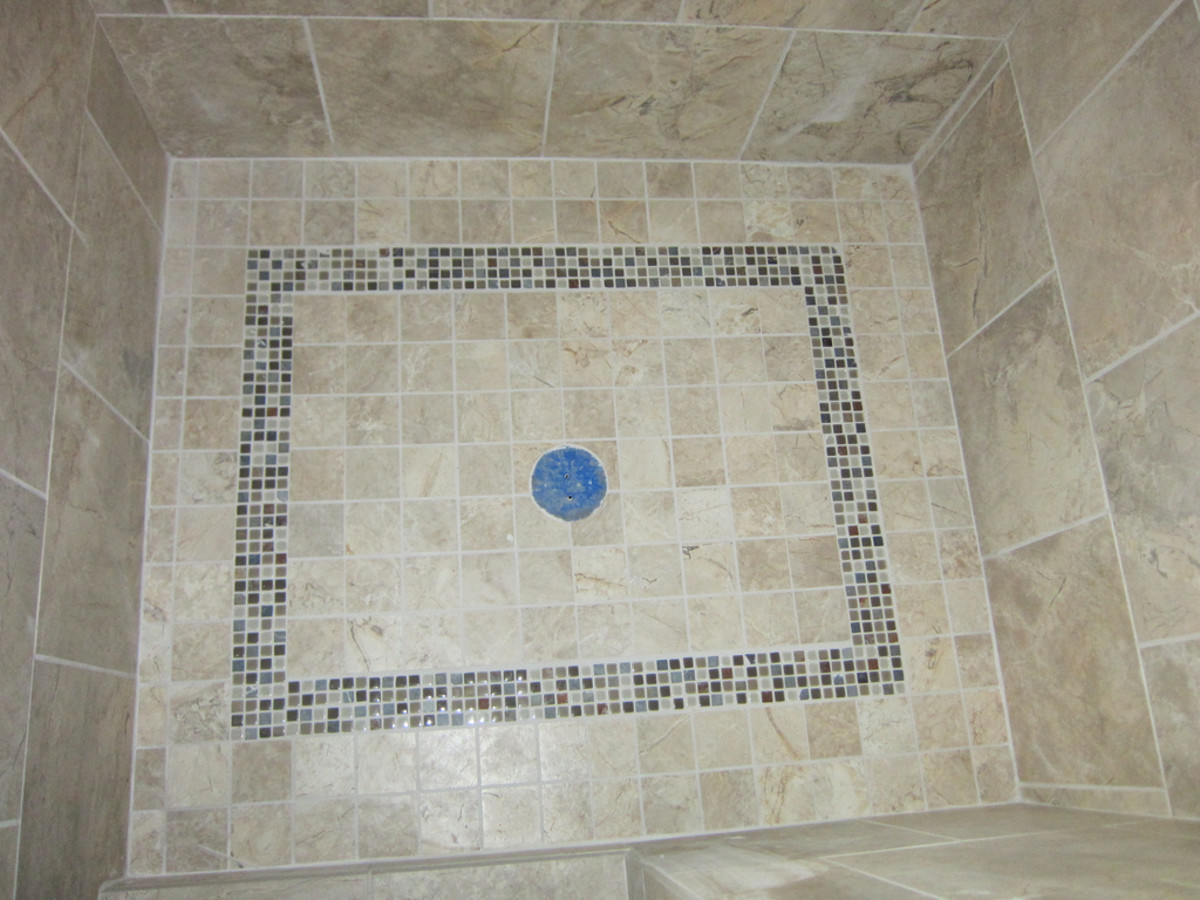
- Tile Installation: If you haven’t already, you can now proceed with the installation of your chosen shower floor tiles. Follow the manufacturer’s instructions and use a suitable adhesive to securely bond the tiles to the waterproofed surface. Ensure proper alignment and spacing for a clean and professional finish.
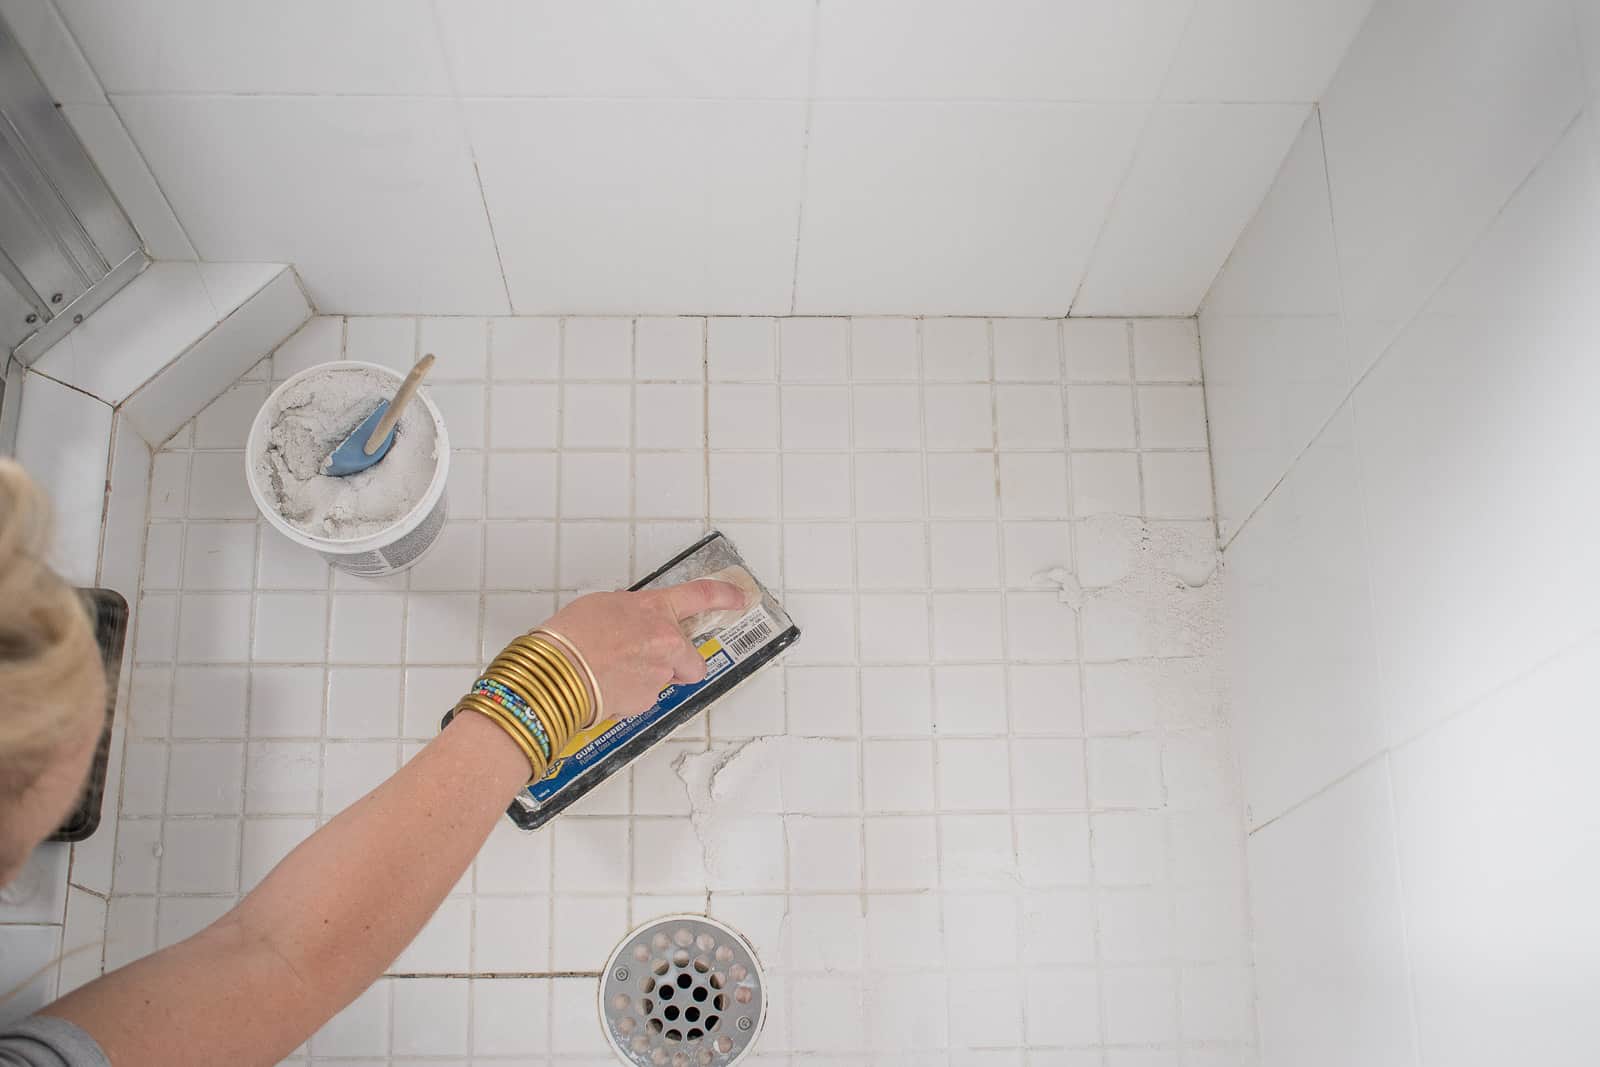
- Grouting: After the tile installation, allow sufficient drying time before applying the grout. Use a grout float to spread the grout over the tiles, making sure to fill all the gaps. Wipe away any excess grout with a damp sponge, taking care not to remove too much grout from the joints. Allow the grout to cure according to the manufacturer’s instructions.
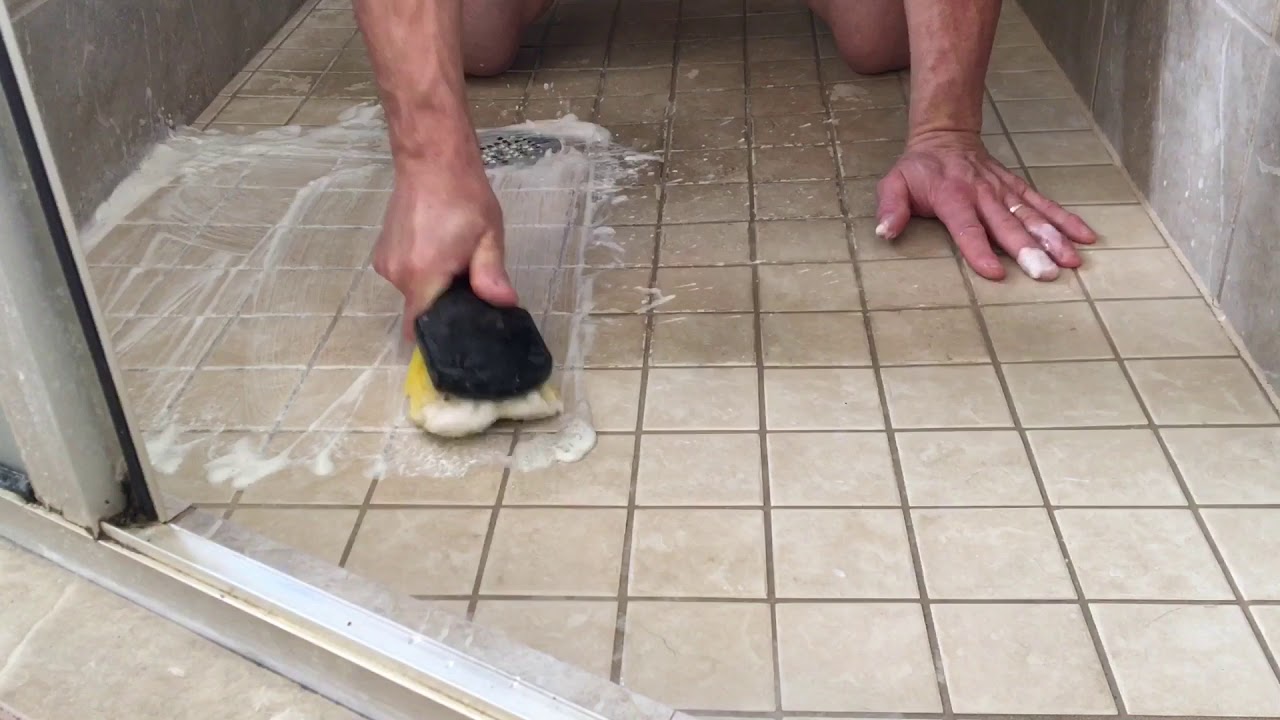
- Cleanup: Thoroughly clean the shower floor, removing any grout residue or debris. Use a grout sealant to protect the grout and make it easier to clean in the future. Additionally, clean any excess adhesive or sealant that may have gotten on the tiles during the installation process.
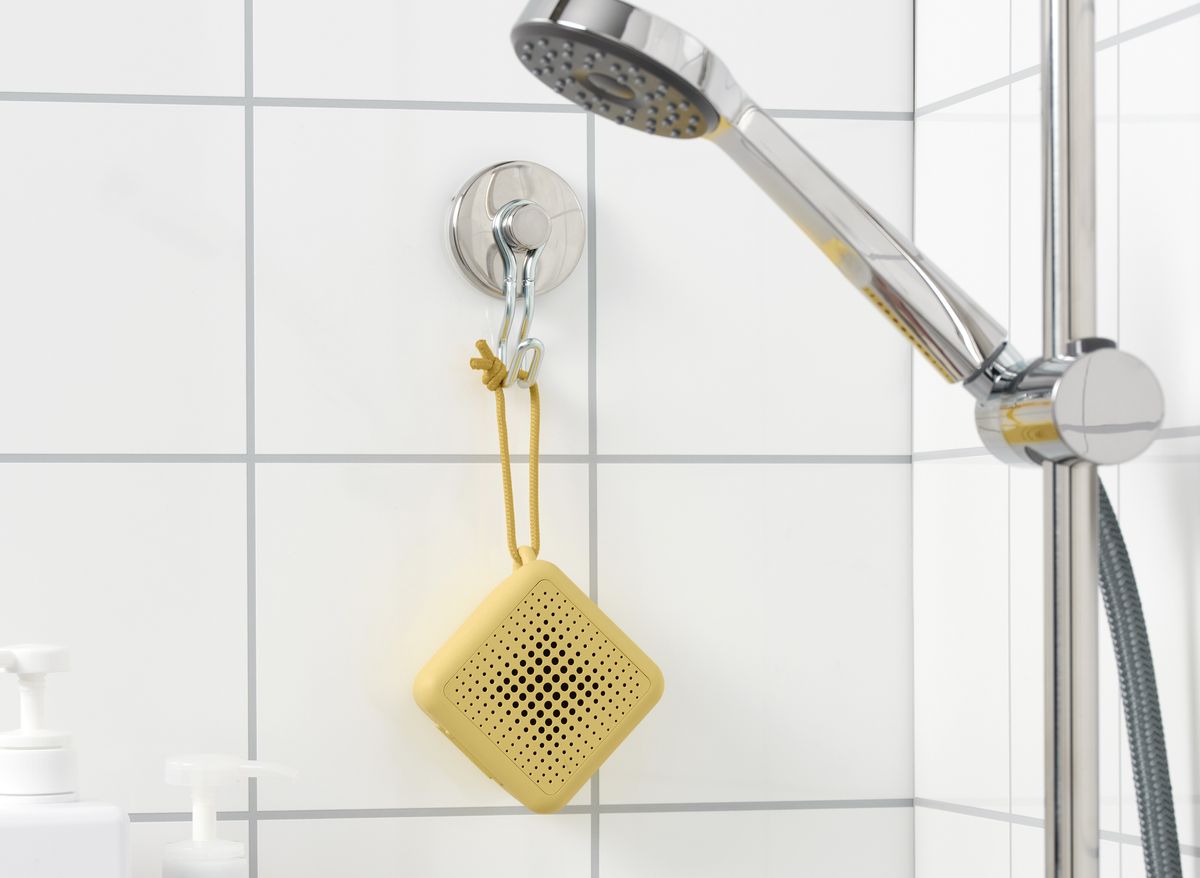
- Reinstall Fixtures: Once the grout has fully cured, you can reinstall any shower fixtures that were temporarily removed during the waterproofing process. Follow the manufacturer’s guidelines for proper installation, ensuring they are securely fastened and sealed to prevent any water leakage.
- Final Inspection: Take the time to do a final inspection of the shower floor. Check for any loose tiles, gaps in the grout, or areas that may require additional touch-ups. Address any minor issues promptly to ensure a polished and functional shower floor.
- Maintenance Tips: To prolong the lifespan of your waterproof shower floor, it’s important to follow the recommended maintenance practices. Regularly clean the tiles and grout using suitable cleaners to prevent the buildup of dirt and soap scum. Avoid using abrasive cleaners or tools that could damage the tiles or grout. Consider re-sealing the grout periodically to maintain its waterproof properties.
By focusing on these finishing touches, you can take your waterproof shower floor project to its completion. The properly installed tiles, sealed grout, and well-maintained fixtures will not only enhance the functionality of your shower but also ensure its longevity and durability.
Remember, if you encounter any significant issues during the tile installation or finishing touches, it’s always recommended to consult with a professional to ensure a successful outcome. Their expertise will help you overcome any challenges and create a beautifully waterproofed shower floor that you can enjoy for years to come.
Congratulations! You have completed the process of waterproofing your shower floor and are now equipped with the knowledge and skills to tackle future bathroom renovations or repairs with confidence.
Read more: How To Waterproof Bathroom Floor
Conclusion
Properly waterproofing your shower floor is a crucial step in ensuring the longevity, functionality, and beauty of your bathroom. By following the steps outlined in this guide, you can confidently create a watertight shower floor that protects against water damage, mold growth, and costly repairs.
We began by highlighting the importance of waterproofing your shower floor, emphasizing the need for protection against water damage and mold growth. We then discussed the materials needed for the project, including the waterproofing membrane, primer, sealing tape, and caulk.
Next, we covered the essential step of preparing the shower floor, emphasizing the importance of cleaning, inspecting for damage, addressing plumbing and drainage, and creating a smooth and even surface.
We then explored the different waterproofing methods available, such as using sheet membranes, liquid membranes, or hybrid systems. We discussed the importance of choosing the right method for your shower floor substrate and individual needs.
Applying the waterproofing membrane was the next step, with instructions on mixing the membrane, starting with the corners, continuing with the walls, and applying it to the floor using a notched trowel. We also highlighted the importance of allowing the membrane to dry and cure according to the manufacturer’s instructions.
Sealing the joints and corners was the subsequent step, involving the cleaning of the joints, selecting the appropriate sealer, and carefully applying it to create a watertight seal. We stressed the significance of allowing the sealer to dry and cure properly.
Testing the waterproofing after the application of the membrane and sealing, we discussed the process of filling the shower pan with water and carefully monitoring for any signs of leakage. Lastly, we emphasized the importance of addressing any leaks or issues that may arise during the testing phase.
To conclude the project, we covered the finishing touches, including tile installation, grouting, cleanup, and reinstalling fixtures. We also provided maintenance tips to ensure the long-lasting performance of your waterproof shower floor.
Remember, waterproofing your shower floor is an investment in the durability and functionality of your bathroom. Taking the time to properly waterproof the shower floor will not only protect your home from water damage but also create a clean, hygienic, and visually appealing space for your daily cleansing rituals.
By following this comprehensive guide and paying attention to detail, you have acquired the knowledge and skills to successfully waterproof your shower floor. Now, it’s time to put your newfound expertise into action and create a reliable and beautiful shower floor that will withstand the test of time.
Frequently Asked Questions about How To Waterproof Shower Floor
Was this page helpful?
At Storables.com, we guarantee accurate and reliable information. Our content, validated by Expert Board Contributors, is crafted following stringent Editorial Policies. We're committed to providing you with well-researched, expert-backed insights for all your informational needs.


0 thoughts on “How To Waterproof Shower Floor”