Home>Gardening & Outdoor>Outdoor Structures>How To Make A Shed Waterproof
Outdoor Structures
How To Make A Shed Waterproof
Modified: October 25, 2024
Learn how to make your outdoor structures waterproof with our step-by-step guide. Protect your shed from the elements and keep it in top condition. Outdoor-structures expert advice.
(Many of the links in this article redirect to a specific reviewed product. Your purchase of these products through affiliate links helps to generate commission for Storables.com, at no extra cost. Learn more)
Introduction
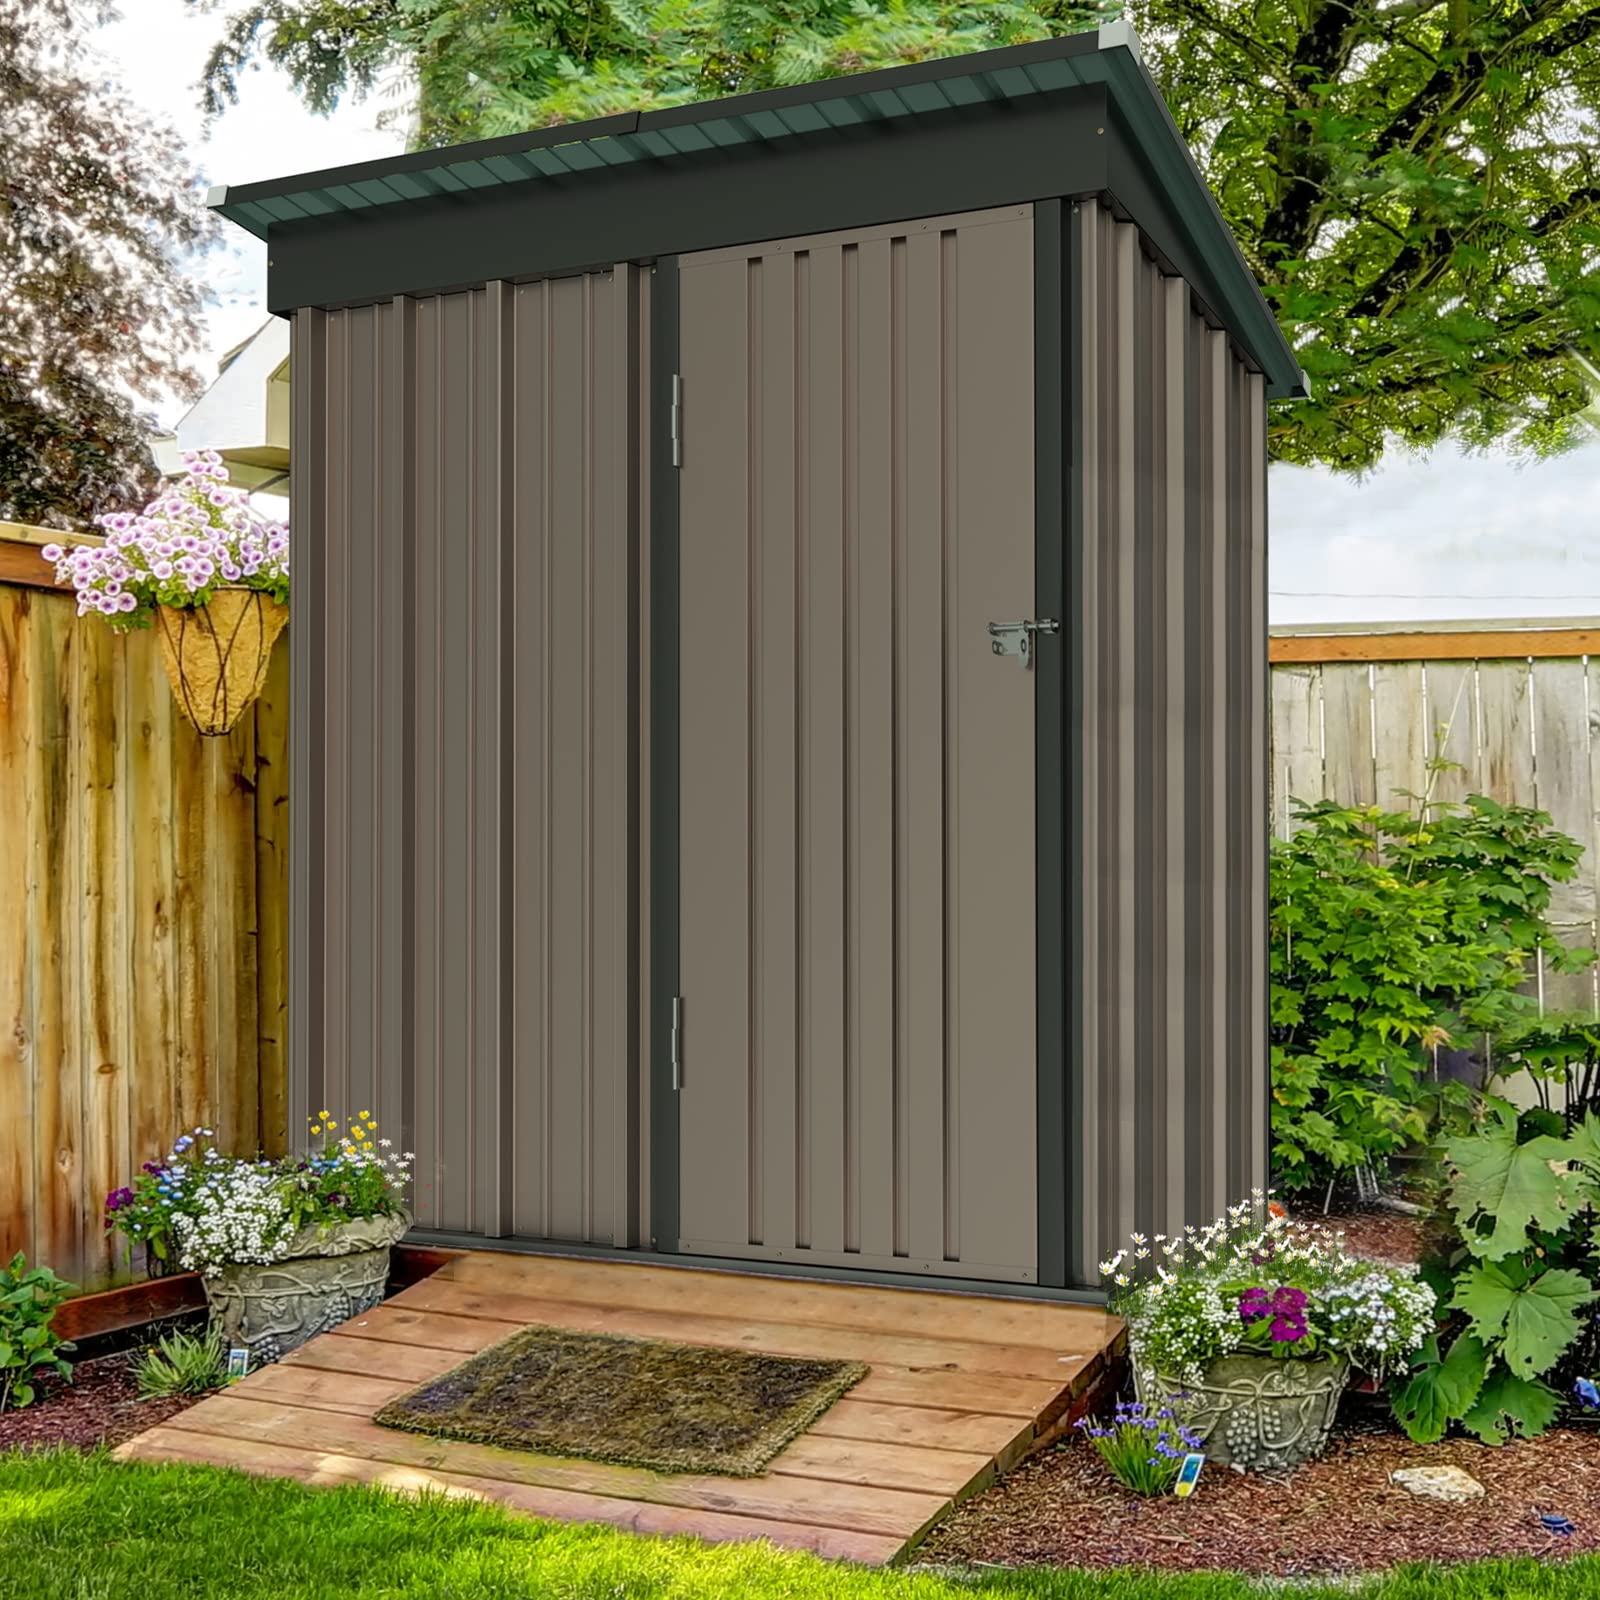
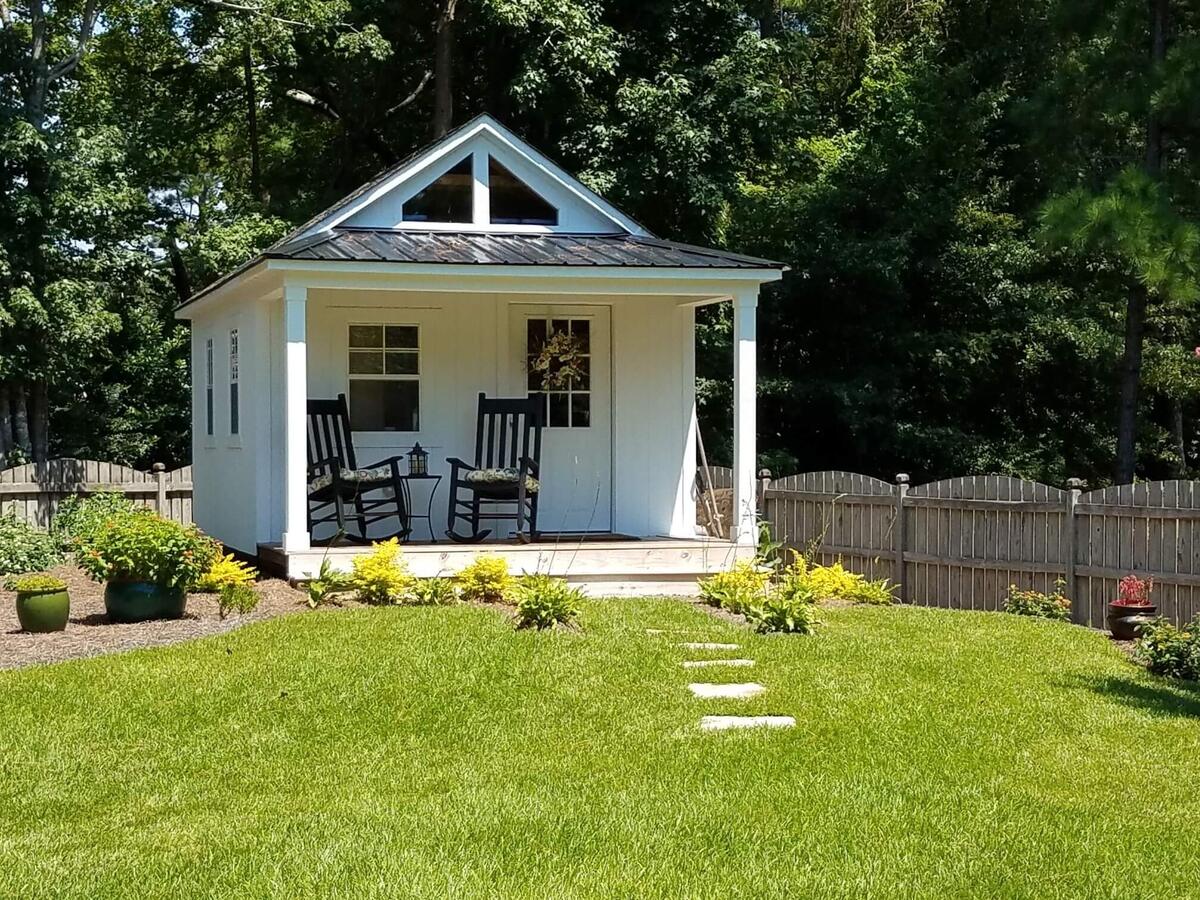
Welcome to the world of outdoor structures! Whether you have a garden shed, a backyard workshop, or a cozy cabin, ensuring that your outdoor haven remains dry and protected from the elements is crucial. In this comprehensive guide, we'll delve into the art of making a shed waterproof, allowing you to safeguard your cherished belongings and create a durable, long-lasting space.
Waterproofing a shed involves more than simply slapping on a coat of sealant. It requires a holistic approach, from assessing the current state of your shed to selecting the right materials and executing the application with precision. By understanding the nuances of waterproofing, you can extend the lifespan of your shed, prevent moisture-related damage, and ultimately enjoy a more resilient and functional outdoor structure.
Throughout this guide, we'll explore the key steps involved in making a shed waterproof, from evaluating its current condition to applying waterproofing coatings and sealing joints effectively. Additionally, we'll discuss the importance of regular maintenance to uphold the integrity of the waterproofing efforts.
So, whether you're a seasoned DIY enthusiast or a first-time shed owner, join us on this journey to discover the art and science of waterproofing. By the end, you'll be equipped with the knowledge and confidence to tackle this essential task, ensuring that your shed remains a reliable and protective space for years to come.
Key Takeaways:
- Properly assessing your shed’s condition and materials is crucial before waterproofing. Look for signs of damage and consider the shed’s construction to tailor your waterproofing approach effectively.
- Regular maintenance, including cleaning, inspecting seals, and applying maintenance coats, is essential to preserve the effectiveness of the shed’s waterproofing. This proactive approach ensures long-lasting protection against moisture.
Read more: How To Waterproof A Metal Shed
Assessing the Shed
Before embarking on the waterproofing journey, it’s essential to conduct a thorough assessment of your shed. This step allows you to identify existing vulnerabilities, understand the construction materials, and gauge the severity of any current water-related issues. By gaining a comprehensive understanding of your shed’s condition, you can tailor your waterproofing approach to address specific concerns effectively.
Start by examining the exterior of the shed. Look for signs of water damage, such as discoloration, warping, or mold growth. Pay close attention to the roof, walls, and foundation, as these areas are particularly susceptible to water infiltration. Additionally, inspect the condition of any windows, doors, and vents, as these openings can serve as entry points for moisture.
Next, evaluate the interior of the shed. Check for any indications of water intrusion, such as damp spots, musty odors, or visible condensation. Assess the flooring, walls, and ceiling for any signs of water damage or weak spots that could potentially lead to leaks.
It’s also important to consider the shed’s location within your property. Take note of factors such as drainage patterns, exposure to sunlight, and proximity to trees or other structures. These environmental elements can impact the shed’s susceptibility to moisture and should be factored into your waterproofing strategy.
Furthermore, assess the materials used in the construction of the shed. Different building materials, such as wood, metal, or vinyl, require specific waterproofing approaches. Understanding the composition of your shed will guide you in selecting the most suitable waterproofing products and techniques.
By thoroughly assessing your shed, you’ll be equipped with valuable insights that inform your waterproofing decisions. This proactive approach sets the stage for targeted and effective waterproofing, ultimately contributing to the long-term resilience of your outdoor structure.
Choosing the Right Waterproofing Materials
When it comes to making a shed waterproof, selecting the appropriate materials is paramount to achieving lasting protection against moisture. The market offers a wide array of waterproofing products, each designed to address specific needs and building materials. By understanding the characteristics of different materials, you can make informed choices that align with your shed’s construction and environmental factors.
One of the most common and versatile waterproofing materials is acrylic-based sealant. Acrylic sealants are renowned for their flexibility, adhesion, and resistance to UV rays, making them suitable for various surfaces, including wood, metal, and masonry. These sealants can be applied to the exterior of the shed, forming a protective barrier against rain, snow, and humidity.
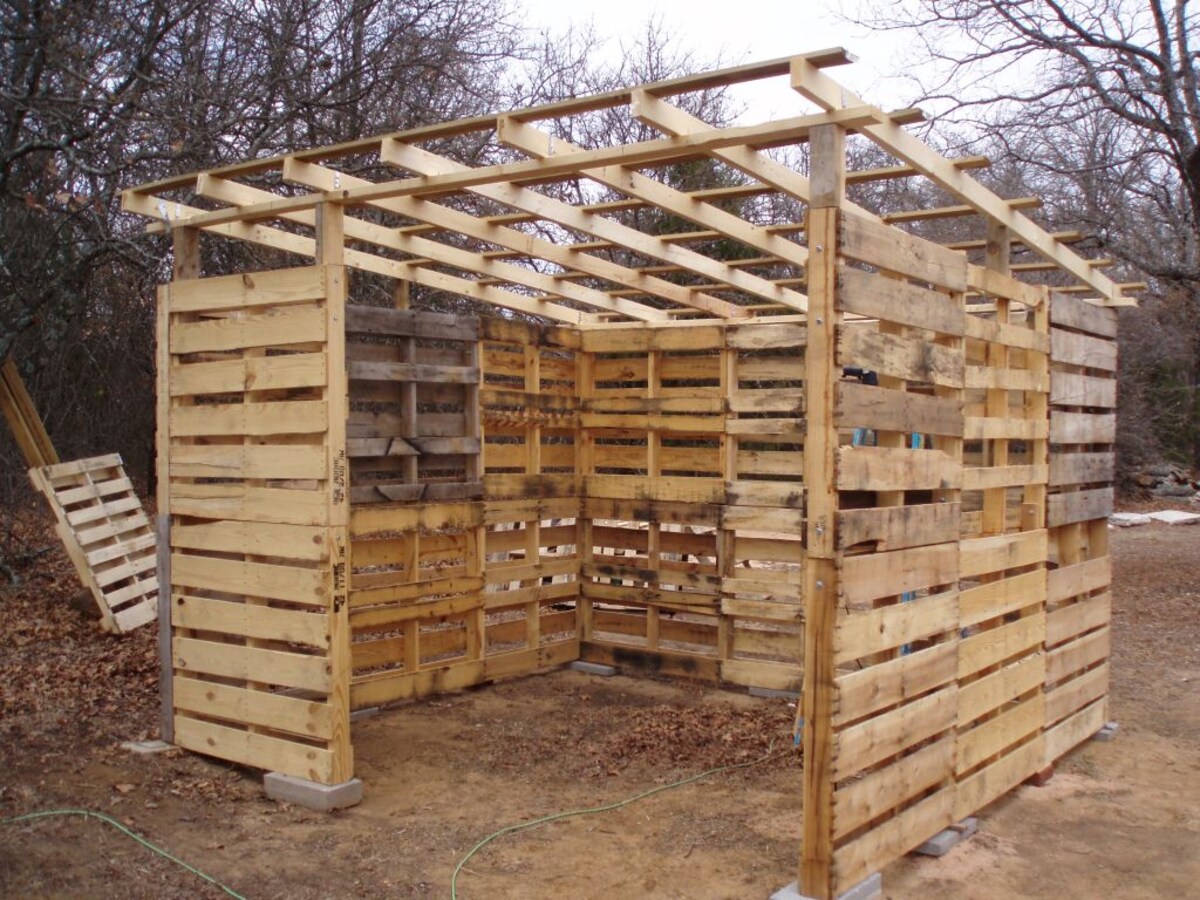
If your shed features a wooden exterior, consider utilizing wood preservatives and water repellents. These products are specifically formulated to penetrate the wood, fortifying it against moisture, rot, and decay. Additionally, they often contain additives that shield the wood from harmful UV rays, prolonging its lifespan and maintaining its aesthetic appeal.
For metal sheds, rust-inhibiting coatings are essential for waterproofing and corrosion prevention. These coatings form a durable barrier that shields the metal from moisture, preventing rust formation and structural degradation. Furthermore, they contribute to the shed’s overall resilience in the face of inclement weather and environmental exposure.
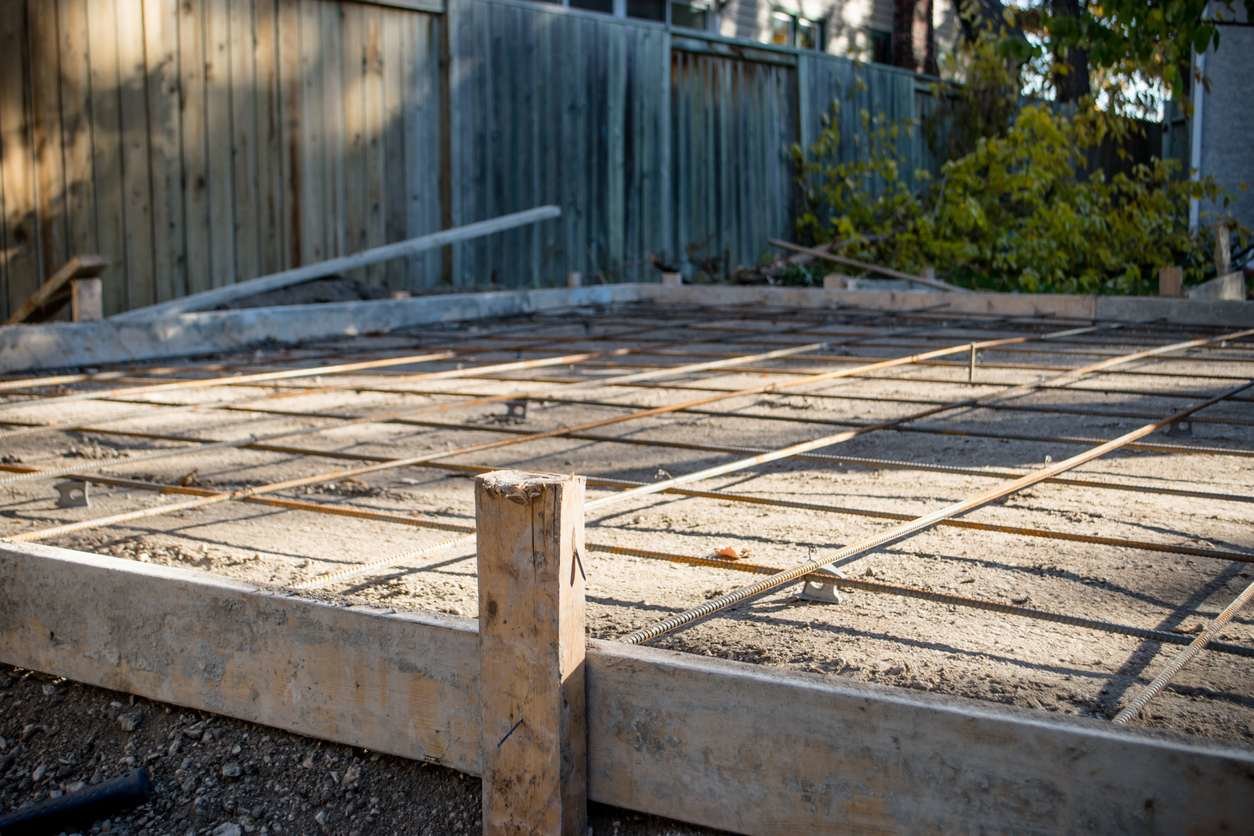
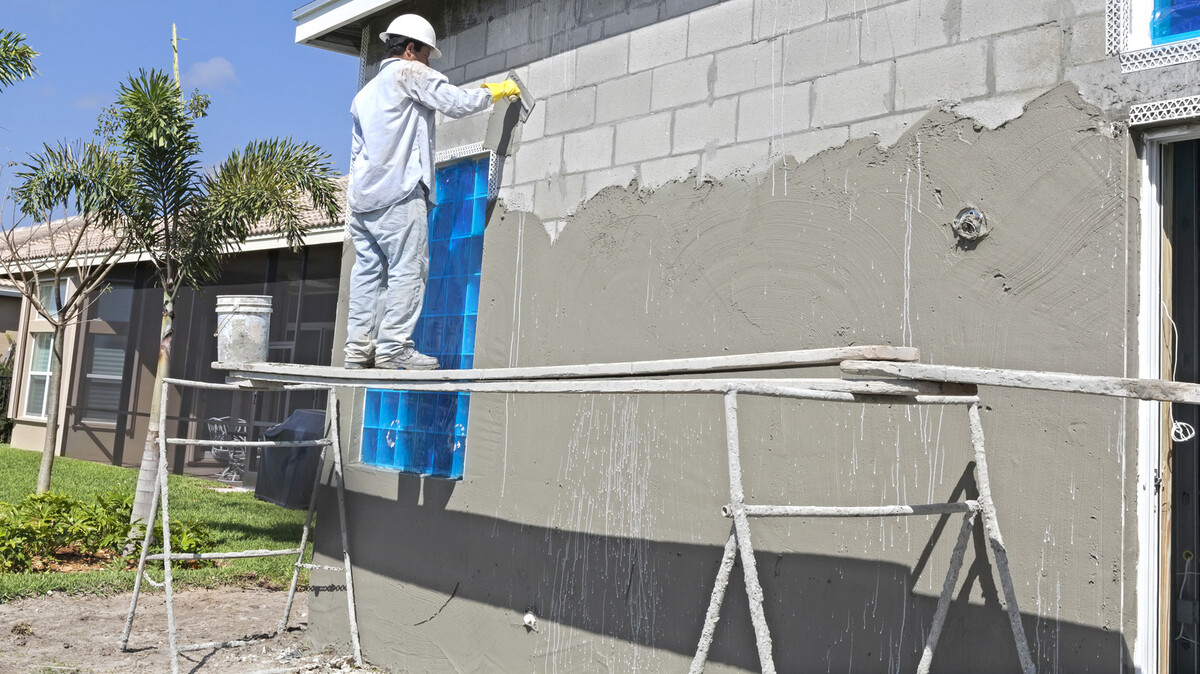
When dealing with concrete or masonry sheds, waterproofing paints and coatings are highly effective in creating a impermeable layer that safeguards the structure from water infiltration. These products are engineered to withstand hydrostatic pressure, preventing water from seeping through the porous surfaces of concrete and masonry constructions.
It’s important to consider the environmental impact of the waterproofing materials you choose. Opt for products that are eco-friendly and low in volatile organic compounds (VOCs) to minimize harm to the surrounding ecosystem and reduce exposure to potentially harmful chemicals.
Ultimately, the selection of waterproofing materials should be guided by the unique characteristics of your shed, including its construction materials, exposure to the elements, and your environmental considerations. By choosing the right waterproofing materials, you can fortify your shed against moisture and ensure its longevity and structural integrity.
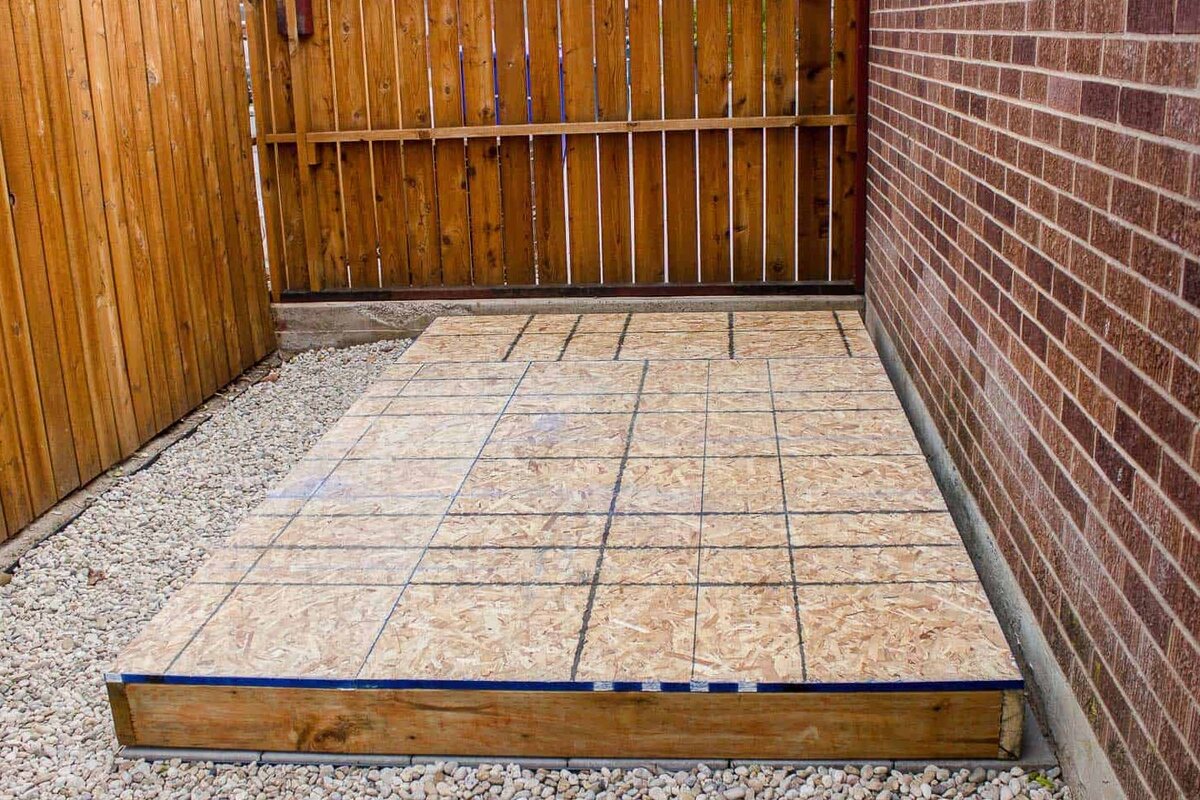
Preparing the Shed for Waterproofing
Before diving into the application of waterproofing materials, it’s crucial to prepare the shed thoroughly to ensure optimal adhesion and long-lasting effectiveness. Proper preparation sets the stage for a successful waterproofing endeavor, allowing the chosen materials to perform at their best and provide robust protection against moisture infiltration.
Begin by cleaning the exterior surfaces of the shed. Remove any dirt, debris, or organic matter that may hinder the adhesion of waterproofing products. Use a stiff brush or pressure washer to eliminate accumulated grime, mildew, and loose paint. Pay special attention to areas prone to water buildup, such as gutters, downspouts, and crevices where dirt and vegetation may have accumulated.
Inspect the shed for existing damage, such as cracks, gaps, or deteriorated sealant. Address any structural issues and perform necessary repairs before proceeding with waterproofing. Patching up cracks and filling gaps with appropriate sealants or caulking compounds is essential to fortify the shed’s defenses against water intrusion.
If the shed features wooden surfaces, ensure that the wood is in good condition before applying waterproofing products. Sand down rough or uneven areas, and replace any rotted or damaged wood. Additionally, consider applying a wood conditioner or primer to enhance the adhesion of the waterproofing material and promote uniform coverage.
For metal sheds, inspect the surfaces for rust or corrosion. Use a wire brush or sandpaper to remove any existing rust, and consider applying a rust converter to halt the spread of corrosion. This preparatory step is crucial for ensuring that the waterproofing coating adheres securely to the metal surfaces, forming a robust barrier against moisture and oxidation.
Prior to applying waterproofing materials, ensure that the shed is completely dry. Avoid waterproofing during rainy or excessively humid conditions, as moisture can compromise the effectiveness of the products. Ideally, choose a time when the weather forecast indicates dry conditions for the duration of the application and curing process.
By meticulously preparing the shed for waterproofing, you lay the groundwork for a resilient and enduring defense against moisture. This proactive approach maximizes the effectiveness of the waterproofing materials, ultimately contributing to the longevity and structural integrity of your outdoor shed.
Apply a waterproof sealant to the exterior of the shed, focusing on seams and joints. This will help prevent water from seeping in and keep the interior dry.
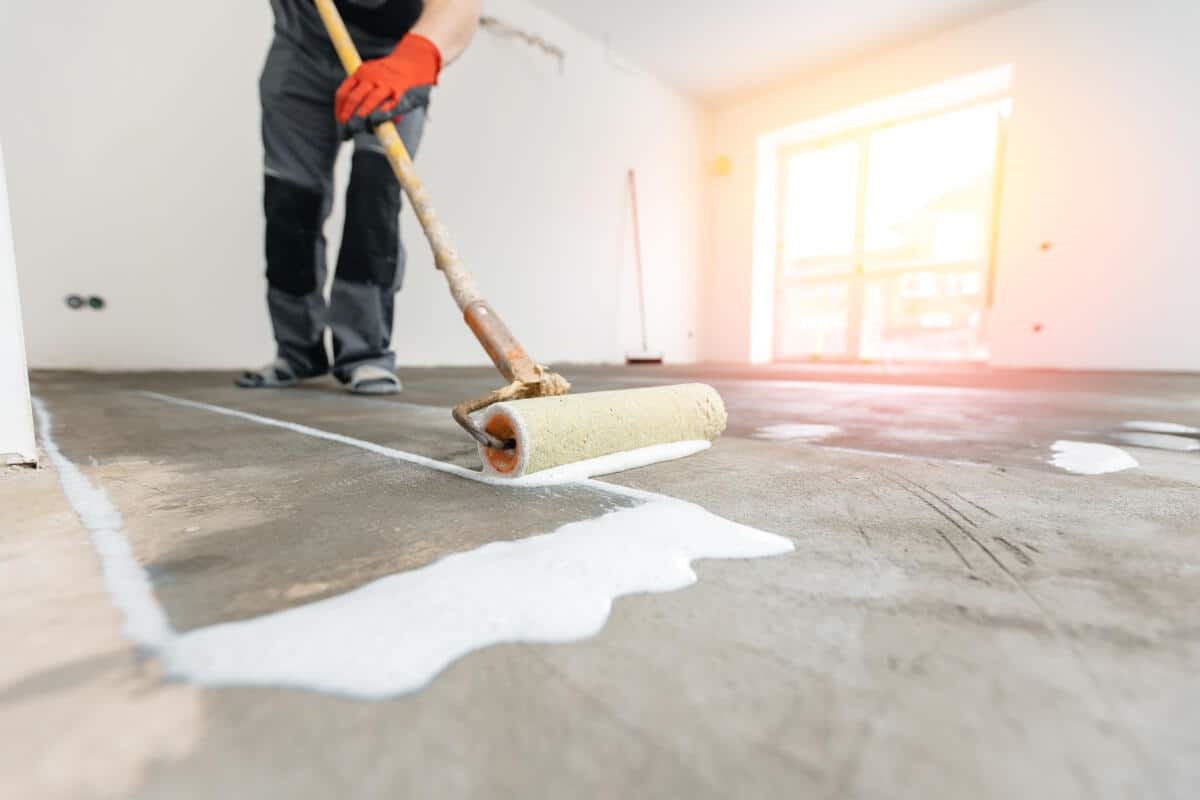
Applying Waterproofing Coating
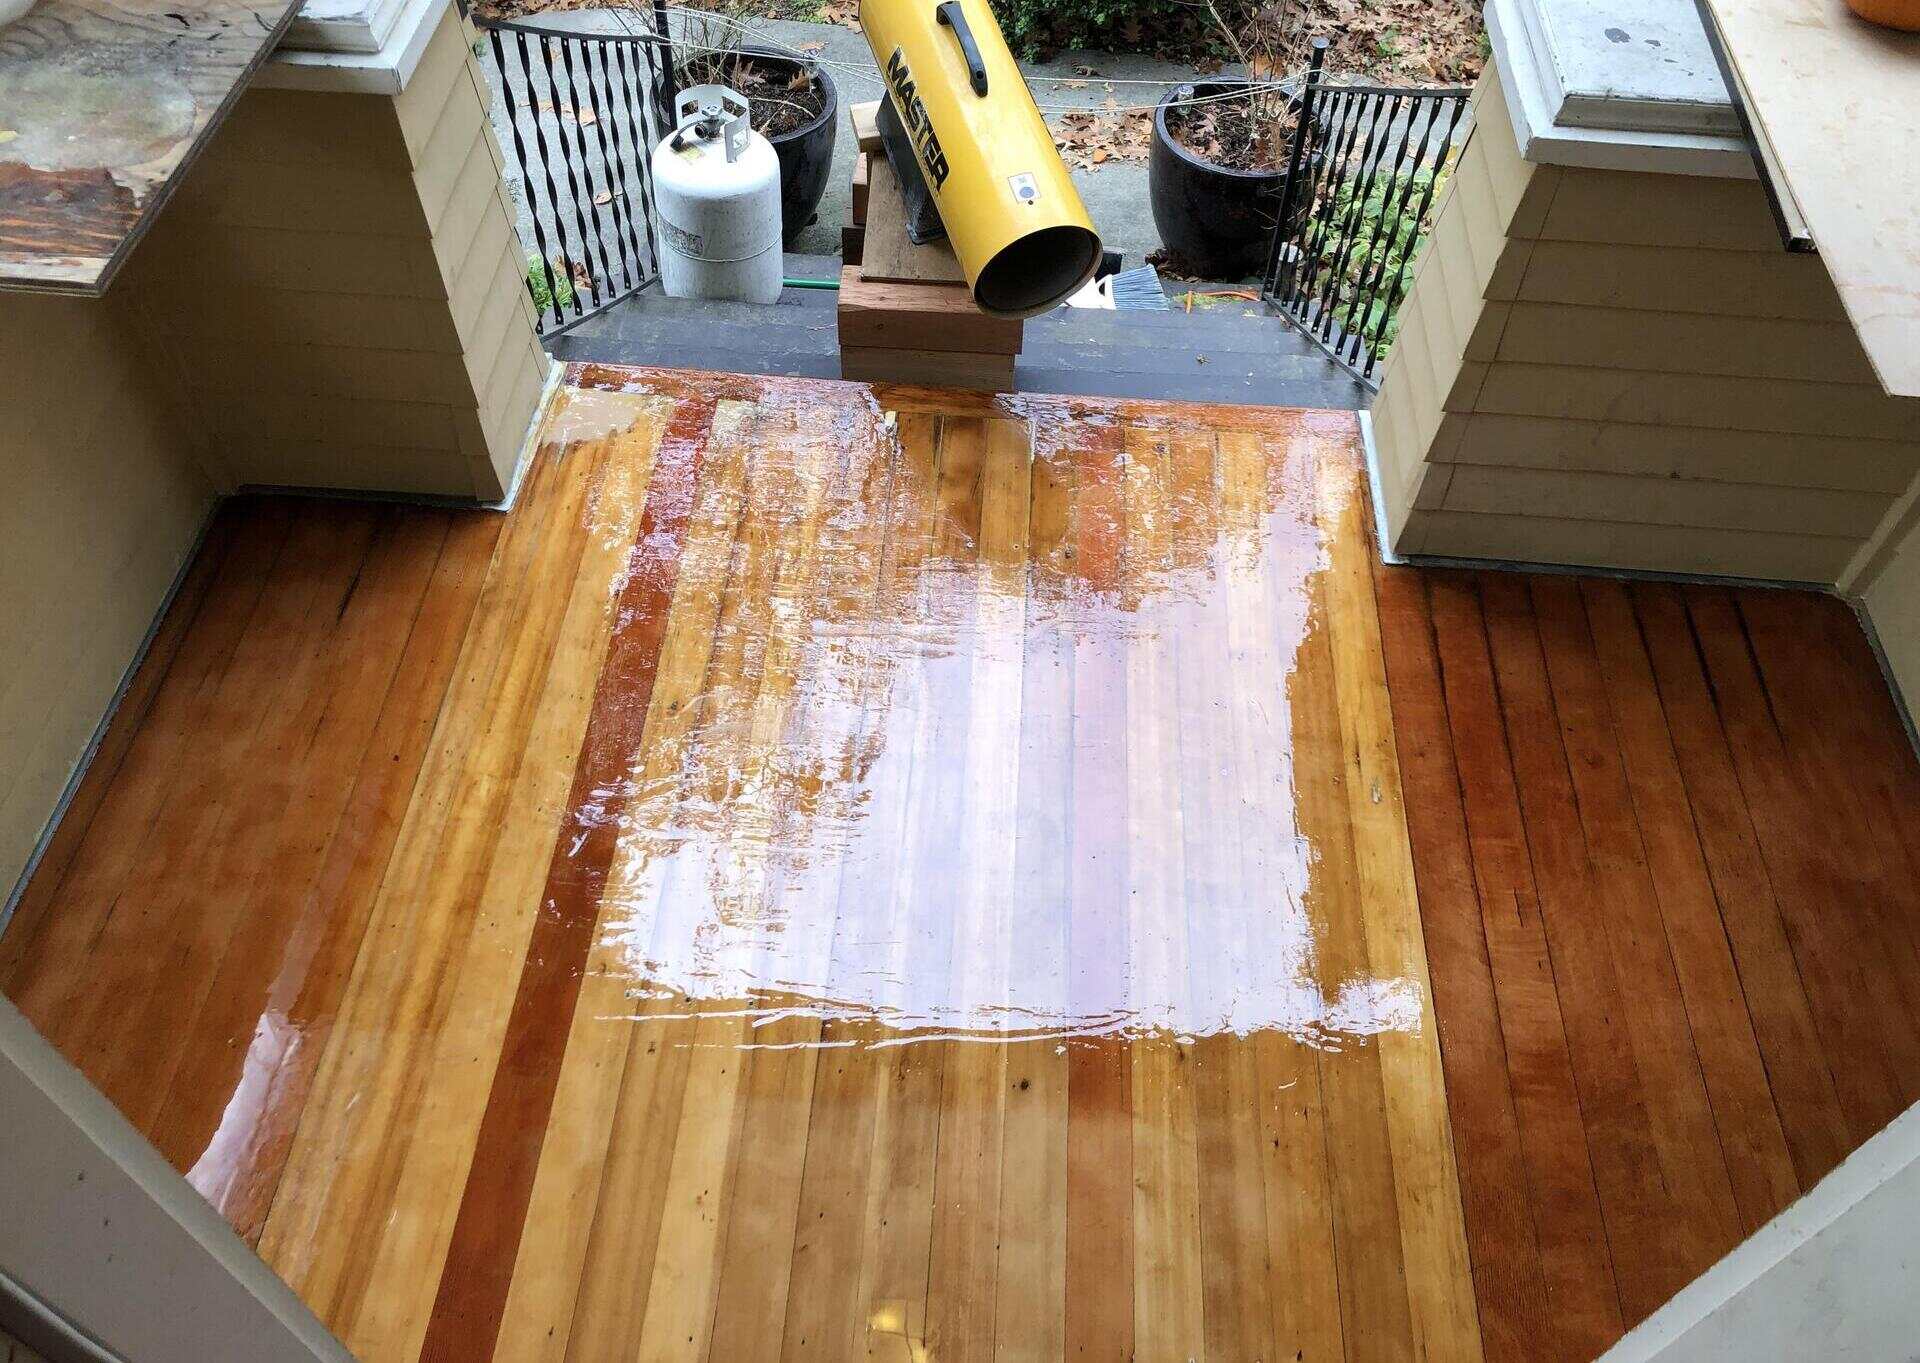
Once the shed is thoroughly prepared, it’s time to embark on the application of waterproofing coatings, a pivotal step in fortifying the structure against moisture infiltration. The application process demands attention to detail and precision to ensure comprehensive coverage and a durable, watertight seal.
Before applying the waterproofing coating, carefully read and follow the manufacturer’s instructions. Different products may have specific application guidelines, such as recommended application temperatures, curing times, and surface preparation requirements. Adhering to these instructions is essential for achieving optimal results and maximizing the effectiveness of the waterproofing material.
When applying waterproofing coatings, start from the top of the shed and work your way down. This approach allows any excess product to flow over areas that have already been coated, ensuring thorough coverage and minimizing the risk of missed spots. Use a brush, roller, or sprayer, depending on the type of coating and the nature of the shed’s surfaces, to achieve an even and uniform application.
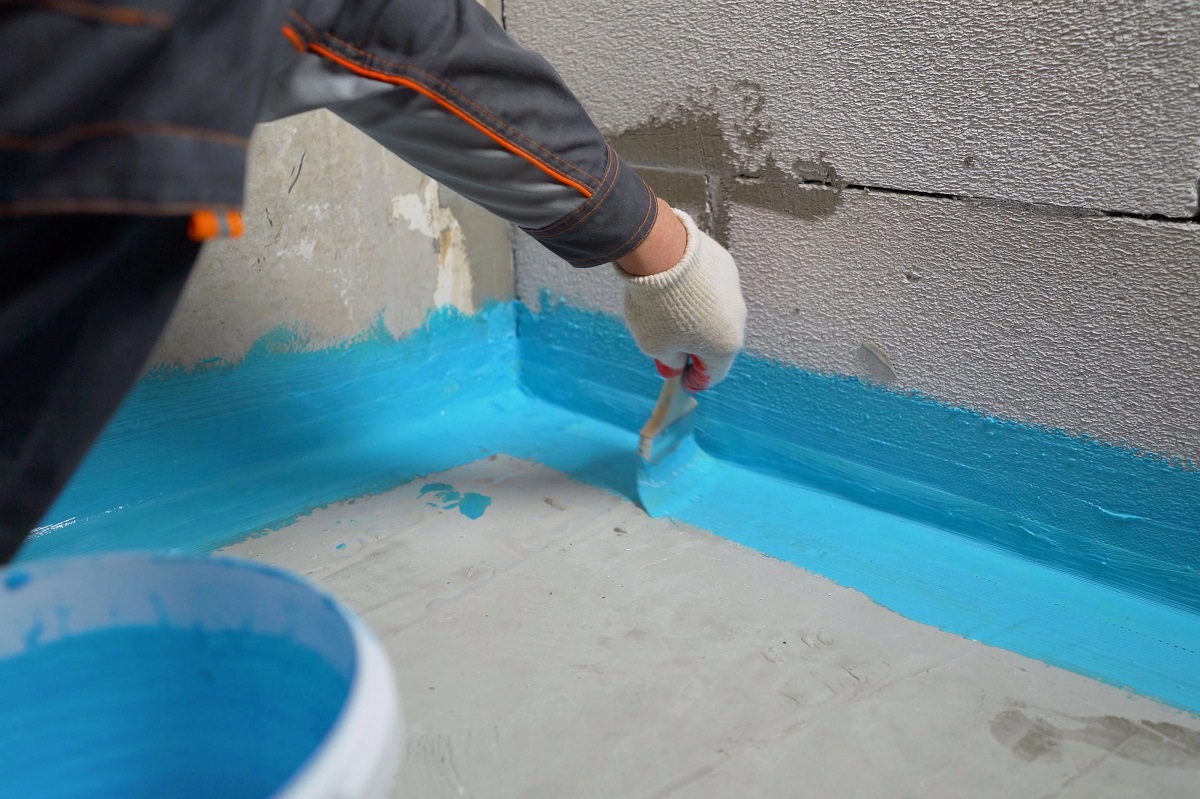
Pay special attention to seams, joints, and areas where different materials meet, as these are common weak points for water infiltration. Apply the waterproofing coating generously to these areas, ensuring that the product penetrates any gaps and forms a robust barrier against moisture. Additionally, coat any exposed fasteners, such as screws or nails, to prevent water from seeping through these potential entry points.
For wooden sheds, consider applying multiple coats of waterproofing material to enhance protection and durability. Allow each coat to dry completely before applying the next, and ensure that the entire surface is adequately covered to create a seamless and impenetrable shield against the elements.
When working with metal sheds, focus on areas susceptible to rust formation, such as seams, edges, and fastener locations. Apply the waterproofing coating liberally to these areas to inhibit moisture penetration and prevent corrosion, ultimately prolonging the shed’s structural integrity and aesthetic appeal.
After completing the application, allow the waterproofing coating to cure according to the manufacturer’s recommendations. This curing period is crucial for the product to form a resilient and durable barrier against moisture, ensuring long-term protection for your shed.
By meticulously applying waterproofing coatings, you bolster your shed’s defenses against the detrimental effects of moisture, safeguarding its structural integrity and enhancing its longevity. This proactive measure equips your outdoor structure to withstand the elements and remain a reliable and resilient asset in your outdoor space.
Sealing Joints and Gaps
Effectively sealing joints and gaps is a critical aspect of waterproofing a shed, as these areas are particularly vulnerable to moisture infiltration and can compromise the overall integrity of the structure. By addressing seams, connections, and gaps with precision, you can fortify the shed against water intrusion and enhance its resilience in the face of varying weather conditions.
Begin by inspecting the shed for potential entry points where water could penetrate. Focus on seams where different components of the shed meet, such as where the roof meets the walls, the junctions between panels, and around windows and doors. Additionally, pay attention to gaps around vents, electrical conduits, and any other penetrations in the shed’s exterior.
Choose a high-quality, weather-resistant sealant that is compatible with the materials used in your shed’s construction. For wooden sheds, opt for a sealant specifically formulated for wood, while silicone-based sealants are suitable for metal and vinyl structures. Ensure that the selected sealant is designed for outdoor use and offers excellent adhesion and flexibility to accommodate the shed’s natural movements.
Prior to applying the sealant, clean the areas to be sealed thoroughly to remove any dirt, dust, or debris. Use a suitable cleaning agent and allow the surfaces to dry completely before proceeding with the sealing process. This preparatory step ensures optimal adhesion and long-lasting effectiveness of the sealant.
Apply the sealant generously to the identified joints and gaps, ensuring that the product fills the spaces completely and forms a seamless barrier against water intrusion. Use a caulking gun for precise application and smooth the sealant with a putty knife or your finger to create a neat and uniform seal. Pay special attention to areas prone to water buildup, such as the bottom edges of siding and around the base of the shed where it meets the foundation.
For areas with wider gaps or joints, consider using foam backer rods before applying the sealant. These rods provide support and help the sealant form a more substantial barrier against moisture, reducing the risk of water seepage and enhancing the overall effectiveness of the sealing process.
After applying the sealant, allow it to cure completely according to the manufacturer’s recommendations. This curing period is essential for the sealant to achieve its full strength and durability, ensuring a reliable and long-lasting defense against water infiltration.
By meticulously sealing joints and gaps, you bolster the shed’s resilience against moisture, safeguarding its structural integrity and enhancing its ability to withstand the elements. This proactive measure contributes to the long-term protection and durability of your outdoor shed, creating a reliable and watertight space for your belongings and activities.
Maintaining the Waterproofing
Once you’ve successfully waterproofed your shed, it’s essential to implement a proactive maintenance regimen to preserve the effectiveness of the waterproofing measures and ensure continued protection against moisture. Regular maintenance not only safeguards the shed from potential water damage but also prolongs its lifespan, allowing you to enjoy a durable and resilient outdoor structure for years to come.
Inspect the shed periodically to assess the condition of the waterproofing materials. Look for signs of wear, such as cracking, peeling, or discoloration, which may indicate the need for touch-ups or reapplication of waterproofing coatings. Address any areas showing deterioration promptly to prevent water infiltration and mitigate potential damage.
Keep the exterior surfaces of the shed clean and free from debris. Regularly remove leaves, dirt, and other organic matter that can accumulate on the roof, gutters, and around the base of the shed. This simple maintenance task prevents water buildup and minimizes the risk of moisture-related issues such as mold growth and deterioration of the waterproofing materials.
Inspect the seals and caulking around windows, doors, and vents, and reseal any areas showing signs of wear or damage. Over time, these seals may degrade due to exposure to the elements, compromising their effectiveness in preventing water intrusion. By maintaining tight and intact seals, you fortify the shed against potential entry points for moisture.
Address any structural issues promptly to prevent water infiltration. Repair damaged or deteriorated wood, metal, or masonry components to uphold the shed’s structural integrity and prevent vulnerabilities that could lead to water-related damage.
Consider applying a maintenance coat of waterproofing material every few years to reinforce the shed’s defenses against moisture. This proactive measure helps replenish the protective barrier, compensating for natural wear and exposure to the elements and ensuring continuous protection against water infiltration.
During the winter months, ensure that the shed’s roof is clear of snow and ice to prevent the buildup of excess weight and minimize the risk of water seepage. Additionally, address any ice dams that may form along the roof’s edges, as these can lead to water backing up under the shingles and compromising the shed’s waterproofing.
By implementing a proactive maintenance routine, you uphold the shed’s waterproofing integrity and extend its longevity, ensuring that it remains a reliable and resilient space in your outdoor environment. Regular maintenance not only safeguards the shed from potential water damage but also provides peace of mind, allowing you to enjoy the benefits of a well-protected outdoor structure for years to come.
Frequently Asked Questions about How To Make A Shed Waterproof
Was this page helpful?
At Storables.com, we guarantee accurate and reliable information. Our content, validated by Expert Board Contributors, is crafted following stringent Editorial Policies. We're committed to providing you with well-researched, expert-backed insights for all your informational needs.


0 thoughts on “How To Make A Shed Waterproof”