Home>Garden Essentials>How To Weave A Grass Mat For Your Bunny
Garden Essentials
How To Weave A Grass Mat For Your Bunny
Modified: September 2, 2024
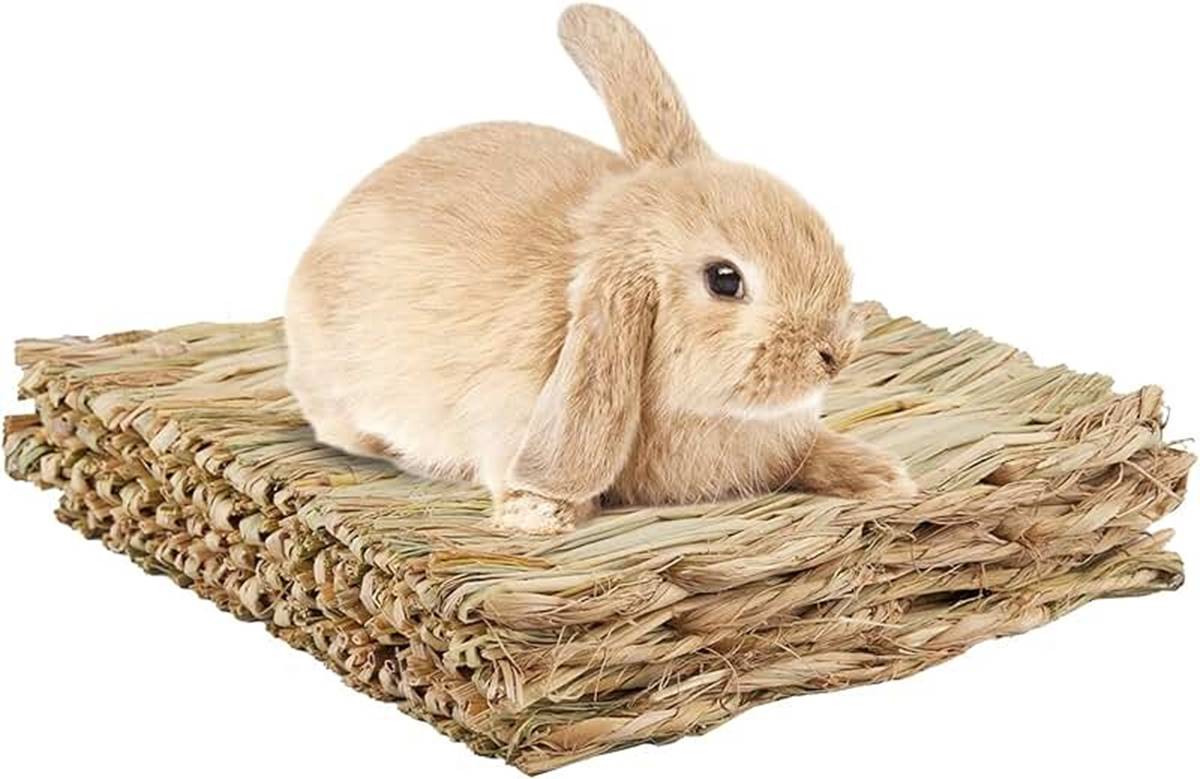
Learn how to weave a beautiful grass mat for your bunny using materials from your own garden. Follow our step-by-step guide for a cozy and eco-friendly addition to your pet's space.
(Many of the links in this article redirect to a specific reviewed product. Your purchase of these products through affiliate links helps to generate commission for Storables.com, at no extra cost. Learn more)
Introduction
Welcome to the wonderful world of gardening! Whether you have a sprawling backyard or a tiny balcony, there’s something truly fulfilling about tending to plants and watching them flourish. And one aspect of gardening that often gets overlooked is the art of weaving grass mats.
Grass mats are versatile and can be used in various ways, from providing a comfortable surface for your bunny to creating a picturesque seating area in your garden. Not only are they aesthetically pleasing, but they also make for a fun and easy DIY project.
In this article, we’ll guide you through the process of weaving a grass mat for your bunny, ensuring they have a cozy and natural space to relax. So, grab your gardening gloves and let’s get started!
Key Takeaways:
- Weaving a grass mat for your bunny is a fun and easy DIY project that provides a cozy and natural space for your furry friend to relax and play. It’s a practical and eco-friendly option for their living environment.
- By using fresh and sturdy grass stalks and adding a beautiful border, you can create a personalized and durable grass mat for your bunny. Get creative and enjoy the satisfaction of crafting something special for your furry companion!
Read more: How To Preserve Bunny Tail Grass
Materials Needed
Before we dive into the weaving process, let’s gather all the materials you’ll need to make your grass mat:
- Freshly cut grass: Opt for long, sturdy grass stalks without any signs of brittleness or yellowing. Aim to gather enough grass to create a mat of your desired size.
- Pruning shears or scissors: These will help you cut the grass to the appropriate length.
- Twine or string: You’ll need this to secure the grass stalks together.
- Large flat surface: Find a spacious area where you can comfortably work on your grass mat.
- Gardening gloves: Protect your hands from any potential cuts or blisters while handling the grass.
- Optional: Decorative elements such as ribbons or beads to add a personal touch to your grass mat.
Once you’ve gathered all these materials, you’re ready to start weaving your grass mat. So, let’s move on to the next step and prepare the grass!
Step 1: Gathering Grass
The first step in weaving a grass mat for your bunny is to gather fresh grass. Look for an area with tall, healthy grass that hasn’t been treated with any chemicals. Your backyard or a nearby field are great places to find the perfect grass stalks.
When cutting the grass, it’s essential to use sharp pruning shears or scissors to ensure clean cuts. Aim for stalks that are about 12-18 inches long, as longer stalks will make the weaving process easier. Avoid using grass that is brittle, yellowed, or has started to dry out, as they won’t hold up well in the mat.
When you’ve gathered enough grass stalks to create your desired mat size, it’s time to move on to the next step: preparing the grass.
Step 2: Preparing the Grass
Now that you have a bundle of fresh grass stalks, it’s important to prepare them before starting the weaving process. Follow these steps to ensure the grass is ready and easy to work with:
- Trim off any excess leaves: Use your pruning shears or scissors to remove the leaves from the grass stalks, leaving only the long, flexible stems. This step will make the weaving process smoother and prevent the leaves from sticking out of the finished mat.
- Sort the grass stalks by size: Separate the stalks into piles of similar lengths. This will make it easier to weave and will result in a more uniform and aesthetically pleasing final product.
- Dampen the grass: Lightly mist the grass stalks with water to make them more pliable and prevent them from breaking during the weaving process. Avoid soaking the grass, as it can lead to mold or mildew.
Once you’ve completed these steps, your grass stalks are now ready to be woven into a delightful mat for your bunny. In the next step, we’ll start the weaving process and bring the mat to life!
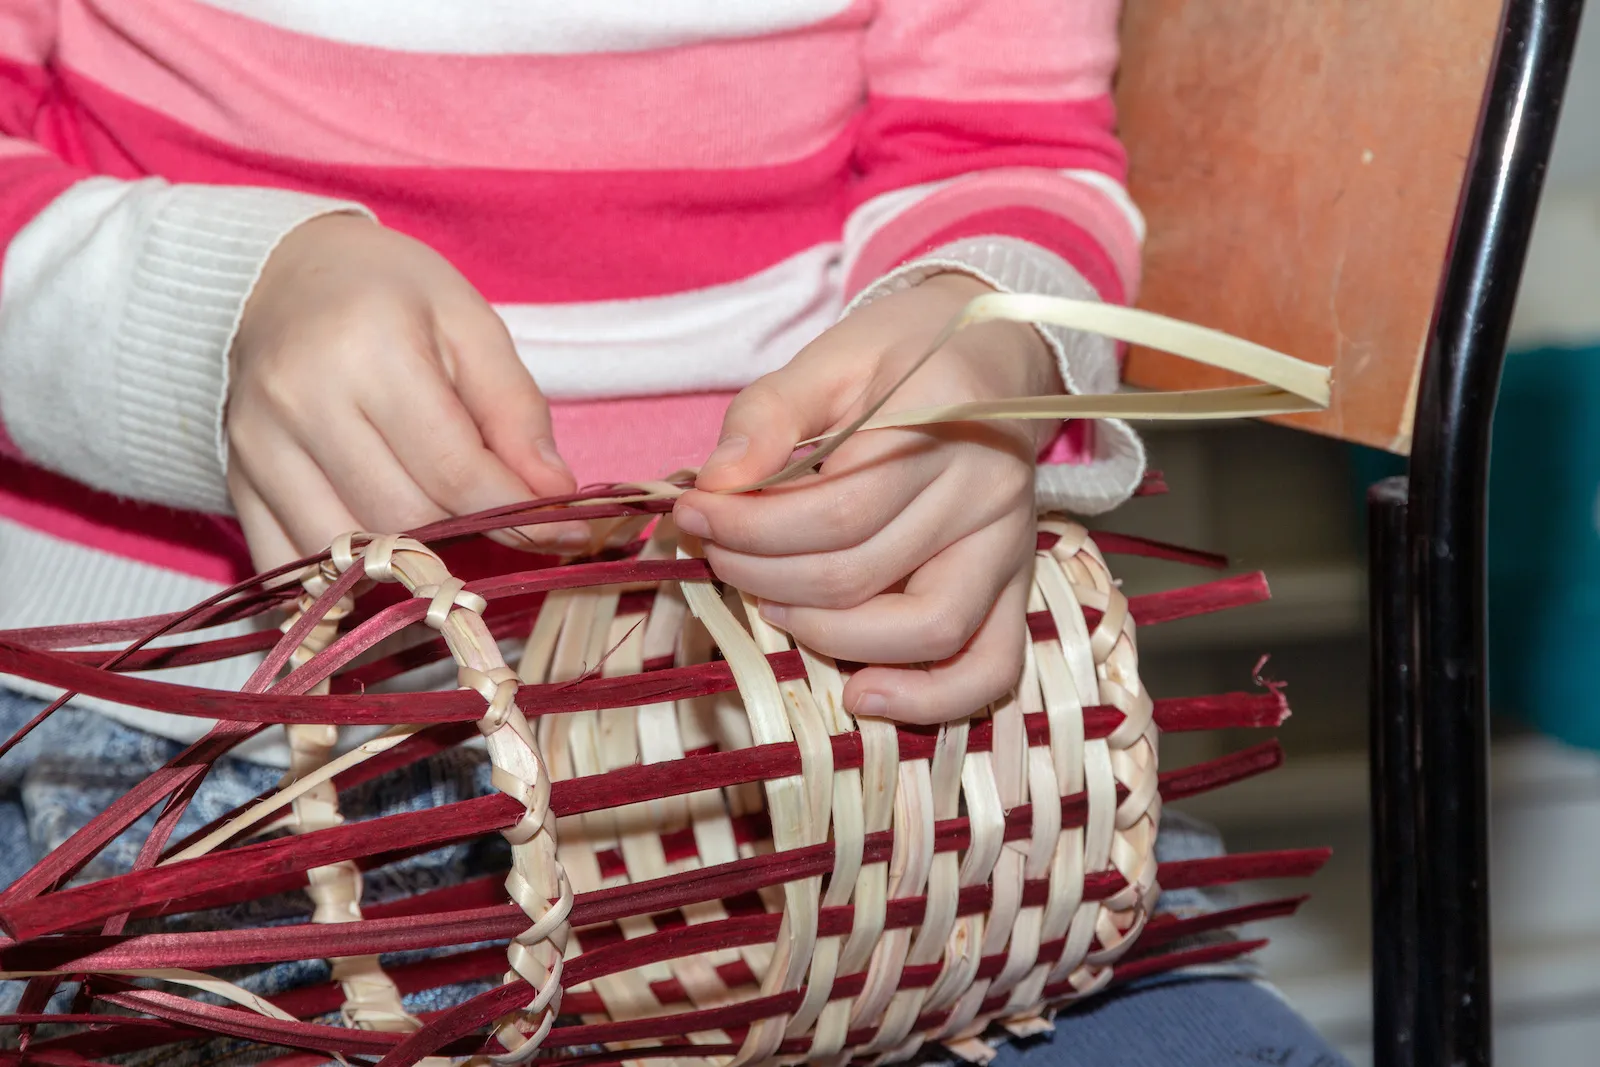
Step 3: Starting the Weaving Process
Now that the grass is prepared, it’s time to dive into the weaving process. Follow these steps to get started:
- Lay out your grass stalks: Start by laying out a few grass stalks parallel to each other, with their ends touching. The number of stalks you use will depend on the desired width of your mat.
- Secure the ends: Take a piece of twine or string and tie it tightly around the ends of the grass stalks. This will keep them in place as you begin weaving.
- Start weaving: Take another grass stalk and weave it over and under the parallel stalks. Push it tightly against the secured ends to ensure a secure and snug weave.
- Continue the weaving pattern: Repeat the weaving process by alternating over and under the stalks until you reach the desired length. Remember to gently press and adjust the stalks as you go to maintain a neat and even weave.
As you weave, you can add more grass stalks to increase the width of the mat. Simply align them parallel to the existing stalks and continue the weaving pattern. Take your time and ensure each stalk is securely woven to create a sturdy and durable grass mat.
Now that you’ve started the weaving process, let’s move on to the next step and learn how to continue weaving your grass mat.
When weaving a grass mat for your bunny, make sure to use non-toxic and bunny-safe grasses. Avoid using grasses that have been treated with pesticides or chemicals.
Read more: How To Fix Weave Patio Furniture
Step 4: Continuing the Weaving Process
Now that you’ve laid the foundation of your grass mat, it’s time to continue weaving and adding more layers for a sturdy and beautiful finish. Follow these steps to continue the weaving process:
- Add more grass stalks: As you continue weaving, you can add more grass stalks to increase the thickness of your mat. Align them parallel to the existing stalks and weave them in the same over and under pattern.
- Secure the ends: Every few inches of weaving, secure the ends of the new grass stalks to the previous row of woven grass. This will keep your mat tightly woven and prevent it from coming apart.
- Press and adjust: After each grass stalk is woven, press it tightly against the previous row and adjust it if needed to maintain an even and neat weave. This will ensure a strong and cohesive grass mat.
- Continue weaving until desired size: Keep weaving and adding more layers of grass stalks until your mat reaches the desired size. Pay attention to the width and length, ensuring the mat is balanced and proportional.
Remember to take your time and enjoy the weaving process. As you add more layers, the mat will become denser and more comfortable for your bunny. The weaving process requires patience and precision, but the end result will be a cozy and natural mat for your furry friend.
Now that you’ve learned how to continue weaving your grass mat, let’s move on to the next step and discover how to create a beautiful border.
Step 5: Creating the Border
Now that your grass mat is taking shape, it’s time to add a beautiful border to give it a polished and finished look. Follow these steps to create a border for your grass mat:
- Select a different type of grass: Choose a slightly thicker and more flexible grass variety to create the border. This will provide a nice contrast and make the border stand out.
- Trim the grass stalks: Cut the border grass stalks to a slightly longer length than the rest of the mat stalks. This will allow you to fold them over and secure them in place.
- Start the border weaving: Begin weaving the border grass stalks around the edges of the mat by tucking them under the existing grass stalks and folding them over to create a border effect.
- Weave the border grass: Continue weaving the border grass all the way around the mat, ensuring a snug fit and a clean appearance. Tightly secure the ends of the border grass stalks to the adjacent grass stalks.
As you create the border, take your time and make sure the stalks are tightly woven and properly secured. This will give your grass mat a professional and finished look. Don’t be afraid to experiment with different patterns or embellishments to add a unique touch to your mat.
Now that you’ve created the border for your grass mat, it’s time to move on to the final step and complete the weaving process.
Step 6: Finishing the Mat
Congratulations! You’re in the final stretch of creating your grass mat for your bunny. Follow these last steps to complete the mat:
- Trim any excess grass: Carefully go around the mat and trim any extra or uneven grass stalks to ensure a clean and tidy appearance.
- Secure the loose ends: Take your twine or string and wrap it tightly around the loose ends of the grass to secure them in place. Tie a knot to keep everything snug and secure.
- Add decorative elements (optional): If you’d like to add a personal touch to your grass mat, now is the time! Consider attaching ribbons, beads, or other decorative elements to the border or corners of the mat.
- Inspect for durability: Give your grass mat a thorough inspection, making sure all the grass stalks are tightly woven and secure. You want to ensure the mat is durable and safe for your bunny to use.
Once you’ve completed these steps, your grass mat is ready for use! Find the perfect spot in your bunny’s enclosure or outdoor space to place the mat. Your furry friend will appreciate the cozy and natural surface to rest, play, and nibble on.
Remember that grass mats are biodegradable, so they may need to be replaced over time. Keep an eye on the condition of the mat and replace it as needed to maintain cleanliness and safety for your bunny.
Congratulations on successfully weaving a grass mat for your bunny! Enjoy watching them enjoy their new cozy space.
This concludes our guide on how to weave a grass mat for your bunny. We hope you found this process enjoyable and rewarding. Happy gardening!
Conclusion
Congratulations! You have successfully learned how to weave a grass mat for your beloved bunny. This simple DIY project provides a cozy and natural space for your furry friend to relax and play. Not only is it practical, but it also adds a touch of rustic charm to their living environment.
Throughout this guide, we discussed the materials needed, steps for gathering and preparing the grass, and the weaving process itself. We emphasized the importance of using fresh and sturdy grass stalks, securing the ends tightly, and creating a beautiful border to give your mat a polished finish.
As you completed each step, you discovered the joy of crafting something with your own hands and the satisfaction of seeing it come to life. Designs and patterns are only limited by your imagination, so don’t be afraid to get creative and experiment with different grass types or decorations.
Remember, the grass mat is not only a comfortable spot for your bunny but also an eco-friendly option. Should the mat wear out over time, simply replace it with a fresh one to ensure a safe and hygienic environment for your furry friend.
Now that you have acquired the knowledge and skills to weave a grass mat, we encourage you to share your craftsmanship with others. Spread the joy of creating cozy havens for bunnies and inspire fellow garden enthusiasts to explore their crafting talents.
We hope you and your bunny enjoy the fruits of your labor. Happy gardening and may your grass mats bring joy and comfort to your furry companions for years to come!
Frequently Asked Questions about How To Weave A Grass Mat For Your Bunny
Was this page helpful?
At Storables.com, we guarantee accurate and reliable information. Our content, validated by Expert Board Contributors, is crafted following stringent Editorial Policies. We're committed to providing you with well-researched, expert-backed insights for all your informational needs.


0 thoughts on “How To Weave A Grass Mat For Your Bunny”