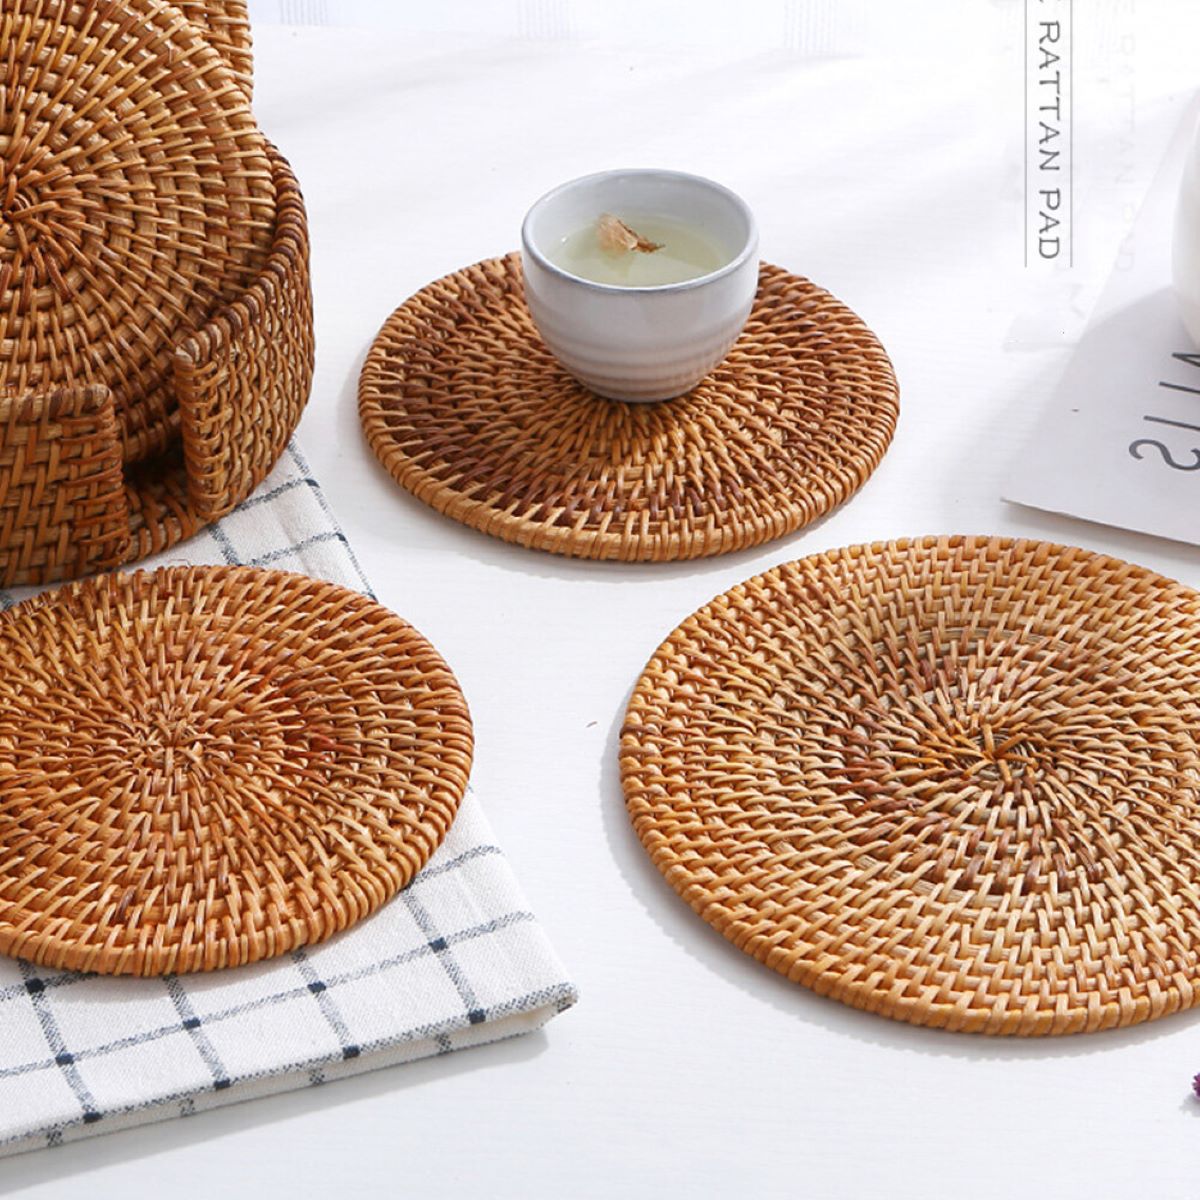
Tableware
How To Weave A Placemat
Modified: January 4, 2024
Learn how to weave your own tableware with this step-by-step guide on how to weave a placemat. Create personalized and unique placemats for your dining table.
(Many of the links in this article redirect to a specific reviewed product. Your purchase of these products through affiliate links helps to generate commission for Storables.com, at no extra cost. Learn more)
Introduction
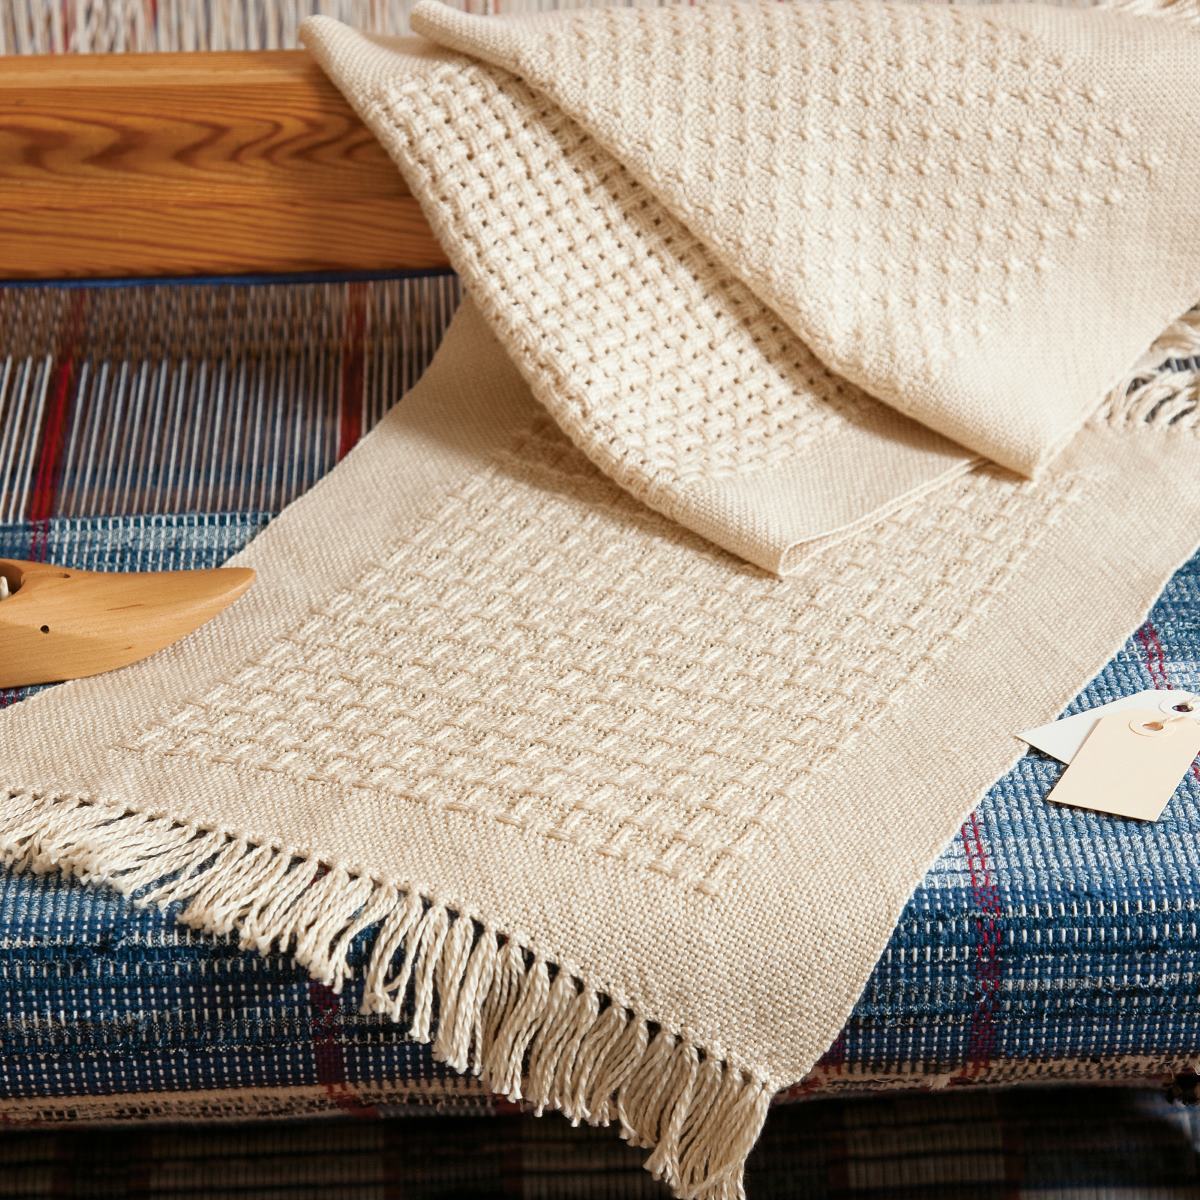
Welcome to the world of tableware crafting! In this article, we will delve into the art of weaving a placemat. A placemat not only adds a touch of elegance to your dining table but also serves a practical purpose by protecting your table from spills and stains. Whether you are a seasoned weaver or a beginner, this step-by-step guide will walk you through the process of creating a beautiful placemat.
Weaving is an ancient craft that has been practiced by cultures all around the world for centuries. From intricate tapestries to delicate textiles, the possibilities are endless when it comes to creating woven pieces. By weaving a placemat, you can combine functionality with creativity, resulting in a unique and personalized table setting.
Before we dive into the weaving process, let’s take a look at the materials you will need to get started.
Key Takeaways:
- Weaving a placemat is a creative and practical way to enhance your dining table. From setting up the loom to adding finishing touches, this step-by-step guide empowers you to craft a unique and stylish placemat.
- By selecting the right materials, experimenting with colors and patterns, and adding finishing touches, you can weave a handcrafted placemat that reflects your creativity and enhances your dining experience.
Read more: How To Weave Baskets
Materials Needed
Before you begin weaving your placemat, gather the following materials:
- A loom: You can choose from various types of looms, such as frame looms or rigid heddle looms. Select a size that suits your desired placemat dimensions.
- Yarn: Opt for a yarn that is suitable for tableware, such as cotton or linen. You can choose a single color or multiple colors to create a pattern.
- Warp thread: This is a strong thread that forms the foundation of your weave. You will need enough to cover the length of your loom.
- Weft thread: This is the thread you will use to create the actual weaving. Choose a color that complements your yarn choice.
- Scissors: You will need sharp scissors to cut the yarn and warp thread.
- Yarn needle: This needle comes in handy for weaving in loose ends and adding finishing touches.
Once you have gathered all the necessary materials, you are ready to start weaving your placemat. Let’s move on to the next step: setting up the loom.
Step 1: Setting Up the Loom
Setting up the loom is the first crucial step in the weaving process. Follow these steps to prepare your loom for weaving:
- Assemble your loom according to the manufacturer’s instructions. Make sure it is securely set up and stable on a flat surface.
- If your loom has a warp beam, attach the warp thread to it. Thread the warp thread through the tensioning device and secure it tightly.
- Bring the warp thread to the front of the loom and attach it to the front apron rod or tie it onto a rod at the bottom of the loom, depending on the type of loom you are using.
- Take the warp thread to the back of the loom, keeping it taut. Attach it to the back apron rod or tie it onto a rod at the top of the loom.
- Ensure that the warp threads are parallel and evenly spaced across the width of the loom. Adjust the tension if necessary to create even tension on all the warp threads.
Once your loom is set up, you are ready to move on to the next step: choosing the yarn.
Step 2: Choosing the Yarn
Choosing the right yarn is essential for creating a beautiful and functional placemat. Consider the following factors when selecting your yarn:
- Material: Opt for a yarn that is sturdy and durable, such as cotton or linen. These materials are known for their ability to withstand frequent use and washings.
- Color: Decide on the color or colors you want to incorporate into your placemat. You can choose a single solid color for a classic look or use multiple colors to create a vibrant and eye-catching design.
- Texture: Consider the texture of the yarn as it can add visual interest and tactile appeal to your placemat. Explore yarns with different textures, such as smooth, chunky, or boucle.
Once you have chosen your yarn, it’s time to move on to the next step: warping the loom.
Step 3: Warping the Loom
Warping the loom is the process of setting up the vertical threads that will form the foundation of your weave. Follow these steps to warp your loom:
- Measure and cut the desired length of warp thread, allowing extra length for tying off at the end.
- Secure one end of the warp thread to the front apron rod or tie it onto a rod at the bottom of the loom.
- Guide the warp thread vertically along the loom, passing it through the spaces at the top and bottom to create an even tension.
- Repeat this process for each warp thread, making sure to keep the threads parallel and evenly spaced.
- Once all the warp threads are in place, tie off the other end securely to the back apron rod or a rod at the top of the loom.
- Adjust the tension of the warp threads if necessary to ensure an even and tight weave.
With your loom warped and ready, you can now move on to the exciting part: starting the weaving process!
Read more: How To Weave Rugs
Step 4: Starting the Weaving
With your loom properly warped, it’s time to begin the weaving process. Follow these steps to get started:
- Take your weft thread and secure it to one side of the loom, either by tying it or by using a weaving needle to weave it into the warp threads.
- Pass the weft thread over and under the warp threads, moving from one side of the loom to the other. This is known as the “plain weave” and forms the foundation of your placemat.
- Be sure to pack each weft thread tightly against the previous row to ensure a consistent and sturdy weave.
- Continue weaving in this manner until you reach the desired width for your placemat, leaving some extra room on both sides for the finishing touches.
- If you want to create patterns or designs, you can experiment with different weaving techniques, such as twill weave or basket weave. These techniques involve varying the order of passing the weft thread over and under the warp threads.
As you weave, step back occasionally to assess the overall look and adjust the tension if needed. Once you are satisfied with the width and pattern of your placemat, it’s time to move on to the next step: creating the pattern.
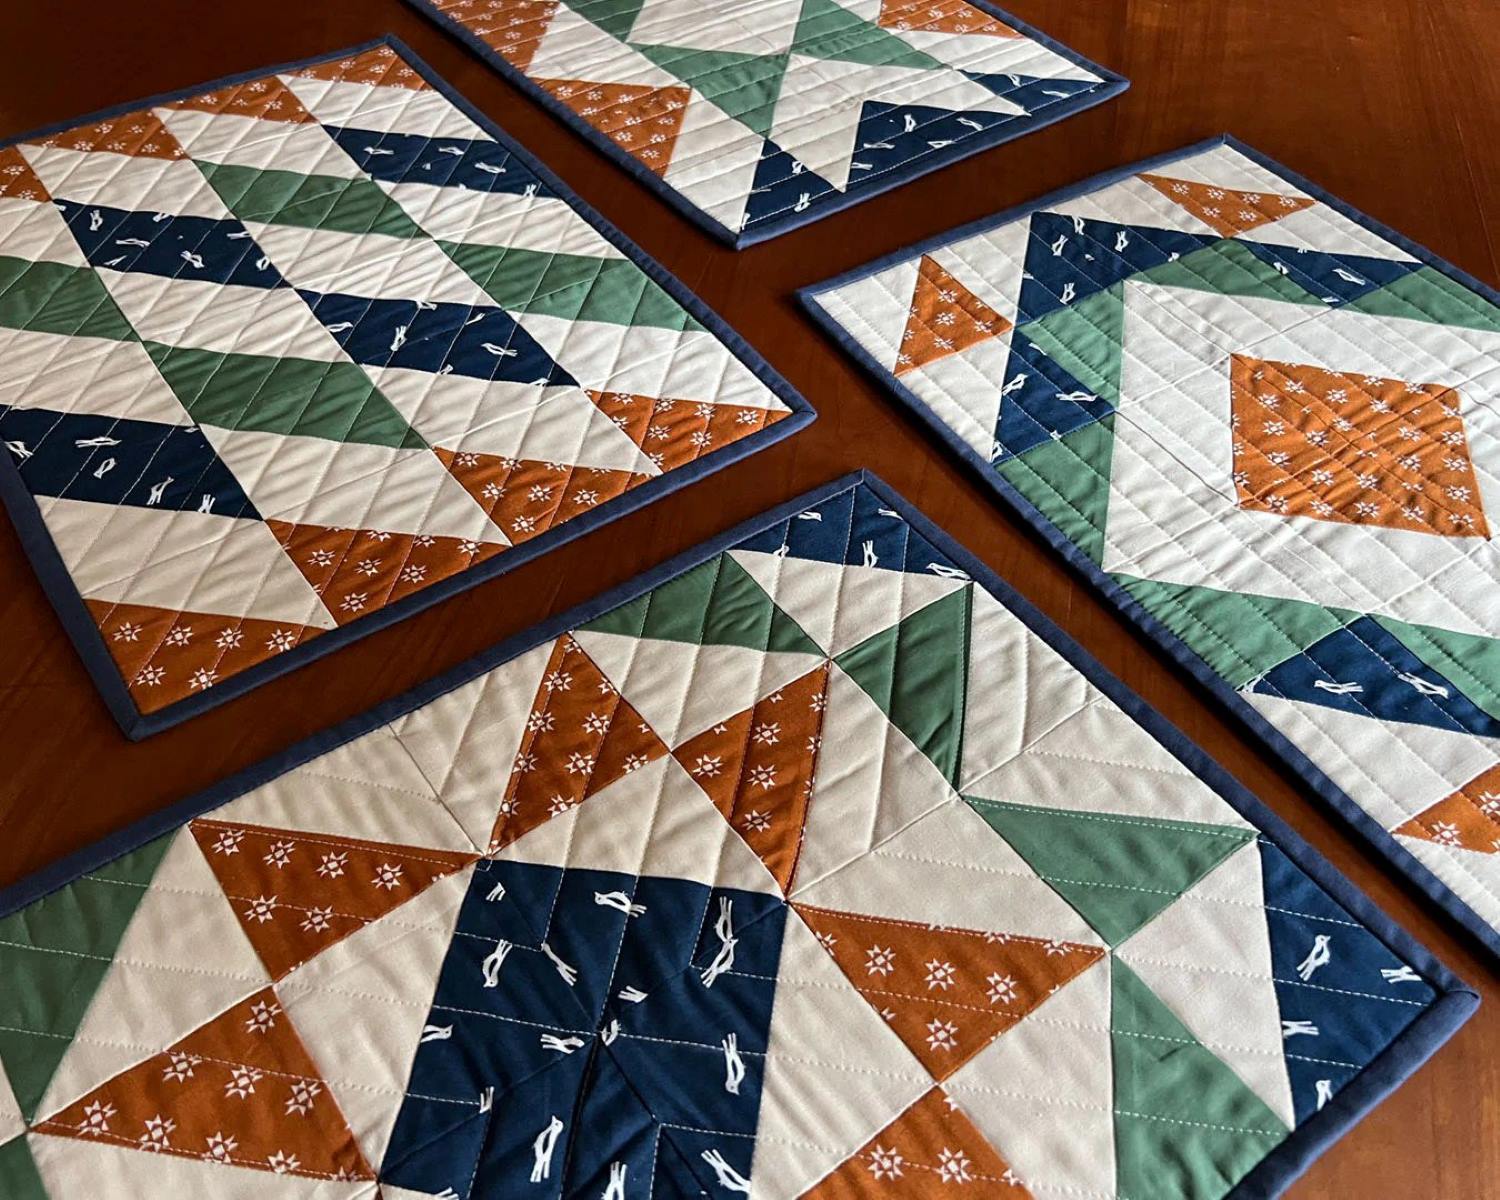
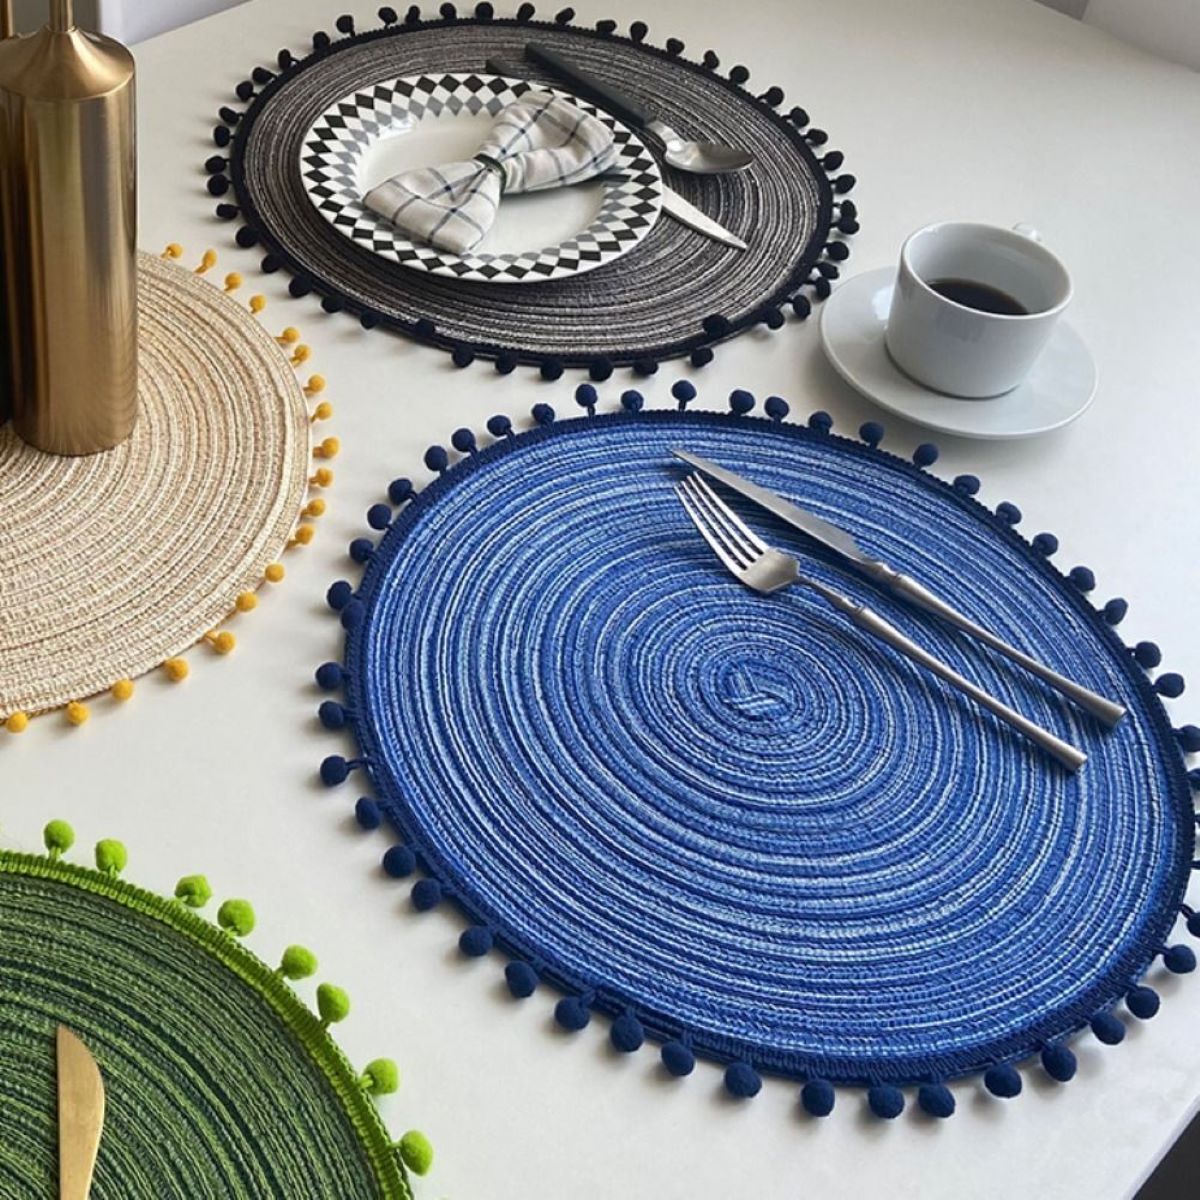
When weaving a placemat, start by choosing a sturdy and durable material such as cotton or jute. Use a simple over-under weaving pattern for a classic look, and consider adding a border for a polished finish.
Step 5: Creating the Pattern
Creating a pattern on your placemat adds visual interest and allows you to showcase your creativity. Here’s how you can incorporate patterns into your weave:
- Experiment with color: Switch between different colored weft threads to create stripes, checks, or other patterns. You can alternate colors every few rows or create specific color-blocked sections.
- Explore texture: Combine different yarn textures to add depth and dimension to your placemat. Mix smooth and textured yarns to create interesting patterns and contrast.
- Try different weaving techniques: Explore different weaving techniques like twill or herringbone to create intricate patterns. These techniques involve varying the sequence and interlacing of the weft threads.
- Use pick-up sticks: Pick-up sticks are thin, flat tools that you can insert into the warp threads to lift specific threads and create patterns. By manipulating the pick-up sticks, you can create designs like zigzags, diamond shapes, or curves.
- Incorporate embellishments: If desired, you can add decorative elements like beads, ribbons, or embroidery to enhance your placemat’s design. Use a yarn needle to weave in these embellishments or attach them after the weaving is complete.
Remember, the pattern you choose is entirely up to your imagination and personal style. Have fun experimenting with different techniques and designs to create a placemat that truly reflects your creativity.
Once you have finished creating your pattern, it’s time to move on to the next step: changing colors.
Step 6: Changing Colors
Changing colors in your weaving can add visual interest and create dynamic patterns in your placemat. Follow these steps to seamlessly transition between different colored weft threads:
- Choose the point in your weaving where you want to change colors. It could be at the beginning of a row or after a certain number of rows.
- Cut the current weft thread, leaving a tail of a few inches. This tail will be woven into the back of the placemat later.
- Secure the new color weft thread to the side of the loom, either by tying it or by using a weaving needle to weave it into the warp threads.
- Start weaving with the new color weft thread, passing it over and under the warp threads as before.
- Leave a small tail of the new color weft thread, which you will also weave into the back of the placemat later.
- Weave several rows with the new color, making sure to pack the weft tightly against the previous rows for a consistent weave.
- Continue this process of changing colors as desired throughout your weaving project, creating patterns and designs with different colors.
Remember to leave tails of each weft thread, both old and new, on the backside of the placemat. These will be woven in later to secure the loose ends and create a neat finish.
Once you have completed your desired color changes, you can proceed to the next step: finishing the weave.
Step 7: Finishing the Weave
Finishing the weave is the final step in creating your placemat. This step ensures that the weave is secure and adds a polished touch to your finished piece. Follow these steps to complete the weave:
- Weave in loose ends: Take the tails of the weft threads from color changes and weave them into the backside of the placemat. Using a yarn needle, carefully pass the tails under the warp threads, ensuring they are well secured and hidden.
- Check tension: Assess the overall tension of your weave and make any necessary adjustments. Ensure that the weave is tight and the edges are even.
- Trim excess yarn: Using sharp scissors, carefully trim any excess weft or warp threads that extend beyond the desired size of your placemat. Be mindful to avoid cutting into the weave.
By completing these finishing touches, you are ensuring that your placemat is durable, tidy, and ready for use.
The next step is to remove the placemat from the loom, which we will cover in Step 8.
Read more: How To Quilt Placemats
Step 8: Removing the Placemat from the Loom
Now that your weaving is complete, it’s time to remove the placemat from the loom. Follow these steps to safely take your finished piece off the loom:
- Carefully loosen the tensioning device on your loom to relieve the tension on the warp threads.
- Starting from one side, gently slide a weaving shuttle or your fingers between the warp threads and the loom to loosen the weave.
- Continue sliding the shuttle or your fingers across the width of the loom, easing the placemat off the loom. Take your time and be patient to avoid damaging the weave.
- Once the placemat is completely free from the loom, check the edges and adjust any unevenness or loose ends.
With the placemat removed from the loom, you can now move on to the final step of adding the finishing touches.
Before we move forward, let’s take a moment to appreciate your impressive weaving skills!
Step 9: Adding the Finishing Touches
Adding finishing touches to your woven placemat will elevate its appearance and ensure its durability. Follow these steps to complete your placemat:
- Trim the warp threads: Carefully trim the warp threads near the edges of the placemat, making sure they are neatly cut and do not unravel.
- Fringe or hem the edges: Depending on your desired look, you can choose to leave a fringe by knotting the warp threads together or fold the edges of the placemat over and hem them for a clean and finished appearance.
- Steam or press the placemat: To give your placemat a polished look, steam it or lightly press it with an iron on a low setting. Be careful not to apply too much heat or pressure, as it might damage the fibers.
- Inspect for any loose ends: Check for any loose yarn ends or loose stitches and weave them in or secure them with a needle and thread to ensure the longevity of your placemat.
- Wash and block if necessary: Depending on the type of yarn used, you may need to wash your placemat to remove any sizing or finish applied during the weaving process. Follow the washing instructions for your chosen yarn, and if needed, block the placemat by gently stretching it to the desired dimensions while damp.
- Admire your finished placemat: Once the finishing touches are complete, step back and admire your beautiful handwoven placemat. Take pride in your craftsmanship and creativity!
Now that your placemat is fully complete, it’s time to display it on your dining table or give it as a thoughtful, handmade gift to someone special.
Congratulations on successfully weaving your own unique and stylish placemat!
Conclusion
Tableware crafting is both an art form and a practical skill, and weaving a placemat allows you to combine creativity with functionality. Through each step of the weaving process, from setting up the loom to adding the finishing touches, you have explored the intricacies of this age-old craft.
By carefully selecting your materials, choosing the right yarn, and building a strong foundation with the warp threads, you created a canvas for your creativity to flourish. By experimenting with colors, patterns, and weaving techniques, you brought your placemat to life with a unique design.
Changing colors, weaving in different textures, and incorporating embellishments added depth and visual interest to your placemat. The finishing touches, such as trimming the edges, securing loose ends, and steaming or pressing the fabric, ensured a professional and polished appearance.
Now, as you gaze upon your handwoven placemat, you can take pride in the time, effort, and artistry you have put into it. Whether it graces your dining table or is gifted to a loved one, your placemat is a testament to your skills as a weaver.
So, embrace your newfound knowledge and continue to explore the world of tableware crafting. With each project, your skills will improve, and you’ll create even more exquisite pieces that enhance the dining experience.
Remember, weaving is not just about creating functional items; it’s about connecting with tradition, expressing your creativity, and adding a personal touch to your surroundings. So, gather your materials, set up your loom, and let your inspiration guide your hands as you embark on your next weaving adventure.
Frequently Asked Questions about How To Weave A Placemat
Was this page helpful?
At Storables.com, we guarantee accurate and reliable information. Our content, validated by Expert Board Contributors, is crafted following stringent Editorial Policies. We're committed to providing you with well-researched, expert-backed insights for all your informational needs.


0 thoughts on “How To Weave A Placemat”