Articles
How To Winterize A Cottage Plumbing
Modified: October 20, 2024
Learn helpful tips and tricks to winterize your cottage plumbing in our informative articles. Keep your pipes protected during the cold months with our expert advice.
(Many of the links in this article redirect to a specific reviewed product. Your purchase of these products through affiliate links helps to generate commission for Storables.com, at no extra cost. Learn more)
Introduction
Winterizing your cottage plumbing is essential to protect your pipes and fixtures from freezing temperatures and potential damage. Freezing water can cause pipes to burst, leading to costly repairs and water damage. By properly winterizing your cottage plumbing, you can prevent these issues and ensure that your plumbing system remains in good condition.
In this article, we will guide you through the steps to winterize your cottage plumbing effectively. From shutting off the water supply to insulating pipes and fixtures, we will cover everything you need to know to safeguard your plumbing system during the winter months.
Regular maintenance and winterization of your cottage plumbing will not only prevent costly repairs but also extend the lifespan of your plumbing fixtures. So, let’s dive in and learn how to winterize your cottage plumbing like a pro!
Key Takeaways:
- Properly winterizing your cottage plumbing, from shutting off the water supply to insulating exposed pipes, is crucial for preventing frozen pipes and costly repairs. Regular maintenance and hiring a professional plumber for complex systems can ensure a worry-free winter.
- Insulating outdoor fixtures, protecting the septic system, and storing plumbing fixtures and tools properly are essential steps in winterizing your cottage plumbing. By following these steps, you can extend the lifespan of your plumbing system and enjoy a worry-free winter in your cottage.
Read more: How To Winterize Home Plumbing
Step 1: Shut off the water supply
The first step in winterizing your cottage plumbing is to shut off the main water supply. Locate the main water shut-off valve, which is usually located near the water meter or where the water line enters your cottage.
Turn the valve clockwise to shut off the water supply. It’s important to ensure that the valve is fully closed to prevent any water from entering the plumbing system.
After shutting off the water supply, open all the faucets in your cottage, including the outdoor faucets, to allow any remaining water in the pipes to drain out.
Draining the water from the plumbing system is crucial because any water left in the pipes can freeze and cause them to burst. This step will help to minimize the risk of frozen pipes and potential damage to your plumbing system.
Once all the faucets are open and the water is draining, proceed to the next step to ensure all the water is completely removed from the pipes.
Step 2: Drain the water lines
After shutting off the water supply and opening the faucets, it’s time to drain the water lines in your cottage. This step is crucial to remove any residual water that may be trapped in the pipes.
Start by locating the drain valve on your water heater. Attach a hose to the valve and open it to release the water. Make sure to direct the hose to a safe area outside the cottage where the water can freely flow away from the property.
Next, go to each faucet in your cottage and open them one by one. This will help to drain any water from the pipes connected to those faucets. Let the water flow until it stops completely.
It’s important to follow a logical sequence when draining the water lines. Begin with the faucets on the upper floors of your cottage, then move to the main floor, and finally to the basement or any other lower levels. This ensures that the water is drained in a systematic manner, preventing any air pockets or pockets of trapped water.
Once you have drained all the faucets, double-check by going back and closing them one by one. This ensures that no additional water can enter the plumbing system after it has been drained.
Lastly, don’t forget to drain any outdoor faucets or hoses as well. Disconnect and drain any attached hoses, and turn off the outdoor faucets to prevent any potential freezing and damage.
Now that you have successfully drained the water lines, you can proceed to the next step to winterize your cottage plumbing further.
Step 3: Empty and winterize the water heater
Emptying and winterizing the water heater is an important step in protecting it from freezing temperatures and potential damage. Follow these steps to ensure your water heater is properly prepared for winter:
- Before beginning, turn off the power supply to the water heater. This may involve flipping the dedicated breaker in the electrical panel or turning off the gas supply if you have a gas-powered water heater.
- Allow the water inside the water heater to cool down for a few hours. This will prevent any potential scalding when you start to drain the water.
- Locate the drain valve at the bottom of the water heater. Attach a hose to the valve and direct it to a suitable drainage area or floor drain.
- Open the drain valve and let the water inside the water heater drain completely. Be cautious as the water may be hot initially. You may need to open the temperature and pressure relief valve to allow air into the tank for faster drainage.
- Once the tank is drained, close the drain valve and remove the hose.
- If you have a storage tank water heater, it’s recommended to flush out any sediment or mineral buildup from the tank. This can be done by turning on the cold water supply briefly to flush out any remaining debris.
- Next, consider insulating the water heater to help retain heat and prevent freezing. You can purchase a water heater insulation blanket from a local hardware store and carefully follow the manufacturer’s instructions for installation.
- Finally, turn off the gas supply or switch on the breaker for electric water heaters. This will prevent the water heater from accidentally turning on while it is empty.
By emptying and winterizing your water heater, you can protect it from freezing temperatures, extend its lifespan, and reduce energy consumption during the winter months.
With the water heater taken care of, let’s move on to the next step in winterizing your cottage plumbing.
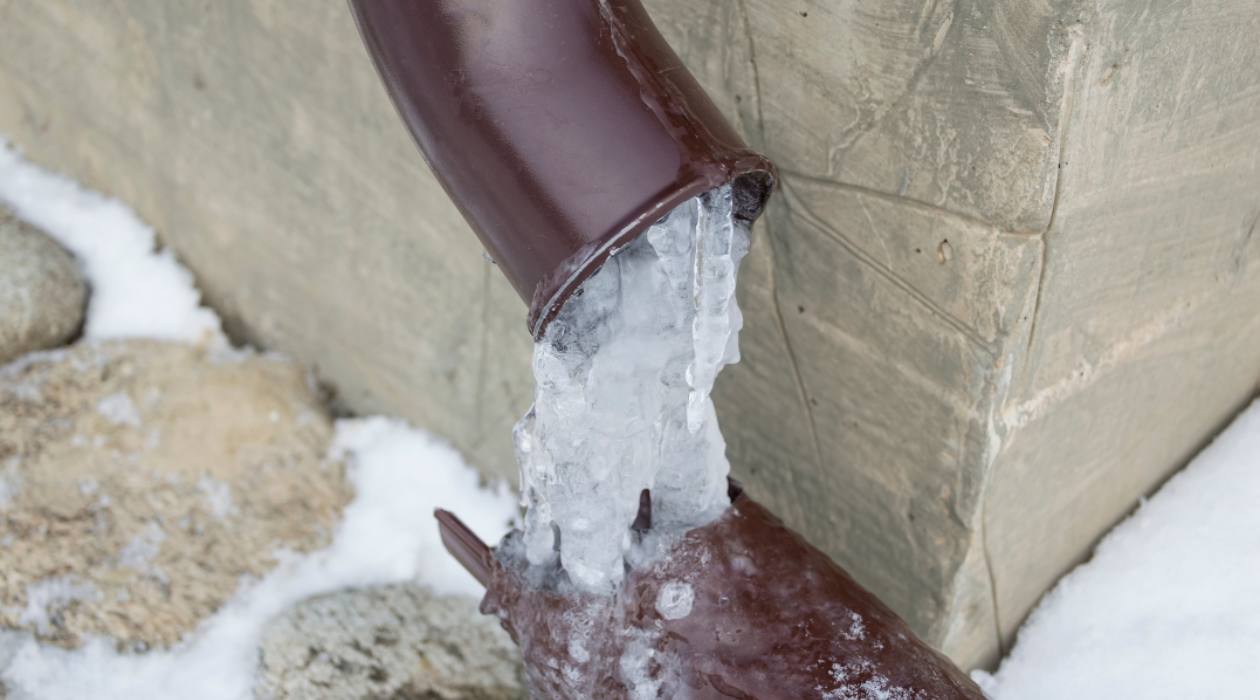
Step 4: Insulate exposed pipes
Insulating exposed pipes is a crucial step in winterizing your cottage plumbing. The insulation will help to prevent the pipes from freezing and potentially bursting.
Start by identifying all the exposed pipes in your cottage. These are typically found in areas such as the basement, crawl spaces, and unheated areas like the garage. Look for pipes that are located near exterior walls or in areas that are susceptible to cold temperatures.
Once you have identified the exposed pipes, you can proceed with insulating them. Here are a few methods you can use:
- Pipe insulation sleeves: These are foam tubes that can be easily slipped onto the pipes. Measure the length of the exposed pipe and choose an insulation sleeve that fits properly. Cut the insulation sleeve to the required length, then place it over the pipe, ensuring a snug fit. Secure it in place with adhesive or zip ties if necessary.
- Heat tape: Heat tape is a great option for pipes that are at high risk of freezing. It is a flexible electrical heating cable that can be wrapped around the pipes. Make sure to follow the manufacturer’s instructions for proper installation and use.
- Fiberglass insulation: For larger exposed pipes or areas where insulation sleeves may not be suitable, you can use fiberglass insulation. Wrap the fiberglass insulation around the pipes and secure it with duct tape. Be cautious when handling fiberglass insulation, as it can irritate your skin and lungs. Wear gloves, a mask, and protective clothing.
Pay special attention to pipes located near exterior walls, as they are more susceptible to cold temperatures. Insulate both hot and cold water pipes to provide extra protection.
Remember to insulate any pipes in unheated areas or those that run through uninsulated spaces. This includes the crawl space, attic, or garage. Do not overlook any pipes, as even a small section left unprotected can lead to freezing issues.
By insulating exposed pipes, you can minimize the risk of freezing and ensure that your cottage plumbing remains in good condition throughout the winter.
Now that the exposed pipes are insulated, let’s move on to the next step in winterizing your cottage plumbing.
Read more: How To Winterize Plumbing In A Vacant House
Step 5: Seal gaps and cracks
Sealing gaps and cracks in your cottage is an important step in winterizing your plumbing system. These gaps and cracks can allow cold air to enter your home and affect the temperature of your pipes, increasing the risk of freezing and potential damage.
Here are some areas to inspect and seal:
- Windows and doors: Check for any gaps or cracks around windows and doors. Use weatherstripping or caulk to seal these areas and prevent drafts.
- Pipes penetration points: Look for any areas where pipes enter the walls or floors. These areas can be a source of cold air infiltration. Use caulk or expanding foam to seal around these penetration points.
- Foundation cracks: Inspect your cottage’s foundation for any cracks or gaps. Use concrete patching material or epoxy to seal these areas and prevent cold air from entering.
- Electrical and cable entry points: Check for any gaps around electrical or cable entry points. Use expanding foam or caulk to seal these gaps and prevent drafts.
- Vents and exhaust fans: Ensure that the vents and exhaust fans in your cottage are properly sealed. Use weatherstripping or caulk to seal any gaps around these fixtures.
Sealing these gaps and cracks will not only help to prevent cold air from entering your cottage but also improve energy efficiency and reduce heating costs.
During this step, also consider insulating any crawl spaces or attics. These areas can contribute to the cold temperature in your cottage. Insulating them will help to regulate the temperature and reduce the risk of freezing pipes.
By sealing gaps and cracks, you can minimize heat loss and keep your plumbing system protected during the winter months.
With gaps and cracks sealed, let’s move on to the next step in winterizing your cottage plumbing.
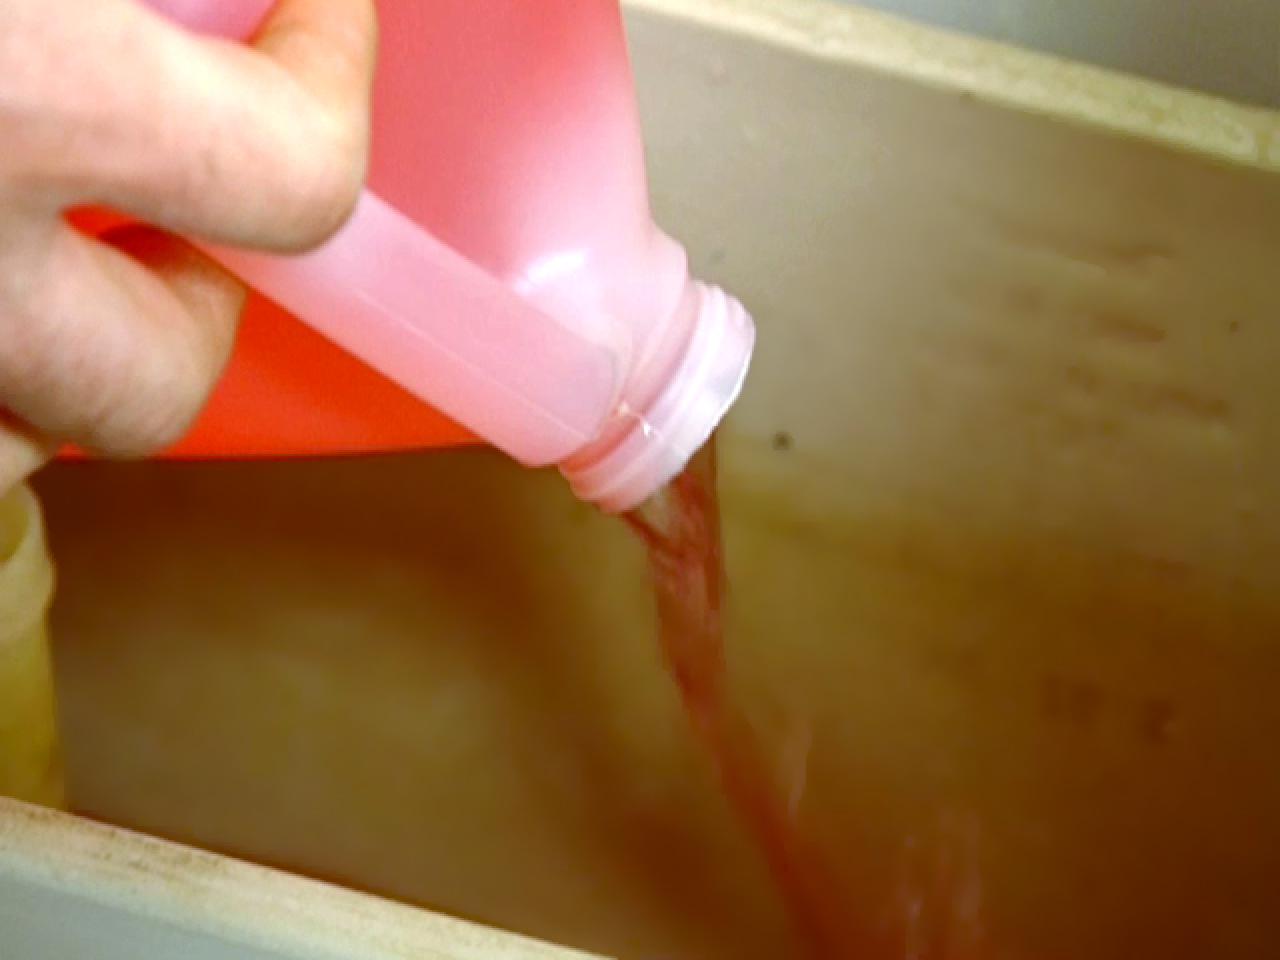
To winterize a cottage plumbing, make sure to drain all water from the pipes, shut off the main water supply, and add antifreeze to any remaining water in the system to prevent freezing and potential damage.
Step 6: Install pipe insulation sleeves
Installing pipe insulation sleeves is an effective way to provide additional protection to your plumbing system and prevent the risk of frozen pipes. Pipe insulation sleeves provide insulation to exposed pipes and help to maintain a consistent temperature, even in cold weather.
Here’s how you can install pipe insulation sleeves:
- Measure the pipes: Start by measuring the length of the exposed pipes that you want to insulate. Make sure to account for any bends or curves in the pipes.
- Select the insulation sleeves: Insulation sleeves come in different sizes and thicknesses. Choose sleeves that are appropriate for the size and type of your pipes. Look for sleeves with a high R-value for better insulation.
- Prepare the pipes: Before installing the insulation sleeves, make sure the pipes are clean and dry. Remove any dust, dirt, or debris from the pipes to ensure a proper fit.
- Install the insulation sleeves: Slide the insulation sleeves onto the pipes, starting from one end and working your way along the length of the pipe. Ensure a snug fit, with no gaps or exposed areas. Cut the insulation sleeves, if necessary, to fit the length of the pipes.
- Secure the insulation sleeves: Depending on the type of insulation sleeves, you may need to secure them in place with adhesive strips, zip ties, or tape. Follow the manufacturer’s instructions for proper installation and securing methods.
- Pay attention to joints and fittings: Don’t forget to insulate any joints, bends, or fittings in the pipes. Use smaller insulation sleeves or foam tape to cover these areas and maintain consistent insulation.
By installing pipe insulation sleeves, you add an extra layer of protection to your pipes, reducing the risk of freezing and potential damage. Insulated pipes also help to conserve energy by reducing heat loss in the water supply.
Now that you have installed insulation sleeves on your pipes, let’s move on to the next step in winterizing your cottage plumbing.
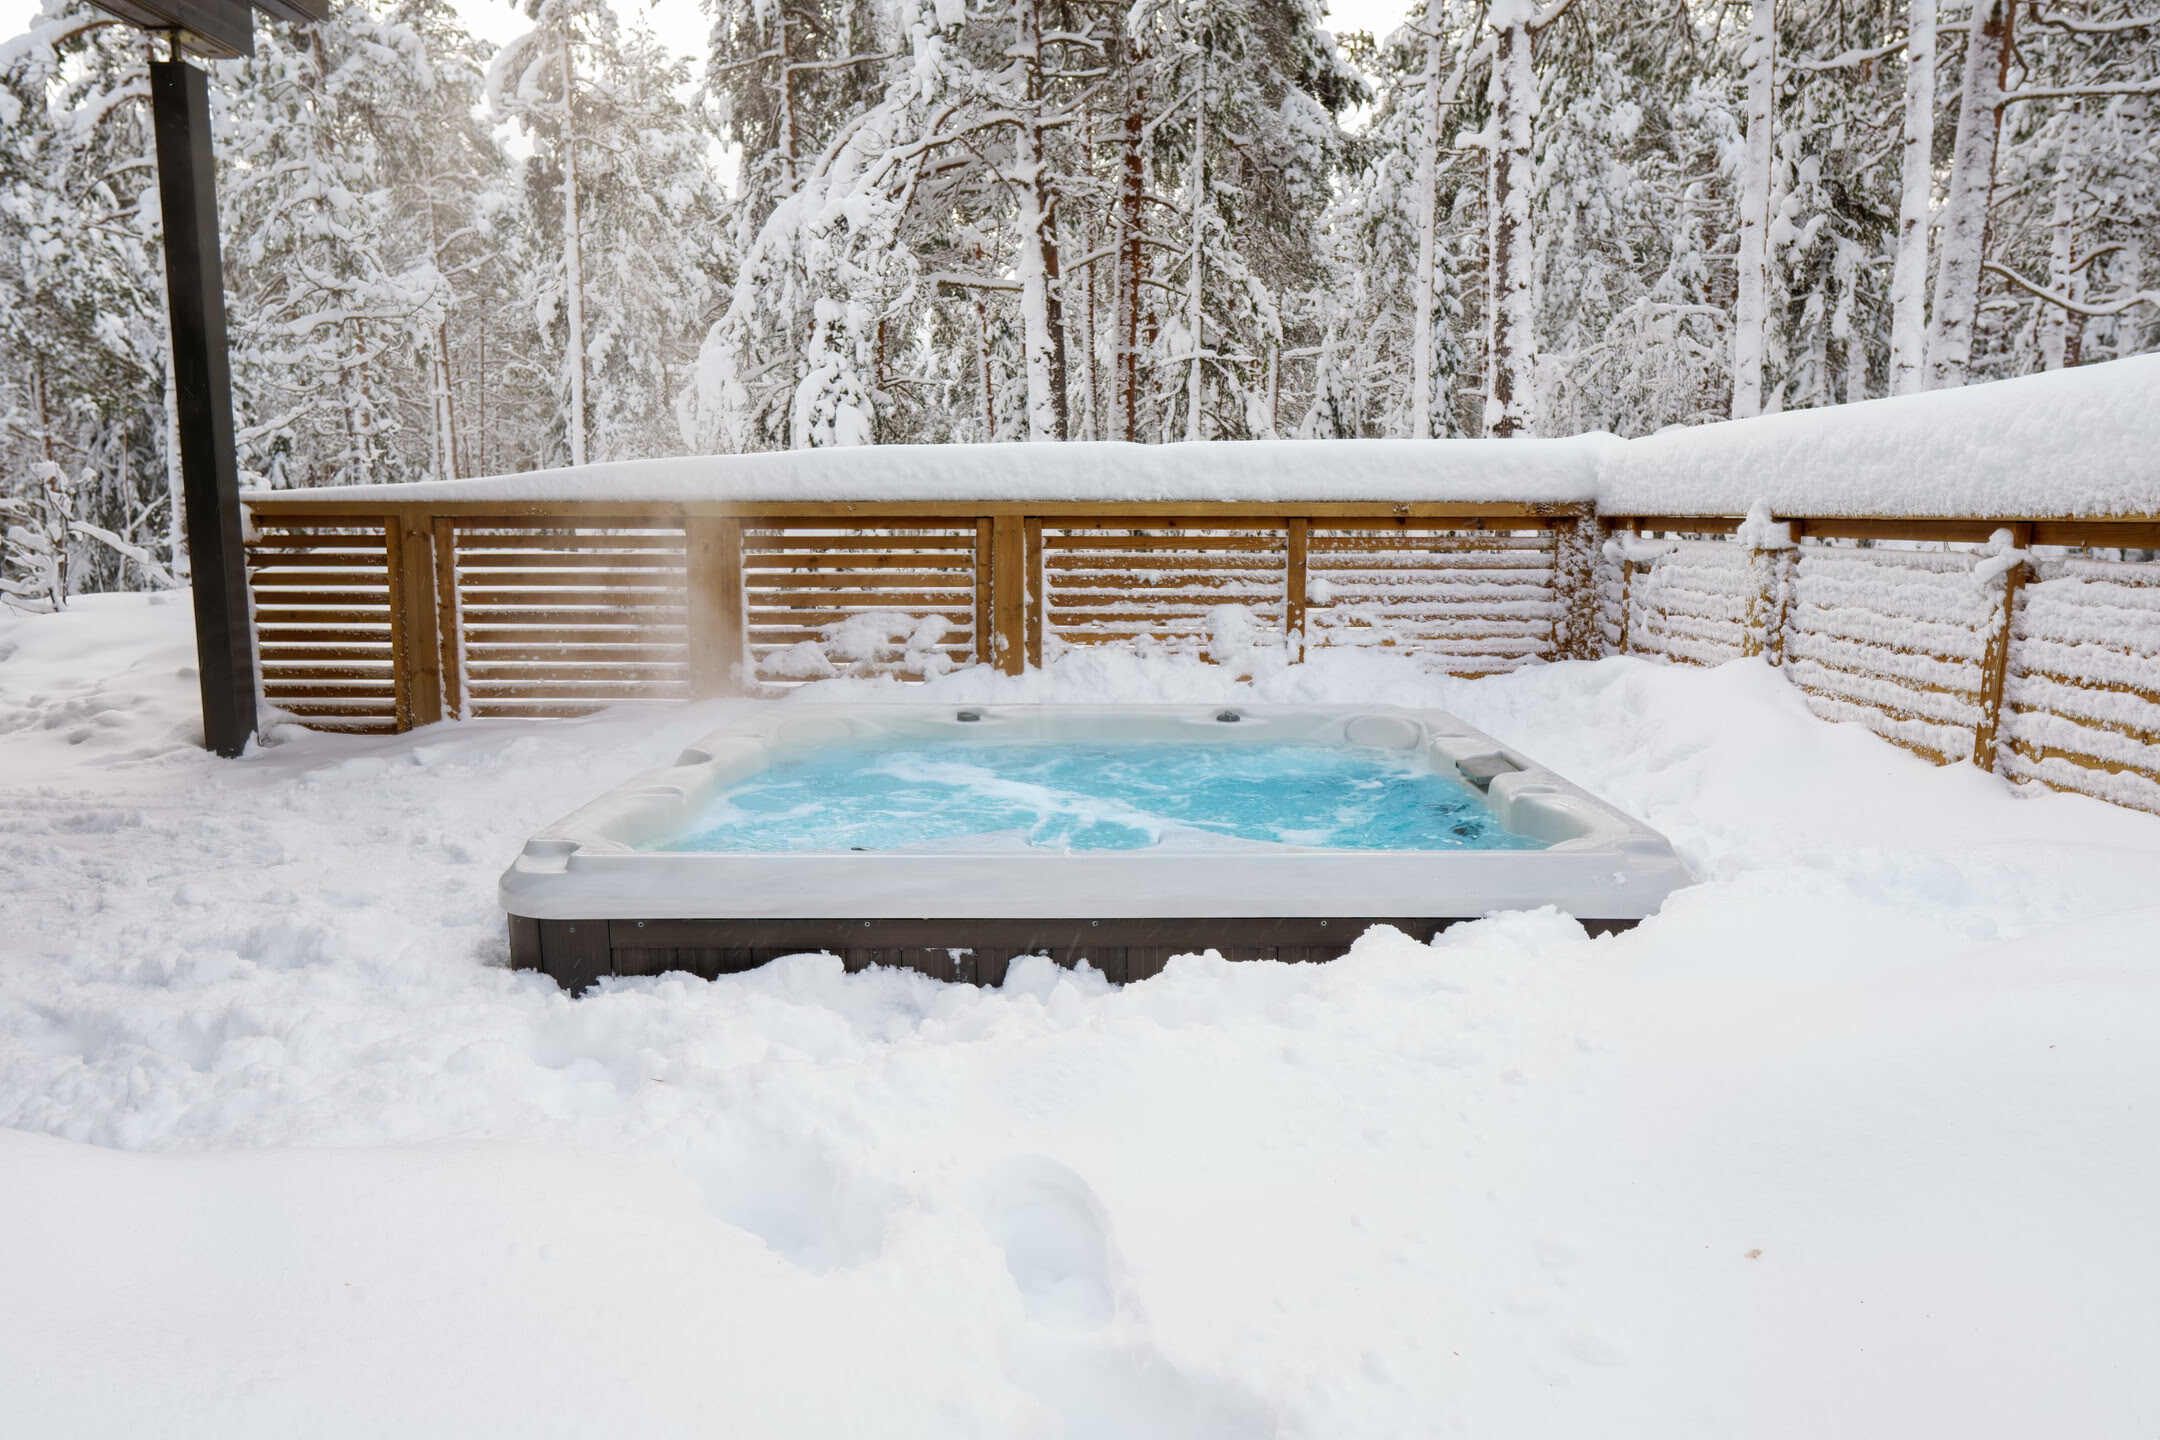
Step 7: Insulate outdoor fixtures
Insulating outdoor fixtures is an important step in winterizing your cottage plumbing, especially if you have outdoor faucets, spigots, or other exposed fixtures. Outdoor fixtures are particularly vulnerable to freezing temperatures, which can cause them to crack or burst.
Follow these steps to insulate your outdoor fixtures:
- Remove hoses and drain them: Start by disconnecting and removing any hoses attached to outdoor faucets or spigots. Drain the hoses completely to prevent water from freezing and causing damage.
- Insulate outdoor faucets: Outdoor faucets are prone to freezing, so it’s important to insulate them properly. You can purchase an outdoor faucet cover from a local hardware store or use materials like foam or old towels. Wrap the cover or insulating material around the faucet, ensuring a tight fit. Secure it with zip ties or tape to keep it in place.
- Insulate other exposed fixtures: If you have other exposed fixtures, such as outdoor shower heads or water pumps, insulate them as well. Use insulation sleeves or foam pipe wrap to cover these fixtures and protect them from freezing temperatures.
- Insulate outdoor pipes: If you have exposed outdoor pipes, make sure to insulate them too. Use pipe insulation sleeves or wrap them with foam pipe wrap. Secure the insulation in place with adhesive or tape.
- Provide additional protection: If you live in an area with extremely cold temperatures, you may need to take extra measures to protect your outdoor fixtures. This can include adding heat tape to the pipes or installing heated enclosures specifically designed for outdoor plumbing fixtures.
By insulating your outdoor fixtures, you can prevent freezing and potential damage during winter. Proper insulation will help to maintain the integrity of the fixtures and ensure they are ready for use when the weather warms up.
With your outdoor fixtures insulated, let’s move on to the next step in winterizing your cottage plumbing.
Step 8: Protect the septic system
Protecting your septic system is an important part of winterizing your cottage plumbing. Freezing temperatures can have a significant impact on the septic system, potentially leading to backups, leaks, and costly repairs. Follow these steps to protect your septic system during the winter:
- Pump and inspect the septic tank: Before winter arrives, it’s a good idea to have your septic tank pumped and inspected by a professional. This will ensure that it is in good working condition and can handle the increased usage during the winter months.
- Insulate the septic tank and pipes: Insulating the septic tank and pipes will help to maintain a stable temperature and prevent freezing. This can be done by adding insulation or using a septic tank blanket. Make sure to follow the manufacturer’s instructions and consult a professional if needed.
- Redirect roof runoff: Ensure that the roof runoff from your cottage does not flow directly into the septic system area. Redirecting the roof runoff away from the septic system can help prevent excess water from entering the system and potentially freezing.
- Minimize water usage: Conserving water during the winter months can help reduce the strain on your septic system. Limiting water usage, such as taking shorter showers and using the dishwasher and washing machine efficiently, can minimize the risk of overloading the system with excess water.
- Practice proper waste disposal: Avoid disposing of non-biodegradable items, chemicals, or excessive amounts of grease down the drain or toilet. These items can disrupt the balance of the septic system and potentially lead to clogs or damage.
- Winterize the septic system’s components: If your septic system has additional components like pumps or alarms, make sure they are properly winterized according to the manufacturer’s instructions.
- Monitor and inspect the system: Regularly monitor your septic system during the winter months. Look for any signs of issues such as slow drainage, foul odors, or unusual noises. If you notice any problems, contact a professional septic service right away.
By taking proper precautions and protecting your septic system, you can avoid costly repairs and maintain its functionality throughout the winter season.
With your septic system protected, let’s move on to the next step in winterizing your cottage plumbing.
Step 9: Store plumbing fixtures and tools properly
Properly storing your plumbing fixtures and tools is an important step in winterizing your cottage plumbing. By storing them correctly, you can prevent damage, rust, and deterioration during the winter months. Follow these guidelines to ensure your plumbing fixtures and tools are protected:
- Clean and dry: Before storing any plumbing fixtures or tools, make sure they are thoroughly cleaned and dried. This helps to prevent any residue or moisture that can lead to corrosion or mold growth.
- Inspect for damage: Check each fixture and tool for any signs of damage, such as cracks, leaks, or worn-out parts. Address any repairs or replacements before storing them to avoid further issues.
- Organize and label: Organize your plumbing fixtures and tools in a systematic manner. Use containers, shelves, or storage bins to keep everything organized and easily accessible. Consider labeling the containers to make it easier to find what you need in the future.
- Protect from extreme temperatures: Store your plumbing fixtures and tools in a location where they are protected from extreme temperatures. Avoid storing them in areas that can get excessively hot or cold, as it can affect their quality and performance.
- Use protective covers: If possible, use protective covers or cases for delicate or fragile plumbing fixtures. This helps to shield them from dust, debris, and potential damage during storage.
- Store in a dry area: Ensure that the storage area is dry and well-ventilated to prevent humidity and moisture buildup. Moisture can lead to rust and damage to your plumbing fixtures and tools.
- Secure your tools: If you have any plumbing tools that could pose a safety risk, such as sharp or hazardous items, make sure they are stored securely and out of reach of children or pets.
- Keep a record: Consider keeping a record or inventory of all your stored plumbing fixtures and tools. This will help you keep track of what you have and make it easier to find specific items when you need them.
By storing your plumbing fixtures and tools properly, you can prolong their lifespan, maintain their functionality, and ensure they are ready for use when needed.
Now that your plumbing fixtures and tools are safely stored, let’s move on to the final step in winterizing your cottage plumbing.
Step 10: Hire a professional plumber for complex systems
For complex plumbing systems in your cottage, it’s advisable to hire a professional plumber to ensure proper winterization. While you can handle many winterization tasks on your own, certain systems require expertise and specialized knowledge. Hiring a professional plumber can provide peace of mind and ensure that your plumbing system is thoroughly protected. Here’s why you should consider hiring a professional:
- Experience and expertise: Professional plumbers have extensive experience in working with various plumbing systems. They understand the complexities involved and can identify potential issues that may arise during the winter. Their expertise ensures that your plumbing system is properly winterized, taking into account its unique features and requirements.
- Specialized equipment: Complex plumbing systems may require specialized tools and equipment for proper winterization. Professional plumbers have access to these tools and know how to use them effectively. They can perform tasks such as pressure testing, system flushing, and pipe insulation with precision and efficiency.
- Comprehensive inspection: A professional plumber can conduct a thorough inspection of your plumbing system to identify any existing or potential issues. They can check for leaks, weak points in the system, and other problems that could worsen during the winter. Addressing these issues beforehand can save you from unexpected emergencies and costly repairs later on.
- Compliance with codes and regulations: Professional plumbers are well-versed in local plumbing codes and regulations. They can ensure that your plumbing system is winterized in accordance with these standards, minimizing the risk of violations or non-compliance. This knowledge also helps to ensure the safety and functionality of your plumbing system.
- Saves time and effort: Hiring a professional plumber saves you valuable time and effort. They can efficiently complete the necessary tasks, allowing you to focus on other aspects of winterizing your cottage. You can have peace of mind knowing that a qualified professional is taking care of your plumbing system.
When choosing a professional plumber, make sure to research and hire a licensed and insured professional with a good reputation. Ask for recommendations from trusted sources, read reviews, and compare quotes from different plumbers to find the best fit for your needs.
By hiring a professional plumber for complex systems, you can ensure that your plumbing system receives the attention it needs to withstand the winter weather and provide reliable performance all season long.
With the final step completed, you have successfully winterized your cottage plumbing system. Following these steps will help to protect your pipes, fixtures, and septic system from freezing temperatures and potential damage. Remember to stay proactive and perform regular maintenance during the winter months to ensure the continued functionality of your plumbing system.
Stay warm and worry-free throughout the winter with a well-winterized cottage plumbing system!
Conclusion
Winterizing your cottage plumbing is essential for protecting your pipes, fixtures, and septic system from freezing temperatures and potential damage. By following the steps outlined in this article, you can ensure that your plumbing system remains in good condition throughout the winter months.
From shutting off the water supply and draining the lines to insulating exposed pipes and sealing gaps, each step plays a critical role in winterizing your plumbing. It’s important to pay attention to details and take preventive measures to safeguard your plumbing system.
Remember to properly store your plumbing fixtures and tools, and consider hiring a professional plumber for complex systems to ensure thorough winterization.
Taking the time to winterize your cottage plumbing will not only prevent costly repairs but also help to extend the lifespan of your plumbing system. It will also provide you with peace of mind, knowing that your plumbing is well-protected against freezing temperatures and potential damage.
As the winter season approaches, make it a priority to follow these steps and incorporate them into your regular maintenance routine. By doing so, you can enjoy a worry-free winter in your cottage, knowing that your plumbing system is properly winterized.
Stay warm and have a wonderful winter!
Frequently Asked Questions about How To Winterize A Cottage Plumbing
Was this page helpful?
At Storables.com, we guarantee accurate and reliable information. Our content, validated by Expert Board Contributors, is crafted following stringent Editorial Policies. We're committed to providing you with well-researched, expert-backed insights for all your informational needs.


0 thoughts on “How To Winterize A Cottage Plumbing”