Articles
How To Winterize A Screened-In Porch
Modified: February 23, 2024
Discover essential articles on how to winterize a screened-in porch. Learn practical tips and tricks to protect your porch from the harsh winter elements.
(Many of the links in this article redirect to a specific reviewed product. Your purchase of these products through affiliate links helps to generate commission for Storables.com, at no extra cost. Learn more)
Introduction
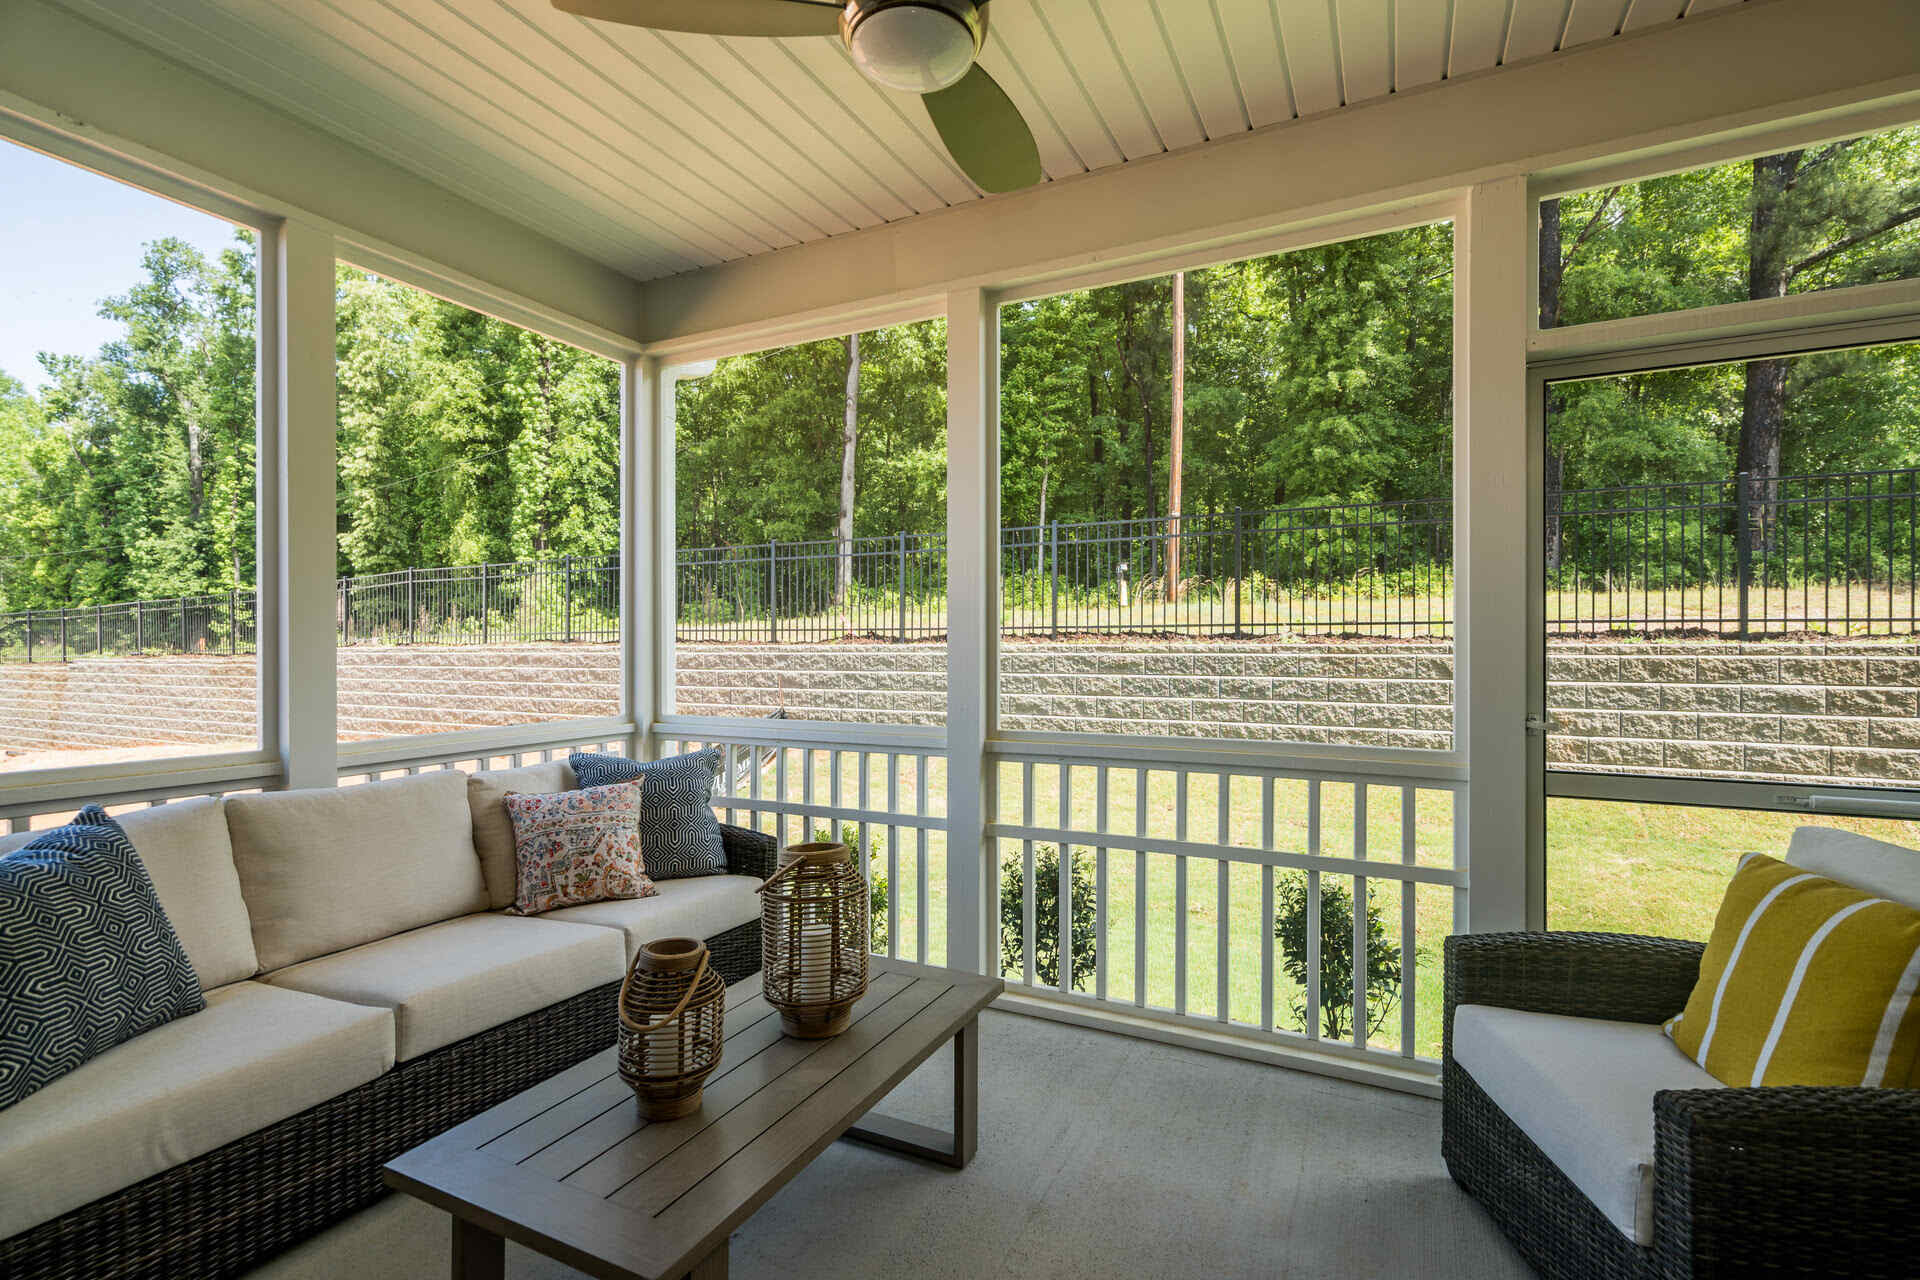
As the temperatures drop and winter approaches, it becomes necessary to take steps to protect your screened-in porch from the harsh elements. Winterizing your screened-in porch not only helps to ensure your comfort during the cold months but also extends the lifespan of your porch by preventing damage caused by frost, snow, and ice.
In this article, we will provide a comprehensive guide on how to winterize a screened-in porch. By following these steps, you can create a cozy and insulated space that still allows you to enjoy the beauty of the outdoors, even in the coldest months.
Key Takeaways:
- Prepare your screened-in porch for winter by cleaning, inspecting, and sealing to create a cozy and well-insulated space. Add thermal curtains, weather stripping, and a space heater for extra warmth and comfort.
- Regular maintenance and inspections are crucial for the longevity of your winterized porch. Keep furniture clean, cover the floor, and insulate electrical outlets to ensure a comfortable and well-protected outdoor space throughout the winter season.
Read more: How To Insulate A Screened Porch For Winter
Step 1: Clean the Porch
Before you begin winterizing your screened-in porch, it’s important to start with a clean slate. Remove any debris, such as leaves, twigs, and dirt, from both the interior and exterior of the porch.
Start by sweeping the floor and using a vacuum or broom to clean any cobwebs or dust from the walls and ceiling. Don’t forget to clean the windows and screens as well. Use a mild soap and water solution to gently scrub away any dirt or grime that has accumulated.
By starting with a clean porch, you’ll have a better idea of any areas that may need repair or maintenance. Additionally, removing debris and cleaning the surfaces will ensure that your winterization efforts are not hindered by any hidden dirt or contaminants.
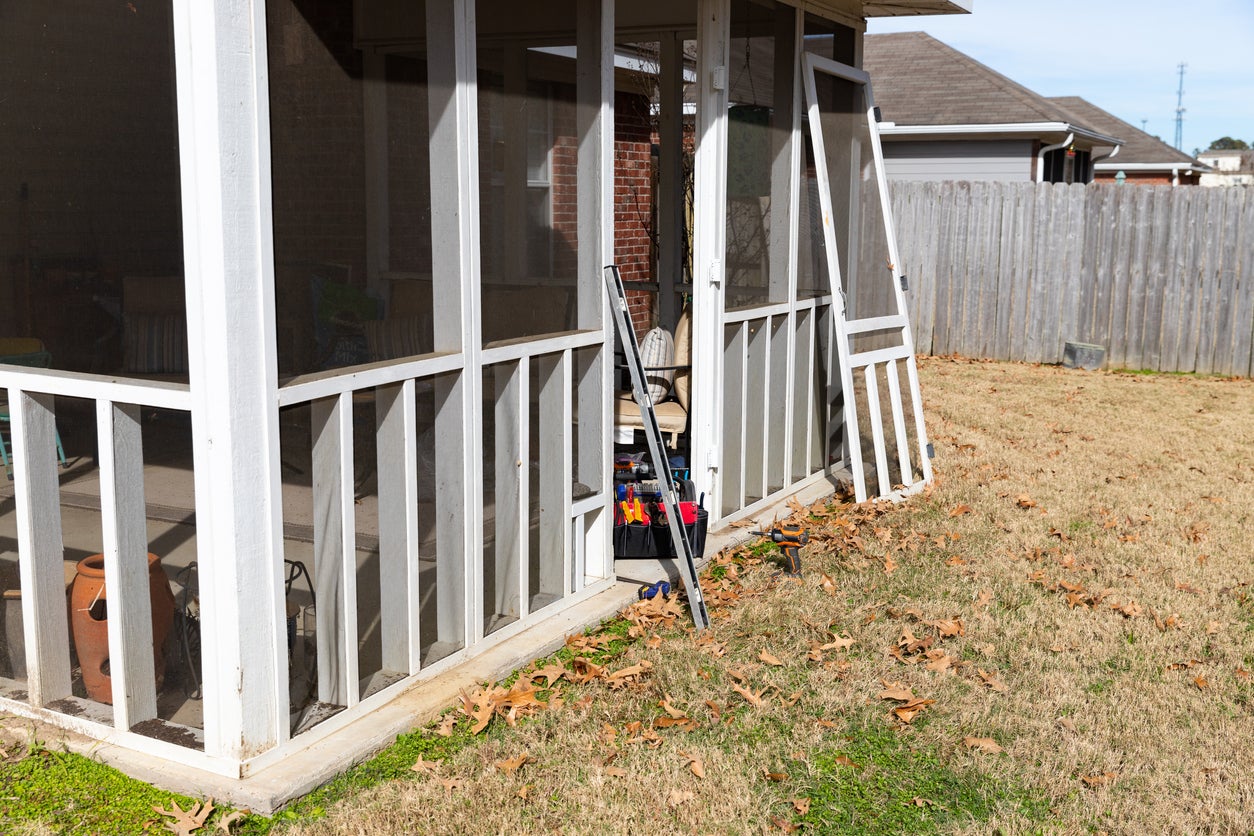
Step 2: Inspect Windows and Screens
After cleaning the porch, the next step in winterizing your screened-in porch is to inspect the windows and screens. Check for any signs of damage, such as cracks, tears, or loose fittings.
If you notice any damaged window frames or screens, repair or replace them as needed. This will help to prevent cold air from seeping into the porch during the winter months and maintain a comfortable temperature inside.
Additionally, make sure that the windows and screens fit properly and are tightly sealed. This will prevent drafts and keep the porch insulated. Consider using weatherstripping or caulk to seal any gaps or cracks around the frames.
Remember to inspect the hardware, such as latches and hinges, and ensure they are in good working condition. Lubricate them if necessary to keep the windows and screens functioning smoothly.
By taking the time to inspect and repair any windows or screens, you can create a well-sealed and secure enclosure that will help to keep the cold air out and maintain a comfortable temperature inside your porch during the winter months.
Step 3: Seal any Cracks or Gaps
One of the key steps in winterizing your screened-in porch is to seal any cracks or gaps that may allow cold air to enter. Check all areas of the porch, including the walls, ceiling, and floor, for any visible cracks or gaps.
Use a sealant, such as caulk or weatherstripping, to fill in these cracks and gaps. Pay close attention to areas where the porch joins the main house, as this is a common area for air leakage. Seal around windows, doors, and any other openings to ensure a tight seal.
If you notice any larger gaps or holes, consider using expanding foam insulation to fill them. This type of insulation expands to fill the space and provides an effective barrier against drafts and cold air infiltration.
Remember to check the integrity of the existing sealant and reapply as needed. Over time, the sealant may deteriorate or develop cracks, so regular maintenance is important to ensure the effectiveness of the seals.
By sealing any cracks or gaps, you will significantly reduce the amount of cold air that enters your screened-in porch, helping to maintain a comfortable and warm environment during the winter months.
Step 4: Add Weather Stripping
To further enhance the insulation of your screened-in porch, consider adding weather stripping to the doors and windows. Weather stripping is a material that is placed along the edges of doors and windows to create a tight seal and prevent drafts.
Before applying weather stripping, clean the areas where it will be installed to ensure proper adhesion. Measure the length needed for each door and window and cut the weather stripping accordingly. There are various types of weather stripping available, including adhesive-backed foam tape, V-strip, and door sweeps.
Apply the weather stripping to the bottom of doors and along the sides and top of windows. Make sure it is pressed firmly to create a seal. For sliding doors, install weather stripping along the full length of the track to prevent cold air from entering.
Weather stripping not only helps to keep the cold air out, but it also prevents warm air from escaping, improving the overall energy efficiency of your porch. It will also reduce the amount of noise and dust that enters your space, creating a more comfortable environment.
Regularly inspect the weather stripping and replace it if it becomes worn or damaged. This will ensure its effectiveness in sealing off drafts and maintaining insulation throughout the winter season.
By adding weather stripping to the doors and windows of your screened-in porch, you can further enhance its insulation and minimize heat loss, making it cosier and more energy-efficient during the colder months.
Read more: How To Keep Screened Porch Warm In Winter
Step 5: Install Thermal Curtains
To further insulate your screened-in porch during the winter months, consider installing thermal curtains. Thermal curtains are specially designed to provide extra insulation by trapping heat inside and preventing cold air from entering.
Start by measuring the dimensions of your windows and doors to determine the size of the curtains you will need. Thermal curtains come in various lengths and widths, so be sure to choose the correct size for your porch.
When selecting thermal curtains, look for ones that are made from heavy and dense materials such as thermal-backed fabric. These curtains are designed to have a thermal layer that helps to block drafts and retain heat.
Install the curtain rods or tracks following the manufacturer’s instructions. Hang the thermal curtains, making sure they cover the entire window or door opening and extend beyond the frame to create a proper seal.
During the day, open the curtains to allow natural light to enter and warm up the porch. Then, close them in the evening to provide an extra layer of insulation and block cold drafts.
Not only do thermal curtains provide added insulation, but they also add a decorative touch to your porch. Choose curtains in a color or pattern that complements your existing décor for a stylish and functional winterized space.
Remember to regularly clean and maintain the thermal curtains to ensure their effectiveness. Follow the manufacturer’s instructions for care and cleaning to keep them in good condition for future winter seasons.
By installing thermal curtains, you can add an extra layer of insulation to your screened-in porch, helping to keep it warm and comfortable throughout the winter while adding a touch of style to your space.
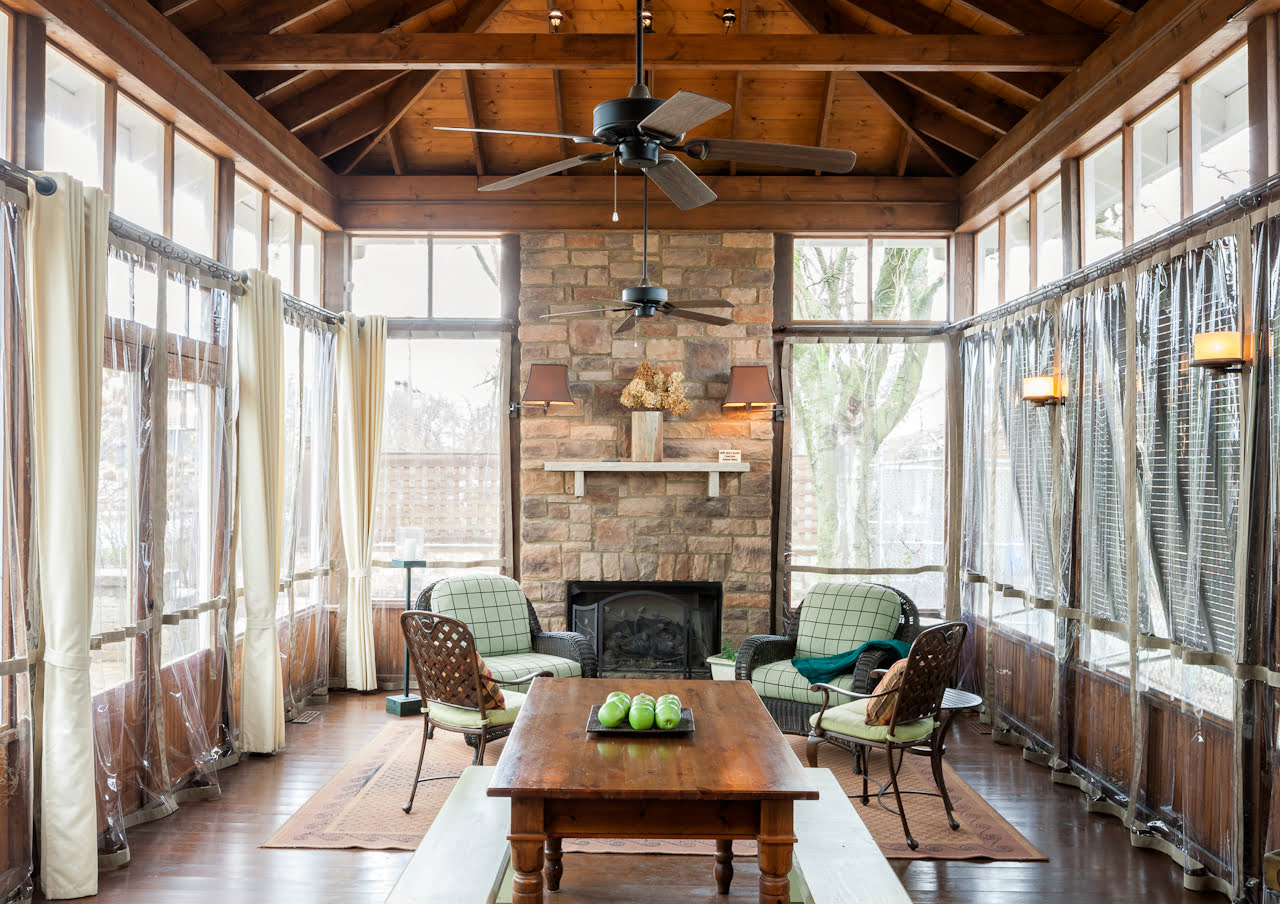
To winterize a screened-in porch, consider adding weatherproof curtains or plastic sheeting to block out cold drafts, and use space heaters to keep the area warm. Also, seal any gaps or cracks to prevent heat loss.
Step 6: Bring in Indoor/Outdoor Furniture
As you prepare your screened-in porch for winter, it’s important to consider the furniture you have in the space. If you have indoor/outdoor furniture that is specifically designed to withstand the elements, you can leave it in place. However, if your furniture is not weather-resistant, it’s best to store it indoors for the winter season.
Start by thoroughly cleaning and inspecting your furniture. Remove any cushions or fabric covers and clean them according to the manufacturer’s instructions. Wipe down the surfaces of the furniture with a mild soap and water solution to remove dirt and debris.
If your furniture is foldable or stackable, consider collapsing it or stacking it to save space. If you have larger pieces that cannot be easily moved, cover them with weather-resistant covers to protect them from dust and moisture.
Before bringing in any indoor furniture, make sure it is clean and free from any potential moisture or damage. Indoor furniture may not be designed to withstand outdoor conditions, so it’s important to choose pieces that are suitable for both indoor and outdoor use.
By bringing in indoor/outdoor furniture or storing your non-weather-resistant furniture indoors for the winter months, you can protect your investment and ensure that it remains in good condition for future use.
Also, consider adding additional seating options, such as cozy chairs or a winter-themed bench, that are specifically designed for indoor use in your screened-in porch. This will provide a comfortable and inviting space for you and your guests to enjoy during the winter months.
Step 7: Cover the Floor
Protecting the floor of your screened-in porch is an important step in winterizing the space. By covering the floor, you can prevent damage from moisture, dirt, and other elements that may enter during the winter months.
There are several options available for covering the floor of your porch. One option is to use outdoor rugs or mats specifically designed for outdoor use. These rugs are typically made of durable and weather-resistant materials that can withstand the elements.
Ensure that the outdoor rugs are the appropriate size and shape to cover the entire floor area. They should be anchored or secured in place to prevent them from shifting or moving with foot traffic. This will help to prevent any tripping hazards and keep the floor protected.
If you prefer a more natural look, you can opt for interlocking deck tiles made of materials like composite wood or stone. These tiles snap together easily and provide a protective layer for the floor while adding a stylish touch.
Another option is to use a waterproof and durable floor sealant to provide an extra layer of protection. Apply the sealant according to the manufacturer’s instructions and ensure that it is completely dry before using the porch.
Remember to regularly clean and maintain the floor covering to keep it in good condition. Sweep or vacuum the rugs or tiles to remove any dirt or debris that may accumulate over time.
By covering the floor of your screened-in porch, you can prevent moisture damage and keep it looking clean and well-maintained throughout the winter season.
Step 8: Insulate Electrical Outlets
Insulating the electrical outlets in your screened-in porch is an important step in winterizing the space. Electrical outlets can be a significant source of heat loss and can contribute to drafts and cold air entering your porch.
Start by turning off the power to the outlets at the main circuit breaker. This will ensure your safety while working with the outlets.
Remove the outlet covers and inspect the area around the outlets for any cracks or gaps. These gaps can allow cold air to seep in and warm air to escape, making your porch less energy-efficient.
Use foam outlet gaskets or weatherstripping to insulate the outlets. Foam outlet gaskets are easy to install and fit behind the outlet cover. They provide a tight seal, reducing heat loss and preventing drafts.
Simply place the gasket over the outlet, align the screw holes, and screw the cover back in place. This will create a barrier against cold air infiltration and improve the overall insulation of your porch.
If foam gaskets are not available, you can use weatherstripping instead. Cut the weatherstripping to the appropriate size and shape to fit around the outlet box. Apply the weatherstripping carefully to ensure a good seal.
Once you have insulated the outlets, ensure that the outlet covers are securely fastened. This will help to maintain the integrity of the insulation and prevent any accidental electrical contact.
It’s important to note that if you are not comfortable working with electrical outlets or are unsure of the proper procedures, it’s best to seek the assistance of a qualified electrician. They can ensure that the outlets are properly insulated and in safe working condition.
By insulating the electrical outlets in your screened-in porch, you can minimize heat loss, improve energy efficiency, and create a more comfortable environment during the winter months.
Read more: How To Screen In A Porch
Step 9: Install a Space Heater
Installing a space heater is a great way to add extra warmth and comfort to your screened-in porch during the winter season. A space heater provides localized heat and can help maintain a comfortable temperature even on colder days.
When choosing a space heater for your porch, it’s important to consider safety features such as tip-over protection and overheating shut-off. Look for a heater that is specifically designed for outdoor or semi-enclosed spaces to ensure proper ventilation and safety.
Place the space heater in a safe location, away from any flammable materials and where it won’t be easily knocked over. Follow the manufacturer’s instructions for proper installation and ensure that the heater is plugged into a grounded outlet.
One important consideration when using a space heater is to never leave it unattended. Always turn it off when leaving the porch or going to bed to reduce the risk of fire or other accidents.
It’s also essential to keep the space heater away from any water sources or moisture-prone areas to avoid electrical hazards. Make sure the porch is properly sealed and insulated to maximize the efficiency of the space heater.
Consider using a space heater with adjustable settings, such as temperature control and timer features, to optimize energy usage and save on electricity bills. Remember to follow the instructions on the heater for safe and efficient operation.
While a space heater can provide additional warmth to your porch, it should not be the sole source of heating. It’s important to ensure that the overall temperature of the porch is comfortable and safe during winter months.
By installing a space heater in your screened-in porch, you can create a cozy and inviting atmosphere, allowing you to enjoy the outdoors even when the weather is chilly.
Step 10: Maintain Regular Cleaning and Inspections
To ensure the long-term functionality and durability of your winterized screened-in porch, it’s crucial to maintain regular cleaning and inspections throughout the winter season.
Regularly clean the porch by sweeping or vacuuming the floor, wiping down surfaces, and cleaning the windows and screens. This will help to remove dirt, dust, and any debris that may have accumulated over time. Regular cleaning will also prevent the growth of mold or mildew.
Inspect the porch for any signs of damage or wear and tear. Check for cracks in the walls or floor, loose or damaged screens, and any gaps or leaks that may have developed. Address any issues immediately to prevent further damage and maintain the integrity of the winterization efforts.
Pay attention to the seals around windows and doors. Check for any signs of deterioration or gaps that may have formed. Reapply caulking or weatherstripping as needed to ensure a tight seal and optimal insulation.
Inspect the furniture and any other accessories in the porch. Look for signs of damage or wear, and address any issues promptly. Clean and maintain your furniture according to the manufacturer’s instructions to ensure its longevity.
Throughout the winter months, keep an eye on the temperature and humidity levels inside the porch. Use a thermometer and hygrometer to monitor the conditions. Adjust the space heater or insulation as needed to maintain a comfortable and balanced environment.
Regularly check the functionality of the space heater and ensure that it is in safe working condition. Replace the filters and keep the area around the heater clean and clear to prevent any hazards.
Maintaining regular cleaning and inspections will not only help you catch any issues early on but also ensure that your winterized screened-in porch remains in good condition for years to come.
By following these steps and maintaining regular cleaning and inspections, you can enjoy a comfortable and well-maintained screened-in porch throughout the winter season.
Conclusion
Winterizing your screened-in porch is essential for creating a cozy and comfortable space that can be enjoyed all year round. By following the steps outlined in this guide, you can effectively protect your porch from the harsh winter elements and maintain its integrity.
From cleaning the porch and inspecting windows and screens to sealing cracks and adding weather stripping, each step plays a crucial role in ensuring insulation and preventing drafts. Installing thermal curtains and bringing in appropriate furniture further enhance the comfort and aesthetics of your winterized porch.
Covering the floor and insulating electrical outlets provide added protection and safety, while the installation of a space heater adds warmth to the area. Regular cleaning and inspections help maintain the functionality and longevity of your winterized porch throughout the season.
Remember, the key to successful winterization is striking a balance between insulation and ventilation. Properly sealed windows and doors along with well-maintained equipment and furniture will create a comfortable environment while preventing heat loss and reducing energy consumption.
By investing the time and effort into winterizing your screened-in porch, you can extend its usability and ensure your enjoyment even during the colder months. So, follow these steps, take care of your porch, and embrace the joys of winter in a cozy and well-protected outdoor space.
Frequently Asked Questions about How To Winterize A Screened-In Porch
Was this page helpful?
At Storables.com, we guarantee accurate and reliable information. Our content, validated by Expert Board Contributors, is crafted following stringent Editorial Policies. We're committed to providing you with well-researched, expert-backed insights for all your informational needs.


0 thoughts on “How To Winterize A Screened-In Porch”