Articles
Learn How To Wood Work With Hand Tools
Modified: February 10, 2024
Discover the art of wood working with hand tools through informative articles. Gain insight, tips, and techniques to enhance your woodworking skills.
(Many of the links in this article redirect to a specific reviewed product. Your purchase of these products through affiliate links helps to generate commission for Storables.com, at no extra cost. Learn more)
Introduction
Welcome to the world of woodworking, where craftsmanship and creativity come together to create beautiful and functional pieces of art. While power tools may dominate today’s woodworking industry, there is a timeless appeal and satisfaction in working with hand tools. Whether you’re a beginner or a seasoned woodworker, learning how to use hand tools effectively can greatly enhance your woodworking skills.
Woodworking with hand tools offers a unique connection to the materials and the process. It allows you to have a hands-on experience, relying on your skill and dexterity to shape and manipulate wood. By mastering the use of hand tools, you can unlock a whole new level of precision and control in your woodworking projects.
In this article, we will explore the different types of hand tools used in woodworking, the essential tools you should have in your workshop, and the basic techniques for working with hand tools. We will also provide tips on safety, maintenance, and resources for further learning.
So, whether you’re interested in creating furniture, cabinets, or smaller decorative pieces, let’s dive into the world of woodworking with hand tools and discover the joy of working with your hands.
Key Takeaways:
- Embrace the timeless appeal of woodworking with hand tools to unlock a new level of precision and control in your projects. From saws to chisels, mastering these tools enhances your woodworking skills and craftsmanship.
- Understanding wood characteristics, basic techniques, joinery, finishing, safety, and maintenance is essential for a rewarding and safe woodworking experience. Explore resources to expand your knowledge and skills in the world of woodworking.
Read more: How To Learn About Hand Tools
Types of Hand Tools Used in Woodworking
Woodworking with hand tools encompasses a wide range of tools that serve different purposes in shaping and manipulating wood. From cutting and shaping to joining and finishing, each tool plays a crucial role in the woodworking process. Let’s explore some of the most common types of hand tools used in woodworking:
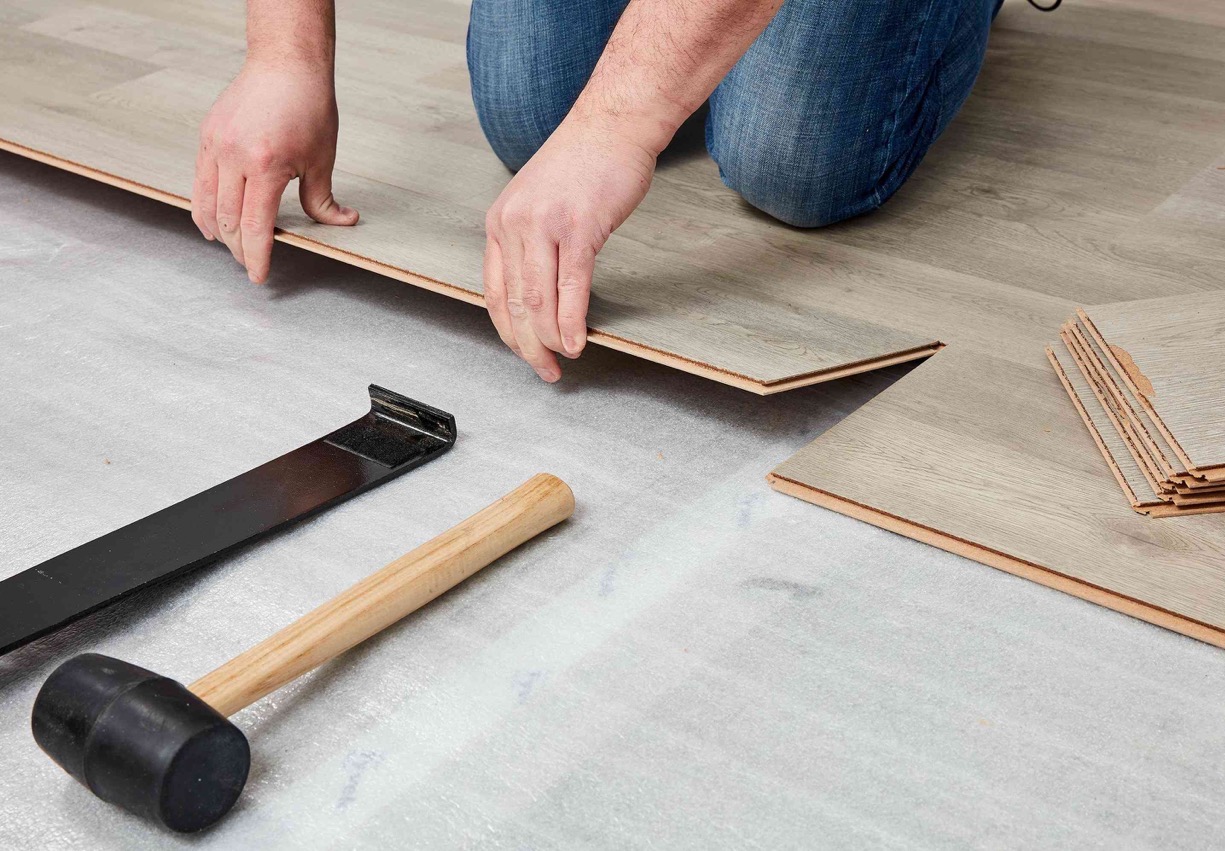
- Saws: Saws are essential for cutting wood into various shapes and sizes. Hand saws, such as crosscut saws, rip saws, and dovetail saws, are commonly used for precise and controlled cutting.
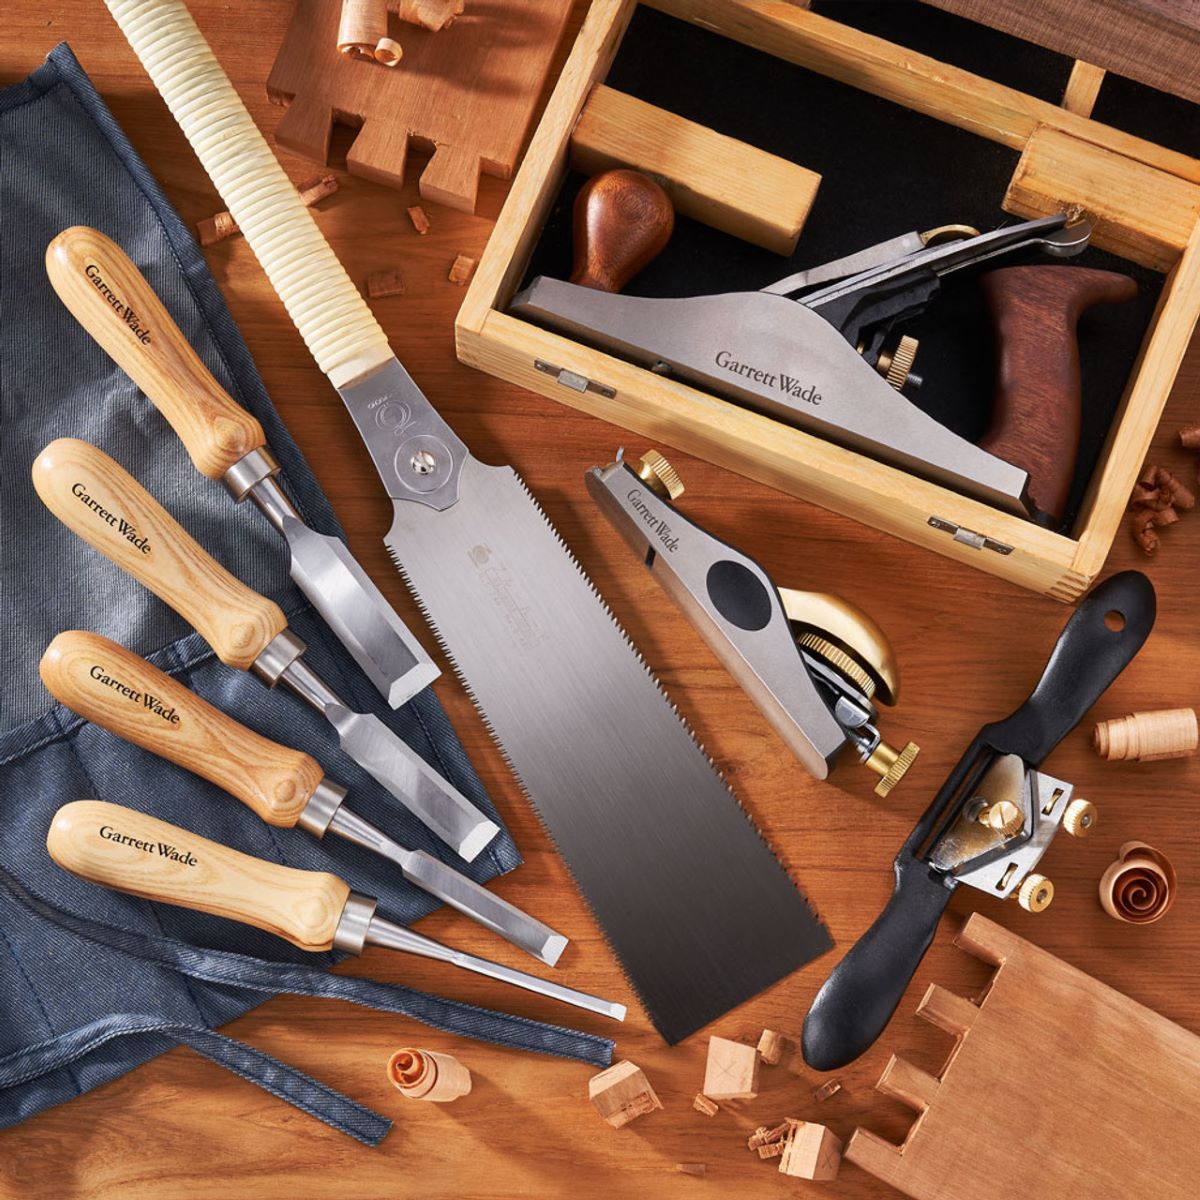
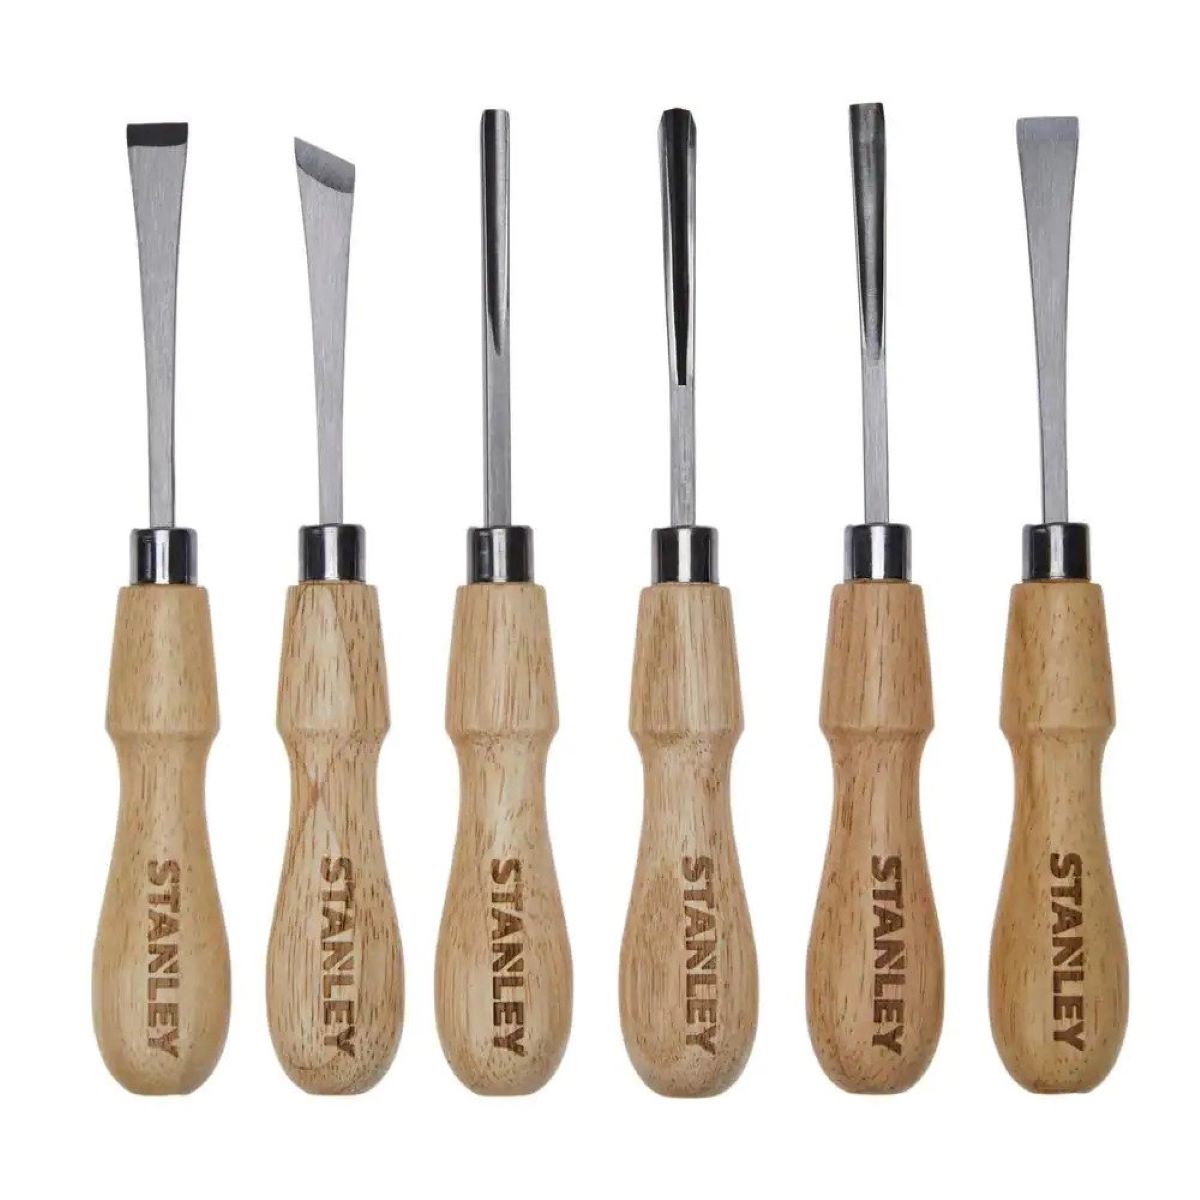
- Chisels: Chisels are used for removing wood and creating clean, precise cuts. They come in different sizes and shapes, including bench chisels, mortise chisels, and carving chisels.
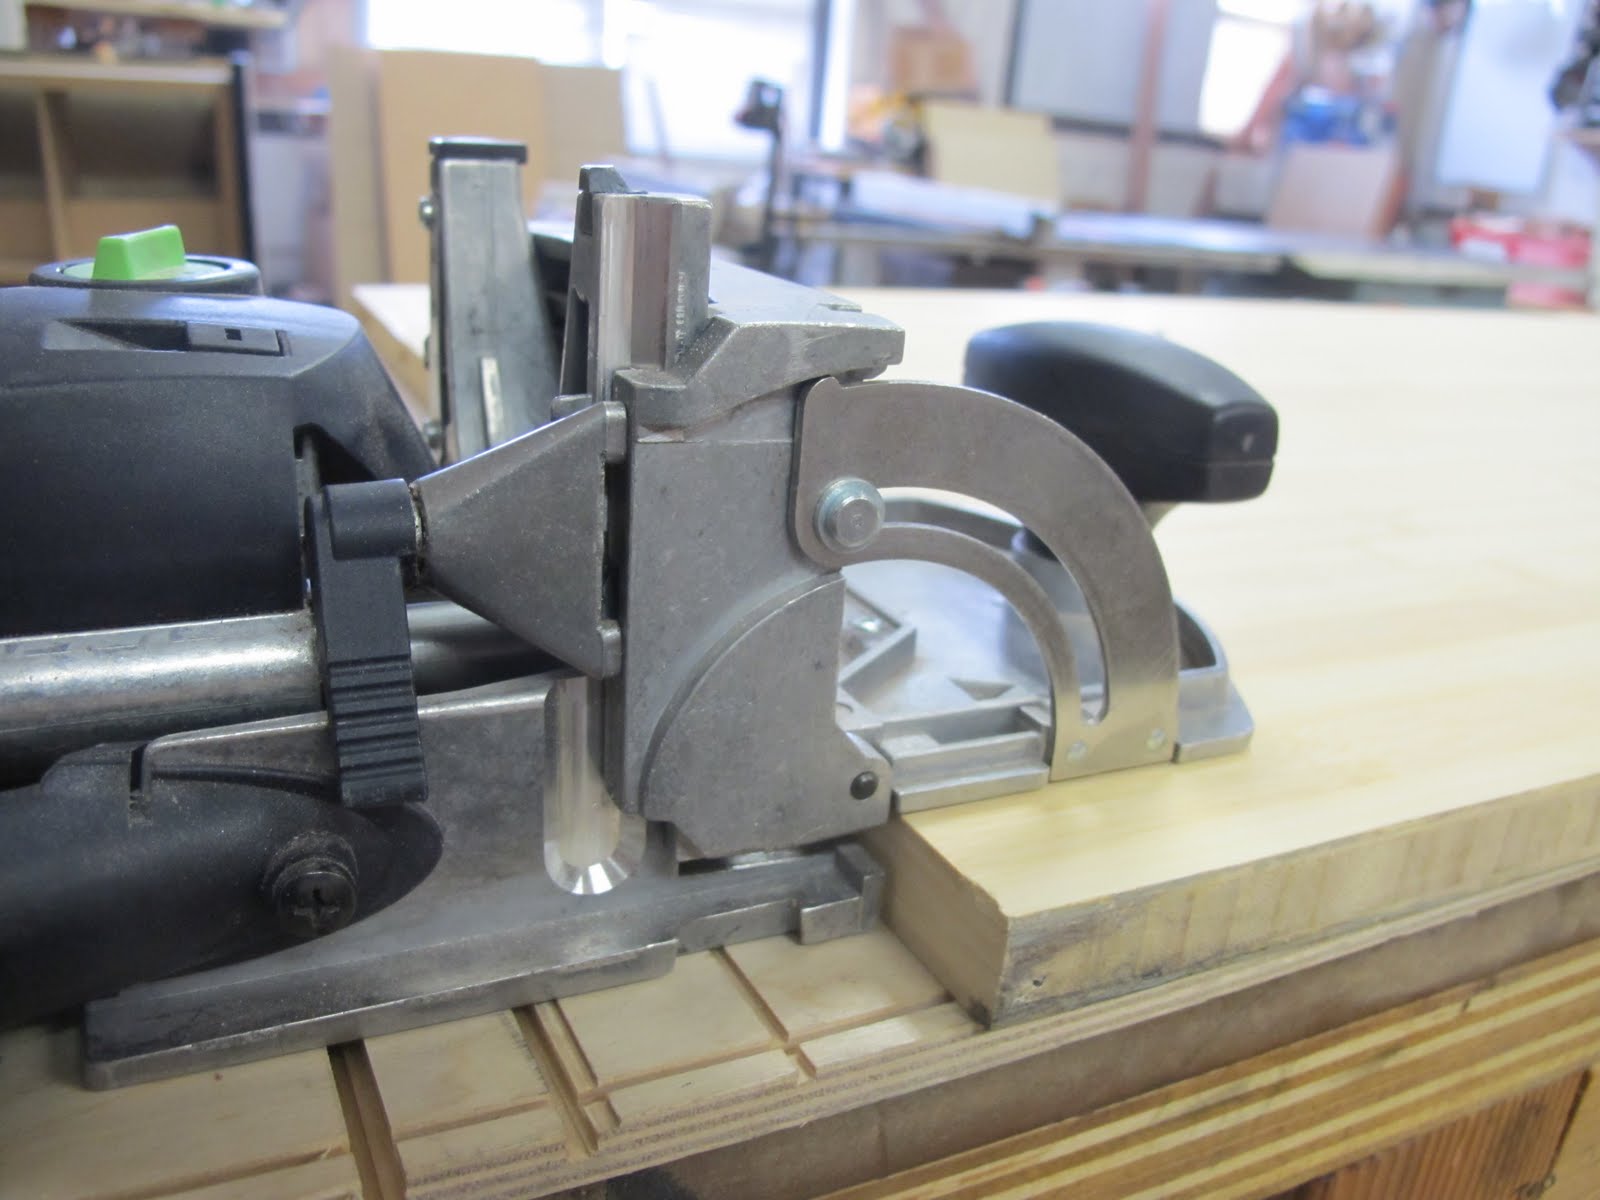
- Planes: Planes are used for smoothing and shaping wood surfaces. They can be used to flatten rough wood, create bevels, and achieve a smooth finish. Common types of planes include bench planes, block planes, and shoulder planes.
- Files and rasps: Files and rasps are used for shaping and smoothing wood surfaces. They come in various shapes and coarseness and are especially useful for refining curved or irregular surfaces.
- Marking and measuring tools: Accuracy is crucial in woodworking, and marking and measuring tools help ensure precise cuts and dimensions. Tools such as marking gauges, calipers, and combination squares are commonly used.
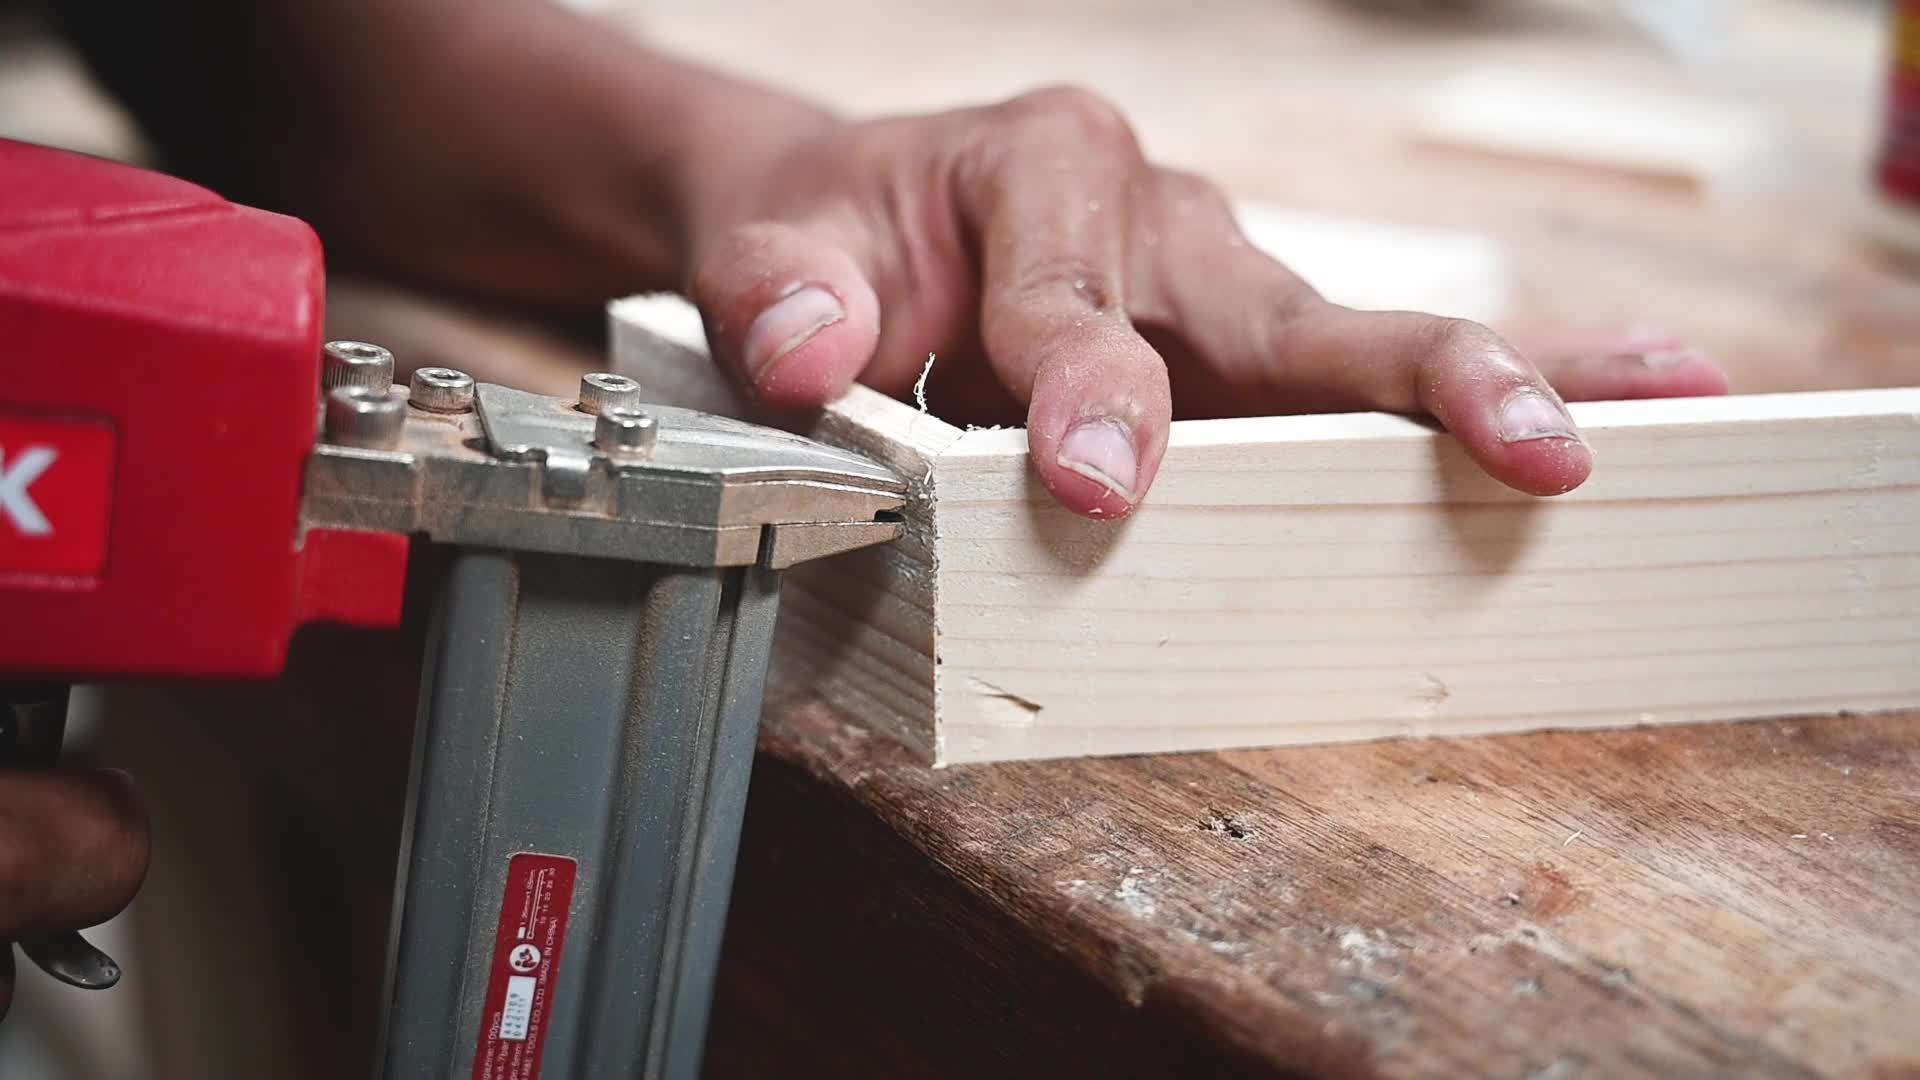
- Clamps: Clamps are essential for securing wood pieces together during gluing and assembly. They help keep the pieces in place and ensure strong and accurate joints.
- Files and rasps: Files and rasps are used for shaping and smoothing wood surfaces. They come in various shapes and coarseness and are especially useful for refining curved or irregular surfaces.
- Sharpening tools: Keeping your hand tools sharp is crucial for achieving clean and precise cuts. Sharpening tools, such as sharpening stones and honing guides, help maintain the sharpness of your blades.
These are just a few examples of the hand tools used in woodworking. Each tool has its own specific purpose and mastering their use can greatly enhance your woodworking skills. Now that we’ve explored the types of hand tools, let’s move on to the essential tools you should have in your woodworking toolkit.
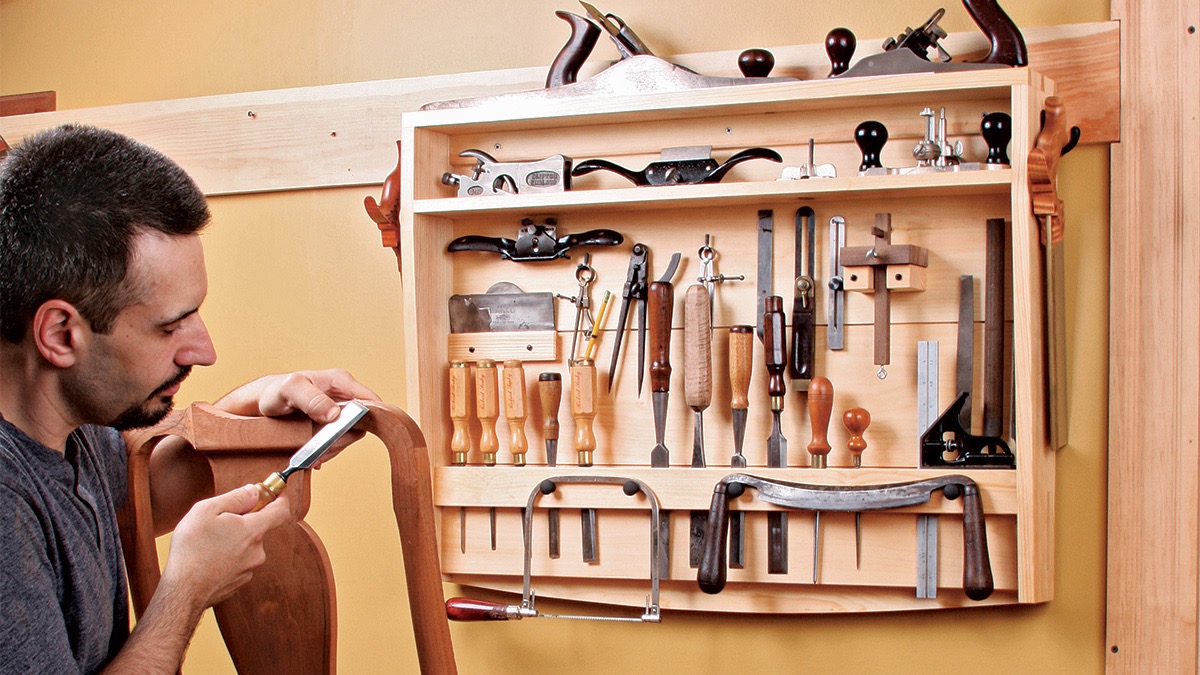
Essential Hand Tools for Woodworking
When it comes to woodworking with hand tools, having the right set of essential tools is key to carrying out your projects with precision and efficiency. Here are some of the must-have hand tools for any woodworker:
- Claw Hammer: A claw hammer is a versatile tool used for driving nails into wood and removing them when necessary. Look for a hammer with a comfortable grip and a balanced weight that suits your hand.
- Tape Measure: Accurate measurements are crucial in woodworking, and a reliable tape measure is an essential tool to have. Opt for a tape measure with a clear and easy-to-read scale.
- Chisels: Chisels are indispensable for woodworking tasks such as carving, shaping, and removing material. Invest in a set of high-quality chisels in various sizes to cover a wide range of woodworking needs.
- Saws: A saw is a fundamental tool for cutting wood. Having a quality crosscut saw and a rip saw will allow you to make accurate and clean cuts in different directions and grain patterns.
- Block Plane: A block plane is a versatile tool used for fine-tuning and smoothing surfaces. It’s handy for chamfering edges, fitting joints, and removing small imperfections.
- Coping Saw: A coping saw is a small, fine-toothed saw used for intricate and curved cuts. Its thin blade allows for precise maneuverability, making it ideal for detailed work and delicate shaping.
- Marking Tools: Marking tools like pencils, marking knives, and marking gauges are essential for accurately marking measurements, shapes, and lines on your wood pieces.
- Block of Wood and Mallet: A block of wood and a mallet are handy for chiseling tasks. They provide support and help prevent damage to your chisels while giving you controlled striking force.
- Screwdrivers: Screwdrivers are needed for various woodworking tasks, such as assembling furniture and tightening screws. Have a set of both flathead and Phillips head screwdrivers in different sizes.
- Sanding Tools: Sanding blocks, sanding paper, and a sanding block plane are necessary for achieving smooth and polished wood surfaces. Start with lower grit sandpaper and gradually work your way to higher grits for a refined finish.
These essential hand tools will provide you with a solid foundation for woodworking projects. As you gain experience and encounter new challenges, you can gradually expand your collection of tools to suit your specific needs. Now that you have a good understanding of the basic hand tools, let’s move on to understanding wood and its characteristics.
Understanding Wood and Its Characteristics
Wood is a remarkable and versatile material that has been used for centuries in various crafts and construction. To become a skilled woodworker, it is essential to understand the properties and characteristics of wood. Here are some key points to consider:
- Wood Grain: Wood grain refers to the pattern of fibers and lines that are visible on the surface of wood. It can be straight, interlocking, or wavy. Understanding the grain direction is crucial for cutting and shaping wood effectively.
- Moisture Content: Wood is hygroscopic, meaning it can absorb or release moisture from the surrounding environment. The moisture content of the wood affects its stability, strength, and workability. It’s important to use properly dried wood for your projects.
- Hardness: Different wood species have varying levels of hardness. Some woods, like oak and maple, are harder and more durable, while others, like pine and cedar, are softer. The hardness of the wood affects its resistance to wear and tear.
- Color and Figure: Wood comes in a beautiful array of colors and figuring patterns, such as knots, burls, and grain patterns. These natural characteristics contribute to the aesthetic appeal of your woodworking projects.
- Expansion and Contraction: Wood expands and contracts with changes in temperature and humidity. Understanding this property is crucial for ensuring proper joinery and allowing for the natural movement of the wood without causing cracks or warping.
- Workability: Different wood species have different workability characteristics. Some woods are easier to cut, shape, and finish, while others may require more effort and specialized tools. Consider the workability of the wood for your intended project.
- Grain Orientation: Grain orientation refers to the direction of the wood fibers in a piece of wood. It affects how the wood will respond to cutting, shaping, and applying pressure. Understanding grain orientation helps in achieving clean and precise cuts.
- Stability: Stability refers to the ability of wood to resist warping, twisting, or cupping. Woods with better stability are ideal for projects that require long-term durability and resistance to environmental changes.
By developing an understanding of these wood characteristics, you can make informed decisions in selecting the right wood for your projects and optimize your woodworking techniques. Now, let’s move on to learning some basic woodworking techniques with hand tools.
Basic Woodworking Techniques with Hand Tools
Woodworking with hand tools involves a variety of techniques that allow you to shape, join, and finish wood to create beautiful and functional pieces. Here are some basic woodworking techniques to get you started:
- Measuring and Marking: Accurate measuring and marking are crucial for precise woodworking. Use a tape measure and marking tools like pencils or marking knives to mark the dimensions, angles, and shapes on your wood pieces.
- Hand Sawing: Hand sawing is fundamental to woodworking. Use a handsaw, such as a crosscut or rip saw, to make straight or curved cuts. Start by marking the cut line and position the saw at the correct angle, applying steady and controlled strokes.
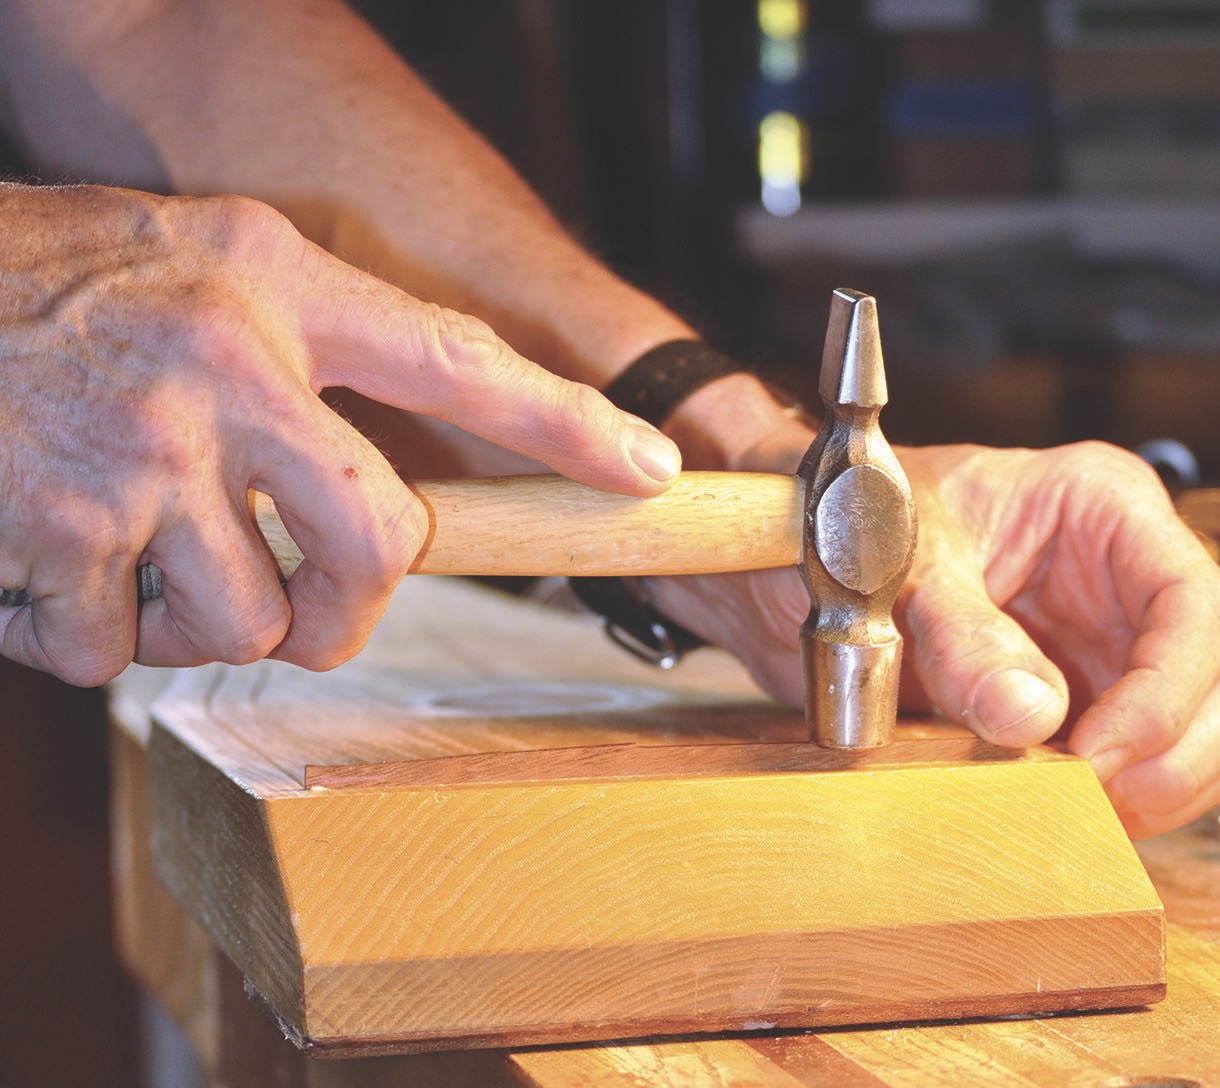
- Chiseling: Chiseling allows you to remove wood and create clean cuts and joints. Use a chisel to make precise cuts along the marked lines or to remove material for joints and shaping. Practice proper technique and keep the chisel sharp for optimal results.
- Planing: Planing helps you achieve smooth and flat surfaces on wood. Use a hand plane to remove any unevenness or roughness, working with the grain of the wood. Start with a coarse plane and gradually move to finer planes for a polished finish.
- Drilling and Boring: Use hand tools like brace and bits or eggbeater drills to create holes in your wood pieces. Choose the appropriate size and type of bit based on the hole diameter and the desired depth.
- Sanding: Sanding gives your wood surfaces a smooth finish. Use sandpaper or sanding blocks to remove any imperfections and achieve the desired level of smoothness. Start with a coarser grit and gradually work towards finer grits for a polished result.
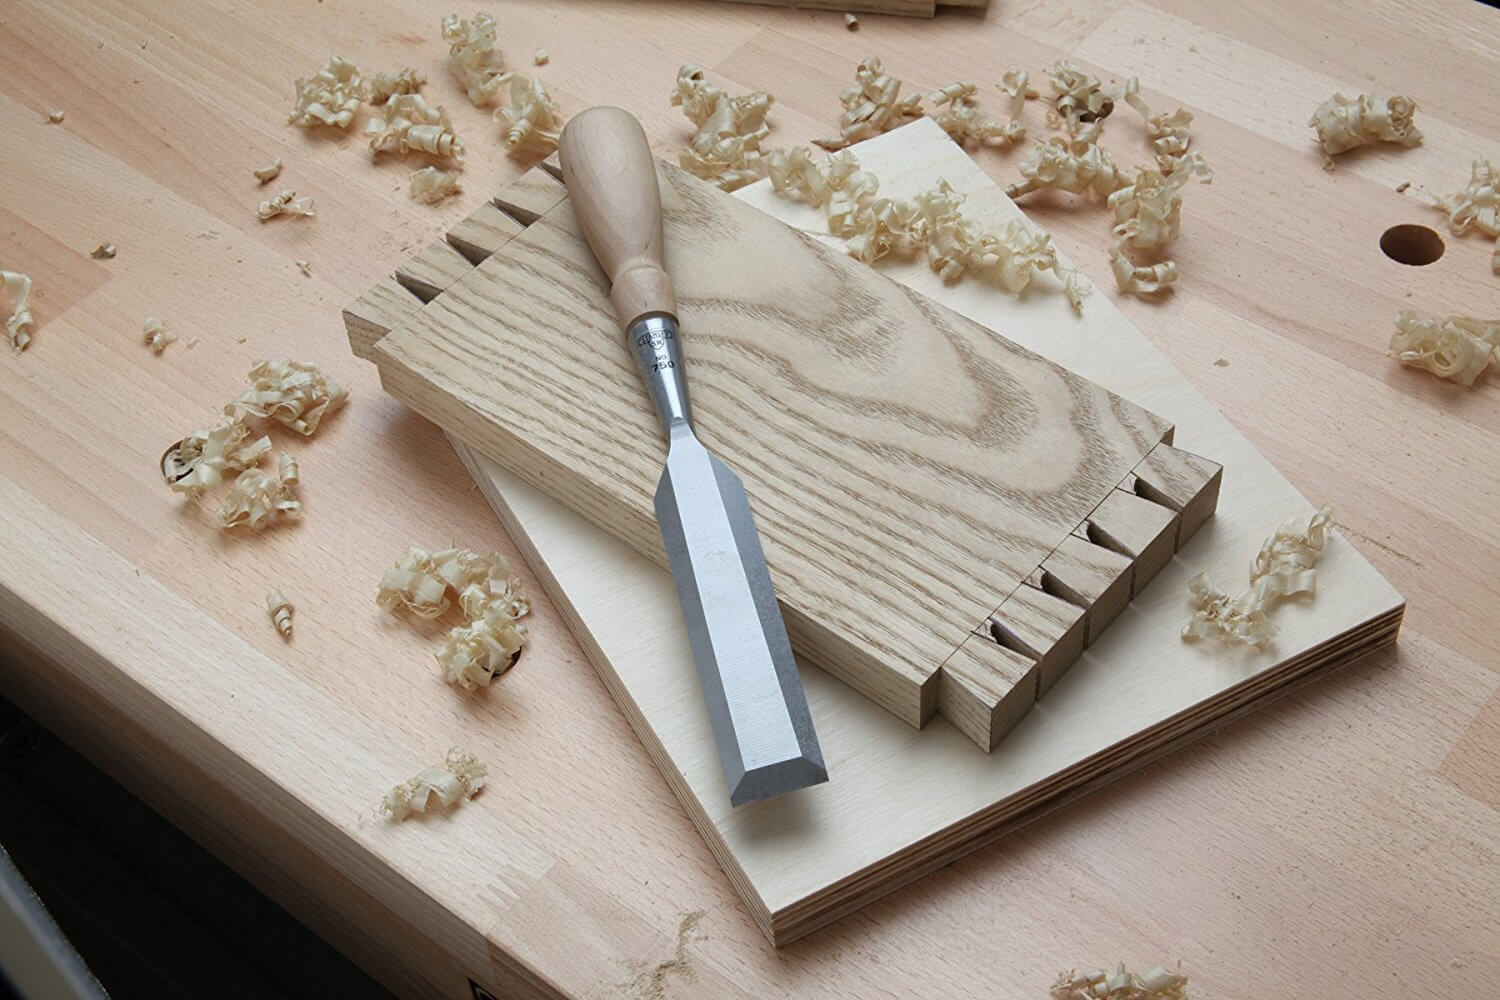
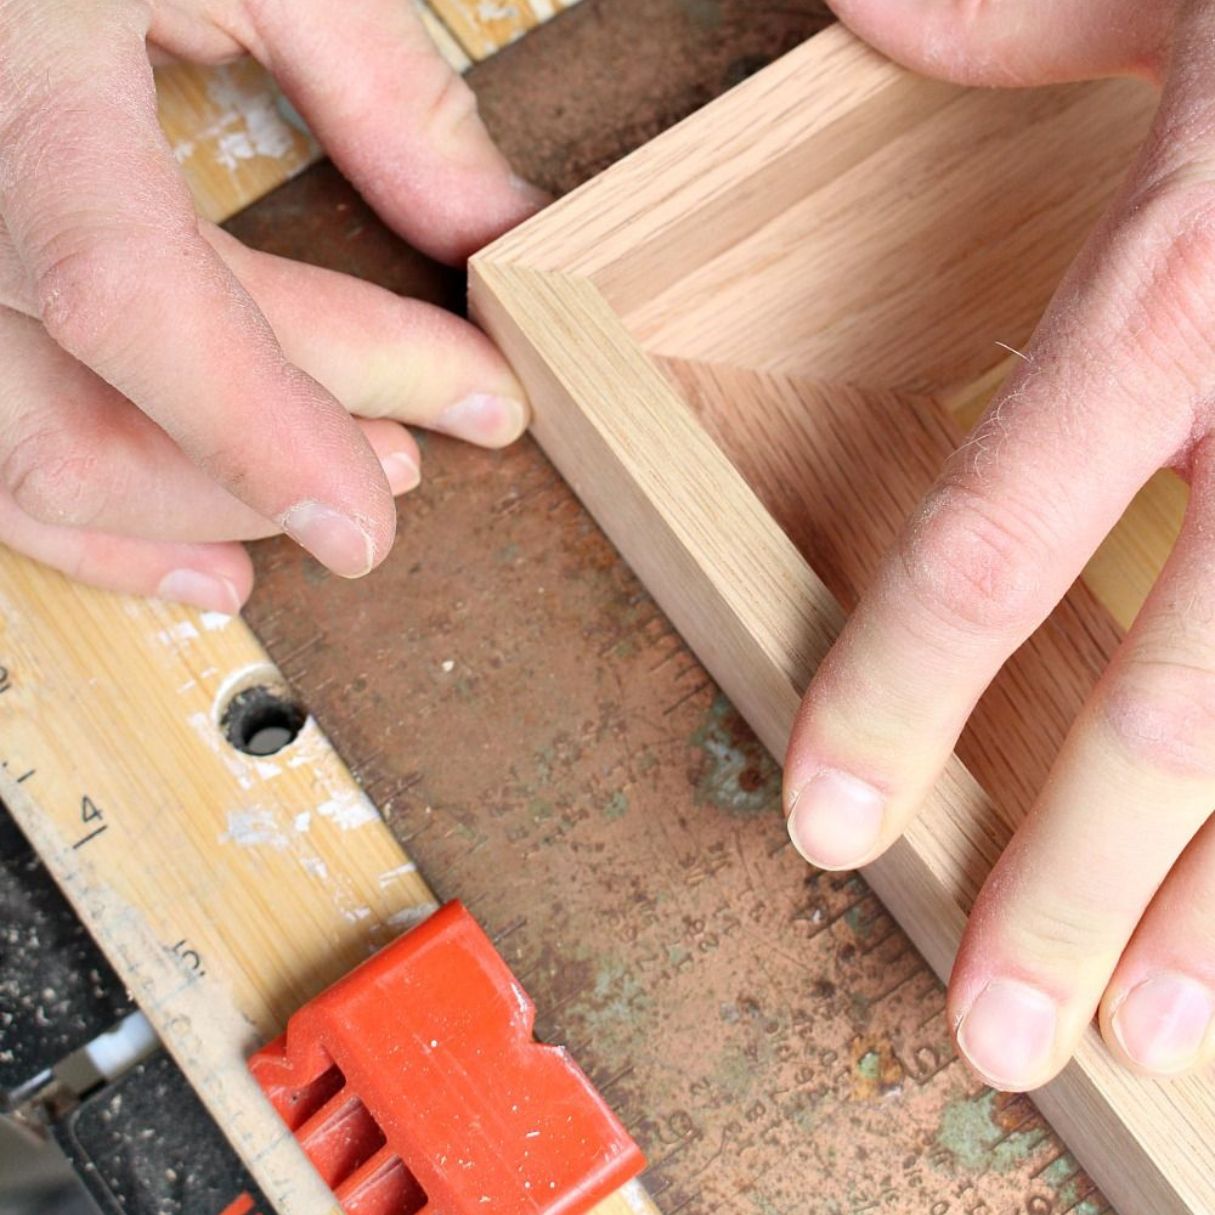
- Joinery: Joinery techniques allow you to connect wood pieces together. Common hand-tool joinery methods include dovetails, mortise and tenon, and finger joints. Precision and careful chiseling are key to achieving strong and visually appealing joints.
- Shaping and Carving: Hand tools like rasps, files, and carving chisels enable you to shape and carve wood into intricate designs. Practice control and patience as you gradually remove material to achieve the desired shape and detail.
- Finishing: Finishing techniques enhance the appearance and protect the wood. Apply finishes like stains, varnishes, or oils using brushes or cloth to give your project a polished and long-lasting look.
Remember, practice is key to mastering these basic woodworking techniques. Start with small projects and gradually take on more complex ones as you build your skills and confidence. Now that you have a good foundation in woodworking techniques, let’s explore some joinery techniques with hand tools.
When starting out with hand tools, focus on learning proper tool maintenance and sharpening techniques. Sharp tools are essential for achieving clean and precise cuts in woodworking.
Read more: How To Carve Wood With Hand Tools
Joinery Techniques with Hand Tools
Joinery is a fundamental aspect of woodworking that involves connecting wood pieces together to create strong and durable structures. While there are many joinery techniques available, using hand tools adds a level of precision and craftsmanship to your projects. Here are some common joinery techniques with hand tools:
- Dovetail Joints: Dovetail joints are renowned for their strength and aesthetics. They involve interlocking pins and tails, creating a tight and robust connection. Use a marking gauge and chisels to cut the pins and tails by hand, ensuring a precise fit.
- Mortise and Tenon Joints: Mortise and tenon joints are versatile and widely used in woodworking. A mortise is a square or rectangular hole, while a tenon is a corresponding protruding piece. Create the mortise with chisels and shape the tenon using saws and chisels.
- Finger Joints: Finger joints, also known as box joints, are decorative and strong joints used for connecting corners of boxes or drawers. They involve interlocking rectangular fingers to create a secure joint. Use a dado saw or chisels to cut the fingers with precision.
- Half-Lap Joints: Half-lap joints are simple yet effective joints used for connecting two pieces of wood at a 90-degree angle. They involve cutting away half the thickness of each piece and overlapping them. Use saws and chisels to create precise, clean cuts for a snug fit.
- Dowel Joints: Dowel joints are a popular choice for joining wood pieces without the need for advanced woodworking skills. They involve drilling holes in the wood pieces and inserting dowels to create a strong and hidden connection.
- Tongue and Groove Joints: Tongue and groove joints provide a tight and reliable connection between two wood pieces. The tongue is a protruding strip that fits into a corresponding groove. Use saws, chisels, and planes to create these precise and interlocking joints.
- Bridle Joints: Bridle joints, also known as open mortise and tenon joints, are used for connecting pieces at right angles. The mortise is open-ended, allowing for a visible tenon. Use saws and chisels to create these strong and visually striking joints.
- Dado Joints: Dado joints involve cutting a groove or trench across the grain of a piece of wood to create a shelf or provide support for another piece. Use saws, chisels, or a dado plane to create precise and clean dados.
These are just a few examples of joinery techniques you can accomplish with hand tools. Each technique requires precision and practice to master. Take your time to ensure accurate measurements, proper fitting, and clean cuts to achieve strong and visually pleasing joinery in your woodworking projects. Now, let’s move on to exploring finishing techniques with hand tools.
Finishing Techniques with Hand Tools
Finishing is an essential step in woodworking that enhances the appearance and protects the wood. While there are many power tools available for finishing, using hand tools allows for greater control and precision. Here are some common finishing techniques you can achieve with hand tools:
- Sanding: Sanding is the process of removing imperfections and smoothing the wood surface. Utilize sanding blocks, sandpaper, or a hand-held sanding plane to achieve a smooth and even finish. Start with a coarse grit sandpaper and gradually work your way up to finer grits for a polished result.
- Hand Scraping: Hand scraping involves using a scraper tool to finely shave the wood surface. It helps to remove rough spots and achieve a smooth finish. Place the scraper at a slight angle to the wood surface and use a scraping motion to remove any imperfections and smooth the surface.
- Burnishing: Burnishing is a technique of creating a polished or glossy surface using a burnishing tool. It is commonly used on softer woods or after applying the finish. Rub the burnishing tool firmly against the wood surface in a circular motion to achieve a smooth, glossy appearance.
- Applying Stains: Stains are used to add color and enhance the natural beauty of the wood. Apply the stain using a brush or cloth, following the manufacturer’s instructions. Ensure an even application and wipe off any excess stain for a consistent and desired color tone.
- Oil Finishing: Oil finishes, such as linseed oil or tung oil, provide a natural and durable protective coating. Apply the oil evenly using a cloth, working it into the wood grain. Allow the oil to penetrate and dry, then buff the surface to achieve a smooth and lustrous finish.
- Varnishing: Varnish provides a protective and attractive finish to your woodworking projects. Apply thin coats of varnish using a brush, following the wood grain. Allow each coat to dry before sanding lightly between coats for a smooth and glossy finish.
- Waxing: Waxing adds a final layer of protection to your wood surfaces and provides a soft sheen. Apply the wax using a clean cloth, working it into the wood with circular motions. Allow the wax to dry and buff the surface to achieve a smooth and polished result.
Remember, always work in a well-ventilated area when applying finishes and follow the manufacturer’s instructions for safety and proper application. Each finishing technique requires attention to detail and patience to achieve the desired result. Now that you have learned various finishing techniques, let’s move on to discussing safety tips for woodworking with hand tools.
Safety Tips for Woodworking with Hand Tools
Woodworking with hand tools can be a rewarding and enjoyable experience, but it’s important to prioritize safety to prevent accidents and injuries. Here are some essential safety tips to keep in mind when working with hand tools:
- Wear Personal Protective Equipment (PPE): Always wear appropriate PPE such as safety goggles, ear protection, and a dust mask to protect your eyes, ears, and respiratory system from sawdust and flying debris.
- Keep Work Area Clean and Organized: Maintain a clutter-free work area to prevent tripping hazards and ensure easy access to your tools. Keep your tools organized and return them to their designated storage after use.
- Use Sharp and Well-Maintained Tools: Dull tools can be dangerous as they require more effort to use and can slip or kick back. Regularly sharpen your hand tools and keep them in good condition to ensure clean and safe cuts.
- Pay Attention to Your Grip: Use a firm and secure grip on your hand tools to maintain control and prevent accidental slips. Avoid overcrowding your workbench and be mindful of your hand placement to avoid injuries.
- Work with the Grain: When sawing or planing, work with the grain of the wood to minimize tear-out and reduce the risk of the tool getting stuck or causing kickback.
- Keep Hands Clear of Blades: Always keep your hands and fingers away from the cutting edge of tools, especially when sawing, chiseling, or planing. Use clamps, jigs, or push blocks to safely maneuver and guide the wood.
- Take Breaks and Stay Focused: Woodworking can be physically demanding, so take regular breaks to prevent fatigue and maintain concentration. Avoid working when you’re tired or distracted to avoid accidents.
- Follow Proper Technique: Learn and practice proper tool techniques to ensure safe and effective woodworking. When in doubt, seek guidance from experienced woodworkers or refer to instructional resources.
- Learn First Aid Skills: Accidents can happen even with the utmost caution. Having basic first aid knowledge and keeping a well-stocked first aid kit in your workshop can help you respond quickly to any injuries.
Remember, safety should always be your top priority when working with hand tools. Stay focused, be mindful of your surroundings, and take the necessary precautions to ensure a safe and enjoyable woodworking experience.
Now that you’re equipped with safety knowledge, let’s move on to discussing the maintenance and care of hand tools to ensure their longevity.
Maintenance and Care of Hand Tools
Maintaining and caring for your hand tools is crucial to ensure their longevity and optimal performance. Proper maintenance not only extends the life of your tools but also enhances their efficiency and accuracy. Here are some essential tips for maintaining and caring for your hand tools:
- Clean Your Tools: After every use, make it a habit to clean your hand tools to remove dirt, debris, and any residual moisture. Use a brush or cloth to wipe off sawdust, wood shavings, or debris. For stubborn grime, use a mild detergent and warm water, then thoroughly dry your tools to prevent rust.
- Protect Against Rust: Rust is the enemy of hand tools. To prevent rusting, apply a thin coat of protective oil, such as mineral oil or machine oil, to metal surfaces. Store your tools in a dry area with low humidity to minimize the risk of rust formation.
- Sharpen Blades Regularly: Sharp blades are essential for clean and precise cuts. Use appropriate sharpening tools, such as sharpening stones or honing guides, to maintain the sharpness of your blades. Follow proper sharpening techniques and test the edges to ensure they are sharp before starting your projects.
- Store Your Tools Properly: Store your hand tools in a designated area that is protected from moisture and extreme temperature fluctuations. Use tool racks, drawers, or toolboxes to keep them organized and prevent damage from accidental drops or impacts.
- Check for Wear and Tear: Regularly inspect your hand tools for any signs of wear, damage, or loose parts. Tighten any loose screws or bolts and replace any worn or damaged parts as needed. Addressing minor repairs promptly can prevent further damage to your tools.
- Oil Wooden Handles: Wooden handles can dry out and become brittle over time. To keep them in good condition, apply linseed oil or boiled linseed oil to the wooden handles regularly. This helps prevent cracking and maintains their strength and durability.
- Protect Cutting Edges: When not in use, protect the cutting edges of your tools by using blade guards or sheaths. This prevents accidental contact and helps maintain the sharpness and integrity of the edges.
- Regularly Inspect and Lubricate Moving Parts: For hand tools with moving parts, such as planes or adjustable wrenches, inspect and lubricate the mechanisms. Apply a small amount of lubricating oil to ensure smooth operation and prevent rust or binding.
- Follow Manufacturer’s Guidelines: Lastly, refer to the manufacturer’s instructions and guidelines for any specific care recommendations for your hand tools. Different tools may require specific maintenance procedures, so it’s important to follow their recommendations to ensure proper care.
By following these maintenance and care tips, you can extend the life of your hand tools, maintain their performance, and ensure that they are always ready for your woodworking projects. Now that you have learned about maintaining your tools, let’s explore some resources for further learning in the world of woodworking.
Read more: How To Learn Plumbing
Resources for Further Learning
Woodworking is a craft that offers endless opportunities for learning and honing your skills. Whether you’re a beginner or an experienced woodworker, there are numerous resources available to help you expand your knowledge and improve your woodworking techniques. Here are some valuable resources for further learning:
- Books and Manuals: Explore woodworking books and manuals that cover a wide range of topics, from beginner’s guides to advanced techniques. Look for authors such as Christopher Schwarz, Paul Sellers, and Roy Underhill, who provide comprehensive insights and instructions.
- Online Tutorials and Videos: The internet is a treasure trove of woodworking tutorials and videos. Websites like YouTube, Wood Magazine, and Popular Woodworking offer a vast collection of instructional videos covering various woodworking techniques and projects.
- Woodworking Classes and Workshops: Consider taking woodworking classes or workshops offered by local community centers, woodworking schools, or craft organizations. These hands-on experiences provide opportunities to learn from skilled instructors and interact with fellow woodworkers.
- Woodworking Forums and Communities: Join online woodworking forums and communities where you can connect with experienced woodworkers, ask questions, and seek advice. Websites like Woodworking Talk and WoodNet have active forums with members eager to share their knowledge.
- Woodworking Magazines: Subscribe to woodworking magazines such as Fine Woodworking, Woodsmith, or Popular Woodworking. These publications feature project plans, tips, techniques, and interviews with experts that can inspire and educate you.
- Woodworking Blogs: Follow popular woodworking blogs like The Wood Whisperer, Woodworking for Mere Mortals, or The Renaissance Woodworker. These blogs provide informative articles, project ideas, and personal insights from experienced woodworkers.
- Woodworking Exhibitions and Trade Shows: Attend woodworking exhibitions and trade shows in your area to see the work of established woodworkers, discover new tools and techniques, and connect with industry professionals.
- Woodworking Associations and Guilds: Join woodworking associations and guilds to connect with fellow woodworkers, attend workshops, and access additional resources and learning opportunities.
- Woodworking Podcasts: Listen to woodworking podcasts like Wood Talk, The Modern Woodworkers Association Podcast, or The Dusty Life to gain insights from industry professionals and stay up-to-date with the latest trends and techniques.
These resources offer a wealth of knowledge and inspiration to help you continue your woodworking journey. Remember, the key to improving your skills is consistent practice and a willingness to explore new techniques and ideas. Enjoy the process of woodworking and let these resources guide you along the way.
Now that you have an array of resources to explore, you’re well on your way to expanding your woodworking skills and embarking on new and exciting projects. Happy woodworking!
Frequently Asked Questions about Learn How To Wood Work With Hand Tools
Was this page helpful?
At Storables.com, we guarantee accurate and reliable information. Our content, validated by Expert Board Contributors, is crafted following stringent Editorial Policies. We're committed to providing you with well-researched, expert-backed insights for all your informational needs.


0 thoughts on “Learn How To Wood Work With Hand Tools”