Articles
How To Cut Wood Channel With Hand Tools
Modified: December 7, 2023
Learn how to cut wood channels with hand tools in this informative article. Enhance your woodworking skills with step-by-step instructions and expert tips.
(Many of the links in this article redirect to a specific reviewed product. Your purchase of these products through affiliate links helps to generate commission for Storables.com, at no extra cost. Learn more)
Introduction
Woodworking is an ancient craft that appeals to both amateurs and professionals alike. While power tools have made woodworking more efficient, there is still a sense of satisfaction that comes from using traditional hand tools. One essential technique in woodworking is cutting wood channels, which are grooves or slots that provide a secure and decorative element to your projects.
Cutting wood channels by hand allows for greater precision and control over the final result. It also allows you to create unique designs and patterns that can’t be achieved with power tools alone. In this article, we will guide you through the process of cutting wood channels using nothing but hand tools.
Before we dive into the process, let’s take a look at the tools and materials you will need:
- A sturdy workbench
- A marking gauge or ruler
- A marking knife or sharp pencil
- A hand saw (preferably a backsaw or dovetail saw)
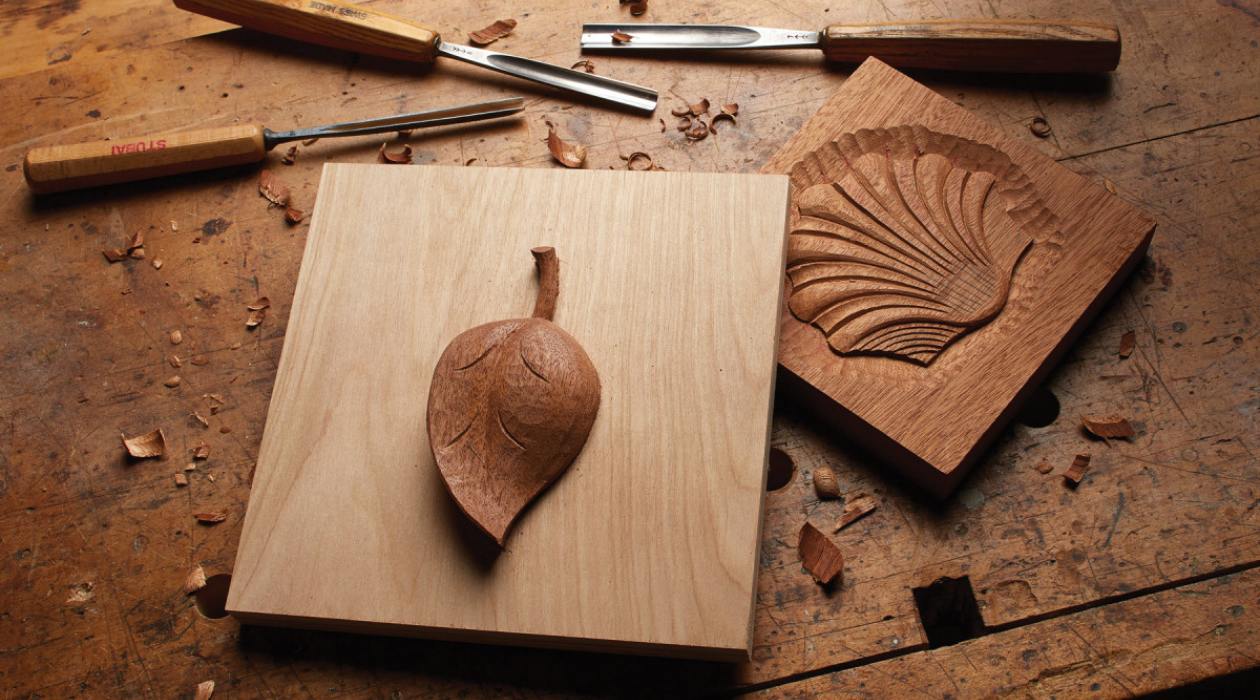
- A chisel set
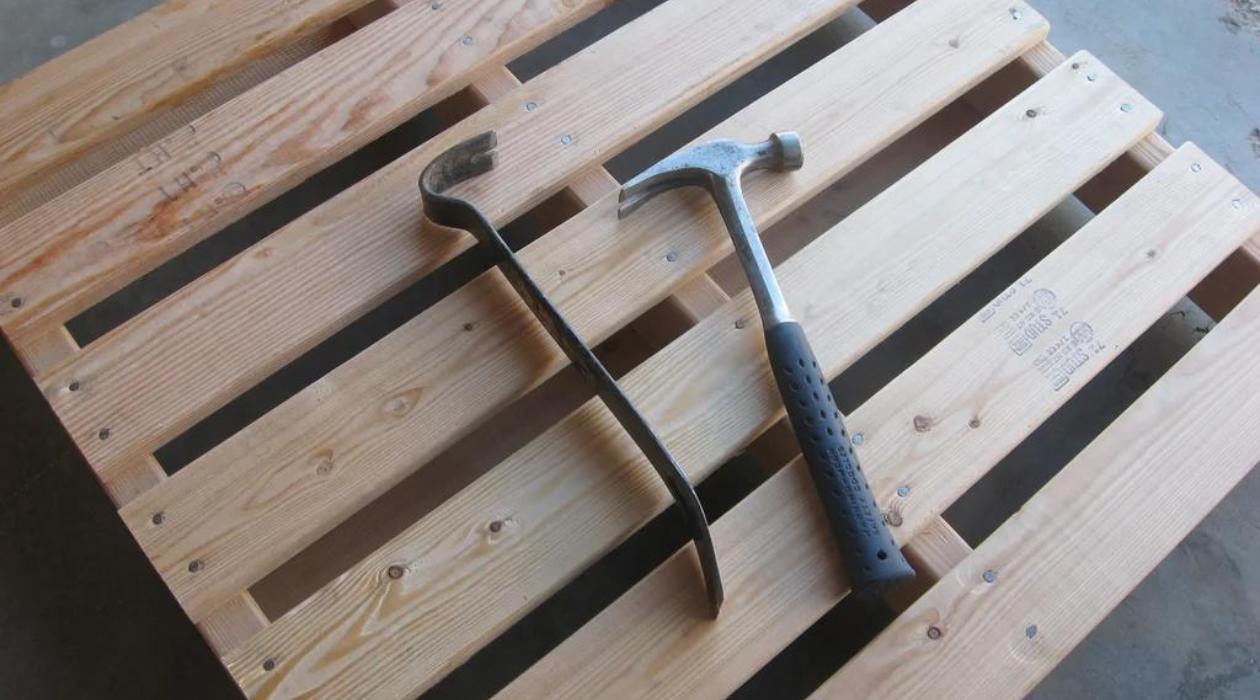
- A mallet or hammer
- A wood file or rasp
- A sanding block or sandpaper
With these tools at hand, you’re ready to get started on cutting wood channels. Follow the steps below to achieve a clean and precise result.
Key Takeaways:
- Embrace the satisfaction and artistry of traditional woodworking techniques by cutting wood channels with hand tools. Achieve precise and customized results that enhance the overall quality of your woodworking projects.
- With careful marking, proper preparation, and precise cutting, you can establish the boundaries of the wood channel. By removing excess wood and shaping the channel with attention to detail, you’ll achieve a polished and professional finish.
Read more: How To Cut Asphalt With Hand Tools
Tools and materials needed
Before you begin cutting wood channels with hand tools, it’s important to gather all the necessary tools and materials. Here is a list of what you will need:
- Workbench: A sturdy workbench is essential for a stable and secure work surface. Make sure it is at a comfortable height for you to work on.
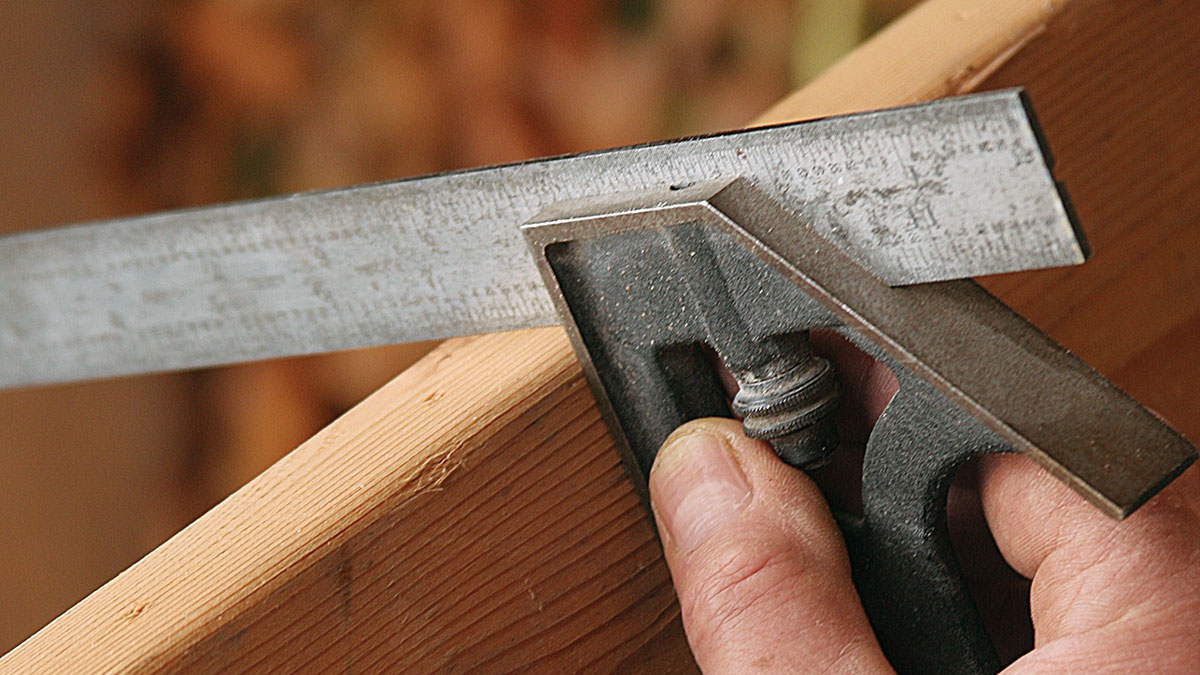
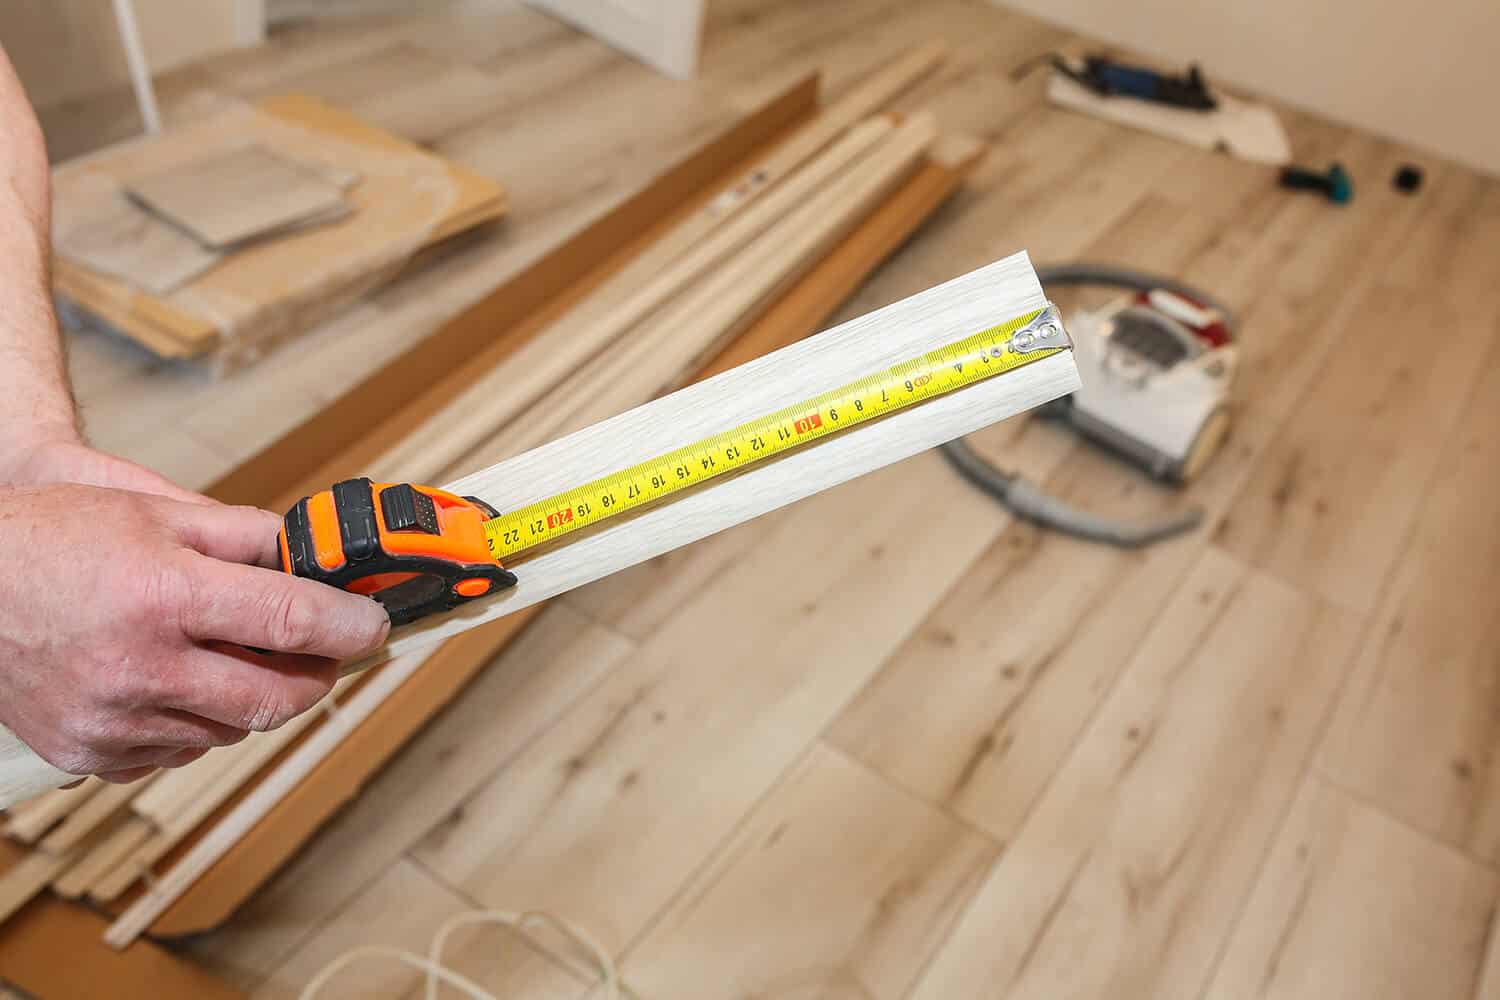
- Marking gauge or ruler: You will need a marking gauge or ruler to measure and mark the dimensions of your wood channel. A marking gauge is a specialized tool that allows you to score precise lines on the wood’s surface.
- Marking knife or sharp pencil: To make accurate markings, you will need a marking knife or a sharp pencil. These tools will help you create crisp lines that guide your cuts.
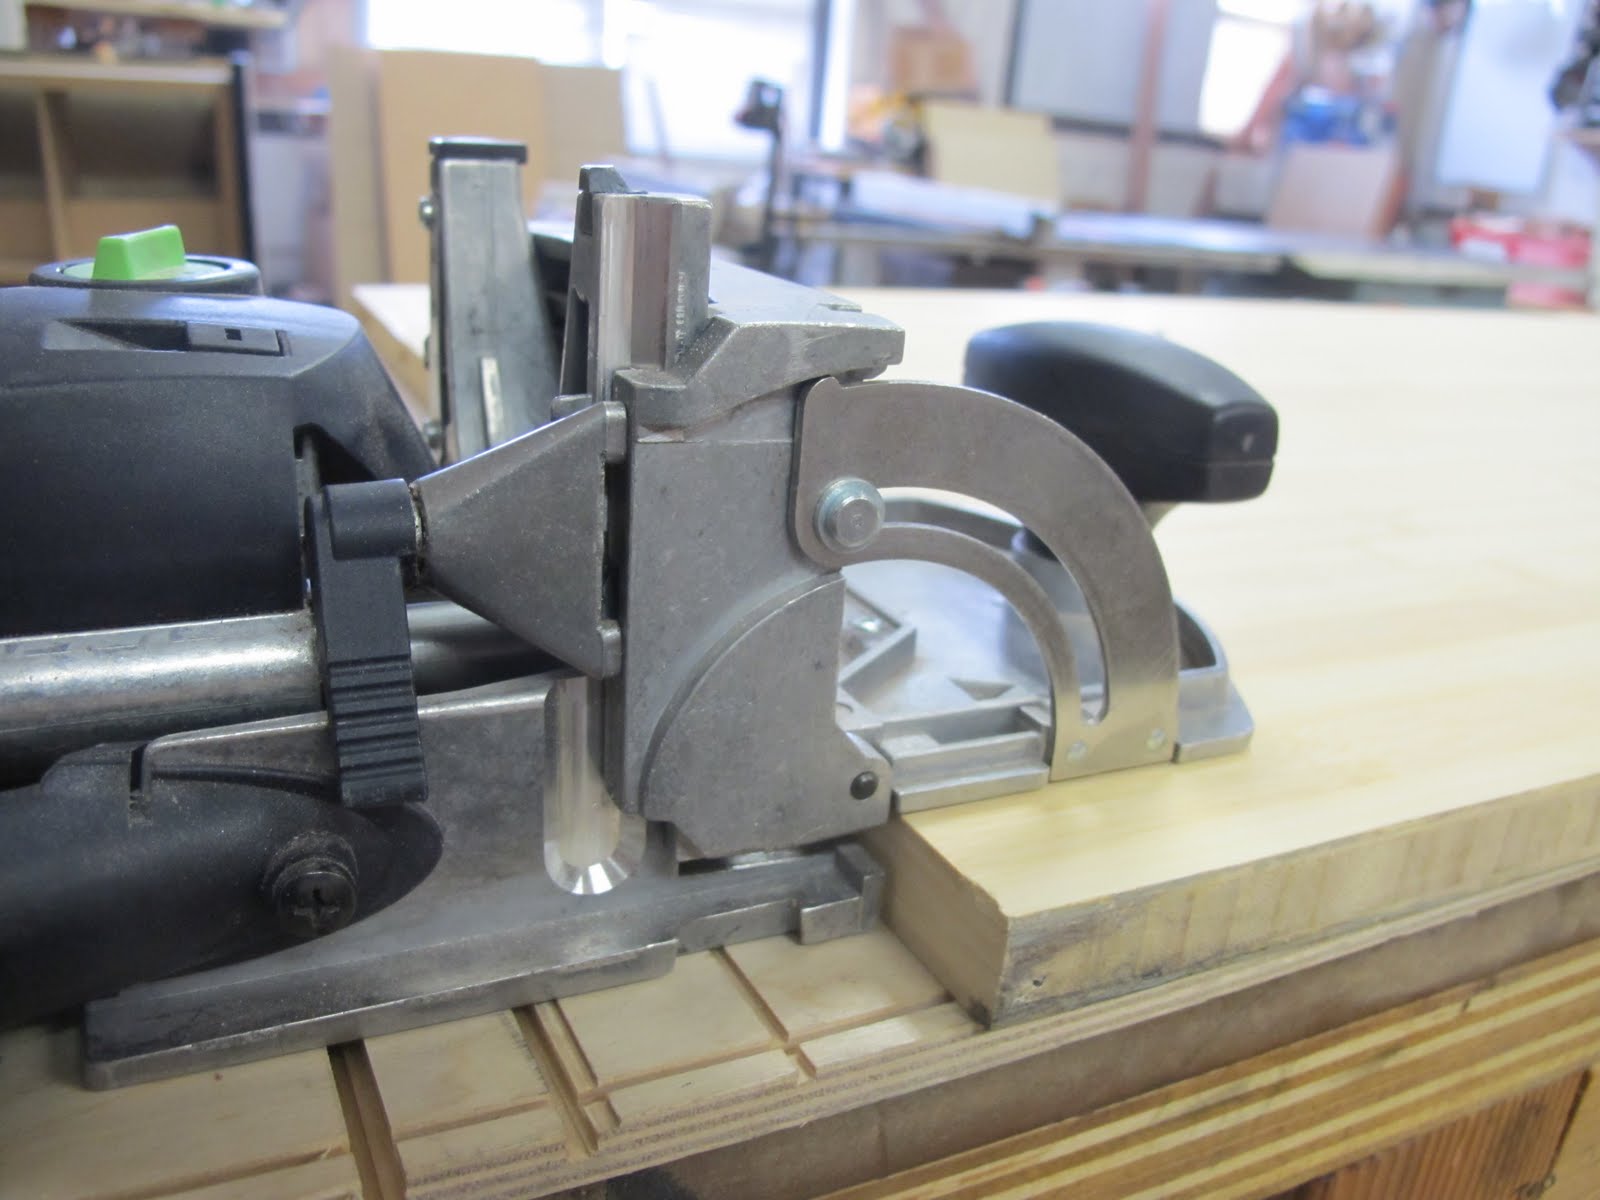
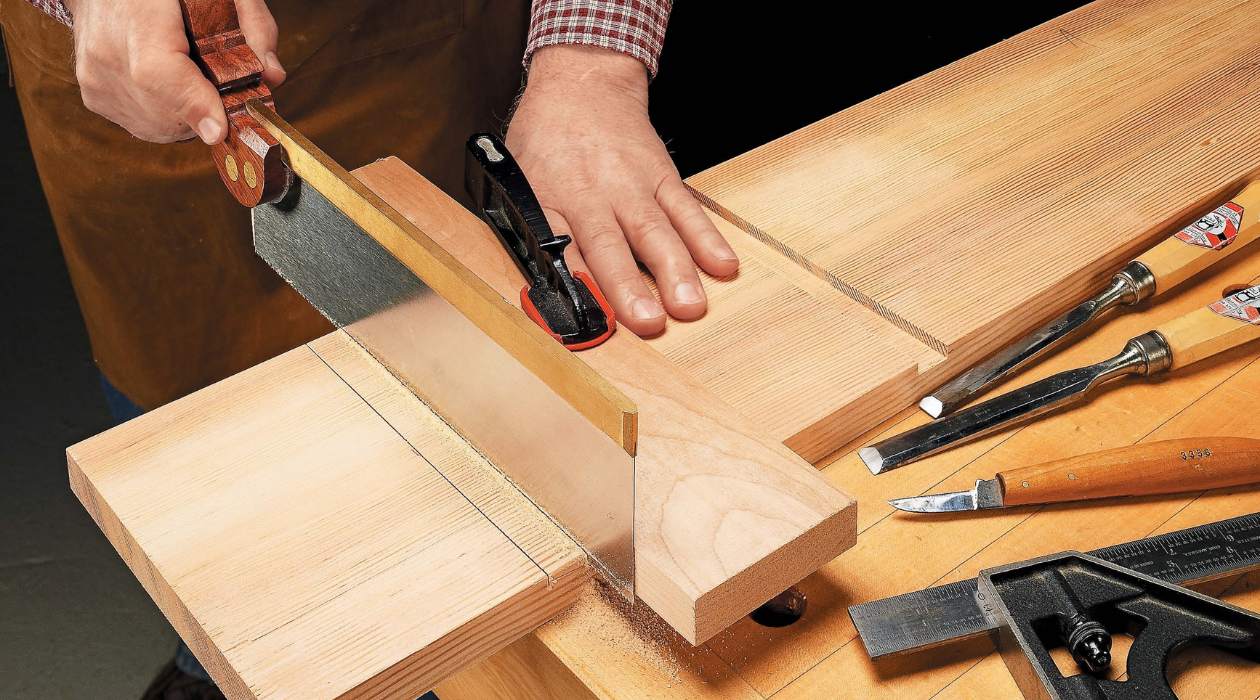
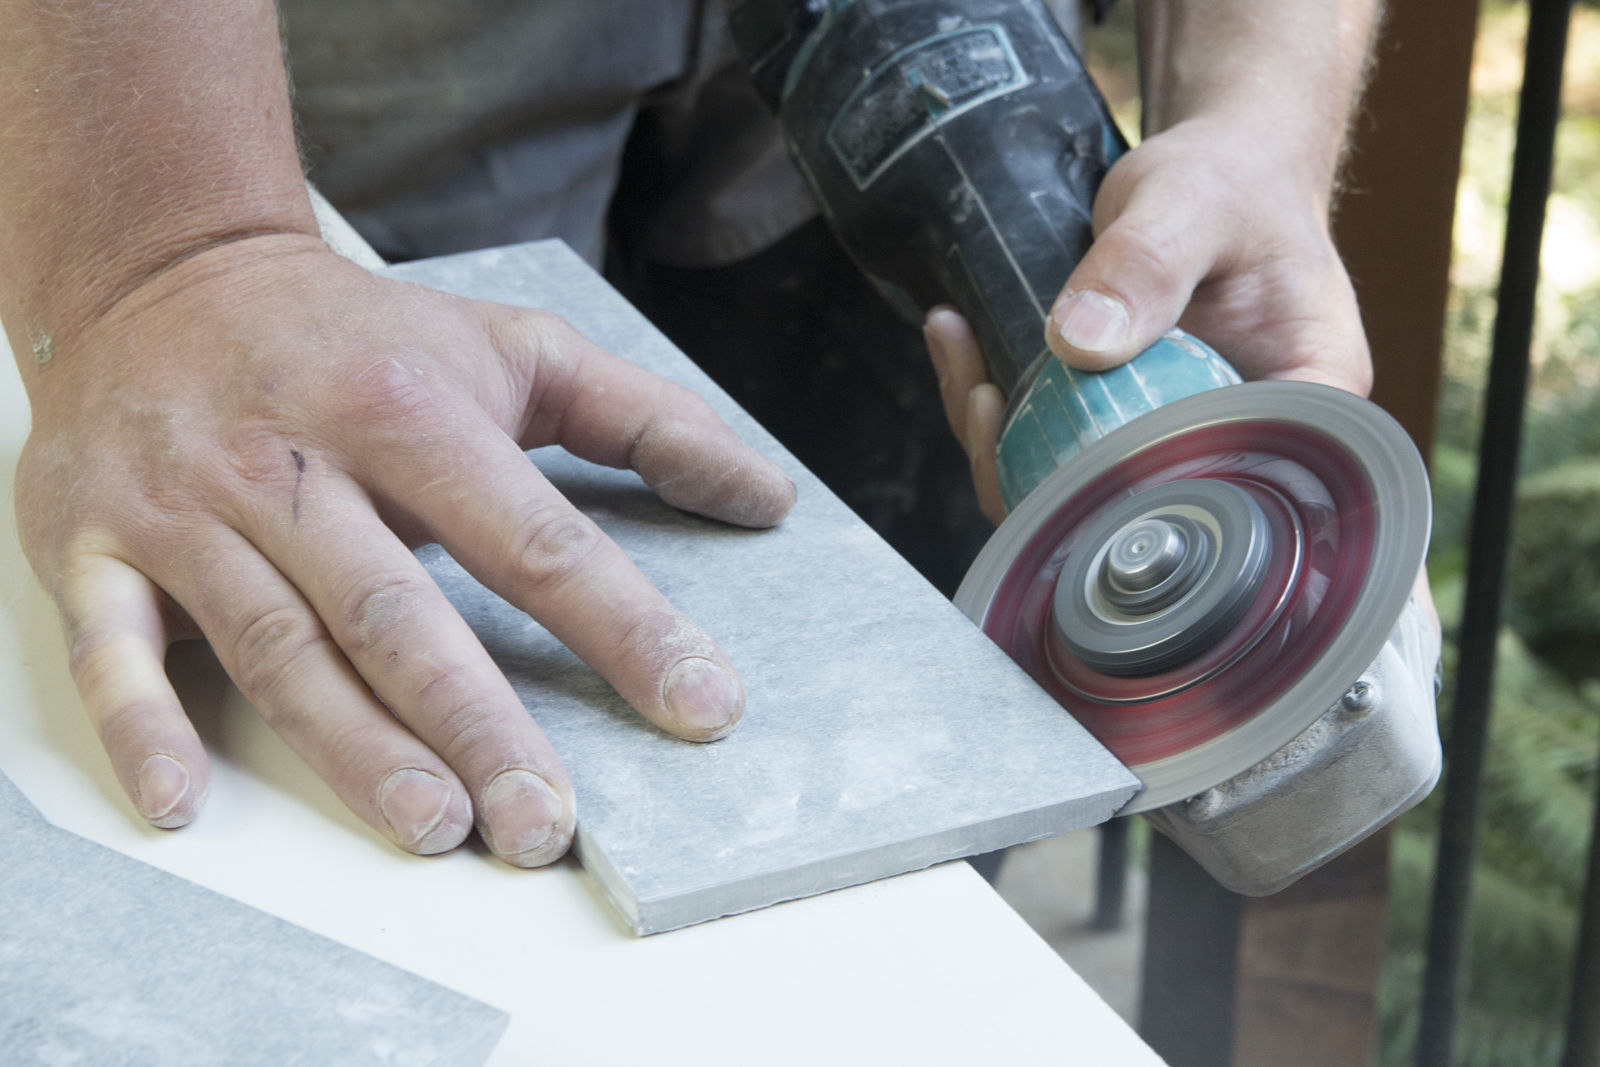
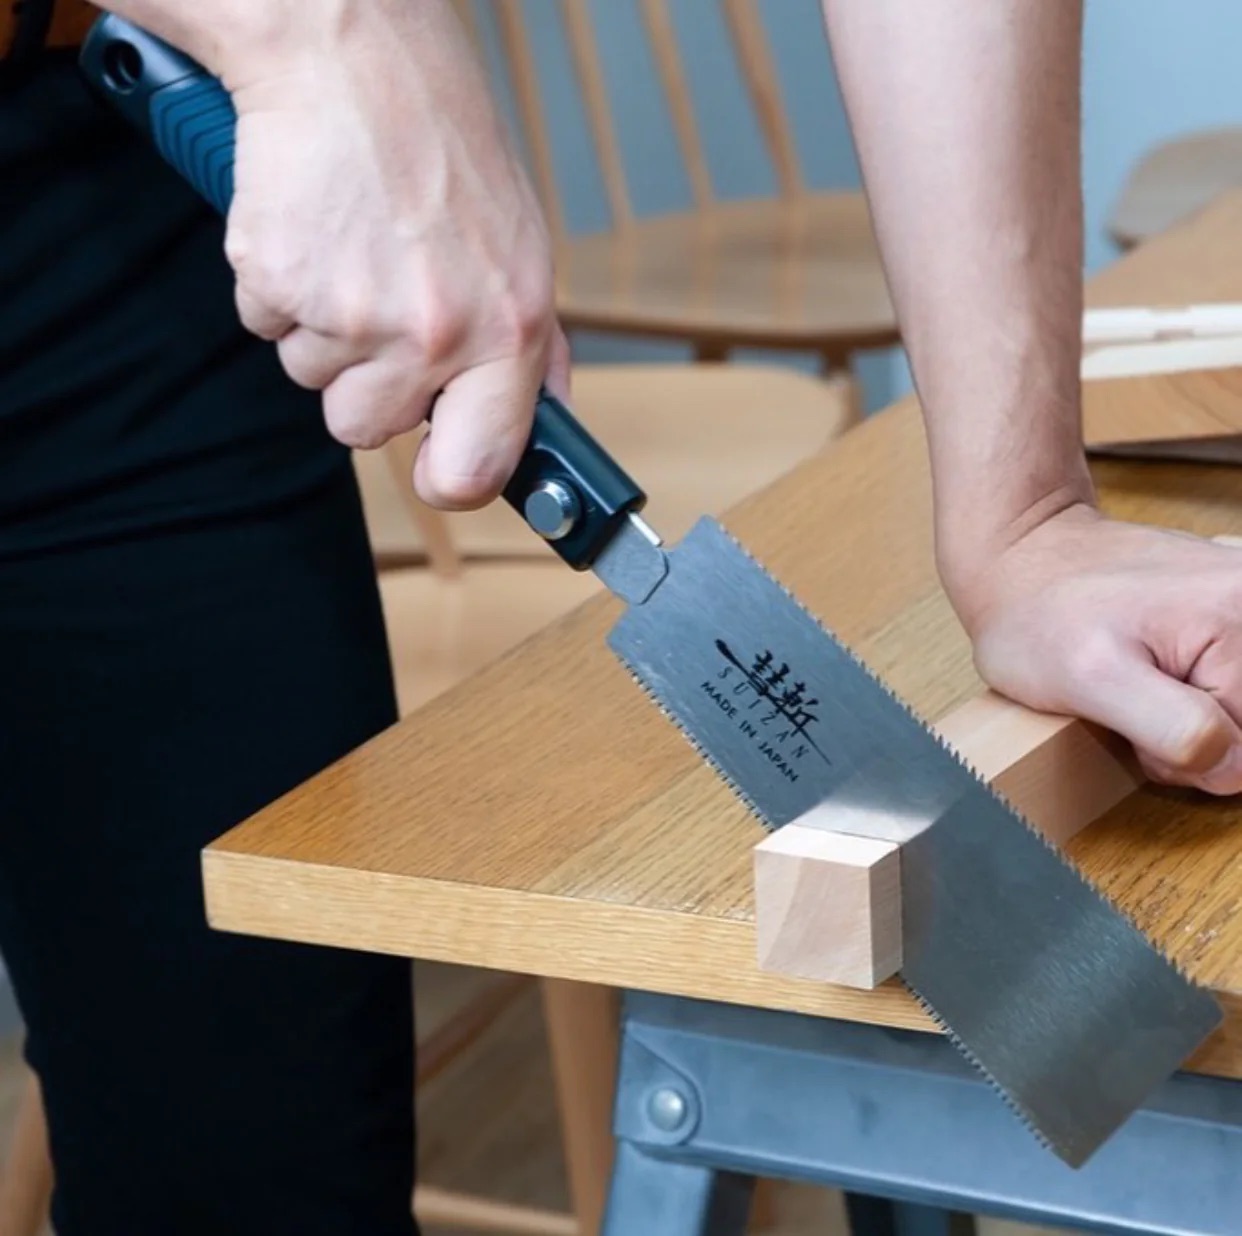
- Hand saw: A hand saw is necessary for making the initial cuts to define the boundaries of your wood channel. Depending on the depth and width of the channel, choose a backsaw or dovetail saw for better control.
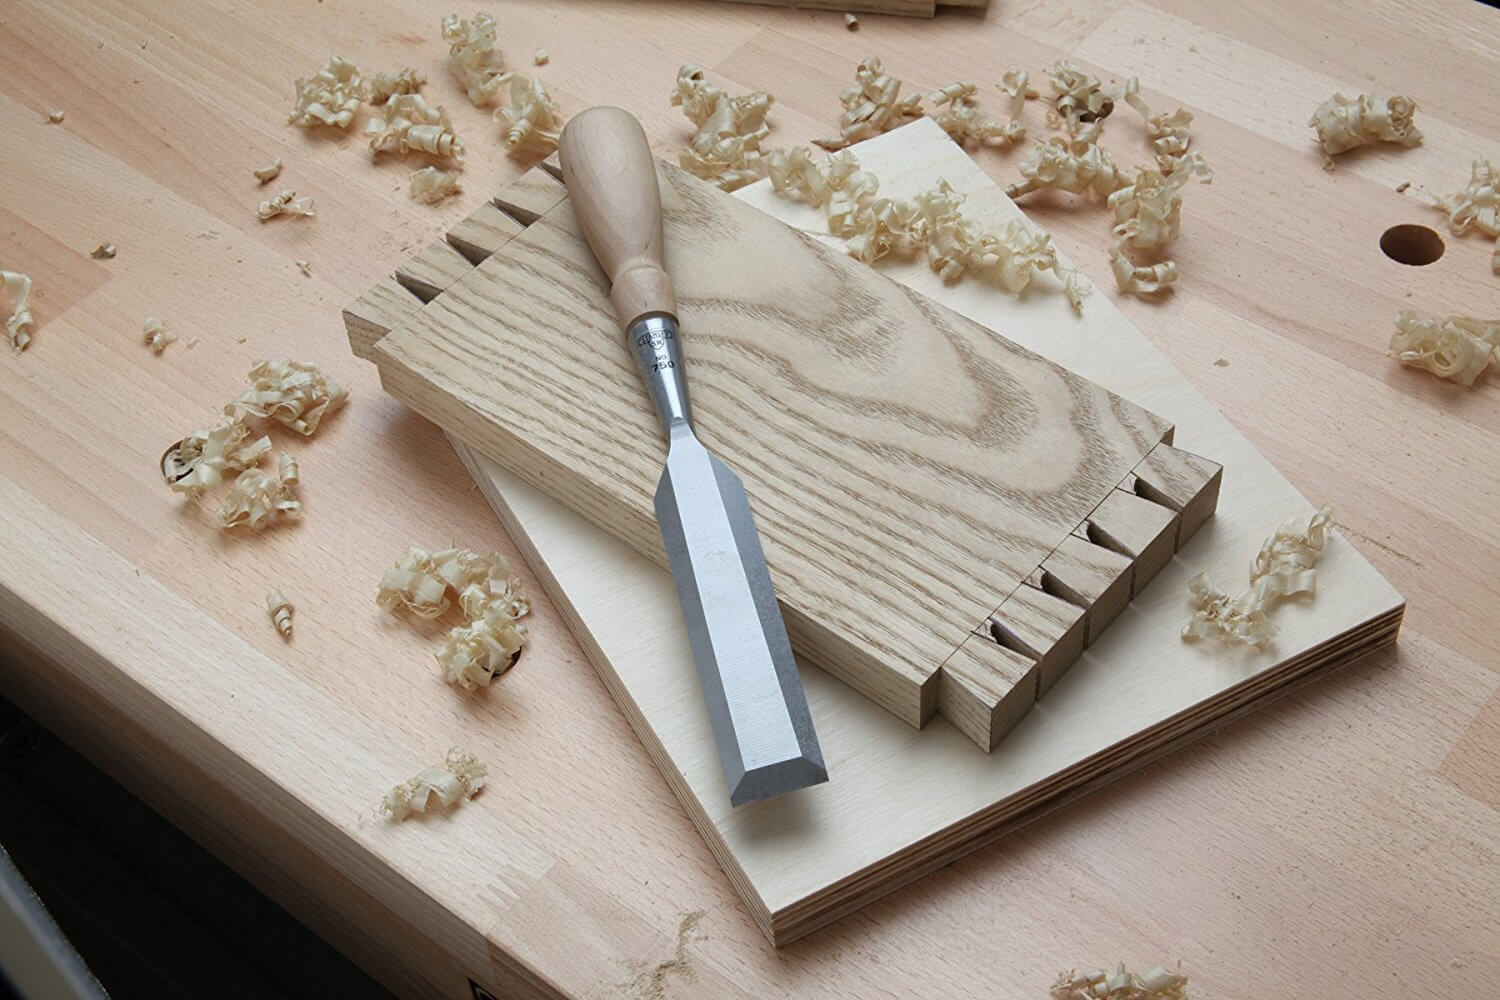
- Chisel set: Chisels are indispensable when it comes to removing excess wood and shaping the wood channel. Make sure you have a set with different sizes to accommodate the dimensions of the channel you are working on.
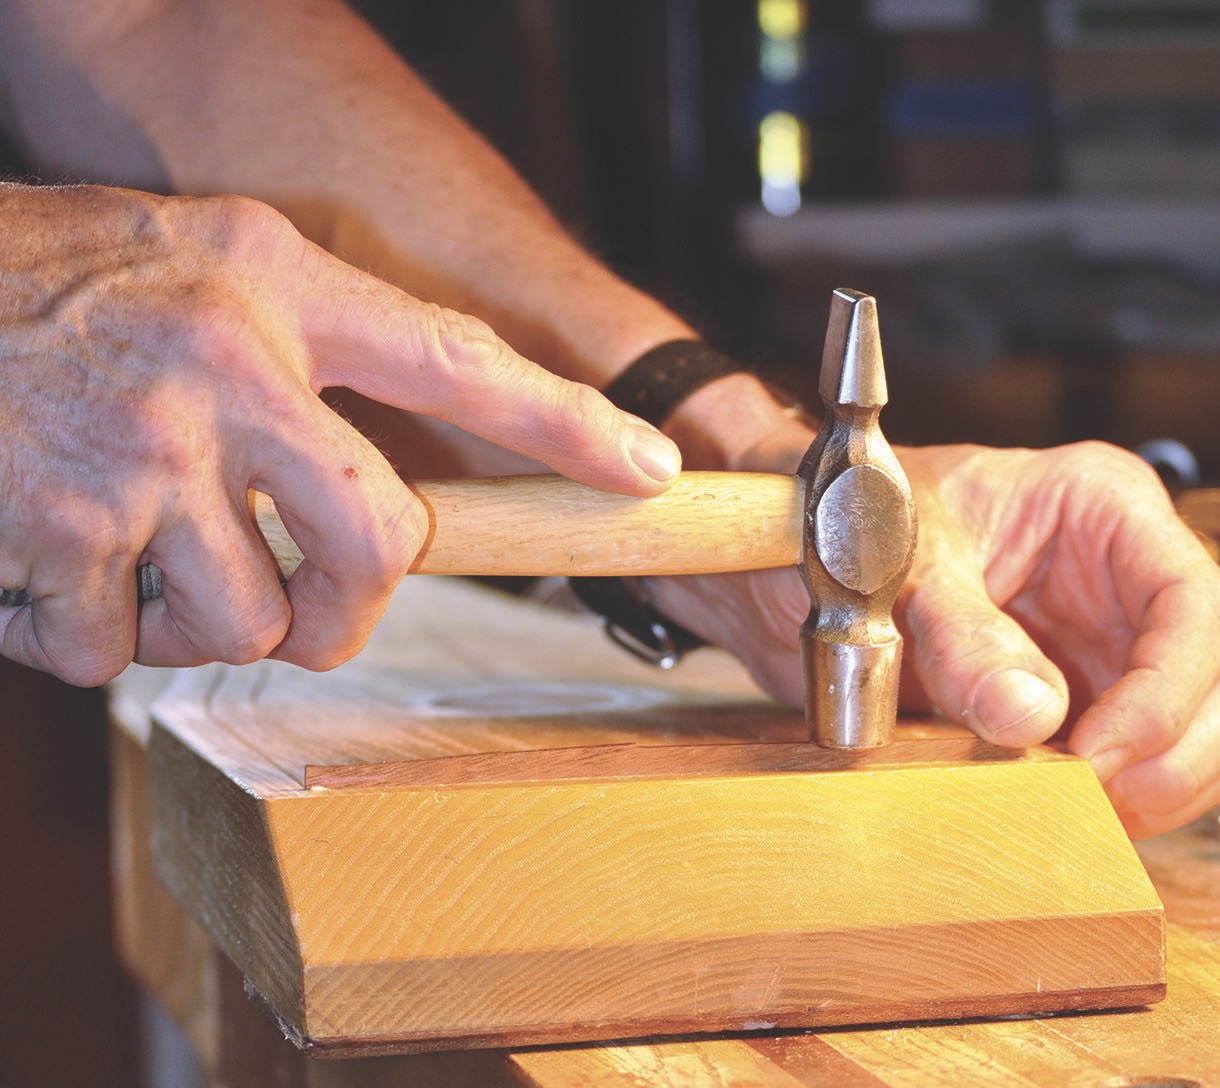
- Mallet or hammer: A mallet or hammer is used to tap the chisel and drive it into the wood. Make sure to use a wooden mallet or a soft-faced hammer to avoid damaging the chisel.
- Wood file or rasp: After making the initial cuts with the hand saw, a wood file or rasp will help refine the shape of the channel. These tools are used to remove rough edges and smooth out any imperfections in the wood.
- Sanding block or sandpaper: To achieve a smooth and polished finish, you will need a sanding block or sandpaper. Start with a coarse grit and gradually move to finer grits for a flawless result.
Once you have gathered these tools and materials, you are ready to proceed with cutting wood channels using hand tools. In the following steps, we will guide you through the process, ensuring that you achieve professional-looking channels in your woodworking projects.
Step 1: Marking the channel
The first step in cutting a wood channel with hand tools is to mark the dimensions of the channel on your piece of wood. This step is crucial in ensuring that your channel is straight, even, and meets the desired specifications.
Start by measuring and marking the width and depth of the channel using a marking gauge or ruler. With the marking gauge, adjust the desired width and lock it in place. Then, run the gauge along the edge of the wood to create a parallel line. Repeat this process on the opposite edge of the wood.
Next, use a marking knife or a sharp pencil to mark the boundaries of the channel. Make sure to apply enough pressure to create a visible line without damaging the wood fibers. Double-check your measurements and use a square to ensure that the lines are perpendicular to the wood’s surface.
If you are working on a curved channel, use a flexible template or a series of smaller straight lines to mark the curve accurately. Take your time during this step to ensure precise markings, as they will serve as your guide throughout the cutting process.
Once you have marked the dimensions of the channel, move on to the next step of preparing the wood for cutting.
Step 2: Preparing the wood
After marking the dimensions of the wood channel, the next step is to prepare the wood for cutting. This involves securing the wood and creating a clear work area to ensure safe and accurate cutting.
Start by clamping the piece of wood securely to your workbench. This will prevent the wood from shifting or moving during the cutting process, ensuring that your channels are straight and even.
Before proceeding, make sure that your work area is well-lit and free from any obstacles that may hinder your movements. Clear away any sawdust or debris to maintain a clean workspace and prevent any accidental slips.
Additionally, it is essential to wear appropriate safety gear, such as safety glasses and ear protection, to protect yourself from any potential hazards. Remember, safety should always be a top priority when working with hand tools.
Once you have secured the wood and prepared your work area, you’re ready to move on to the next step of making the initial cuts for the wood channel.
Step 3: Making initial cuts
With the wood securely clamped and the work area prepared, it’s time to make the initial cuts for the wood channel. These cuts will define the boundaries of the channel, creating a guide for the subsequent carving and shaping process.
Begin by aligning your hand saw with one of the marked lines. Hold the saw at a slight angle, with the teeth resting on the waste side of the line. Apply gentle downward pressure and start sawing back and forth using long, smooth strokes. Take your time to ensure a steady and controlled movement.
Continue cutting along the marked line until you have reached the desired depth of the channel. Be careful not to cut beyond the marked boundaries, as this can result in irreparable damage to your project.
Once you have completed one side of the channel, switch to the other side and repeat the process. Remember to maintain a steady hand and keep the saw aligned with the marked line.
After making the initial cuts, take a moment to evaluate the depth and width of the channel. Use a chisel to remove any excess wood, creating a clean and defined channel. Be careful to only remove small amounts of wood at a time, checking frequently to ensure that you do not go beyond the intended dimensions.
Once you are satisfied with the initial cuts and the removal of excess wood, it’s time to move on to the next step of removing any remaining wood and refining the shape of the channel.
When cutting wood channel with hand tools, make sure to use a sharp and properly set saw to ensure clean and accurate cuts. Additionally, mark the cut line clearly and use a guide to keep the saw on track.
Read more: How To Cut Miters With Hand Tools
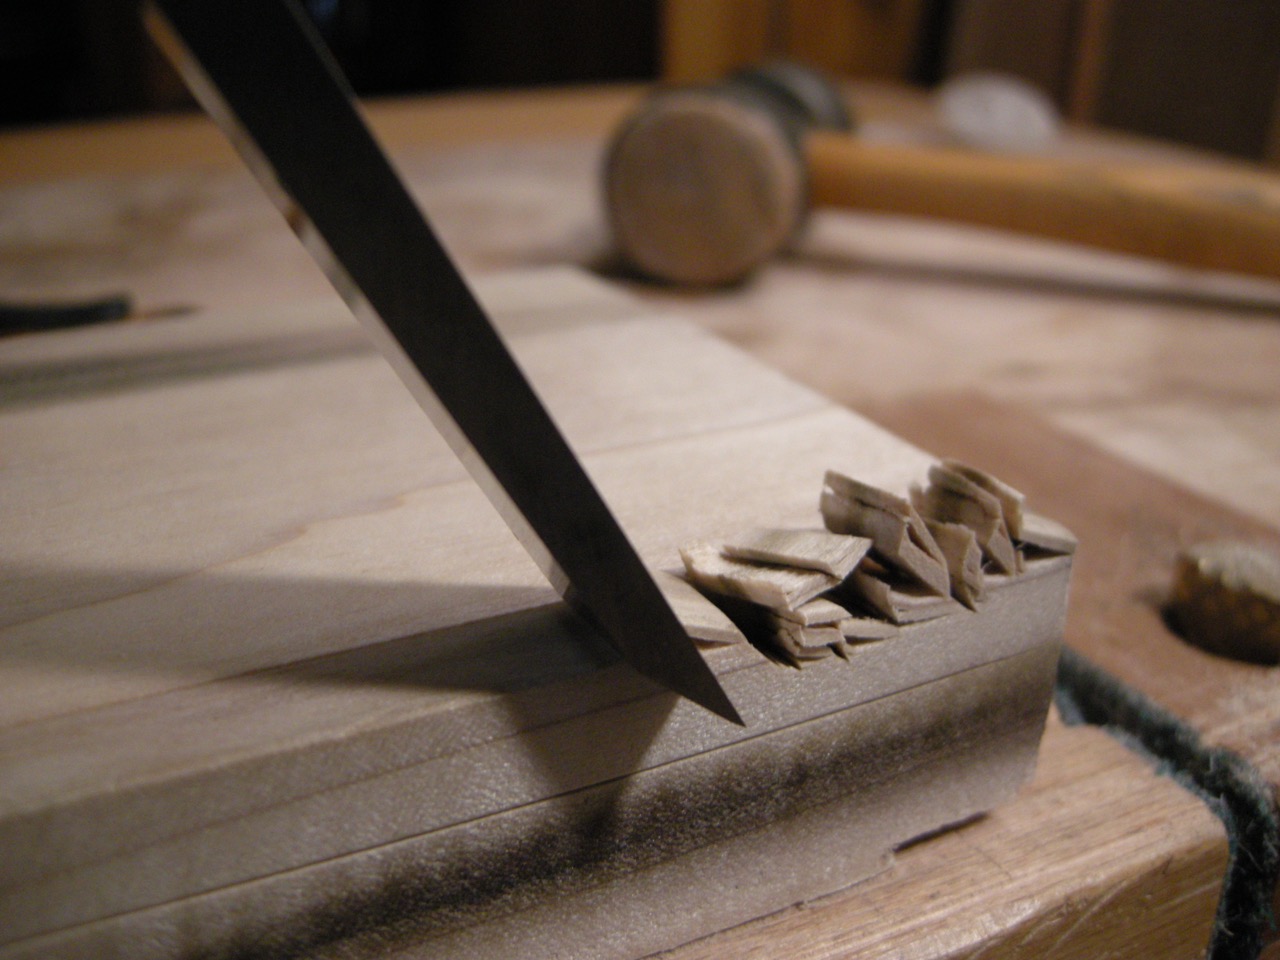
Step 4: Removing excess wood
After making the initial cuts for the wood channel, the next step is to remove any excess wood and create a clean and even channel. This step ensures that the final result is both visually appealing and functionally sound.
Start by using a chisel to carefully remove the remaining wood within the boundaries of the channel. Use a mallet or hammer to tap the chisel gently, driving it into the wood and gradually removing the excess material.
Work slowly and systematically, taking care to remove small amounts of wood at a time. This will help maintain control and prevent any accidental damage to the channel or surrounding areas of the piece.
If you are working on a curved channel, use a narrower chisel or a gouge to follow the contour of the curve accurately. Take your time to ensure a smooth and consistent removal of wood, paying attention to maintaining the desired width and depth of the channel.
As you progress, periodically check the depth and width of the channel using a combination of the marking gauge, ruler, and visual inspection. Adjust your techniques as needed to ensure that the channel meets your desired specifications.
Pay special attention to the corners and edges of the channel. Use the corner of a chisel or a small file to square up the corners and refine the edges. This will give your wood channel a professional and polished appearance.
Once you have removed all excess wood and achieved a clean and smooth channel, it’s time to move on to the next step of shaping the channel to perfection.
Step 5: Shaping the channel
After removing the excess wood from the channel, the next step is to shape it to the desired form. This step involves refining the edges, smoothing out any rough surfaces, and achieving the final shape of the wood channel.
Start by using a wood file or rasp to shape the edges of the channel. File the edges with smooth, fluid strokes, gradually removing any imperfections and creating a clean and defined edge. Pay attention to the corners and curves, ensuring that they are smooth and consistent.
As you shape the channel, periodically check your progress using your markings as a guide. Pay attention to the dimensions, ensuring that the width and depth of the channel remain consistent. Adjust the shaping process as needed to achieve the desired specifications.
Once you are satisfied with the shape of the channel, switch to sandpaper or a sanding block to smooth out any rough surfaces. Begin with a coarse grit sandpaper to remove any tool marks or irregularities. Gradually work your way up to finer grits to achieve a smooth and polished finish.
When sanding, use either circular or linear motions, depending on the shape of the channel. Be sure to sand evenly and consistently to avoid creating any uneven spots. Take your time during this step to achieve a flawless surface.
After sanding, wipe the wood with a clean cloth to remove any dust. This will allow you to inspect the channel and make any final adjustments if necessary.
Once you are satisfied with the shape and smoothness of the wood channel, it’s time to move on to the final step: adding the finishing touches to your project.
Step 6: Finishing touches
After shaping the wood channel to perfection, the final step is to add the finishing touches that will enhance its appearance and protect the wood. This step involves applying a finish or sealant to the channel to bring out the natural beauty of the wood and provide long-lasting durability.
First, ensure that the wood is clean and free of any dust or debris. Use a brush or compressed air to remove any particles that may have accumulated during the shaping process.
Next, choose a suitable finish or sealant for your project. There are various options available, including oils, varnishes, stains, or wax. Consider the desired final look and the type of wood you are working with when making your selection.
If you choose to apply a clear finish, such as varnish or oil, use a brush or a lint-free cloth to evenly apply the finish to the entire wood surface, including the channel. Follow the manufacturer’s instructions for the specific product you are using to ensure proper application.
If you prefer to add color to the wood, consider using a stain. Apply the stain with a brush or cloth, working it into the wood grain and paying special attention to the channel. Wipe off any excess stain to achieve the desired shade, and allow the wood to dry completely before proceeding.
Once the finish or stain has dried, assess the overall appearance of the wood channel. If necessary, lightly sand the surface with a fine-grit sandpaper to smooth out any imperfections or raised fibers.
Finally, consider adding a protective layer of wax or polyurethane to safeguard the wood and enhance its longevity. Apply the wax or polyurethane following the manufacturer’s instructions, ensuring that it is evenly spread over the entire wood surface, including the channel.
After applying the finishing touches, allow the wood to dry or cure completely before handling or using it in your project. This will ensure that the finish is fully set and ready for use.
With the finishing touches complete, you have successfully cut and shaped a wood channel using hand tools. Take a step back and admire your craftsmanship, knowing that the channel you’ve created will add both functionality and beauty to your woodworking project.
Conclusion
Cutting wood channels with hand tools is a rewarding and skillful technique that allows you to achieve precise and customized results in your woodworking projects. By following the steps outlined in this article and using the recommended tools, you can create clean, even, and visually appealing channels that enhance the overall quality of your work.
Through careful marking, proper preparation, and precise cutting, you can establish the boundaries of the wood channel. Taking your time, removing excess wood, and shaping the channel with attention to detail will result in a polished and professional finish. Applying the right finish or sealant adds the final touch, protecting the wood and enhancing its natural beauty.
Remember, safety should always be a priority when working with hand tools. Wear appropriate protective gear, secure your workpiece, and maintain a clean and organized workspace to reduce the risk of accidents and ensure a successful project.
With practice and patience, cutting wood channels with hand tools will become a valuable skill in your woodworking repertoire. Whether you’re constructing furniture, creating decorative accents, or working on intricate designs, the ability to cut wood channels by hand will allow you to add a personal touch and create unique pieces that showcase your craftsmanship.
So, embrace the satisfaction and artistry of traditional woodworking techniques and start cutting wood channels with hand tools today. With dedication and practice, you’ll continue to refine your skills and achieve remarkable outcomes in your woodworking endeavors.
Frequently Asked Questions about How To Cut Wood Channel With Hand Tools
Was this page helpful?
At Storables.com, we guarantee accurate and reliable information. Our content, validated by Expert Board Contributors, is crafted following stringent Editorial Policies. We're committed to providing you with well-researched, expert-backed insights for all your informational needs.
0 thoughts on “How To Cut Wood Channel With Hand Tools”