Articles
How To Fix A Leaking Bathroom Sink Faucet
Modified: December 7, 2023
Learn how to fix a leaking bathroom sink faucet with our informative articles. Avoid costly repairs and save money with our step-by-step guides.
(Many of the links in this article redirect to a specific reviewed product. Your purchase of these products through affiliate links helps to generate commission for Storables.com, at no extra cost. Learn more)
Introduction
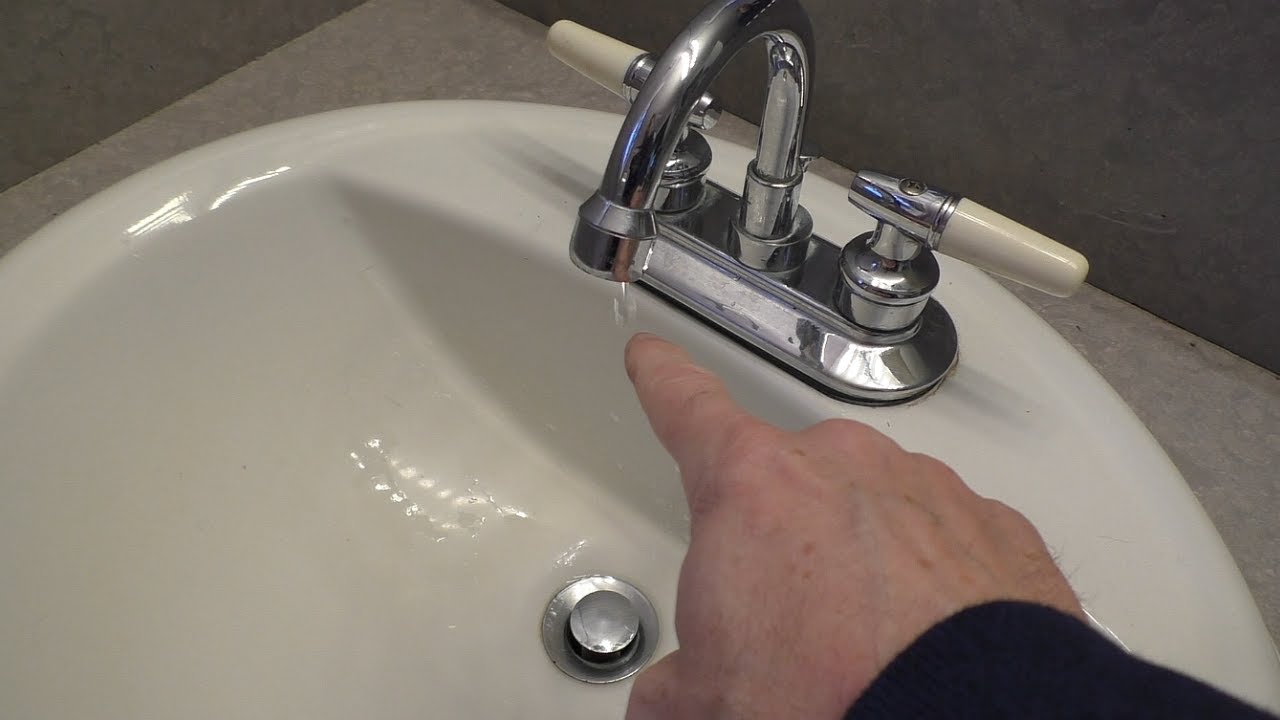
Having a leaking bathroom sink faucet can be frustrating and wasteful. Not only does it make a constant dripping sound, but it also wastes water and can lead to expensive water bills. Fortunately, you don’t have to call a plumber to fix the issue. With a few basic tools and some handy DIY skills, you can easily fix a leaking bathroom sink faucet yourself.
In this article, we will guide you through the step-by-step process of fixing a leaking bathroom sink faucet. From turning off the water supply to inspecting and replacing the faulty components, we will cover everything you need to know to successfully repair your faucet.
Before we begin, it’s important to note that the exact steps may vary depending on the type and model of your faucet. However, the general principles remain the same. If you’re unsure about any step, consult the manufacturer’s manual or seek professional assistance.
Now, let’s get started by gathering the necessary tools and materials.
Key Takeaways:
- Save money and water by fixing a leaking bathroom sink faucet yourself. Follow the step-by-step guide to inspect, replace, and reassemble components with basic tools and DIY skills.
- Prevent water damage and annoying drips by turning off the water supply and checking for leaks after reassembling the faucet. Take action to contribute to water conservation efforts.
Read more: How To Fix Leaking Faucet In Bathroom Sink
Tools and Materials Needed
Before you begin fixing the leaking bathroom sink faucet, make sure you have the following tools and materials:
- Adjustable wrench
- Needle-nose pliers
- Slip-joint pliers
- Screwdriver (flathead or Phillips, depending on your faucet)
- Replacement O-ring
- Replacement washer
- Replacement valve seat (if necessary)
- Teflon tape
- Clean cloth or towel
- Bucket or container
- Old toothbrush or soft brush
Having these tools and materials ready will ensure that you can complete the task efficiently and without any unnecessary interruptions. Now that you have everything you need, let’s move on to fixing the leaking bathroom sink faucet.
Step 1: Turn Off the Water Supply
Before you start working on the leaking bathroom sink faucet, it’s crucial to turn off the water supply to avoid any potential water damage or accidents. Follow these steps to shut off the water supply:
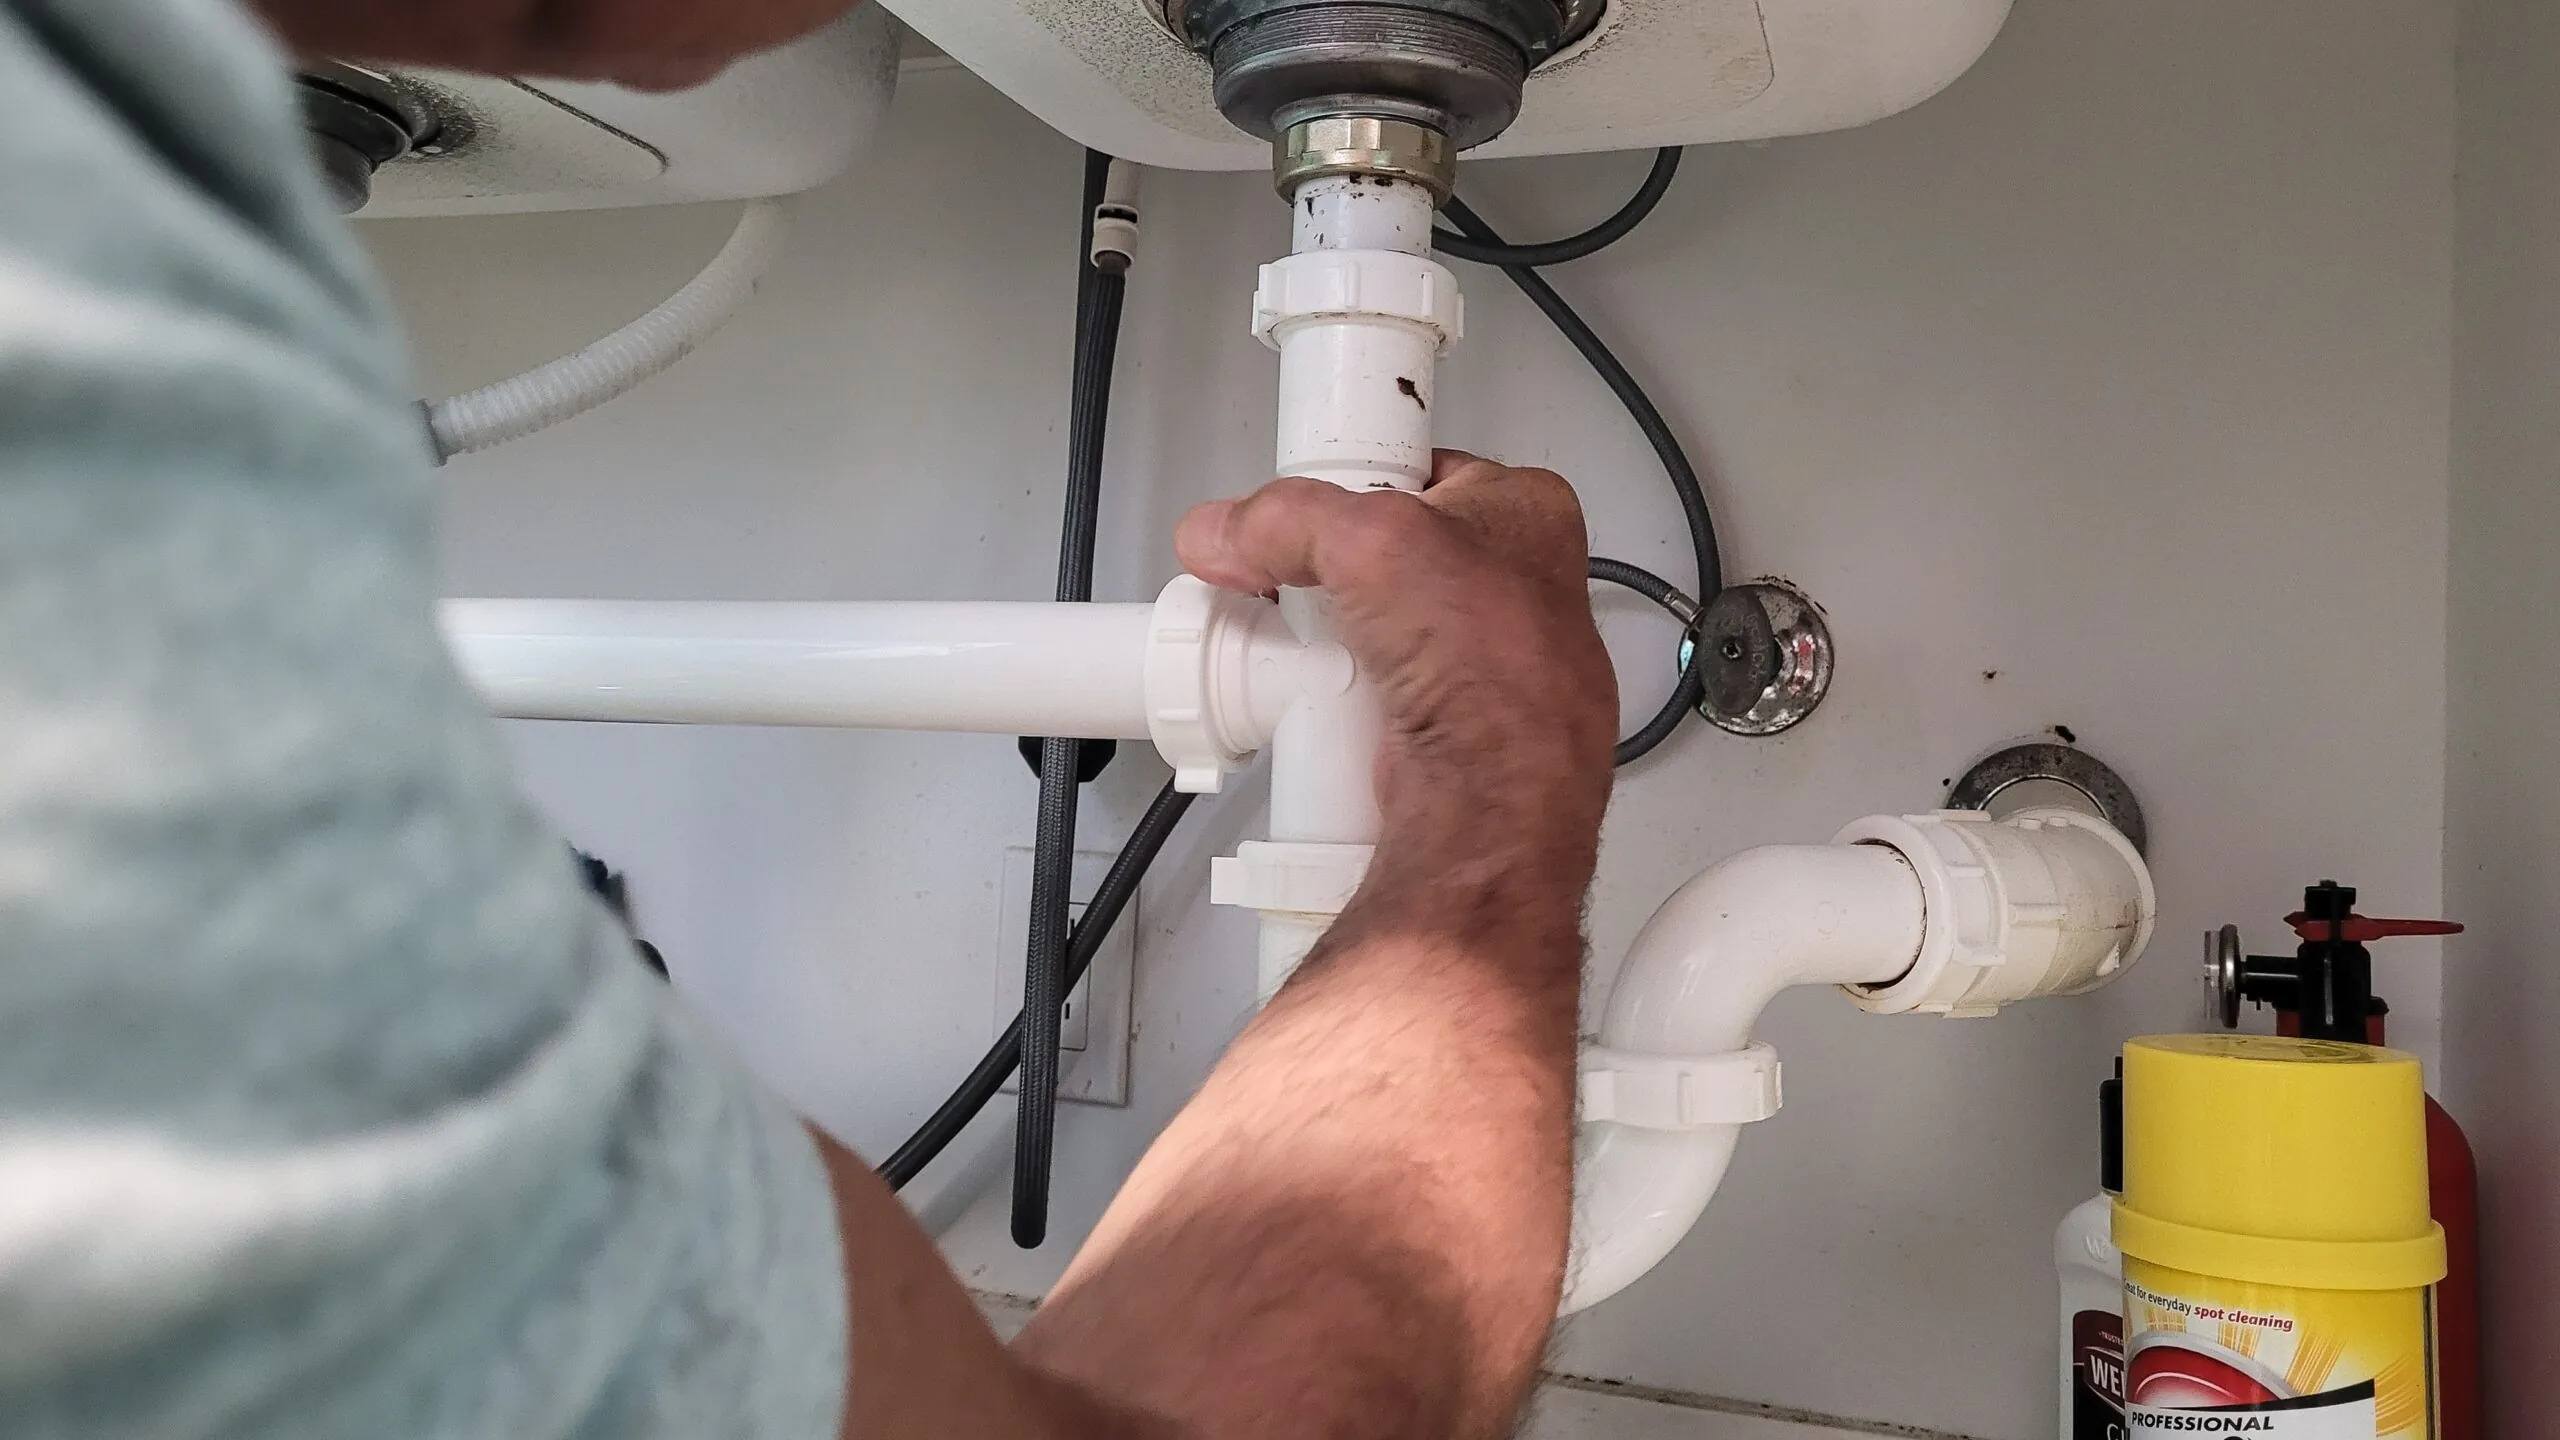
- Locate the water shut-off valve under the sink. It is usually located on the wall or the plumbing pipes.
- If you have separate hot and cold water valves, turn off both valves by rotating them clockwise.
- If you have a single lever faucet, there may be a shut-off valve near the faucet fixture. Rotate it clockwise to turn off the water supply.
- Once you have successfully shut off the water supply, turn on the faucet to release any remaining water pressure in the pipes. This step will prevent any surprises or water leakage during the repair process.
After completing this step, double-check to ensure that the water supply is completely turned off by trying to run the faucet. If no water comes out, you’re ready to move on to the next step.
Remember, safety should always be your top priority. If you encounter any difficulties in turning off the water supply or if you are unsure about the valves, it’s best to consult a professional plumber.
Step 2: Remove the Faucet Handle
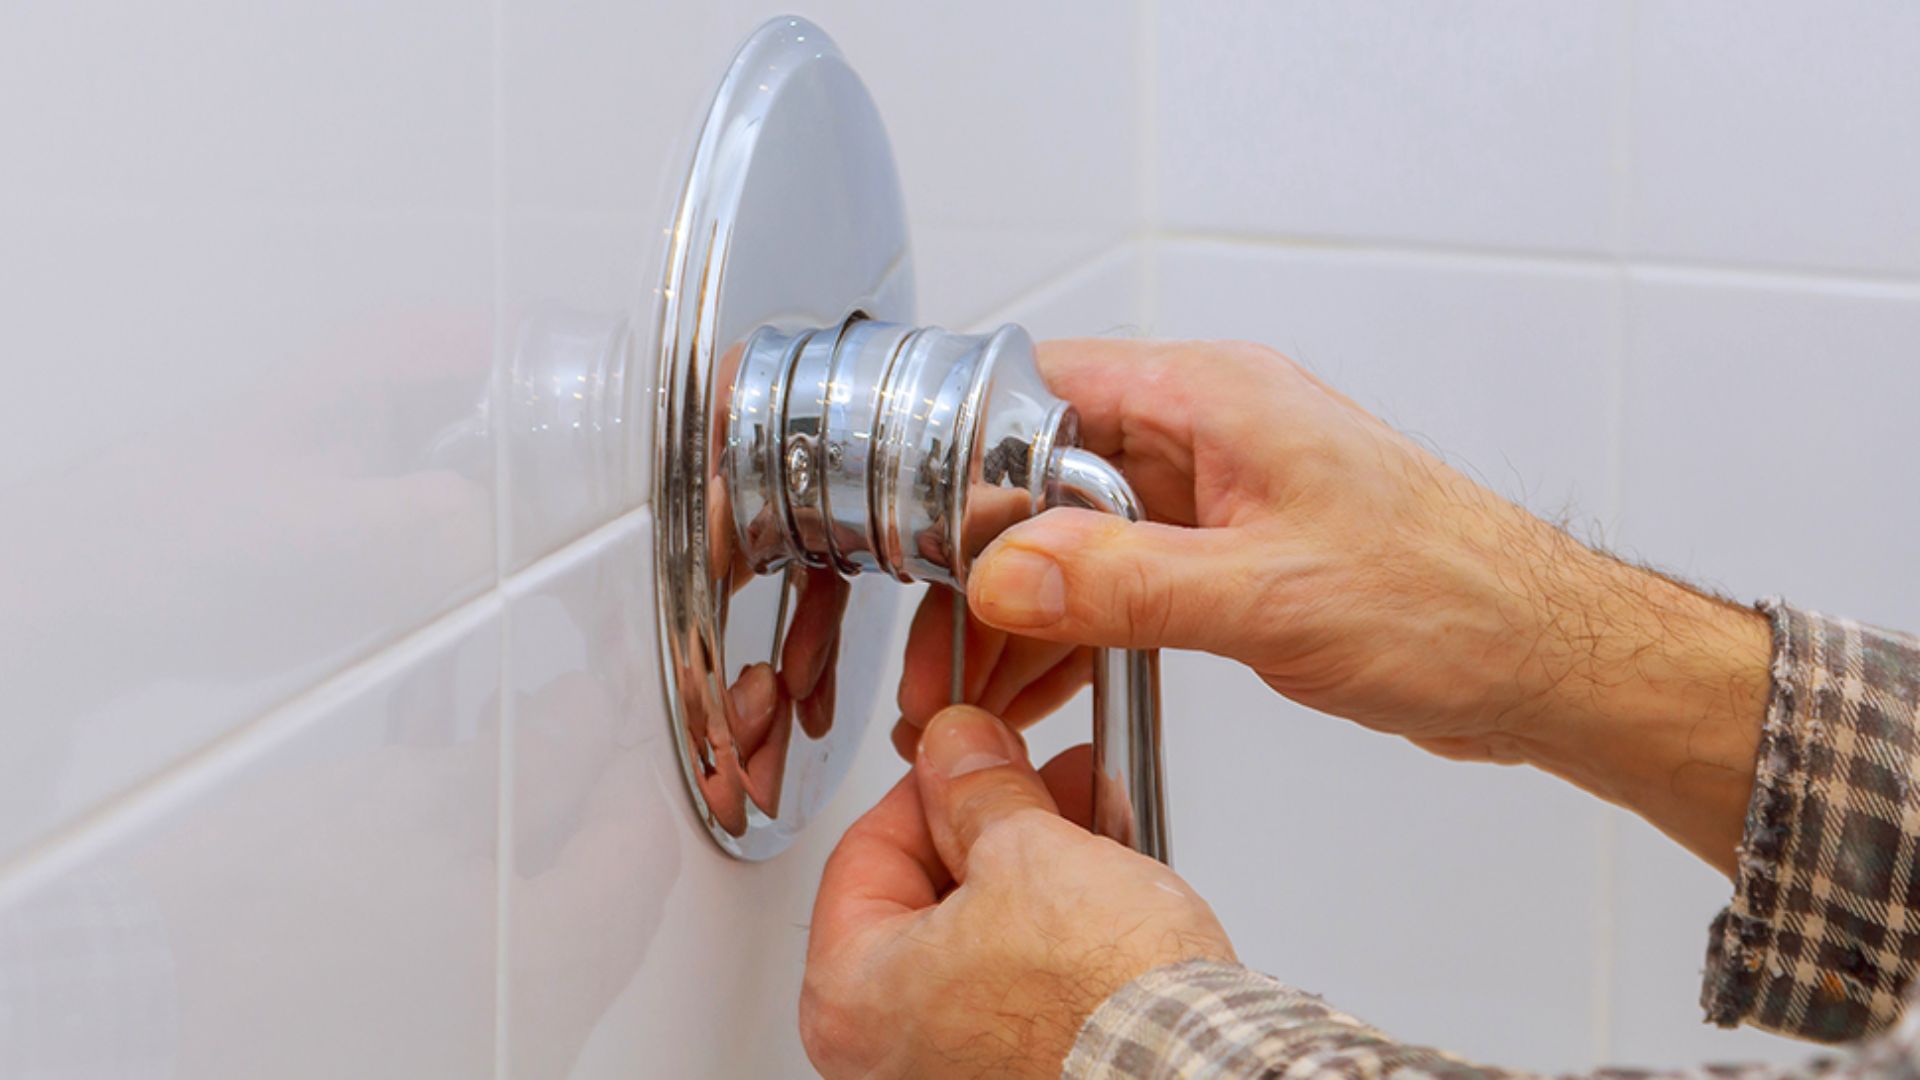
Now that the water supply is turned off, it’s time to remove the faucet handle to access the internal components. Follow these steps to remove the faucet handle:
- Locate the screw or cap on the top of the handle. This is usually found beneath a decorative cover or a small emblem.
- Use a screwdriver or an Allen wrench (depending on the type of screw) to carefully remove the screw from the handle. Set the screw aside in a safe place to prevent losing it.
- Once the screw is removed, gently lift the faucet handle upwards to detach it from the base.
- If the handle is difficult to remove, it may be secured by a small retaining nut beneath. In this case, use a wrench or pliers to loosen and remove the nut.
- Once the handle is detached, set it aside along with the screw and any accompanying parts.
With the faucet handle successfully removed, you now have access to the faucet’s internal components. You can proceed with inspecting and repairing the underlying issues causing the leak.
Remember to handle the faucet handle with care to avoid any damage. If you encounter any difficulties during this step, refer to the manufacturer’s manual or seek professional help.
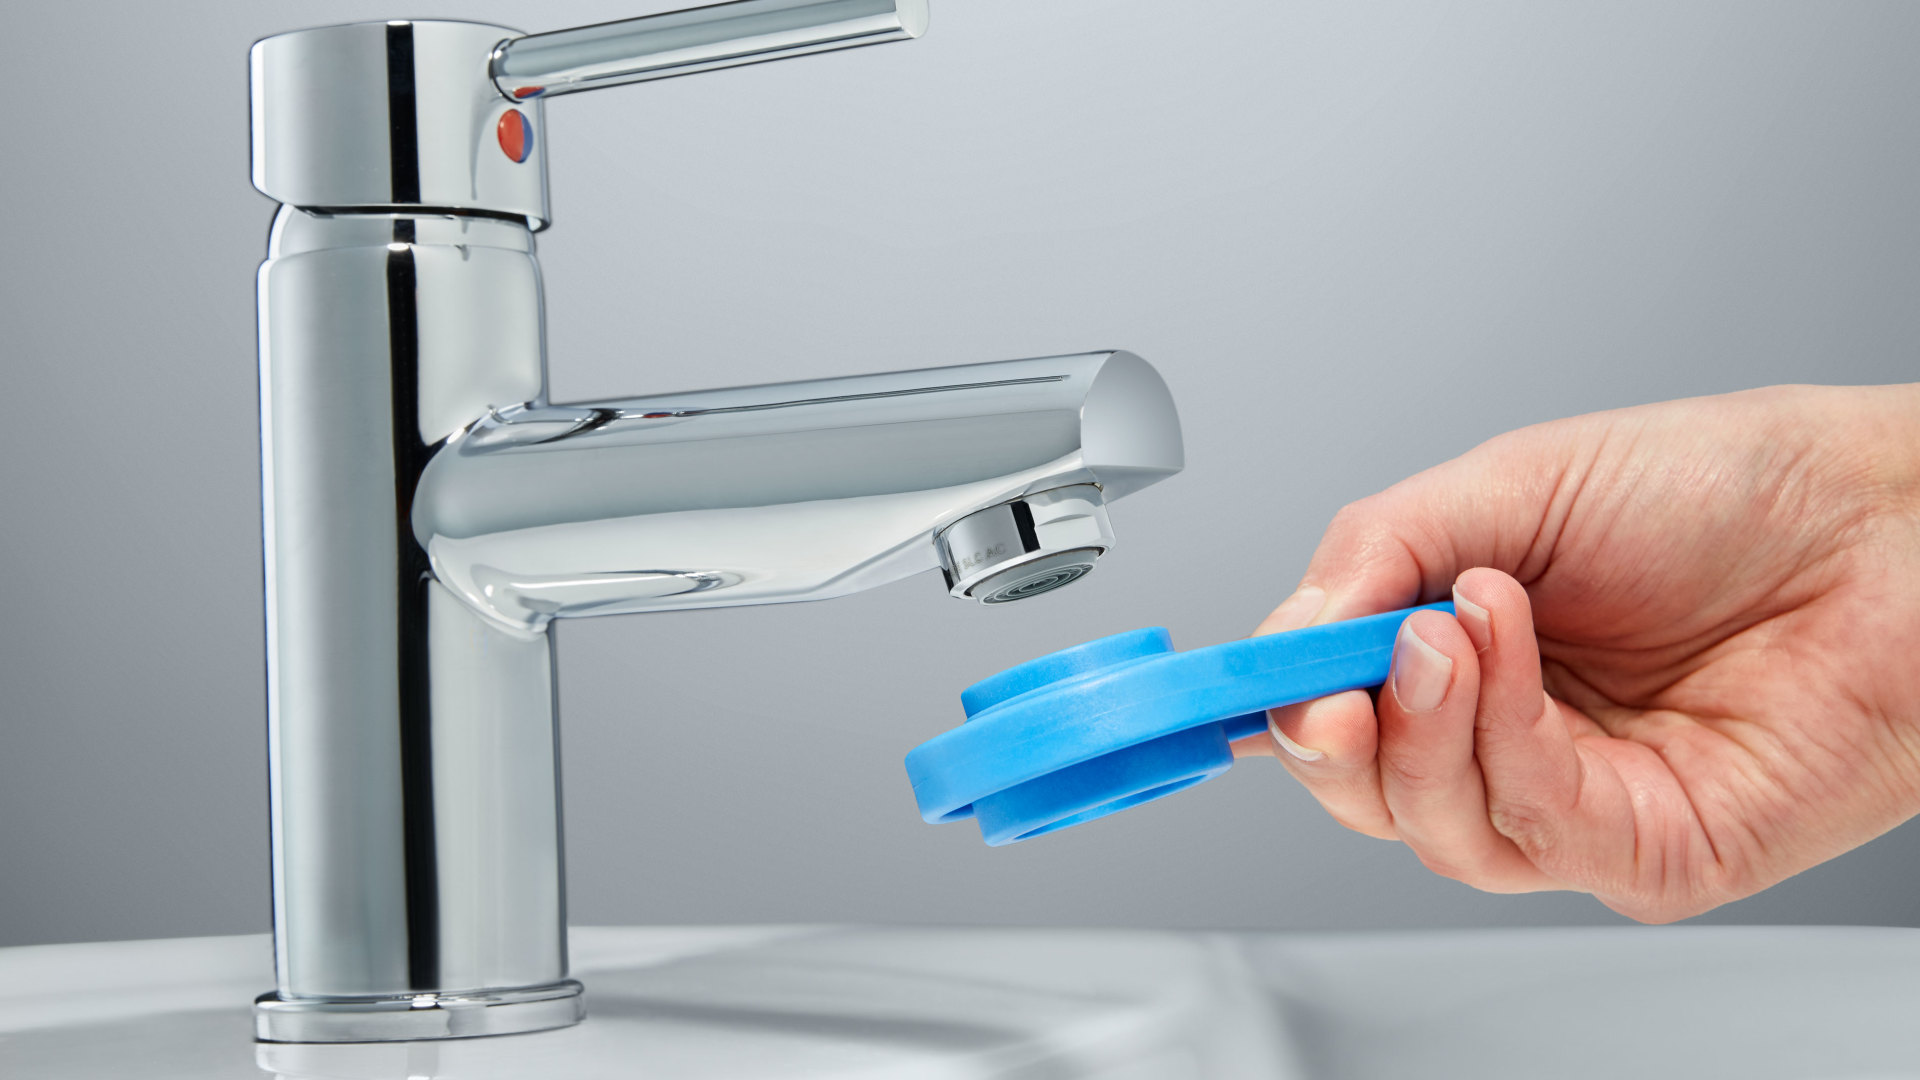
Step 3: Inspect and Replace the O-Ring
After removing the faucet handle, it’s time to inspect the O-ring, a common culprit for a leaking bathroom sink faucet. The O-ring is a small rubber ring that creates a watertight seal between the faucet body and the handle. Follow these steps to inspect and replace the O-ring:
- Use a clean cloth or towel to wipe away any dirt or debris from the area around the faucet body.
- Inspect the O-ring for signs of wear, damage, or deterioration. Look for cracks, tears, or deformation.
- If the O-ring appears worn or damaged, carefully remove it using a small screwdriver or your fingers.
- Take the replacement O-ring and compare it to the old one. Ensure that the size and shape match.
- If necessary, apply a small amount of silicone grease to lubricate the new O-ring. This will help with installation and provide a better seal.
- Slide the new O-ring onto the faucet body in the same position as the old one. Make sure it fits snugly.
Replacing the O-ring can often resolve leaking issues, as it restores the proper seal between the faucet body and the handle. However, if the O-ring appears to be intact or the leaking persists after replacing it, you may need to proceed to the next step.
Remember to handle the O-ring with care to avoid stretching, bending, or damaging it. If you are unsure about the installation process or encounter any difficulties, consult the manufacturer’s manual or seek professional assistance.
Check the faucet’s O-ring and seals for wear and tear. Replace them if necessary to stop the leak.
Read more: How To Fix A Leaking Sink Faucet
Step 4: Replace the Washer
If the leaking bathroom sink faucet persists after inspecting and replacing the O-ring, it’s time to move on to replacing the washer. The washer is another common component that can cause leaks. Follow these steps to replace the washer:
- Using a pair of pliers or a wrench, carefully unscrew the packing nut located just beneath the faucet handle.
- Once the packing nut is removed, you will see the stem and the washer at the bottom.
- Inspect the washer for signs of wear, cracks, or tears. If it appears worn or damaged, it needs to be replaced.
- Remove the old washer using a screwdriver or pliers. Be careful not to damage the stem while doing so.
- Take the replacement washer and make sure it matches the size and shape of the old one.
- Slide the new washer onto the stem, ensuring it fits snugly and securely.
- Tighten the packing nut back in place, ensuring it is adequately tightened but not overly tightened.
Replacing the washer can often resolve leaking issues, as it creates a proper seal between the stem and the faucet body. However, if the leaking persists after replacing the washer, you may need to proceed to the next step.
Remember to use caution and avoid over-tightening the packing nut, as it can result in further damage. If you are unsure about any step or encounter difficulties, consult the manufacturer’s manual or seek professional assistance.
Step 5: Check and Replace the Valve Seat
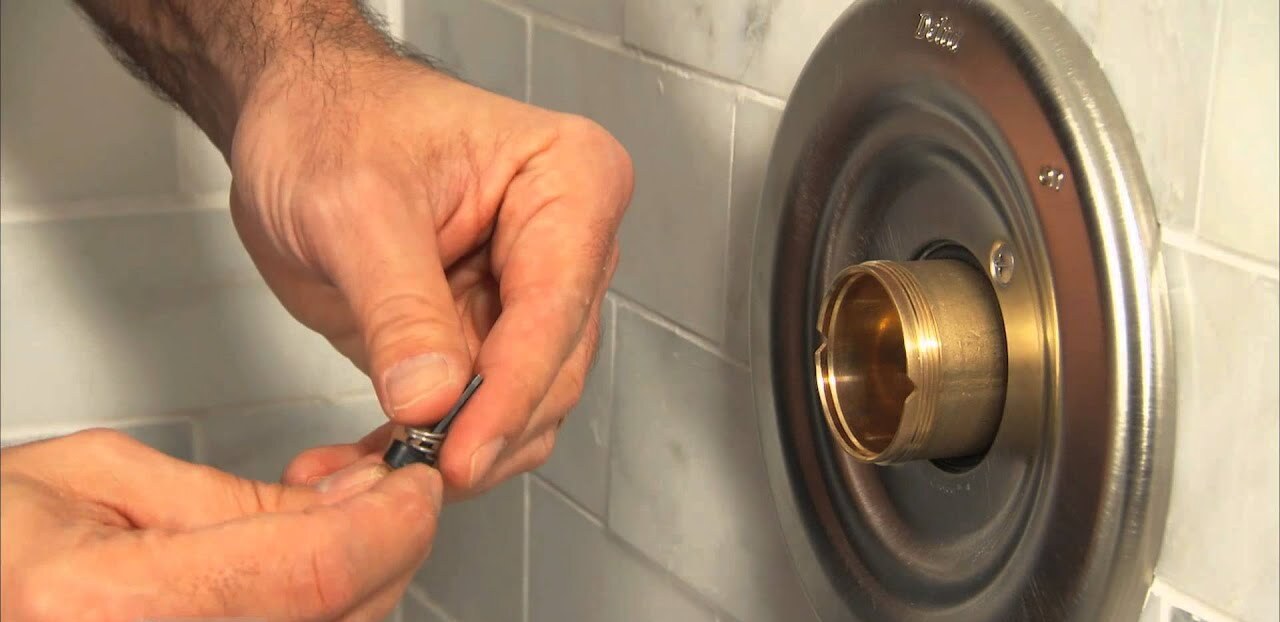
If the leaking bathroom sink faucet persists even after replacing the O-ring and washer, the issue might lie with the valve seat. The valve seat is the surface where the washer comes into contact to create a seal. Over time, the valve seat can become worn or corroded, leading to leaks. Follow these steps to check and replace the valve seat:
- Using a flashlight, inspect the valve seat for any signs of wear, corrosion, or damage. Look for rough spots, pitting, or discoloration.
- If the valve seat appears worn or damaged, it will need to be replaced. You can purchase a valve seat repair kit from a hardware store or plumbing supply shop.
- Follow the manufacturer’s instructions on how to remove and replace the valve seat. This may involve using a specialized tool or wrench.
- Clean the area around the valve seat using an old toothbrush or a soft brush, ensuring any debris or sediment is removed.
- Install the new valve seat according to the manufacturer’s instructions. Make sure it is properly aligned and securely tightened.
Replacing the valve seat can effectively fix leaks caused by a worn or damaged surface. However, if the leaking issue persists after replacing the valve seat, it may be necessary to seek professional assistance or consider replacing the entire faucet.
Remember to follow the manufacturer’s instructions and use caution while working with the valve seat. If you are unsure or encounter any difficulties, it is best to consult a professional plumber.
Step 6: Reassemble the Faucet
After inspecting and replacing the necessary components, it’s time to reassemble the faucet. Proper reassembly ensures that the faucet functions correctly and prevents any further leaks. Follow these steps to reassemble the faucet:
- Take the faucet handle and align it with the opening on the faucet base. Carefully insert the handle into place.
- If applicable, tighten any retaining nuts or screws to secure the handle in place. Use a screwdriver or wrench as needed.
- If you removed any decorative covers or emblems, reattach them to the faucet handle.
- Double-check that all components are securely in place and aligned correctly.
Once you have successfully reassembled the faucet, it’s time to move on to the final step.
Note that different faucet models may have varying reassembly processes. If you have any difficulty or are unsure about the correct reassembly steps, consult the manufacturer’s manual or seek professional assistance.
Step 7: Turn On the Water Supply
With the faucet reassembled, it’s time to turn on the water supply and test for any remaining leaks. Follow these steps to turn on the water supply:
- Locate the shut-off valve that you previously turned off to stop the water supply. It is typically located under the sink.
- Slowly turn the shut-off valve counterclockwise to gradually open the water supply.
- Observe the faucet for any signs of leaks as the water begins to flow. Pay attention to the base of the faucet, the handle, and any connection points.
- If there are no visible leaks, turn on the faucet to allow water to flow through it. Check for any leaks while the water is running.
- If you notice any leaks, turn off the water supply again and double-check the components you replaced. Ensure they are properly installed and tightened.
- If the leaks persist or you encounter any other issues, it may be best to seek professional assistance or consider replacing the faucet entirely.
Once you have confirmed that there are no leaks and the faucet functions properly, congratulations! You have successfully repaired your leaking bathroom sink faucet.
Remember to take caution when working with plumbing and water supply. If you are unsure about any step or encounter difficulties, it is always advisable to consult a professional plumber.
Read more: How To Fix Leaking Sink
Conclusion
Fixing a leaking bathroom sink faucet is a doable task that can save you money and frustration. By following the step-by-step process outlined in this article, you can successfully repair your faucet and put an end to those annoying drips. Here’s a quick recap of the steps:
- Turn off the water supply to prevent any accidents or water damage.
- Remove the faucet handle to access the internal components.
- Inspect and replace the O-ring, which often causes leaks.
- Replace the washer, another common culprit for leaks.
- Check and replace the valve seat if necessary.
- Reassemble the faucet by aligning and securing the components.
- Turn on the water supply and check for any remaining leaks.
It’s important to note that while fixing the leaking bathroom sink faucet is relatively straightforward, it may require some basic tools, patience, and attention to detail. If you encounter any difficulties or are unsure about any step, it’s best to consult the manufacturer’s manual or seek professional assistance.
By taking the time to repair your faucet, you not only save money on potential plumber fees but also contribute to water conservation efforts. Remember, every drop counts. Even a small leak can waste a significant amount of water over time. So take action and fix that leaky faucet!
We hope this guide has been helpful in guiding you through the process of fixing a leaking bathroom sink faucet. If you have any further questions or need additional assistance, don’t hesitate to reach out to a professional plumber for expert advice.
Frequently Asked Questions about How To Fix A Leaking Bathroom Sink Faucet
Was this page helpful?
At Storables.com, we guarantee accurate and reliable information. Our content, validated by Expert Board Contributors, is crafted following stringent Editorial Policies. We're committed to providing you with well-researched, expert-backed insights for all your informational needs.


0 thoughts on “How To Fix A Leaking Bathroom Sink Faucet”