Articles
How To Fix An Outside Faucet
Modified: December 7, 2023
Learn how to fix your outside faucet with our helpful articles. Find step-by-step guides and troubleshooting tips to solve common faucet issues.
(Many of the links in this article redirect to a specific reviewed product. Your purchase of these products through affiliate links helps to generate commission for Storables.com, at no extra cost. Learn more)
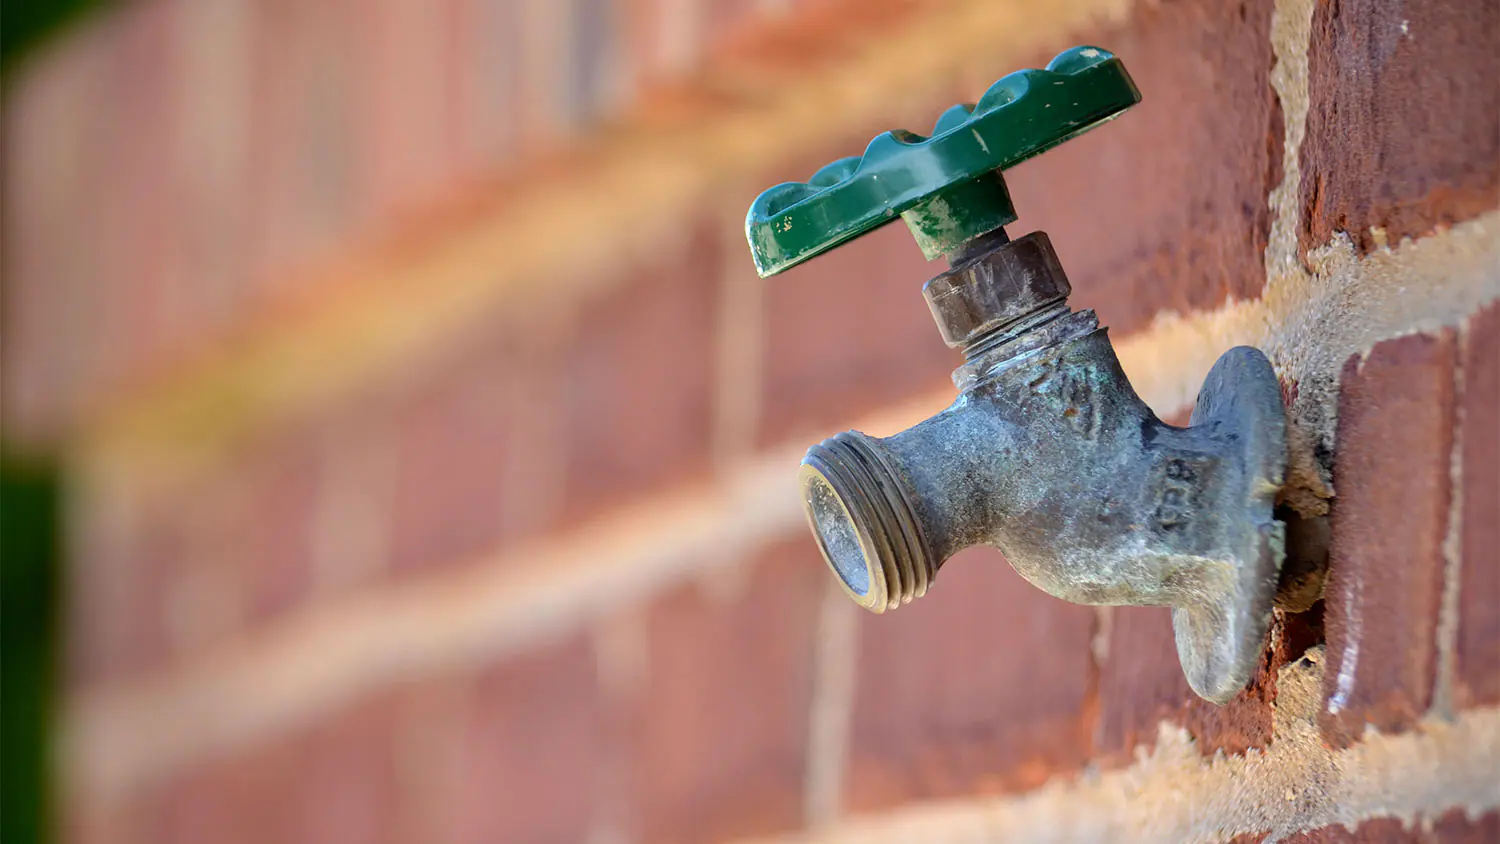
Introduction
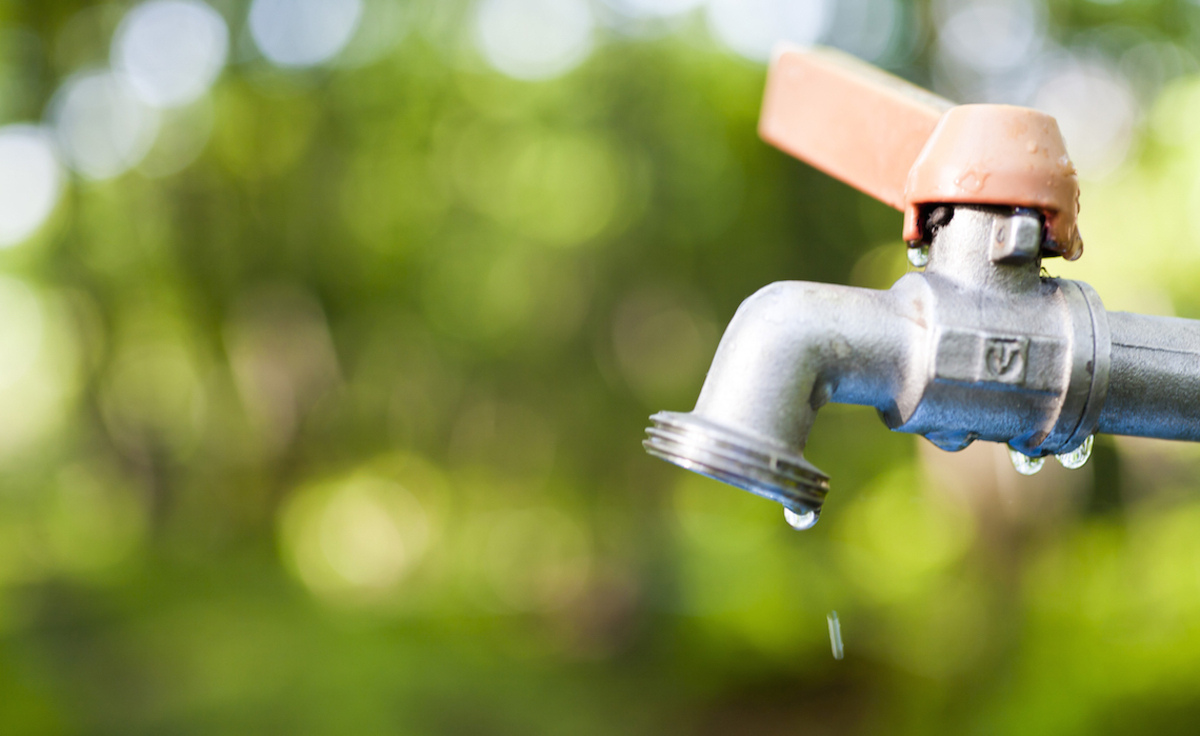
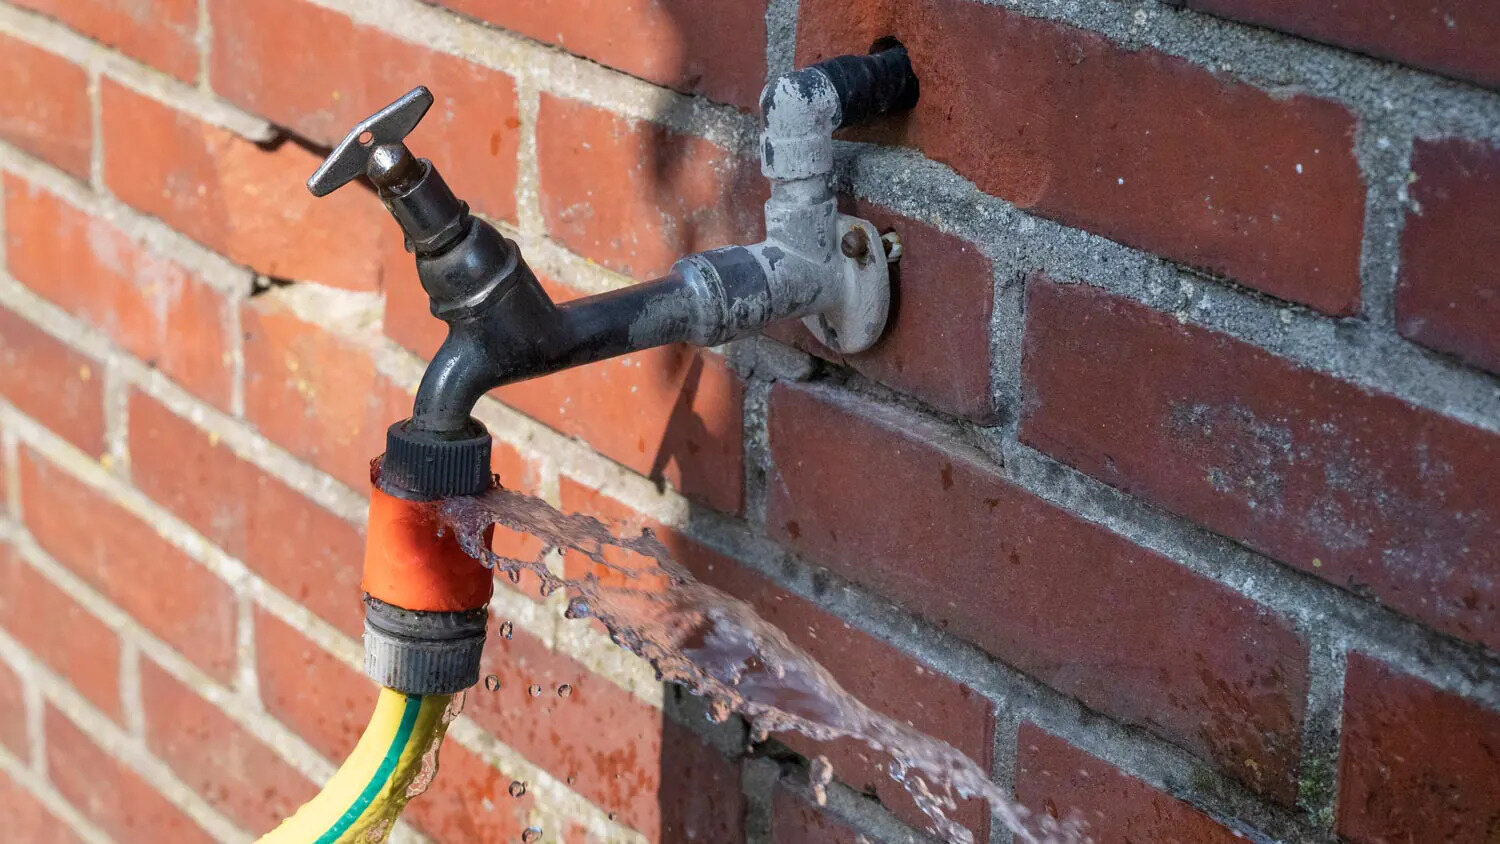
An outside faucet, also known as a hose bib or spigot, is an essential feature in any home. It allows you to access running water outdoors for various tasks such as watering your garden, cleaning your car, or filling up a pool. However, like any plumbing fixture, outside faucets can develop issues over time. Leaks, low water pressure, or even complete malfunctioning are common problems you may encounter.
But don’t worry! In this article, we will guide you through the process of fixing an outside faucet, step by step. By following these instructions, you can save money on hiring a plumber and have your faucet working perfectly again.
Before we begin, it’s important to note that the specific steps may vary depending on the type of outside faucet you have and the extent of the problem. It’s always recommended to consult the manufacturer’s instructions for your particular faucet model.
Now, let’s dive into the steps required to fix your outside faucet and ensure it’s ready for all your outdoor water needs!
Key Takeaways:
- Fixing an outside faucet is a manageable DIY task that can save you money on hiring a plumber. With the right tools and step-by-step guidance, you can successfully repair or replace your faucet and have it working perfectly again.
- Properly shutting off the water supply, draining the faucet, and testing the new installation are crucial steps in ensuring a successful repair. By following these steps, you can enjoy the convenience of a fully operational outdoor water source for all your outdoor water needs.
Read more: How To Insulate Outside Faucet
Step 1: Gather necessary tools and materials
Before you start working on fixing your outside faucet, it’s crucial to gather all the necessary tools and materials. This will ensure that you have everything on hand and can complete the task smoothly without interruptions. Here are the tools and materials you’ll need:
- Adjustable wrench
- Pipe wrench
- Phillips screwdriver
- Replacement faucet
- Teflon tape
- Plumber’s tape
- Silicone caulk
- Rag or towel
The adjustable wrench and pipe wrench are essential for loosening and tightening the fittings. The Phillips screwdriver will be required to remove any screws holding the faucet in place.
When choosing a replacement faucet, ensure that it matches the size and type of your existing faucet. Teflon tape and plumber’s tape are necessary for sealing the connections and preventing leaks. Silicone caulk will help create a watertight seal where the faucet meets the wall.
Lastly, have a rag or towel handy to wipe away any water that may spill during the process.
Once you have gathered all the tools and materials, you’re ready to move on to the next step!
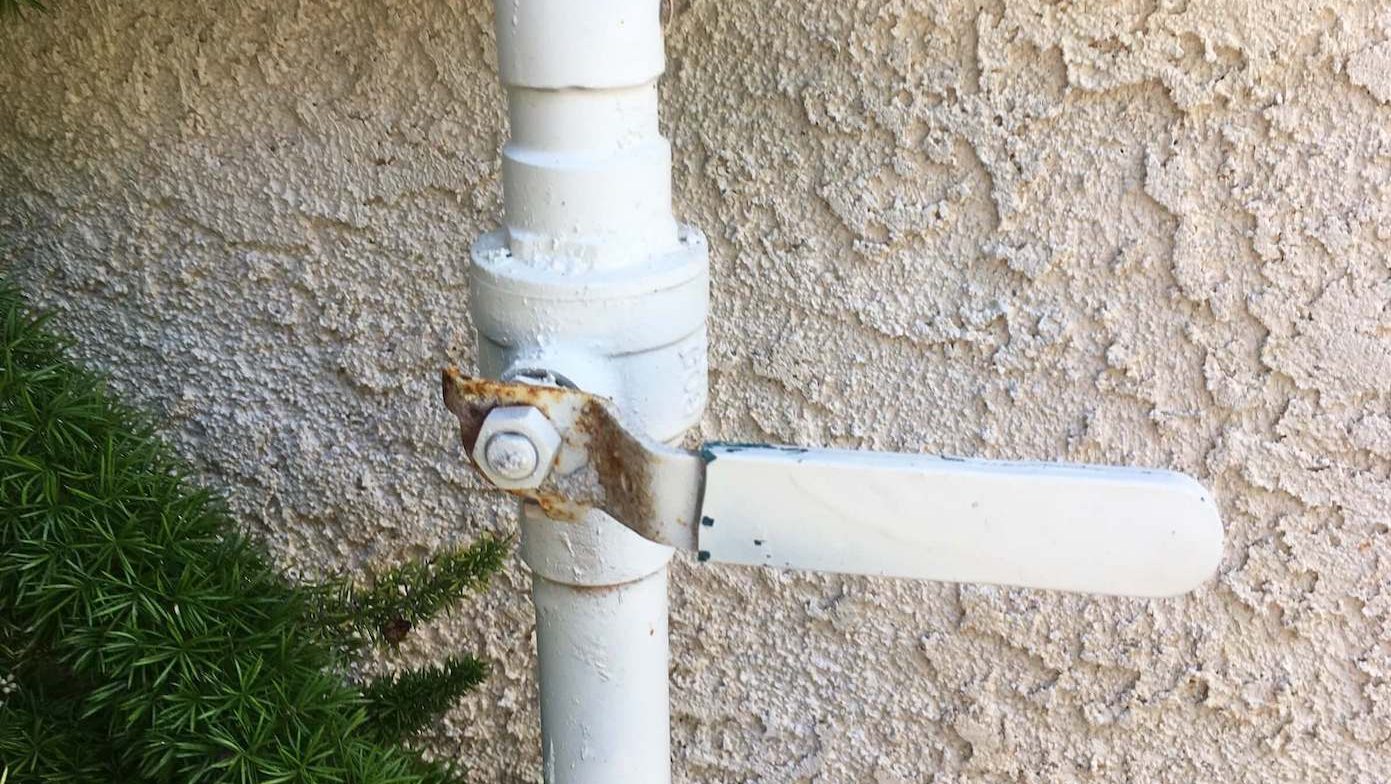
Step 2: Shut off the water supply
Before you can start working on your outside faucet, it’s important to shut off the water supply to that area. This will prevent any water from flowing and causing a mess while you make repairs or install a new faucet.
To shut off the water supply, locate the main water valve for your house. This valve is typically found in the basement, utility room, or near the water meter. Turn the valve clockwise until it is fully closed. This will stop the flow of water to all areas of your house, including the outside faucet.
If you have difficulty locating the main water valve, refer to your home’s plumbing system diagram or consult a professional plumber for assistance.
Once the water supply is shut off, it’s always a good idea to test the faucet to ensure that it is indeed in the closed position. Open the faucet and verify that no water is flowing. If any water comes out, double-check that the water supply is completely turned off.
Remember, safety should be your top priority. Turning off the water supply before working on your outside faucet will prevent any accidental flooding or water damage.
With the water supply shut off, you’re now ready to proceed to the next step of fixing your outside faucet!
Step 3: Drain the faucet
After shutting off the water supply, the next step is to drain any remaining water from the outside faucet. This step is essential to prevent water from spilling and causing a mess during the repair process.
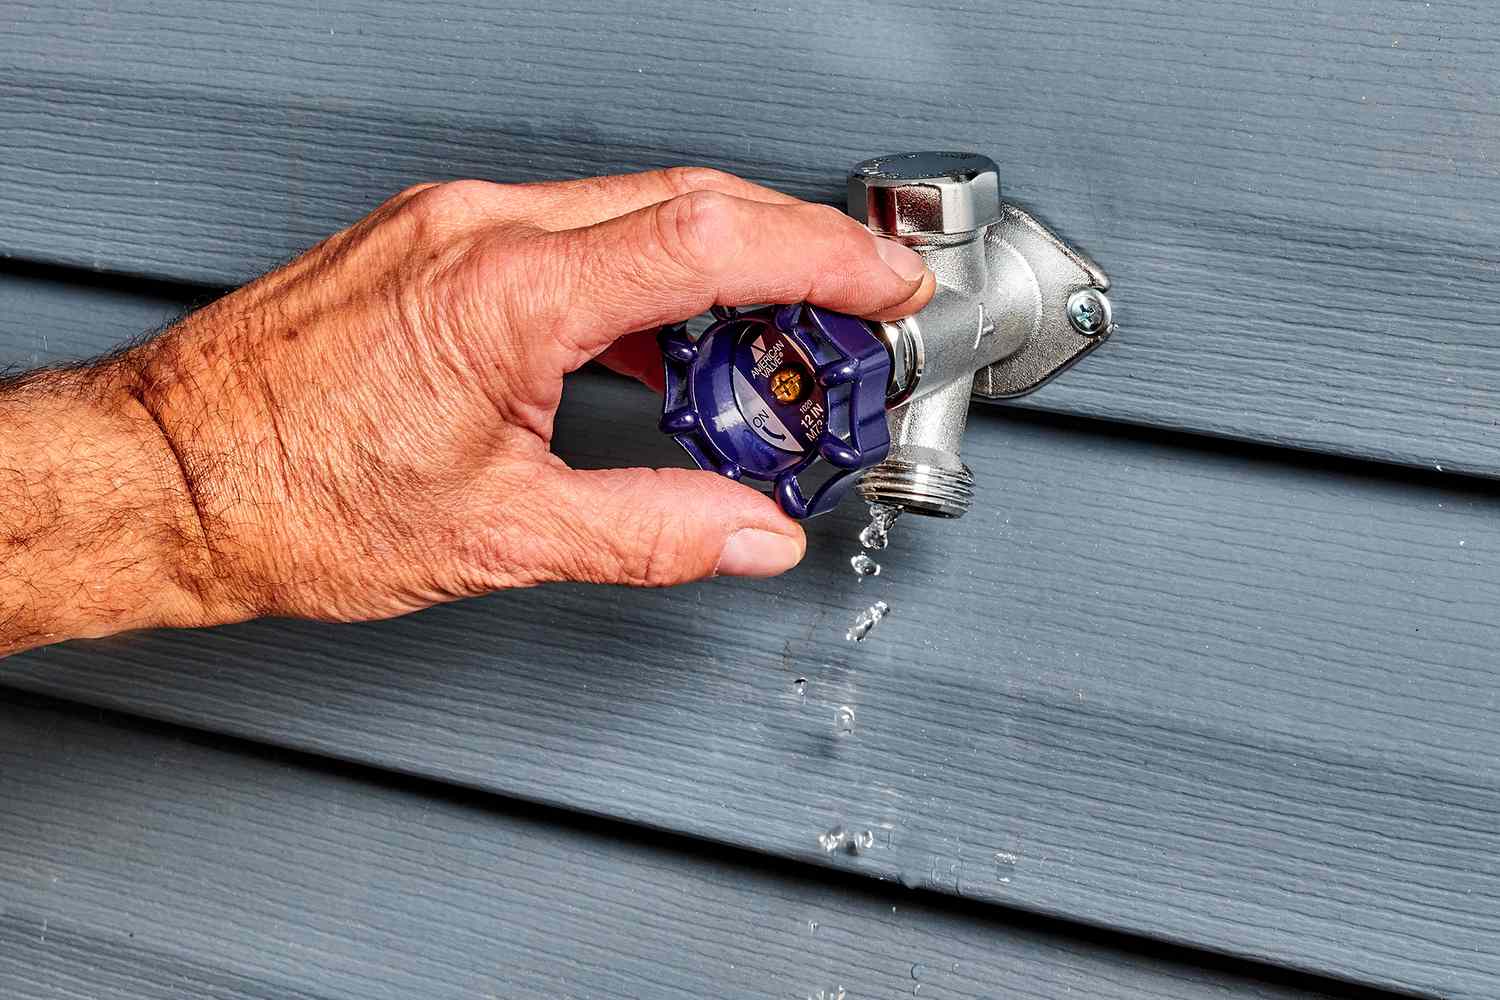
To drain the faucet, start by opening the handle or valve of the outside faucet. This will allow any water trapped within the pipe to flow out. You may notice a small amount of water coming out initially, but it should gradually stop flowing as the pipe empties.
If the faucet has a vacuum breaker or backflow preventer, you may need to unscrew it using the appropriate wrench or pliers. This will ensure that all water is drained from the system.
Once you’ve opened the faucet and ensured that no water is flowing, it’s important to close the faucet tightly to prevent any water from entering back into the pipe. This will help maintain a dry working environment as you proceed with the repair.
If there is any residual water left in the faucet or pipe, use a rag or towel to soak up the remaining moisture. It’s important to have a dry working area before moving on to the next step.
By draining the faucet, you have successfully prepared it for the repair process. With the water removed, you can now move on to the next step of fixing your outside faucet!
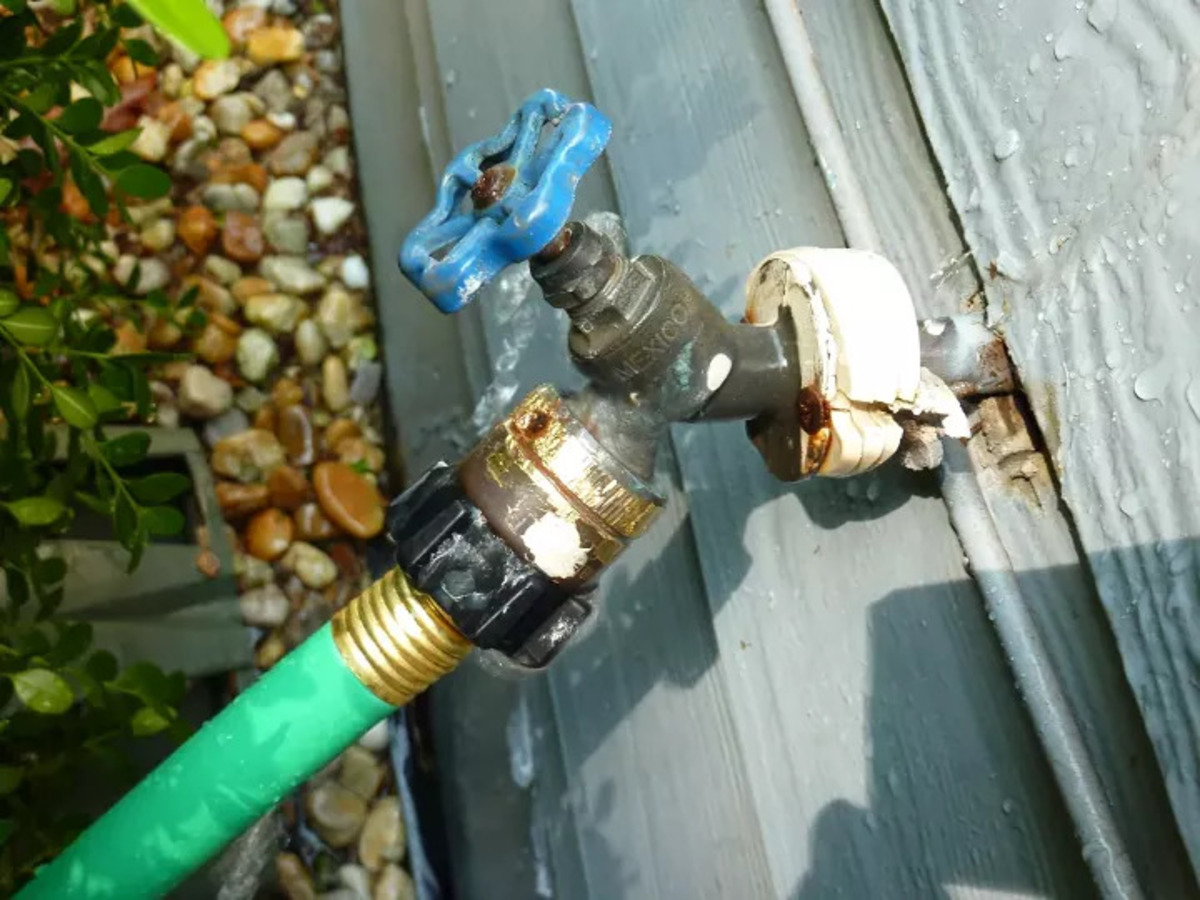
Step 4: Remove the old faucet
With the water drained and the area prepared, it’s time to remove the old outside faucet. This step will involve disconnecting the various components of the faucet, such as the handle, valve, and spout, from the water supply pipe.
Follow these steps to remove the old faucet:
- Start by removing any screws or fasteners that may be securing the faucet to the wall or mounting plate. Use a screwdriver or appropriate tool to carefully loosen and remove these fasteners.
- Once the screws or fasteners are removed, gently pull the handle of the faucet away from the wall. This will reveal the valve or cartridge inside.
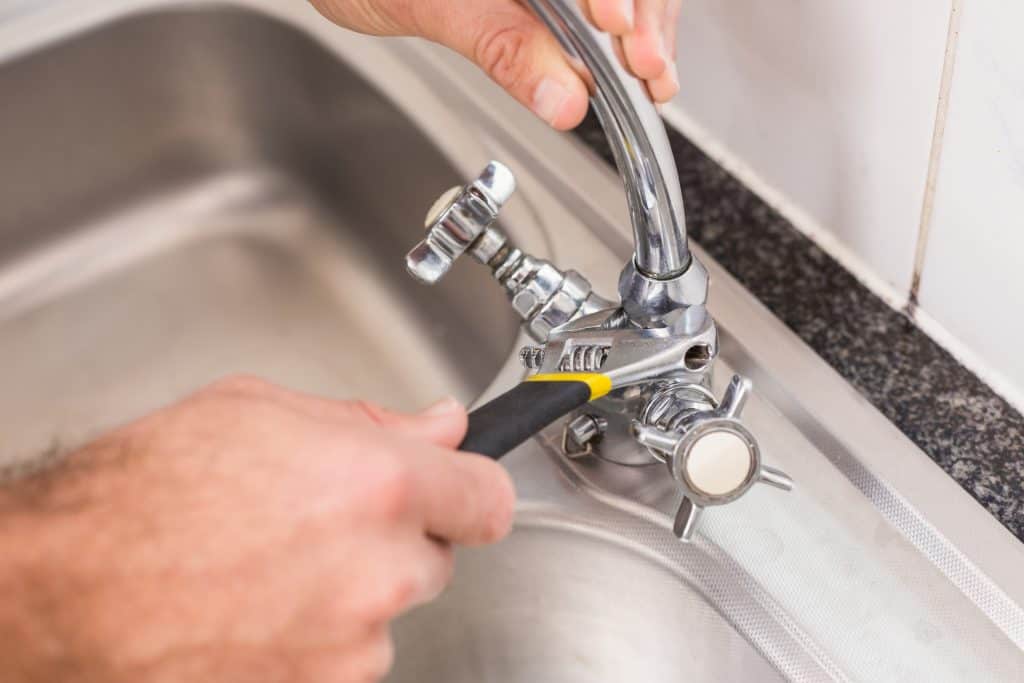
- Use an adjustable wrench or pipe wrench to loosen and disconnect the fittings that connect the valve to the water supply pipe. Turn the fittings counterclockwise to loosen them. If the fittings are difficult to loosen, applying some penetrating oil can help loosen them.
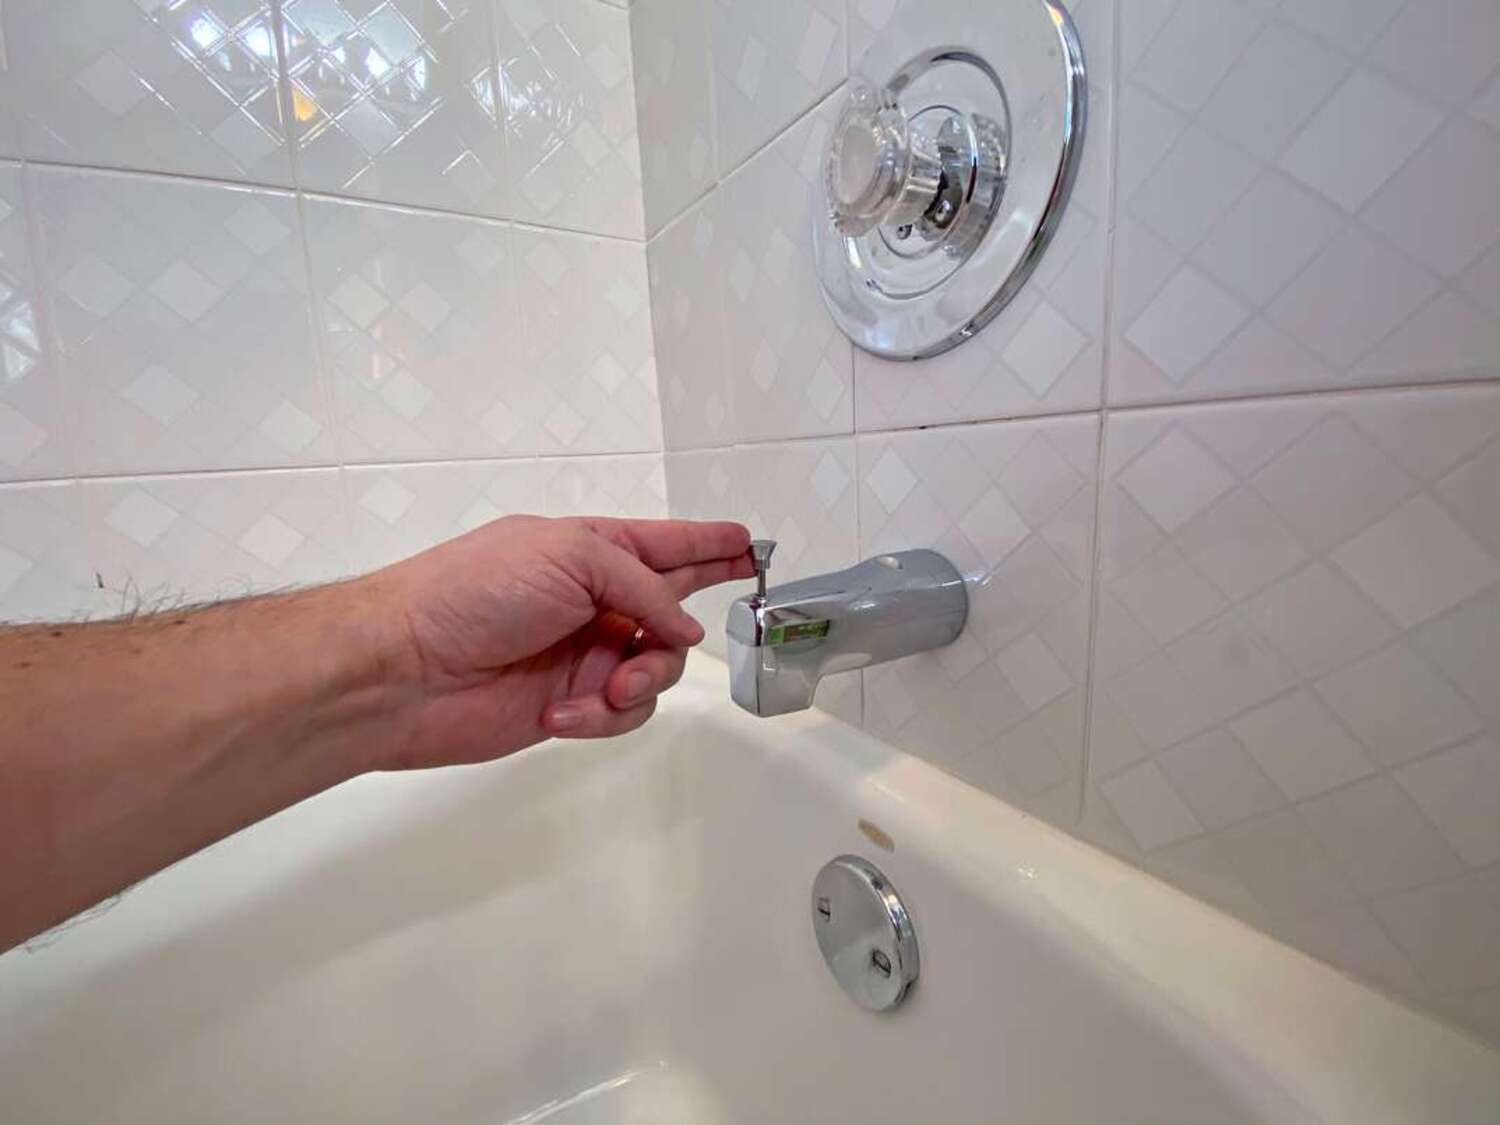
- If the faucet has a threaded spout, twist it counterclockwise to remove it from the body of the faucet. If there is a set screw securing the spout, use an Allen wrench to loosen and remove it before twisting off the spout.
Once all the components are disconnected, carefully remove the old faucet from the water supply pipe. Take note of any seals or gaskets that may be present and ensure they are also removed along with the old faucet.
Inspect the area around the water supply pipe for any signs of damage or corrosion. If necessary, clean or replace any damaged components before installing the new faucet.
By successfully removing the old faucet, you have completed an important step towards fixing your outside faucet. With the old faucet out of the way, you’re now ready to move on to the next step of the repair process.
Make sure to turn off the water supply to the outside faucet before attempting any repairs. This will prevent any water from leaking or causing further damage.
Read more: How To Lock An Outside Water Faucet
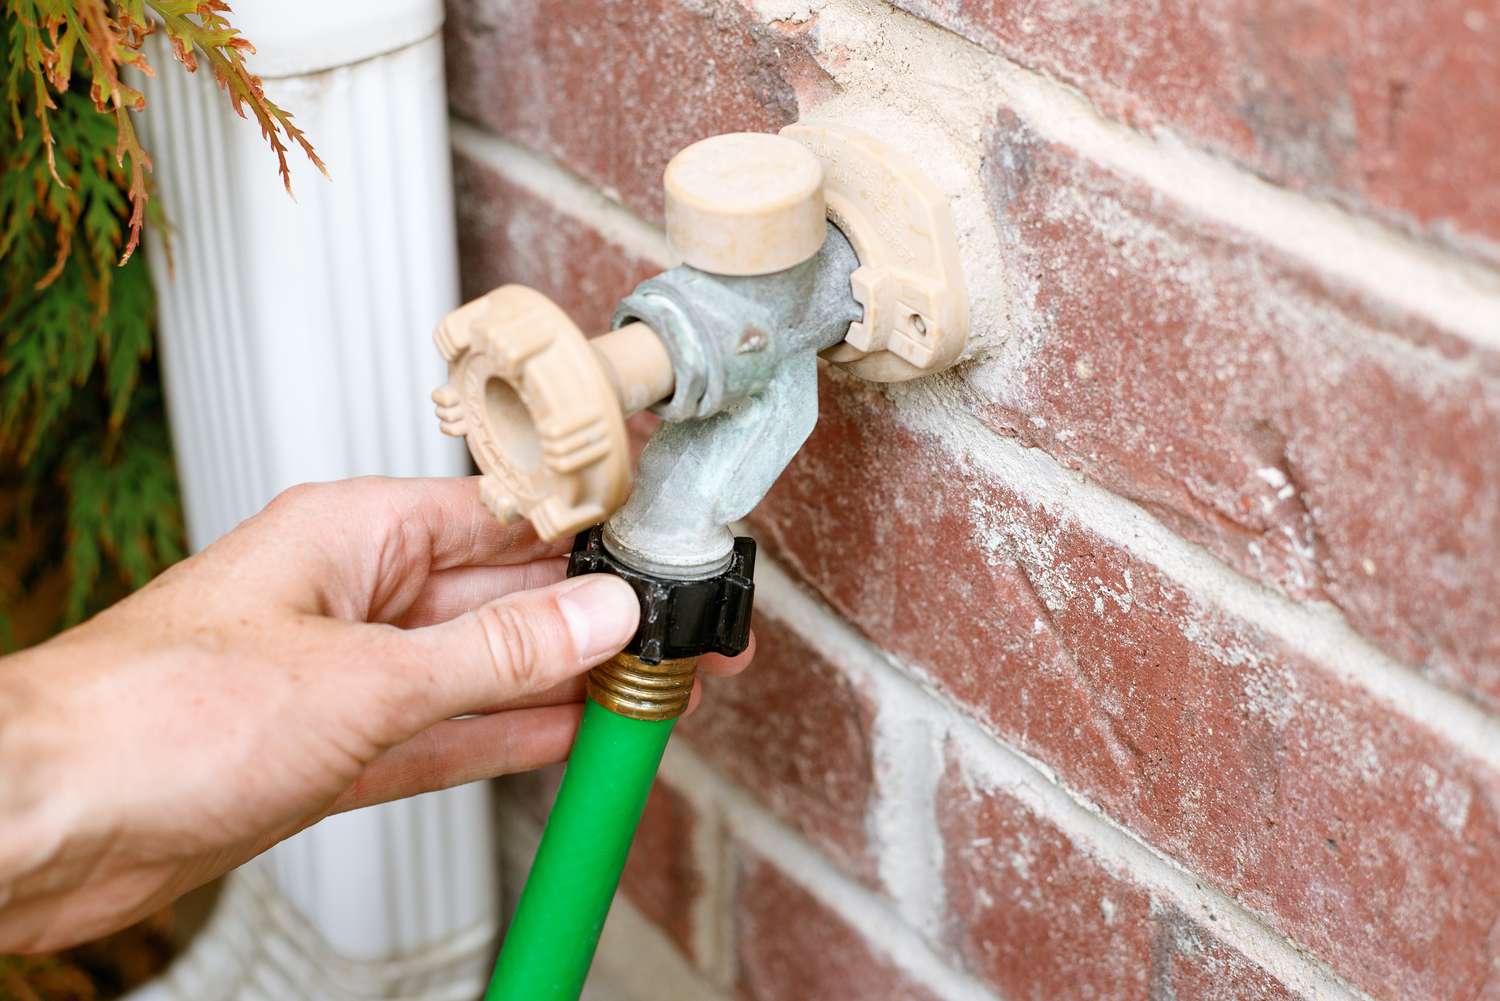
Step 5: Install the new faucet
Now that you have removed the old faucet, it’s time to install the new one. Installing a new outside faucet will involve connecting all the necessary components and securing them properly to ensure a leak-free and functional faucet.
- Before installing the new faucet, make sure to clean the area around the water supply pipe. Remove any debris or residue that could interfere with the installation process.
- Apply a layer of plumber’s tape or Teflon tape to the threads of the water supply pipe. This will help create a tight seal and prevent leaks.
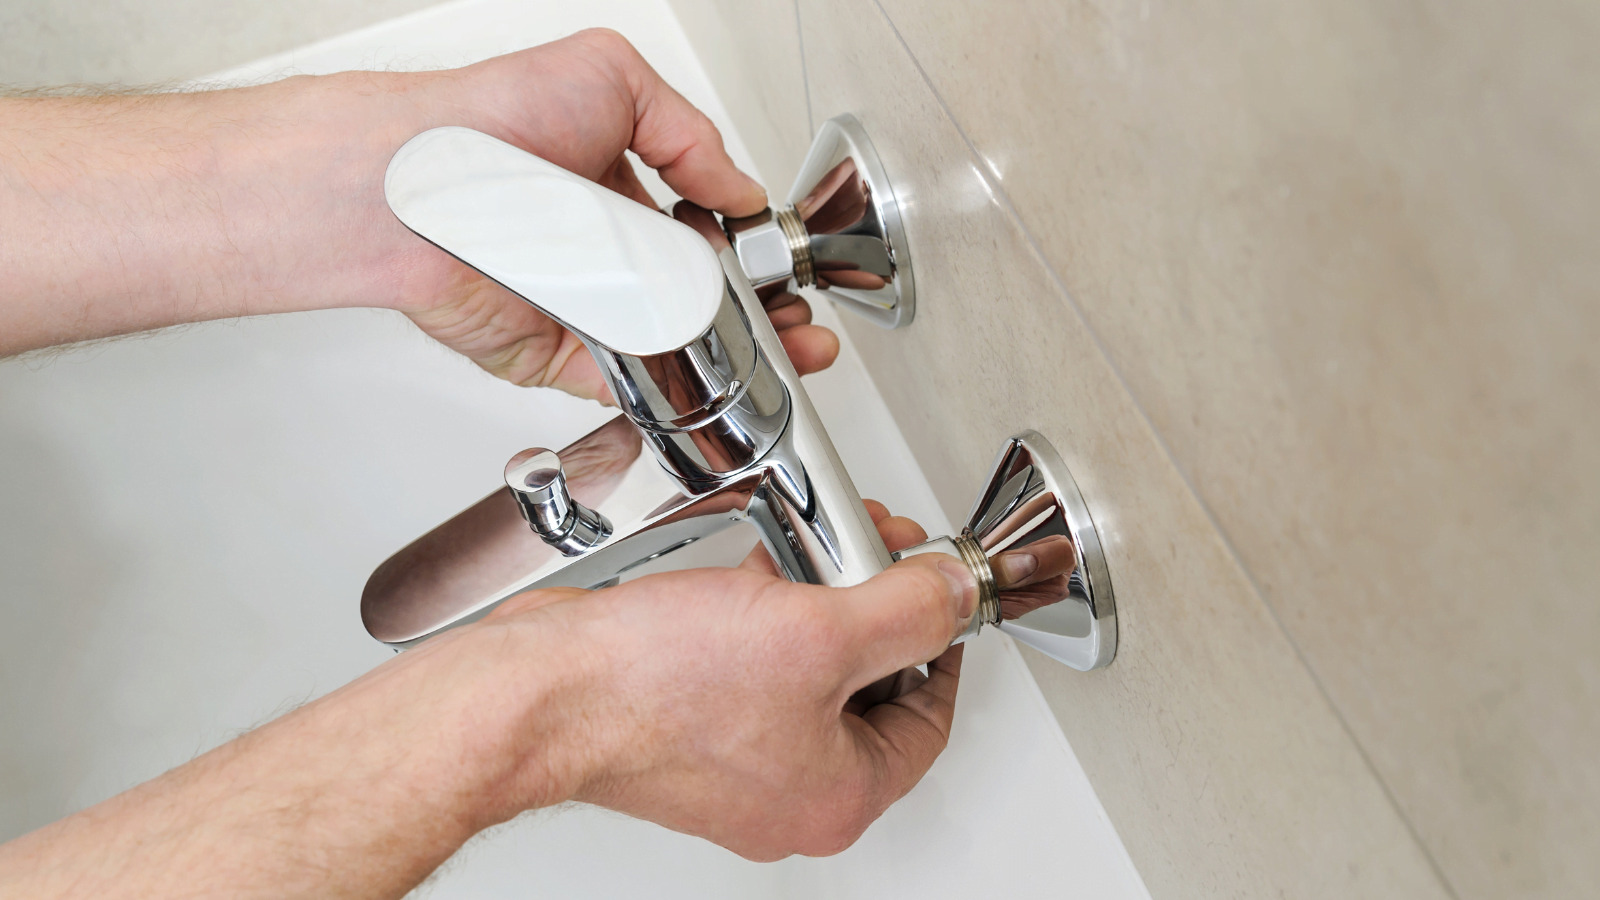
- Begin by attaching the new faucet to the water supply pipe. Twist the fittings clockwise to secure them tightly. Use an adjustable wrench or pipe wrench to ensure they are properly tightened.
- If the new faucet has a threaded spout, twist it clockwise onto the body of the faucet until it is securely in place.
- Double-check all the connections to ensure they are tight and properly aligned.
Once the new faucet is properly installed, give it a gentle tug to ensure it is secure. If there is any movement or play, tighten the fittings further.
Take a moment to inspect the area around the new faucet for any signs of leakage. If you notice any water dripping or pooling, check the connections and tighten them if necessary.
If your new faucet has any additional features, such as a built-in shut-off valve or anti-siphon device, follow the manufacturer’s instructions to properly set them in place.
By successfully installing the new faucet, you’re now ready to move on to the next step and test the functionality of your newly repaired outside faucet!
Step 6: Test the faucet
After installing the new faucet, it’s crucial to test its functionality to ensure that everything is working properly. Testing the faucet will help you identify any potential issues or leaks that may need to be addressed before completing the repair process.
- First, ensure that the faucet handle is in the closed position.
- Turn on the main water supply to your house by slowly opening the valve.
- Once the water supply is restored, go outside and open the faucet handle or valve of the newly installed faucet. This will allow water to flow through it.
- Check for any dripping or leaking around the connections of the new faucet. Inspect the area carefully and tighten any loose fittings if necessary.
- Observe the water flow from the faucet. Ensure that it is steady and without any obstructions or strange noises.
- Test both hot and cold water, if applicable, to ensure that both sides are functioning correctly.
- Operate the faucet handle or valve to turn the water flow off. Verify that the faucet completely stops the water flow without any residual dripping.
If you notice any leaks or issues during the testing process, make sure to address them before proceeding. It’s important to fix any problems promptly to avoid further damage and ensure the proper functioning of your outside faucet.
By thoroughly testing the faucet, you can have confidence that your repair efforts have been successful. With a properly functioning outside faucet, you’re now ready to move on to the final step!
Step 7: Restore the water supply
Now that you have tested the functionality of your newly repaired outside faucet and made any necessary adjustments, it’s time to restore the water supply to the area. Restoring the water supply will allow you to use the faucet for your outdoor water needs once again.
- Ensure that the faucet handle or valve is in the closed position.
- Locate the main water valve for your house.
- Slowly turn the valve counterclockwise to gradually restore the water flow. This will help prevent any sudden surges in water pressure.
- Once the water supply is fully restored, go outside and open the faucet handle or valve.
- Check for any leaks or drips around the connections. If you notice any, tighten the fittings as needed.
- Observe the water flow to ensure that it is steady and without any issues.
- Test the hot and cold water, if applicable, to ensure that both sides are functioning properly.
If you don’t observe any leaks or issues during this final step, congratulations! Your outside faucet is now fully repaired and ready to be used. You can now enjoy the convenience of having running water outdoors for gardening, cleaning, or any other purposes.
However, if you do notice any leaks or problems, it’s essential to investigate and address them promptly. Properly functioning plumbing is important for preventing water waste and potential damage to your property.
By restoring the water supply, you have completed the last step of fixing your outside faucet. With the repair process finished, you can now enjoy the functionality and convenience of a fully operational outdoor water source!
Conclusion
Fixing your outside faucet is a manageable task that can save you time and money. With a few simple steps and the right tools, you can successfully repair or replace your faucet and have it working perfectly once again.
We started by gathering the necessary tools and materials, including an adjustable wrench, pipe wrench, replacement faucet, Teflon tape, plumber’s tape, silicone caulk, and a rag or towel. These tools will help you throughout the repair process.
We then proceeded to shut off the water supply to the outside faucet to ensure a safe working environment. Draining the faucet helped prevent any water spillage during the repair process.
Next, we removed the old faucet by disconnecting the various components, such as the handle, valve, and spout. Properly securing the fittings and checking for any leaks was important during this step.
After that, we installed the new faucet, ensuring secure connections and using plumber’s tape or Teflon tape to create a tight seal. Testing the faucet for functionality and addressing any leaks or issues was crucial in ensuring a successful repair.
Finally, we restored the water supply, slowly opening the main water valve and checking for any leaks or drips. With the water flowing smoothly and the faucet fully operational, you are now ready to enjoy its benefits once again.
Remember, if you encounter any difficulties during the repair process or if you’re unsure about any steps, it’s always best to consult a professional plumber. They have the expertise to guide you through the process and ensure a successful repair.
By following these steps and taking the necessary precautions, you can confidently tackle the task of fixing your outside faucet. With a little effort and the right tools, you’ll have a fully functional outdoor water source that can meet all your outdoor watering and cleaning needs. Enjoy the convenience and peace of mind that comes with a successfully repaired outside faucet!
Frequently Asked Questions about How To Fix An Outside Faucet
Was this page helpful?
At Storables.com, we guarantee accurate and reliable information. Our content, validated by Expert Board Contributors, is crafted following stringent Editorial Policies. We're committed to providing you with well-researched, expert-backed insights for all your informational needs.


0 thoughts on “How To Fix An Outside Faucet”