Articles
Refinish A Wooden Entry Door
Modified: February 27, 2024
Looking for articles on how to refinish a wooden entry door? Find expert tips and step-by-step guides for restoring and beautifying your door's appearance.
(Many of the links in this article redirect to a specific reviewed product. Your purchase of these products through affiliate links helps to generate commission for Storables.com, at no extra cost. Learn more)
Introduction
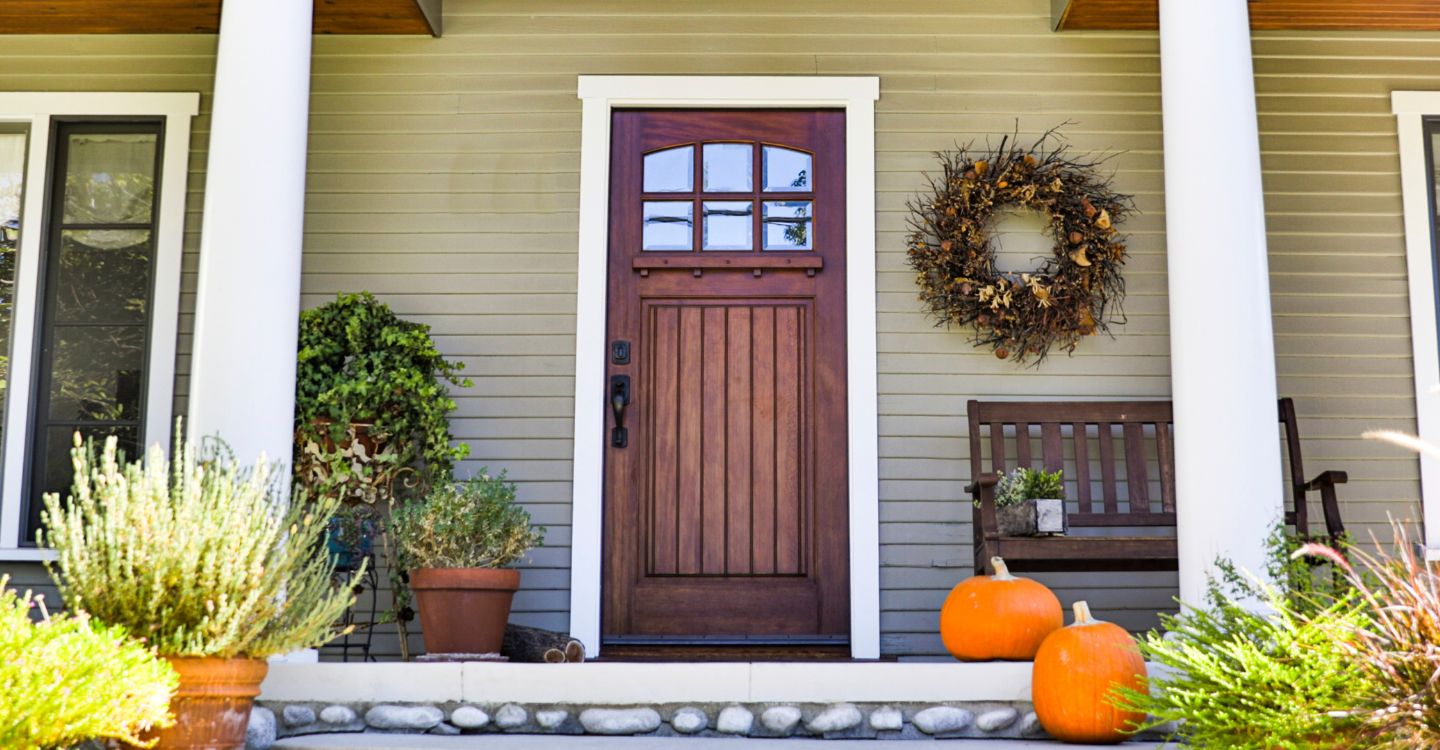
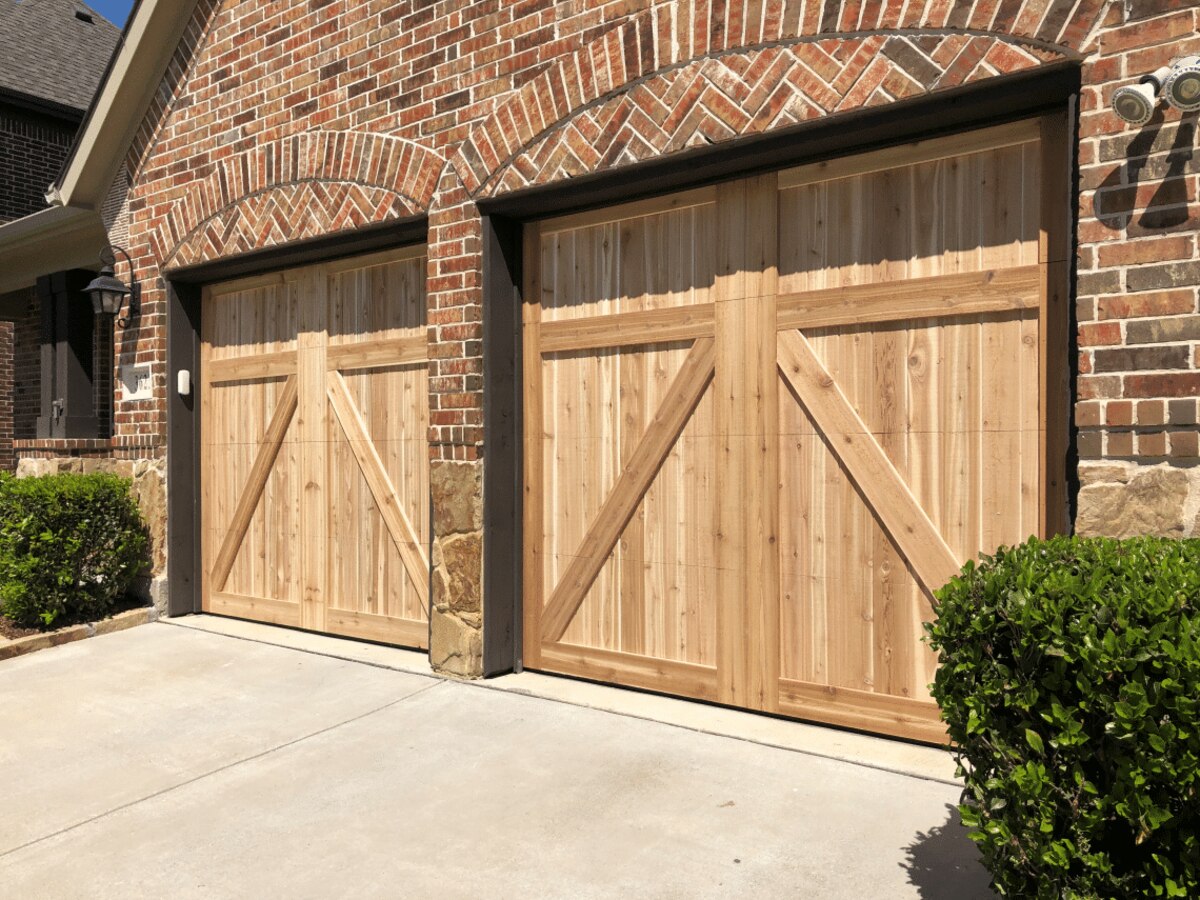
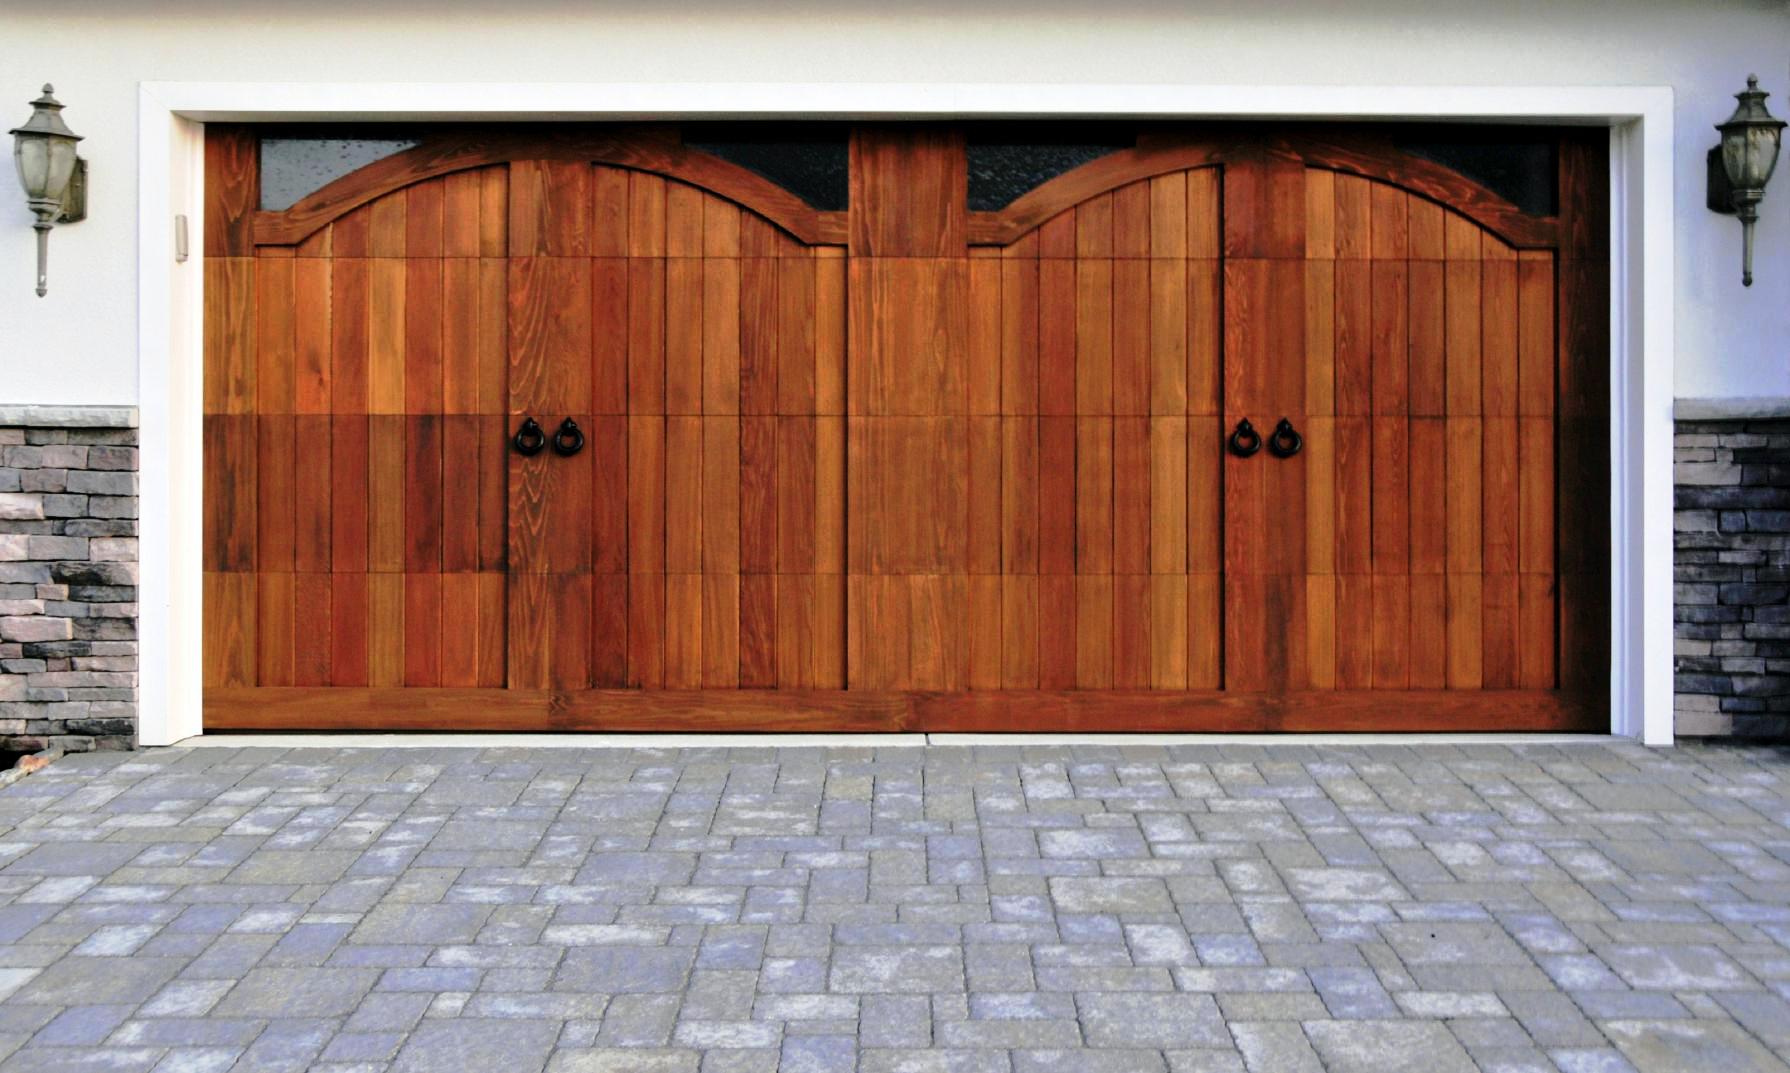
Refinishing a wooden entry door is an excellent way to give your home’s exterior a fresh and updated look. Over time, exposure to the elements can cause the door’s finish to fade, peel, or become damaged. Refinishing the door not only restores its beauty but also enhances its durability and protection against moisture.
In this article, we will guide you through the step-by-step process of refinishing a wooden entry door. We will cover everything from the tools and materials you’ll need to the techniques involved in achieving a professional-looking finish. So let’s get started!
Before embarking on this project, it’s essential to assess the condition of your door. Inspect it for any structural damage, such as cracks, warping, or rot. If you find any significant issues, consider repairing or replacing the door before refinishing it.
Once you have a sound and solid door, it’s time to gather the necessary tools and materials.
Key Takeaways:
- Refinishing a wooden entry door involves thorough preparation, from assessing the door’s condition to removing old finishes and applying a clear coat. Following the step-by-step process ensures a professional-looking and durable result.
- By choosing the right tools and materials, taking safety precautions, and adding finishing touches, you can transform your wooden entry door, enhancing its curb appeal and longevity. Enjoy the rewarding process of refinishing and admire the stunning outcome!
Read more: How To Refinish Wooden Stairs
Tools and Materials Needed
Before refinishing your wooden entry door, gather the following tools and materials:
- Screwdriver or drill with screwdriver bit
- Putty knife or scraper
- Sandpaper (various grits – 80, 120, 220)
- Sanding block or electric sander
- Wood stain (optional)
- Clear coat finish (polyurethane, varnish, or lacquer)
- Paintbrush or foam brush
- Cloth or rag
- Drop cloth or plastic sheeting
- Painter’s tape
- Safety goggles
- Respirator or mask
- Gloves
These tools and materials will help you achieve a successful refinishing project and protect yourself during the process. Make sure to wear proper safety gear, such as safety goggles, a respirator or mask, and gloves, to ensure your well-being.
Once you have all the necessary tools and materials, you can proceed with preparing the door for refinishing.
Preparing the Door
Before you start refinishing your wooden entry door, it’s essential to properly prepare the surface. This involves removing any hardware, protecting the surrounding areas, and cleaning the door.
1. Start by removing any door hardware, such as doorknobs, hinges, and locksets. Use a screwdriver or drill with a screwdriver bit to loosen and remove the screws. Place the hardware in a safe place for reinstallation later.
2. Next, protect the surrounding areas by covering them with a drop cloth or plastic sheeting. Use painter’s tape to secure the covering and prevent any accidental spills or damage.
3. With the door hardware removed and the surrounding areas protected, you can now clean the door. Use a mild detergent mixed with water to gently wash away dirt, grime, and any old finishes. Rinse the door thoroughly with clean water and allow it to dry completely before proceeding.
By properly preparing the door, you ensure that the refinishing process goes smoothly and that the final result is long-lasting and visually appealing. Once the door is clean and dry, you can move on to the next step – removing the old finish.
Removing Old Finish
Removing the old finish is a crucial step in refinishing a wooden entry door. It helps to create a clean and smooth surface for the new finish to adhere to. There are several methods you can use to remove the old finish:
- Chemical Stripper: Apply a chemical stripper according to the manufacturer’s instructions. Allow it to sit for the recommended time, which typically ranges from 15 minutes to an hour. Use a putty knife or scraper to gently remove the softened finish. Be careful not to gouge or damage the wood.
- Sanding: If the old finish is not too thick or stubborn, you can use sandpaper to remove it. Start with a coarse grit (around 80) to remove the bulk of the finish. Then progress to finer grits (such as 120 and 220) to smooth the surface. Sand in the direction of the wood grain to avoid scratches.
- Heat Gun: A heat gun can be used to soften and scrape away the old finish. Hold the gun a few inches away from the door’s surface and move it slowly back and forth. As the finish softens, use a putty knife or scraper to remove it. Be cautious not to overheat the wood or hold the heat gun too close, as it can cause damage.
Whichever method you choose, make sure to work in a well-ventilated area and wear proper respiratory protection. Some old finishes may contain harmful chemicals or produce fumes that can be harmful when inhaled.
After removing the old finish, use a clean cloth or tack cloth to remove any dust or debris from the surface. The door is now ready for the next step – sanding.
Sanding the Door
After removing the old finish, sanding the door is crucial to achieve a smooth and even surface for the new finish. Follow these steps to sand your wooden entry door:
- Select the appropriate grit: Start with a medium-grit sandpaper, around 120, to smooth out any imperfections and remove any remaining traces of the old finish. Then move to a finer grit, such as 220, for a final smooth finish.
- Sand with the grain: Always sand in the direction of the wood grain to avoid scratching or damaging the surface. Use long and even strokes, applying consistent pressure on the sandpaper.
- Keep the surface even: Pay attention to any uneven spots or areas that require extra attention. Sand these areas gently and evenly to ensure a uniform finish across the entire door.
- Change sandpaper as needed: As you sand, the sandpaper may become clogged or worn. Replace it with a fresh sheet when necessary to maintain optimal sanding performance.
- Check for smoothness: After sanding, run your hand over the door’s surface to check for smoothness. If you encounter any rough patches or imperfections, sand them until the surface feels consistently smooth.
- Remove sanding dust: Once you are satisfied with the smoothness of the door, remove any sanding dust using a clean cloth or tack cloth. This will ensure that the surface is clean and ready for the next step – applying the wood stain.
Sanding the door not only prepares the surface for the new finish but also helps to open up the wood’s pores, allowing it to absorb the stain more evenly. Once the surface is smooth and clean, you can choose to apply a wood stain or proceed directly to applying a clear coat finish.
Before refinishing a wooden entry door, make sure to thoroughly clean and sand the surface to remove any old finish or imperfections. This will ensure a smooth and even application of the new finish.
Read more: How To Lock A Keyless Entry Door
Applying Wood Stain (optional)
If you want to add color and enhance the natural beauty of your wooden entry door, applying a wood stain is an excellent option. Follow these steps to apply the wood stain:
- Select the appropriate stain: Choose a wood stain that complements the overall aesthetics and style of your home. Consider factors such as the door’s wood species, desired color tone, and level of transparency.
- Prepare the stain: Stir the wood stain thoroughly to ensure an even distribution of color pigments. If the stain is too thick, you can add a small amount of a compatible thinner to achieve the desired consistency.
- Apply the stain: Use a paintbrush or foam brush to apply an even coat of stain onto the door’s surface. Work with the wood grain, applying strokes in long and smooth motions. Pay close attention to any nooks, crevices, or intricate details to ensure thorough coverage.
- Let the stain penetrate: Allow the wood stain to penetrate the surface for the recommended time specified by the manufacturer. The longer you let it sit, the darker and more pronounced the color will be. Wipe off any excess stain with a clean cloth before it dries.
- Inspect the color: Once the first coat of stain has dried, evaluate the color and decide if you want to apply an additional coat. Additional coats will deepen the color and enhance its richness.
- Apply a clear coat: After applying the final coat of wood stain and allowing it to completely dry, you can proceed to seal and protect the door by applying a clear coat finish.
Applying a wood stain is an optional step in refinishing a wooden entry door but can significantly enhance its appearance and create a personalized touch. Once you are satisfied with the color achieved, you can move on to applying the clear coat finish.
Applying Clear Coat
Applying a clear coat finish is an essential step in refinishing a wooden entry door. It provides protection against moisture, UV rays, and wear and tear, while also enhancing the natural beauty of the wood. Follow these steps to apply the clear coat:
- Choose the right clear coat: Select a clear coat finish that is suitable for exterior use and compatible with the type of wood and stain (if applied). Common options include polyurethane, varnish, or lacquer. Consider factors such as durability, sheen level, and ease of application.
- Prepare the clear coat: Stir the clear coat thoroughly to blend any settling or separation. Ensure the consistency is uniform and follow any specific instructions provided by the manufacturer.
- Apply the first coat: Use a paintbrush or foam brush to apply a thin and even coat of clear coat onto the door’s surface. Work in long and smooth strokes, going with the wood grain. Pay attention to any drips or excess and smooth them out immediately.
- Allow drying and sanding: Let the first coat of clear coat dry according to the manufacturer’s instructions. Once dry, lightly sand the surface using a fine-grit sandpaper (such as 220) to ensure a smooth finish and promote adhesion for subsequent coats.
- Apply additional coats: Repeat the process of applying thin and even coats of clear coat, allowing each coat to dry and sanding in between. The number of coats will depend on your desired level of protection and sheen. Usually, two to three coats are sufficient.
- Inspect and touch up: After the final coat has dried, inspect the door’s surface for any imperfections or uneven areas. Gently sand or touch up these spots as needed. Once you are satisfied with the finish, allow the clear coat to cure for the recommended time.
Applying a clear coat finish not only adds a layer of protection to your wooden entry door but also enhances its appearance and durability. Once the clear coat has fully cured, you can proceed with the finishing touches to complete the refinishing process.
Finishing Touches
After applying the clear coat finish, there are a few finishing touches you can add to complete the refinishing process and ensure a polished look for your wooden entry door:
- Reattach door hardware: Once the clear coat has fully cured, reattach the door hardware that you had removed earlier. Use a screwdriver or drill with a screwdriver bit to securely fasten the doorknob, hinges, and lockset back onto the door.
- Clean up: Remove any protective coverings, drop cloths, or plastic sheeting from the surrounding areas. Clean up any dust or debris and dispose of them properly.
- Inspect for touch-ups: Take a close look at the door’s surface to identify any areas that may need touch-ups. Check for any blemishes, uneven spots, or missed areas. Use touch-up paint or stain and a small brush or foam brush to correct any issues.
- Enhance with accessories: Consider adding accessories to further enhance the appearance of your front entry door. Install decorative handles, door knockers, or a fresh coat of outdoor-grade paint on the door frame or trim for a stylish finishing touch.
- Maintain regular upkeep: To keep your finished wooden entry door looking its best, establish a regular maintenance routine. Wipe down the door periodically with a clean cloth to remove dust or dirt. If necessary, apply a fresh coat of clear coat or touch-up the finish to protect and maintain its appearance.
By completing these finishing touches, you can add the final touches to your newly refinished wooden entry door. It will not only enhance the curb appeal of your home but also provide long-lasting protection and beauty.
Conclusion
Refinishing a wooden entry door is a rewarding and worthwhile project that can breathe new life into your home’s exterior. By following the step-by-step process outlined in this article, you can achieve a professional-looking finish and enhance the durability and beauty of your front door.
From preparing the door by removing the old finish to sanding the surface and applying a wood stain (if desired), each step plays a crucial role in achieving the desired result. Applying a clear coat finish provides the necessary protection and adds the final touch to the refinishing process.
Remember to choose the right tools and materials, work in a well-ventilated area, and take proper safety precautions throughout the process. Take your time, follow the techniques mentioned, and don’t hesitate to seek professional advice if needed.
Once your wooden entry door is refinished, you can enjoy its renewed beauty, improved durability, and enhanced curb appeal. Regular maintenance and upkeep will ensure its longevity and continue to make a positive impression on visitors to your home.
So don’t wait any longer – roll up your sleeves, gather your tools, and start refinishing your wooden entry door today. Give your home a fresh and updated look while adding value and pride to your property.
Remember, a beautifully refinished wooden entry door is not only a stunning and welcoming feature but also a testament to your craftsmanship and attention to detail. Enjoy the process, and admire the transformation you have accomplished!
Frequently Asked Questions about Refinish A Wooden Entry Door
Was this page helpful?
At Storables.com, we guarantee accurate and reliable information. Our content, validated by Expert Board Contributors, is crafted following stringent Editorial Policies. We're committed to providing you with well-researched, expert-backed insights for all your informational needs.


0 thoughts on “Refinish A Wooden Entry Door”