Home>Furniture & Design>Bathroom Accessories>How To Refinish A Bathtub
Bathroom Accessories
How To Refinish A Bathtub
Modified: March 2, 2024
Learn how to refinish your bathtub and give your bathroom a fresh new look with our expert tips and techniques. Upgrade your bathroom accessories with our easy-to-follow refinishing guide.
(Many of the links in this article redirect to a specific reviewed product. Your purchase of these products through affiliate links helps to generate commission for Storables.com, at no extra cost. Learn more)
Introduction
Refinishing a bathtub can breathe new life into your bathroom and give it a fresh, updated look without the cost and hassle of a full replacement. Over time, bathtubs can become worn, stained, or outdated, but with the right tools and techniques, you can transform your bathtub into a sparkling centerpiece of your bathroom once again.
Whether you're looking to update the style of your bathroom or simply want to restore the original beauty of your bathtub, refinishing is a cost-effective and rewarding project. By following the proper steps and using the right materials, you can achieve professional-looking results that will make your bathtub look brand new.
In this comprehensive guide, we will walk you through the step-by-step process of refinishing your bathtub, from gathering the necessary materials to applying the new finish and letting it cure. You'll learn how to prepare the area, clean the bathtub, remove the old finish, and apply the new finish with precision and care. Additionally, we'll provide tips and insights to help you avoid common pitfalls and achieve a stunning result.
By the end of this guide, you'll have the knowledge and confidence to tackle the bathtub refinishing project, transforming your bathroom and adding value to your home. So, roll up your sleeves, gather your materials, and let's embark on this exciting journey to revitalize your bathtub!
Key Takeaways:
- Revitalize your bathtub with a cost-effective refinishing project. Gather materials, clean the surface, apply the new finish, and let it cure for a stunning transformation that adds value to your home.
- Reinstall fixtures to complete the revitalization. With patience and precision, reattach the faucet, handles, and drain cover to restore functionality and aesthetic appeal, creating a captivating focal point in your bathroom.
Read more: How To Refinish Old Bathtub
Step 1: Gather Materials and Prepare the Area
Before diving into the bathtub refinishing process, it's crucial to gather all the necessary materials and prepare the area for the project. Here's a detailed breakdown of the steps involved:
Gather Materials:
-
Safety Gear: Start by ensuring you have the appropriate safety gear, including gloves, goggles, and a respirator. These items will protect you from the chemicals used in the refinishing process.
-
Refinishing Kit: Purchase a high-quality bathtub refinishing kit, which typically includes a cleaner, etching solution, primer, and topcoat. Ensure that the kit is designed specifically for bathtub refinishing to achieve the best results.
-
Sandpaper and Masking Materials: You'll need sandpaper with varying grits to smooth the surface of the bathtub. Additionally, gather masking tape, plastic sheeting, and drop cloths to protect the surrounding area from overspray and drips.
-
Cleaning Supplies: Prepare cleaning supplies such as a non-abrasive cleaner, sponge, and scrub brush to thoroughly clean the bathtub before refinishing.
-
Ventilation: If the bathroom lacks proper ventilation, consider using a fan or opening windows to ensure adequate airflow during the refinishing process.
Prepare the Area:
-
Clear the Space: Remove any personal items, shower curtains, and bath mats from the bathroom. Clearing the space will provide ample room to work and prevent any accidental damage to belongings.
-
Ventilation: As mentioned earlier, ensure that the bathroom is well-ventilated to minimize exposure to fumes and odors during the refinishing process.
-
Protect Surrounding Surfaces: Use masking tape and plastic sheeting to cover the walls, floor, and any fixtures near the bathtub. This precaution will prevent accidental overspray and make cleanup much easier.
-
Repair Any Damage: Inspect the bathtub for any chips, cracks, or damage. If necessary, use a bathtub repair kit to fix minor imperfections before proceeding with the refinishing process.
By meticulously gathering the required materials and preparing the area, you'll set the stage for a successful bathtub refinishing project. This initial step lays the foundation for the subsequent stages, ensuring that the refinishing process proceeds smoothly and yields professional-quality results.
Step 2: Clean the Bathtub
Cleaning the bathtub is a critical step in the refinishing process, as it sets the stage for proper adhesion of the new finish. Here's a detailed breakdown of the cleaning process:
-
Remove Residue: Start by removing any residue, soap scum, and mineral deposits from the bathtub surface. Use a non-abrasive cleaner and a sponge or scrub brush to thoroughly clean the entire bathtub. Pay special attention to areas around the drain and fixtures where buildup is common.
-
Degrease the Surface: After removing visible residue, it's essential to degrease the bathtub surface to ensure proper adhesion of the new finish. Use a degreasing solution or a mixture of water and denatured alcohol to wipe down the entire bathtub. This step is crucial for removing any lingering oils or contaminants that could hinder the bonding of the new finish.
-
Rinse Thoroughly: Once the bathtub has been cleaned and degreased, thoroughly rinse the entire surface with clean water. Ensure that all cleaning residues and degreasing agents are completely removed. Any leftover residue could compromise the adhesion of the new finish, so this rinsing step is vital.
-
Dry Completely: Allow the bathtub to dry completely before proceeding to the next step. Use clean, dry towels to remove any excess water and ensure that the bathtub surface is entirely dry. Proper drying is essential to prevent moisture from interfering with the adhesion of the new finish.
By meticulously cleaning the bathtub and preparing the surface, you'll create an optimal environment for the application of the new finish. This thorough cleaning process sets the stage for a successful refinishing project, ensuring that the new finish adheres properly and results in a beautifully restored bathtub.
Read more: How To Refinish A Plastic Bathtub
Step 3: Remove the Old Finish
Removing the old finish from the bathtub is a crucial step in the refinishing process, as it paves the way for the application of the new finish. Here's a detailed guide on how to effectively remove the old finish and prepare the bathtub for the next phase of the project:
-
Safety Precautions: Before starting the removal process, ensure that you are wearing the necessary safety gear, including gloves, goggles, and a respirator. These items will protect you from the chemicals and dust generated during the removal of the old finish.
-
Chemical Stripper: Begin by applying a high-quality chemical paint or finish stripper to the bathtub surface. Ensure that the chosen stripper is suitable for use on bathtubs and follow the manufacturer's instructions for application. Typically, the stripper is brushed or sprayed onto the bathtub and left to penetrate the old finish.
-
Allow Dwell Time: After applying the chemical stripper, allow it to dwell on the bathtub surface for the recommended period specified by the manufacturer. This dwell time allows the stripper to effectively break down the old finish, making it easier to remove.
-
Scraping and Removal: Once the dwell time has elapsed, use a putty knife or a scraper to gently remove the softened old finish from the bathtub surface. Work methodically, starting from one end and progressing systematically to ensure thorough removal. Take care not to apply excessive force, as this could damage the underlying surface.
-
Repeat if Necessary: In some cases, particularly if the old finish is stubborn or multiple layers are present, it may be necessary to repeat the application of the chemical stripper and the scraping process to achieve complete removal. Exercise patience and thoroughness to ensure that all traces of the old finish are eliminated.
-
Clean the Surface: After removing the old finish, thoroughly clean the bathtub surface with a non-abrasive cleaner and rinse it with clean water. This step is essential to remove any residual stripper and ensure that the bathtub surface is clean and ready for the next phase of the refinishing process.
By following these steps and exercising care and patience, you can effectively remove the old finish from the bathtub, setting the stage for the application of the new finish. This meticulous process ensures that the new finish adheres properly and results in a beautifully refinished bathtub that enhances the overall aesthetic of your bathroom.
Step 4: Apply the New Finish
With the old finish successfully removed and the bathtub surface meticulously prepared, it's time to apply the new finish. This step is the pivotal moment in the refinishing process, where the bathtub undergoes a stunning transformation. Here's a detailed guide on how to effectively apply the new finish and achieve professional-quality results:
1. Masking and Ventilation
Before applying the new finish, ensure that the surrounding area is adequately protected with masking tape and plastic sheeting. This precaution will prevent overspray and drips from affecting other surfaces. Additionally, ensure that the bathroom is well-ventilated to minimize exposure to fumes and odors during the application process.
2. Primer Application
Start by applying a high-quality bonding primer to the bathtub surface. The primer is crucial for promoting adhesion and ensuring that the new finish adheres securely to the bathtub. Follow the manufacturer's instructions for the application of the primer, ensuring thorough and even coverage across the entire surface.
3. Apply the Topcoat
Once the primer has been applied and allowed to dry according to the manufacturer's recommendations, it's time to apply the topcoat. The topcoat is the final layer that will provide the bathtub with a durable, glossy finish. Use a high-quality refinishing kit to apply the topcoat, following the specified instructions for even application.
4. Technique and Precision
When applying the new finish, employ steady and even strokes to achieve a smooth and uniform coating. Take care to avoid drips, runs, or uneven application, as these imperfections can detract from the overall appearance of the refinished bathtub. Exercise patience and precision to ensure a flawless finish.
5. Curing Time
After applying the new finish, allow ample time for it to cure and harden. Follow the manufacturer's guidelines for the recommended curing period, during which the finish will fully set and achieve its maximum durability. Avoid using the bathtub during this curing phase to prevent any damage to the newly applied finish.
6. Final Inspection
Once the new finish has cured, perform a thorough inspection of the bathtub surface. Look for any imperfections, uneven areas, or blemishes that may require touch-ups. Address any minor issues promptly to ensure that the refinished bathtub achieves a professional-quality appearance.
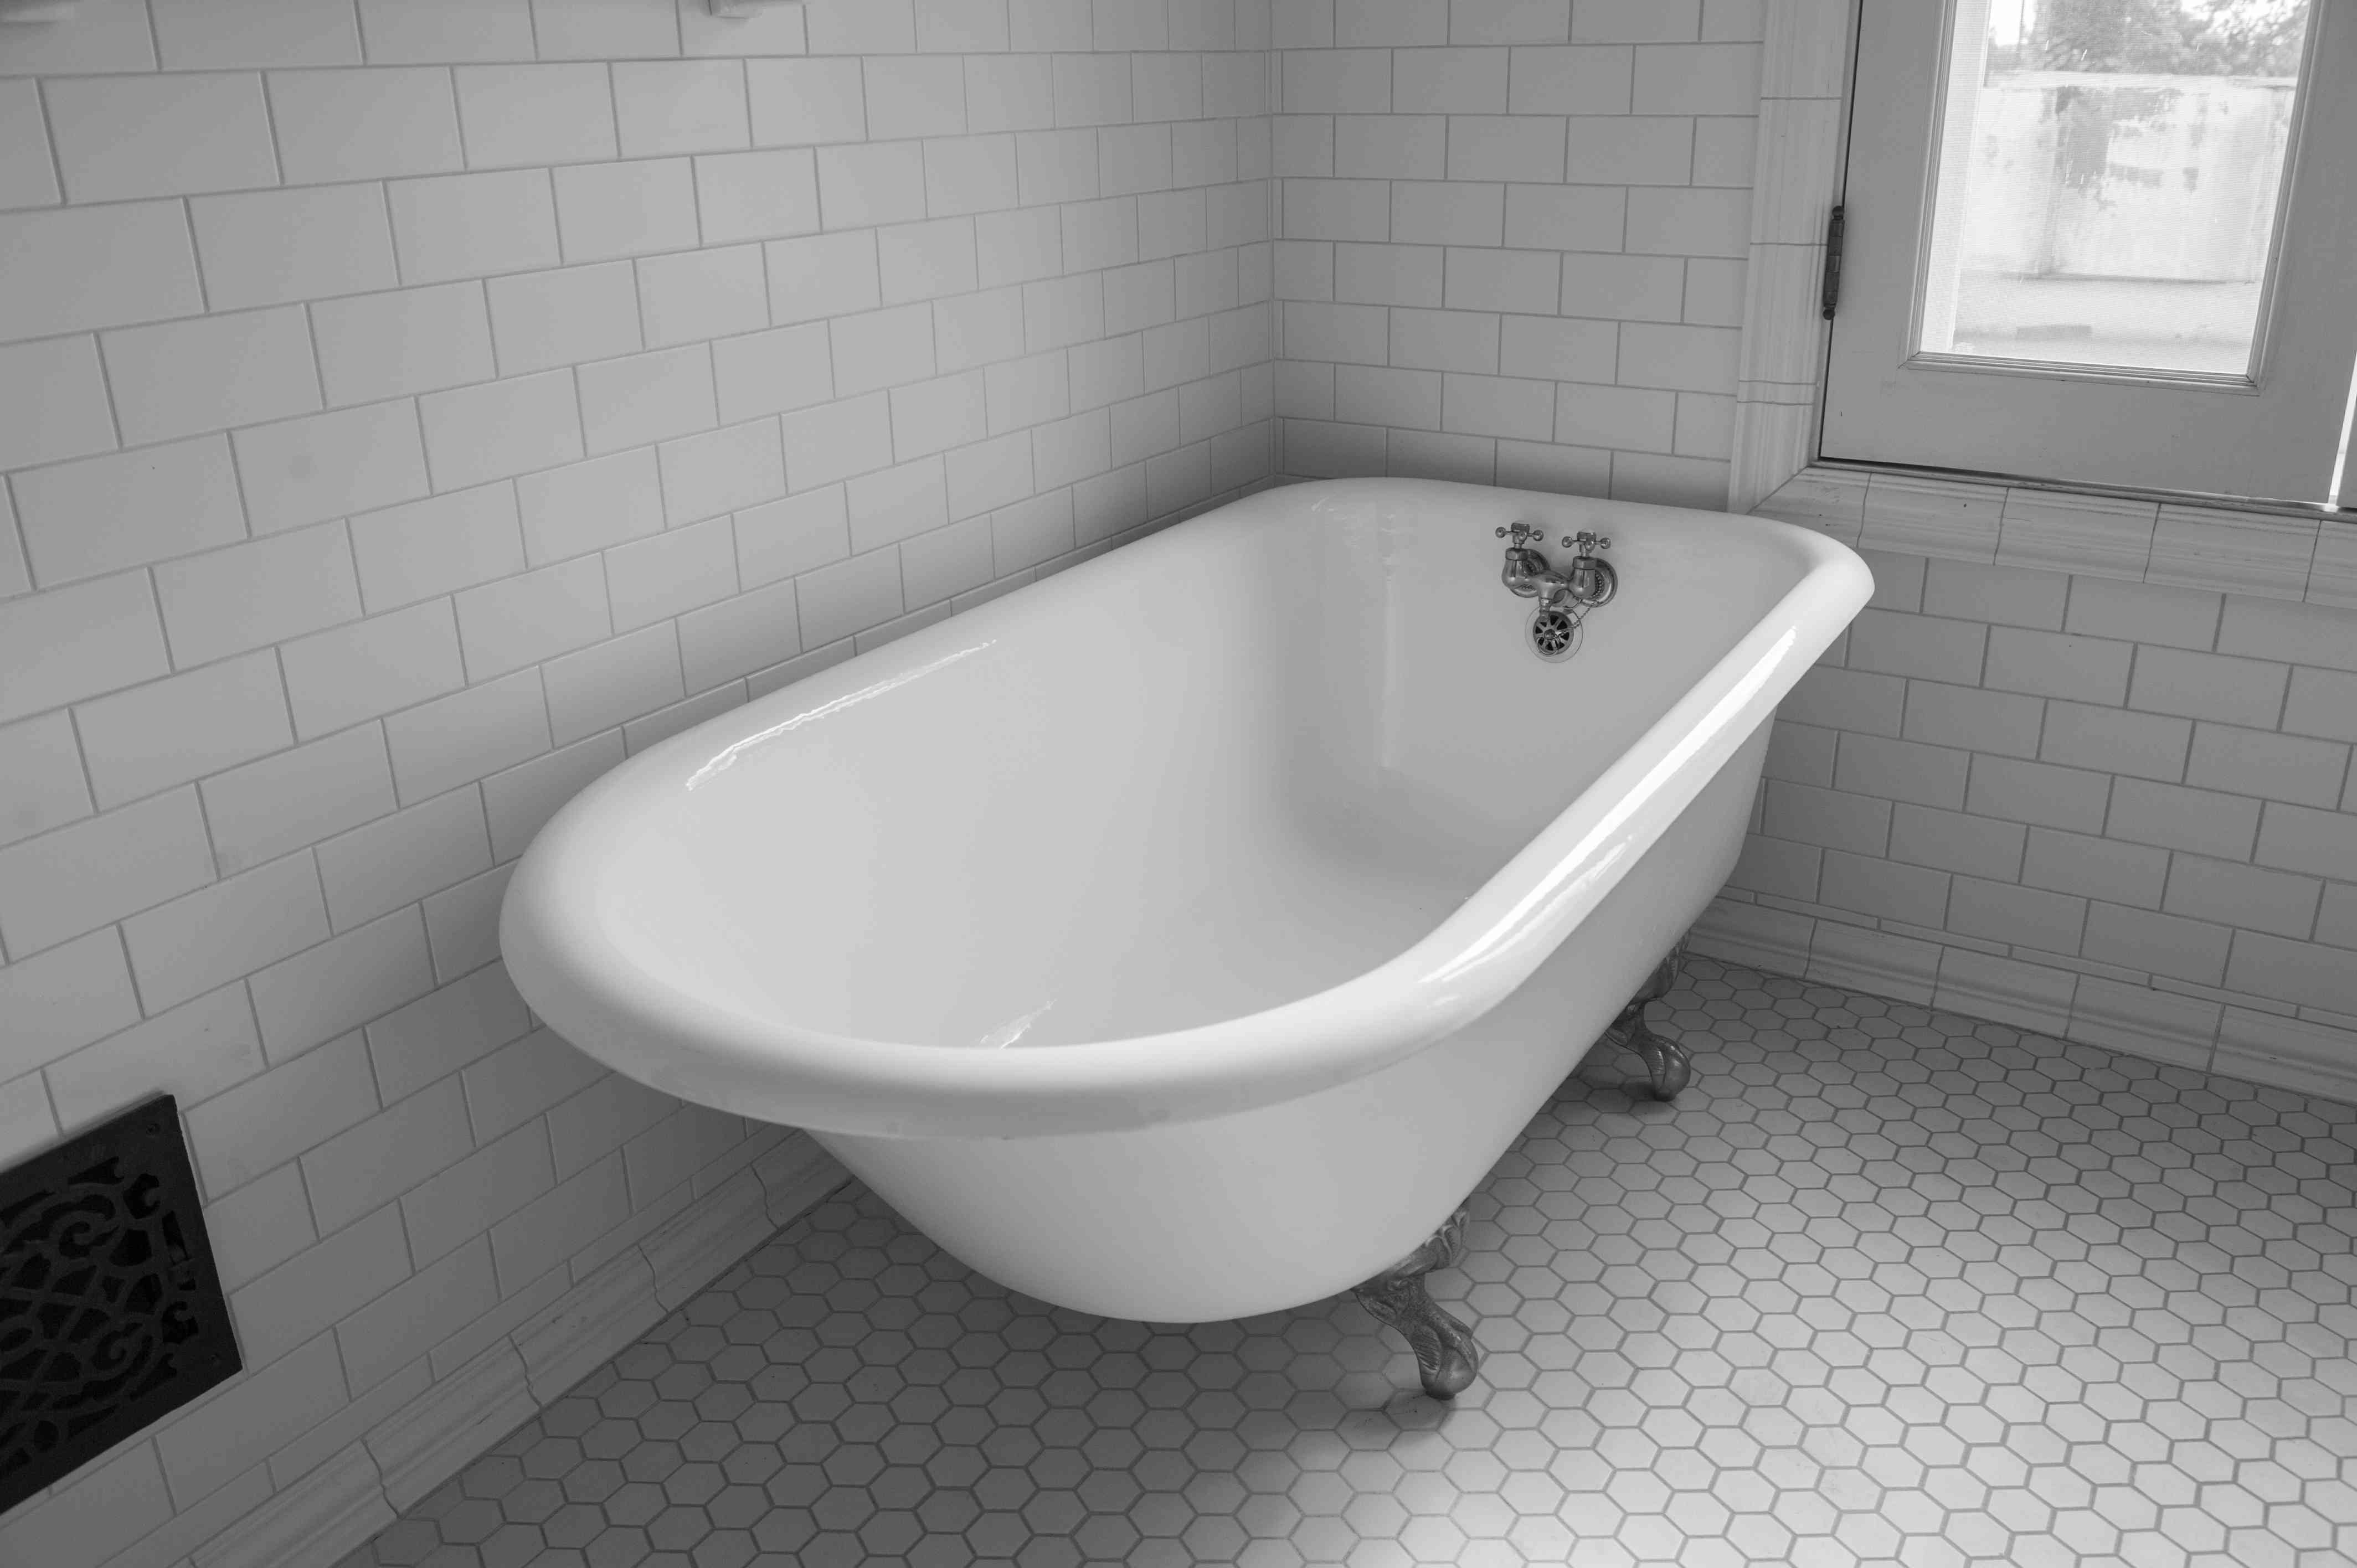
By following these steps and exercising precision and care, you can successfully apply the new finish to your bathtub, achieving a stunning transformation that revitalizes your bathroom. The application of the new finish is the crowning moment of the refinishing process, resulting in a beautifully restored bathtub that enhances the overall aesthetic of your home.
Read more: How Long Does Refinishing A Bathtub Last?
Step 5: Let the Finish Cure
After applying the new finish to the bathtub, it is crucial to allow ample time for the finish to cure and harden. The curing process is a critical phase that ensures the durability, resilience, and longevity of the newly applied finish. By following the manufacturer's guidelines for the recommended curing period, you can maximize the effectiveness of the finish and ensure that it achieves its full potential.
During the curing period, the finish undergoes a transformation as it sets and solidifies, forming a robust and protective layer on the bathtub surface. This process is essential for enhancing the finish's resistance to daily wear and tear, moisture, and cleaning agents, ultimately contributing to the longevity of the refinished bathtub.
It is important to exercise patience and refrain from using the bathtub during the curing phase to prevent any premature damage to the newly applied finish. While the temptation to admire the freshly refinished bathtub may be strong, allowing the finish to cure undisturbed will yield the best results in terms of durability and appearance.
Proper ventilation during the curing period is also crucial, as it facilitates the evaporation of solvents and ensures that the finish sets evenly and thoroughly. Adequate airflow helps minimize the presence of fumes and odors, creating a more comfortable environment while the finish cures.
Additionally, maintaining a consistent temperature in the bathroom can contribute to the optimal curing of the finish. Avoid exposing the bathtub to extreme temperature fluctuations, as this can impact the curing process and the overall quality of the finish.
As the finish cures, it gradually achieves its maximum hardness and resilience, providing a glossy and smooth surface that enhances the visual appeal of the bathtub. This phase marks the culmination of the refinishing process, where the transformation of the bathtub becomes fully realized.
By allowing the finish to cure according to the manufacturer's recommendations, you can ensure that the refinished bathtub achieves its full potential in terms of durability, aesthetics, and overall quality. The curing phase is a vital part of the refinishing journey, contributing to the long-term satisfaction and enjoyment of your revitalized bathtub.
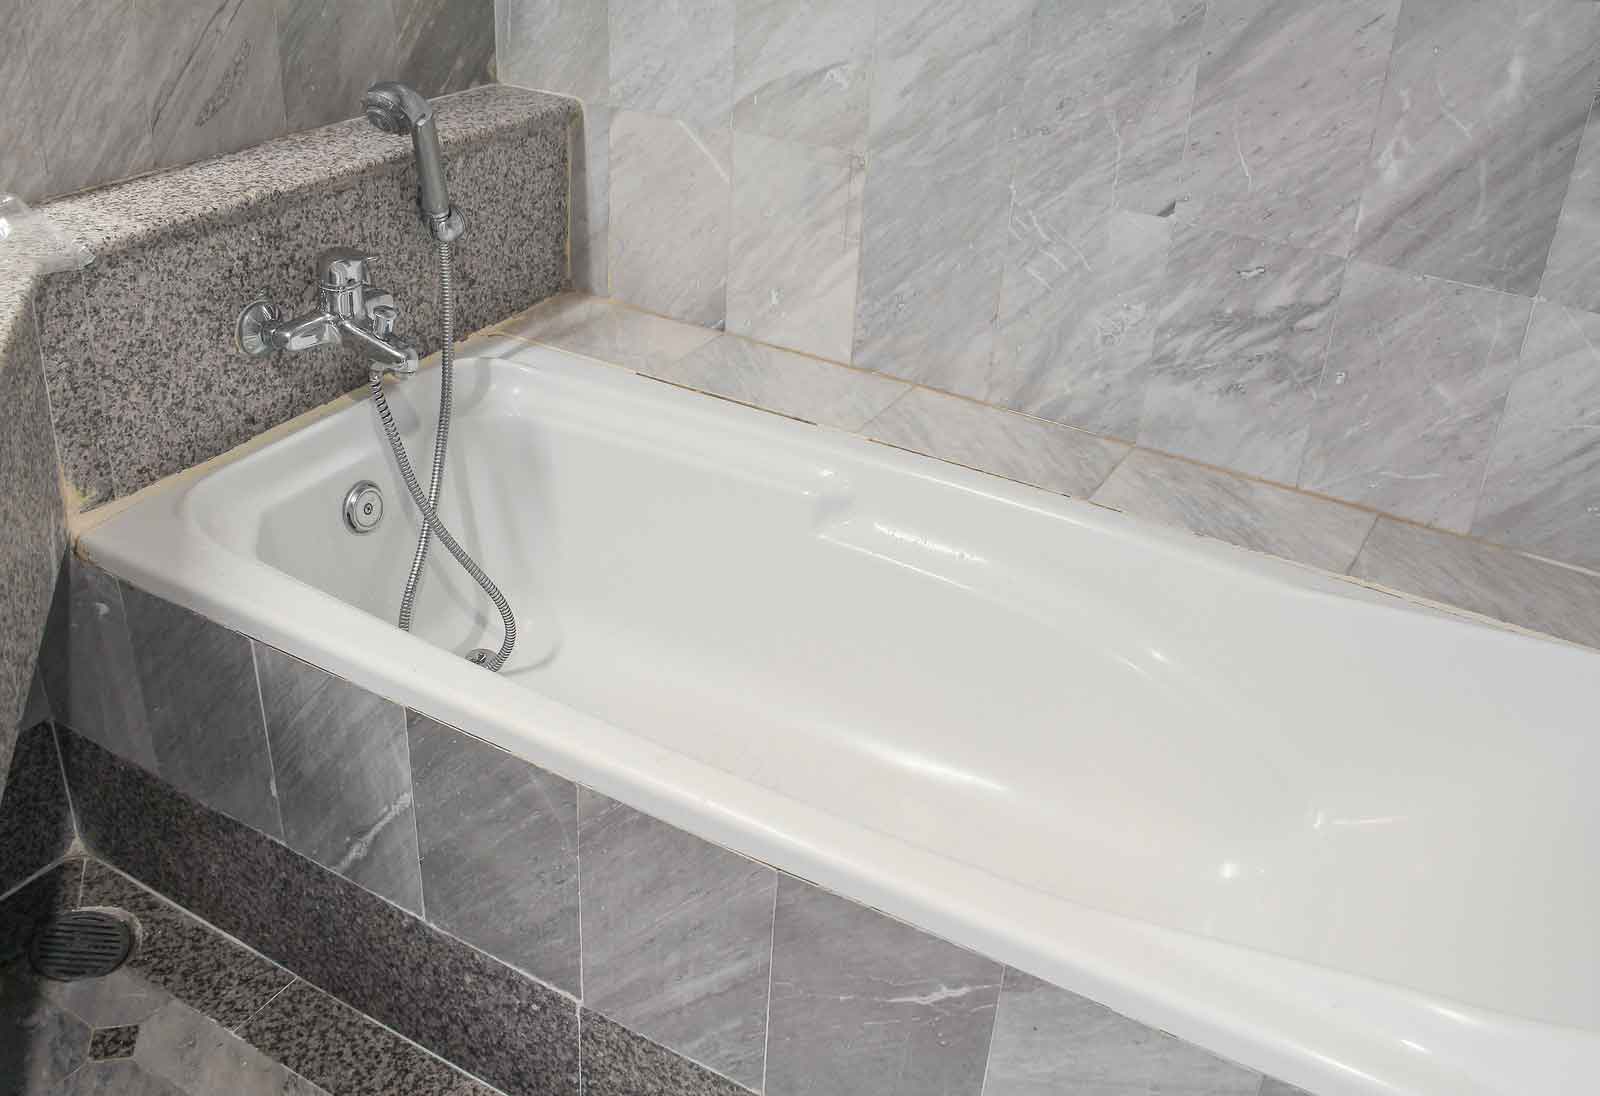
Step 6: Reinstall the Fixtures
After the new finish has fully cured and the bathtub has undergone a stunning transformation, the final step in the refinishing process involves reinstalling the fixtures to complete the revitalization of your bathroom. Reattaching the fixtures, such as the faucet, handles, and drain cover, is a crucial aspect that adds the finishing touches to the refinished bathtub, restoring both functionality and aesthetic appeal.
To begin the process of reinstalling the fixtures, gather the necessary tools and components, including a wrench, plumber's putty, silicone caulk, and any replacement parts if needed. It's essential to ensure that the fixtures are clean and free from any residue or old sealant before reinstallation.
Start by reattaching the drain cover, applying a thin layer of plumber's putty to the underside of the cover to create a watertight seal. Carefully position the cover over the drain opening and secure it in place, ensuring a snug fit without over-tightening.
Next, reinstall the faucet and handles, ensuring that they are aligned correctly and securely fastened. Apply a bead of silicone caulk around the base of the faucet to create a waterproof seal and prevent water from seeping underneath.
Once the fixtures are securely reinstalled, turn on the water supply and check for any leaks or drips. It's important to verify that the connections are watertight and that the fixtures function as intended. Address any issues promptly to ensure that the reinstalled fixtures operate flawlessly.
Finally, perform a visual inspection of the reinstalled fixtures, ensuring that they complement the newly refinished bathtub and contribute to the overall aesthetic of the bathroom. Clean any excess caulk or putty and wipe down the fixtures to achieve a polished and pristine appearance.
By meticulously reinstalling the fixtures, you complete the bathtub refinishing process, culminating in a beautifully restored and fully functional centerpiece for your bathroom. The reattached fixtures not only enhance the visual appeal of the bathtub but also contribute to its practicality and usability, allowing you to fully enjoy the results of your refinishing efforts.
With the fixtures in place, step back and admire the remarkable transformation of your bathtub. The combination of the newly applied finish and the reinstalled fixtures creates a captivating focal point in your bathroom, elevating the overall ambiance and adding a touch of elegance to the space. Your revitalized bathtub stands as a testament to the success of the refinishing project, breathing new life into your home and providing long-lasting satisfaction.
Conclusion
In conclusion, the process of refinishing a bathtub is a rewarding endeavor that can breathe new life into your bathroom, elevate the aesthetic appeal of your home, and provide long-term value. By following the comprehensive steps outlined in this guide, you have gained the knowledge and confidence to embark on the exciting journey of revitalizing your bathtub.
From gathering the necessary materials and preparing the area to meticulously cleaning the bathtub, removing the old finish, and applying the new finish with precision and care, each step has contributed to the transformation of your bathtub. The attention to detail and the adherence to best practices have been instrumental in achieving professional-quality results.
As the new finish cures and the fixtures are reinstalled, you witness the culmination of your efforts, resulting in a beautifully refinished bathtub that stands as a stunning centerpiece in your bathroom. The revitalized bathtub not only enhances the visual appeal of the space but also contributes to the overall ambiance and functionality of your home.
The successful completion of the refinishing project is a testament to your dedication and craftsmanship, showcasing your ability to undertake a rewarding home improvement endeavor. The revitalized bathtub serves as a source of pride, adding a touch of elegance and sophistication to your home while offering long-lasting satisfaction.
Furthermore, the cost-effective nature of bathtub refinishing, in comparison to full replacement, underscores the practicality and value of this transformative process. By revitalizing your existing bathtub, you have not only saved on expenses but also contributed to sustainability by reducing waste and minimizing the environmental impact.
In essence, the journey of refinishing your bathtub has been a testament to your creativity, resourcefulness, and commitment to enhancing your living space. The revitalized bathtub stands as a symbol of your ability to transform and elevate your home, creating a space that exudes beauty, functionality, and comfort.
As you revel in the remarkable transformation of your bathtub, take pride in the knowledge that your efforts have not only revitalized a key element of your home but have also contributed to a renewed sense of pride and satisfaction in your living environment. The revitalized bathtub serves as a constant reminder of the transformative power of home improvement and the joy of creating a space that reflects your unique style and personality.
Frequently Asked Questions about How To Refinish A Bathtub
Was this page helpful?
At Storables.com, we guarantee accurate and reliable information. Our content, validated by Expert Board Contributors, is crafted following stringent Editorial Policies. We're committed to providing you with well-researched, expert-backed insights for all your informational needs.


0 thoughts on “How To Refinish A Bathtub”