Articles
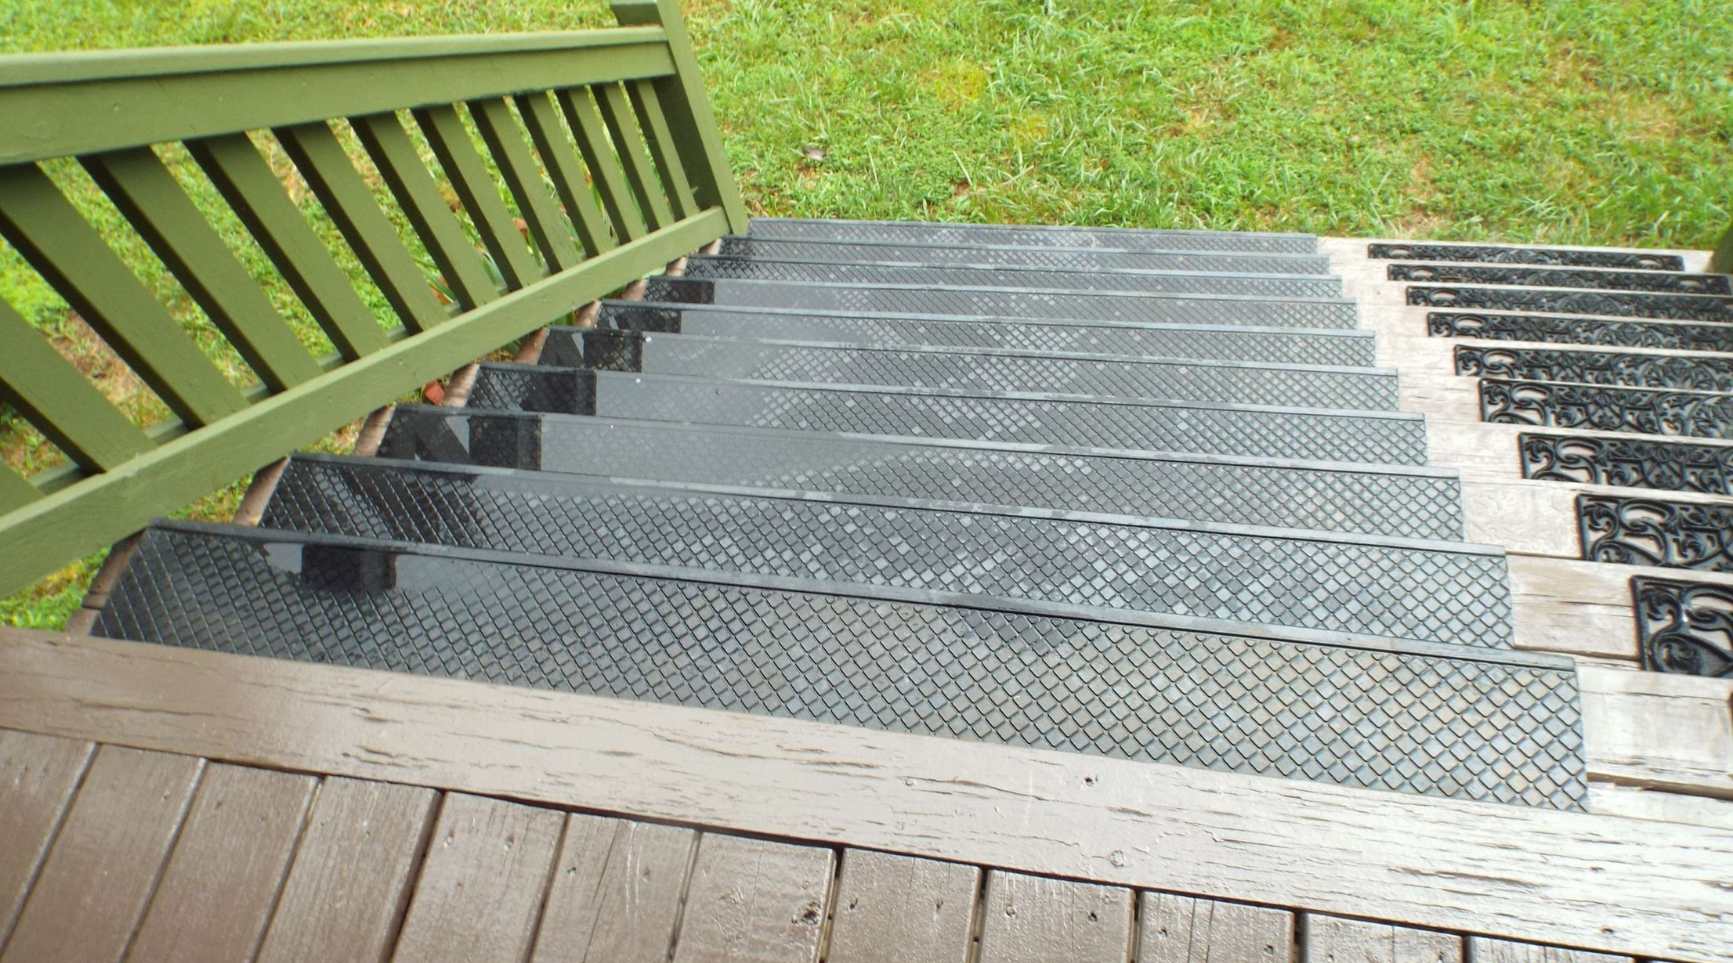
How To Refinish Wooden Stairs
Modified: October 28, 2024
Learn how to refinish wooden stairs with our informative articles. Transform your staircase with step-by-step guides, tips, and tricks.
(Many of the links in this article redirect to a specific reviewed product. Your purchase of these products through affiliate links helps to generate commission for Storables.com, at no extra cost. Learn more)
Introduction
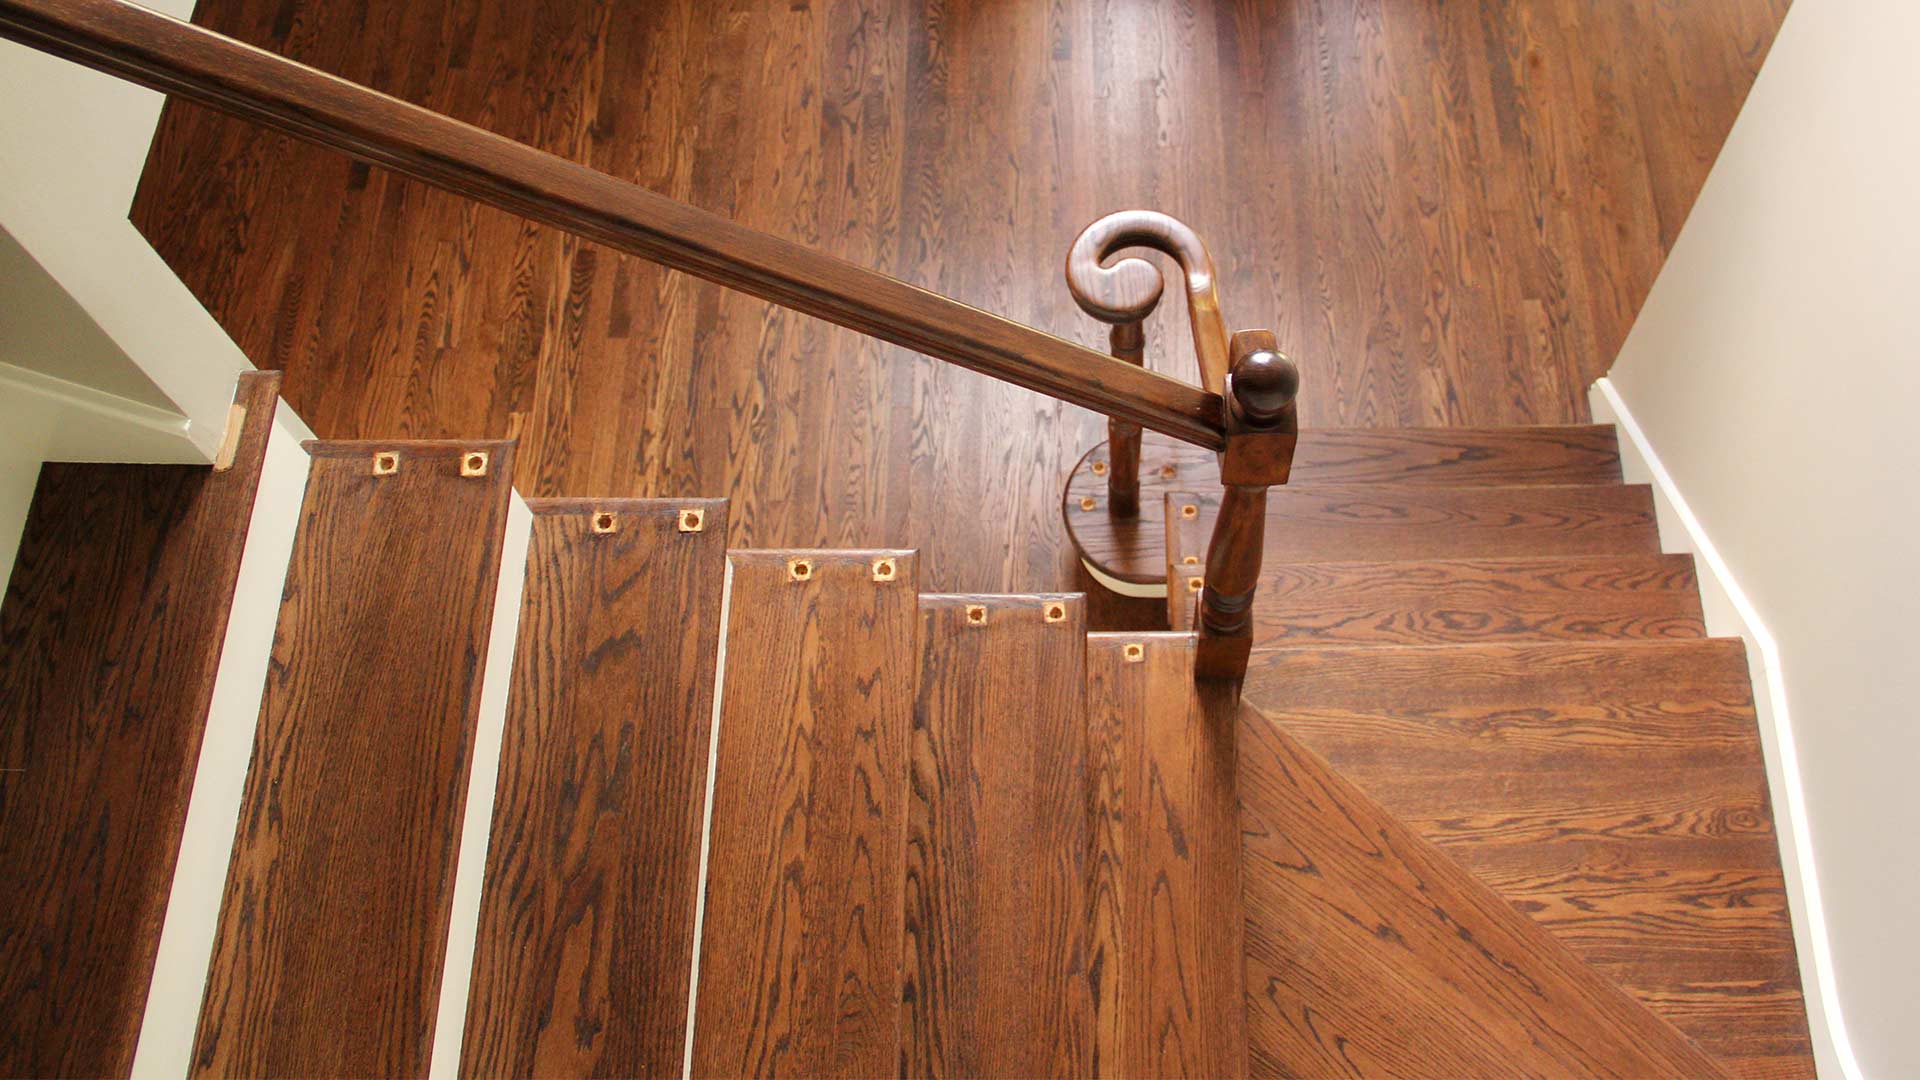
Refinishing wooden stairs is an excellent way to revitalize and enhance the beauty of your home. Over time, wooden stairs can become worn, scuffed, and dull, detracting from the overall aesthetic appeal of your space. Fortunately, with a little knowledge and the right tools, you can transform your tired-looking stairs into a stunning focal point.
In this article, we will guide you through the step-by-step process of refinishing wooden stairs, from gathering materials to applying the final protective finish. Whether you have hardwood, softwood, or laminate stairs, these refinishing techniques can be applied to bring out the natural beauty and extend the longevity of your stairs.
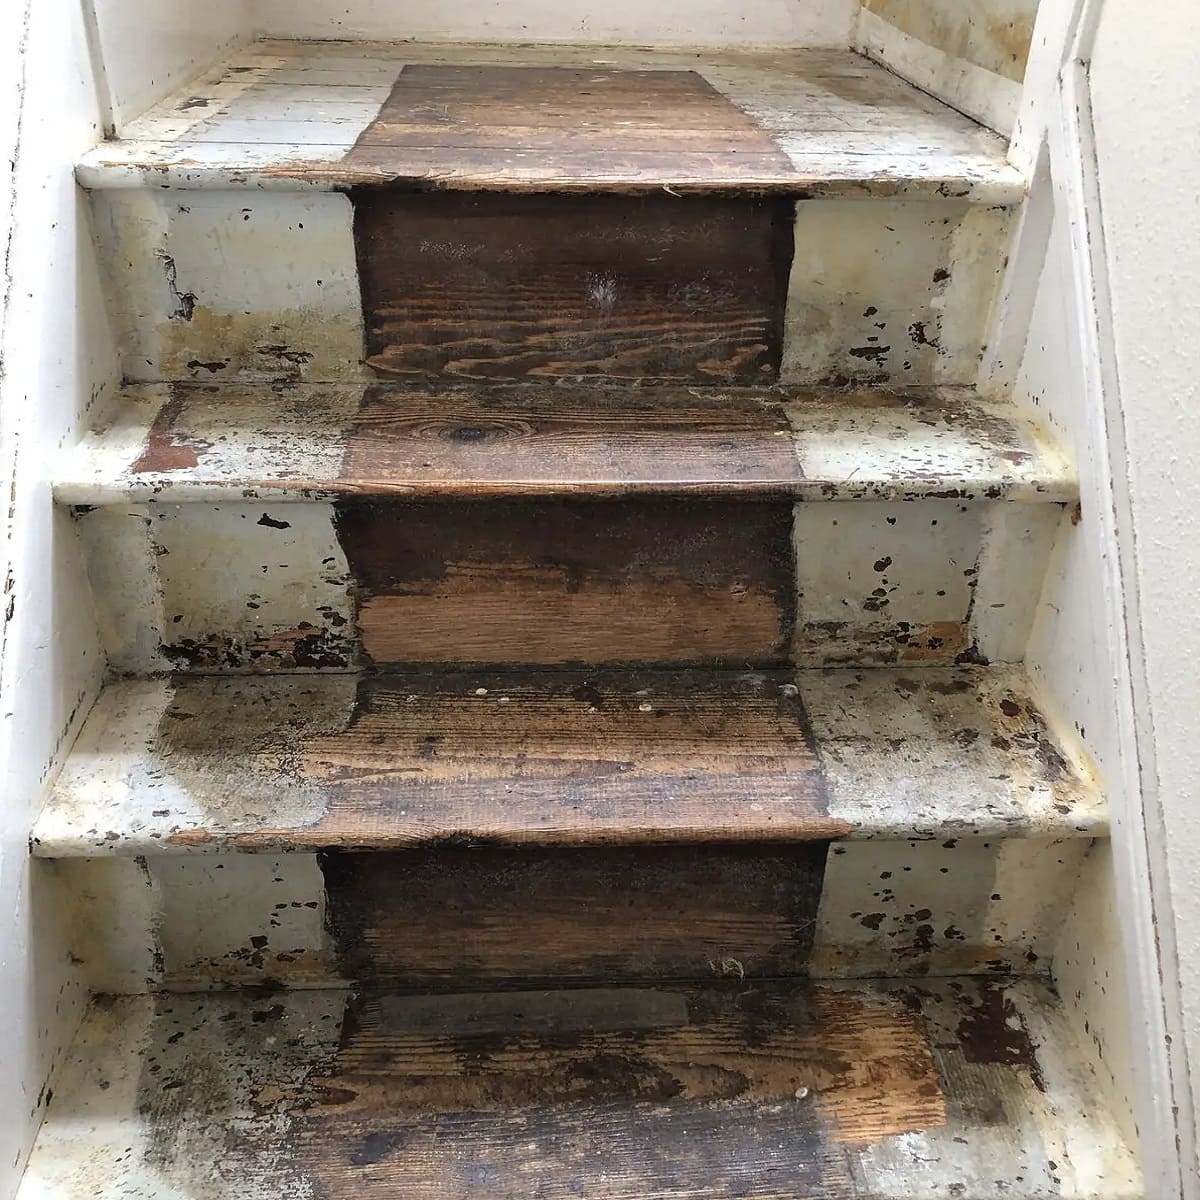
Before diving into the refinishing process, it’s important to assess the condition of your stairs. Are they in need of a complete overhaul or just a touch-up? Identifying any major repairs or structural issues beforehand will help you plan and prioritize your refinishing project.
So, get ready to roll up your sleeves and transform your stairs from drab to fab. Let’s dive into the step-by-step process of refinishing your wooden stairs and achieve remarkable results that will leave you proud of your home’s renewed charm.
Key Takeaways:
- Revitalize your home by refinishing wooden stairs with the right materials, preparation, and techniques. Prioritize safety, take your time, and enjoy the rewarding process of transforming tired stairs into stunning focal points.
- Elevate the beauty of your space by refinishing wooden stairs with care and attention to detail. From removing the old finish to adding finishing touches, enjoy the fulfilling journey of reviving your home’s charm.
Read more: Refinish A Wooden Entry Door
Step 1: Gather Materials
Before you begin the refinishing process, it’s essential to gather all the necessary materials. Having everything on hand will save you time and ensure a smoother workflow. Here are the materials you will need:
- Safety equipment: Start by prioritizing your safety. Obtain protective gear such as goggles, a dust mask or respirator, and gloves to shield yourself from any potential hazards.
- Drop cloths or plastic sheets: These will protect the surrounding areas from dust, stains, and paint.
- Paint scraper and putty knife: These tools will help you remove any existing paint or finish from the stairs.
- Sanding materials: Depending on the condition of your stairs, you may need both a belt sander and a detail sander. Also, gather sandpaper in varying grits, such as 80, 120, and 220, to ensure smooth and even sanding.
- Wood filler: Use wood filler to repair any cracks, dents, or imperfections in the stairs.
- Stain or paint: Decide whether you want to highlight the natural beauty of the wood by using a stain or add a pop of color with paint. Choose a product that is suitable for your stair material.
- Brushes and rollers: Different brushes and rollers will be necessary for applying the stain or paint. Consider using high-quality brushes to achieve better results.
- Protective finish: Apply a protective finish to shield your stairs from daily wear and tear. Choose between polyurethane, varnish, or another suitable wood finish product.
- Cleaner and rags: Use a cleaner specifically designed for removing dirt and grime from wood surfaces. Additionally, have plenty of clean, lint-free rags on hand for wiping down the stairs.
- Painters tape: If you’re planning to paint, use painters tape to protect any areas you don’t want to be painted.
Once you have gathered all the necessary materials, you’ll be ready to move on to the next step: preparing the stairs for refinishing.
Step 2: Prepare the Stairs
Preparing the stairs properly is crucial for achieving a professional-looking finish. Follow these steps to ensure that the surface is clean and ready for refinishing:
- Clear the area: Remove any furniture, rugs, or objects from the stairs to create a clear workspace.
- Protect the surrounding areas: Cover the nearby walls, floors, and other surfaces with drop cloths or plastic sheets to prevent any potential damage from dust or chemicals.
- Remove obstacles: If there are any obstacles on or near the stairs, such as loose carpeting or stair runners, carefully remove them to access the entire surface.
- Clean the stairs: Thoroughly clean the stairs to remove any dirt, dust, or debris. Use a vacuum cleaner or a broom to sweep away loose particles, and then wipe down the stairs with a damp cloth to ensure a pristine surface.
- Repair any damage: Inspect the stairs for any damage, such as loose boards, cracks, or gaps. Use a wood filler to fill in any imperfections and allow it to dry according to the manufacturer’s instructions.
- Smooth rough edges: If there are any rough edges or splinters on the stairs, use sandpaper or a sanding block to smooth them out. This will ensure a safe and comfortable surface.
By taking the time to properly prepare your stairs, you’ll create a clean and smooth canvas for the refinishing process. Once the stairs are free from debris and any necessary repairs have been made, you’re ready to move on to the next step: removing the old finish.
Step 3: Remove Old Finish
Before applying a new finish to your wooden stairs, it’s essential to remove the old finish. This step ensures that the new finish adheres properly and results in a seamless and even application. Follow these steps to remove the old finish:
- Start with a test area: Begin by selecting a small, inconspicuous area on the stairs to test your chosen method of removing the old finish. This will help you determine the most effective technique without causing damage to the entire staircase.
- Choose a removal method: There are several methods for removing the old finish, such as using a paint stripper, sanding, or scraping. Each method has its pros and cons, so choose the one that best suits your circumstances and comfort level.
- Apply the chosen method: Following the instructions on the product packaging or the technique you’ve chosen, apply the paint stripper, sand the surface, or scrape off the old finish. Be patient and take care not to damage the wood while removing the old finish.
- Remove residues: After using a paint stripper, thoroughly clean the stairs to remove any residues. Use a scraper or a steel wool pad to gently scrape away any remaining old finish.
- Smooth the surface: Once the old finish has been removed, use sandpaper or a sanding block to smooth the surface of the stairs. Start with a coarse grit sandpaper and gradually move to a finer grit to achieve a smooth and even surface.
- Ensure proper ventilation: Some removal methods, such as using a paint stripper, may emit fumes that can be harmful if inhaled. Ensure proper ventilation in the area by opening windows or using fans to circulate fresh air.
Remember to wear appropriate safety gear, such as gloves and a dust mask, while removing the old finish to protect yourself from any potential hazards. Once the old finish has been effectively removed, you can proceed to the next step: sanding the stairs.
Step 4: Sanding
Sanding is a critical step in refinishing wooden stairs as it helps create a smooth and even surface for the new finish to adhere to. Follow these steps to effectively sand your stairs:
- Choose the right sandpaper grit: Start with a coarse grit sandpaper, such as 80 or 100, to remove any remaining roughness or imperfections on the stairs. As you progress, switch to finer grits like 120 and 220 to achieve a smoother finish.
- Start at the top and work your way down: Begin sanding from the top step and gradually make your way down. This ensures that any dust or debris generated from sanding higher steps falls onto the lower steps, which will be sanded later.
- Use a belt sander or a detail sander: Depending on the size and shape of the stairs, you may opt for a belt sander for larger, flat areas or a detail sander for smaller, intricate areas. Move the sander in smooth, even strokes, following the grain of the wood.
- Pay attention to edges and corners: Don’t forget to sand the edges and corners of the stairs. Use sandpaper or a sanding block to reach these areas that the power sander might not be able to access effectively.
- Remove all sanding residue: After sanding each step, use a vacuum cleaner or a brush to remove all the sanding dust and residue. Wipe down the stairs with a tack cloth or a damp cloth to ensure a clean surface before proceeding.
- Feel for smoothness: Run your hand over the sanded surface to feel for any remaining rough patches or imperfections. If necessary, repeat the sanding process, gradually using finer grits, until you achieve a smooth and even surface.
Sanding can be a dusty process, so it’s crucial to wear a dust mask or respirator and work in a well-ventilated area. Taking your time with sanding will yield better results in the final appearance of your refinished stairs. Once the sanding is complete, it’s time to move on to the next step: cleaning the stairs.
When refinishing wooden stairs, be sure to thoroughly sand the surface to remove any old finish or imperfections before applying a new stain or sealant. This will ensure a smooth and even finish.
Read more: How To Refinish Carpeted Stairs
Step 5: Clean the Stairs
After sanding the stairs, it’s important to thoroughly clean the surface to remove any dust and debris. This step ensures that the new finish will adhere properly and result in a professional-looking outcome. Follow these steps to effectively clean your stairs:
- Vacuum or brush away loose debris: Use a vacuum cleaner with a brush attachment or a soft brush to remove any loose dust and particles from the stairs. Pay attention to corners, crevices, and edges where dust tends to accumulate.
- Wipe down the stairs: Dampen a clean, lint-free cloth with water or a mild wood cleaner. Wipe down each step, ensuring that you cover the entire surface. This step helps remove any remaining dust and prepares the stairs for the application of stain or paint.
- Let the stairs dry completely: Allow the stairs to air dry naturally or use a fan to expedite the drying process. It’s important that the stairs are completely dry before applying any stain or paint to prevent any moisture-related issues.
- Inspect the stairs: Take a close look at the surface of the stairs to make sure there are no remaining dust particles or debris. If necessary, use a tack cloth or another damp cloth to give the stairs a final wipe down for a clean and smooth surface.
By thoroughly cleaning the stairs, you remove any potential contaminants that may hinder the adhesion and quality of the new finish. Taking the time to perform this step will greatly contribute to the overall success of your refinishing project. Once the stairs are clean and dry, you’re ready to move on to the next step: applying the stain or paint.
Step 6: Apply Stain or Paint
Now that your stairs are clean and prepped, it’s time to apply the desired stain or paint to achieve the desired look. Whether you want to showcase the natural beauty of the wood or add a pop of color, follow these steps to ensure a successful application:
- Choose the right product: Select a high-quality stain or paint that is specifically formulated for wooden surfaces. Consider the color, finish, and compatibility with the type of wood you have on your stairs.
- Protect surrounding areas: Use painter’s tape to protect any areas, such as handrails or walls, that you don’t want to be stained or painted. Lay down drop cloths or plastic sheets to catch any drips or spills.
- Start with a test area: Apply the stain or paint to a small, inconspicuous area of one step to ensure that you are happy with the color and finish. Allow it to dry fully before evaluating the results.
- Apply the stain or paint: If you’re using a stain, use a clean brush or rag to apply it evenly, following the direction of the wood grain. For paint, use a brush or roller to apply an even coat, working from the top of the stairs down.
- Work in small sections: To prevent the stain or paint from drying too quickly, work in small sections, such as one step at a time. This allows you to apply the product evenly and avoid any visible brush or roller marks.
- Allow for proper drying time: Follow the manufacturer’s instructions regarding drying time between coats. It’s important to allow the first coat to dry fully before applying additional coats for optimal results.
- Apply multiple coats (optional): Depending on the desired depth of color or coverage, you may choose to apply multiple coats of stain or paint. Ensure that each coat is dry before applying the next one to avoid any smudging or unevenness.
Remember to work in a well-ventilated area and wear appropriate safety gear, such as gloves and a respirator, when applying stains or paints. Take your time with this step to achieve a smooth and flawless finish. Once the stain or paint has dried according to the manufacturer’s instructions, you can proceed to the next step: applying a protective finish.
Step 7: Apply Protective Finish
Applying a protective finish is essential to preserve the beauty of your newly stained or painted stairs and protect them from everyday wear and tear. Follow these steps to effectively apply a protective finish:
- Choose the right protective finish: There are various options available for a protective finish, such as polyurethane, varnish, or lacquer. Select a product that is compatible with your chosen stain or paint and offers the level of protection you desire.
- Prepare the stairs: Ensure that the stairs are clean and free from any dust or debris. If necessary, lightly sand the surface with fine-grit sandpaper to create a smooth base for the protective finish.
- Stir the protective finish: Thoroughly stir the protective finish to ensure it is well-mixed and consistent.
- Apply the protective finish: Use a clean brush or roller to apply the protective finish evenly, following the same method used for applying the stain or paint. Work in small sections, starting from the top step and working your way down.
- Allow for proper drying time: Follow the manufacturer’s instructions regarding drying time between coats. Typically, multiple coats of protective finish are recommended for optimal durability and longevity.
- Sand between coats (optional): If desired, lightly sand the surface between coats of protective finish using fine-grit sandpaper. This helps create a smooth and even finish.
- Apply additional coats (optional): Depending on the level of protection you desire, apply additional coats of the protective finish. Allow each coat to dry fully before applying the next one.
- Complete the process: Once all the coats of protective finish have been applied and have dried thoroughly, inspect the stairs for any imperfections or unevenness. If necessary, lightly sand and apply a final coat to ensure a flawless finish.
Protective finishes not only enhance the appearance of your stairs but also provide a shield against scratches, stains, and moisture. Taking the time to apply a protective finish will extend the lifespan of your refinished stairs. After the protective finish has dried completely, you’re ready for the final step: adding the finishing touches.
Step 8: Finishing Touches
Once the protective finish has dried, it’s time to add the finishing touches to your refinished wooden stairs. Paying attention to the details will elevate the final look and ensure a polished and professional outcome. Follow these steps to complete your refinishing project:
- Remove any painter’s tape or protective coverings: Carefully remove any painter’s tape or protective coverings that were used to protect surrounding areas during the refinishing process. Take your time to avoid damaging the freshly finished stairs.
- Clean up the workspace: Dispose of any used materials, such as brushes, rollers, and empty paint cans, properly. Clean up the workspace by vacuuming or sweeping away any dust or debris that may have accumulated during the refinishing process.
- Inspect for touch-ups: Carefully inspect the stairs for any areas that may require touch-ups or additional attention. Look for any missed spots, uneven coverage, or imperfections that can be corrected with a small brush or touch-up paint.
- Reinstall any removed fixtures or accessories: If you removed handrails, balusters, or other fixtures during the refinishing process, now is the time to reinstall them. Ensure they are securely fastened and aligned properly with the stairs.
- Clean and maintain the stairs: Establish a regular cleaning routine to keep your refinished stairs looking beautiful for years to come. Use a soft cloth or mop dampened with water or a mild wood cleaner to clean the surface. Avoid using harsh chemical cleaners or abrasive tools that may damage the finish.
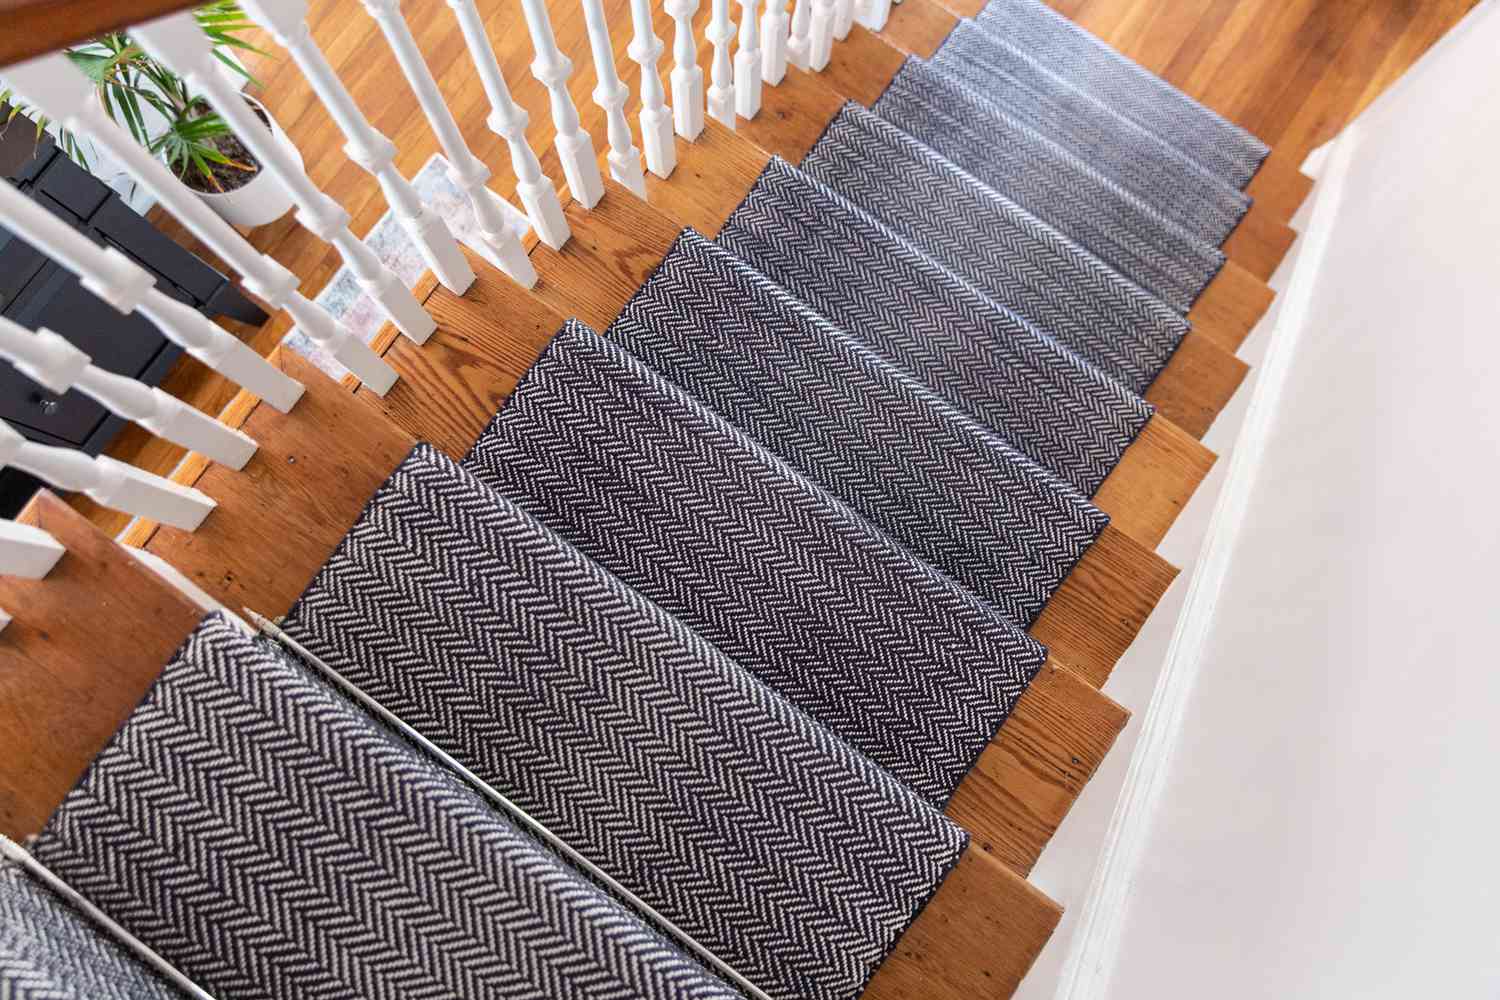
- Add finishing touches: Consider adding decorative elements or accessories to further enhance the aesthetics of your refinished stairs. This could include adding a runner or carpet, placing potted plants or decorative items on landings, or installing accent lighting to highlight the staircase’s features.
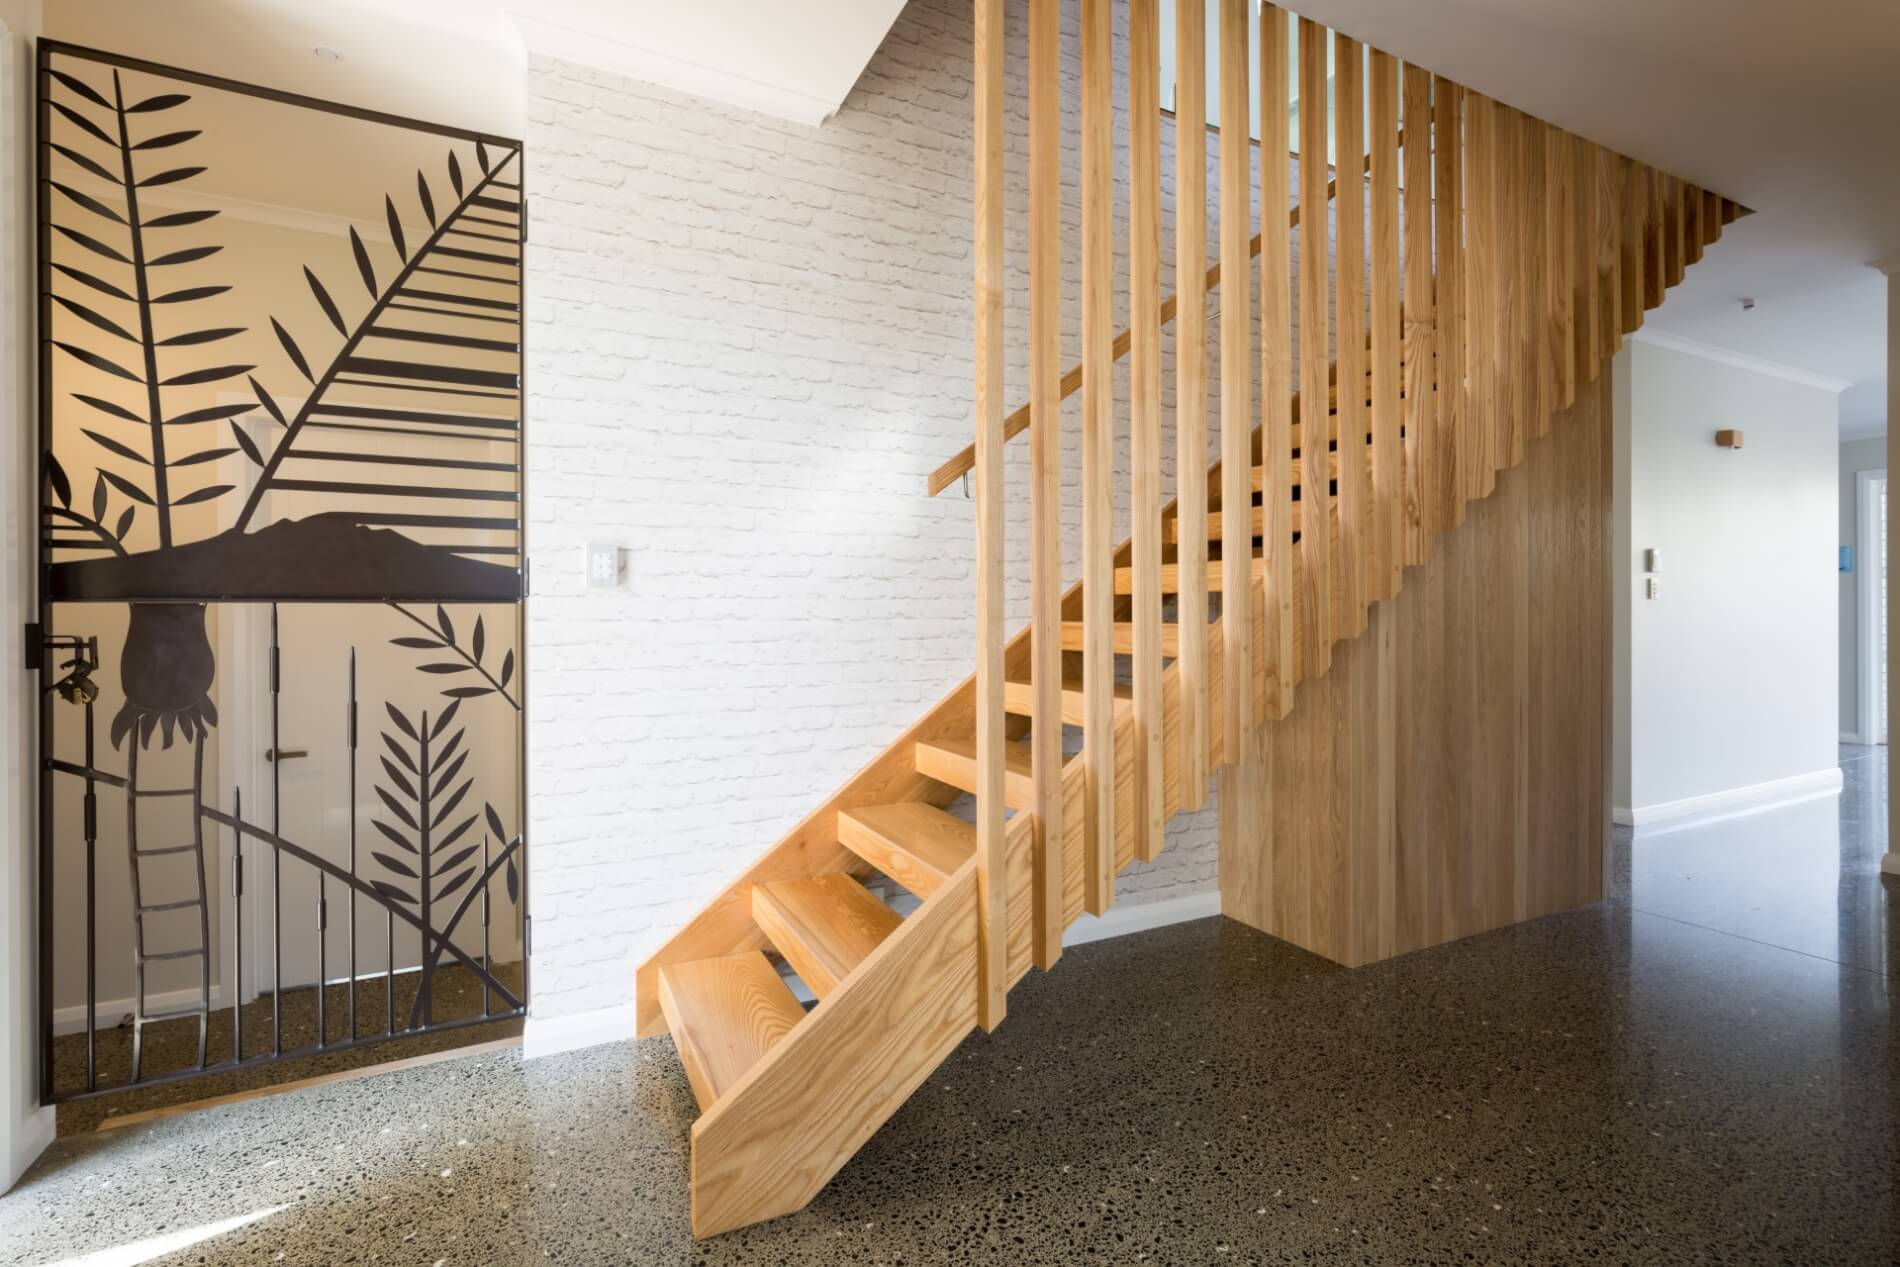
By paying attention to these finishing touches, you can truly transform your stairs into a stunning focal point of your home. These final steps will ensure that your refinishing project is complete and that you can fully enjoy the beauty of your newly refinished wooden stairs.
Congratulations on successfully refinishing your wooden stairs! Take pride in your hard work and enjoy the renewed beauty and charm that your refinished stairs bring to your home.
Read more: How To Protect Wooden Stairs
Conclusion
Refinishing wooden stairs is a fulfilling and rewarding process that can breathe new life into your home. By following the step-by-step guide outlined in this article, you can transform your tired-looking stairs into a stunning focal point that adds beauty and value to your space.
Starting with gathering the necessary materials and preparing the stairs, you’ve learned how to remove the old finish, sand the surface, and clean it thoroughly. Then, you applied the stain or paint of your choice and protected it with a durable finish. Finally, with the finishing touches, you’ve added that extra flair and attention to detail to elevate the overall appearance of your refinishing project.
Throughout the process, it’s important to prioritize safety, take your time, and pay attention to the details. By doing so, you will ensure a professional-looking outcome and enjoy the results for years to come. Regular cleaning and maintenance will help preserve the beauty of your refinished stairs and prolong their lifespan.
Remember, refinishing wooden stairs is an opportunity to showcase your creativity and enhance the overall aesthetic of your home. Take pride in your hard work, and don’t be afraid to experiment with different stains, paints, or decorative elements to achieve the desired look.
Now that you have the knowledge and know-how, it’s time to embark on your own refinishing journey. So roll up your sleeves, gather your materials, and get ready to transform your wooden stairs into a stunning centerpiece that will leave you and your guests in awe.
Frequently Asked Questions about How To Refinish Wooden Stairs
Was this page helpful?
At Storables.com, we guarantee accurate and reliable information. Our content, validated by Expert Board Contributors, is crafted following stringent Editorial Policies. We're committed to providing you with well-researched, expert-backed insights for all your informational needs.


0 thoughts on “How To Refinish Wooden Stairs”