Home>Furniture & Design>Bathroom Accessories>How To Refinish Old Bathtub
Bathroom Accessories
How To Refinish Old Bathtub
Modified: April 22, 2024
Learn how to refinish your old bathtub and give your bathroom a fresh new look with our expert tips and techniques. Upgrade your bathroom accessories today!
(Many of the links in this article redirect to a specific reviewed product. Your purchase of these products through affiliate links helps to generate commission for Storables.com, at no extra cost. Learn more)
Introduction
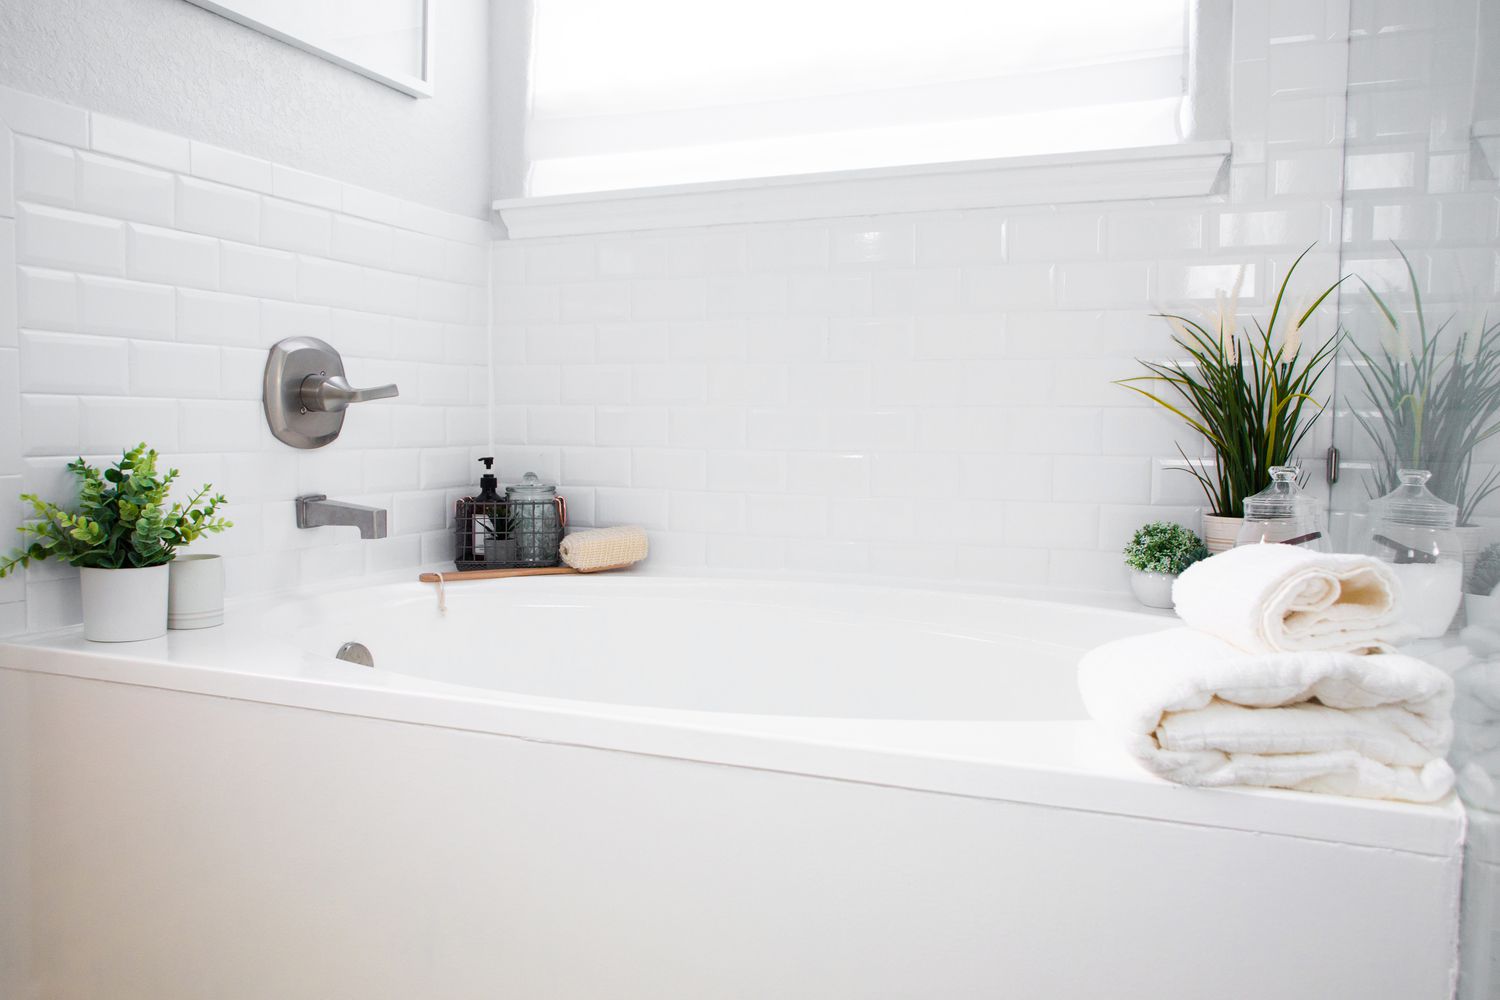
Refinishing an old bathtub can breathe new life into your bathroom and save you the cost and hassle of a full replacement. Over time, bathtubs can become worn, stained, or chipped, detracting from the overall aesthetics of the space. However, with the right materials, tools, and techniques, you can revitalize your bathtub and give it a fresh, like-new appearance.
Whether you're a seasoned DIY enthusiast or a novice looking to take on a new project, refinishing a bathtub is a rewarding endeavor that can yield impressive results. By following a few simple steps, you can transform your worn-out bathtub into a sparkling centerpiece of your bathroom.
In this comprehensive guide, we will walk you through the process of refinishing an old bathtub, from gathering the necessary materials and tools to preparing the surface, applying the refinishing product, and completing the project with a professional touch. With careful attention to detail and a bit of elbow grease, you can achieve a stunning outcome that enhances the overall appeal of your bathroom.
Refinishing a bathtub is not only a cost-effective alternative to replacement but also an environmentally friendly choice. By refurbishing your existing bathtub, you can reduce waste and minimize the environmental impact associated with manufacturing and disposing of new fixtures. Additionally, the ability to customize the color and finish of the refinished bathtub allows you to tailor the look to suit your personal style and complement the existing decor of your bathroom.
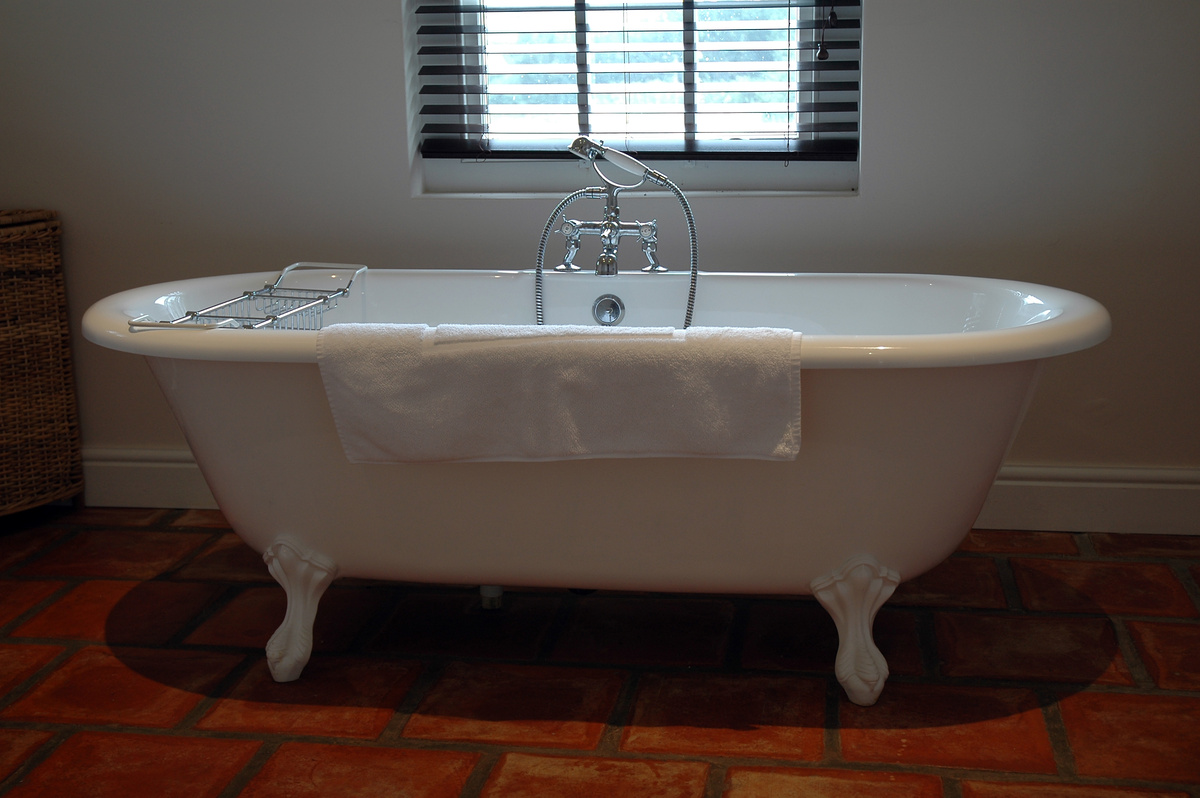
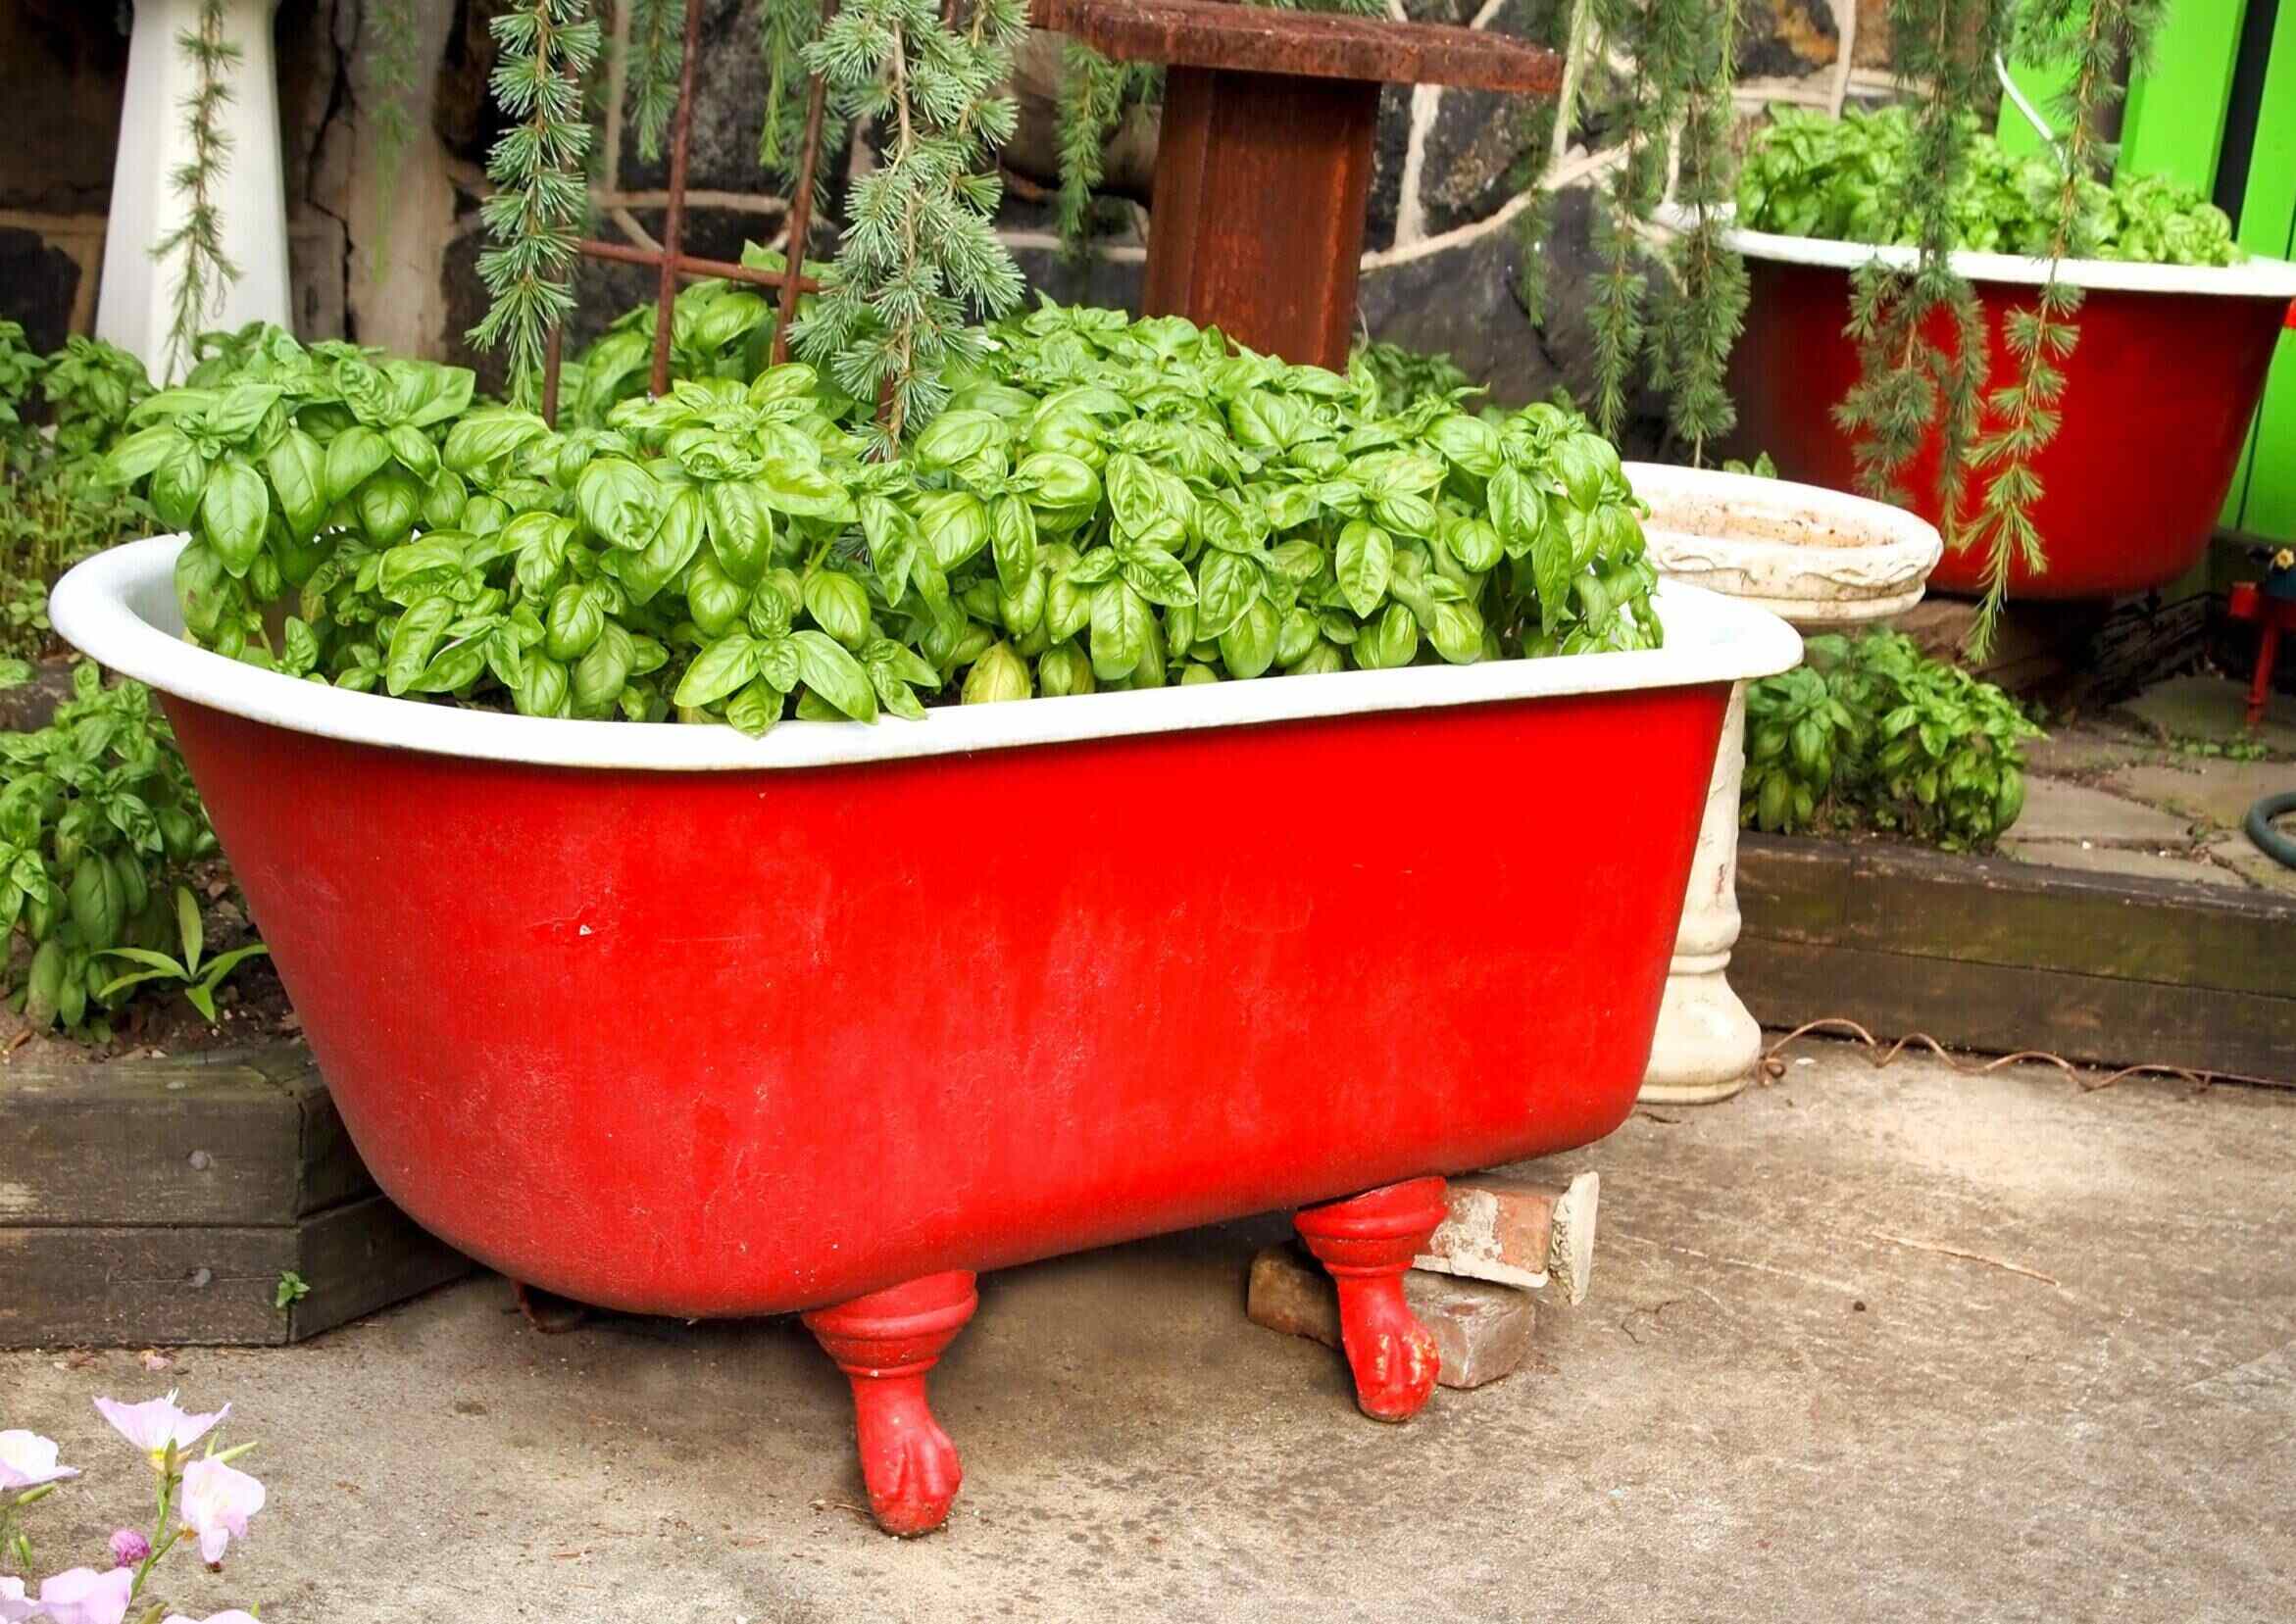
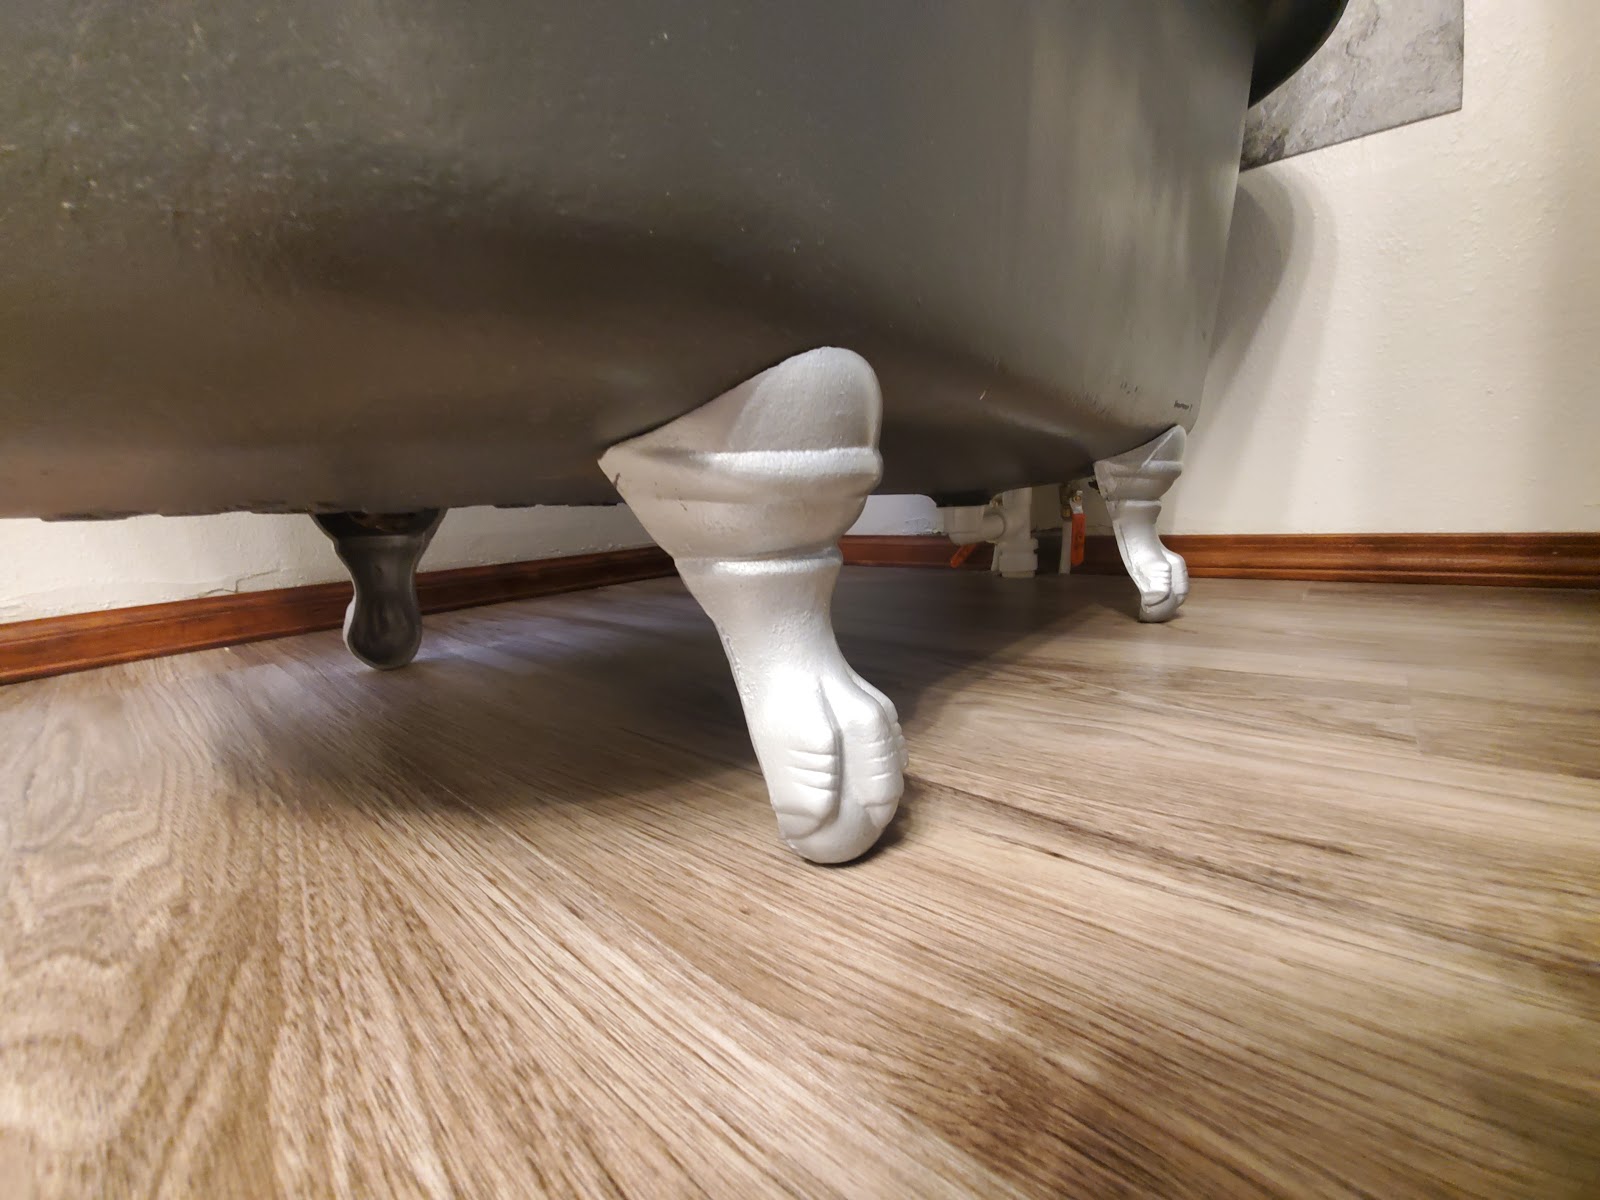
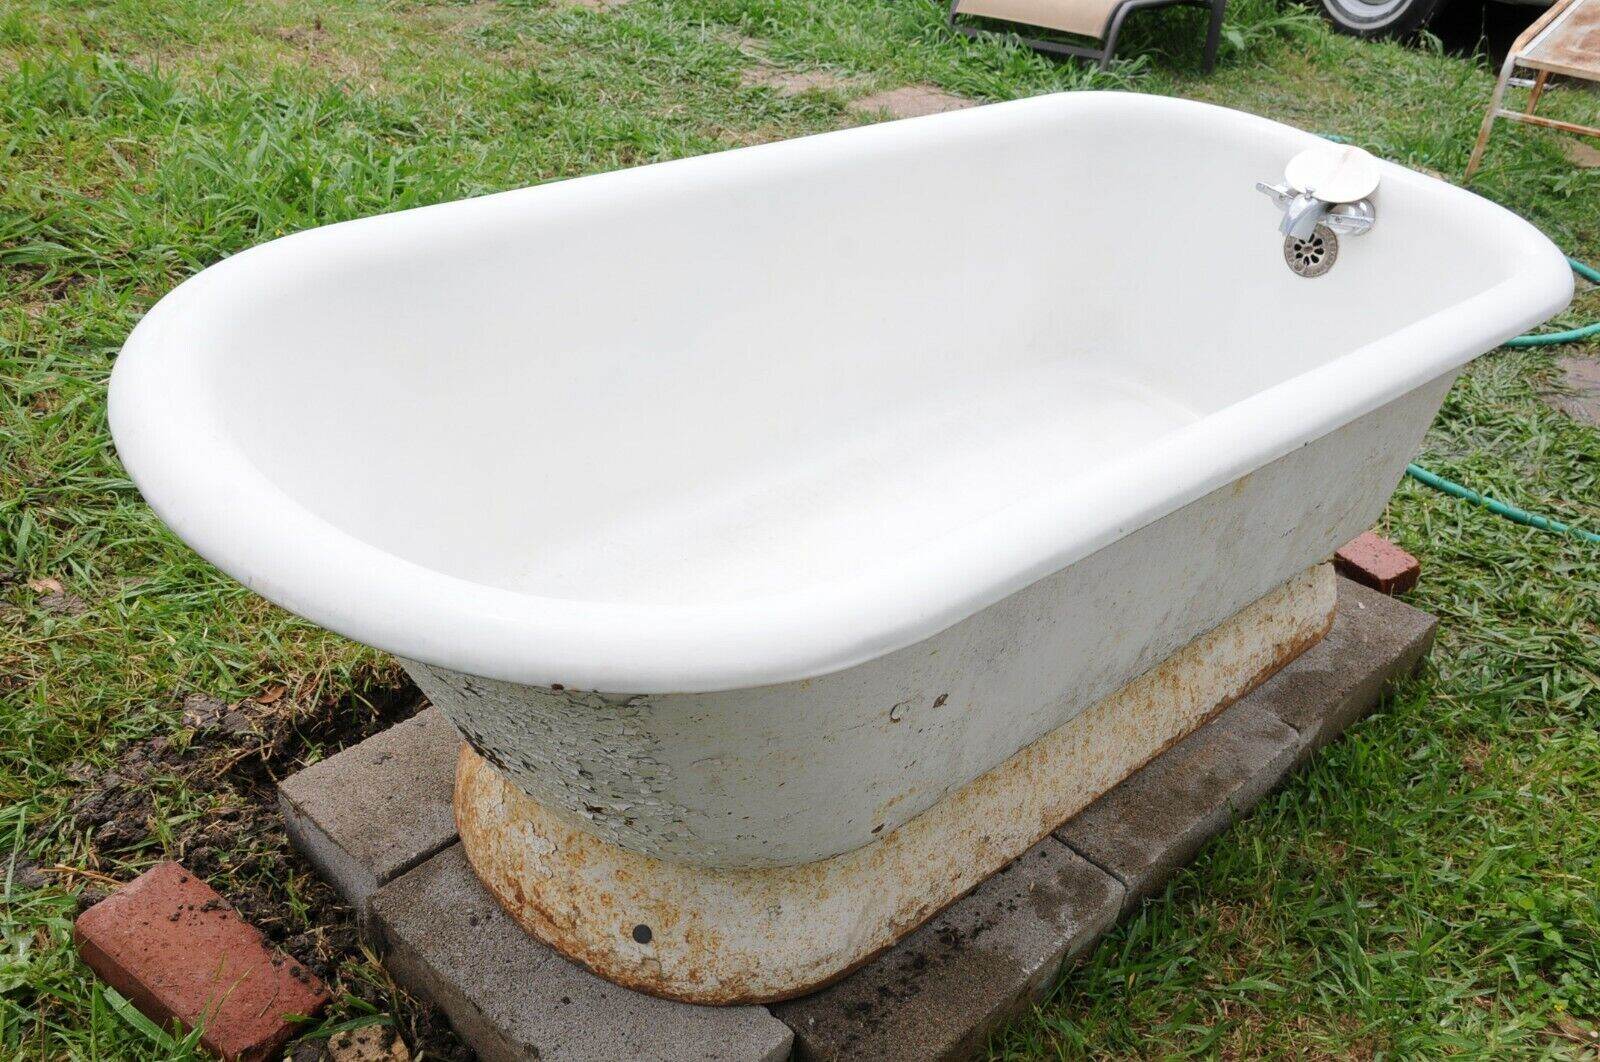
Whether you're aiming to refresh the appearance of a vintage clawfoot tub or modernize a standard alcove bathtub, the process of refinishing remains a valuable skill that can extend the lifespan of your fixtures and elevate the overall ambiance of your bathroom. With a bit of patience and attention to detail, you can achieve professional-looking results and enjoy the satisfaction of a job well done.
Key Takeaways:
- Revitalize your old bathtub with a DIY refinishing project. Save money, reduce waste, and customize the look to suit your style while extending the lifespan of your fixture. It’s a rewarding and sustainable way to refresh your bathroom!
- Gather materials, prepare the surface, apply the refinishing product, and let it cure. Reinstall the fixtures for a professional touch. Transform your worn-out bathtub into a sparkling centerpiece with patience, precision, and creativity.
Read more: How To Refinish An Old Cast Iron Bathtub
Step 1: Gather Materials and Tools
Before embarking on the bathtub refinishing project, it's essential to gather all the necessary materials and tools to ensure a smooth and efficient process. Here's a comprehensive list of items you'll need:
Materials:
- Bathtub Refinishing Kit: Choose a high-quality refinishing kit that includes epoxy, primer, and topcoat. Ensure that the kit is suitable for the material of your bathtub, whether it's porcelain, fiberglass, or acrylic.
- Protective Gear: Invest in a respirator mask, safety goggles, and disposable gloves to safeguard yourself from fumes and chemicals during the refinishing process.
- Cleaning Solutions: Acquire a heavy-duty bathtub cleaner or degreaser to thoroughly clean the surface before refinishing. Additionally, you may need sandpaper or a chemical etching solution to prepare the bathtub for the refinishing product.
- Masking Materials: Gather painter's tape, plastic sheeting, and drop cloths to protect the surrounding areas from overspray and drips.
- Ventilation: If your bathroom lacks adequate ventilation, consider purchasing a box fan or exhaust fan to ensure proper air circulation during the refinishing process.
Tools:
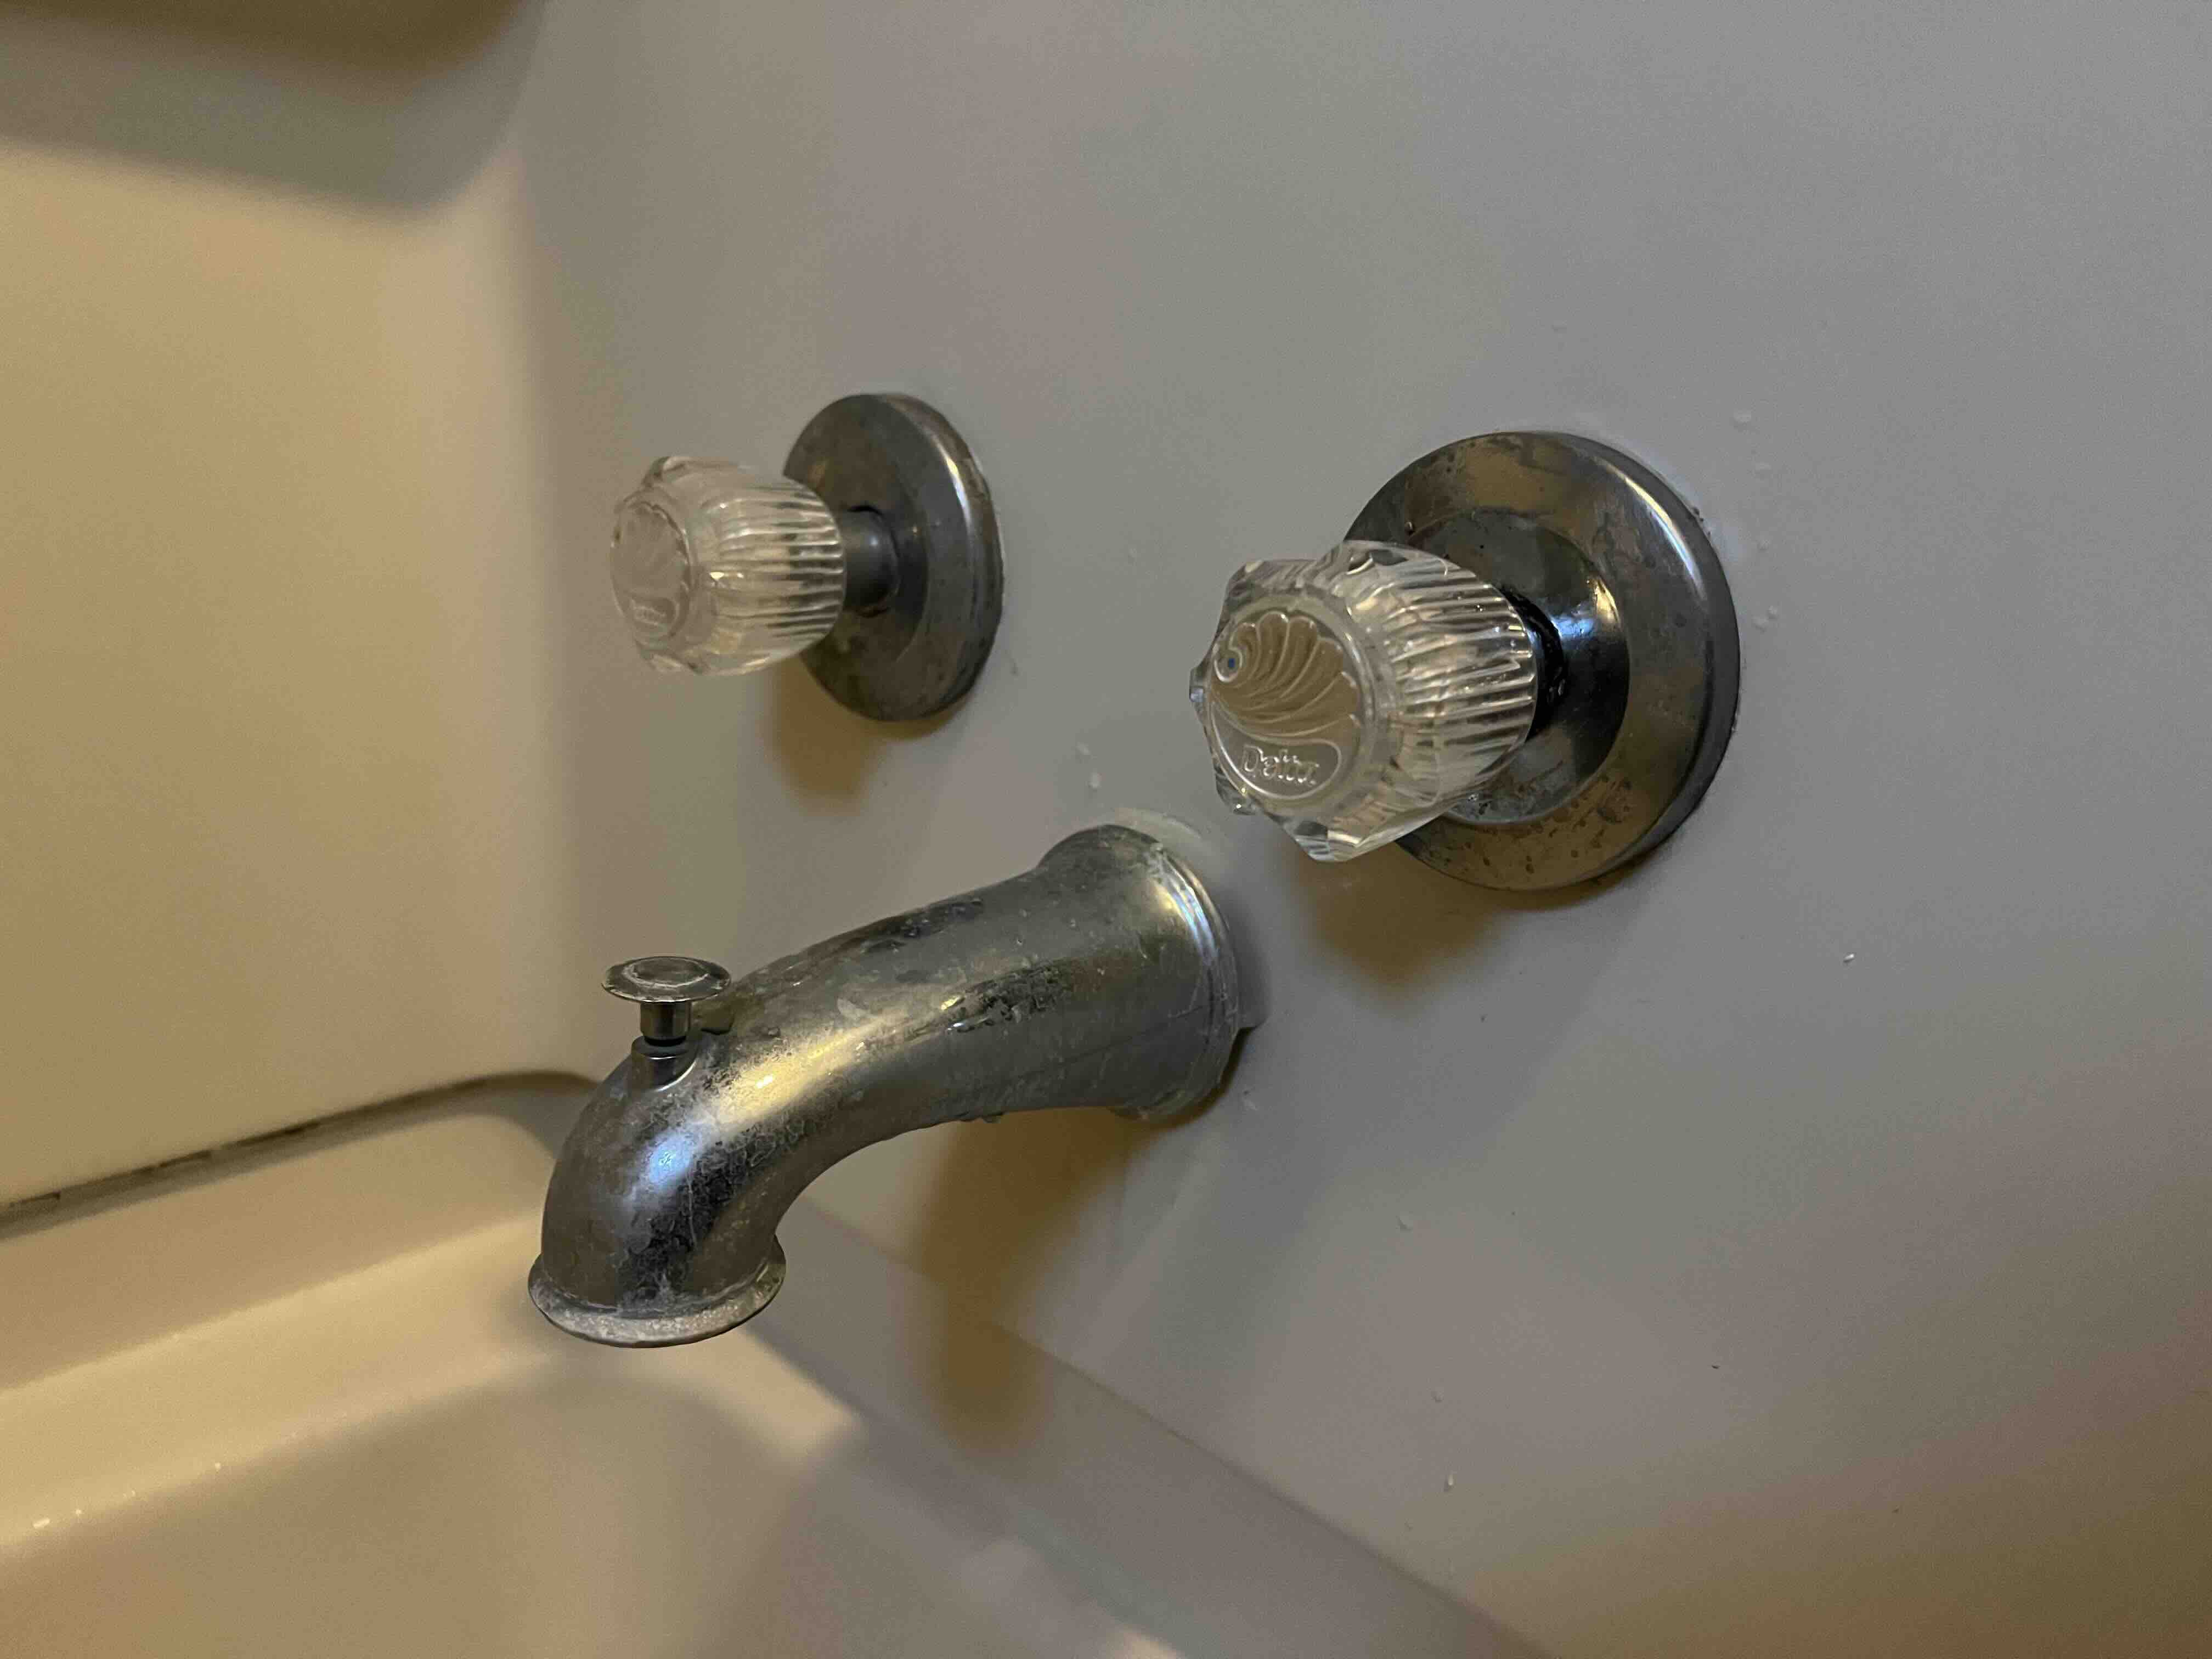
- Screwdriver and Wrench: These tools will be essential for removing the bathtub fixtures, such as the faucet, handles, and drain cover, before refinishing.
- Sanding Equipment: Depending on the condition of the bathtub surface, you may need sandpaper, a sanding block, or a rotary sander to smooth out imperfections and create a suitable texture for the refinishing product to adhere to.
- Spray Gun or Brush: The choice of application method will depend on the type of refinishing product you're using. A spray gun is ideal for achieving a smooth, even finish, while a brush can be used for smaller areas or touch-ups.
- Utility Knife: This tool will come in handy for trimming the plastic sheeting and painter's tape to create clean, precise edges when masking off the surrounding areas.
By ensuring that you have all the necessary materials and tools at your disposal, you can streamline the bathtub refinishing process and minimize interruptions. Proper preparation and organization at this stage will set the foundation for a successful and satisfying refinishing project.
Remember, the quality of the materials and tools you use can significantly impact the final outcome of the bathtub refinishing, so it's worth investing in reliable products and equipment to achieve professional-looking results.
Step 2: Prepare the Bathtub
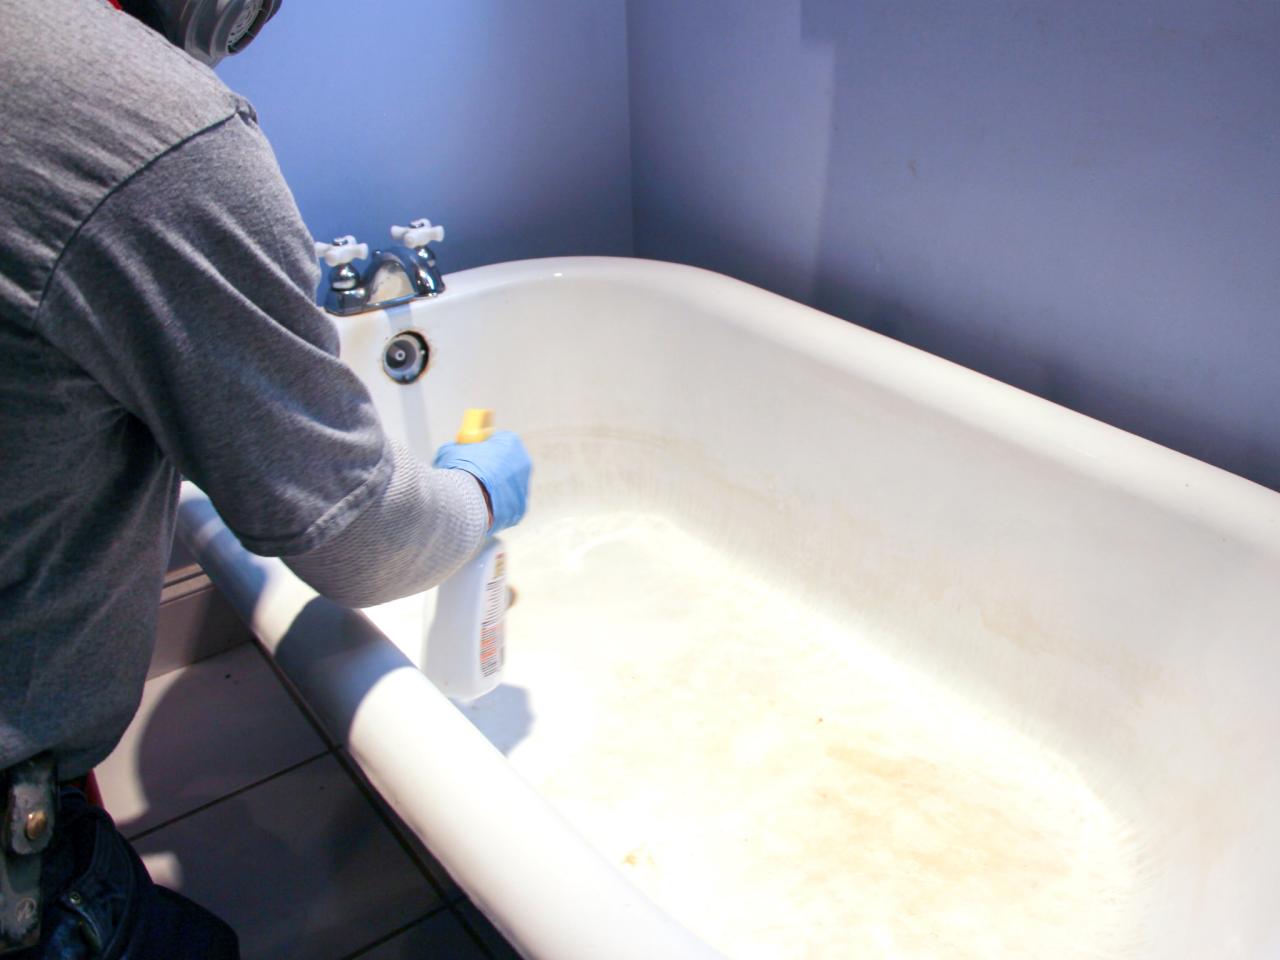
Proper preparation of the bathtub surface is crucial to ensure the adhesion and longevity of the refinishing product. Before applying the new finish, it's essential to thoroughly clean the bathtub to remove any soap scum, mineral deposits, and other residues that may hinder the bonding of the refinishing materials. Here's a detailed guide on how to prepare the bathtub for refinishing:
-
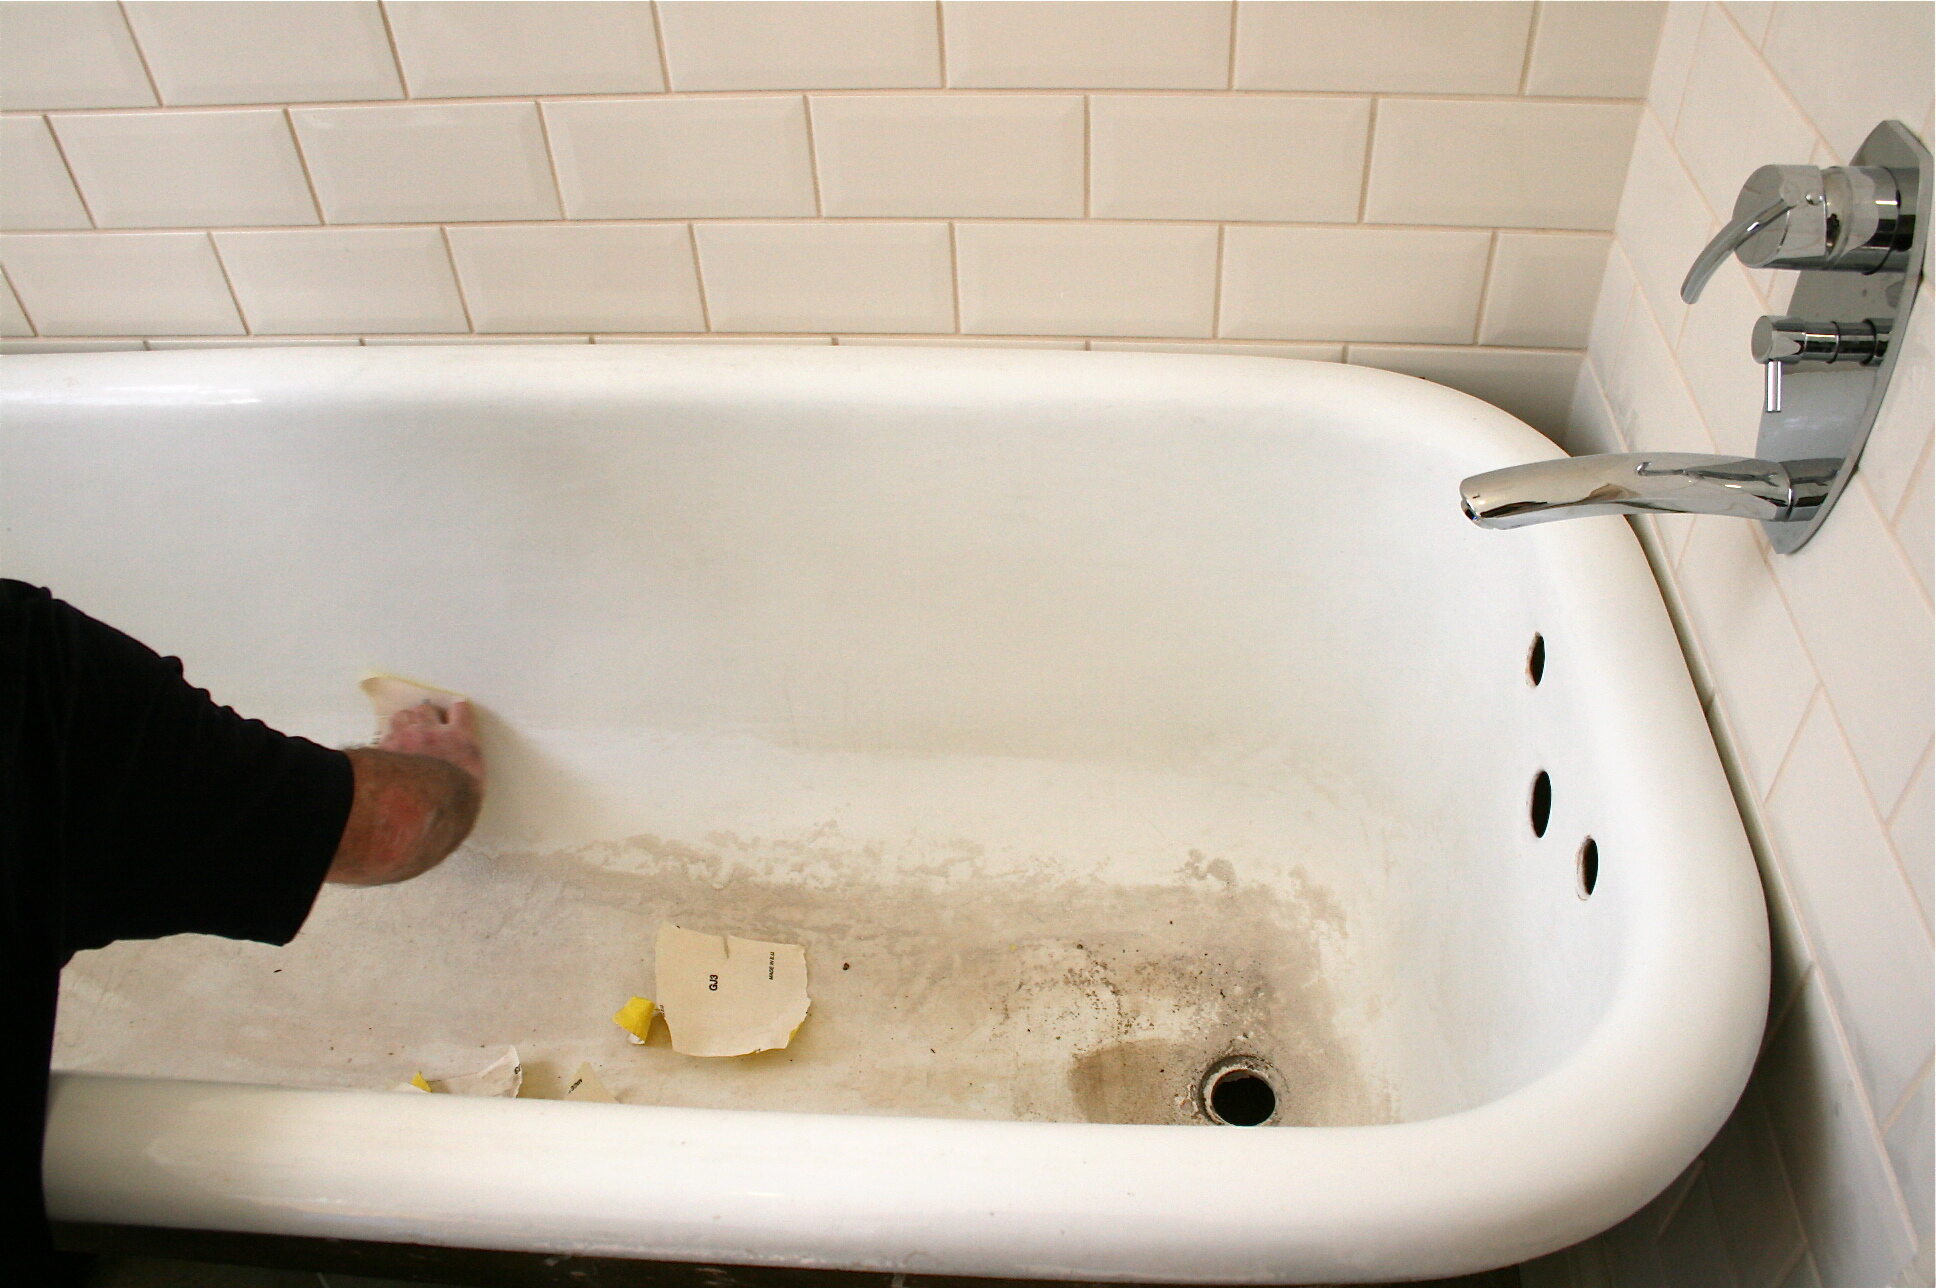
Clean the Surface: Begin by using a heavy-duty bathtub cleaner or degreaser to scrub the entire surface of the bathtub. Pay close attention to areas around the drain, along the waterline, and any other spots where grime and buildup may be present. For stubborn stains, consider using a non-abrasive cleaning pad or sponge to gently lift the residue without damaging the surface.
-
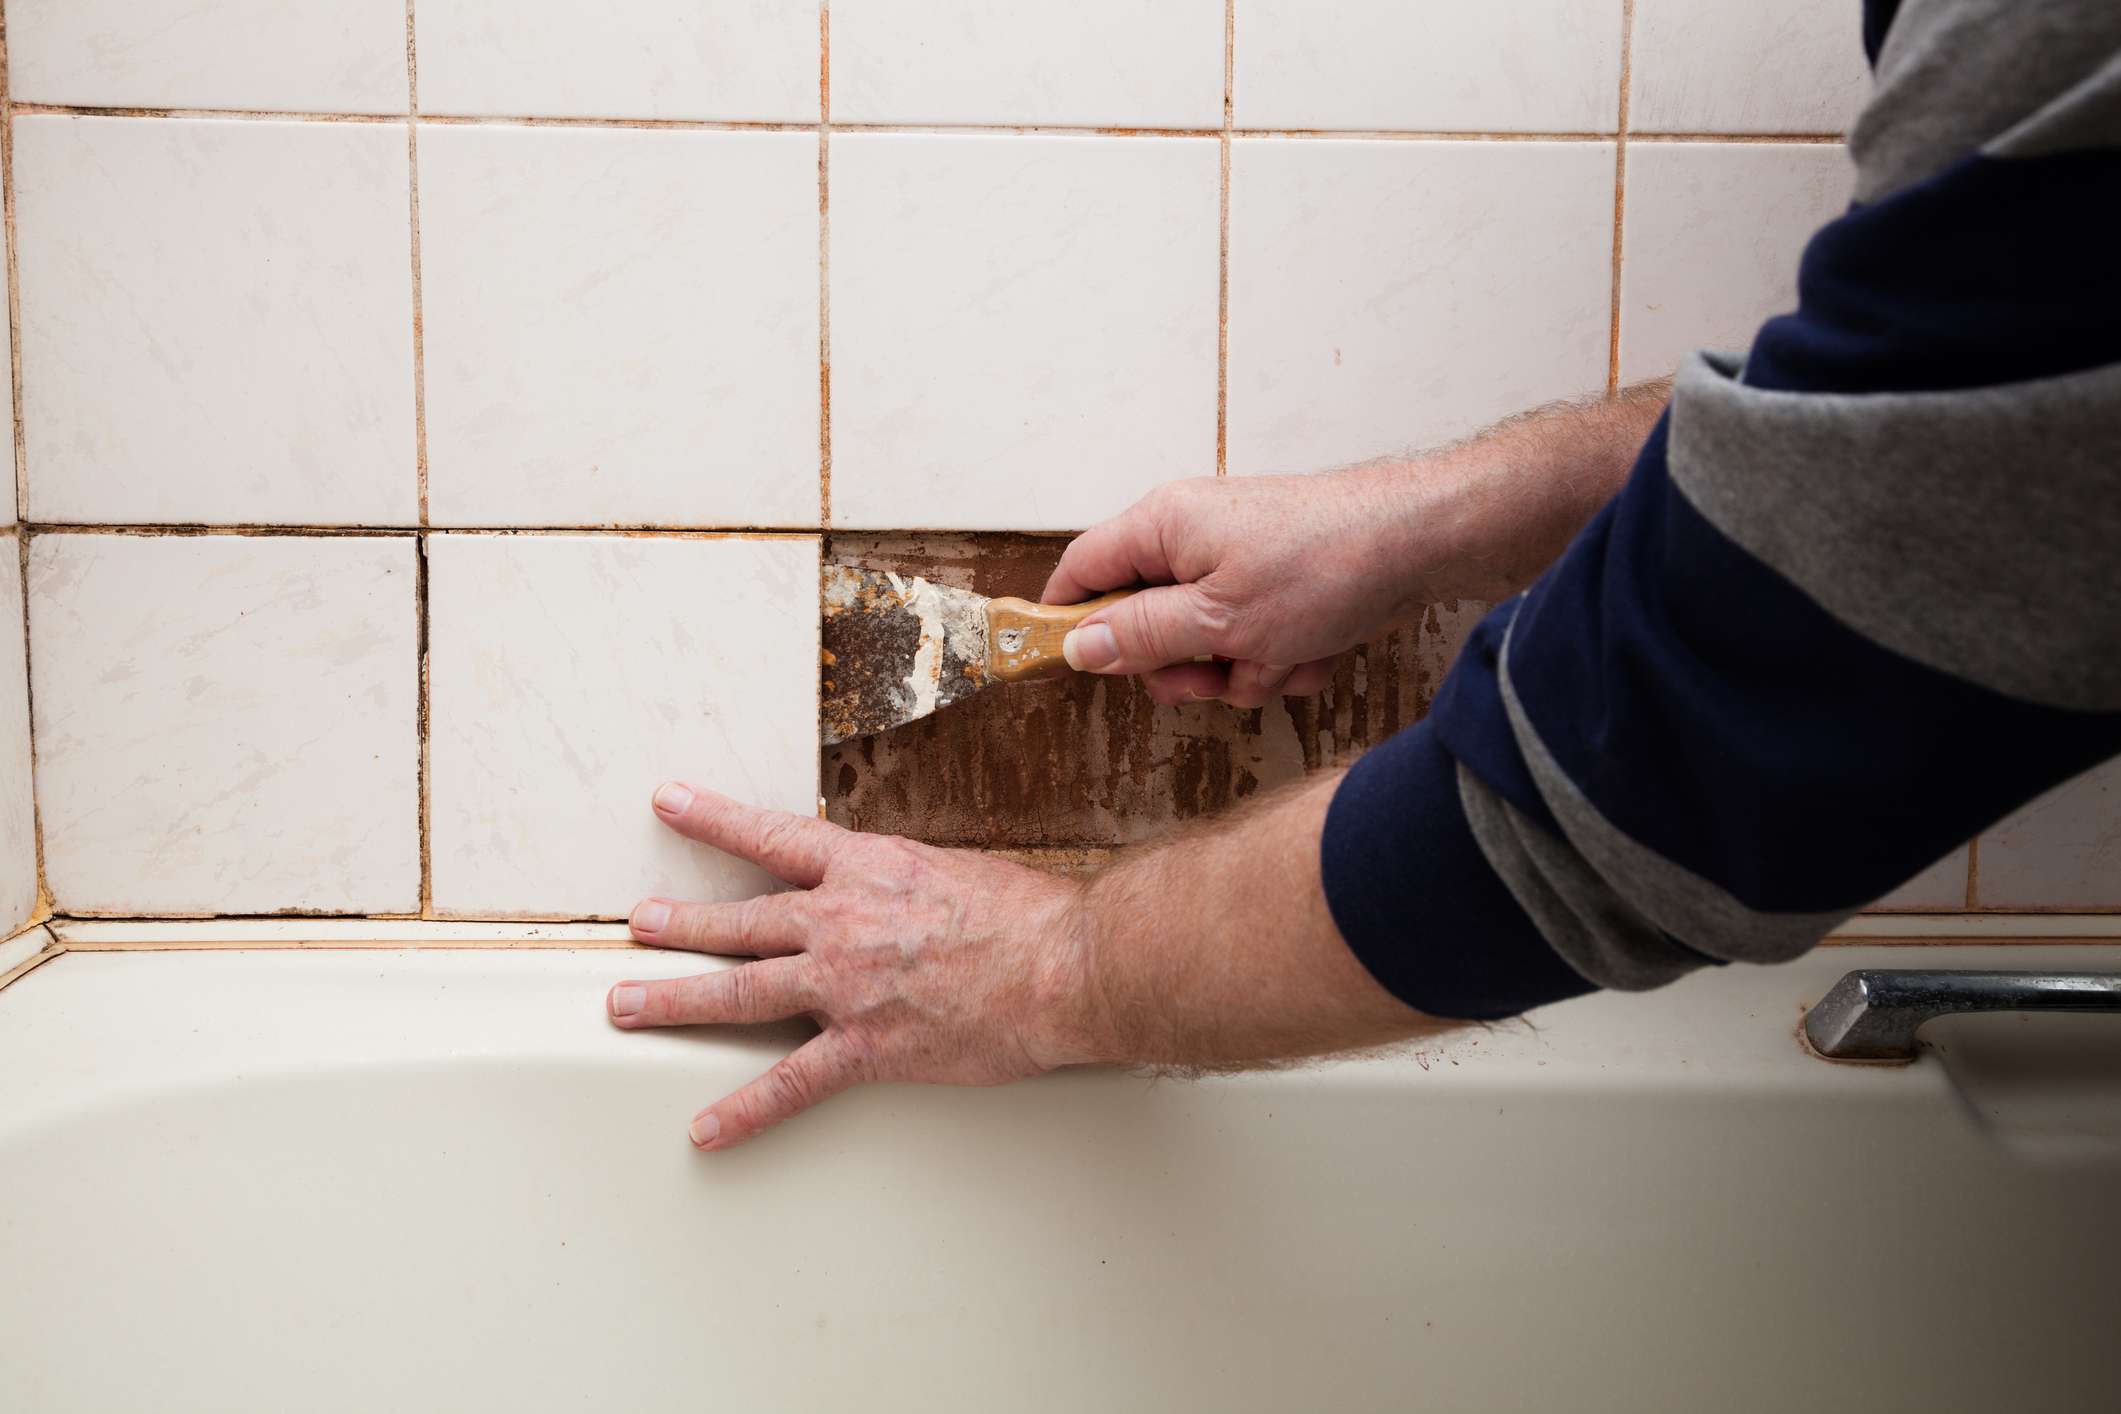
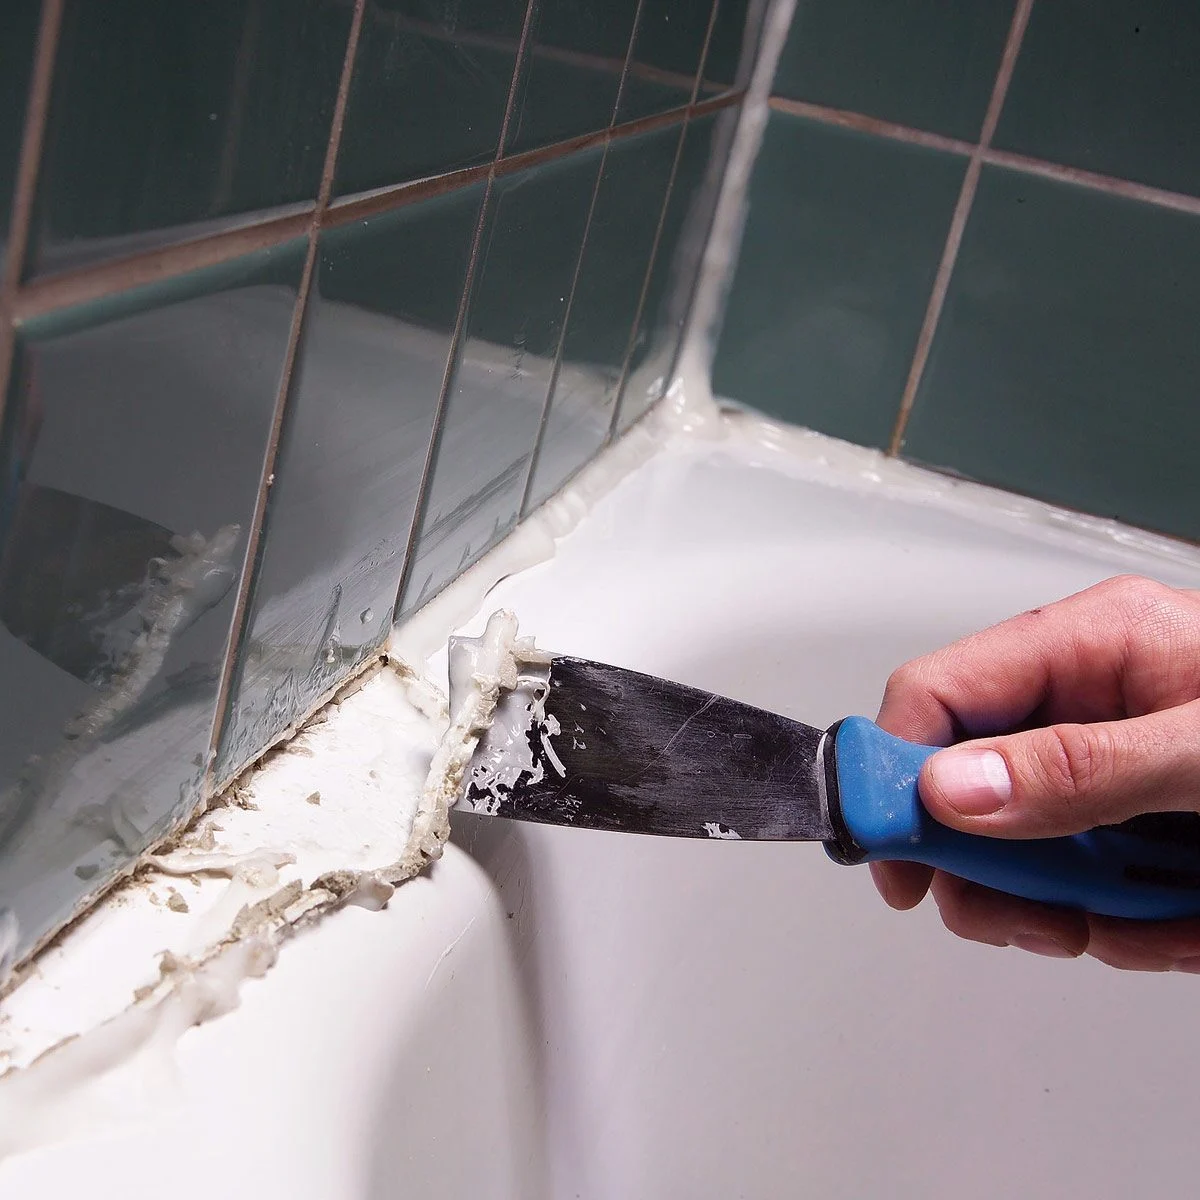
Remove Old Caulking: Inspect the caulking around the edges of the bathtub and remove any old or deteriorated caulking using a utility knife or caulk remover tool. It's important to create a clean and smooth surface for the new caulking that will be applied after the refinishing process.
-
Repair Chips and Cracks: If the bathtub surface has any chips, cracks, or deep scratches, it's crucial to address these imperfections before proceeding with the refinishing. Use a bathtub repair kit to fill in any damaged areas and ensure that the surface is level and free of blemishes. Allow the repair material to cure completely before moving on to the next step.
-
Etch or Sand the Surface: Depending on the type of refinishing product being used, you may need to etch the surface with a chemical solution or sand it to create a textured finish that promotes adhesion. Follow the manufacturer's guidelines regarding the specific preparation method required for the refinishing product you've selected.
-
Mask Off Surrounding Areas: Use painter's tape and plastic sheeting to protect the walls, floor, and any other adjacent surfaces from overspray and drips during the refinishing process. Ensure that the masking materials are securely in place and that all areas not being refinished are effectively covered.
By meticulously preparing the bathtub for refinishing, you can create an optimal foundation for the application of the new finish. Taking the time to clean, repair, and prime the surface will contribute to a professional-looking result that enhances the overall appearance of your bathtub.
Read more: How To Refinish A Bathtub
Step 3: Apply the Refinishing Product
Once the bathtub surface is meticulously prepared, it's time to apply the refinishing product to achieve a durable and aesthetically pleasing finish. The application process requires precision and attention to detail to ensure a smooth and even coating. Here's a comprehensive guide on how to apply the refinishing product effectively:
-
Mix the Refinishing Materials: Before applying the refinishing product, carefully follow the manufacturer's instructions to mix the epoxy, primer, or topcoat components. Ensure that the materials are thoroughly blended to achieve the desired consistency for optimal application.
-
Choose the Application Method: Depending on the type of refinishing kit you're using, you may have the option to apply the product with a spray gun, brush, or roller. Select the most suitable method based on the size and contours of the bathtub surface, aiming for consistent coverage and minimal overspray.
-
Start with the Edges and Corners: Begin by applying the refinishing product to the edges and corners of the bathtub, where precision is crucial. Use a brush or small roller to ensure that these areas are adequately coated, taking care to avoid drips and uneven application.
-
Apply the Refinishing Product to the Main Surface: Once the edges and corners are coated, proceed to apply the refinishing product to the main surface of the bathtub. If using a spray gun, maintain a consistent distance and speed to achieve an even coat without pooling or streaking. For brush or roller application, work methodically in small sections to ensure thorough coverage.
-
Allow for Proper Ventilation: During the application process, ensure that the bathroom is well-ventilated to dissipate fumes and promote drying. If necessary, use a box fan or exhaust fan to improve air circulation and accelerate the curing of the refinishing product.
-
Apply Multiple Coats, if Required: Depending on the specific refinishing kit and the desired finish, you may need to apply multiple coats of the product. Follow the manufacturer's recommendations regarding the number of coats and the drying time between applications to achieve a durable and flawless finish.
-
Inspect for Imperfections: After applying the initial coat(s), carefully inspect the bathtub surface for any imperfections, such as bubbles, runs, or uneven areas. Address any issues promptly by lightly sanding the affected areas and applying additional coats as needed to achieve a smooth and uniform finish.
By following these steps and exercising patience and precision, you can effectively apply the refinishing product to transform your old bathtub into a rejuvenated fixture that enhances the overall appeal of your bathroom. The application process is a critical stage in achieving professional-looking results, and attention to detail will contribute to the longevity and visual impact of the refinished bathtub.
Step 4: Let the Product Cure
After the application of the refinishing product, allowing sufficient time for the curing process is essential to ensure a durable and long-lasting finish. The curing period is a critical phase that directly impacts the resilience and performance of the refinished bathtub. Here's a detailed overview of the steps involved in letting the product cure effectively:
-
Follow Manufacturer's Guidelines: Refer to the instructions provided by the manufacturer of the refinishing product to determine the recommended curing time. Different products may have varying curing durations, and it's crucial to adhere to the specific guidelines to achieve optimal results.
-
Maintain Controlled Environment: During the curing period, it's important to maintain a controlled environment to facilitate the proper hardening of the refinishing product. Ensure that the bathroom remains free from dust, moisture, and excessive temperature fluctuations, as these factors can affect the curing process.
-
Promote Adequate Ventilation: While the product cures, continue to promote adequate ventilation in the bathroom to facilitate the dissipation of any residual fumes and to expedite the drying process. Proper ventilation contributes to the overall quality of the finish and minimizes the risk of imperfections.
-
Avoid Disturbance: Once the refinishing product has been applied, it's crucial to avoid any activities or conditions that may disrupt the curing process. Refrain from using the bathtub, hanging shower curtains, or placing objects on the surface during the designated curing period.
-
Monitor Curing Progress: Periodically inspect the bathtub surface to assess the progress of the curing process. Look for any signs of uneven drying, bubbling, or other irregularities, and address any issues promptly to ensure a flawless and uniform finish.
-
Exercise Patience: While it may be tempting to resume regular use of the bathtub, exercising patience during the curing period is paramount. Rushing the process can compromise the integrity of the finish, leading to premature wear and diminished longevity.
By allowing the refinishing product to cure thoroughly, you can maximize the durability and aesthetic appeal of the newly refinished bathtub. The curing process is a crucial final step that contributes to the overall success of the refinishing project, ensuring that the bathtub emerges with a resilient, high-quality finish that revitalizes the entire bathroom space.
Before refinishing an old bathtub, make sure to thoroughly clean and remove any old caulking or grime. Use a high-quality bathtub refinishing kit and follow the instructions carefully for best results.
Step 5: Reinstall the Bathtub Fixtures
With the refinishing process complete and the newly refinished bathtub surface cured to perfection, the final step involves reinstalling the bathtub fixtures to restore functionality and aesthetic cohesion to the space. Reattaching the fixtures, such as the faucet, handles, and drain cover, requires precision and care to ensure a seamless integration with the refinished bathtub. Here's a detailed guide on how to effectively reinstall the bathtub fixtures:
-
Inspect the Fixtures: Before reinstalling the fixtures, carefully inspect each component to ensure that they are in good condition and free from any damage or wear. Clean the fixtures thoroughly to remove any accumulated debris or residue that may have accumulated during the refinishing process.
-
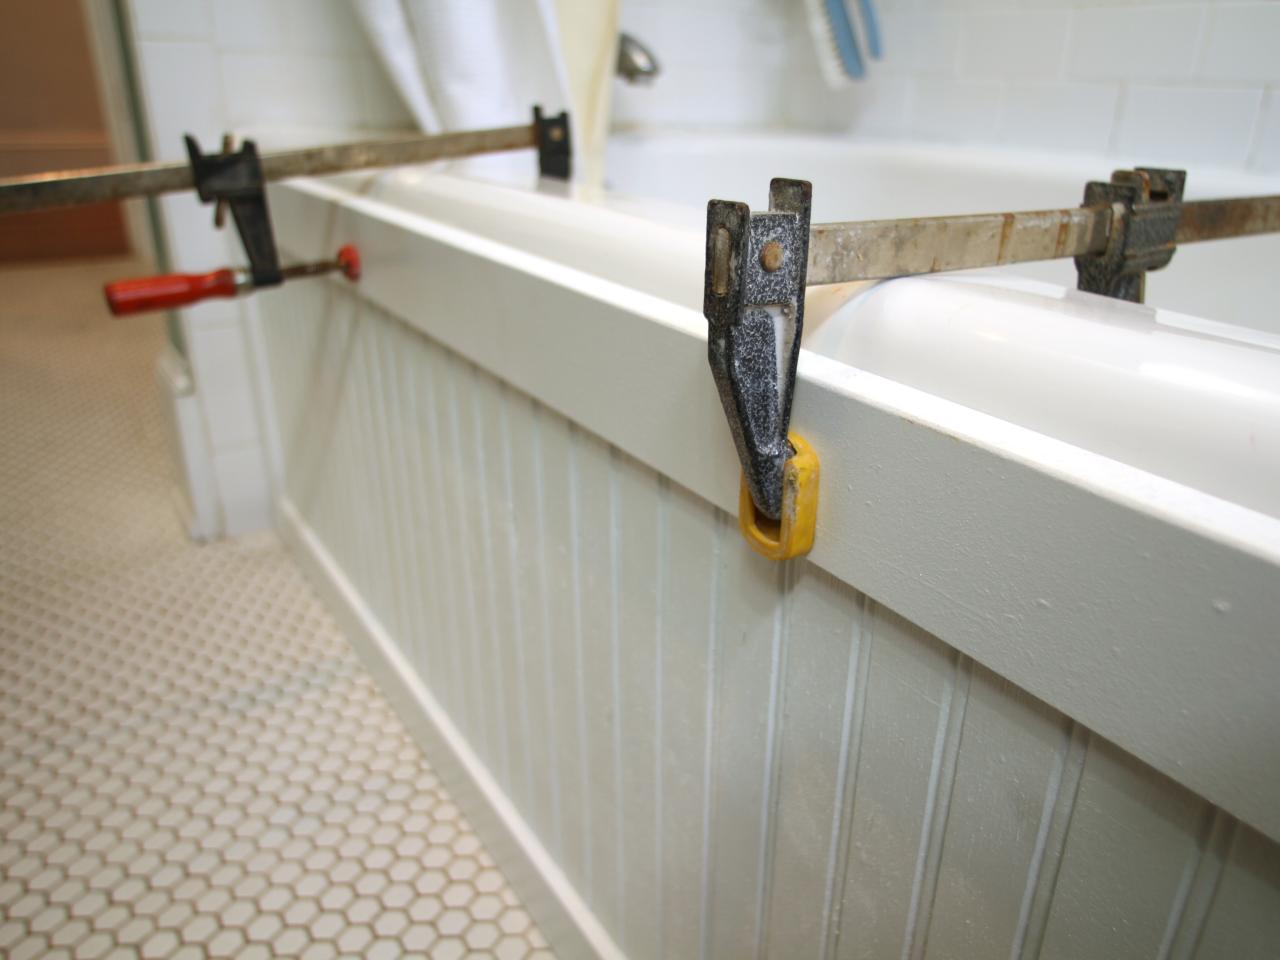
Apply New Caulking: Prior to reinstalling the fixtures, apply fresh caulking around the edges of the bathtub where the fixtures will be placed. Use a high-quality waterproof caulk to create a durable seal that enhances the overall appearance and functionality of the fixtures.
-
Secure the Fixtures: Begin by reattaching the faucet and handles to the designated mounting locations on the bathtub. Use a screwdriver and wrench to secure the fixtures firmly in place, ensuring that they are aligned correctly and free from any wobbling or instability.
-
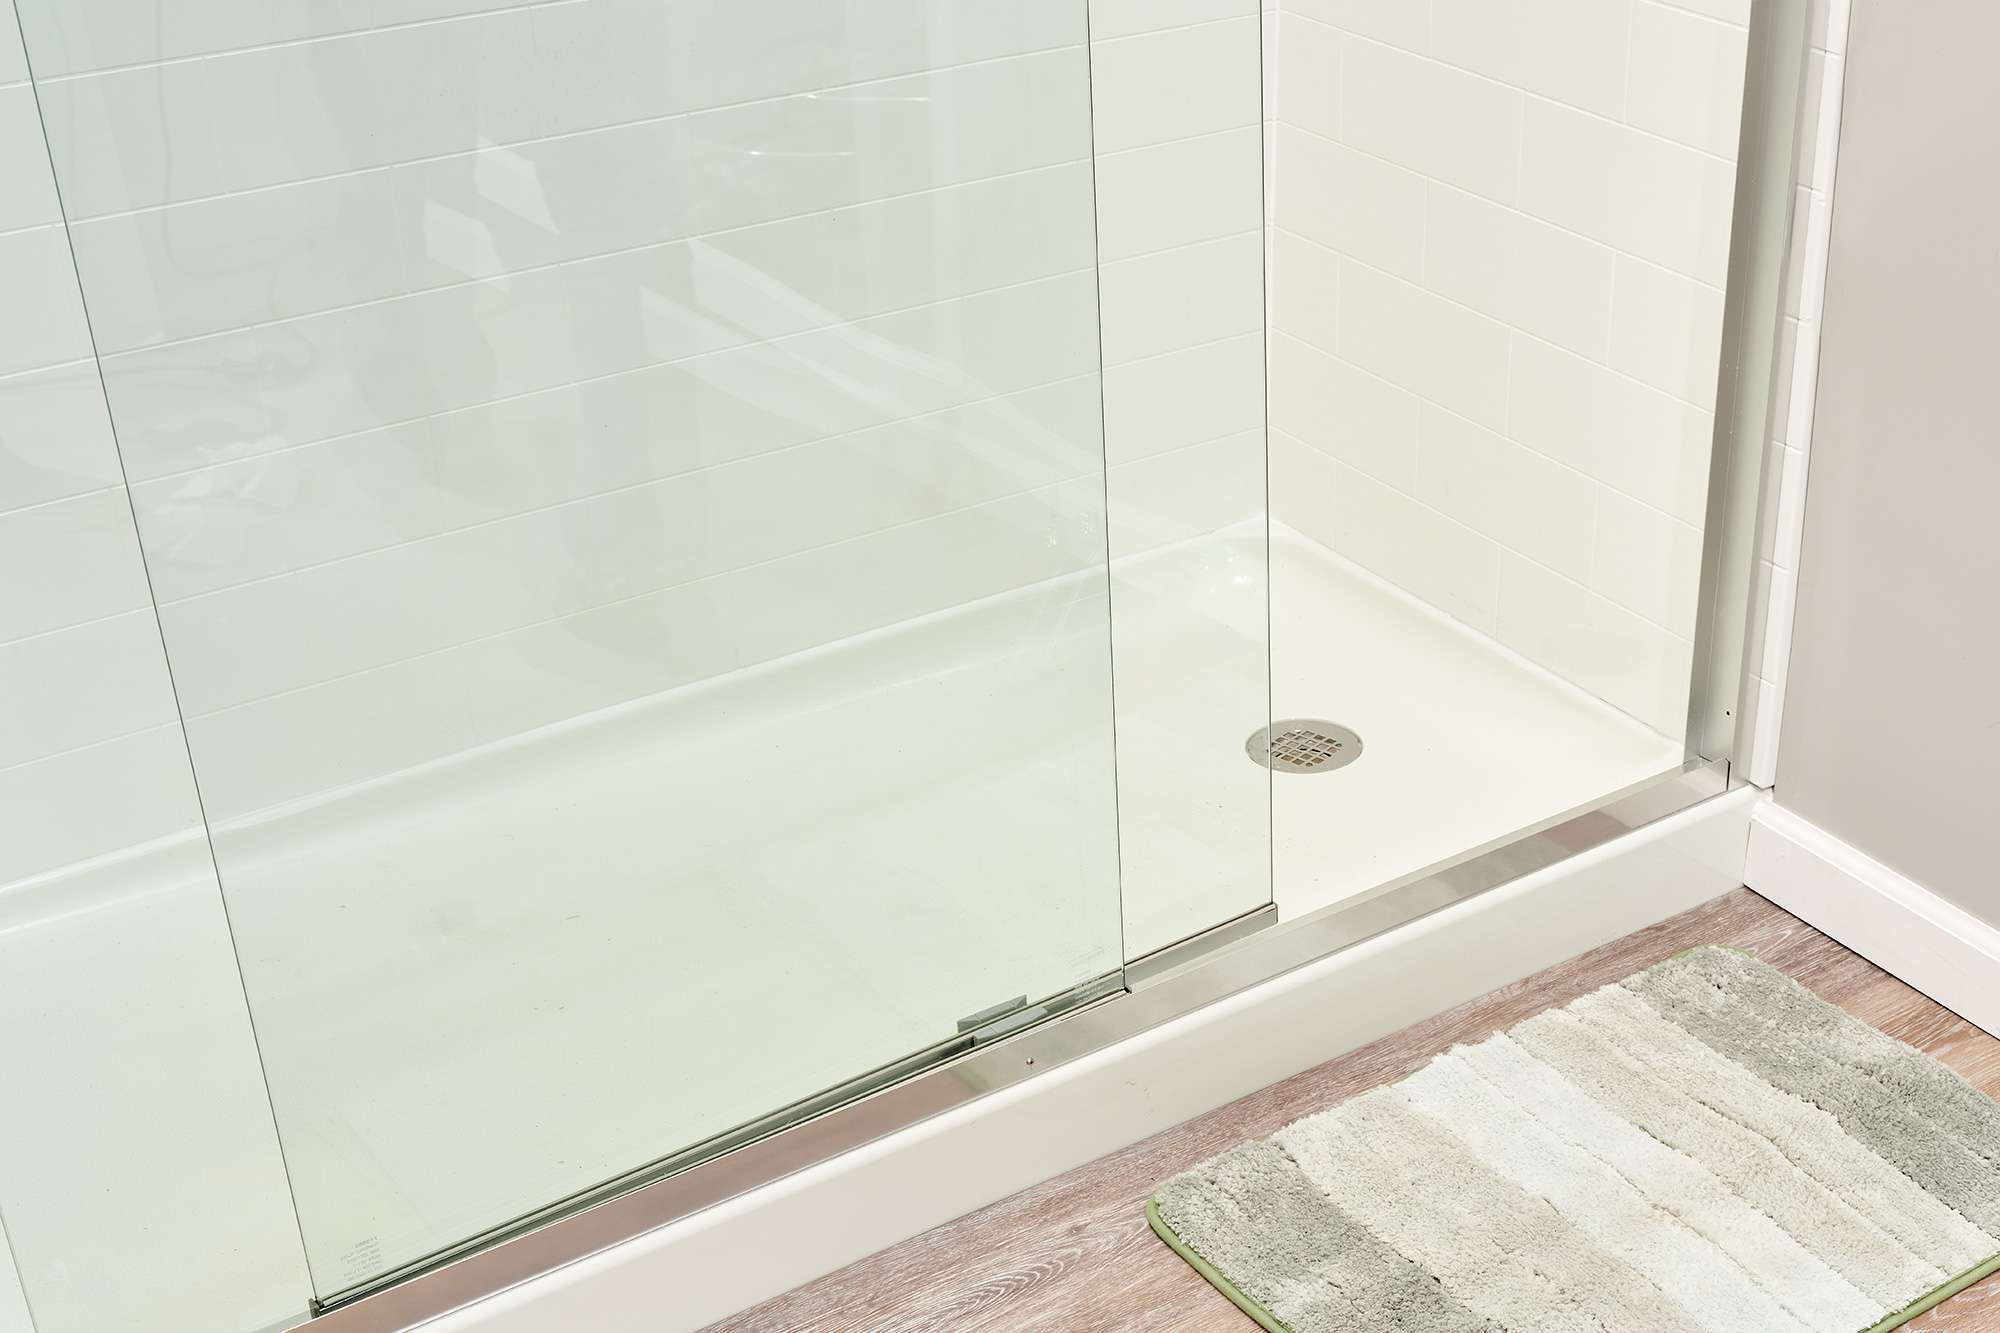
Reconnect the Drain Cover: If the drain cover was removed during the refinishing process, reinstall it by carefully aligning it with the drain opening and securing it in place. Ensure that the drain cover fits snugly and functions properly to prevent any water leakage.
-
Test for Functionality: Once the fixtures are reinstalled, test each component for functionality. Turn on the water and check for any leaks, drips, or irregularities in the water flow. Verify that the handles operate smoothly and that the drain cover functions as intended.
-
Clean and Polish: After the fixtures are securely reinstalled, clean the surrounding areas to remove any residual debris or fingerprints. Polish the fixtures to restore their luster and enhance their visual appeal, creating a cohesive and rejuvenated look for the entire bathtub ensemble.
By meticulously reinstalling the bathtub fixtures, you can complete the refinishing project with a professional touch, ensuring that the newly refinished bathtub not only looks stunning but also functions seamlessly. The reintegration of the fixtures serves as the final step in the transformation of your bathtub, culminating in a revitalized centerpiece that elevates the overall ambiance of your bathroom.
Conclusion
In conclusion, the process of refinishing an old bathtub is a rewarding endeavor that offers a cost-effective and environmentally friendly solution for revitalizing your bathroom. By following the comprehensive steps outlined in this guide, you can transform a worn, stained, or chipped bathtub into a rejuvenated fixture that enhances the overall aesthetics of your space.
Refinishing a bathtub not only saves you the expense and hassle of a full replacement but also allows you to customize the color and finish to suit your personal style and complement your existing decor. Additionally, the ability to extend the lifespan of your existing bathtub through refinishing contributes to sustainability by reducing waste and minimizing the environmental impact associated with manufacturing and disposing of new fixtures.
The meticulous process of gathering the necessary materials and tools, preparing the bathtub surface, applying the refinishing product, allowing for proper curing, and reinstalling the fixtures culminates in a professional-looking outcome that elevates the entire bathroom space. Attention to detail, patience, and precision throughout each step are essential for achieving a durable and visually appealing finish that revitalizes the bathtub and enhances the overall ambiance of the bathroom.
By taking on the challenge of refinishing your bathtub, you not only acquire a valuable skill but also gain the satisfaction of transforming a worn-out fixture into a sparkling centerpiece. Whether you're a seasoned DIY enthusiast or a novice looking to embark on a new project, the process of bathtub refinishing offers a fulfilling opportunity to revitalize your bathroom and showcase your creativity and resourcefulness.
As you admire the newly refinished bathtub, you can take pride in the accomplishment of breathing new life into an existing fixture, all while contributing to a more sustainable and aesthetically pleasing home environment. The revitalized bathtub serves as a testament to the transformative power of DIY projects and the ability to achieve professional-looking results with careful planning and execution.
In essence, the process of refinishing an old bathtub is a testament to the transformative power of DIY projects and the ability to achieve professional-looking results with careful planning and execution. It offers a rewarding opportunity to revitalize your bathroom, showcase your creativity, and contribute to a more sustainable and aesthetically pleasing home environment.
Frequently Asked Questions about How To Refinish Old Bathtub
Was this page helpful?
At Storables.com, we guarantee accurate and reliable information. Our content, validated by Expert Board Contributors, is crafted following stringent Editorial Policies. We're committed to providing you with well-researched, expert-backed insights for all your informational needs.

0 thoughts on “How To Refinish Old Bathtub”