Articles
What Is A Cleat In Woodworking
Modified: May 6, 2024
Learn all about cleats in woodworking with our informative articles. Gain insights on their uses, benefits, and how to properly install them for optimal woodworking projects.
(Many of the links in this article redirect to a specific reviewed product. Your purchase of these products through affiliate links helps to generate commission for Storables.com, at no extra cost. Learn more)
Introduction
In the world of woodworking, there are various tools and techniques that craftsmen use to create beautiful and functional pieces. One such technique is the use of cleats. Cleats are an essential component in woodworking projects, providing stability, reinforcement, and flexibility.
A cleat is a small strip or piece of wood that is typically attached diagonally or perpendicularly to another piece of wood. The primary purpose of a cleat is to provide additional support and strengthen joints in woodworking projects, ensuring that they remain sturdy and durable over time.
Whether you are a seasoned woodworker or just starting out, understanding the different types of cleats, their functions, and how to properly install them can greatly enhance the quality and longevity of your woodworking projects. In this article, we will delve into the world of cleats in woodworking, exploring their various types, functions, common uses, benefits, and provide a step-by-step guide on how to install them.
So, let’s dive in and explore the fascinating world of cleats in woodworking!
Key Takeaways:
- Cleats are versatile reinforcements in woodworking, enhancing stability, preventing movement, and aiding in alignment. They offer enhanced strength, improved alignment, and flexibility for various woodworking projects.
- Installing cleats requires precision and attention to detail, from accurate measurement and marking to proper tool usage and fastener selection. Cleats provide added support, durability, and longevity to woodworking creations.
Read more: What Kind Of Cleats For Ultimate Frisbee?
Definition of Cleat
In the context of woodworking, a cleat is a small, narrow strip of wood that is used to reinforce joints and provide additional support in various woodworking projects. Cleats are typically made from the same type of wood as the project they are being used in, ensuring a seamless blend and aesthetic appeal.
Cleats can be attached to a workpiece in different orientations, such as horizontally, vertically, diagonally, or at an angle. They are often secured with screws, nails, or glue, depending on the specific requirements of the project. The size and thickness of a cleat can vary depending on the intended purpose, with larger and thicker cleats providing more substantial support and stability.
One of the key characteristics of cleats is their versatility. They can be used in a wide range of woodworking projects, from cabinets and furniture to shelves and countertops. Cleats are particularly useful in providing extra reinforcement to joints and connecting pieces of wood, preventing them from shifting or separating over time.
Overall, a cleat serves as a strong and reliable connector in woodworking, ensuring the structural integrity of a project. It is a valuable tool that allows woodworkers to create sturdy and durable pieces that can withstand the test of time.
Types of Cleats in Woodworking
There are several types of cleats used in woodworking, each with its own unique shape, size, and purpose. Understanding the different types of cleats can help you choose the most suitable one for your project. Here are some common types:
- Straight Cleats: As the name suggests, straight cleats are rectangular pieces of wood that are attached straight across the joint. They are often used to reinforce the connection between two pieces of wood, providing added strength and stability.
- Miter Cleats: Miter cleats are specifically designed to strengthen miter joints, which are commonly used in picture frames and corner joints. These cleats have angled cuts on both ends to fit perfectly against the mitered edges, ensuring a tight and secure joint.
- L-shaped Cleats: L-shaped cleats, also known as corner braces, are used to reinforce corners and provide extra support. They have a 90-degree angle and are typically attached diagonally to the corners of the workpiece, preventing them from separating or shifting over time.
- Z-shaped Cleats: Z-shaped cleats are similar to L-shaped cleats but have a stepped profile, resembling the letter “Z.” These cleats are commonly used in projects where a strong connection is required, such as securing shelves to walls or attaching tabletops to legs.
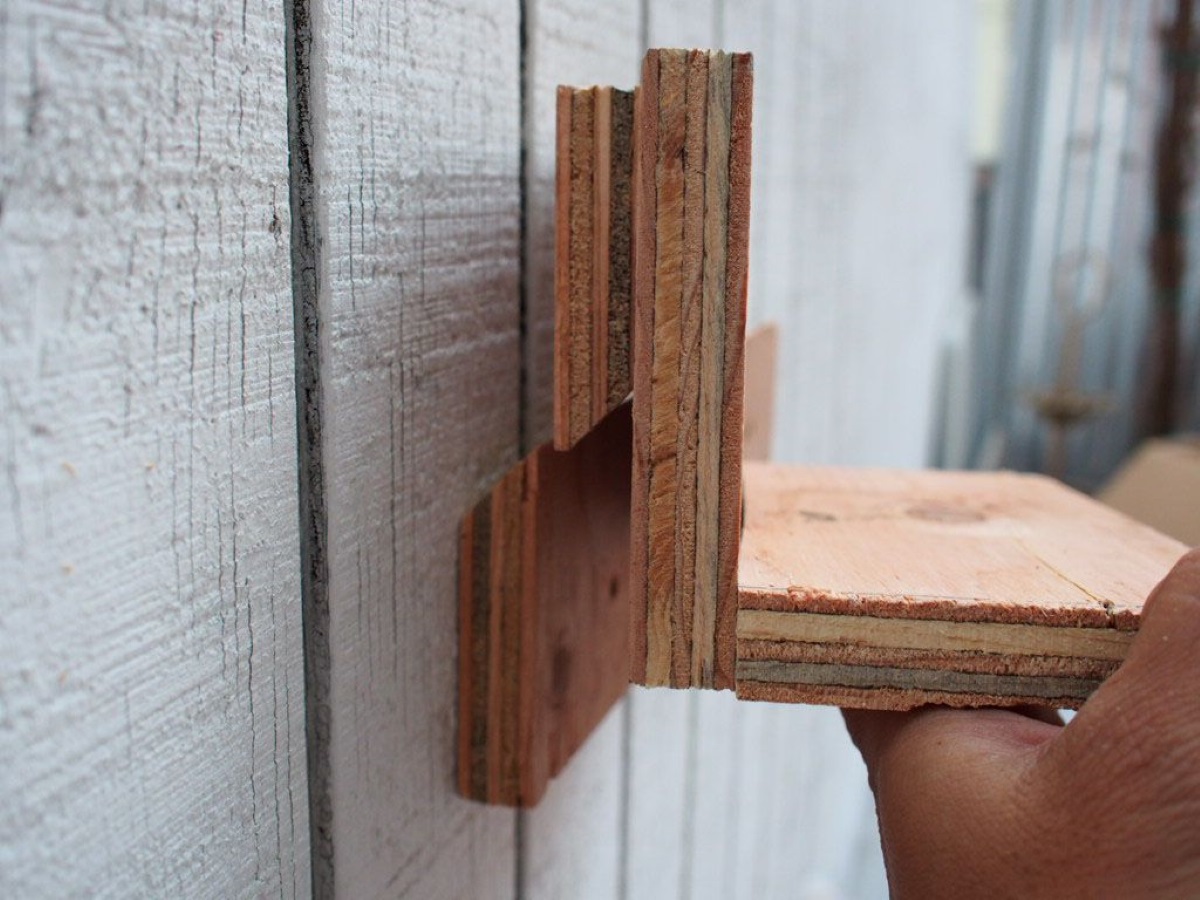
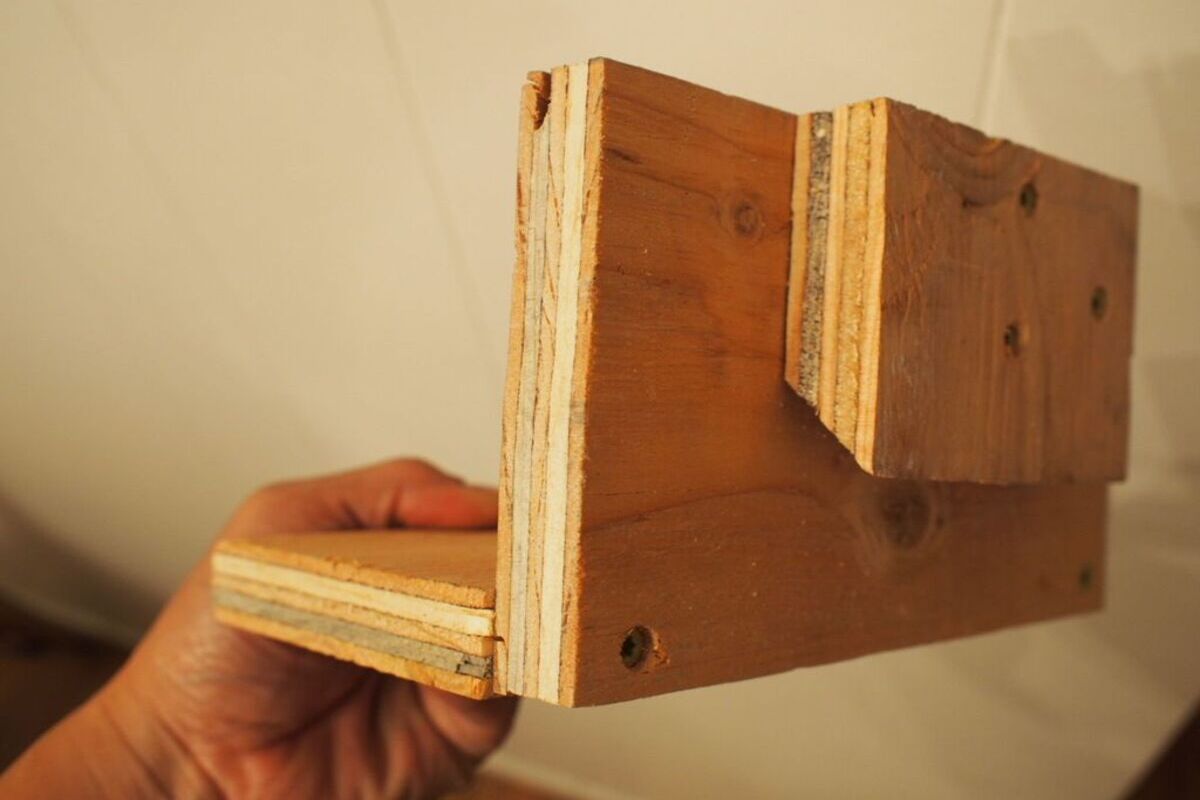
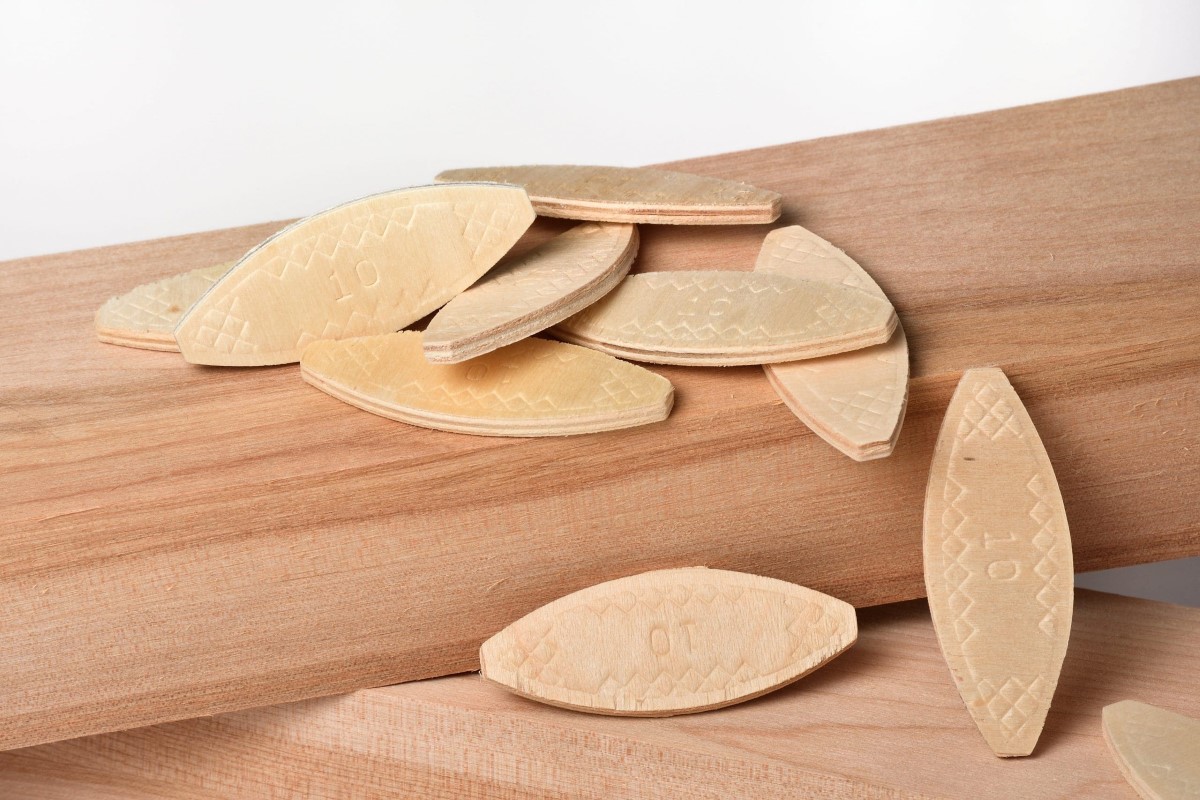
- French Cleats: French cleats are a versatile type of cleat that consists of two interlocking pieces. One piece is attached to the wall, while the other is attached to the object being hung. This design allows for easy hanging and removal of objects, making French cleats popular for mounting cabinets, mirrors, and other wall-mounted items.
These are just a few examples of the types of cleats used in woodworking. However, there may be variations and combinations of these cleat types, depending on the specific project requirements. It’s essential to choose the right type of cleat based on the joint or connection you are reinforcing, ensuring optimal stability and longevity for your woodworking project.
Function and Purpose of Cleats
Cleats serve several essential functions in woodworking projects, ultimately contributing to the overall strength, stability, and durability of the finished piece. Here are the key functions and purposes of cleats:
- Reinforcing Joints: One of the primary functions of cleats is to reinforce joints in woodworking projects. By attaching a cleat to a joint, such as where two pieces of wood meet, the cleat helps distribute the load and prevent the joint from bending or separating. This reinforcement ensures that the joint remains solid and secure over time.
- Providing Structural Support: Cleats add extra structural support to areas of a project that may be prone to sagging, warping, or weakening. By attaching cleats strategically, woodworkers can improve the overall structural integrity of a piece, making it more robust and resistant to wear and tear.
- Preventing Movement: Cleats are effective in minimizing movement or shifting in woodworking projects. They help keep joints and connections in place, reducing the risk of loosening or displacement. This is especially important for objects that may experience frequent handling or weight-bearing, such as cabinets, shelves, or tabletops.
- Enhancing Stability: Cleats contribute to the stability of a project by preventing wobbling or rocking. By reinforcing joints and providing additional support, cleats help create a solid and level surface, ensuring that the piece remains sturdy and secure.
- Aiding in Alignment: Cleats can also assist in aligning components during assembly. They act as guides or reference points, making it easier to join pieces accurately and achieve the desired fit and finish. Cleats can help maintain proper alignment, especially when working with large or heavy pieces that require precise positioning.
The function and purpose of cleats ultimately depend on the specific needs of the project at hand. Whether it’s providing additional reinforcement, stability, support, or aiding in alignment, cleats play a crucial role in enhancing the overall quality and longevity of woodworking projects.
Common Uses of Cleats in Woodworking
Cleats are incredibly versatile and find their application in various woodworking projects. They are employed in a range of situations that require additional support, reinforcement, or stability. Here are some common uses of cleats in woodworking:
- Cabinet Construction: Cleats are frequently used in the construction of cabinets to provide reinforcement and support for shelves, dividers, and back panels. They help keep the cabinet sturdy and prevent shelves from sagging under the weight of stored items.
- Furniture Building: Cleats play a vital role in the construction of furniture pieces. They are often used to strengthen joints, such as attaching table legs to tabletops or reinforcing the corners of dressers and chests. Cleats ensure the overall stability and durability of the furniture.
- Wall-Mounted Shelves: Cleats are commonly used when mounting shelves to walls. They provide a secure connection between the shelf and the wall, preventing it from sagging or coming loose over time. Cleats also allow for easy removal and repositioning of the shelves, making them versatile and adjustable.
- Workbenches and Workshop Tables: Cleats are often incorporated into workbenches and workshop tables to enhance their strength and stability. They reinforce the joints and prevent the tabletop from warping or shifting, ensuring a sturdy surface for various woodworking tasks.
- Picture Frame Construction: Cleats are essential in the construction of picture frames, particularly for large or heavy frames. They provide added support to the corners, preventing them from separating or becoming misaligned. Cleats help maintain the integrity of the frame and prevent damage to valuable artwork.
- Floating Shelves: Cleats are commonly used in the installation of floating shelves. They are attached to the wall, providing a secure mount for the shelf. Cleats ensure that the shelves remain level and sturdy, giving the illusion of floating while providing practical storage space.
These are just a few examples of the common uses of cleats in woodworking. However, the versatility of cleats allows them to be adapted and utilized in various other projects where additional support and reinforcement are needed.
When using a cleat in woodworking, make sure to use the appropriate size and material for the weight and type of load it will be supporting. Also, ensure it is securely attached to the surface to prevent any accidents.
Benefits and Advantages of Using Cleats
Using cleats in woodworking projects offers several benefits and advantages that contribute to the overall quality and longevity of the finished piece. Here are some key benefits of incorporating cleats into your woodworking projects:
- Enhanced Strength and Stability: Cleats provide additional support and reinforcement to joints, resulting in increased strength and stability. By distributing the load across the cleats, the stress on the joints is reduced, minimizing the risk of bending, separating, or warping over time.
- Improved Alignment: Cleats help align and position components accurately during assembly. They act as guides, ensuring that pieces are joined together seamlessly and in the desired orientation. This aids in achieving a professional and precise fit, especially when working on complex or intricate projects.
- Prevention of Sagging and Shifting: Cleats play a critical role in preventing sagging and shifting in various woodworking projects. By attaching cleats strategically, such as beneath shelves or along the edges of tabletops, you can ensure that these surfaces remain level and stable, even under the weight of objects or repeated use.
- Flexibility and Versatility: Cleats offer flexibility in design and versatility in application. They can be used in different orientations, such as horizontally, vertically, diagonally, or at angles. This allows you to adapt and customize their placement based on the specific needs of your project, providing tailored support where it is most required.
- Easy Installation and Removal: Installing cleats is relatively straightforward, requiring simple tools such as screws, nails, or adhesive. Cleats can also be easily removed or replaced if necessary, making them a convenient solution for projects that may require disassembly or modification in the future.
- Longevity and Durability: By reinforcing joints and providing additional support, cleats contribute to the overall longevity and durability of woodworking projects. They help prevent premature wear and tear, ensuring that the piece remains sturdy and intact for years to come.
These benefits highlight the practicality and effectiveness of using cleats in woodworking. Whether you’re a professional woodworker or a hobbyist, incorporating cleats into your projects can elevate the quality of your craftsmanship and enhance the overall performance and longevity of your creations.
Step-by-step Guide on Installing Cleats in Woodworking Projects
Installing cleats in woodworking projects is a straightforward process that can be accomplished with a few simple tools and techniques. Here is a step-by-step guide to help you install cleats effectively:
- Measure and Mark: Start by measuring and marking the areas where you plan to install the cleats. Consider the specific joints or connections that require reinforcement and determine the appropriate size and placement for the cleats.
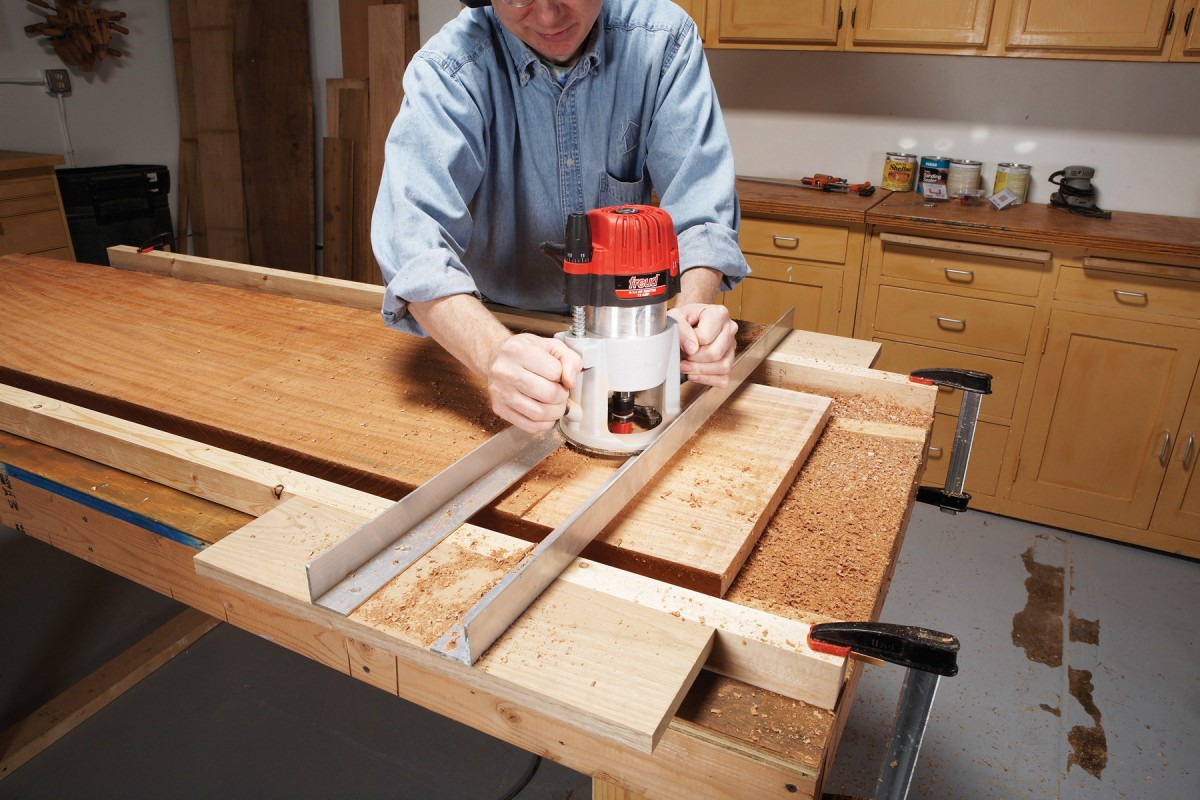
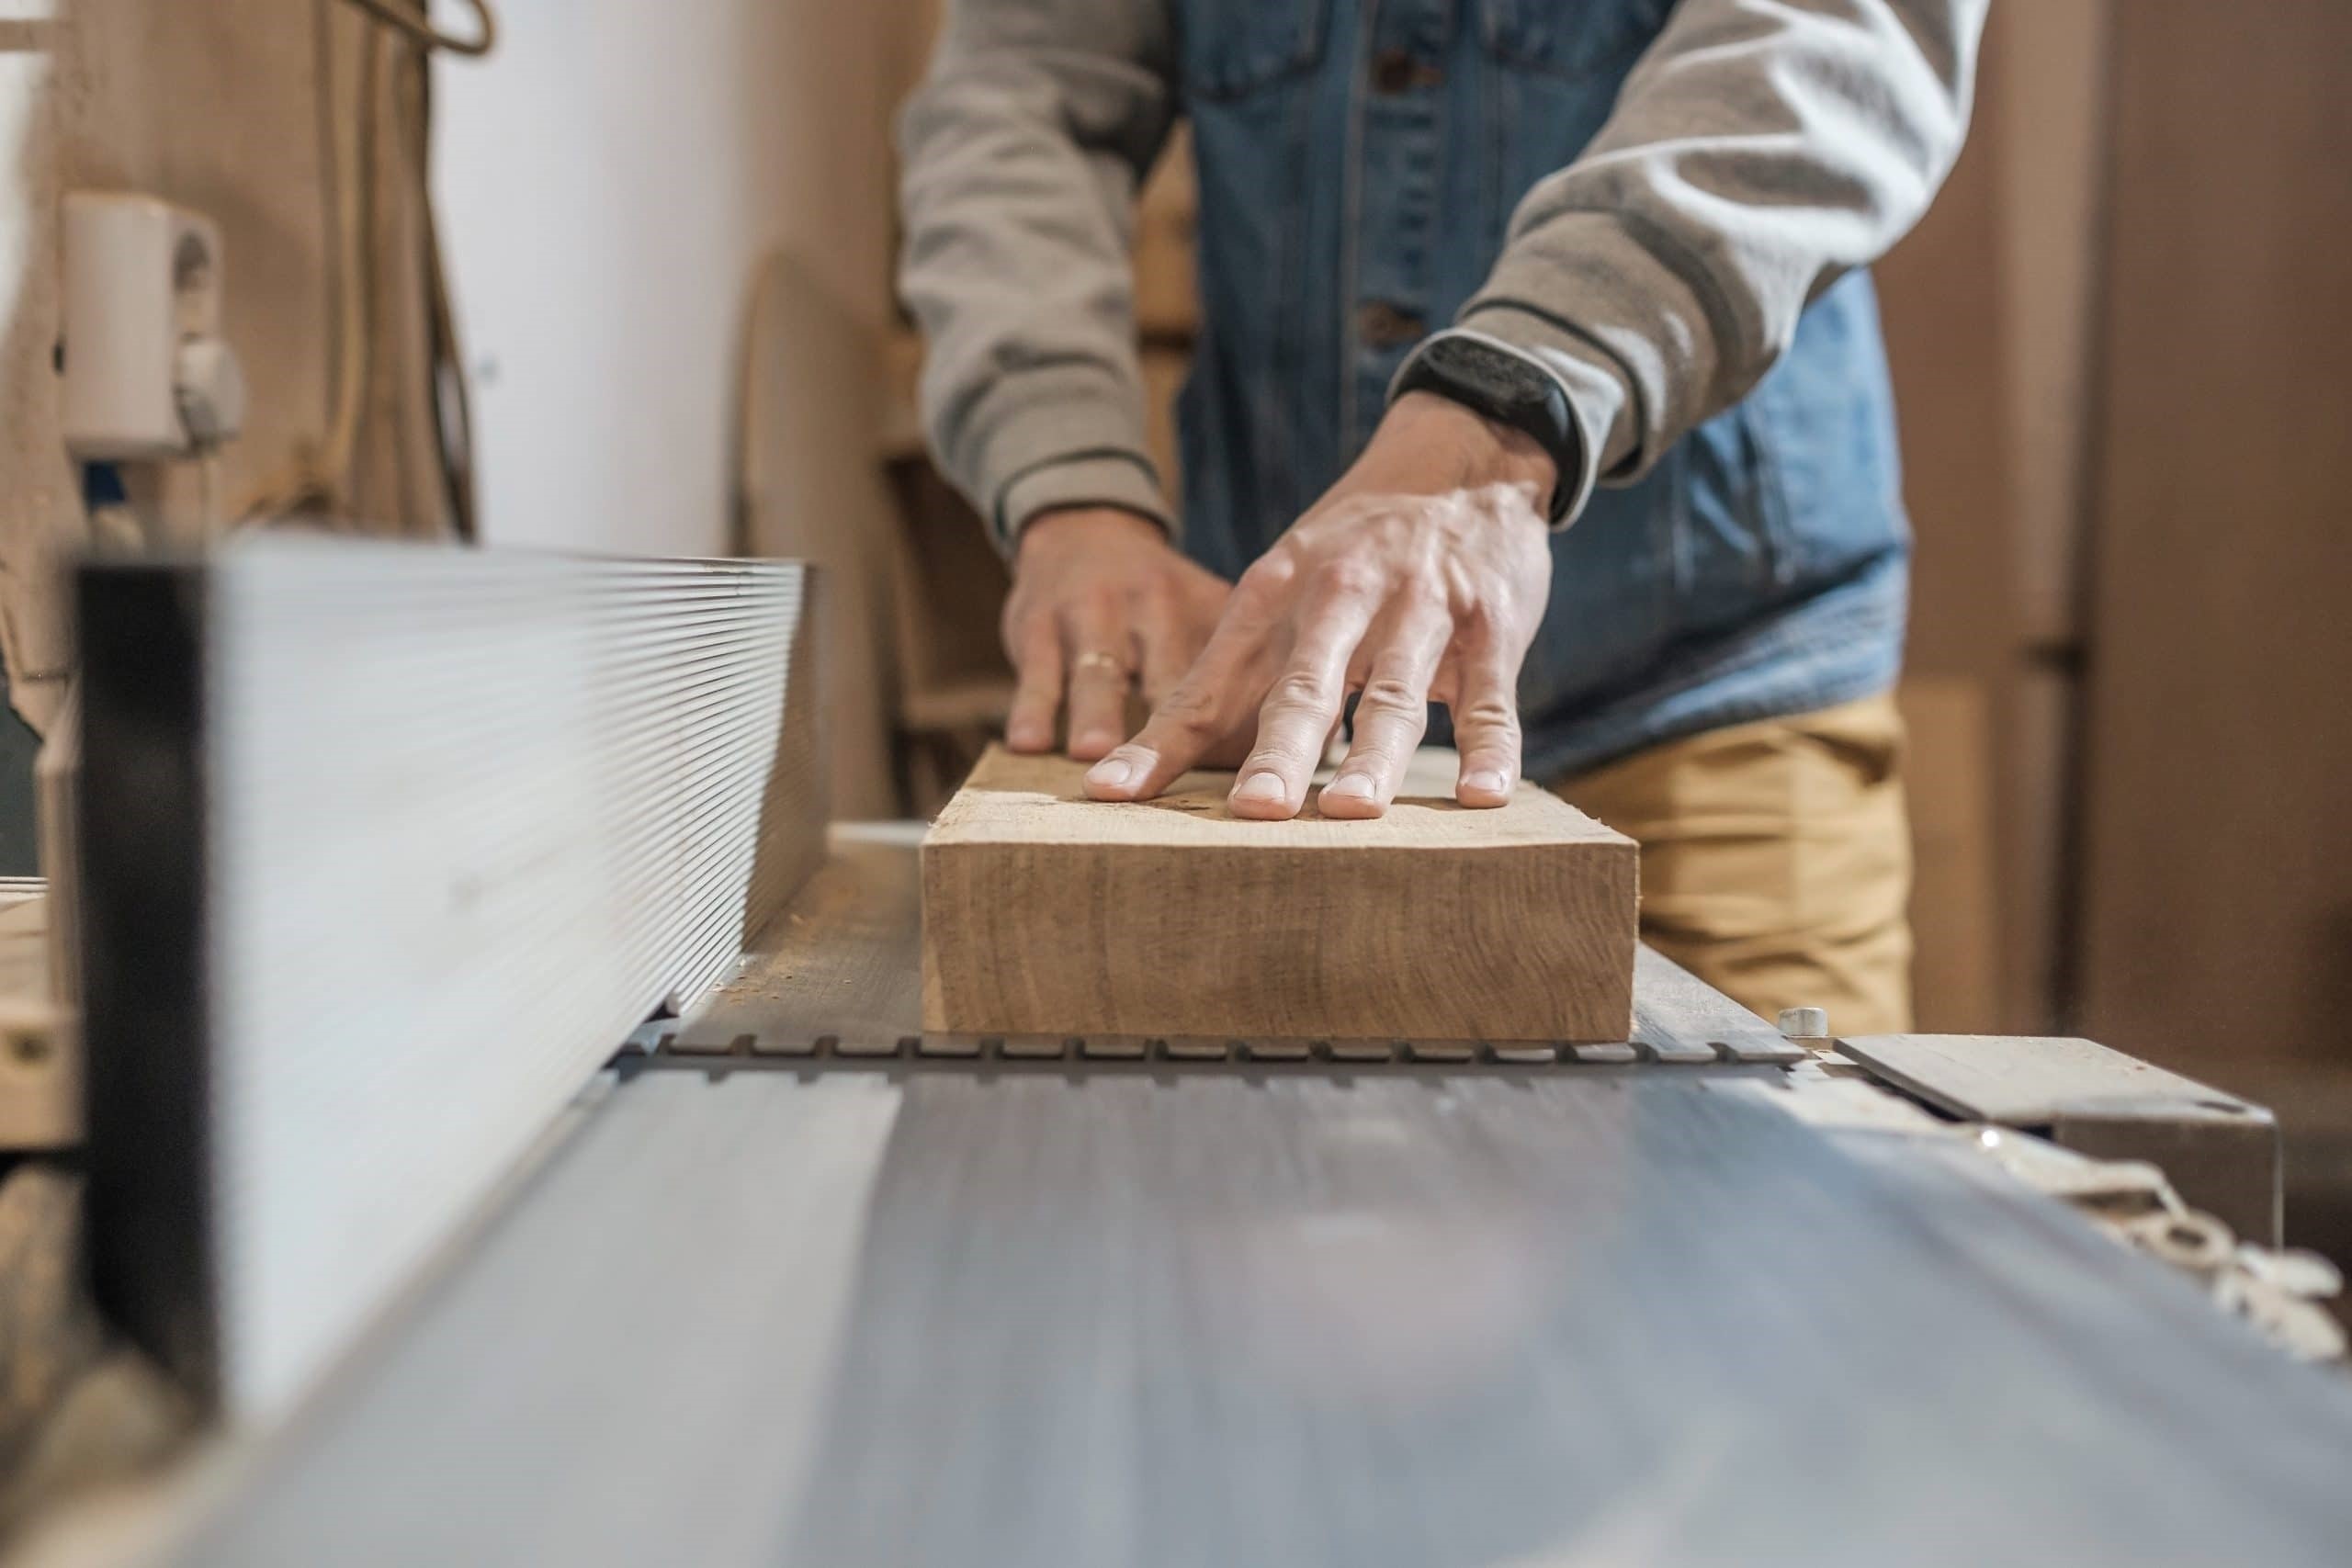
- Cut the Cleats: Use a saw or other cutting tool to cut the cleats to the desired length, considering the measurements you marked in the previous step. Ensure that the cleats are cut precisely to fit the intended areas of installation.
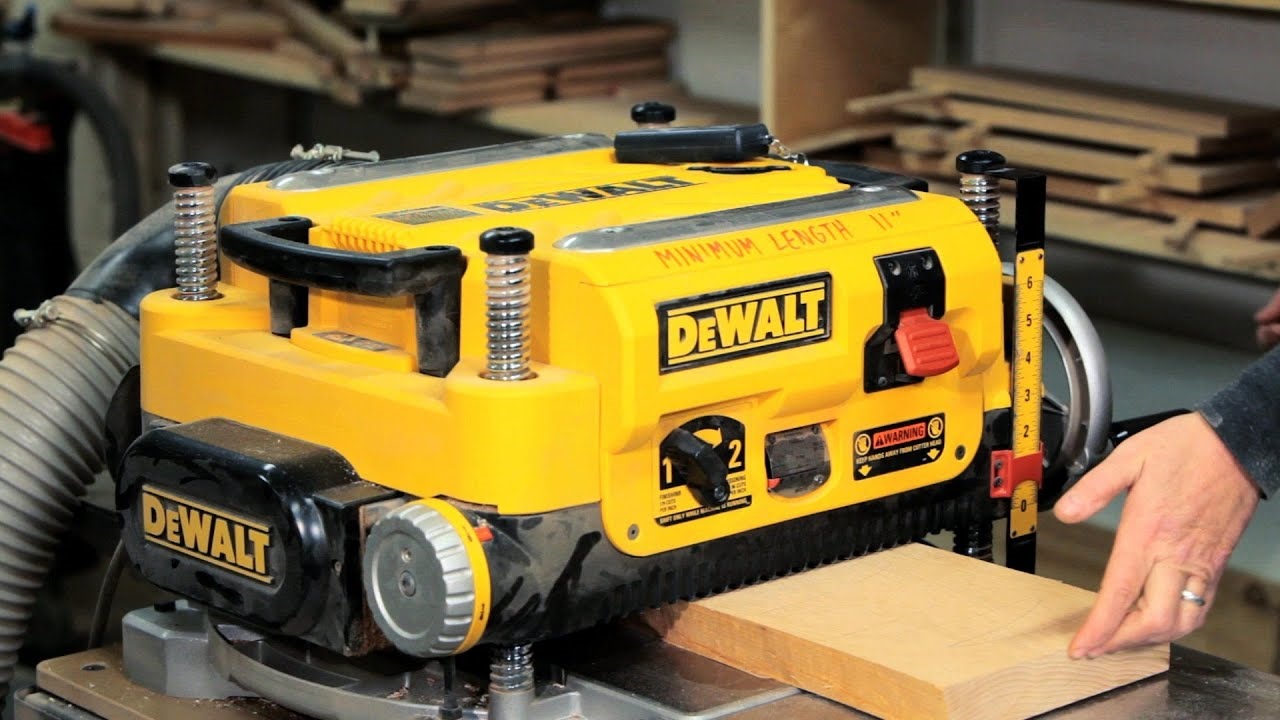
- Prepare the Workpiece: If necessary, sand or smooth the surface of the workpiece where the cleats will be attached. This will help ensure a secure and flush fit between the cleats and the wood.
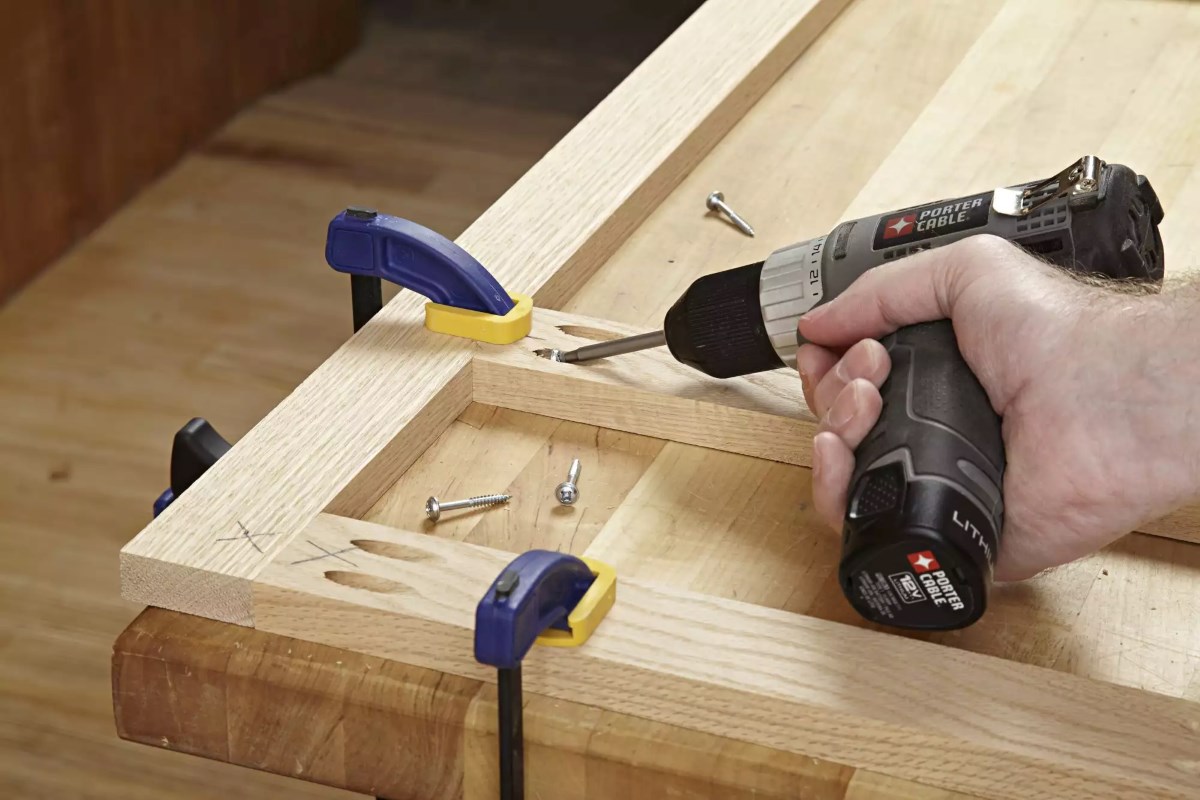
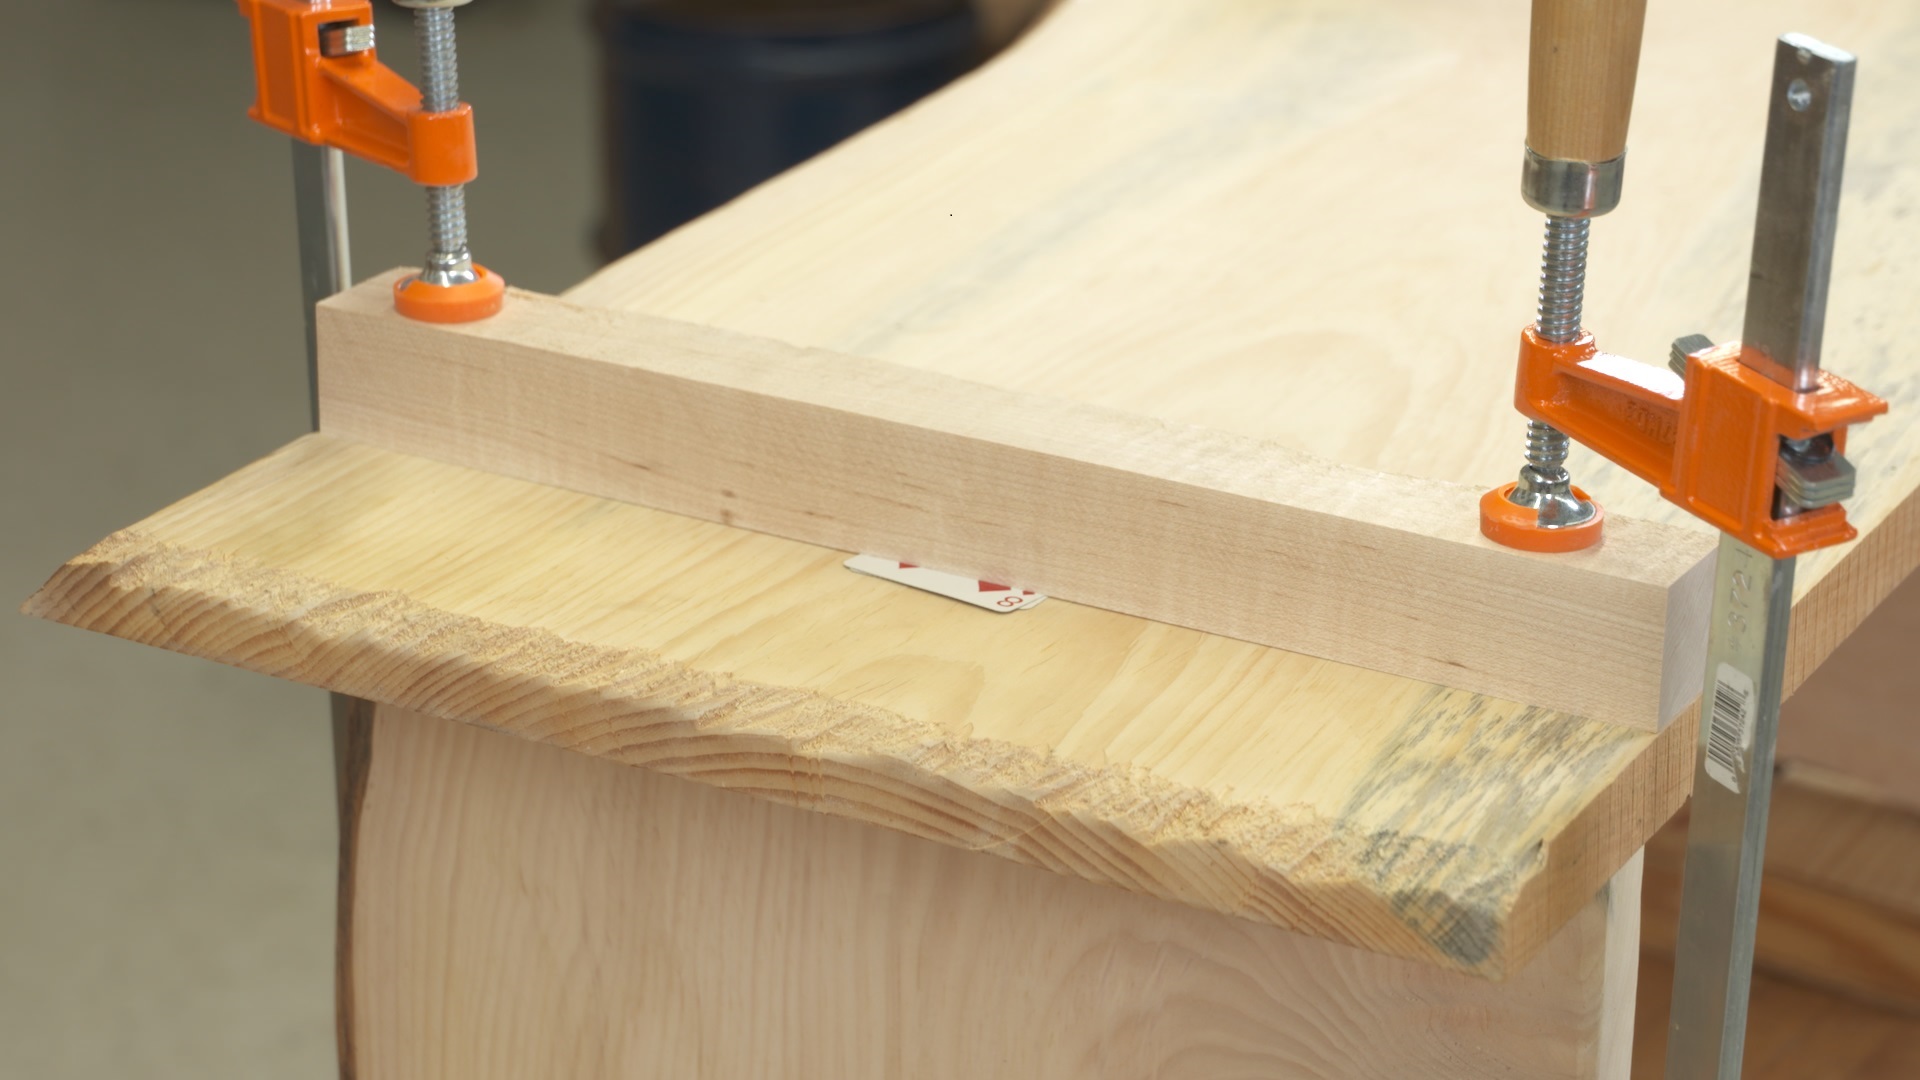
- Position the Cleats: Align the cleats with the marked positions on the workpiece, ensuring they are oriented correctly (diagonal, perpendicular, etc.). Use clamps or other holding devices to keep the cleats in place temporarily, allowing you to pre-drill or affix them accurately.
- Pre-drill Screw Holes: To prevent splitting or damage to the wood, pre-drill holes in the cleats and the workpiece. Use a drill bit that is slightly smaller than the diameter of the screws you will be using.
- Attach the Cleats: Secure the cleats to the workpiece by driving screws through the pre-drilled holes. Ensure that the screws are driven flush with the surface of the cleats, but be careful not to over-tighten and risk damaging the wood.
- Finishing Touches: Once the cleats are securely attached, check for any protruding screw heads or rough edges. Use a chisel, sandpaper, or other suitable tools to smooth and blend the surface, creating a seamless and professional finish.
- Repeat for Additional Cleats: If your woodworking project requires multiple cleats, repeat the above steps for each cleat, ensuring proper measurement, alignment, and attachment.
- Test and Adjust: Once all the cleats are installed, test the stability and strength of the joints and connections. Make any necessary adjustments or refinements to ensure a solid and secure final result.
Following these step-by-step instructions will help you install cleats accurately and effectively in your woodworking projects. Remember to prioritize precision, proper alignment, and secure fastening to achieve the desired reinforcement and stability.
Tips and Considerations when Working with Cleats
Working with cleats in woodworking projects can greatly enhance the strength, stability, and longevity of your creations. To ensure successful installation and maximize the benefits of using cleats, here are some helpful tips and considerations:
- Choose the Right Cleat Type: Consider the specific needs of your project and choose the appropriate type of cleat. Different cleat types offer varying levels of support and reinforcement, so selecting the right one ensures optimal performance.
- Accurate Measurement and Marking: Take precise measurements and mark the areas where the cleats will be installed. Accurate measuring and marking ensure that the cleats are positioned correctly for optimal reinforcement and stability.
- Use Proper Tools: Use the right tools for cutting the cleats and preparing the workpiece. A sharp saw, drill, and appropriate drill bits are essential for achieving clean cuts and properly pre-drilling the holes.
- Fine-tune Fit: Ensure that the cleats fit snugly against the workpiece. If necessary, trim the cleats or adjust the workpiece to achieve a tight and secure fit. This will prevent any gaps or unevenness that could compromise the strength and stability of the joint.
- Fastener Selection: Choose the appropriate screws or nails for securing the cleats. Consider the thickness and type of wood, as well as the load-bearing requirements of the project. Using the right fasteners will ensure a secure connection without damaging the wood.
- Proper Screw Depth: When driving screws into the cleats and workpiece, be mindful of the screw depth. Drive the screws flush with the surface of the cleats without going too deep, as over-tightening can weaken the connection or damage the wood.
- Adhesive Reinforcement: For added strength and stability, consider using woodworking adhesive in addition to screws or nails when attaching the cleats. This will ensure a strong bond between the cleats and the workpiece, further enhancing the joint’s durability.
- Finishing and Concealing: After installing the cleats, carefully finish the surface to create a seamless and professional appearance. Sand any rough edges or protruding screw heads, and use matching wood putty or filler to conceal any visible fasteners.
- Test Before Assembly: Before assembling the entire project, conduct a test to ensure that the cleats are providing the desired reinforcement and stability. This will allow you to make any necessary adjustments or improvements to the cleat placement or installation.
- Experience and Practice: Working with cleats may require some practice and experience to achieve optimal results. As you gain more woodworking skills and familiarity with cleat installation, you will become more proficient in using this technique effectively.
By following these tips and considerations, you can work with cleats confidently and maximize their benefit in your woodworking projects. Remember to prioritize precision, attention to detail, and proper selection of materials and tools for successful cleat installation.
Conclusion
Cleats are an invaluable tool in the world of woodworking, providing essential reinforcement, support, and stability to joints and connections in various projects. Understanding the different types of cleats, their functions, and how to effectively install them can greatly enhance the quality and durability of your woodworking creations.
Whether you’re building cabinets, constructing furniture, or installing shelves, cleats offer numerous benefits. They improve the strength and stability of joints, prevent sagging and shifting, aid in alignment, and enhance the overall longevity of your projects.
By following a step-by-step guide for installing cleats, you can ensure accurate positioning, secure attachment, and proper alignment. Additionally, considering key tips such as choosing the right cleat type, using proper tools and fasteners, and fine-tuning the fit, will contribute to successful cleat installation.
Working with cleats may require some practice and experience, but the results are well worth the effort. As you gain familiarity with cleats and their applications, you’ll find creative ways to incorporate this technique into your woodworking projects, ultimately elevating the quality and craftsmanship of your work.
In conclusion, cleats are indispensable in woodworking, providing an added layer of strength, stability, and support that greatly enhances the overall integrity of your creations. So, embrace the versatility and functionality of cleats, and watch as the quality and longevity of your woodworking projects reach new heights.
Ready to take your woodworking skills up a notch? Our latest article on the best woodworking trends for the upcoming year offers a treasure of information and inspiration. Whether you're planning to craft exquisite pieces or wish to refine your technique, this guide is tailored just for you. Meanwhile, if your interest leans more towards crafting beautiful furniture, our detailed guide on learning furniture making will provide practical advice and creative ideas to start your journey in furniture making with confidence.
Frequently Asked Questions about What Is A Cleat In Woodworking
Was this page helpful?
At Storables.com, we guarantee accurate and reliable information. Our content, validated by Expert Board Contributors, is crafted following stringent Editorial Policies. We're committed to providing you with well-researched, expert-backed insights for all your informational needs.


0 thoughts on “What Is A Cleat In Woodworking”