Articles
What Is A Rabbet In Woodworking
Modified: August 31, 2024
Discover the importance of rabbets in woodworking with our informative articles. Learn how to create precise joinery and enhance your woodworking skills.
(Many of the links in this article redirect to a specific reviewed product. Your purchase of these products through affiliate links helps to generate commission for Storables.com, at no extra cost. Learn more)
Introduction
Welcome to the world of woodworking, where precision and craftsmanship merge to create beautiful and functional pieces. One fundamental technique that every woodworker must master is the creation of strong and seamless joints. Among the various types of joints used in woodworking, the rabbet joint holds a special place.
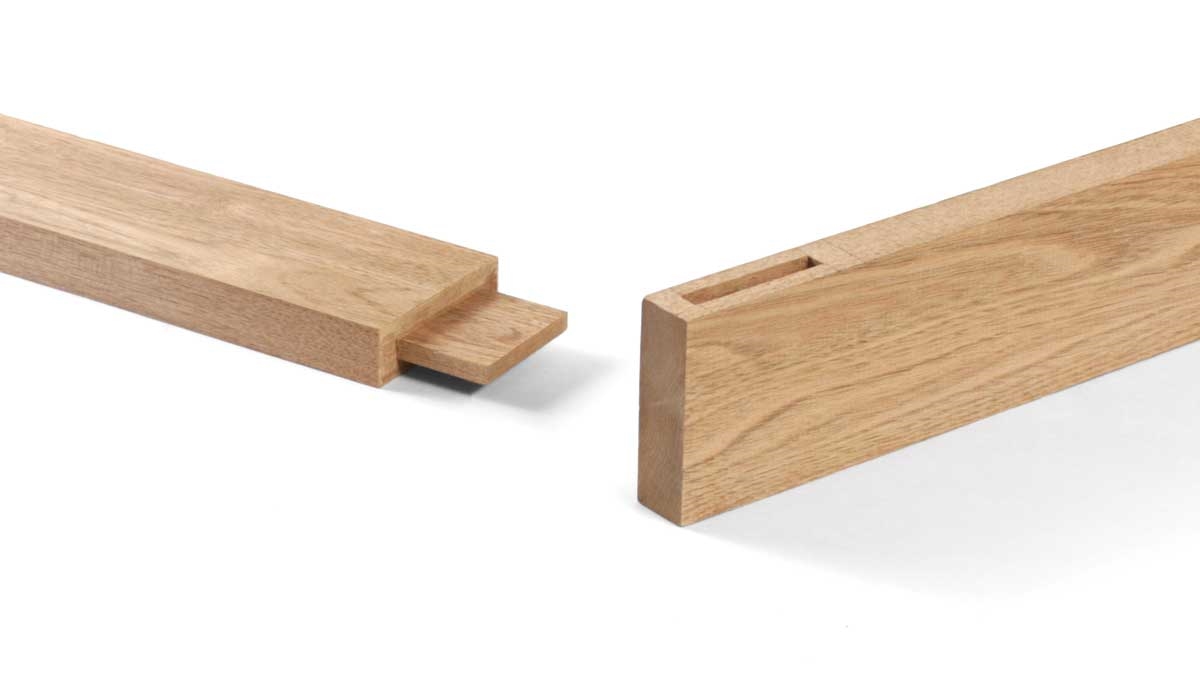
A rabbet joint is a common woodworking joint that involves removing a portion of material from the edge or end of a piece of wood to create a groove or recess. This groove allows another piece of wood to fit into it, forming a strong and secure connection. Rabbets are versatile and can be used in a variety of woodworking projects.
In this article, we will explore the different types of rabbet joints, their uses, as well as the tools and techniques required to create them. We will also discuss the advantages and disadvantages of rabbet joints and provide some valuable tips for creating strong and durable connections.
Whether you are a beginner or an experienced woodworker, understanding and mastering rabbet joints will greatly enhance your woodworking skills. So, let’s dive in and unravel the world of rabbet joints in woodworking.
Key Takeaways:
- Rabbet joints are versatile and strong, providing seamless connections in woodworking projects, from joining panels to constructing drawers and reinforcing corners.
- Mastering rabbet joints requires precision, the right tools, and attention to detail, offering both strength and visual appeal in woodworking craftsmanship.
Read more: How To Cut Rabbet With Hand Tools
Overview of Rabbet Joints
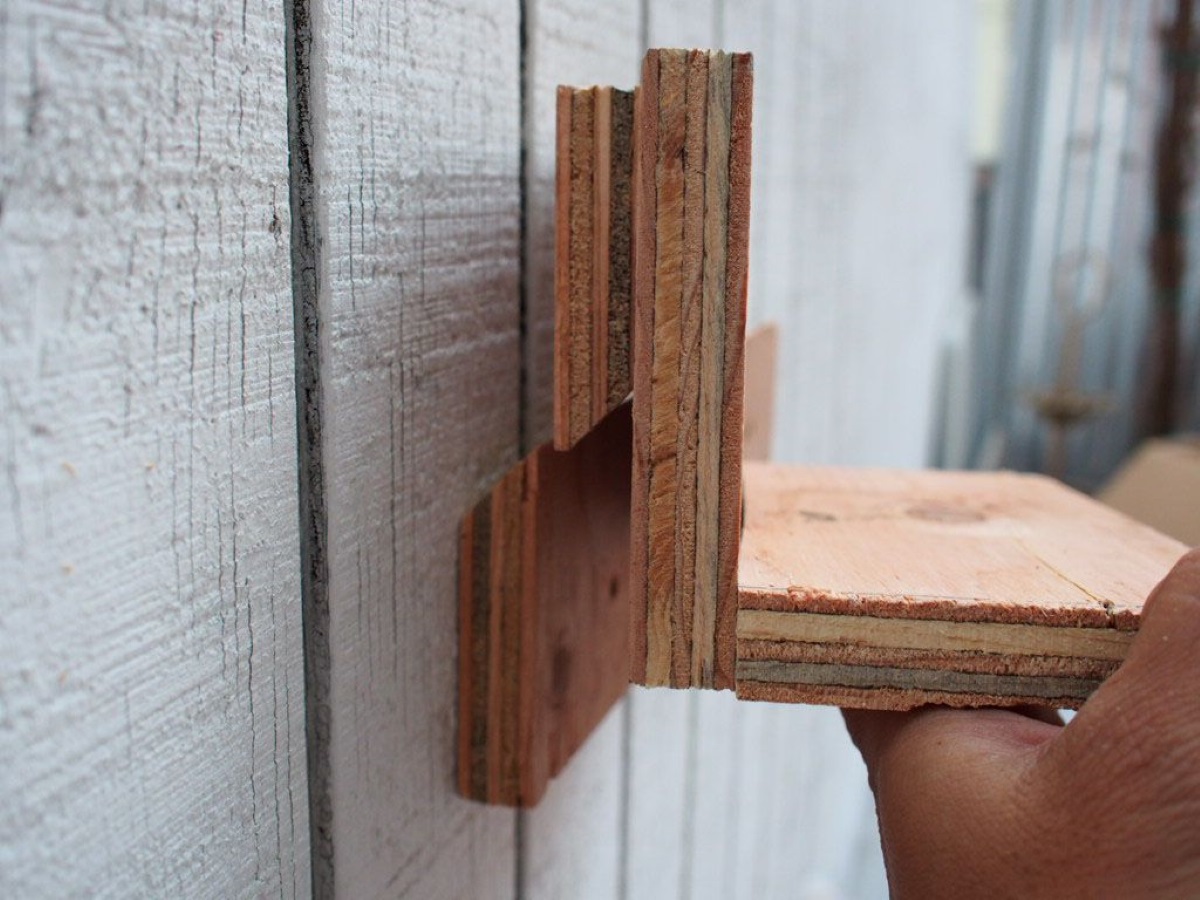
Rabbet joints, also known as rebate joints, are a versatile and practical way to connect two pieces of wood. They create a strong and flush connection by forming a groove or recess in the edge or end of a piece of wood, allowing another piece to fit into it.
Rabbet joints are commonly used to join panels or to add depth and stability to corners of boxes, cabinets, drawers, and frames. The depth and width of the rabbet can vary depending on the specific requirements of the project. It can range from a simple shallow groove to a deep recess that accommodates the entire thickness of the connecting piece.
These joints provide several advantages over other types of joinery. First, they create a strong mechanical connection that can withstand significant stress and weight. Additionally, rabbet joints create a clean and seamless look without any visible fasteners. This makes them aesthetically pleasing and ideal for projects where a flush and hidden connection is desired.
There are two main variations of rabbet joints: the through rabbet and the stopped rabbet. A through rabbet extends from one end of the workpiece to the other, creating a groove that runs the entire length. On the other hand, a stopped rabbet does not extend all the way through the workpiece, leaving a wall at one end to conceal the joint.
Creating rabbet joints requires careful precision and attention to detail. It is important to accurately measure and mark the dimensions of the rabbet, ensuring a snug fit for the connecting piece. Precise cutting and clean finishing are crucial to achieve a tight and seamless joint.
Now that we have an overview of rabbet joints, let’s dive deeper into the different types of rabbet joints and explore their specific uses in woodworking projects.
Types of Rabbet Joints
There are several variations of rabbet joints, each with its own specific application and purpose in woodworking. Let’s take a closer look at some of the most common types:
- Standard Rabbet Joint: The standard rabbet joint is the most basic type, where a recess is cut along the edge or end of a piece of wood to accommodate another piece. This joint is commonly used for joining panels or adding depth to corners of boxes and cabinets.
- Rebate Rabbet Joint: A rebate rabbet joint is similar to the standard rabbet joint but includes an additional ledge or step along the inside edge of the recess. This ledge provides extra support and prevents the connected piece from sliding out of the joint.
- Double Rabbet Joint: In a double rabbet joint, two rabbets are cut along the edge or end of a piece of wood, allowing two other pieces to fit into them. This joint creates a strong connection and is commonly used in building frames or reinforcing corners of boxes.
- Cross Rabbet Joint: The cross rabbet joint involves cutting intersecting rabbets on two pieces of wood to create a seamless and sturdy connection. This joint is often used in creating strong corners for drawers or cabinets.
- Mitered Rabbet Joint: The mitered rabbet joint combines the rabbet joint with a miter joint, resulting in a neat and angled connection. This joint is commonly used in frame construction, such as picture frames or window frames.
Each of these rabbet joint variations offers unique benefits and can be adapted to suit the specific requirements and design of a woodworking project. The choice of which type of rabbet joint to use depends on factors such as the thickness of the wood, the desired strength of the joint, and the overall aesthetics of the piece.
Now that we have explored the different types of rabbet joints, let’s move on to understanding the common uses of rabbet joints in woodworking.
Common Uses of Rabbet Joints
Rabbet joints find a wide range of applications in woodworking due to their versatility and strength. Let’s explore some of the common uses of rabbet joints:
- Joining panels: Rabbet joints are frequently used to join panels together, such as those in cabinet doors or tabletops. The rabbets create a seamless and secure connection, ensuring that the panels remain aligned and stable.
- Corner reinforcement: Rabbet joints are excellent for reinforcing the corners of boxes, cabinets, or drawers. By cutting rabbets on adjoining pieces and fitting them together, the joints provide added strength and stability to the structure.
- Picture frames: Rabbet joints are commonly employed in the construction of picture frames. The rabbets create a groove to hold the glass, artwork, and backing, ensuring a clean and professional finish.
- Drawer construction: Rabbet joints are frequently used to construct drawers in furniture pieces. The joints create strong connections at the corners, ensuring the durability and functionality of the drawers.
- Bookshelves: Rabbet joints are often utilized in building bookshelves as they provide secure connections between the shelves and the sides of the unit. This ensures that the shelves can support the weight of books and other items without sagging or collapsing.
These are just a few examples of how rabbet joints are commonly used in woodworking. The versatility of rabbet joints allows woodworkers to create strong and seamless connections in various projects, from simple boxes to intricate furniture pieces.
Now that we have explored the common uses of rabbet joints, let’s move on to the tools and techniques required to create these joints effectively.
Tools and Techniques for Creating Rabbets
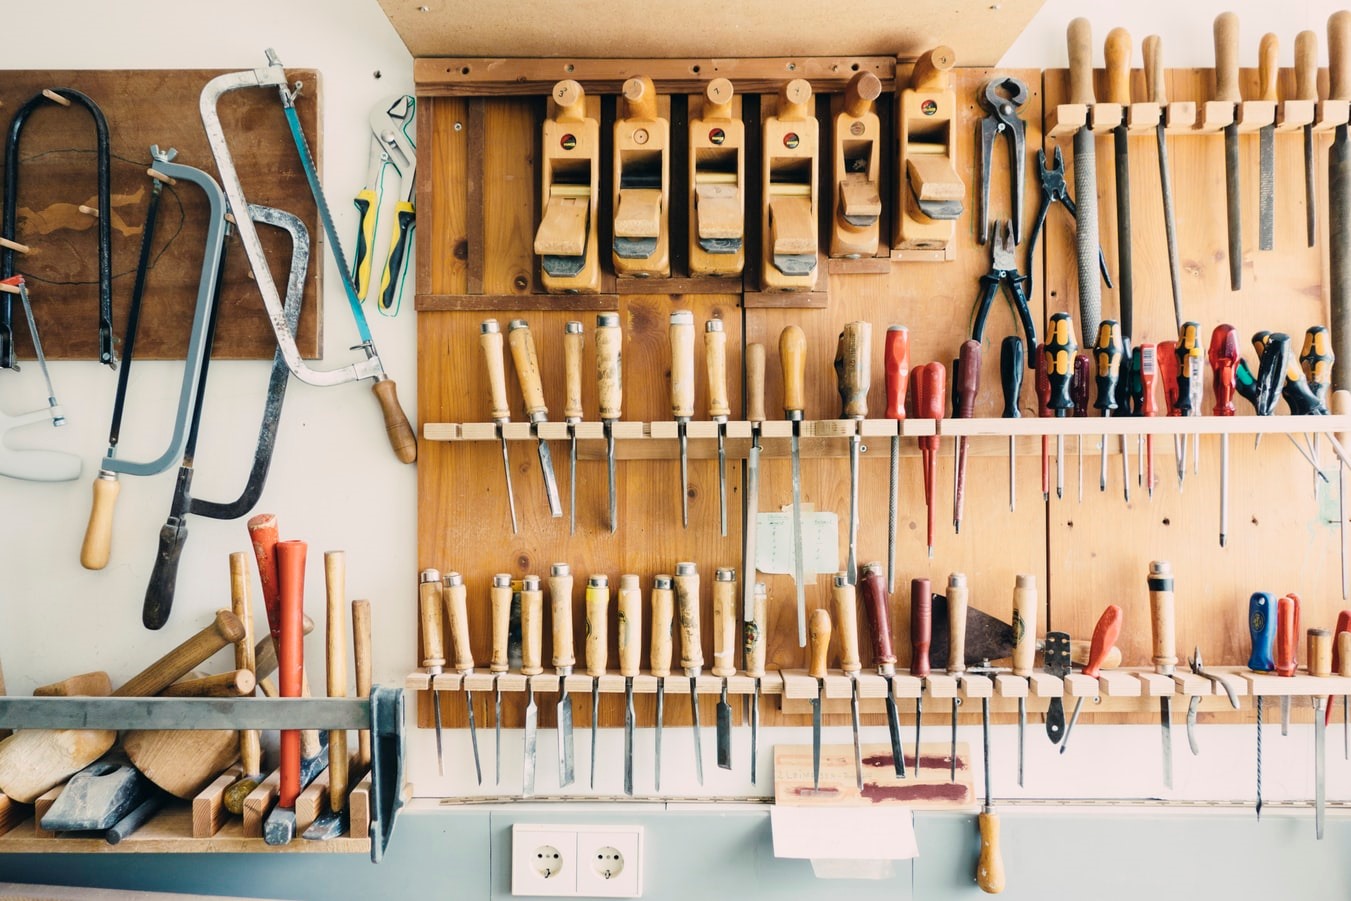
To create rabbet joints in woodworking, you will need the right tools and techniques. Let’s explore the essential tools and techniques for creating rabbets:
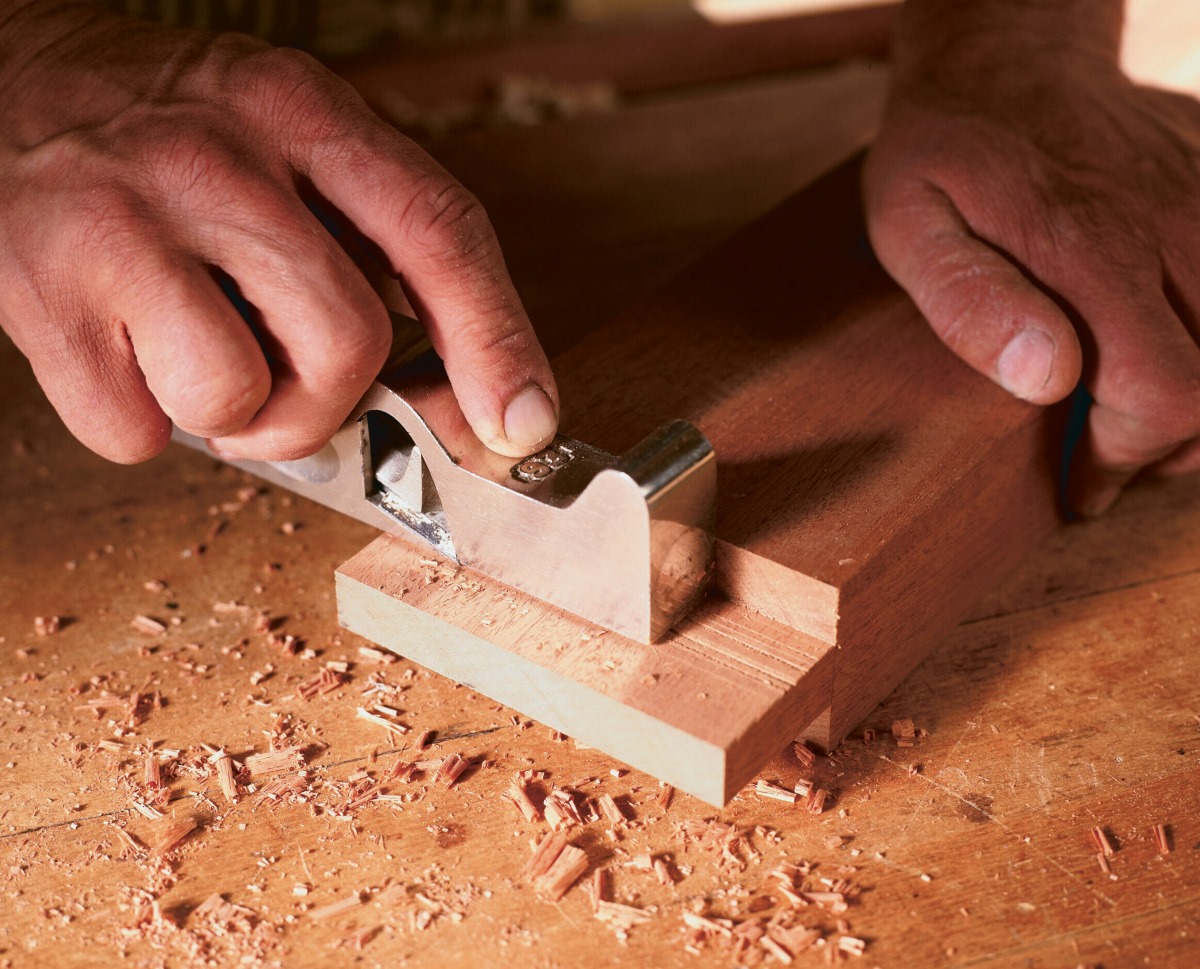
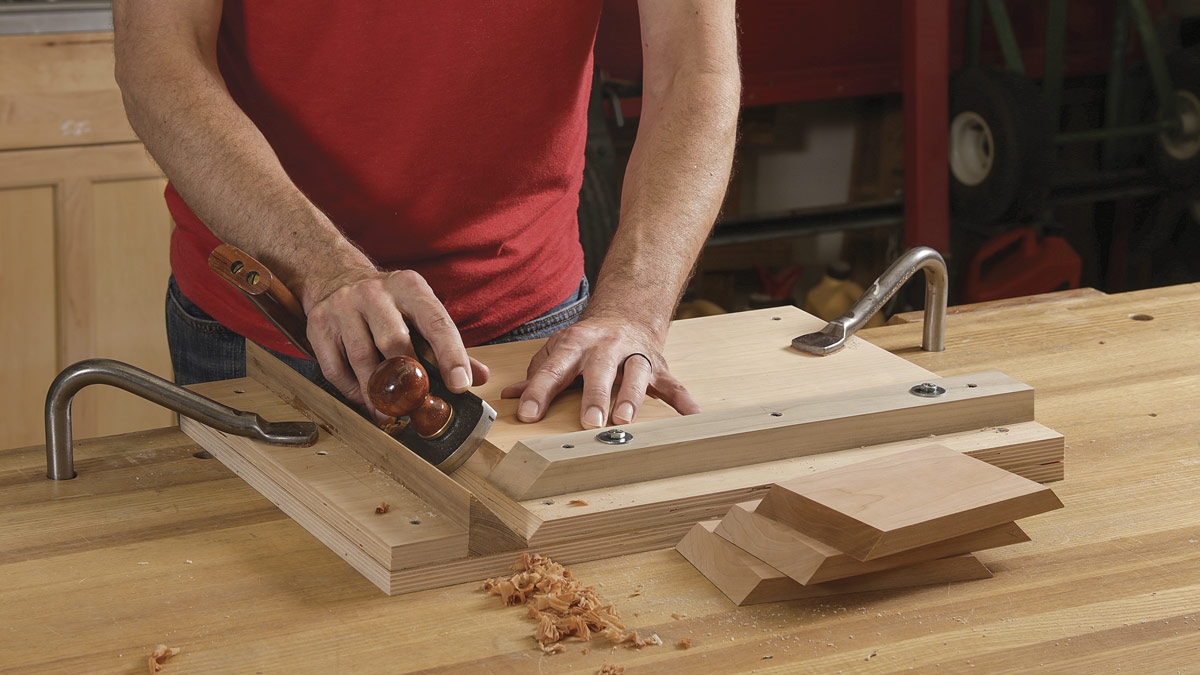
- Rabbet Plane: A rabbet plane is a specialized hand plane designed specifically for cutting rabbets. It has a wide, flat sole and a narrow blade that can be adjusted to control the depth of the cut. A rabbet plane allows for precise and clean rabbet cuts.
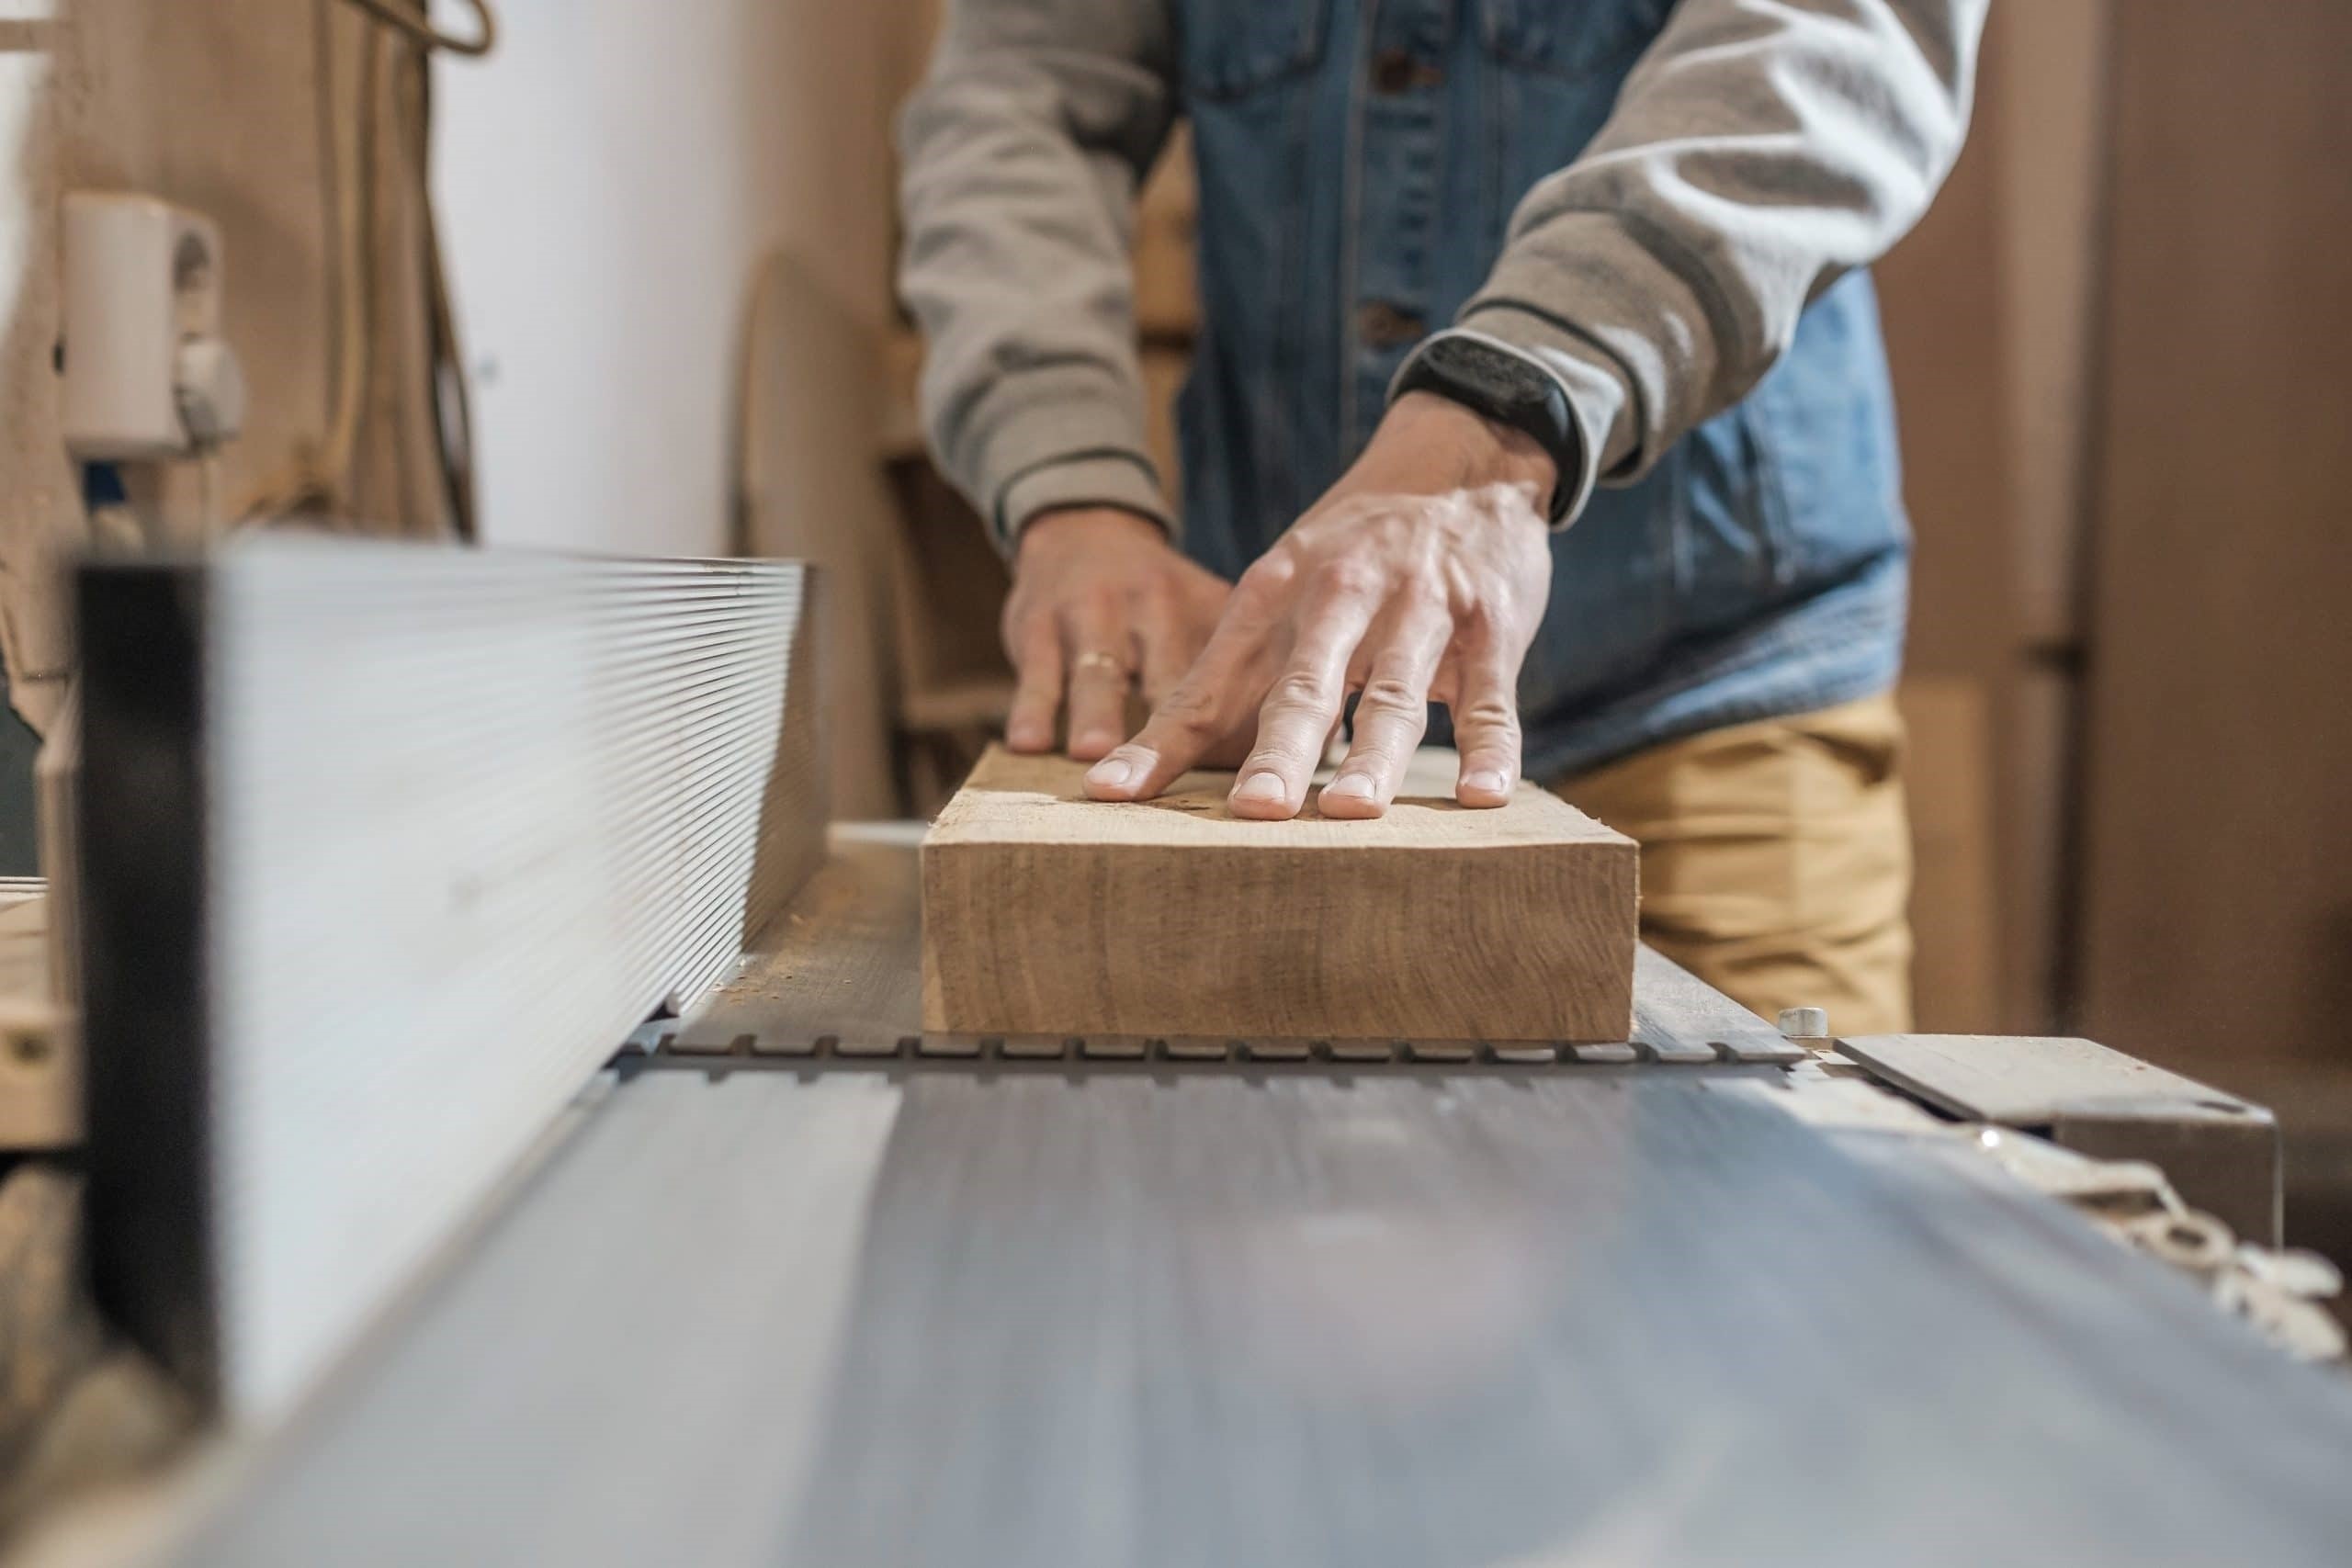
- Table Saw: A table saw is a versatile power tool that can be used to create rabbets. By adjusting the blade height and using a dado blade or a stacked dado set, you can make accurate and consistent rabbet cuts. Ensure that you use a miter gauge or a crosscut sled for safety and precision.
- Router: A router fitted with a rabbet bit is another tool option for creating rabbets. The router’s depth and width adjustments allow you to achieve precise and clean cuts. Use a fence or edge guide to ensure straight and accurate rabbet cuts.
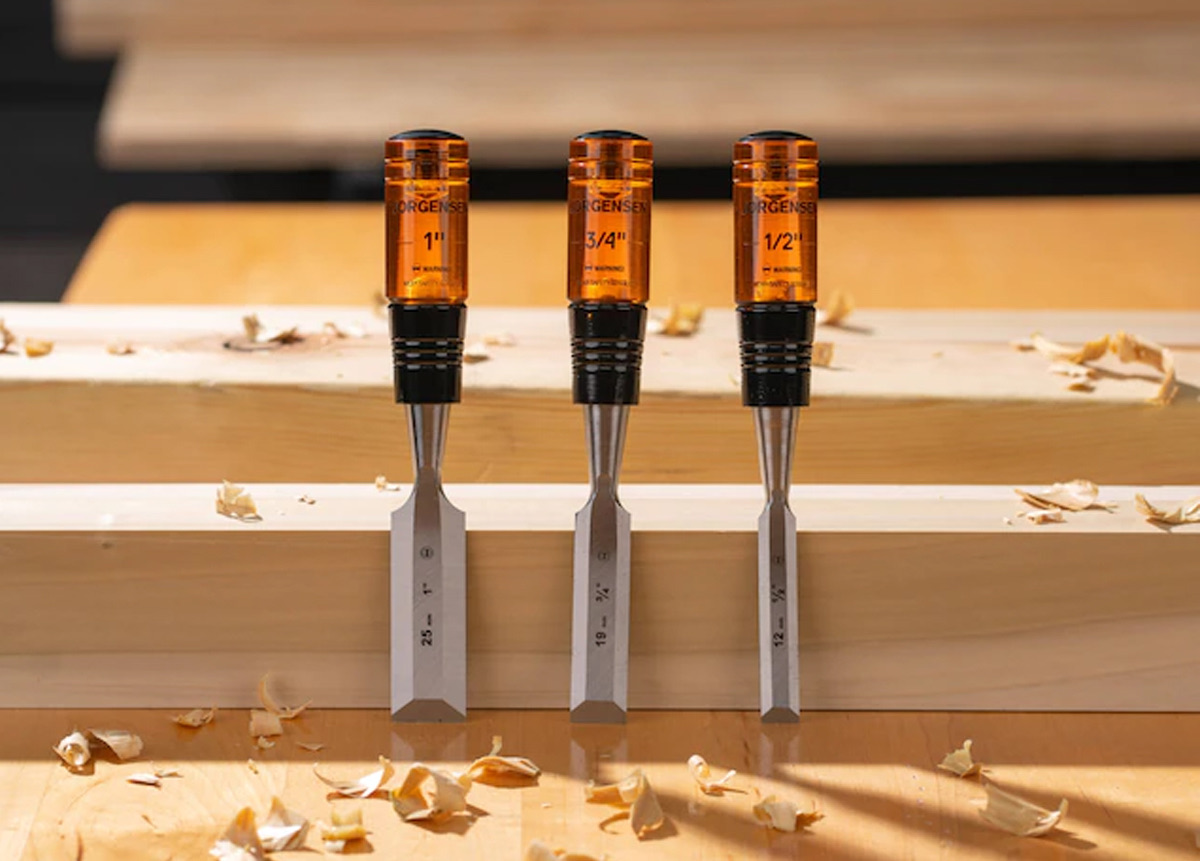
- Chisel: A chisel is a versatile hand tool that can be used to clean up and refine the edges of a rabbet cut. It helps achieve a smooth and precise fit between the connecting pieces.
- Dovetail Saw: A dovetail saw or a smaller crosscut saw can be used to make the initial cuts for creating a rabbet joint by hand. These saws are designed to make precise and controlled cuts, enabling you to achieve accurate dimensions for the rabbet.
When creating rabbets, it is essential to follow proper techniques to ensure accuracy and a tight fit. Here are a few techniques to consider:
- Measure and Mark: Take precise measurements and mark the dimensions of the rabbet on the workpiece. Use a marking gauge or a pencil to create clear guidelines.
- Make Multiple Passes: When using a saw, router, or a dado blade, it is often best to make multiple passes rather than trying to cut the full depth in one go. This reduces the chance of mistakes and ensures clean and accurate cuts.
- Test Fit: Always perform test fits with the connecting piece to ensure a snug and precise fit. Make any necessary adjustments before applying glue or fastening the joint permanently.
- Finishing: After creating the rabbet, use a chisel or sandpaper to smooth out any rough edges. This will ensure a flush connection and a professional finish.
By using the right tools and following proper techniques, you can create strong and seamless rabbet joints for your woodworking projects.
Now that we have explored the tools and techniques for creating rabbets, let’s move on to understanding the advantages and disadvantages of using rabbet joints.
When cutting a rabbet in woodworking, make sure to use a sharp chisel or a rabbet plane to achieve clean and precise edges. Always measure and mark the depth and width of the rabbet accurately before cutting.
Read more: What Is Woodworking
Advantages and Disadvantages of Rabbet Joints
Rabbet joints offer several advantages and have a few limitations to consider when incorporating them into your woodworking projects. Let’s explore the advantages and disadvantages of using rabbet joints:
Advantages:
- Strength and Stability: Rabbet joints provide excellent strength and stability. The overlapping surfaces of the joint create a larger gluing area, resulting in a strong and secure connection.
- Hidden Fasteners: Rabbet joints create a clean and visually appealing finish as they do not require visible fasteners. This makes them ideal for projects where a seamless and concealed connection is desired.
- Improved Alignment: Rabbet joints help align pieces accurately, reducing the risk of misalignment or gaps between the connected pieces.
- Versatility: Rabbet joints can be used in a wide range of woodworking projects, from joining panels to constructing drawers and reinforcing corners.
- Simple Construction: While precision is crucial, rabbet joints are relatively simple to create, especially with the right tools and techniques.
Disadvantages:
- Limited Surface Area: Rabbet joints have a limited gluing surface area compared to other joint types, such as dowel joints or mortise and tenon joints. This can affect the overall strength and durability of the connection.
- Difficulty with Alignment: Achieving precise alignment can be challenging, especially for large or complex projects. Ensuring the proper fit between the connected pieces requires careful measurement and cutting.
- Depth Limitation: Rabbet joints are limited in terms of the thickness of the connecting piece. The depth of the rabbet determines the maximum thickness that can be accommodated, which may not be suitable for certain projects.
- Visible End Grain: Depending on the design and application, rabbet joints may result in visible end grain on the edges of the project. This may not be desirable, particularly on pieces with exposed edges.
Considering the advantages and disadvantages of rabbet joints will help you make informed decisions when choosing the appropriate joinery technique for your woodworking projects.
Now that we have explored the advantages and disadvantages of rabbet joints, let’s move on to some valuable tips for creating strong and reliable rabbet joints.
Tips for Creating Strong Rabbet Joints
Creating strong and reliable rabbet joints requires attention to detail and precision. Here are some valuable tips to help you achieve excellent results:
- Accurate Measurements: Take precise measurements and mark the dimensions of the rabbet on your workpiece. Use a combination square, ruler, or marking gauge to ensure accuracy.
- Test Fit: Always perform a test fit with the connecting piece before applying glue or permanently fastening the joint. This will help you identify any issues or adjustments needed for a snug and precise fit.
- Use a Backer Board: When cutting rabbets with power tools such as a table saw or router, using a backer board can help prevent tear-out and ensure clean cuts. The backer board supports the fibers of the workpiece as it passes through the blade or bit.
- Start with Shallow Cuts: When making rabbet cuts, it is often best to start with shallow passes and gradually increase the depth. This allows for better control and reduces the risk of tear-out or mistakes.
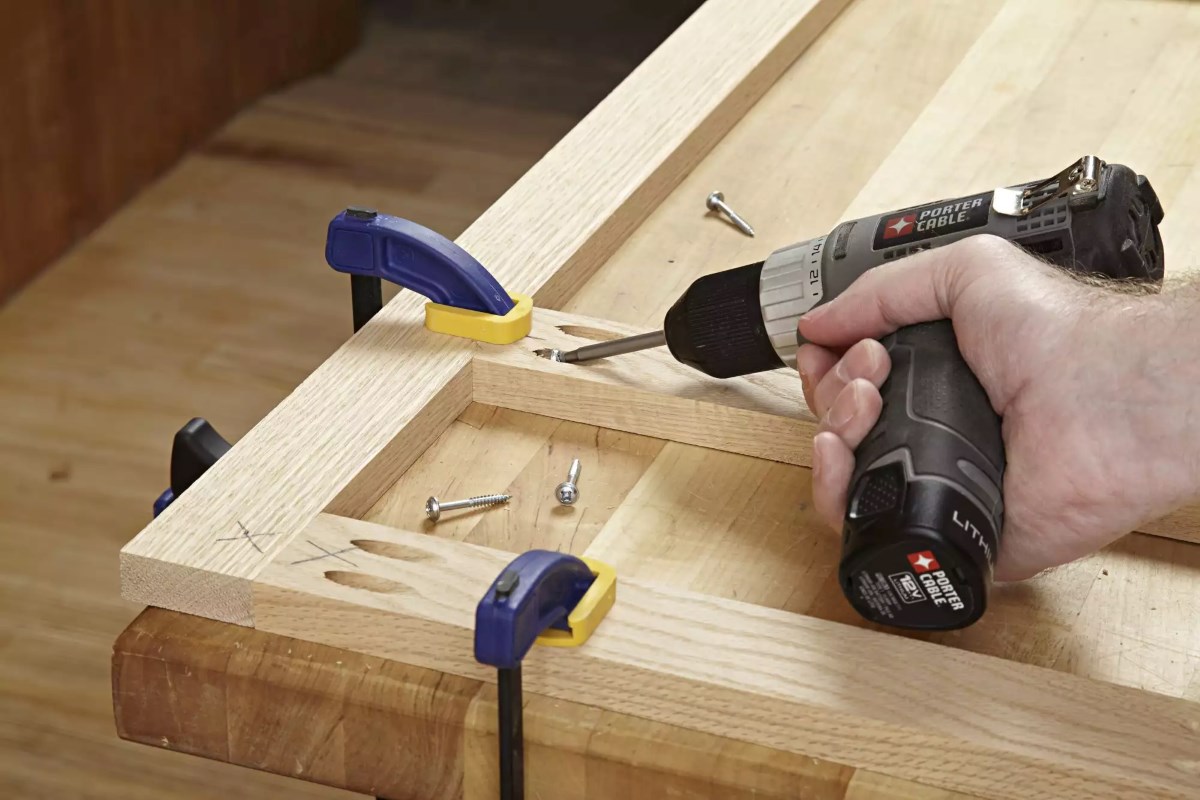
- Secure Workpiece Properly: Whether using hand tools or power tools, securely clamp or hold down your workpiece to prevent it from moving during the cutting process. This will ensure accurate and safe cuts.
- Smooth and Flat Surfaces: Ensure that the surfaces where the rabbets will be created are smooth and flat. Any irregularities or imperfections can affect the fit and strength of the joint.
- Apply Adequate Glue: When applying glue to the rabbet joint, ensure that you apply enough to achieve proper coverage. This will maximize the bond strength between the connected pieces.
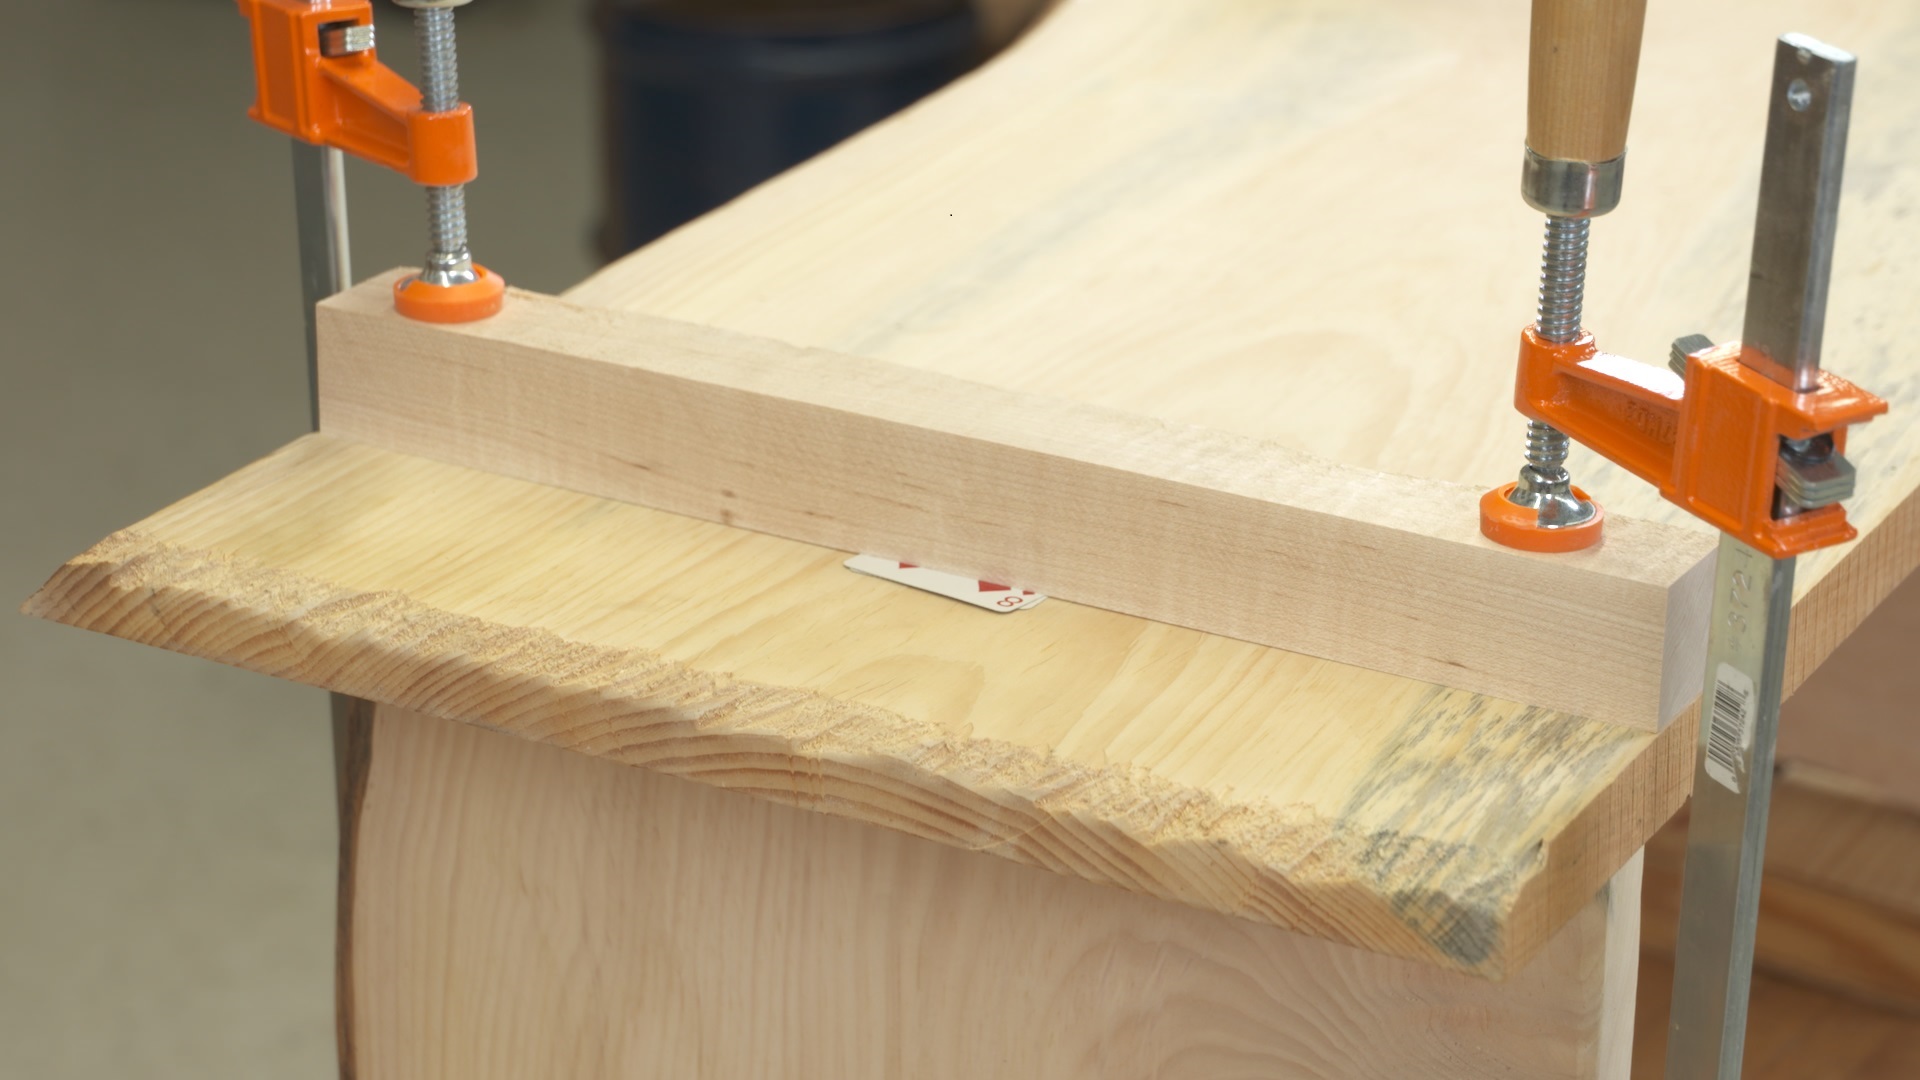
- Clamping Time: Follow the manufacturer’s instructions for clamping time when using glue. Improper clamping or premature removal can compromise the strength of the joint.
- Allow Sufficient Drying Time: Give the glued joint enough time to dry and cure before subjecting it to stress or load. This will ensure that the joint reaches optimal strength.
- Finishing Touches: After the joint is dry, use a chisel, sandpaper, or a block plane to clean up any rough edges or protrusions. This will result in a flush and professional-looking joint.
By following these tips and techniques, you can achieve strong and reliable rabbet joints in your woodworking projects. Remember to practice patience and precision for the best results.
Now that we have explored the tips for creating strong rabbet joints, let’s conclude our journey into the world of rabbet joints in woodworking.
Read more: What Is A Planer In Woodworking
Conclusion
Rabbet joints are a fundamental and versatile technique in woodworking, allowing woodworkers to create strong and seamless connections between pieces of wood. Whether you are a beginner or an experienced woodworker, mastering the art of creating effective rabbet joints can greatly enhance your skills and the quality of your projects.
In this article, we have covered the essentials of rabbet joints, including an overview of their purpose and functionality. We explored the various types of rabbet joints, such as the standard, rebate, double, cross, and mitered rabbet joints, each with its unique applications and benefits.
We also delved into the common uses of rabbet joints, from joining panels and reinforcing corners to constructing drawers and creating picture frames. Rabbet joints are widely employed in woodworking projects due to their strength, stability, and visually appealing finish.
To create rabbet joints effectively, we discussed the essential tools and techniques needed. From rabbet planes and table saws to routers and chisels, each tool plays a crucial role in achieving accurate cuts and precise fits. Following proper techniques, such as measuring and marking accurately, test fitting, making multiple passes, and ensuring smooth surfaces, further enhances the quality of your rabbet joints.
We also examined the advantages and disadvantages of rabbet joints. While they offer strength, stability, and hidden fasteners, there are limitations to consider, such as limited surface area and visible end grain. Being aware of these factors allows you to make informed decisions when incorporating rabbet joints into your projects.
To ensure strong and reliable rabbet joints, we provided valuable tips, including accurate measurement, test fitting, using backer boards, starting with shallow cuts, and applying adequate glue. Additionally, allowing sufficient drying and clamping time, as well as adding finishing touches, ensures the durability and aesthetic appeal of your rabbet joints.
As you continue to explore the world of woodworking, remember that mastering rabbet joints is an ongoing process. Practice and attention to detail will lead to improved skills and better results.
So, embrace the art of creating rabbet joints in your woodworking projects and add strength, stability, and visual appeal to your craftsmanship. With the right tools, techniques, and mindset, your rabbet joints will become a hallmark of quality in your woodworking endeavors.
If you enjoyed learning about rabbet joints, you'll find our upcoming features equally valuable. Dive deeper into crafting with an article on essential woodworking techniques. For those eager to create their own furniture, our detailed guide on furniture making will set you on the right path. Both articles provide practical advice, enhancing your skills and confidence in tackling new projects.
Frequently Asked Questions about What Is A Rabbet In Woodworking
Was this page helpful?
At Storables.com, we guarantee accurate and reliable information. Our content, validated by Expert Board Contributors, is crafted following stringent Editorial Policies. We're committed to providing you with well-researched, expert-backed insights for all your informational needs.

0 thoughts on “What Is A Rabbet In Woodworking”