Home>Home Appliances>Laundry Appliances>How To Wash Football Cleats In A Washing Machine
Laundry Appliances
How To Wash Football Cleats In A Washing Machine
Modified: August 27, 2024
Learn how to effectively clean football cleats in a washing machine with our expert tips. Discover the best laundry appliances for maintaining your gear.
(Many of the links in this article redirect to a specific reviewed product. Your purchase of these products through affiliate links helps to generate commission for Storables.com, at no extra cost. Learn more)
Introduction
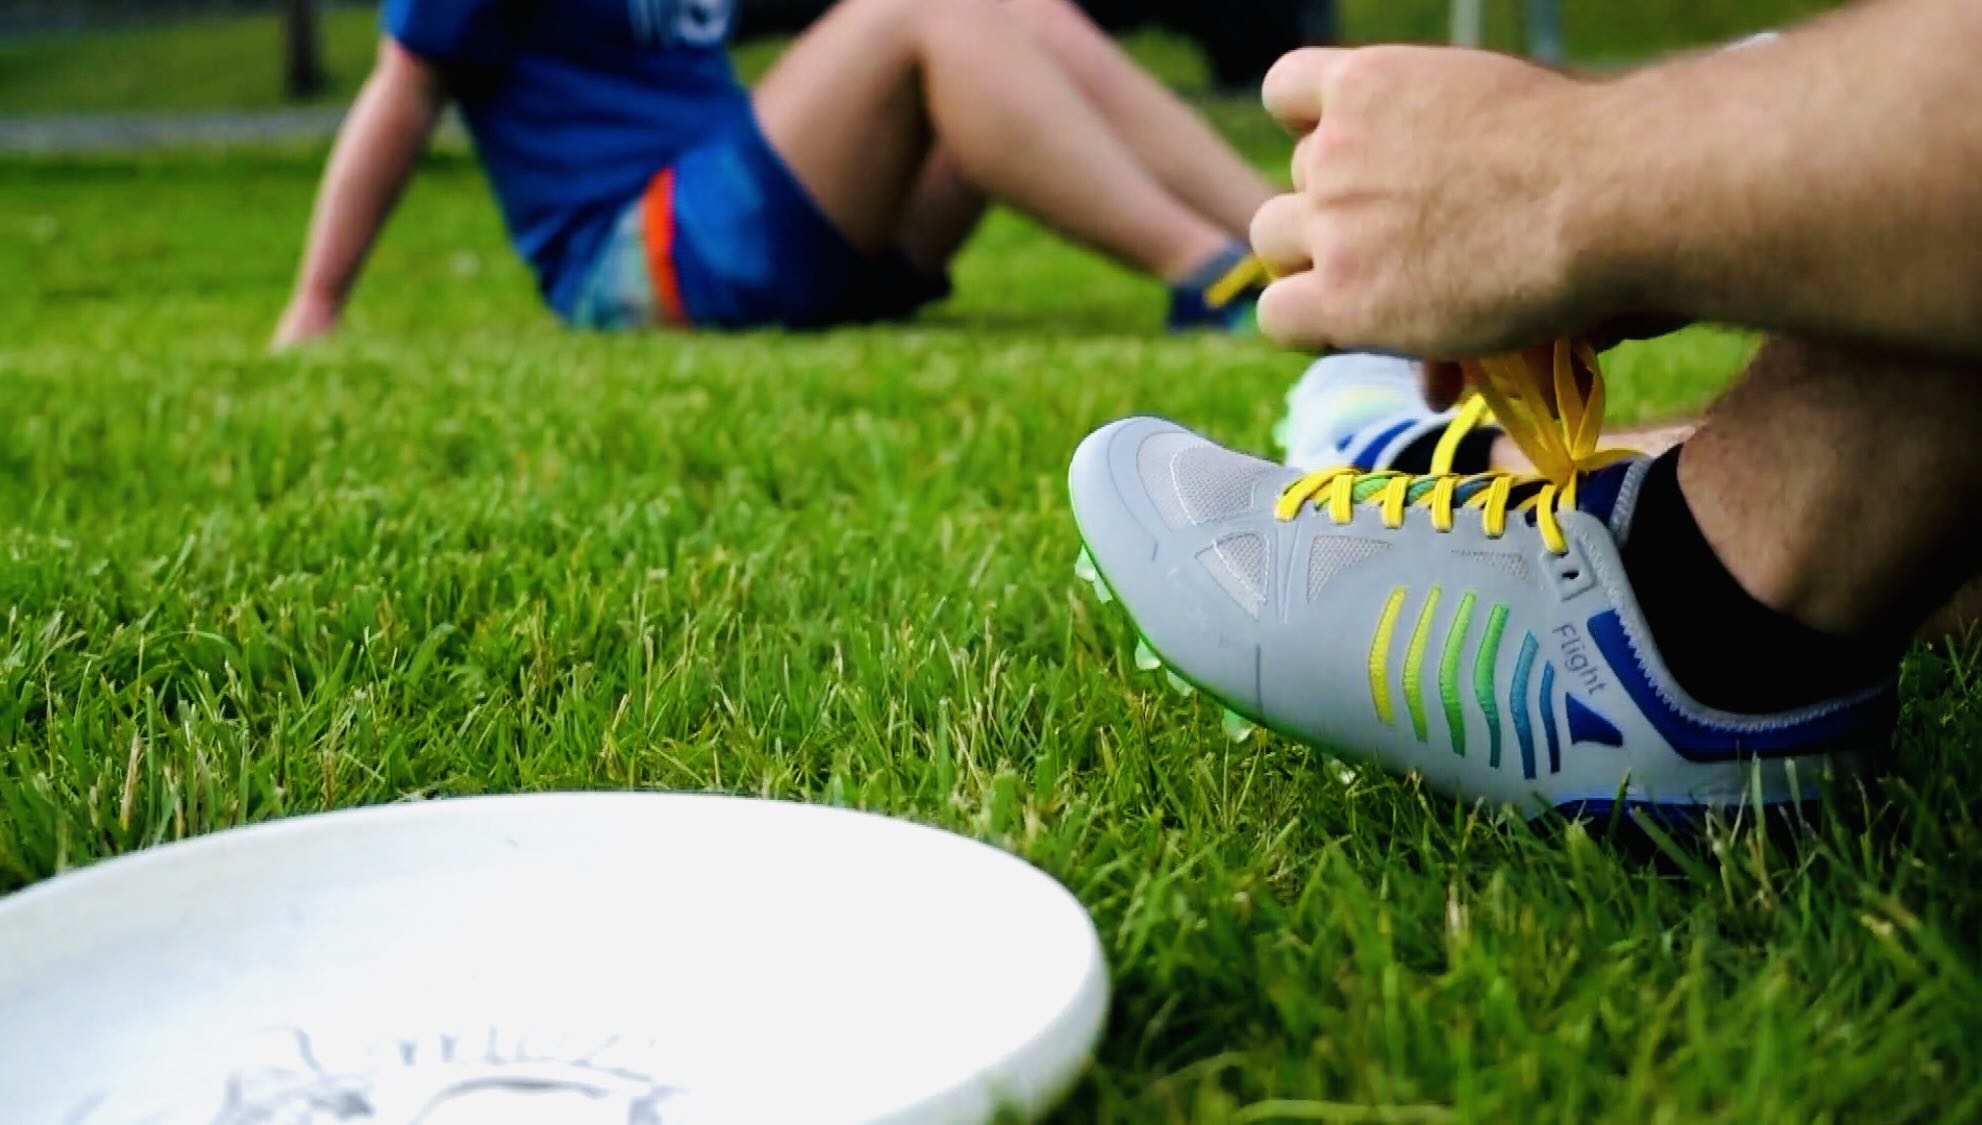
Washing football cleats in a washing machine can be a convenient and effective way to keep them clean and fresh. Whether you're a dedicated athlete or a parent helping a young player, knowing how to properly clean football cleats is essential for maintaining their performance and longevity. While hand washing is a common method, using a washing machine can save time and effort, especially after intense games or practices in challenging weather conditions.
Football cleats endure a significant amount of wear and tear during gameplay, accumulating dirt, mud, and grass stains. Regular cleaning not only keeps them looking sharp but also helps prevent the buildup of odor-causing bacteria. By following the right steps and precautions, you can effectively clean your football cleats in a washing machine without compromising their quality.
In this comprehensive guide, we will walk you through the process of washing football cleats in a washing machine, providing valuable tips and insights to ensure a successful outcome. From preparing the cleats for washing to selecting the appropriate cycle and detergent, we'll cover every aspect to help you achieve clean and refreshed football cleats. So, let's dive into the details and learn how to maintain your football cleats with the convenience of a washing machine.
Key Takeaways:
- Machine washing football cleats requires careful preparation, including removing debris, untying laces, and inspecting for damage. Choosing a gentle cycle, cold water, and mild detergent ensures effective cleaning without compromising the cleats’ quality.
- After machine washing, air dry cleats in a well-ventilated area, avoiding direct heat. Patience is key as thorough drying prevents mold and maintains cleats’ structural integrity for future use.
Read more: What Is A Cleat In Woodworking
Preparing the Cleats
Before placing your football cleats in the washing machine, it's crucial to prepare them properly to ensure a thorough and safe cleaning process. Here's a step-by-step guide to preparing your cleats for machine washing:
-
Remove Excess Debris: Start by removing any excess dirt, mud, or grass clippings from the cleats. Use a soft-bristled brush or an old toothbrush to gently scrub the outsoles and uppers, loosening and removing as much debris as possible. This initial step helps prevent the washing machine from getting clogged and ensures a more effective cleaning cycle.
-
Untie and Unlace: Carefully untie the laces and remove them from the cleats. If the laces are heavily soiled, consider washing them separately by placing them in a mesh laundry bag to prevent tangling. Clean laces contribute to an overall refreshed look and feel of the cleats.
-
Inspect for Damage: Take a moment to inspect the cleats for any signs of damage or wear. Check for loose stitching, detached soles, or any other structural issues that may worsen during the washing process. If you notice any significant damage, it's best to address it before proceeding with machine washing.
-
Protect Sensitive Materials: If your cleats feature delicate materials such as leather or specialized fabrics, consider applying a small amount of mild detergent directly to any stubborn stains or heavily soiled areas. Gently rub the detergent into the affected areas using a soft cloth or brush, allowing it to penetrate the stains before machine washing.
-
Air Dry (Optional): If the cleats are excessively wet or saturated with moisture, allow them to air dry for a few hours before placing them in the washing machine. This step helps prevent excessive water from entering the machine and promotes a more efficient cleaning process.
By meticulously preparing your football cleats for machine washing, you set the stage for a successful cleaning cycle that effectively removes dirt and grime while safeguarding the integrity of the cleats. With the cleats ready for the next phase, let's move on to setting up the washing machine for optimal results.
Setting Up the Washing Machine
When it comes to washing football cleats in a washing machine, proper setup is essential to ensure effective cleaning without causing damage. Here's a detailed guide on setting up the washing machine for washing football cleats:
-
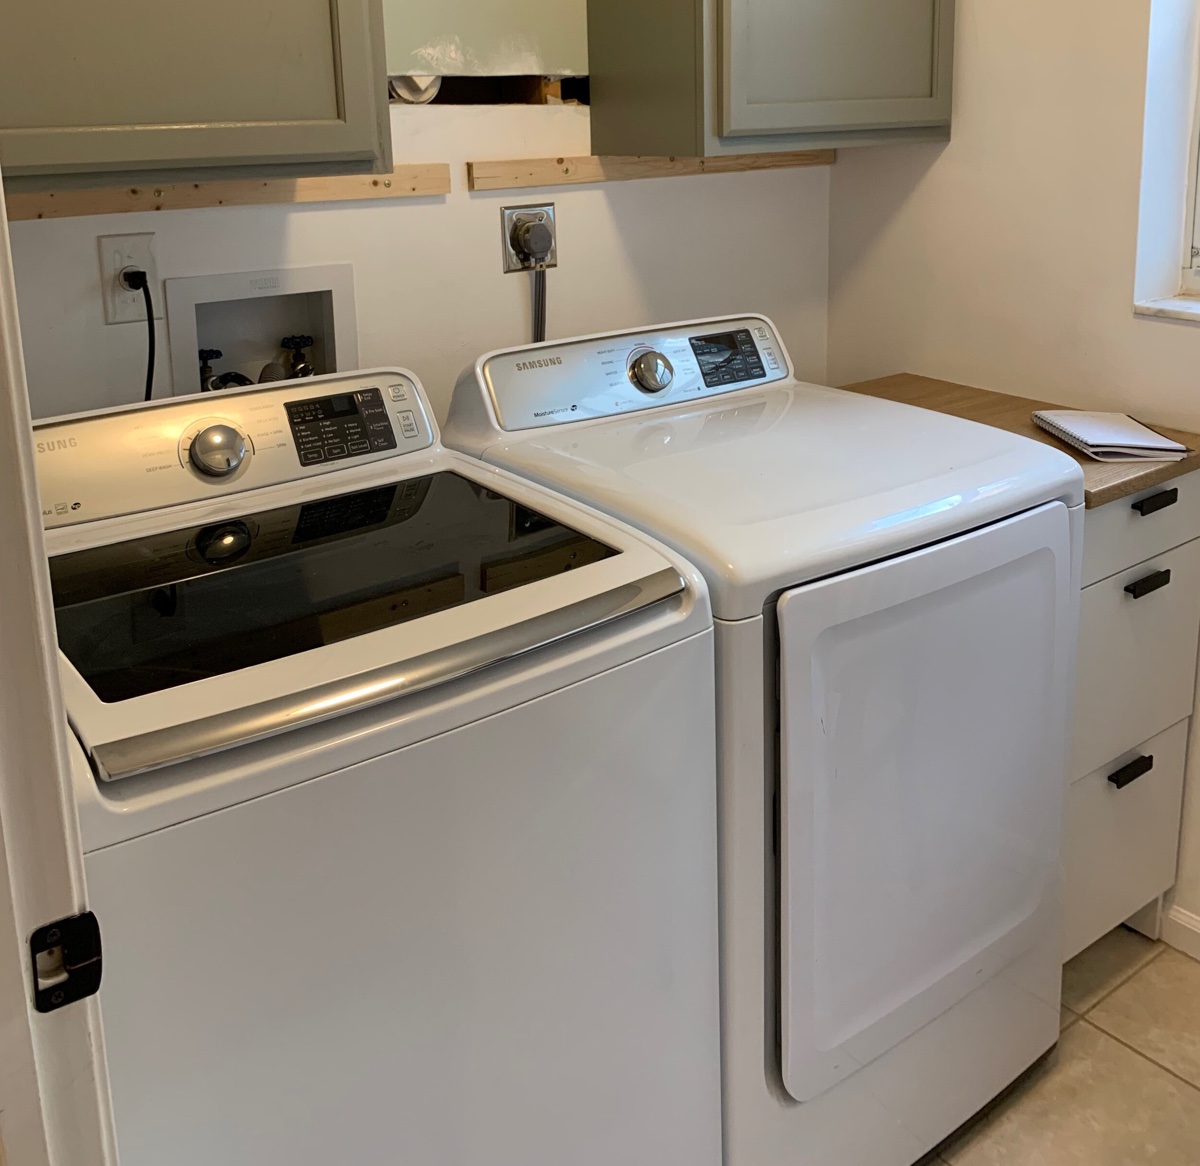
Check the Washing Machine Capacity: Before proceeding, check the capacity of your washing machine to ensure it can accommodate the cleats without overloading. Overcrowding the machine can hinder the cleaning process and may lead to inadequate results. If necessary, remove any other items from the machine to create ample space for the cleats.
-
Use a Mesh Laundry Bag (Optional): To provide an extra layer of protection for the cleats during the washing cycle, consider placing them in a mesh laundry bag. This step is particularly beneficial for preventing the cleats from banging against the walls of the machine, reducing the risk of damage to both the cleats and the machine.
-
Balance the Load: Evenly distribute the weight of the cleats within the washing machine to maintain balance during the spin cycle. Imbalanced loads can cause the machine to vibrate excessively, potentially leading to operational issues. Placing the cleats alongside a few small towels or other soft items can help distribute the weight more evenly.
-
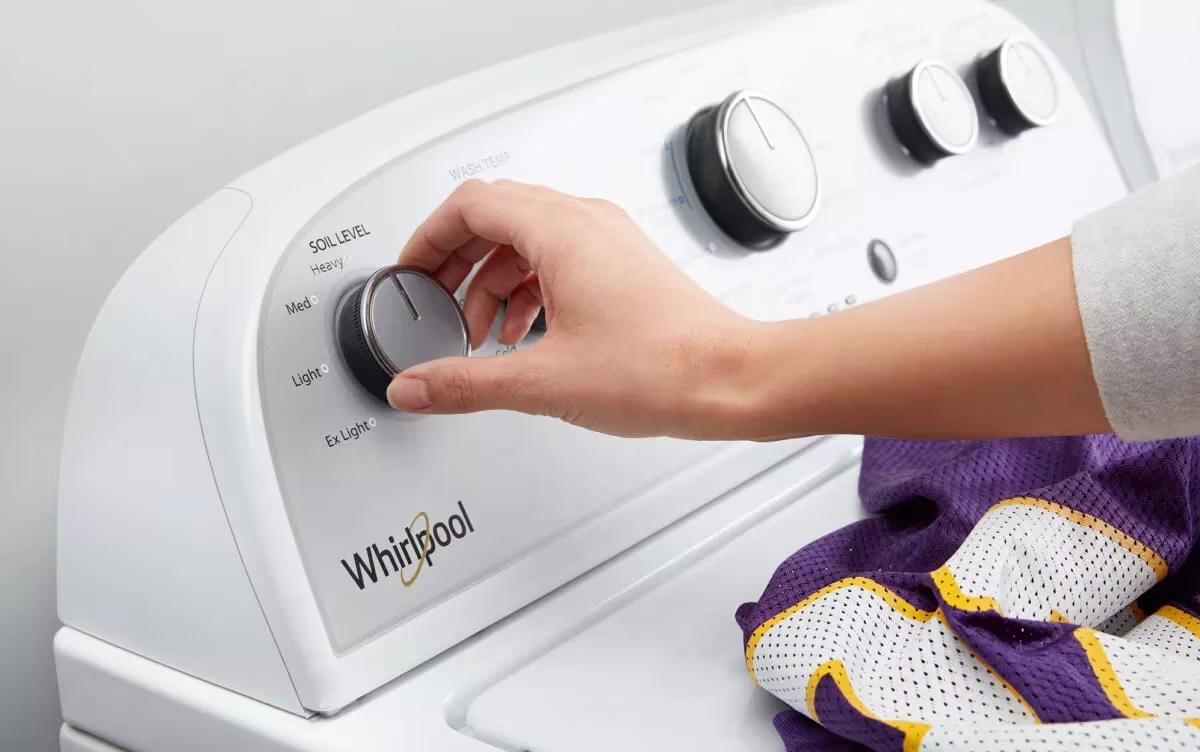
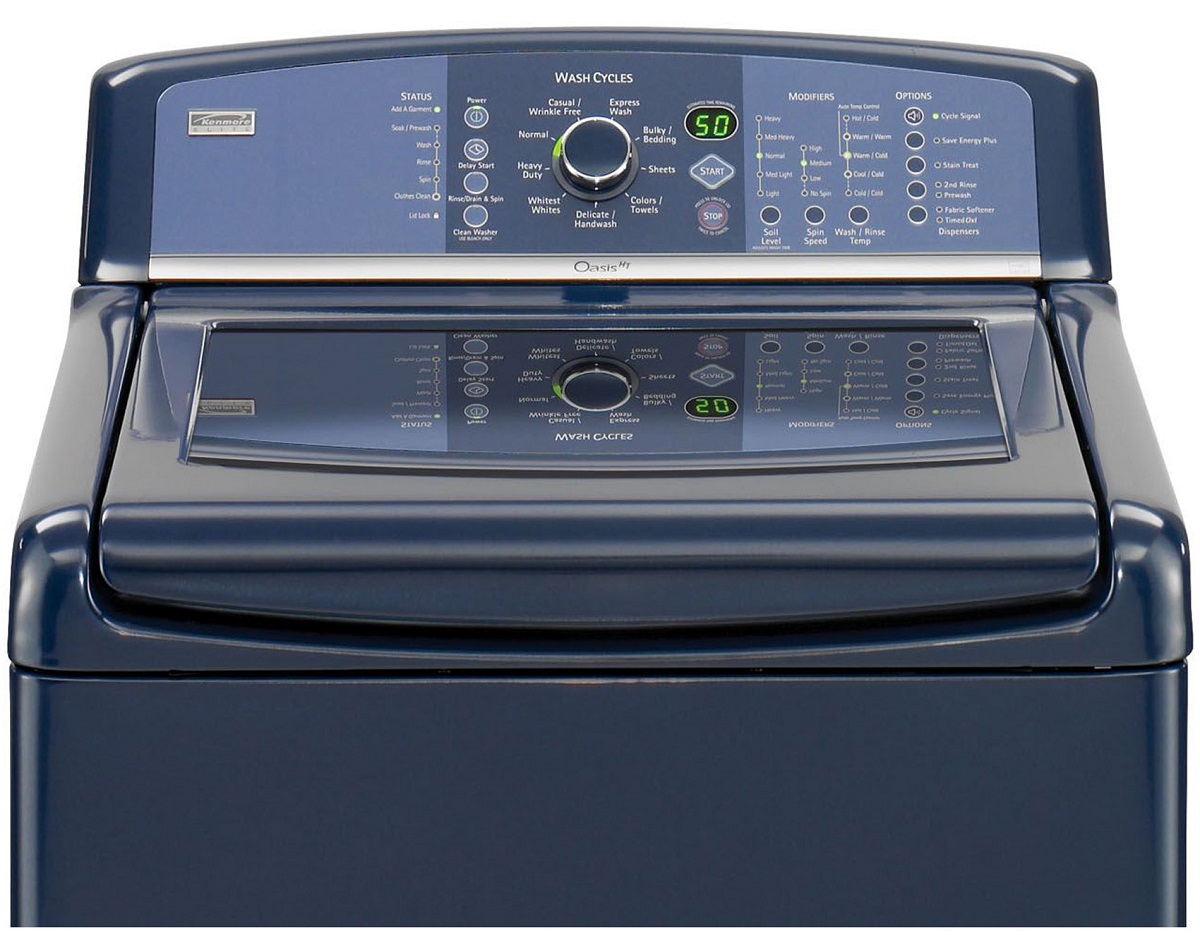
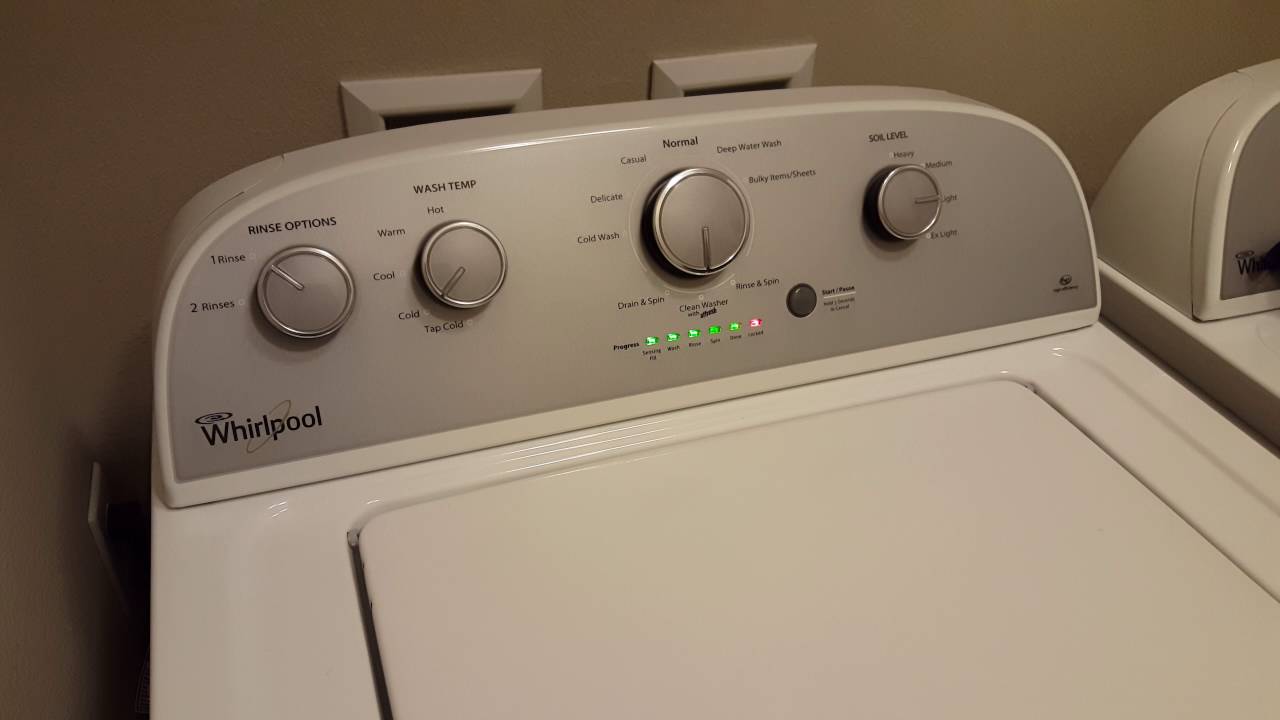
Select a Gentle Cycle: Opt for a gentle or delicate cycle on the washing machine to minimize the impact on the cleats while ensuring thorough cleaning. These cycles typically feature slower agitation and gentler spinning, reducing the risk of damage to the cleats' materials and construction.
-
Adjust Water Temperature: Set the water temperature to cold or lukewarm to prevent potential damage to the cleats, especially if they contain sensitive materials. Hot water can cause certain adhesives to weaken or fabrics to shrink, compromising the integrity of the cleats.
-
Avoid Harsh Detergents: Choose a mild, non-abrasive detergent suitable for delicate fabrics. Harsh detergents or bleach-based products can be detrimental to the materials used in football cleats, potentially causing discoloration or deterioration.
By meticulously following these steps to set up the washing machine, you can create an optimal environment for cleaning football cleats effectively and safely. With the machine ready and the cleats prepared, the next step is to add the cleats to the washing machine and proceed with the cleaning cycle.
Adding the Cleats to the Washing Machine
Once the washing machine is properly set up, it's time to add the prepared football cleats for the cleaning cycle. This step requires attention to detail to ensure that the cleats are positioned securely and effectively within the machine. Here's a comprehensive guide on adding the cleats to the washing machine:
-
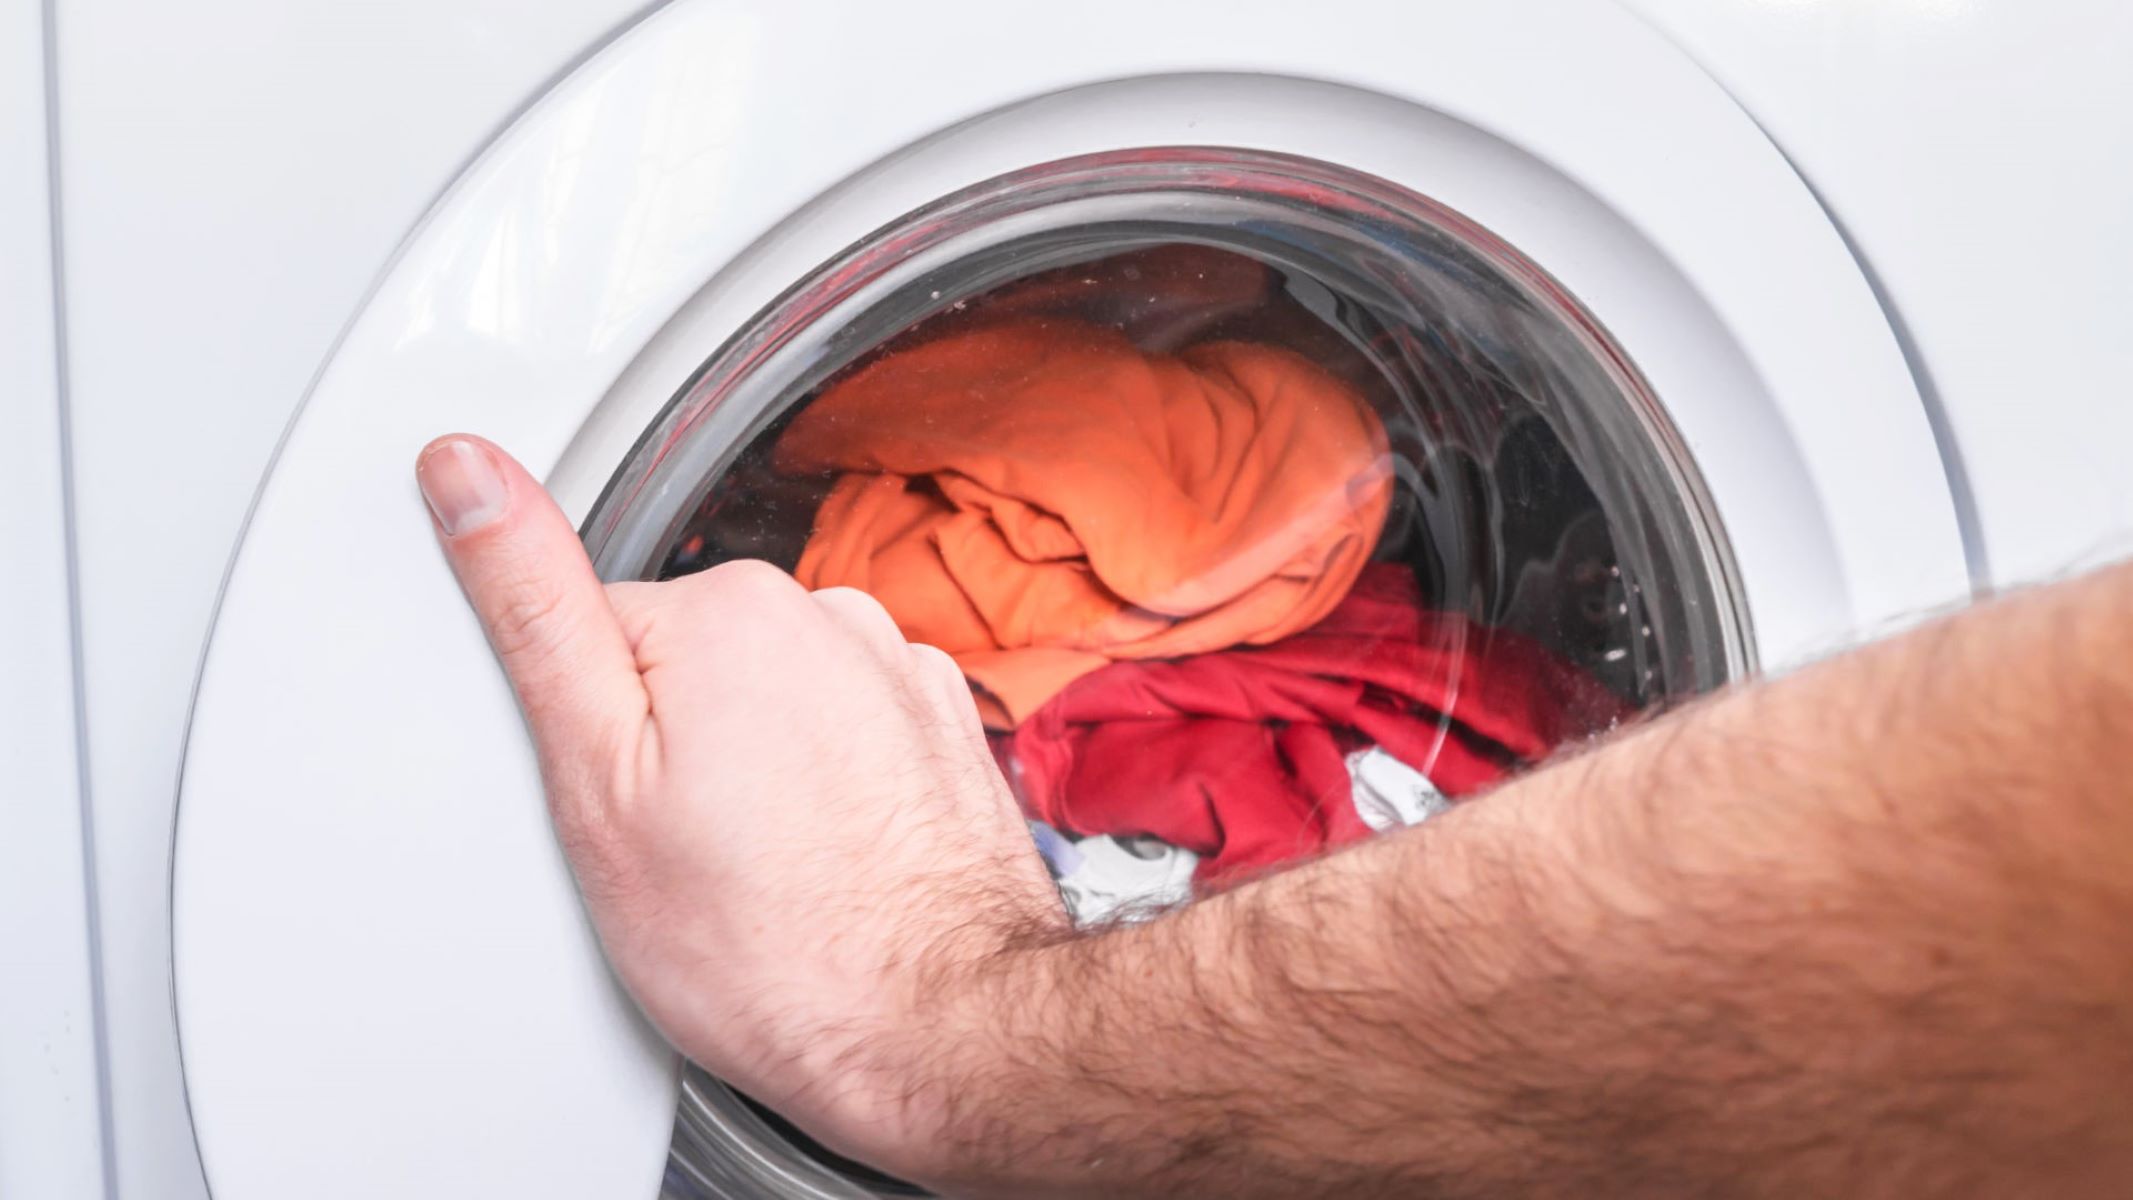
Positioning the Cleats: Carefully place the prepared football cleats in the washing machine, ensuring that they are positioned in a way that allows for balanced movement during the cleaning cycle. Avoid stacking or cramming the cleats, as this can impede the washing process and potentially cause damage to the cleats or the machine.
-
Utilizing the Mesh Laundry Bag (Optional): If you opted to use a mesh laundry bag for added protection, gently place the cleats inside the bag before putting them in the washing machine. Ensure that the bag is securely closed to prevent the cleats from slipping out during the cycle.
-
Balancing the Load: As you add the cleats to the machine, pay attention to the overall balance of the load. If necessary, adjust the positioning of the cleats or add a few soft items, such as towels or small garments, to help distribute the weight evenly. A balanced load minimizes the risk of excessive vibration during the cycle.
-
Securing Loose Components: If the cleats feature removable insoles or other detachable components, ensure that they are securely in place before starting the washing cycle. Loose components can move around during the cycle, potentially causing damage to the cleats or interfering with the machine's operation.
-
Closing the Washing Machine: Once the cleats are properly positioned and the load is balanced, securely close the washing machine's door or lid. Double-check that the cleats are not wedged in a way that could prevent the door from sealing properly.
By following these detailed steps, you can effectively add the prepared football cleats to the washing machine, setting the stage for a successful cleaning cycle. With the cleats securely in place, the next crucial step is to select the right cycle that aligns with the cleaning needs of the cleats and the machine's capabilities.
Before putting football cleats in the washing machine, remove any excess dirt and mud. Then, place them in a mesh laundry bag to protect them during the wash cycle. Use cold water and a gentle detergent to avoid damaging the cleats. Always air dry them afterwards.
Selecting the Right Cycle
Selecting the appropriate washing cycle is a critical step in ensuring the effective and safe cleaning of football cleats in a washing machine. Different washing machines offer various cycle options, each designed to cater to specific cleaning needs. When it comes to washing football cleats, opting for the right cycle can make a significant difference in the outcome. Here's a detailed exploration of the factors to consider when selecting the right cycle for washing football cleats:
-
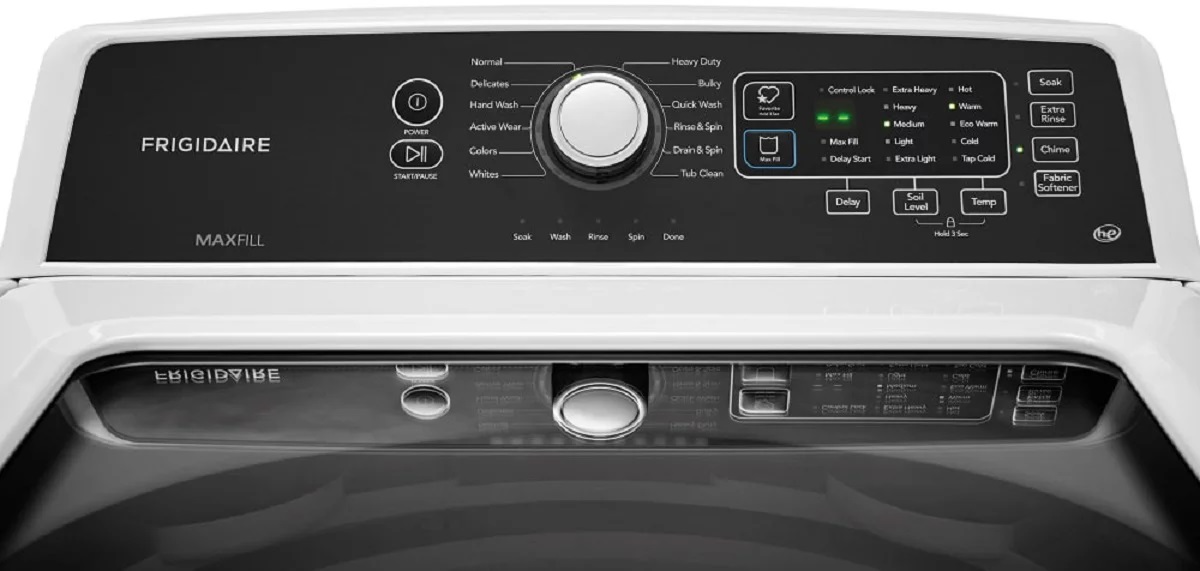
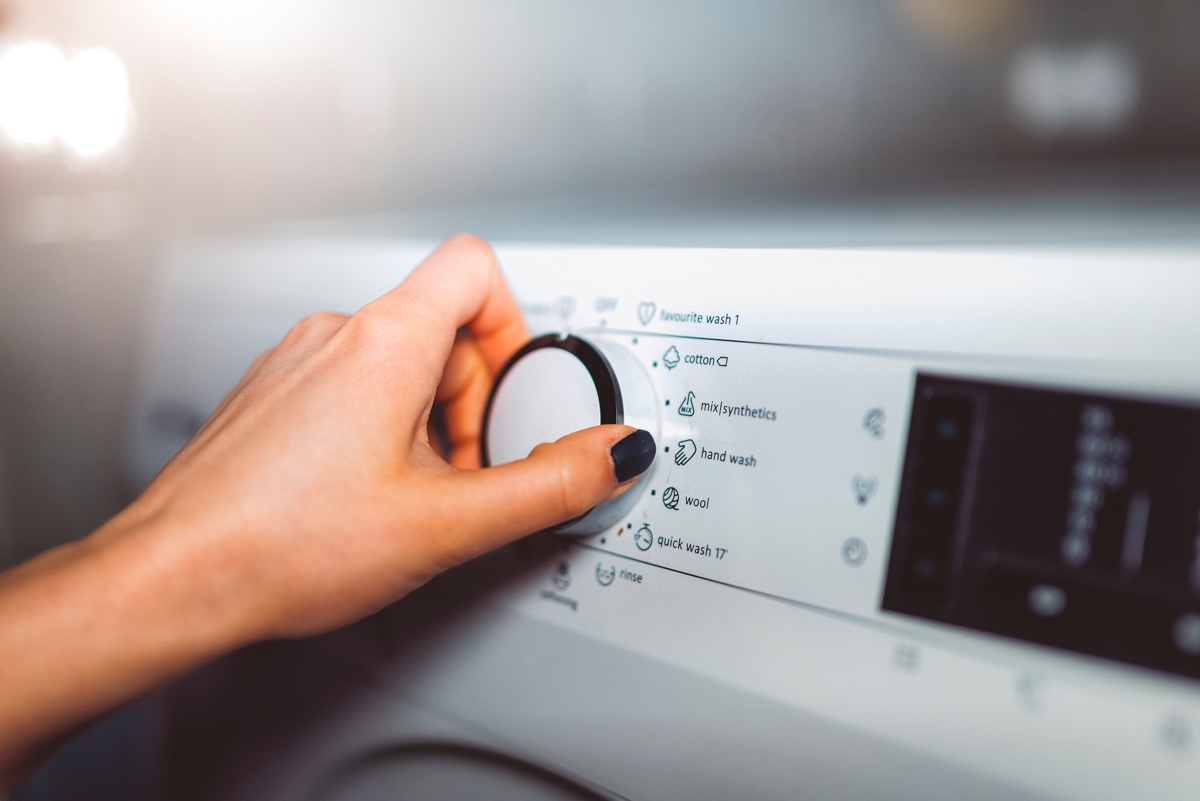
Gentle or Delicate Cycle: Many modern washing machines are equipped with a gentle or delicate cycle specifically designed for cleaning delicate fabrics and items with intricate construction. These cycles typically feature slower agitation and gentler spinning, minimizing the risk of damage to the materials used in football cleats. When selecting the cycle, look for options labeled as "gentle," "delicate," or "hand wash," as they are well-suited for cleaning sports footwear without subjecting them to harsh treatment.
-
Shortened Duration: Some washing machines offer a quick or express cycle designed to deliver a rapid yet effective cleaning process. When washing football cleats, consider selecting a cycle with a shortened duration to minimize the exposure of the cleats to prolonged agitation and water submersion. Shorter cycles can help prevent excessive wear on the cleats' materials while still achieving satisfactory cleaning results.
-
Cold Water Setting: Opting for a cycle that utilizes cold water can be advantageous when washing football cleats. Cold water helps prevent potential damage to sensitive materials, such as adhesives and certain fabrics, while effectively removing dirt and grime. Additionally, cold water reduces the risk of color bleeding or fading, preserving the cleats' aesthetic appeal.
-
Avoiding Heavy Agitation: When selecting the cycle, prioritize options that minimize heavy agitation and intense spinning. Excessive agitation can place stress on the cleats' construction and materials, potentially leading to damage or deformation. Look for cycles that emphasize a gentle washing action, promoting thorough cleaning without compromising the integrity of the cleats.
By carefully considering these factors and selecting the most suitable cycle, you can optimize the washing process for football cleats, ensuring a thorough and safe cleaning experience. With the right cycle chosen, the next step is to add the appropriate detergent to enhance the cleaning efficacy without causing harm to the cleats.
Read more: How To Make A French Cleat
Adding Detergent
Adding the right detergent is a crucial step in the process of washing football cleats in a washing machine. The choice of detergent can significantly impact the cleaning efficacy while safeguarding the integrity of the cleats' materials. Here's a detailed exploration of the considerations and best practices for adding detergent when washing football cleats:
-
Mild and Non-Abrasive Detergent: Opt for a mild, non-abrasive detergent specifically formulated for delicate fabrics and sports footwear. Harsh detergents or bleach-based products can compromise the integrity of the cleats, potentially causing discoloration, deterioration, or damage to specialized materials. Look for detergents labeled as suitable for gentle or hand washing, as they are designed to provide effective cleaning without harsh effects.
-
Appropriate Quantity: When adding detergent to the washing machine, use a conservative amount that aligns with the recommended dosage for a small load. Excessive detergent can lead to excessive sudsing, potentially impeding the cleaning process and requiring additional rinse cycles to remove the residue. By using the right amount of detergent, you can achieve optimal cleaning results without the risk of detergent buildup on the cleats.
-
Direct Application to Stubborn Stains (Optional): For cleats with stubborn stains or heavily soiled areas, consider applying a small amount of mild detergent directly to the affected areas before starting the washing cycle. Gently rub the detergent into the stains using a soft cloth or brush, allowing it to penetrate the soiled areas and enhance the cleaning process. This targeted approach can help address specific areas of concern without overloading the entire washing cycle with excessive detergent.
-
Avoid Fabric Softeners and Bleach: While fabric softeners and bleach may be suitable for certain laundry items, they are generally not recommended for washing football cleats. Fabric softeners can leave a residue that affects the breathability and traction of the cleats, while bleach can cause discoloration and damage to the materials. It's essential to prioritize detergents specifically formulated for sports footwear and delicate fabrics to ensure optimal cleaning without adverse effects.
By adhering to these guidelines and best practices for adding detergent, you can enhance the cleaning efficacy of the washing cycle while preserving the quality and performance of your football cleats. With the detergent added, the washing machine is ready to commence the cleaning cycle, bringing your cleats one step closer to a refreshed and revitalized state.
Running the Washing Machine
With the football cleats securely positioned in the washing machine and the appropriate detergent added, it's time to initiate the cleaning cycle. Running the washing machine with precision and care is essential to ensure thorough cleaning while safeguarding the integrity of the cleats. Here's a detailed guide on running the washing machine for washing football cleats:
-
Commence the Cycle: Start the washing machine, ensuring that the selected cycle aligns with the recommended settings for washing delicate items. The gentle or delicate cycle, combined with a cold water setting, provides an optimal environment for cleaning football cleats without subjecting them to harsh treatment. As the cycle begins, the machine's gentle washing action works to dislodge dirt, mud, and other residues from the cleats' surfaces and crevices.
-
Monitor the Progress: Throughout the cycle, periodically check the washing machine to ensure that the cleats are undergoing a balanced and controlled cleaning process. Observing the cycle allows you to address any potential issues, such as excessive vibration or unexpected noises, which may indicate imbalances or irregularities within the machine. By staying attentive to the cycle's progress, you can intervene if necessary to maintain optimal conditions for cleaning the cleats.
-
Avoid Additional Items: While the washing machine is in operation, refrain from adding any additional items or adjusting the load. Maintaining a consistent and undisturbed cycle is crucial for achieving effective cleaning results without compromising the cleats' condition. Adding items mid-cycle can disrupt the balance and performance of the machine, potentially impacting the quality of the cleaning process.
-
Complete the Cycle: Once the washing machine completes the designated cycle, carefully open the door or lid to assess the cleats' cleanliness. If the cleats appear satisfactorily clean, proceed to the next phase of the process. However, if stubborn stains persist, consider reinitiating the cycle with targeted spot cleaning or addressing the stains manually before proceeding to the drying phase.
By following these steps and exercising attentiveness throughout the washing cycle, you can ensure that the football cleats undergo a thorough and safe cleaning process in the washing machine. With the washing cycle completed, the focus shifts to the crucial step of drying the cleats to restore them to an optimal condition for future use.
Drying the Cleats
Properly drying football cleats after machine washing is essential to preserve their structural integrity and ensure that they are ready for future use. The drying process plays a pivotal role in preventing moisture-related issues, such as mold growth and material damage, while restoring the cleats to a comfortable and wearable condition. Here's a comprehensive guide on effectively drying football cleats after machine washing:
-
Remove Excess Moisture: Upon completion of the washing cycle, remove the cleats from the washing machine and gently pat them with a clean, dry towel to absorb excess moisture. Pay particular attention to the interior areas and crevices, ensuring that any lingering moisture is effectively absorbed. This initial step helps expedite the subsequent drying process and minimizes the risk of prolonged dampness within the cleats.
-
Air Drying: Find a well-ventilated area with moderate temperature and airflow to air dry the cleats. Avoid placing them in direct sunlight or near a direct source of heat, as excessive heat can cause the materials to stiffen or warp. Instead, allow the cleats to air dry naturally, promoting gradual evaporation of residual moisture without subjecting them to harsh drying conditions.
-
Proper Positioning: Position the cleats in a manner that allows for adequate airflow around and within them. Avoid stuffing them with newspapers or towels, as this can impede airflow and prolong the drying process. Instead, place the cleats in an open and upright position, ensuring that air can circulate freely throughout the interior and exterior surfaces.
-
Insole and Laces: If the cleats feature removable insoles, take them out to facilitate thorough drying. Lay the insoles flat in a well-ventilated area, allowing them to air dry separately. Similarly, if the laces were washed separately, ensure that they are also air dried to prevent moisture retention and maintain their cleanliness.
-
Patience and Monitoring: Allow the cleats to air dry for an adequate duration, periodically checking their progress. Depending on the environmental conditions and the level of moisture absorbed during the washing cycle, the drying process may take several hours. Exercise patience and refrain from hastening the process with artificial heat sources, as this can compromise the cleats' materials and construction.
-
Final Inspection: Once the cleats are thoroughly dried, visually inspect them to ensure that no residual moisture remains. Check the interior and exterior surfaces, as well as the insoles and laces, to confirm that they are completely dry and ready for use. This final inspection helps prevent potential discomfort or issues related to residual moisture within the cleats.
By meticulously following these steps, you can effectively dry football cleats after machine washing, ensuring that they are restored to an optimal condition for future wear. The drying process, when approached with care and patience, contributes to the overall maintenance and longevity of football cleats, allowing athletes to enjoy clean, refreshed, and comfortable footwear for their next game or practice session.
Frequently Asked Questions about How To Wash Football Cleats In A Washing Machine
Was this page helpful?
At Storables.com, we guarantee accurate and reliable information. Our content, validated by Expert Board Contributors, is crafted following stringent Editorial Policies. We're committed to providing you with well-researched, expert-backed insights for all your informational needs.


0 thoughts on “How To Wash Football Cleats In A Washing Machine”