Home>Articles>What Is Placed Around A Chimney To Prevent Leaks?
Articles
What Is Placed Around A Chimney To Prevent Leaks?
Modified: August 28, 2024
Learn about the articles that are placed around a chimney to effectively prevent leaks and protect your home from water damage
(Many of the links in this article redirect to a specific reviewed product. Your purchase of these products through affiliate links helps to generate commission for Storables.com, at no extra cost. Learn more)
Introduction
Chimneys are an integral part of many homes, providing ventilation for fireplaces and stoves as well as adding a touch of charm to the overall aesthetic. However, they are also prone to leaks, which can lead to significant damage if not addressed promptly. To prevent leaks and protect your home, it is crucial to understand the various measures that can be taken.
In this article, we will explore the importance of preventing chimney leaks, common causes of leaks, and the solutions available. We will delve into chimney flashing, a key component in leak prevention, and discuss the different types of materials that can be used. Additionally, we will provide a step-by-step guide on installing chimney flashing. Furthermore, we will delve into the purpose and benefits of chimney caps, the different types available, and installation instructions for chimney caps. Finally, we will touch upon other measures that can be taken to prevent chimney leaks.
By the end of this article, you will have a comprehensive understanding of the preventive measures needed to safeguard your chimney and keep your home dry and secure. Whether you are a homeowner looking to maintain your chimney or a professional in the roofing industry, this article will equip you with the knowledge necessary to prevent leaks and protect your property.
So, let’s dive in and explore the world of chimney leak prevention, ensuring that your chimney remains in top-notch condition for years to come. Stay tuned for valuable insights and practical tips to keep those leaks at bay!
Key Takeaways:
- Proper installation of chimney flashing and caps is crucial to prevent water intrusion, protect against debris and animals, and maintain efficient chimney draft. Regular maintenance and inspections are essential for long-term leak prevention.
- Taking proactive measures, such as addressing mortar and masonry issues, ensuring proper drainage, and maintaining chimney ventilation, can further minimize the risk of chimney leaks. Consulting with a professional chimney technician is advisable for optimal leak prevention.
Read more: How To Flash Around A Chimney
Importance of Preventing Chimney Leaks
Preventing chimney leaks is vital for several reasons. Firstly, leaks can cause extensive damage to your home’s structure, leading to costly repairs. Water that seeps into the chimney can seep into the surrounding walls and ceilings, resulting in mold growth, rotting wood, and deterioration of the overall integrity of your home.
Moreover, chimney leaks can lead to fire hazards. A compromised chimney can allow water to penetrate the flue lining, resulting in the formation of cracks and crevices. These cracks can allow heat and sparks to escape into areas of your home that are not designed for fire exposure. This poses a significant risk of a house fire and endangers the safety of your family and property.
Furthermore, chimney leaks can affect the efficiency and performance of your fireplace or stove. When water enters the chimney, it can mix with soot and debris, resulting in a clogged flue. This obstruction can hinder proper ventilation and prevent the release of harmful gases, such as carbon monoxide. Inefficient ventilation can also lead to poor combustion, resulting in reduced heat output and wasted energy.
In addition to the structural, safety, and efficiency concerns, chimney leaks can also lead to cosmetic issues. Water stains on walls and ceilings, peeling paint, and damaged wallpaper can all dampen the aesthetics of your home. It can also create unpleasant odors caused by mold or mildew growth.
To summarize, preventing chimney leaks is crucial to protect your home from structural damage, minimize fire hazards, maintain the efficiency of your fireplace or stove, and preserve the overall appearance and air quality of your living space. By implementing the necessary measures to prevent leaks, you can ensure the longevity and safety of your chimney system.
In the next section, we will explore the common causes of chimney leaks, shedding light on the factors that contribute to this problem.
Common Causes of Chimney Leaks
Chimney leaks can be caused by various factors, and identifying the root cause is essential for effective prevention and repair. Here are some of the most common causes of chimney leaks:
1. Damaged or deteriorated chimney flashing: Chimney flashing is the material used to create a watertight seal between the chimney and the roof. Over time, flashing can become damaged, corroded, or improperly installed, allowing water to seep into the chimney system.
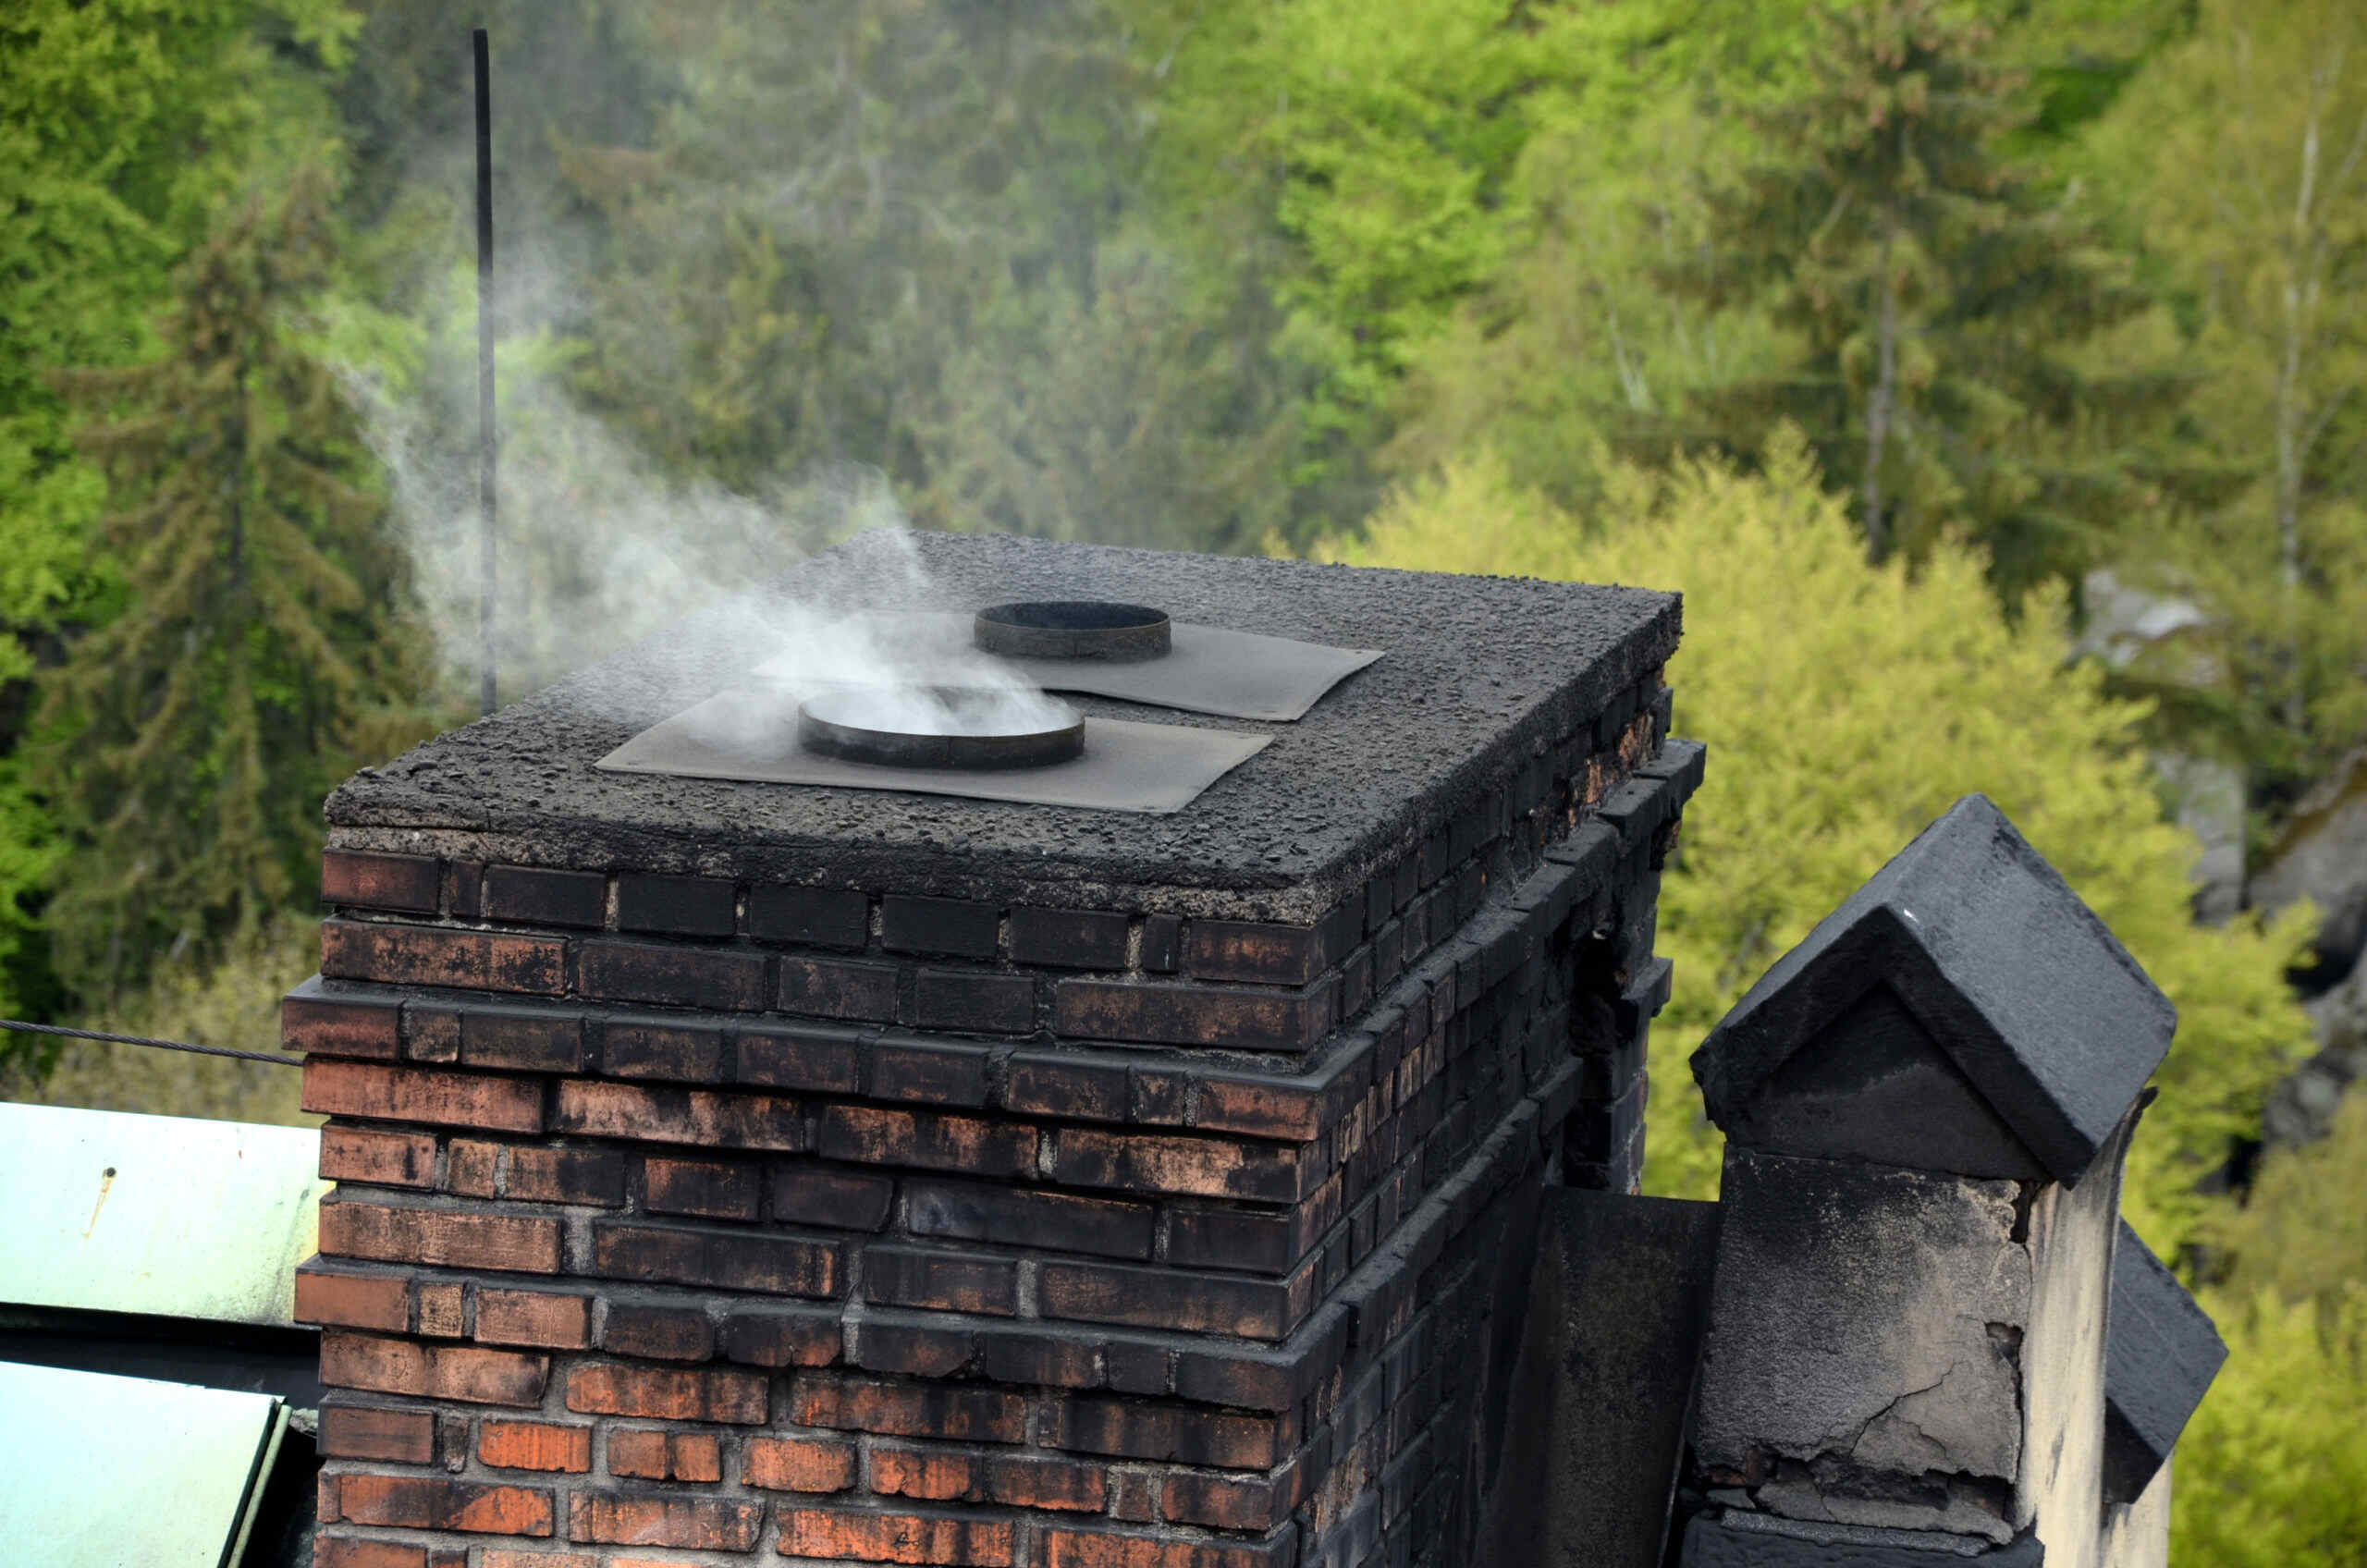
2. Cracked or deteriorated chimney crown: The chimney crown is the masonry top that covers the chimney’s topmost part. If the crown becomes cracked or deteriorated, it can allow water to enter the chimney structure. Exposure to harsh weather conditions, such as freeze-thaw cycles, can contribute to crown damage.
3. Cracked or damaged chimney masonry: Masonry chimneys can develop cracks over time due to the constant exposure to heat, cold, and rain. These cracks can allow water to penetrate the chimney system and cause leaks. Additionally, damaged mortar joints can also contribute to leaks.
4. Faulty chimney cap or missing chimney rain cap: The chimney cap serves as a protective barrier against water, debris, and animals. If the chimney cap is damaged, improperly installed, or missing altogether, it can allow rainwater to enter the chimney, leading to leaks.
5. Improper chimney installation: Poor chimney installation, such as incorrect flashing installation or improper sizing of chimney components, can lead to water penetration and subsequent leaks.
6. Improperly installed or damaged chimney flue liner: The chimney flue liner is responsible for directing smoke and gases out of the chimney. If the liner becomes cracked, damaged, or improperly installed, it can allow water to enter the chimney, causing leaks.
7. Clogged or blocked chimney: Debris, nests, or other obstructions can accumulate within the chimney, preventing proper water drainage and causing leaks.
It is important to note that some of these causes can be prevented or resolved with regular chimney maintenance, inspections, and repairs. By identifying and addressing these issues promptly, you can avoid more substantial damage and costly repairs down the line.
In the next sections, we will explore the solutions available to prevent chimney leaks, starting with chimney flashing and the different materials used.
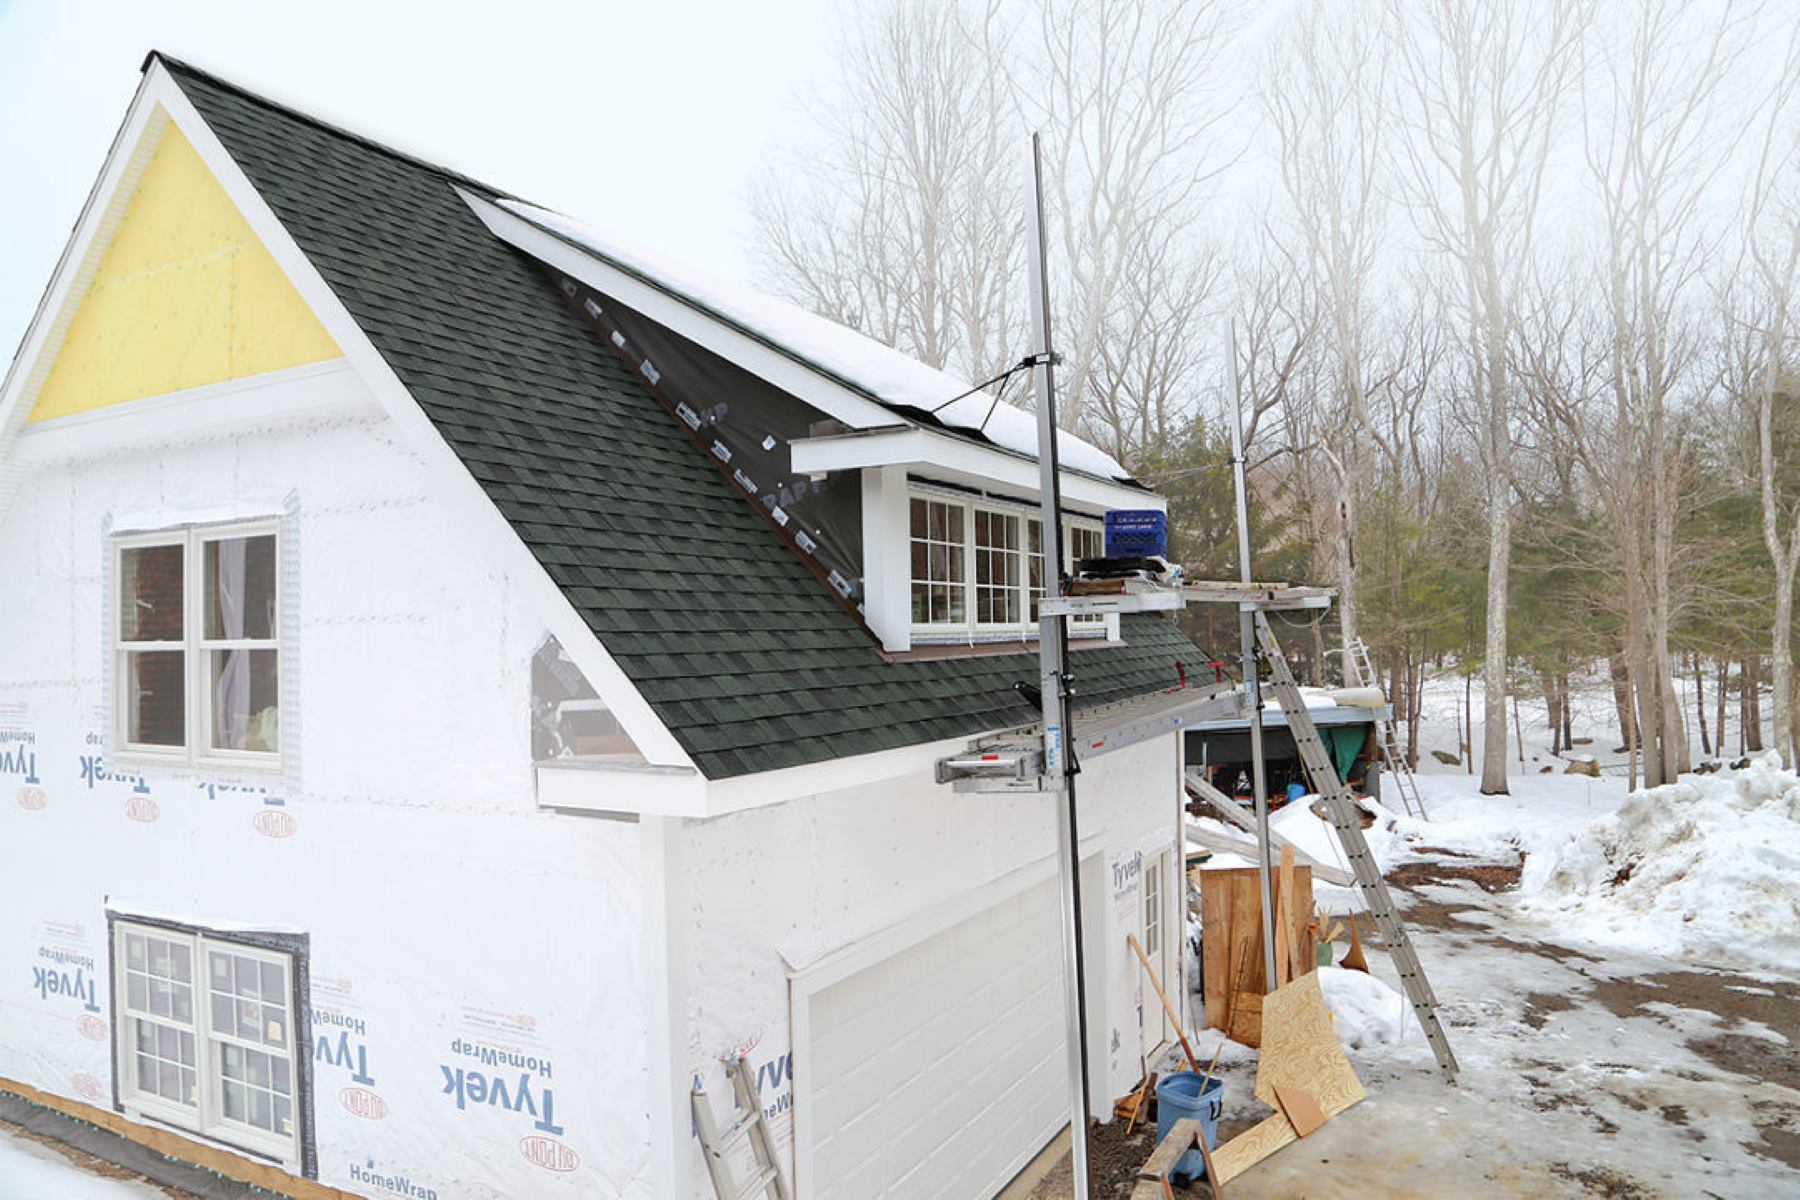
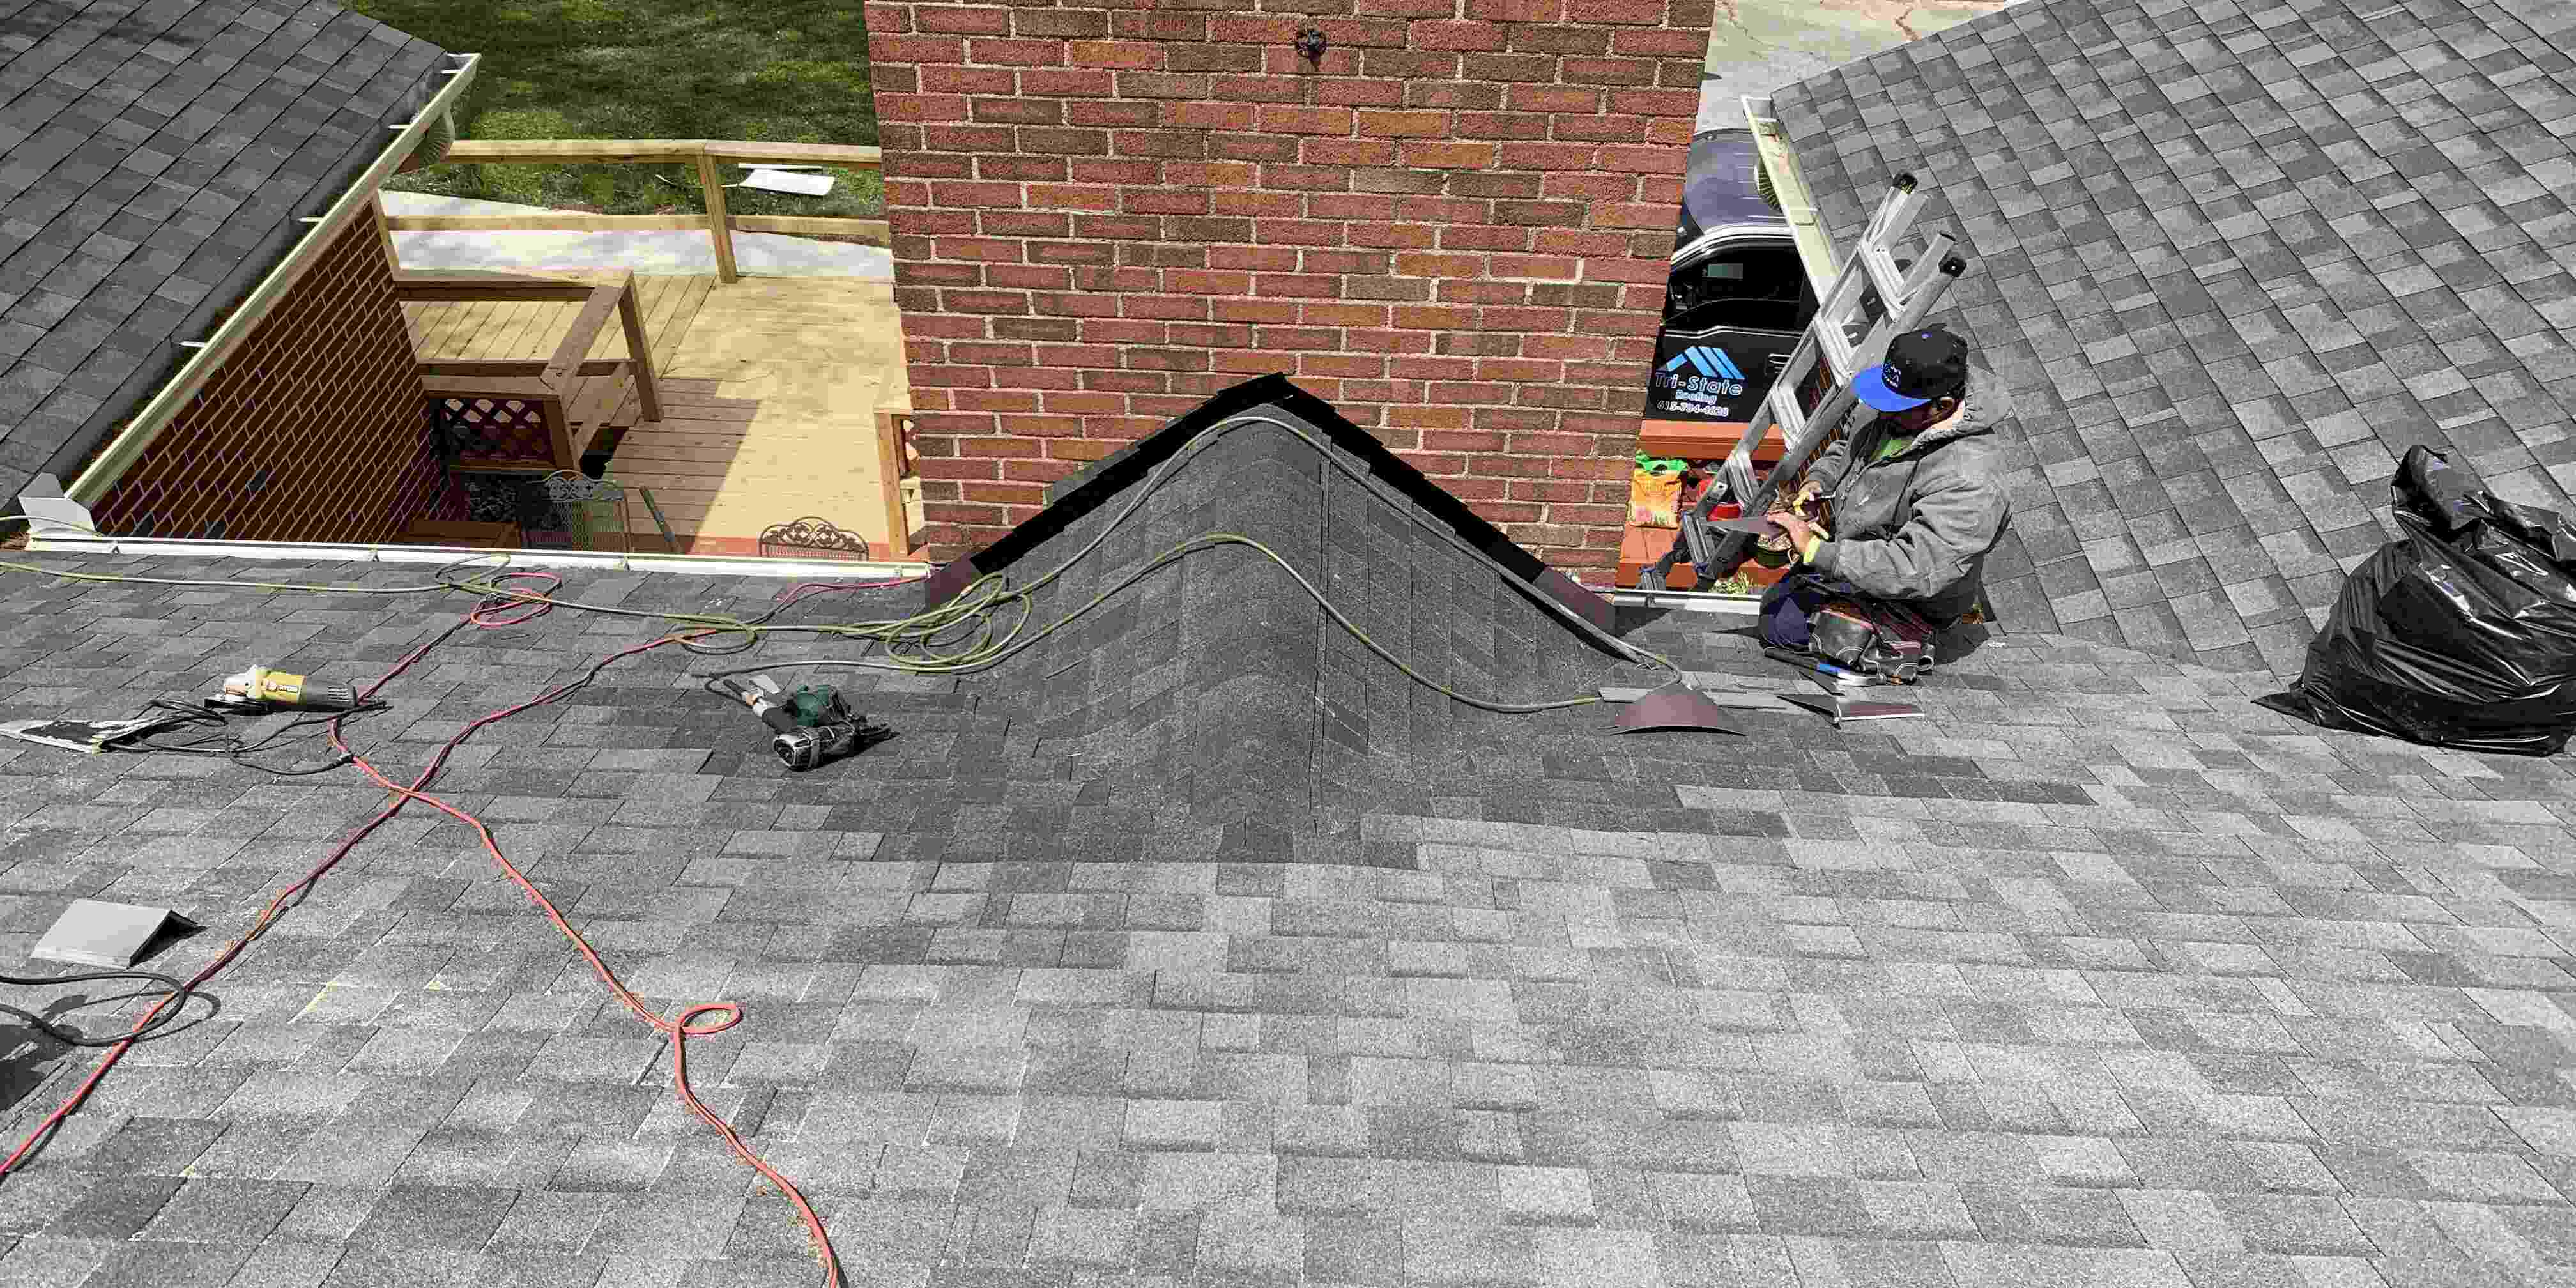
Chimney Flashing
Chimney flashing is a crucial component in preventing chimney leaks. It is the material used to create a watertight seal between the chimney and the roof, ensuring that water is directed away from the chimney structure and not allowed to seep inside.
Properly installed chimney flashing acts as a barrier against water, preventing leaks and protecting the integrity of your chimney system. It is typically made up of two components: the base flashing and the counterflashing.
1. Base flashing: The base flashing is installed directly on the roof around the base of the chimney. It is typically made of a durable material, such as metal or rubber, that is resistant to weathering and can withstand exposure to the elements. The base flashing is designed to create a seal between the chimney and the roof, preventing water from entering the gap.
2. Counterflashing: The counterflashing is installed over the base flashing and is integrated into the chimney’s masonry. It provides an additional layer of protection by creating a barrier against water entry. Counterflashing is commonly made of metal, such as aluminum or copper, which is resistant to corrosion and can be easily molded to fit the contours of the chimney.
When properly installed, chimney flashing acts as a reliable and long-lasting solution to prevent leaks. However, it is essential to ensure that the flashing is correctly installed and regularly inspected for any signs of damage or deterioration.
In the next section, we will discuss the different types of materials used for chimney flashing and their benefits and drawbacks. Understanding these options will help you make an informed decision when it comes to choosing the right material for your chimney flashing needs.
Types of Chimney Flashing Materials
When it comes to chimney flashing, there are several materials to choose from, each offering its own set of advantages and disadvantages. Here are the most commonly used materials for chimney flashing:
1. Metal flashing: Metal flashing, such as aluminum, copper, or stainless steel, is a popular choice due to its durability and weather resistance. It is highly effective in preventing leaks and can withstand exposure to harsh weather conditions. Metal flashing is also relatively easy to install and can be shaped to fit the contours of the chimney. However, it tends to be more expensive than other options, and improper installation can lead to rust or corrosion.
2. Rubberized asphalt flashing: Rubberized asphalt flashing, also known as peel-and-stick flashing, is a self-adhesive material that offers excellent water resistance. It is easy to install, as it requires no special tools or expertise. Rubberized asphalt flashing is flexible, allowing for expansion and contraction, which can benefit the longevity of the flashing. However, over time, it may become less effective as the adhesive properties diminish.
3. EPDM rubber flashing: EPDM (ethylene propylene diene monomer) rubber flashing is a synthetic rubber material that provides excellent durability and resistance to weathering. It is relatively easy to install and is known for its long-lasting performance. EPDM rubber flashing can be more expensive than other materials, but its superior longevity and reliability can outweigh the initial cost.
4. Lead flashing: Lead flashing has been a traditional choice for chimney flashing due to its flexibility and durability. It can be easily molded to fit the contours of the chimney, providing a tight seal against water penetration. However, lead flashing requires professional installation as it involves specialized skills to ensure a proper, watertight seal. It is also not recommended in areas prone to high levels of environmental pollution, as lead can be harmful if ingested or inhaled.
When choosing the right material for your chimney flashing, consider factors such as durability, weather resistance, ease of installation, and cost. Consulting with a professional chimney expert can help you determine the best material for your specific needs and ensure a proper installation.
In the following section, we will provide a step-by-step guide to installing chimney flashing, providing you with the knowledge to tackle this task effectively.
Read more: How To Prevent Chimney Fires
Step-by-Step Guide to Installing Chimney Flashing
Installing chimney flashing requires careful attention to detail and proper technique to ensure a secure and watertight seal. Here is a step-by-step guide to help you navigate the installation process:
1. Safety first: Before starting any work on your chimney, make sure to wear appropriate safety gear, such as gloves and eye protection. Additionally, ensure that you have a stable ladder or scaffolding to access the roof safely.
2. Remove old flashing (if applicable): If there is existing flashing on your chimney, carefully remove it using a pry bar or similar tool. Take care not to damage the chimney or roof in the process.
3. Clean the chimney and roof: Thoroughly clean the chimney and roof surface where the flashing will be installed. Remove any debris, moss, or loose materials to ensure a clean and smooth surface for proper adhesion.
4. Measure and cut the base flashing: Measure the sides and front of the chimney base, allowing for a slight overlap. Use tin snips or a similar cutting tool to cut the base flashing to the appropriate size. Ensure that the base flashing extends about 4-6 inches up the sides of the chimney and overlaps the roof.
5. Install the base flashing: Apply a layer of roofing cement on the chimney base and press the base flashing firmly into place. Smooth out any wrinkles or air bubbles to ensure a tight seal. Use roofing nails or screws to secure the base flashing in place, ensuring that they penetrate the roofing material but not the chimney.
6. Cut and install counterflashing: Measure the sides and front of the chimney, allowing for a slight overlap with the base flashing. Cut the counterflashing material (typically metal) to the measured lengths. Create a small groove into the chimney mortar joints where the counterflashing will be inserted.
7. Install the counterflashing: Apply a layer of roofing cement to the backside of the counterflashing and press it into the groove on the chimney. Use a small trowel or putty knife to smooth out the cement and ensure a secure bond. Fasten the counterflashing to the chimney using roofing nails or screws, ensuring a snug fit.
8. Seal the flashing: Apply a generous amount of roofing cement over the top of the counterflashing and smooth it out evenly. This will provide an additional layer of protection against water penetration.
9. Inspect the flashing: Once the installation is complete, inspect the flashing carefully to ensure that all seams are properly sealed and there are no gaps or loose sections. Pay attention to areas where the flashing meets the roof and chimney, making sure there are no visible openings.
By following these steps, you can install chimney flashing effectively and provide a reliable barrier against water penetration. However, if you are unsure or uncomfortable with the installation process, it is recommended to seek professional assistance to ensure a proper and long-lasting installation.
In the next section, we will discuss the importance and different types of chimney caps, another essential component in preventing chimney leaks.
Install a chimney flashing, which is a metal or rubber barrier placed around the base of the chimney to prevent water leaks into the roof. Make sure it is properly sealed to avoid any potential leaks.
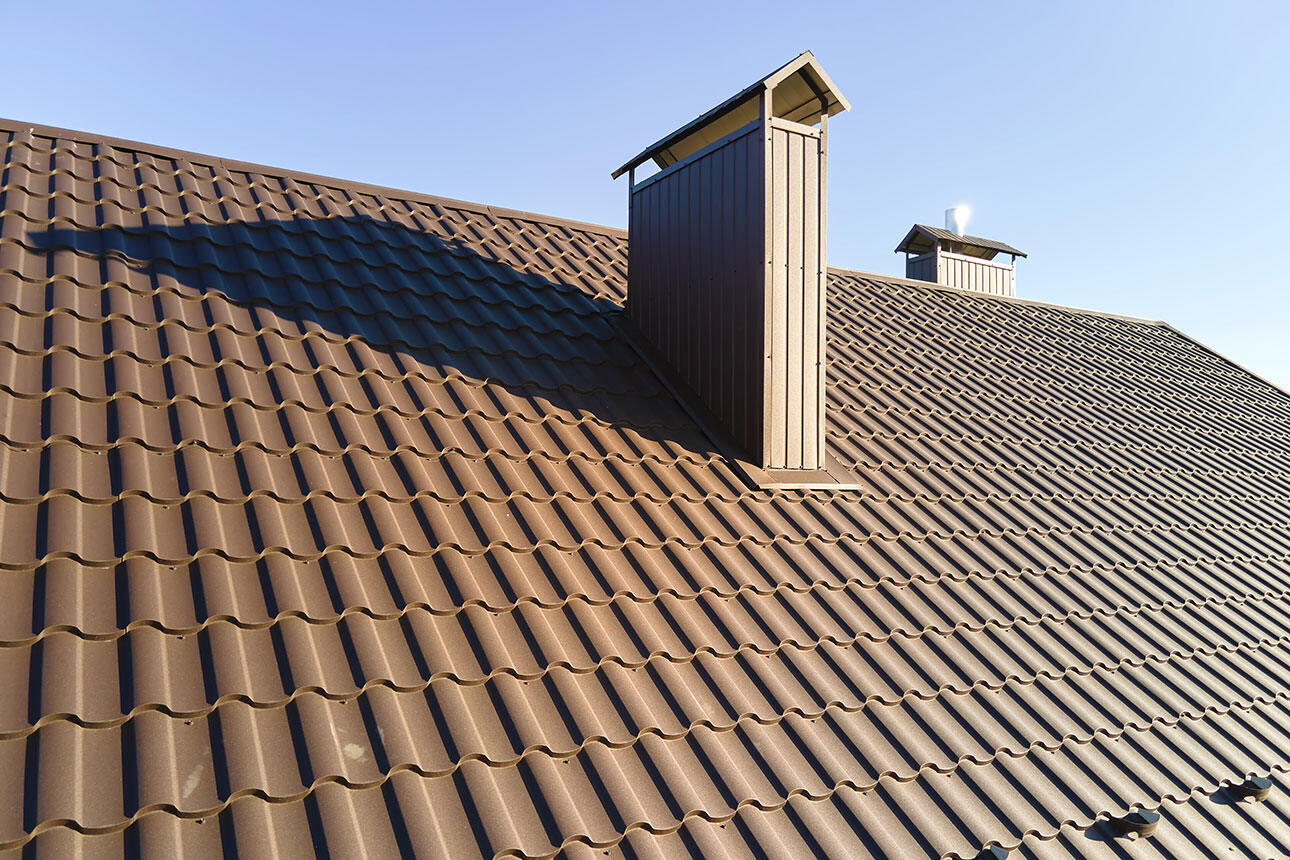
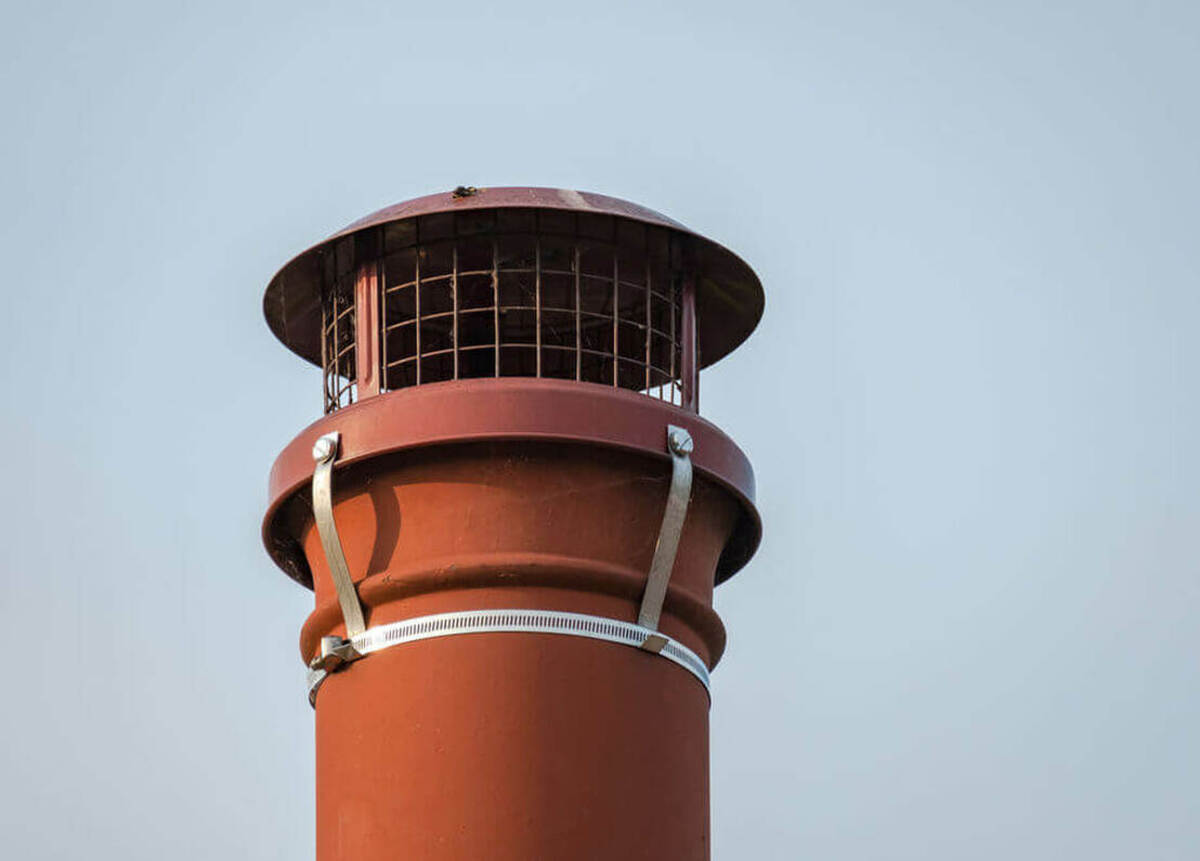
Chimney Caps
Chimney caps are protective coverings that are installed on top of the chimney. They play a vital role in preventing chimney leaks and providing several other benefits. Let’s explore the importance of chimney caps and the different types available.
1. Purpose of chimney caps:
Chimney caps serve several important functions in maintaining the health and functionality of your chimney:
– Preventing water entry: The primary purpose of a chimney cap is to keep water out of the chimney. By covering the chimney opening, caps act as a barrier against rain, snow, and other sources of water, preventing moisture from seeping into the chimney structure and causing damage.
– Keeping out debris and animals: Chimney caps also act as a barrier against debris, such as leaves, branches, and nesting materials. They prevent these elements from clogging the chimney flue, which can impede proper ventilation and pose a fire hazard. Additionally, chimney caps keep animals, such as birds, squirrels, and raccoons, from entering and nesting in the chimney.
– Preventing sparks and embers: A chimney cap with a spark arrestor screen helps prevent sparks, embers, and hot ash from escaping the chimney and potentially igniting nearby flammable materials.
– Improving draft and preventing downdrafts: Well-designed chimney caps can enhance the chimney’s draft by promoting proper airflow. They can help prevent downdrafts, which occur when the wind blows into the chimney rather than out.
2. Different types of chimney caps:
Chimney caps come in various styles and materials to suit different needs and preferences:
– Mesh chimney caps: These caps feature a wire mesh screen that helps keep out debris and animals while allowing proper ventilation. They are commonly made of stainless steel and provide adequate protection against water entry.
– Single-flue chimney caps: These caps are designed specifically for chimneys with single flues. They cover only the top of the flue, leaving the rest of the chimney exposed.
– Multi-flue chimney caps: These caps are designed to cover multiple flues on a chimney. They are available in different sizes and configurations to accommodate the number and arrangement of flues.
– Decorative caps: For those looking to enhance the aesthetic appeal of their chimney, decorative caps are available in various designs and finishes. They add a charming touch to the chimney while providing the necessary protection against water and debris.
3. Installation instructions for chimney caps:
Proper installation of a chimney cap is essential to ensure its effectiveness. Here is a general guide to installing chimney caps:
– Measure your chimney flue size and choose a cap that matches the dimensions.
– Position the cap over the flue opening, ensuring it covers the entire opening.
– Secure the cap in place using screws or brackets, following the manufacturer’s instructions.
– Ensure a tight and secure fit to prevent any gaps or movement.
– Regularly inspect the cap for any signs of damage, such as rust or corrosion, and address any issues promptly.
Chimney caps are an investment in the long-term health and functionality of your chimney. They provide protection against various potential risks and help maintain proper ventilation. Whether you are looking to prevent water intrusion, keep out debris and animals, or improve chimney draft, a chimney cap is a valuable addition to your chimney system.
In the next section, we will explore other measures you can take to prevent chimney leaks and ensure the longevity of your chimney.
Purpose of Chimney Caps
Chimney caps play a crucial role in maintaining the integrity and functionality of your chimney system. They provide several important benefits that contribute to the protection and efficiency of your fireplace or stove. Let’s delve into the specific purposes of chimney caps:
1. Preventing water entry: One of the primary functions of a chimney cap is to keep water out of the chimney. Water can cause significant damage to the chimney structure over time, leading to issues such as brick deterioration, mortar failure, and leaks. By covering the chimney opening, caps act as a barrier against rain, snow, sleet, and other sources of water, preventing moisture from seeping into the chimney.
2. Keeping out debris: Chimney caps also serve as a protective barrier against debris, such as leaves, twigs, branches, and other foreign objects. These materials can accumulate in the chimney flue and obstruct proper airflow, which can potentially lead to poor combustion and smoke backup into the house. Additionally, debris blockage poses a fire hazard, as highly flammable substances can ignite inside the chimney.
3. Preventing animal entry: Chimney caps are effective in keeping animals out of your chimney. Birds, squirrels, raccoons, and other creatures are often attracted to chimneys as potential nesting sites. Their presence can create obstructions, clog flues, and lead to hazardous situations. Chimney caps with additional screens or mesh can effectively deter animals, ensuring a safer and cleaner chimney environment.
4. Containing sparks and embers: Chimney caps equipped with spark arrestor screens provide an added safety measure by containing sparks, embers, and hot ashes from escaping the chimney. This is particularly important for wood-burning fireplaces or stoves, as these can release small fiery particles that may cause fires or damage nearby roofs or structures.
5. Improving draft and preventing downdrafts: Proper chimney draft is essential for the efficient operation of a fireplace or stove. A well-designed chimney cap can enhance the draft by allowing the proper flow of air. It helps prevent downdrafts, which occur when wind blows into the chimney rather than out, causing smoke to enter the home. By improving the draft, chimney caps contribute to better fireplace or stove performance, more efficient burning, and reduced smoke-related issues.
Overall, chimney caps are an important investment in maintaining the health and functionality of your chimney. They offer protection against water damage, prevent debris and animals from entering the chimney, contain sparks and embers, and improve draft efficiency. By installing a chimney cap, you can safeguard your home, enhance the longevity of your chimney system, and enjoy peace of mind during fireplace or stove use.
Different Types of Chimney Caps
Chimney caps come in various styles, designs, and materials to suit different chimney configurations and purposes. Understanding the different types of chimney caps can help you choose the most suitable option for your specific needs. Here are some common types of chimney caps:
1. Mesh Chimney Caps: These caps feature a wire mesh screen that covers the entire chimney opening. The mesh is designed to keep out debris, such as leaves, twigs, and small animals, while allowing proper ventilation. Mesh chimney caps are typically made of stainless steel or galvanized steel, offering durability and corrosion resistance. They are a cost-effective and practical option for many chimney systems.
2. Single-Flue Chimney Caps: Single-flue caps are designed to cover the opening of a single flue or chimney pipe. They are available in various shapes, including square, round, and rectangular, to match different chimney configurations. Single-flue caps provide protection against water, debris, and animal entry for specific flues, leaving the rest of the chimney exposed.
3. Multi-Flue Chimney Caps: As the name suggests, multi-flue caps are designed to cover chimneys with multiple flues or chimney pipes. These caps are wider and longer than single-flue caps and can accommodate two or more flues side by side. Multi-flue caps are an effective option for chimneys with multiple fireplaces or heating appliances, providing protection for all the flues simultaneously.
4. Decorative Chimney Caps: Decorative caps serve a functional purpose while adding an aesthetic element to your chimney. They come in various designs, such as domes, peaks, or ornamental finishes, to enhance the exterior appearance of your chimney. Decorative caps are ideal for homeowners seeking both functionality and an enhanced visual appeal.
5. Top-Mount or Full-Width Chimney Caps: Top-mount or full-width caps cover the entire width of the chimney, protecting all the flues and providing full coverage. These caps are custom-made to fit the specific dimensions of the chimney and are typically made of stainless steel or copper for durability and weather resistance. Top-mount caps offer excellent protection against water, debris, and animal intrusion.
6. Draft-Increasing Chimney Caps: Draft-increasing chimney caps are designed to enhance the chimney’s draft and improve the airflow. These caps feature special designs or incorporated vents that create better suction, increasing the efficiency of the fireplace or stove. Draft-increasing caps are beneficial for chimneys experiencing poor draft or frequent downdrafts.
When selecting a chimney cap, consider factors such as the chimney’s dimensions, the number of flues, the desired level of protection, and any specific requirements you may have. Consulting with a professional chimney technician can help you choose the most suitable type of chimney cap for your specific chimney configuration and needs.
Installing a chimney cap can significantly enhance the protection, performance, and longevity of your chimney system. It is a worthwhile investment to ensure the safety and efficiency of your fireplace or stove while keeping debris, animals, and water out of your chimney.
Installation Instructions for Chimney Caps
Installing a chimney cap is a relatively simple process that can be done with basic tools and some careful attention to detail. Here are step-by-step instructions to guide you through the installation:
1. Safety first: Before starting any work on your chimney, ensure you have the necessary safety equipment such as gloves, safety goggles, and non-slip footwear. Use a stable ladder or scaffolding to access the roof safely.
2. Measure your chimney: Measure the dimensions of your chimney to determine the appropriate size of the chimney cap. Ensure you measure the outer dimensions of the chimney accurately.
3. Choose the right cap: Select a chimney cap that matches the size and shape of your chimney. Consider the material, design, and features that best suit your needs and preferences.
4. Clean the chimney crown: Ensure the chimney crown is clean and free of debris. Remove any loose mortar or obstructions and ensure a smooth surface for the cap’s installation.
5. Position the cap: Place the chimney cap over the chimney opening, ensuring that it fits securely. The cap should cover the entire chimney opening, allowing for additional overlap if desired.
6. Attach the cap: Depending on the type of chimney cap you have chosen, follow the manufacturer’s instructions for securing it in place. This may involve using screws, brackets, or other fastening mechanisms. Make sure the cap is firmly attached and stable.
7. Check for proper fit: Double-check the positioning and fit of the cap. Ensure that it is centered and level on the chimney. Take a step back and inspect the cap from different angles to ensure it looks balanced and properly aligned.
8. Secure the cap: Once you are satisfied with the positioning, tighten the screws or fasteners to secure the cap in place. Ensure the fasteners are tightened evenly to avoid any gaps or uneven pressure.
9. Inspect for proper clearance: Check that the chimney cap does not obstruct the flue or reduce the necessary clearances required for proper venting. There should be adequate space for the smoke and gases to exit the chimney without obstruction.
10. Regular maintenance: After the installation is complete, regularly inspect the chimney cap for any signs of damage, rust, or deterioration. Keep an eye on the cap’s condition and clean any debris that may accumulate on the screen or mesh.
It’s important to note that if you are uncomfortable with performing the installation yourself, it is wise to consult a professional chimney technician. They have the expertise and experience to ensure proper installation and can assist with any specific requirements or challenges your chimney may present.
By following these installation instructions, you can effectively install a chimney cap and enjoy the numerous benefits it provides, including protection against water, debris, animals, and improved chimney draft.
Other Measures to Prevent Chimney Leaks
In addition to installing chimney flashing and caps, there are several other measures you can take to further prevent chimney leaks and ensure the long-term health of your chimney system. Here are some additional steps you can consider:
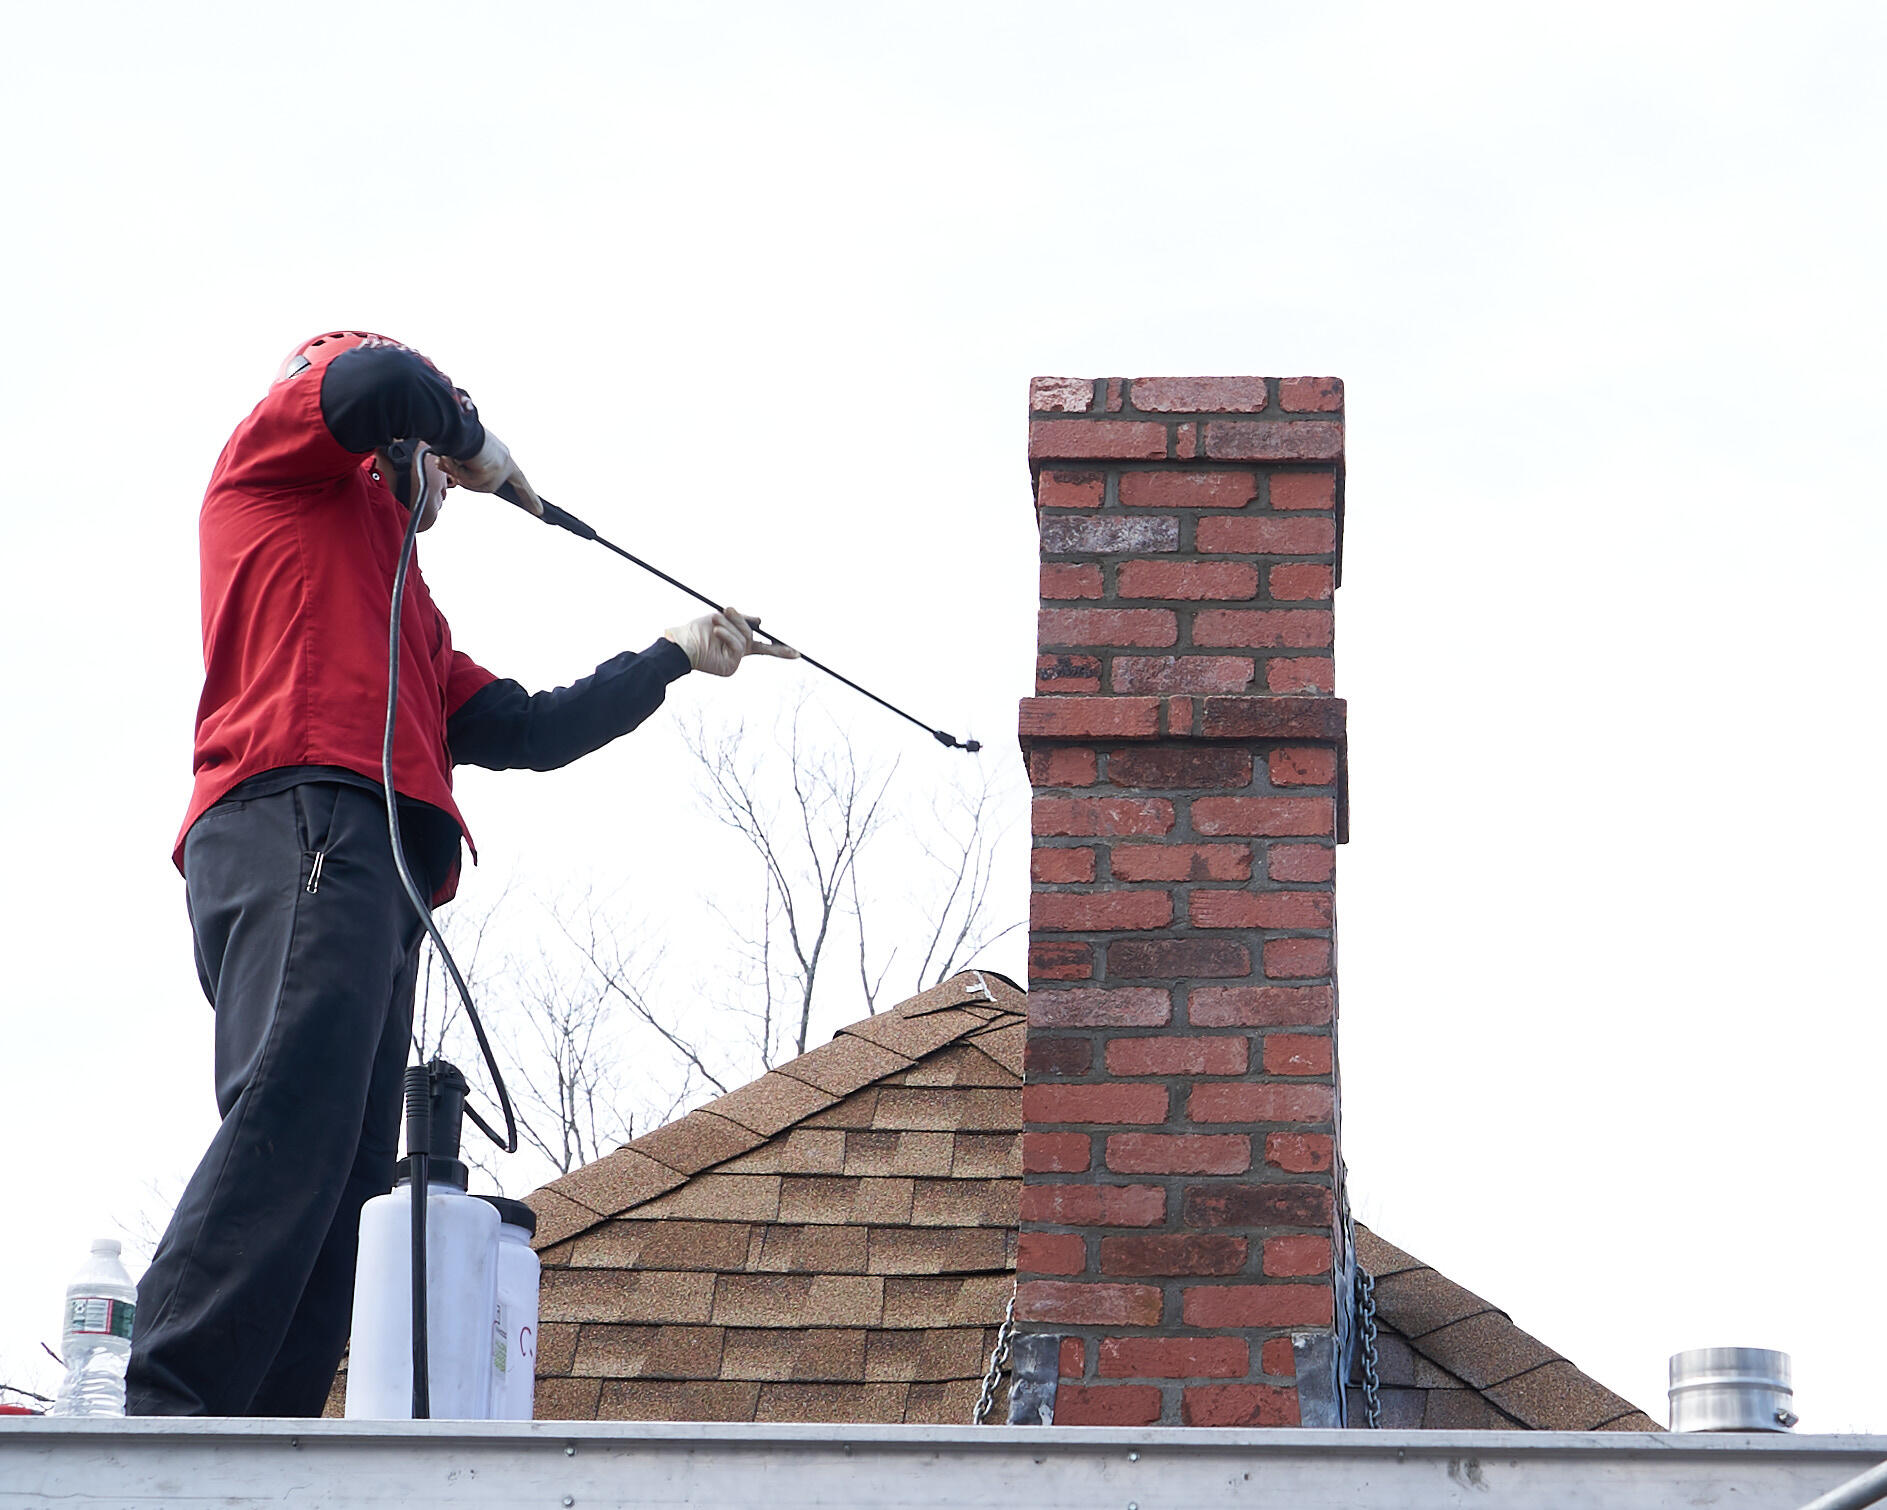
1. Regular chimney inspections: Schedule regular chimney inspections by a certified chimney professional. They can identify any signs of damage or potential issues that could lead to leaks. Regular inspections allow for early detection and prompt repairs, minimizing the risk of extensive damage.
2. Chimney waterproofing: Applying a waterproofing sealant to your chimney can provide an extra layer of protection against water penetration. Waterproofing products are specifically designed to repel water while allowing the chimney to breathe and expel moisture. Consult with a professional chimney technician to determine the best waterproofing product for your chimney.
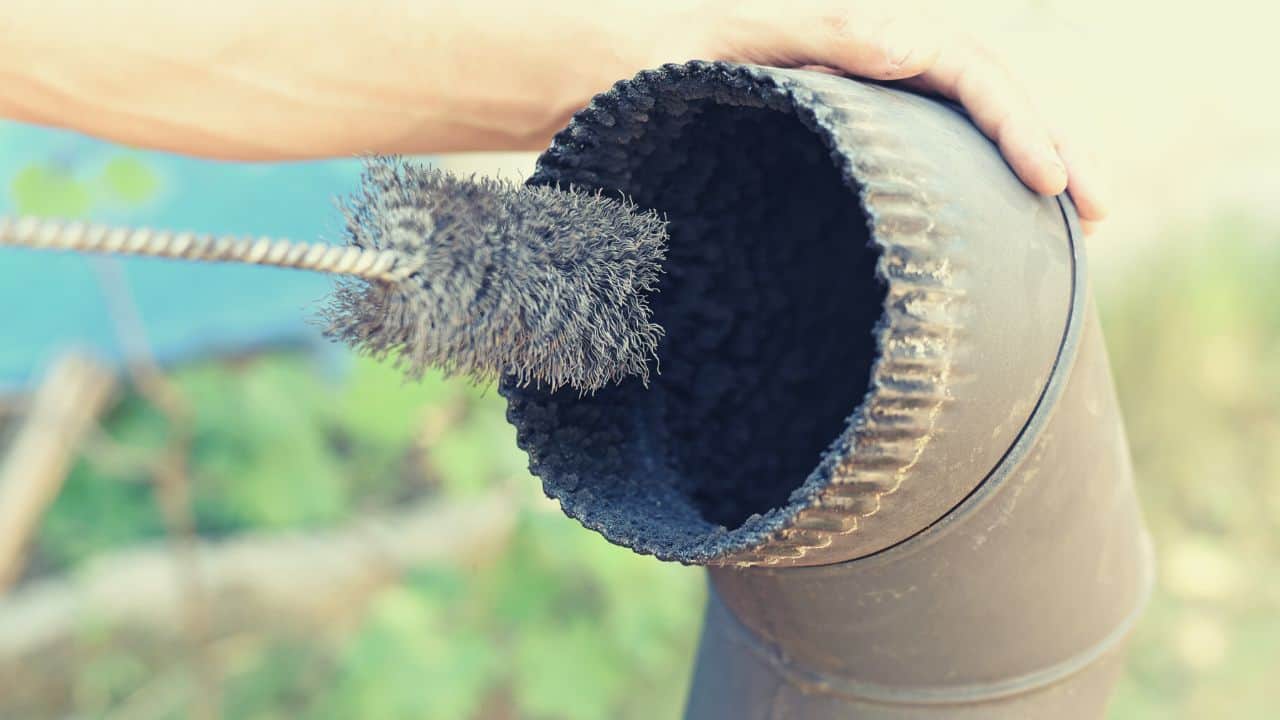
3. Proper maintenance: Regular maintenance is key to preventing chimney leaks. Keep your chimney clean by removing debris, such as leaves or branches, from the chimney crown and flue. Trim any overhanging tree branches that could potentially damage the chimney during storms or strong winds.
4. Repair mortar and masonry: Cracked or deteriorating mortar joints and damaged masonry can accelerate water entry into the chimney. Perform routine checks for any signs of mortar deterioration or cracks in the chimney structure. Small repairs, such as tuckpointing, can help maintain the integrity of the chimney and reduce the risk of leaks.
5. Ensure proper chimney ventilation: Proper ventilation is essential for efficient fireplace or stove operation and avoiding moisture buildup inside the chimney. Make sure the chimney has adequate airflow by keeping air vents open and ensuring the damper functions correctly. Additionally, avoid closing off or blocking any vents or air passages within the chimney system.
6. Address chimney liner issues: If your chimney has a flue liner, regularly inspect it for any cracks or damage. A damaged flue liner can compromise the chimney’s ability to expel gases and prevent water entry. If needed, repair or replace the flue liner to maintain its proper functioning.
7. Maintain proper drainage: Ensure that water from the roof or surrounding areas drains away from the chimney base. Proper grading and gutter systems can help redirect water away from the chimney, minimizing the risk of water pooling and seeping into the chimney structure.
Remember, prevention is key when it comes to chimney leaks. Taking proactive steps to maintain and protect your chimney system will help prevent leaks and costly repairs down the line. Don’t hesitate to consult with a professional chimney technician for guidance, inspections, and repairs to ensure the optimal performance and longevity of your chimney.
Conclusion
Preventing chimney leaks is of utmost importance to protect your home, ensure the efficiency of your fireplace or stove, and maintain the overall integrity of your chimney system. By implementing the right measures, such as installing chimney flashing, chimney caps, and other preventive steps, you can safeguard your chimney from water intrusion, minimize the risk of damage, and enjoy a safe and efficient heating experience.
Chimney flashing serves as a vital barrier against water entry, creating a watertight seal between the chimney and the roof. Whether using metal flashing, rubberized asphalt, or other materials, proper installation and regular maintenance are key to its effectiveness.
Chimney caps play a multifaceted role in preventing chimney leaks, keeping out water, debris, animals, and sparks. With different types available, such as mesh caps, single-flue or multi-flue caps, and decorative options, you can choose one that suits your needs and enhances the aesthetics of your chimney.
Additionally, regular chimney inspections, maintaining proper chimney ventilation, addressing issues with mortar and masonry, and other preventive measures provide an added layer of protection against leaks. By ensuring proper drainage and attending to chimney liner issues, you can further minimize the risk of water penetration and the subsequent damage it can cause.
Remember, if you are unsure or uncomfortable with any aspects of chimney leak prevention or installation, it is always advisable to consult with a professional chimney technician. They have the expertise to assess your chimney, recommend the appropriate solutions, and perform necessary repairs or installations with utmost precision.
By investing time and effort into chimney leak prevention, you are safeguarding your home, maintaining the efficiency of your heating system, and prolonging the lifespan of your chimney. With proper care and attention, you can enjoy the warmth and comfort of your fireplace or stove, knowing that your chimney is protected and leak-free.
Stay proactive, conduct regular maintenance, and address any issues promptly to ensure a functional and leak-free chimney for years to come. With proper preventive measures in place, you can relax and enjoy the cozy ambiance of your fireplace, confident in the knowledge that your chimney is well-maintained and protected against potential leaks.
Frequently Asked Questions about What Is Placed Around A Chimney To Prevent Leaks?
Was this page helpful?
At Storables.com, we guarantee accurate and reliable information. Our content, validated by Expert Board Contributors, is crafted following stringent Editorial Policies. We're committed to providing you with well-researched, expert-backed insights for all your informational needs.


0 thoughts on “What Is Placed Around A Chimney To Prevent Leaks?”