Articles
How To Seal Flashing Around Chimney
Modified: February 24, 2024
Learn how to properly seal the flashing around your chimney with our informative articles on chimney maintenance and repair.
(Many of the links in this article redirect to a specific reviewed product. Your purchase of these products through affiliate links helps to generate commission for Storables.com, at no extra cost. Learn more)
Introduction
Welcome to our comprehensive guide on how to seal flashing around chimneys. If you are a homeowner, you are likely aware of the importance of maintaining a secure and waterproof roofing system. Your chimney is a common area where water can penetrate the roof, leading to leaks, water damage, and costly repairs. Flashing plays a crucial role in preventing water from seeping into the gaps between the chimney and the roof, ensuring that your home remains protected.
Over time, flashing can deteriorate, become loose, or develop cracks, compromising its effectiveness. In this guide, we will walk you through the step-by-step process of assessing the condition of your existing flashing, gathering the necessary tools and materials, preparing the chimney and roof surface, applying the flashing sealant, securing the flashing in place, and inspecting the seal. By following these steps, you can effectively maintain or repair the flashing around your chimney and safeguard your home from water damage.
Before we dive into the details, it’s important to note that while sealing flashing is a manageable DIY task for many homeowners, extensive flashing repairs or installations may require the expertise of a professional roofer. If you feel unsure or uncomfortable about any step in the process, it’s best to consult with a qualified roofing professional to ensure the job is done correctly and safely.
So, if you’re ready to protect your home and extend the lifespan of your roofing system, let’s begin our journey into the world of chimney flashing and learn how to seal it effectively.
Key Takeaways:
- Protect your home from water damage by effectively sealing the flashing around your chimney. Regular maintenance and professional inspections can help preserve the integrity of your roofing system.
- Prioritize safety, use high-quality materials, and follow manufacturer instructions to ensure a successful and long-lasting sealing process for your chimney flashing. Regular inspections and professional assistance are key to preventing future issues.
Read more: How To Flash Around A Chimney
Understanding Flashing Around Chimneys
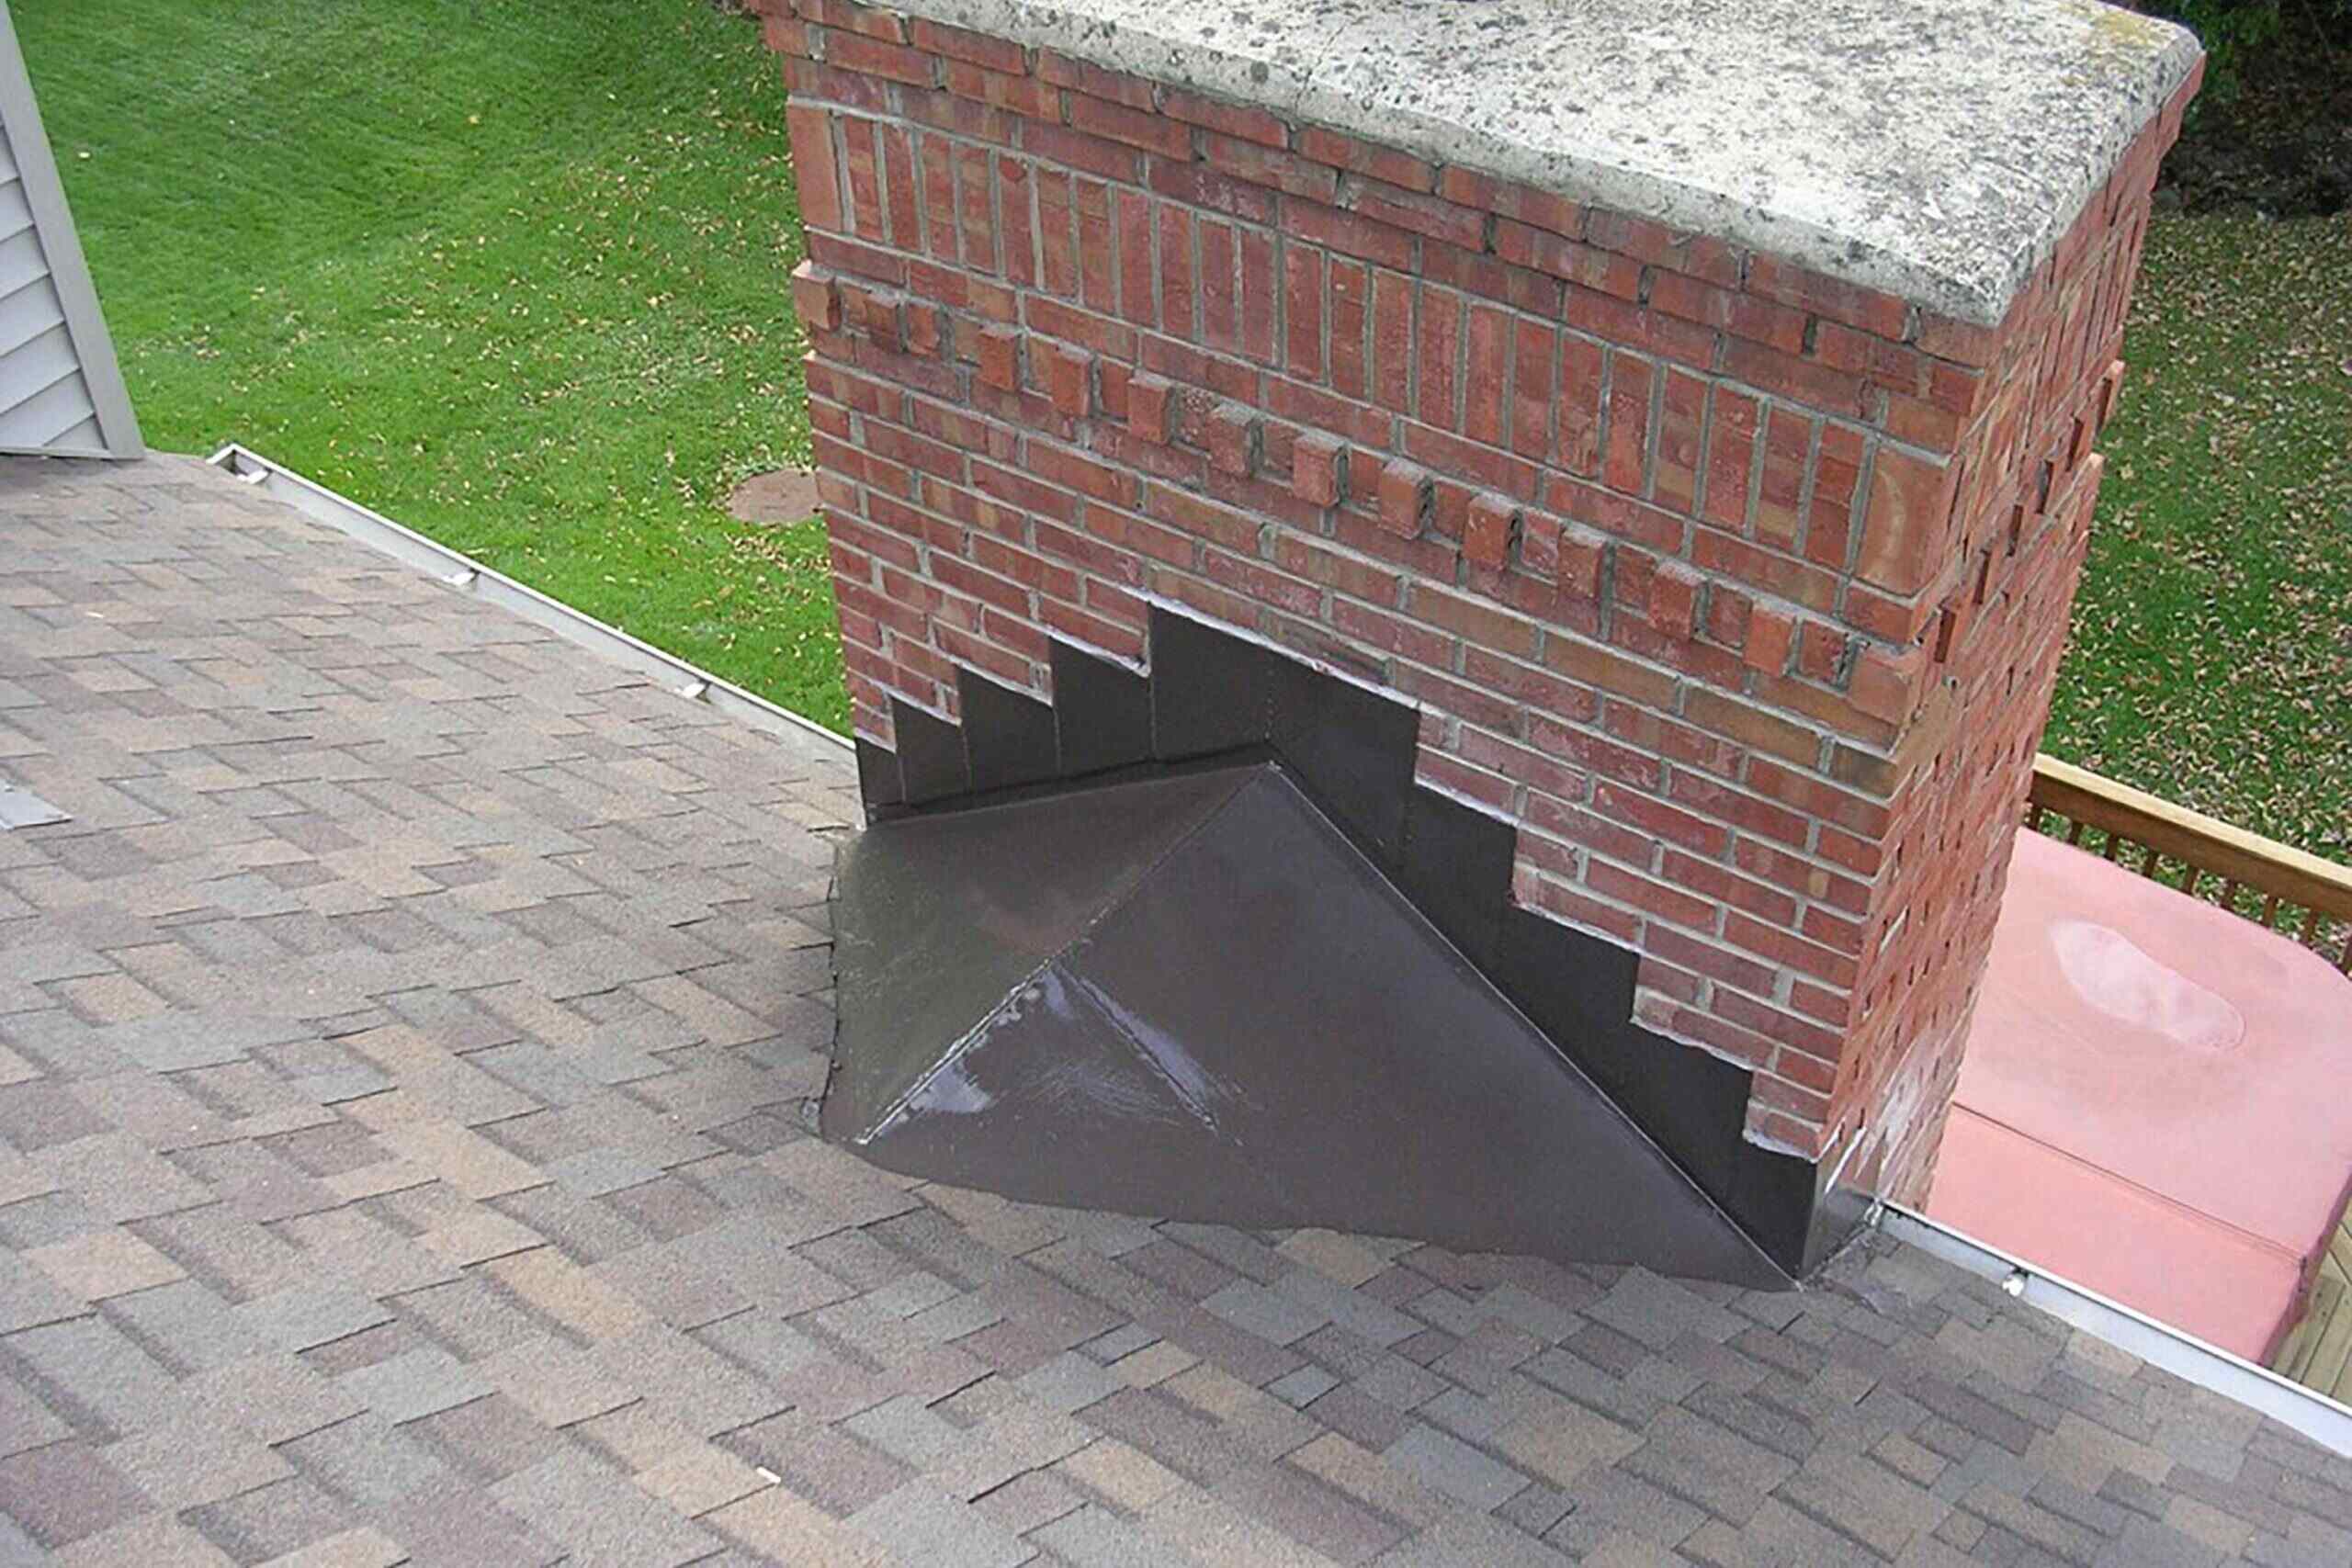
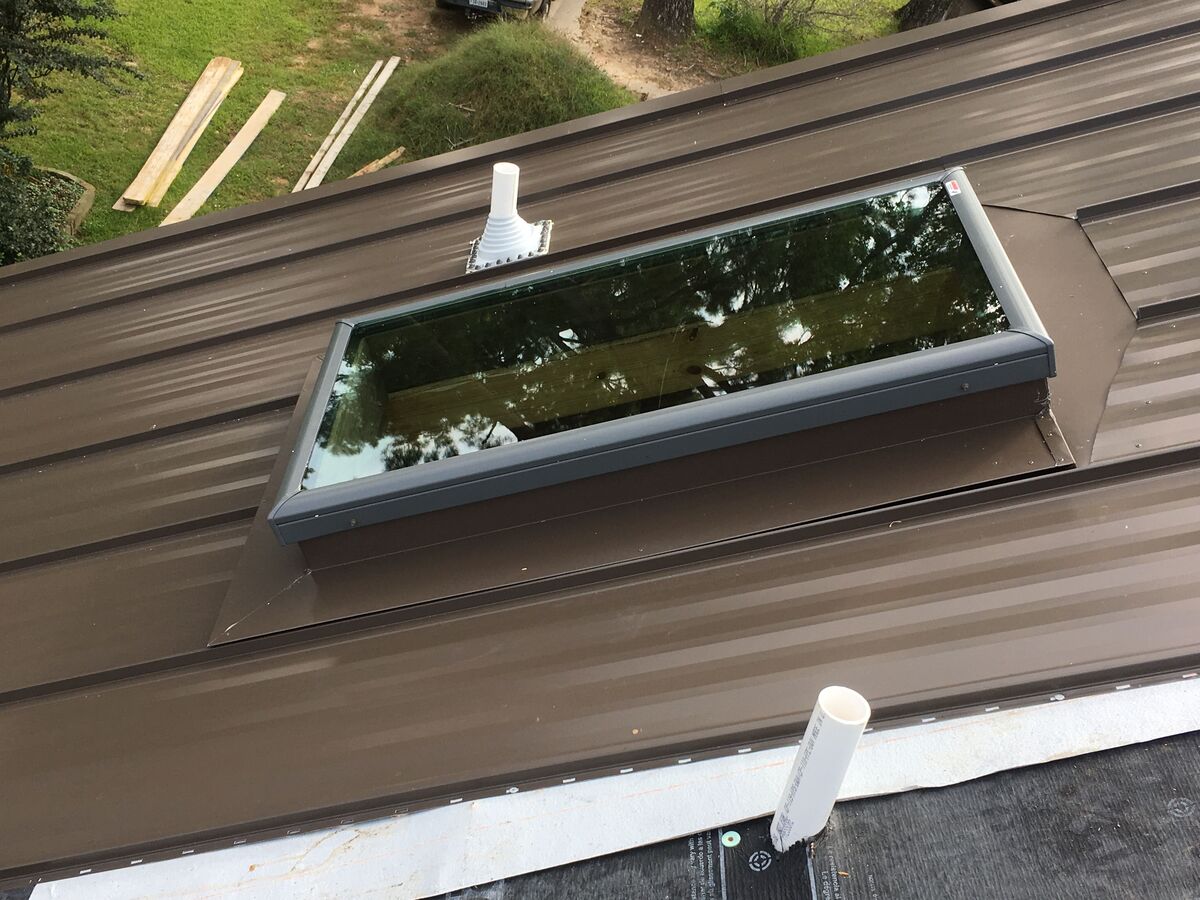
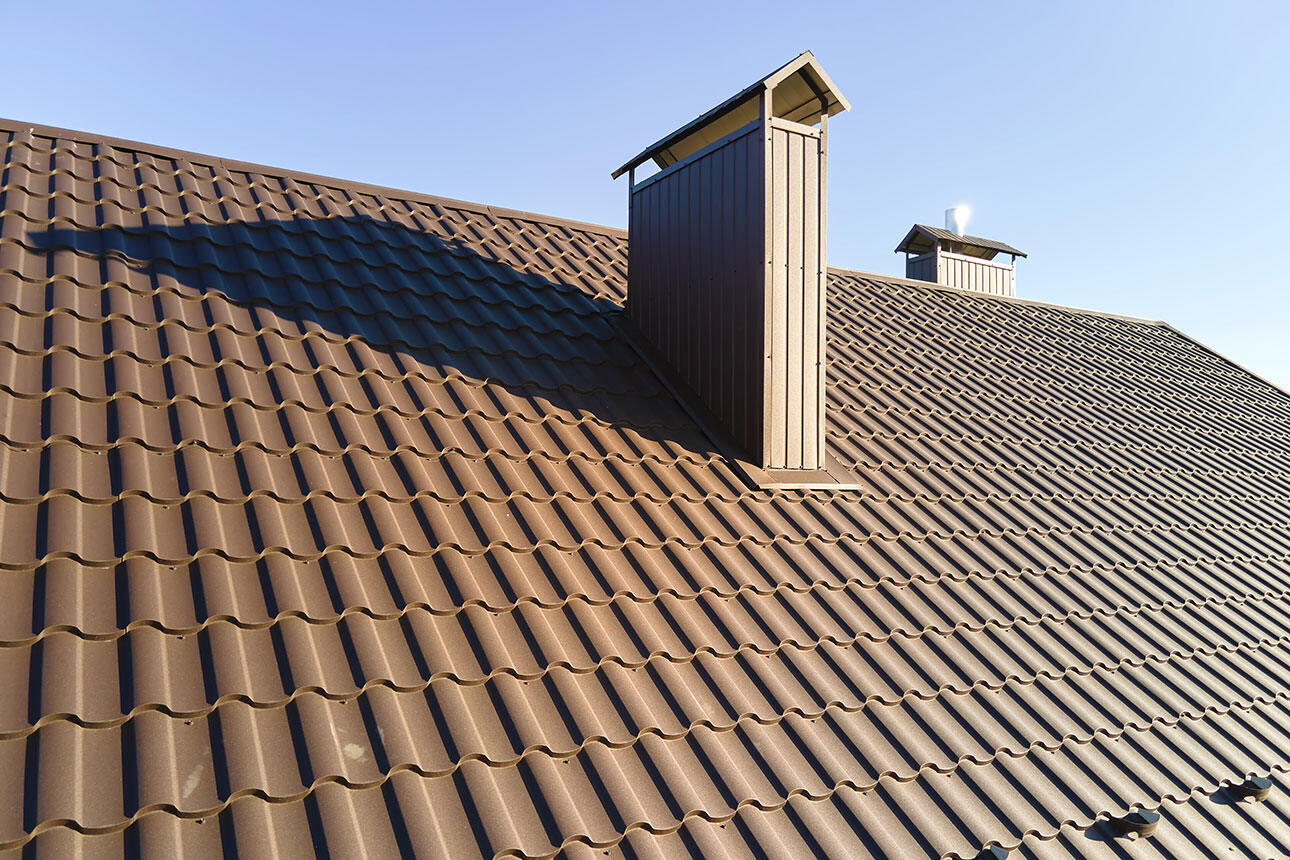
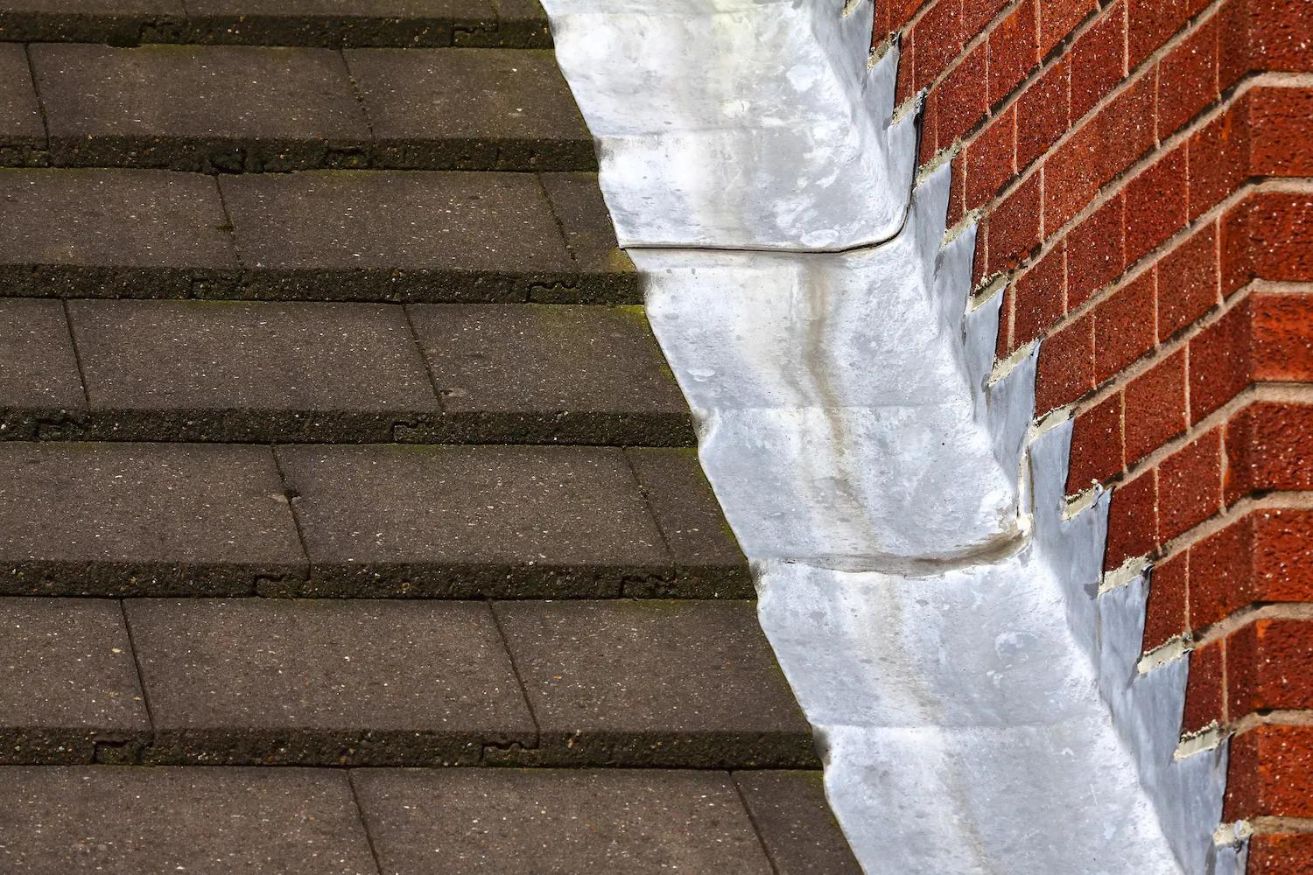
Before we delve into the process of sealing flashing around chimneys, let’s take a moment to understand what flashing is and why it is crucial for the integrity of your roof. Flashing is a thin, waterproof material, typically made of metal or rubber, that is used to seal the joints and transitions between different parts of a roof, such as where the chimney meets the roof. Its purpose is to create a barrier that prevents water from infiltrating the vulnerable areas of your roof.
Chimneys pose unique challenges when it comes to waterproofing because they extend through the roof, creating areas where water can easily penetrate. Flashing around the base of the chimney is essential to direct water away from the vulnerable joint between the chimney and the roof. It acts as a protective barrier, ensuring that any water that lands on the roof is diverted away from the chimney, effectively preventing leaks and water damage.
There are several different types of flashing materials that can be used around chimneys. Some common options include:
- Sheet metal flashing: Typically made of aluminum or galvanized steel, this is the most commonly used flashing material. It is durable, easy to shape, and provides excellent protection against water infiltration.
- Lead flashing: This is a traditional option that has been used for centuries due to its malleability. Lead flashing can be easily shaped to fit the contours of the roof and chimney, creating a tight seal.
- PVC or rubber flashing: These materials are flexible and are often used for flat or low-sloped roofs. They can be a cost-effective alternative to sheet metal or lead flashing.
Regardless of the type of flashing material used, it is important to choose a high-quality product that is specifically designed for chimney flashing. This will ensure that it can withstand the weather elements and provide reliable protection for years to come.
Now that we have a better understanding of what flashing is and its importance in chimney waterproofing, let’s move on to the next step: assessing the condition of your existing flashing.
Assessing the Condition of Existing Flashing
Before you start sealing the flashing around your chimney, it’s crucial to evaluate the condition of the existing flashing. This assessment will help you determine if the flashing can be repaired or if it needs to be replaced. Here are the steps to assess the condition of your existing flashing:
- Inspect from ground level: Begin by examining the flashing from ground level using binoculars or a camera with a zoom lens. Look for any visible signs of damage, such as rust, corrosion, or gaps in the flashing.
- Check the chimney exterior: Next, carefully inspect the exterior of the chimney. Look for cracks, gaps, or loose mortar joints around the chimney’s base. These can be indicators of water damage and may require additional repairs.
- Look for water stains: Inside your home, look for signs of water stains or leaks near the chimney. This can be a telltale sign that the flashing is not providing adequate protection.
- Check for loose flashing: Gently press on the flashing to check for any movement or shifting. Loose flashing can allow water to penetrate the roof, leading to leaks and damage.
- Check for gaps: Carefully inspect the area where the flashing meets the chimney and the roof. Look for any gaps or separation between the flashing and the chimney or roof surface. These gaps can allow water to enter and should be addressed.
- Assess the flashing material: Depending on the type of flashing material used, assess its overall condition. Look for signs of corrosion, deterioration, or brittleness. Aged or damaged flashing material may need to be replaced.
By conducting a thorough assessment of your existing flashing, you will have a clear understanding of its condition and whether it needs repair or replacement.
If you notice any significant damage or are unsure about the condition of the flashing, it is recommended to consult with a professional roofer. They will be able to provide expert advice and guidance on the best course of action to properly seal and protect your chimney flashing.
Once you have assessed the condition of your existing flashing, you can move on to gathering the necessary tools and materials for the sealing process.
Gathering Necessary Tools and Materials
Before you can start sealing the flashing around your chimney, it’s important to gather all the necessary tools and materials. Having everything you need in advance will help you work smoothly and efficiently. Here are the essential tools and materials you will need:
Tools:
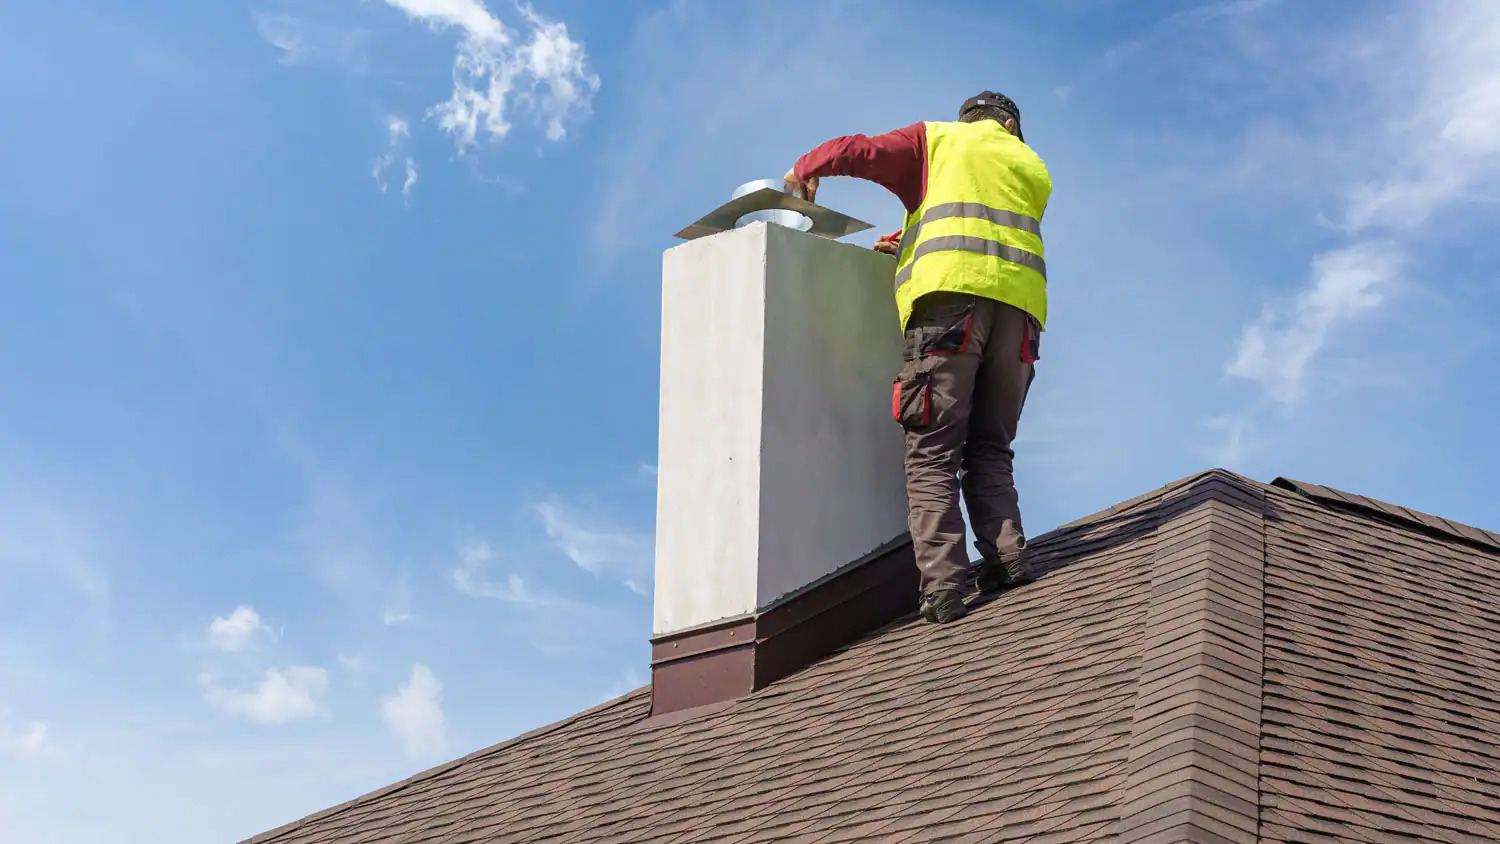
- Ladder: A sturdy ladder that allows you to safely access the roof and chimney
- Safety equipment: Safety glasses, gloves, and non-slip footwear to protect yourself during the process
- Caulking gun: To apply the flashing sealant
- Putty knife: For removing old sealant or debris
- Wire brush: To clean the surface of the chimney and flashing
- Tape measure: For precise measurements
- Utility knife: To cut the flashing material if needed
- Screwdriver or drill: If you need to secure or adjust any loose screws or fasteners
Materials:
- Flashing sealant: Choose a high-quality flashing sealant specifically designed for your type of flashing material
- Flashing material: If you need to replace any damaged or deteriorated sections of flashing, ensure you have the appropriate material, such as sheet metal or lead flashing
- Cleaner or solvent: To remove any dirt, debris, or old sealant from the chimney and flashing surface
- Adhesive or roofing cement: Depending on the type of flashing material, you may need an adhesive or roofing cement for added security and waterproofing
- Screws or fasteners: If any screws or fasteners are loose or missing, make sure you have the right size and type for re-securing the flashing
- Painter’s tape or masking tape: Used to temporarily secure the flashing during the sealing process
Having these tools and materials ready before you begin will save you time and ensure that you can complete the sealing process without interruptions. Additionally, it’s a good idea to check for any additional specific tools or materials recommended for your specific flashing type or manufacturer.
With your tools and materials gathered, you are now ready to move on to the next step: preparing the chimney and roof surface for sealing.
Preparing the Chimney and Roof Surface
Properly preparing the chimney and roof surface is crucial for ensuring a successful sealing job. Taking the time to clean and prep the area will help the flashing sealant adhere effectively and create a strong, waterproof bond. Follow these steps to prepare the chimney and roof surface:
- Clean the surface: Start by removing any debris, dirt, or old sealant from the chimney and roof surface surrounding the flashing. Use a wire brush or putty knife to scrape away any loose or flaking material.
- Remove old sealant: If there is any existing sealant or caulk on the flashing or in the joints, use a putty knife or utility knife to carefully scrape it away. Ensure that the surface is clean and free from any residue.
- Use a cleaner or solvent: Apply a cleaner or solvent recommended for the chimney and flashing material to further clean the surface. Follow the manufacturer’s instructions and use a brush or cloth to remove any remaining dirt or grime.
- Inspect for damage: While cleaning the surface, closely inspect the chimney and flashing for any signs of damage, such as cracks, holes, or loose sections. If you identify any significant damage, consider consulting a professional to address the issue before proceeding with the sealing process.
- Check for loose screws or fasteners: Inspect the flashing for any loose screws or fasteners. Use a screwdriver or drill to tighten or replace them as needed. Secure flashing is essential for a durable and effective seal.
- Apply painter’s tape or masking tape: To protect the surrounding areas, apply painter’s tape or masking tape to any surfaces where you don’t want the flashing sealant to adhere.
By properly cleaning and preparing the chimney and roof surface, you create an optimal environment for the flashing sealant to adhere effectively and provide a long-lasting seal. It is important to ensure that the surface is completely dry before applying the sealant to promote proper adhesion.
With the chimney and roof surface prepared, you are now ready to move on to the next step: applying the flashing sealant.
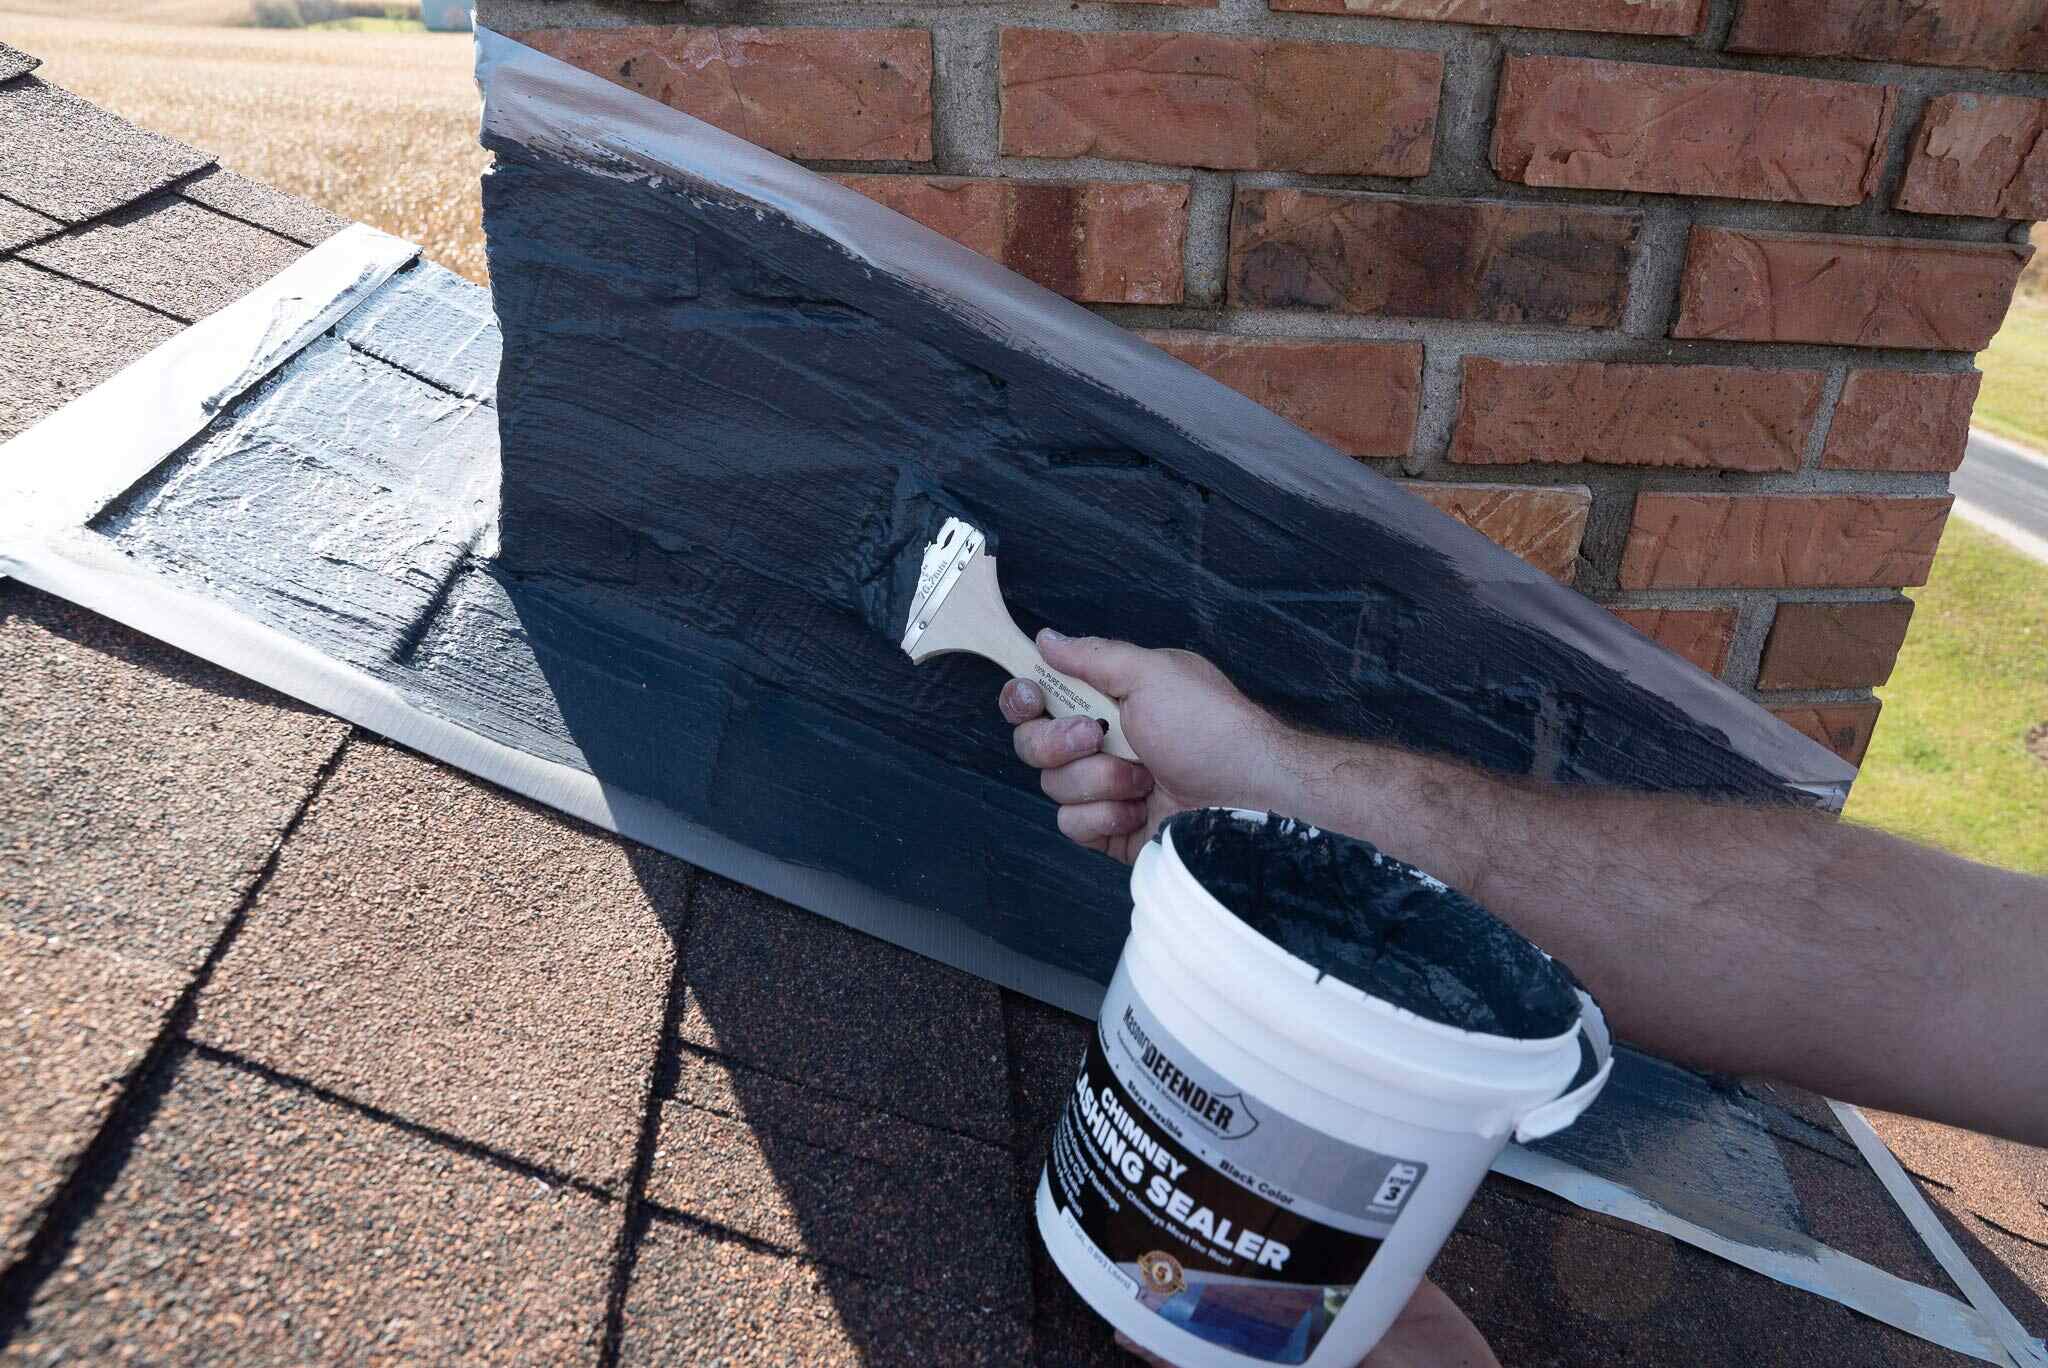
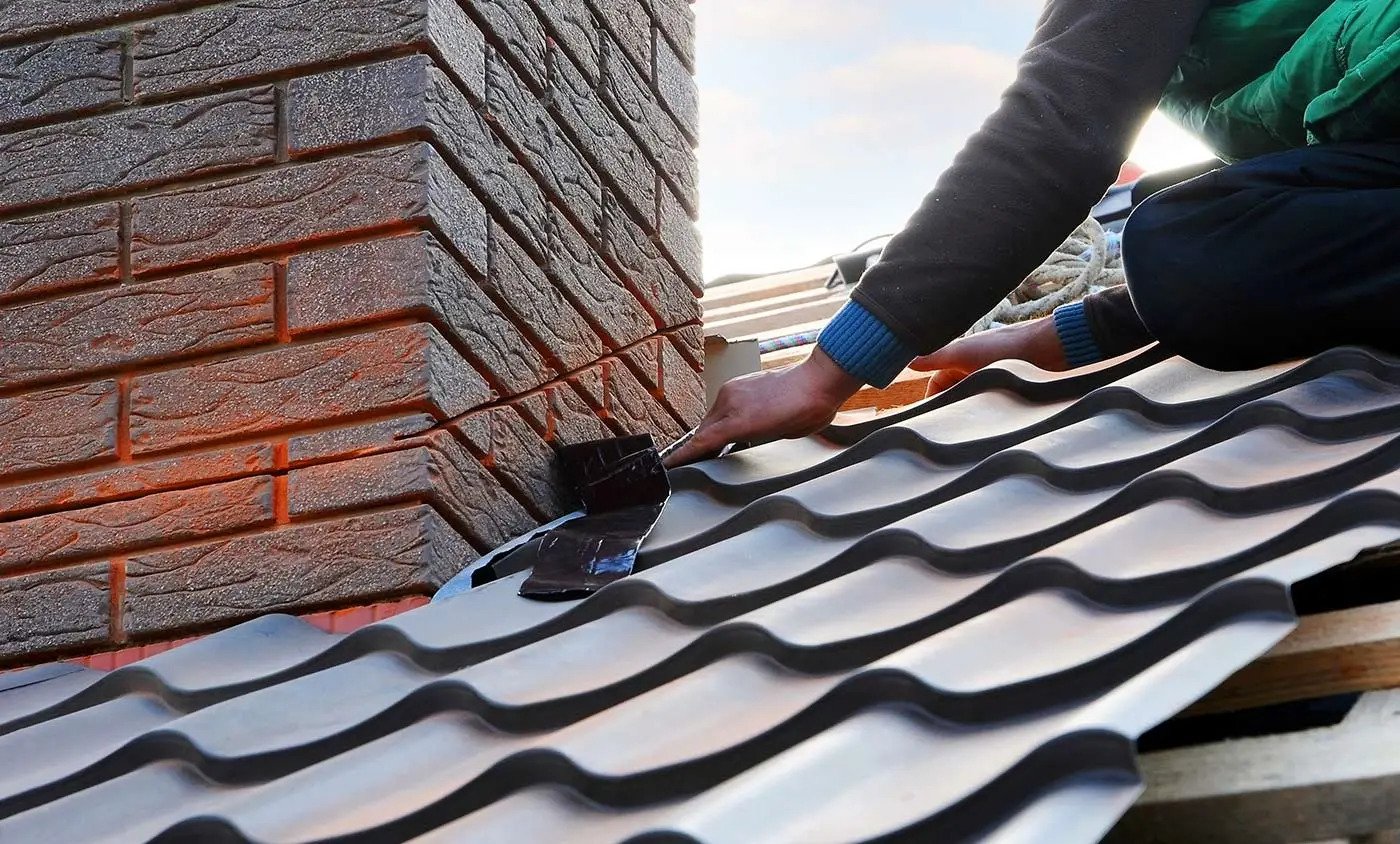
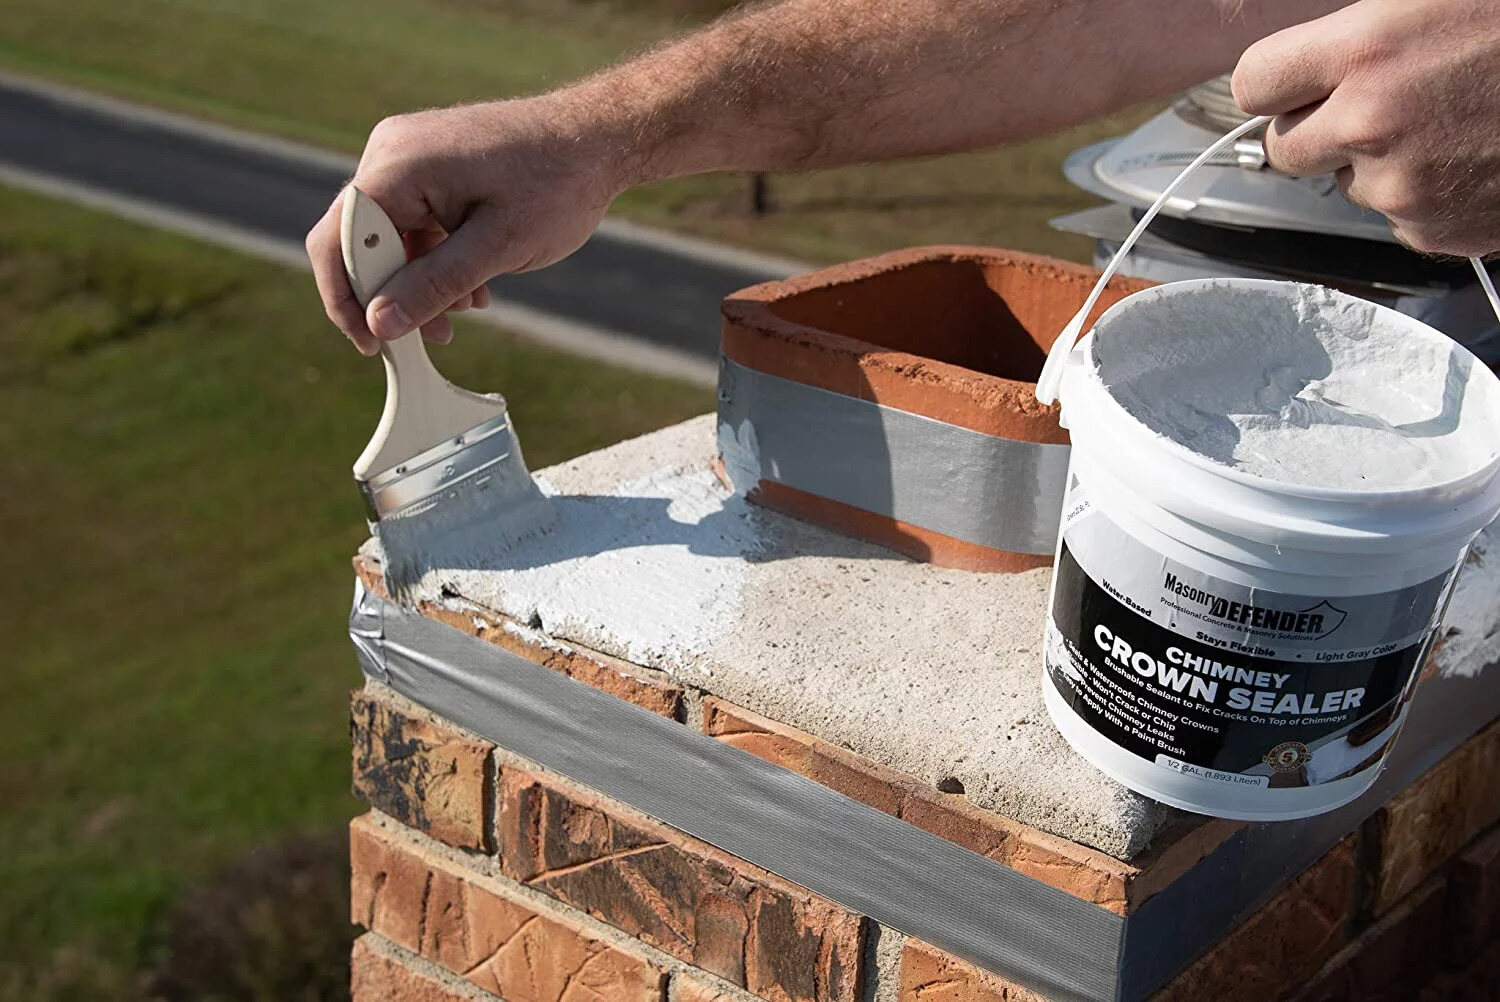
Applying the Flashing Sealant
Now that you have prepared the chimney and roof surface, it’s time to apply the flashing sealant. The sealant will fill any gaps or cracks in the flashing, creating a watertight seal and ensuring the effective protection of your chimney and roof. Follow these steps to apply the flashing sealant:
- Load the sealant: Load the flashing sealant into a caulking gun according to the manufacturer’s instructions. Ensure that the sealant is thoroughly mixed and ready for application.
- Start from the bottom: Beginning at the bottom of the flashing, apply a thin and even layer of sealant along the entire length. Use steady pressure on the caulking gun to control the flow of sealant.
- Fill gaps and cracks: Pay close attention to any gaps, cracks, or areas where the flashing meets the chimney and roof surface. Apply extra sealant to these areas to ensure a complete and sufficient seal.
- Work your way up: Continue applying the sealant along the entire length of the flashing, working your way up towards the top. Use a smooth and consistent motion to achieve an even application.
- Smooth the sealant: Once the sealant is applied, use a putty knife or your gloved finger to carefully smooth and flatten the sealant. This step helps ensure a neat appearance and proper adhesion.
- Remove excess sealant: While the sealant is still wet, use a damp cloth or sponge to remove any excess or smudges. This will help create a clean and tidy finish.
It’s important to work efficiently while applying the sealant, as it can dry quickly. Take breaks between sections if needed but try to complete the sealing process without interruption to achieve a seamless and effective seal.
Remember to follow the manufacturer’s instructions regarding drying and curing times for the sealant. Allow sufficient time for the sealant to fully cure before proceeding to the next step.
Now that the flashing sealant is applied, it’s time to move on to securing the flashing in place to ensure its stability and effectiveness.
Apply a high-quality silicone or polyurethane caulk to seal the flashing around the chimney. Make sure to fill in any gaps or cracks to prevent water from seeping in.
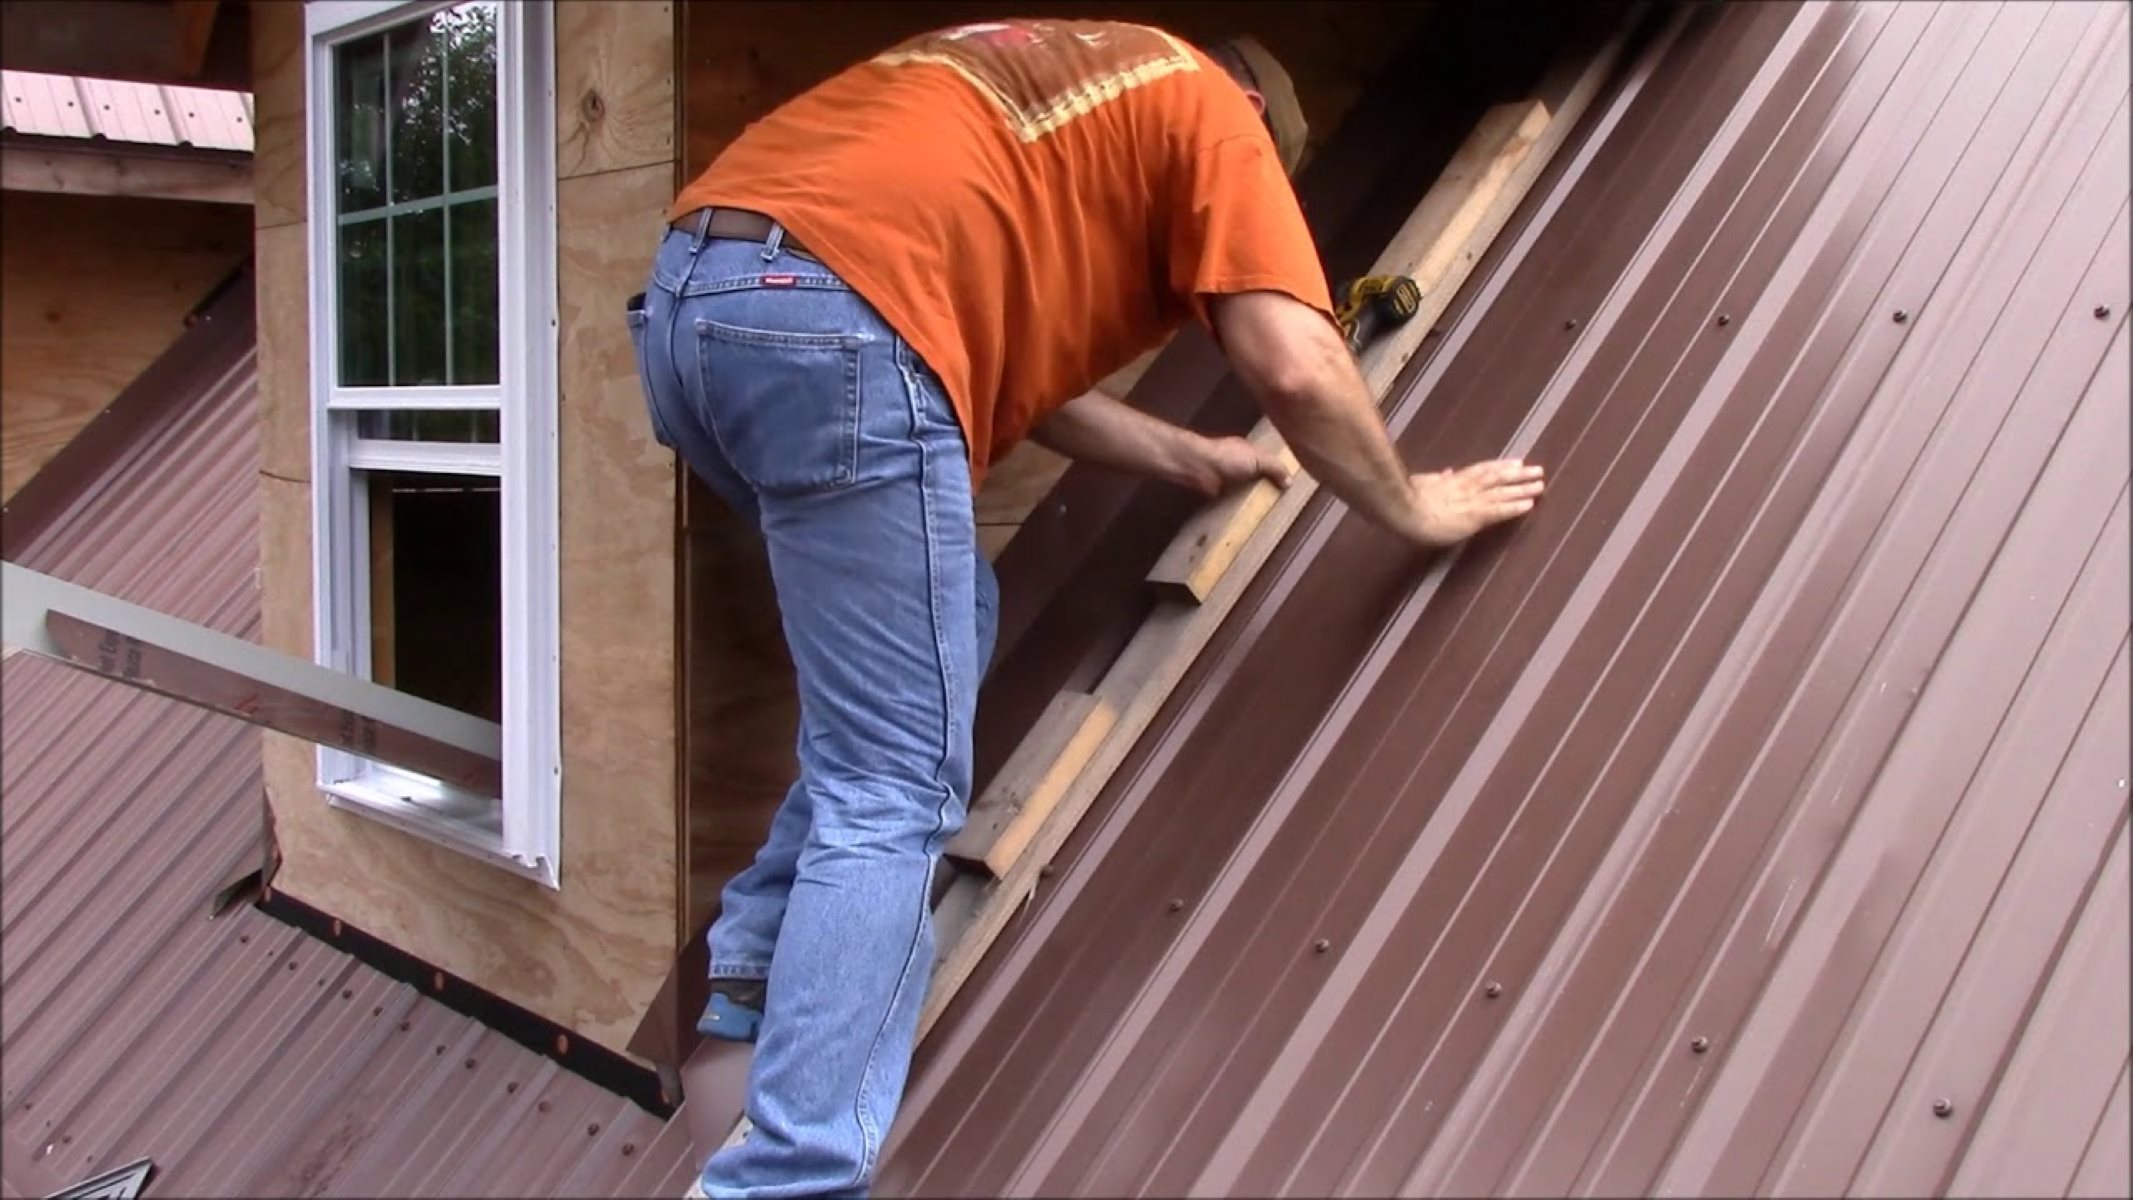
Securing the Flashing in Place
Once you have applied the flashing sealant, it’s important to secure the flashing in place to ensure its stability and effectiveness. This step will help prevent any movement or shifting of the flashing, which can compromise the seal and allow water to infiltrate. Follow these steps to secure the flashing in place:
- Position the flashing: Ensure that the flashing is properly positioned and aligned along the chimney and roof surface. Make any necessary adjustments to ensure a tight fit.
- Use screws or fasteners: Depending on the type of flashing and roof material, use screws or fasteners to secure the flashing in place. Place them at regular intervals along the length of the flashing, ensuring they are tight but not over-tightened.
- Drive screws into solid structure: When securing the flashing, drive the screws or fasteners into solid structures, such as the chimney brick or roof rafters. Avoid driving them into mortar joints or weak areas that may not provide sufficient support.
- Ensure a flush finish: Make sure that the screws or fasteners are flush with the surface of the flashing. This will prevent them from protruding and potentially causing damage or interfering with the roof’s integrity.
- Seal screw heads: After securing the flashing, apply a small amount of flashing sealant over the heads of the screws or fasteners. This additional layer of sealant will prevent water from seeping through the screw holes.
- Inspect for any loose areas: Once the flashing is secured, visually inspect the entire length of the flashing to ensure that it is firmly in place. Check for any areas that may require additional tightening or adjustment.
Securing the flashing in place will ensure its stability and prevent any potential water entry points. Remember, it’s important not to over-tighten the screws or fasteners, as this can damage the flashing or surrounding materials.
After securing the flashing, it’s time to move on to the next step: inspecting and testing the seal to ensure its effectiveness.
Read more: What Is Flashing On A Chimney
Inspecting and Testing the Seal
Now that you have sealed and secured the flashing in place, it’s important to thoroughly inspect and test the seal to ensure its effectiveness. This step will help verify that your chimney is properly protected from water intrusion. Follow these steps to inspect and test the seal:
- Visual inspection: Take a close look at the flashing and the surrounding areas. Check for any visible signs of gaps, cracks, or areas where the sealant may have not adhered properly. Ensure that the sealant has formed a continuous barrier between the flashing, chimney, and roof.
- Water test: Using a hose or a bucket of water, simulate rain conditions by pouring water over the chimney and the sealed flashing. Observe the area closely for any signs of water leakage or seepage. Pay attention to areas where the flashing meets the chimney, roof, and other adjacent surfaces.
- Check for interior leaks: Inside your home, inspect the area around the chimney for any signs of water stains, discoloration, or moisture. These can indicate a compromised seal and potential water penetration.
- Repeat the test if necessary: If you notice any issues during the inspection or testing, such as water leakage or inadequate sealing, repeat the necessary steps to address the problem. This may involve reapplying sealant, adjusting the flashing, or consulting with a professional for further assistance.
It’s crucial to thoroughly inspect and test the seal to ensure that it is providing effective protection against water intrusion. Any gaps or weaknesses in the seal can lead to leaks, water damage, and costly repairs down the line.
If you discover any areas of concern or are unsure about the effectiveness of the seal, it’s best to consult with a professional roofer. They can provide expert advice, identify any potential issues, and recommend the appropriate solutions.
With the seal successfully inspected and tested, you have taken a significant step towards safeguarding your chimney and roof from water damage. Now, let’s move on to some final tips and recommendations.
Final Tips and Recommendations
As you complete the process of sealing flashing around your chimney, here are some final tips and recommendations to ensure a successful and long-lasting result:
- Maintain regular inspections: Make a habit of regularly inspecting your chimney and flashing to catch any potential issues early on. This will allow you to address any problems before they escalate and cause significant damage.
- Pay attention to weather conditions: Choose a dry and moderate temperature day to perform the sealing process. Extreme temperatures or wet conditions can affect the performance of the sealant and compromise the effectiveness of the seal.
- Consider professional assistance if needed: If you encounter extensive damage or are unsure about any step of the process, don’t hesitate to consult with a professional roofer. They have the expertise and experience to handle complex flashing repairs or replacements.
- Use high-quality materials: Invest in high-quality flashing materials and sealants that are specifically designed for chimney flashing. This will ensure durability and long-lasting protection against water intrusion.
- Follow manufacturer instructions: Always carefully follow the manufacturer’s instructions for both the flashing materials and the sealant. This will ensure proper installation and maximize the effectiveness of the sealing process.
- Practice safety precautions: Prioritize safety throughout the entire process. Use appropriate safety equipment, such as gloves and safety glasses, and exercise caution when working on a ladder or elevated surfaces.
- Consider professional inspections and maintenance: Periodically hire a professional to conduct a thorough inspection of your chimney and flashing. They can identify any underlying issues and perform necessary maintenance to keep your chimney and roof in optimal condition.
By following these tips and recommendations, you can effectively seal the flashing around your chimney and provide long-lasting protection for your home. Remember, proper maintenance and attention to detail will go a long way in preserving the integrity of your roofing system.
With that, you have completed the process of sealing flashing around your chimney. Congratulations on taking proactive steps to protect your home from water damage. By maintaining the integrity of your flashing, you can enjoy peace of mind and a well-protected chimney for years to come.
Should you have any further questions or need additional assistance, feel free to reach out to a professional roofer or a qualified contractor for guidance.
Stay safe and enjoy your confidently sealed chimney!
Conclusion
Sealing flashing around your chimney is a vital step in maintaining a watertight and secure roofing system. By effectively sealing the flashing, you can prevent water infiltration, protect against leaks, and ensure the longevity of your chimney and roof. Throughout this comprehensive guide, we have walked you through the process of understanding flashing, assessing its condition, gathering necessary tools and materials, preparing the chimney and roof surface, applying the flashing sealant, securing the flashing in place, and inspecting the seal for effectiveness.
Remember, while sealing flashing is a manageable task for many homeowners, extensive flashing repairs or installations may require the expertise of a professional roofer. Your safety and the structural integrity of your home should always be prioritized.
Regular maintenance and inspections are key to preventing future issues. Keep an eye on your flashing, and promptly address any signs of damage or wear. By implementing preventive measures and addressing issues early on, you can avoid costly repairs and maintain the protection and integrity of your chimney and roof.
We hope that this guide has provided you with the knowledge and confidence to successfully seal the flashing around your chimney. Follow the steps outlined, adhere to safety precautions, and consult with professionals when needed. By doing so, you can extend the lifespan of your roofing system, protect your home from water damage, and enjoy a comfortable and worry-free living environment.
Frequently Asked Questions about How To Seal Flashing Around Chimney
Was this page helpful?
At Storables.com, we guarantee accurate and reliable information. Our content, validated by Expert Board Contributors, is crafted following stringent Editorial Policies. We're committed to providing you with well-researched, expert-backed insights for all your informational needs.


0 thoughts on “How To Seal Flashing Around Chimney”