Articles
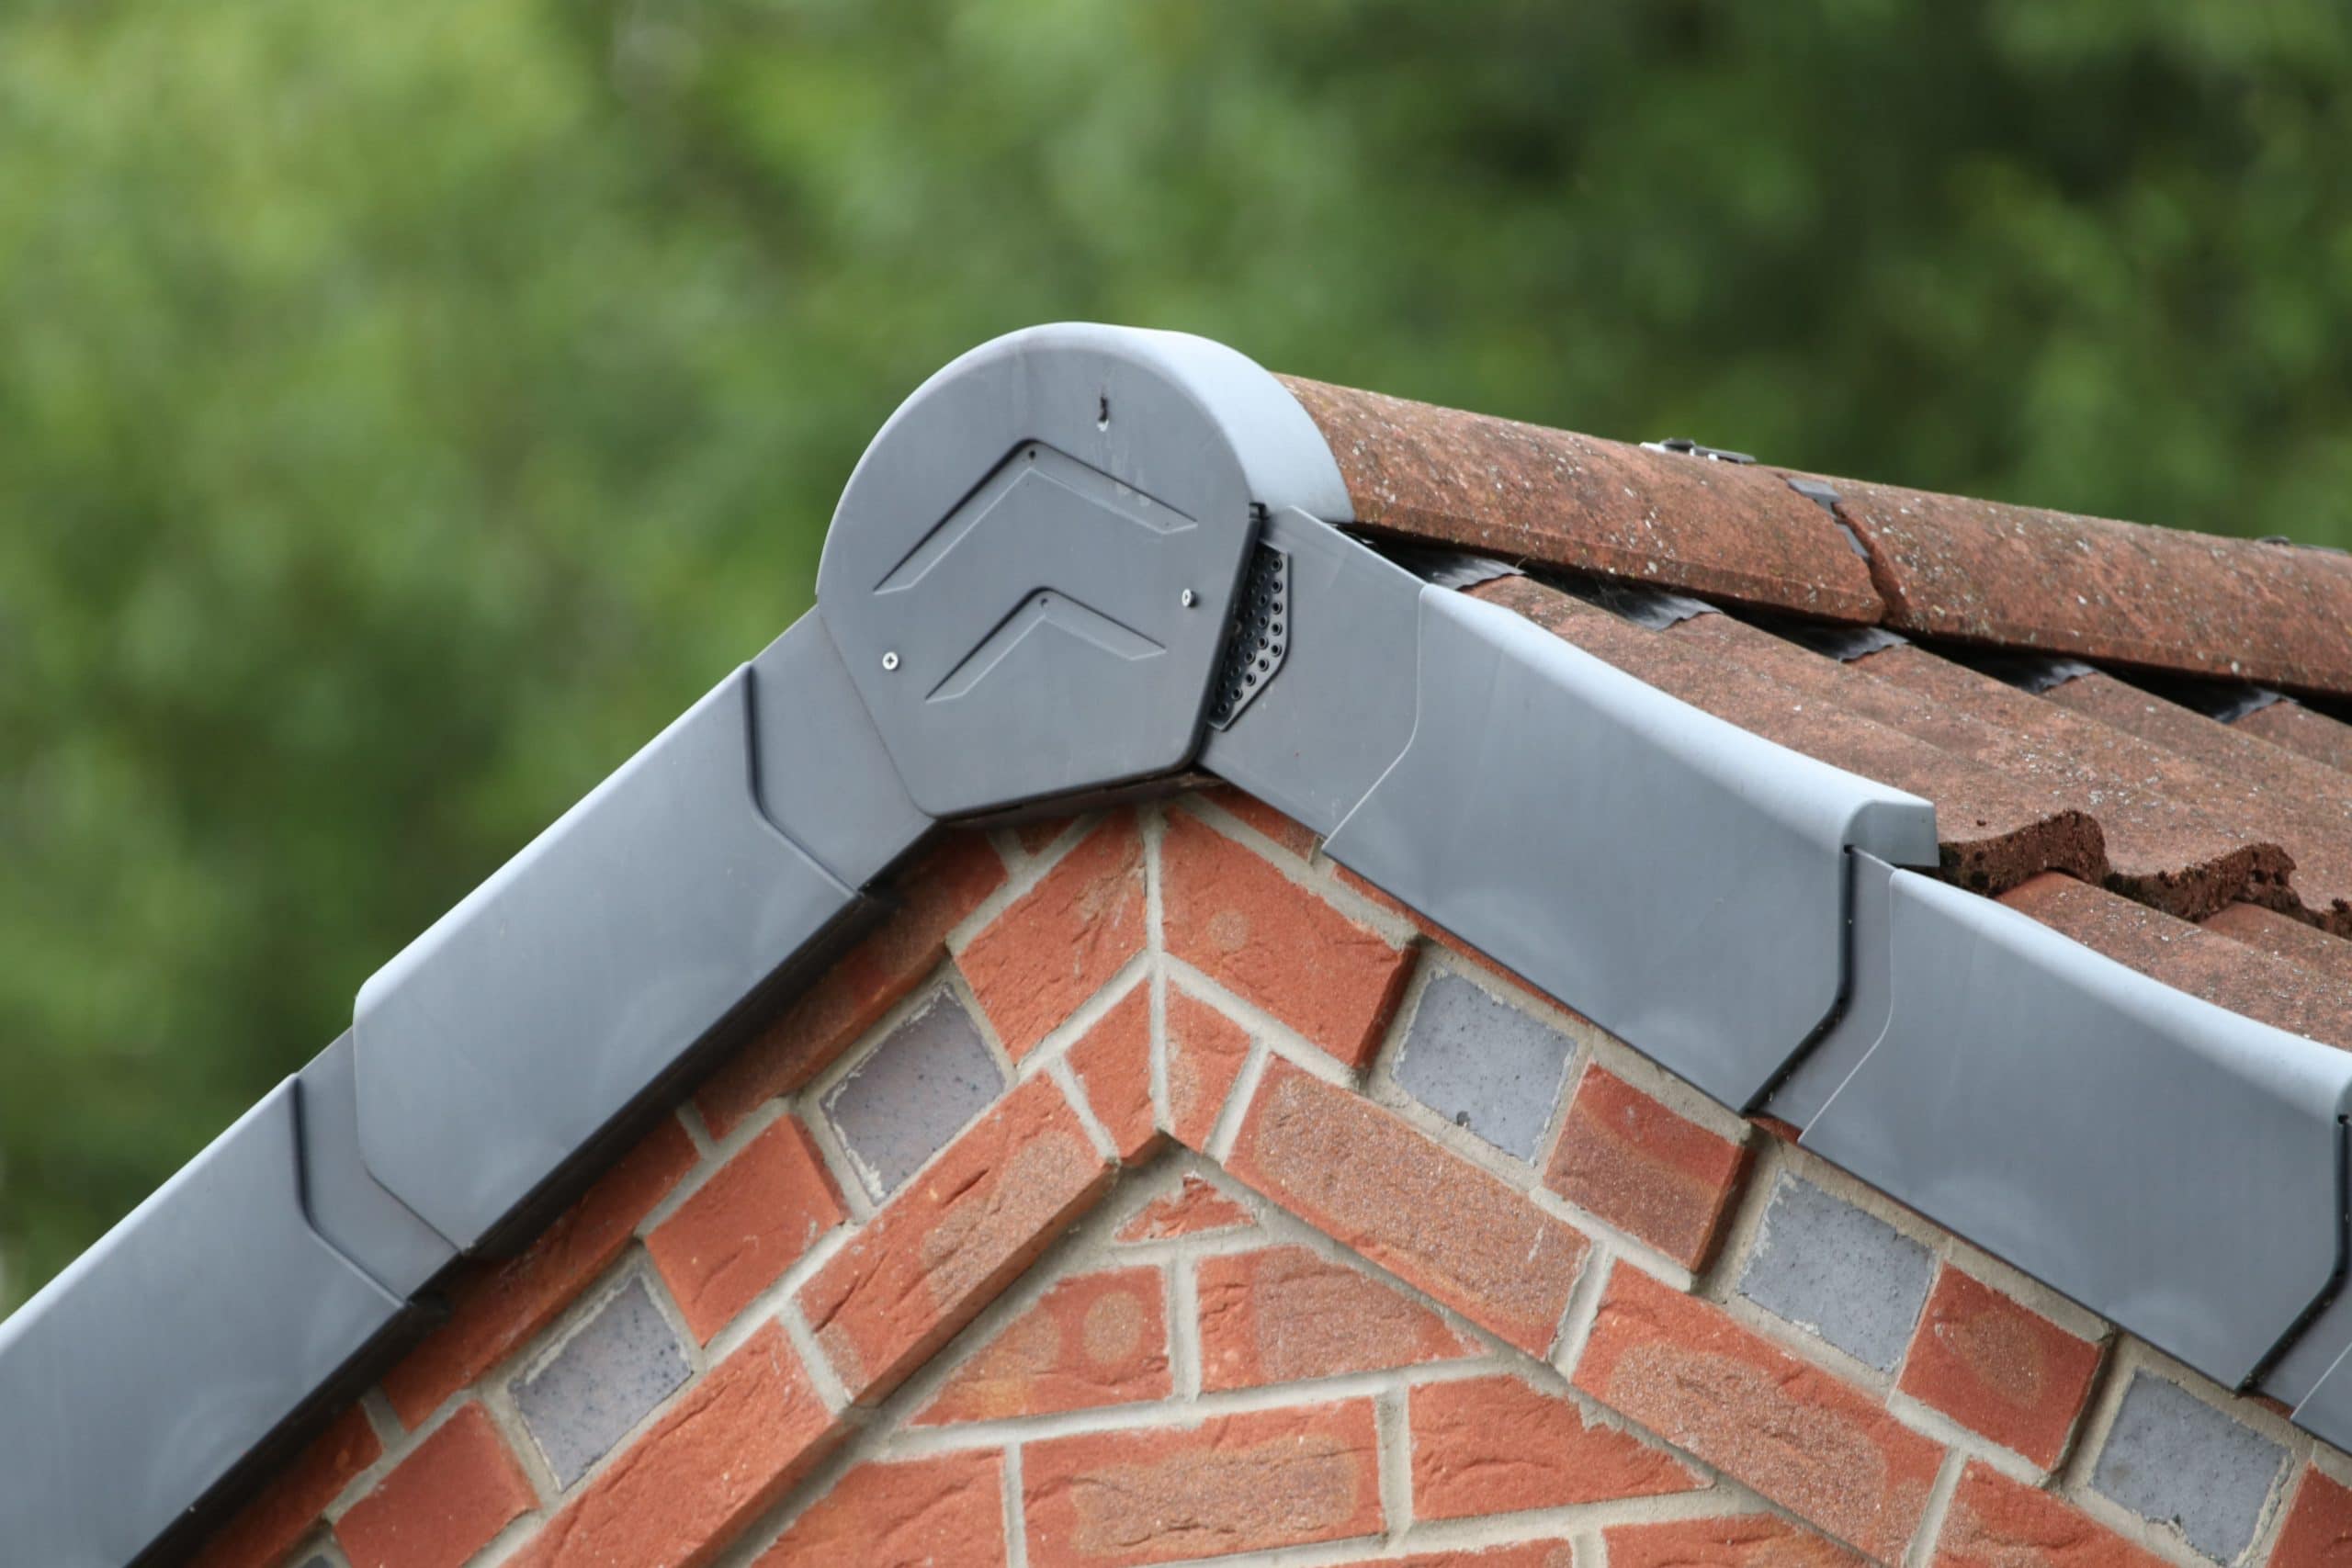
How To Flash Around A Chimney
Modified: October 20, 2024
Learn how to properly flash around a chimney with our informative articles. Enhance the durability and longevity of your roof with expert tips and tricks.
(Many of the links in this article redirect to a specific reviewed product. Your purchase of these products through affiliate links helps to generate commission for Storables.com, at no extra cost. Learn more)
Introduction
When it comes to properly maintaining a roof, one crucial aspect that often gets overlooked is flashing around the chimney. Flashing is the material used to seal and protect the area where the chimney and roof meet, preventing water from entering the structure. It serves as a barrier against leaks and water damage, providing an essential layer of protection for your home.
Flashing around the chimney is particularly important because the chimney protrudes through the roof, creating a vulnerable area prone to water intrusion. Without proper flashing, rainwater can seep into the roof and cause significant damage, leading to expensive repairs or even structural issues.
In this article, we will walk you through the step-by-step process of flashing around a chimney to ensure a watertight seal and protect your home from water damage. We will discuss the importance of flashing, the materials required, and guide you through each stage of the flashing process.
Before we dive into the details, it’s essential to mention that chimney flashing requires some basic knowledge of roofing and construction. If you’re not comfortable working at heights or with tools, it’s best to hire a professional roofer to perform the task. Safety should always be your top priority when undertaking any roofing project.
By following the steps outlined in this article, you can ensure that your chimney is properly flashed and protected against water infiltration. Let’s get started and learn how to flash around a chimney, safeguarding your home and preserving its structural integrity.
Key Takeaways:
- Protect your home from water damage and structural issues by properly flashing your chimney. Follow the step-by-step guide to ensure a watertight seal and preserve your roof’s integrity.
- Prioritize safety and consider professional help if needed. Regular maintenance and inspections are essential for long-lasting chimney flashing. Enjoy peace of mind with a secure and leak-free roof.
Importance of Flashing Around a Chimney
Flashing around a chimney is a critical aspect of roof maintenance that should not be overlooked. It plays a vital role in protecting your home from water damage and ensuring the longevity of your roof. Here are some key reasons why flashing around a chimney is essential:
- Prevents water penetration: The primary purpose of chimney flashing is to create a watertight seal between the chimney and the roof. Without proper flashing, rainwater can easily seep into the roof structure, leading to leaks and moisture damage inside your home. Flashing acts as a barrier, redirecting the water away and keeping your interior dry.
- Protects against structural damage: Water infiltration caused by improper or deteriorated flashing can lead to severe structural damage over time. It can rot the roof decking, compromise the integrity of the chimney, and even weaken the foundation of your home. By ensuring that your chimney has solid, watertight flashing, you can prevent these costly and extensive repairs.
- Prevents mold and mildew growth: Water intrusion through the chimney can create a damp environment, promoting the growth of mold and mildew. These fungi not only pose health risks but can also cause unsightly stains and damage to the interior walls and ceilings. Proper flashing helps maintain a dry chimney and reduces the risk of mold and mildew growth.
- Preserves energy efficiency: A well-sealed chimney with proper flashing helps maintain optimal energy efficiency in your home. Without adequate flashing, air can escape or enter through gaps, leading to drafts and temperature fluctuations. This can result in higher energy bills as your heating and cooling systems work harder to maintain a comfortable indoor environment.
- Extends the lifespan of your roof: A properly flashed chimney helps protect the surrounding roof materials from water damage. It prevents premature deterioration of shingles, underlayment, and roofing membranes caused by constant exposure to moisture. By ensuring the integrity of the flashing, you can extend the overall lifespan of your roof.
In summary, proper chimney flashing is crucial for protecting your home from water damage, preserving its structural integrity, maintaining indoor air quality, and improving energy efficiency. Regular inspection and maintenance of the flashing can help identify any issues early on and prevent costly repairs down the line. By investing in quality flashing materials and following the correct installation techniques, you can ensure a reliable and long-lasting seal around your chimney.
Materials Needed for Flashing
Before you begin the flashing process around your chimney, it’s important to gather all the necessary materials. Having the right tools and supplies on hand will ensure a smoother and more efficient installation. Here are the materials you will need for flashing around a chimney:
- Flashing Material: There are different types of flashing materials available, including aluminum, copper, and lead. Choose a high-quality flashing material that is durable and resistant to corrosion.
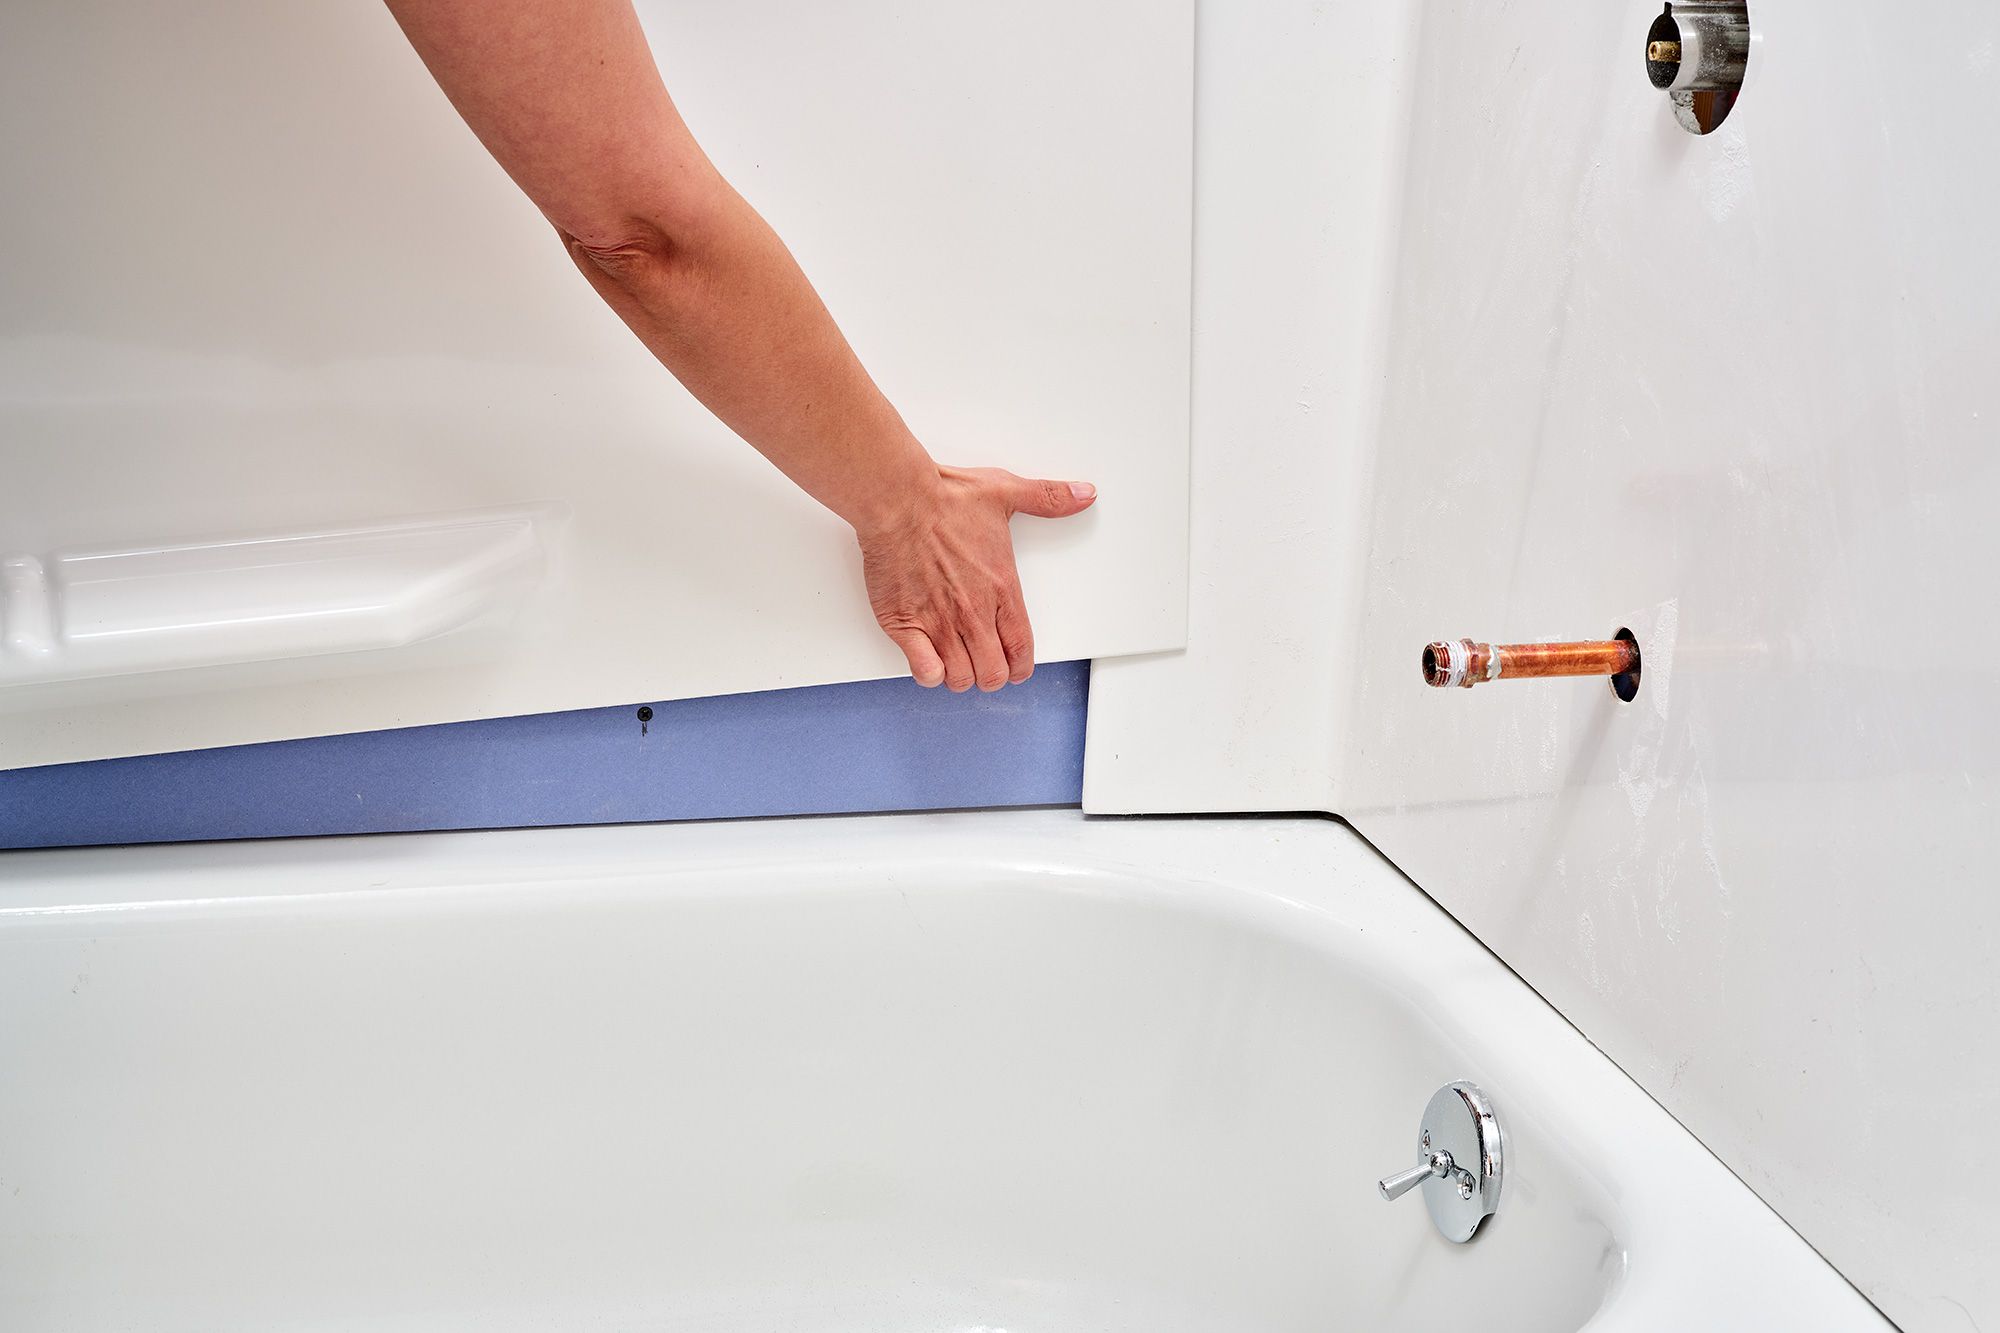
- Flashing Membrane: A self-adhesive flashing membrane is used to provide an additional layer of protection around the chimney. It helps create a watertight seal and prevents moisture from seeping into the roof.
- Roofing Cement or Sealant: Roofing cement or sealant is required to secure the flashing in place and fill any gaps or joints. Choose a sealant that is compatible with your flashing material.
- Nails or Screws: Depending on the type of flashing material and the surface it will be secured to, you will need appropriate nails or screws to attach the flashing securely.
- Flashing Adhesive: A flashing adhesive may be necessary to bond the flashing material to the chimney or roof surface. It provides an extra layer of adhesion and ensures a tight seal.
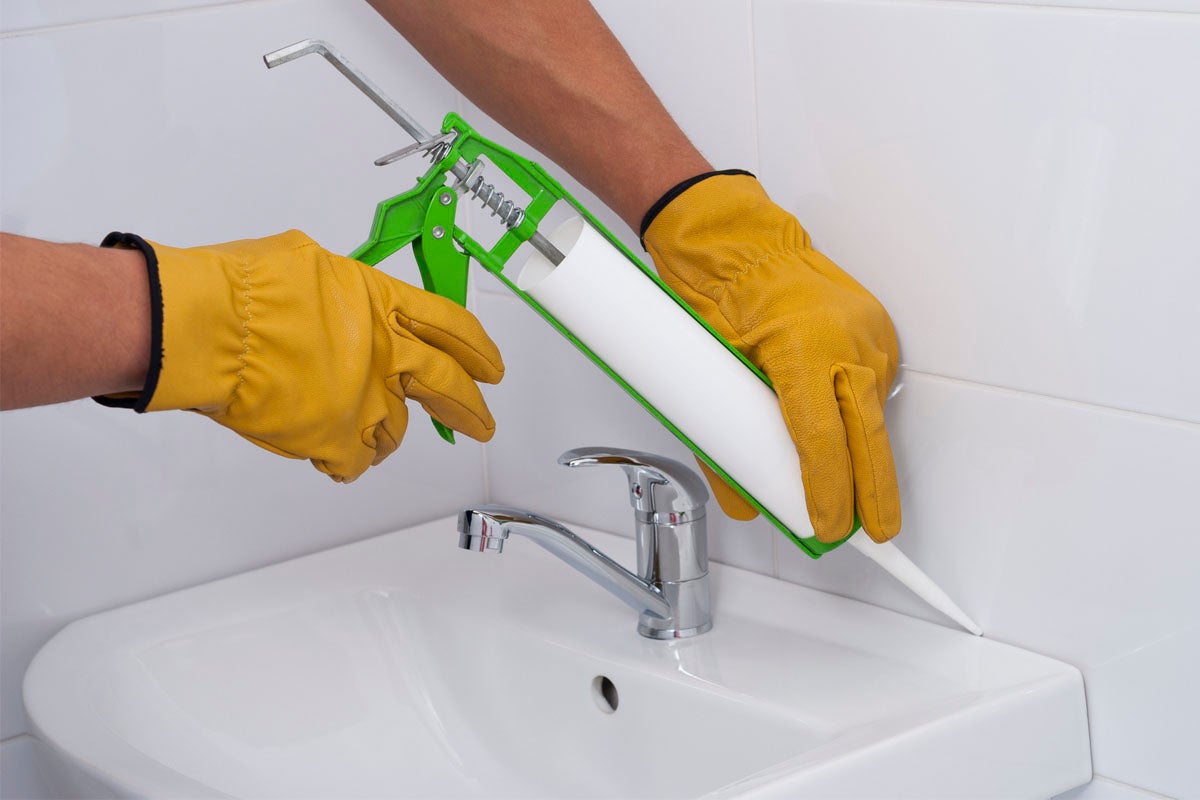
- Caulking Gun: A caulking gun is used to apply the roofing cement or sealant evenly and precisely. It allows for better control and ensures proper coverage.
- Tin Snips or Shears: Tin snips or shears are essential for cutting the flashing material to the required size and shape. They allow for clean and precise cuts.
- Chimney Cap: While not directly related to flashing, a chimney cap can provide additional protection against water penetration and debris. Consider installing a chimney cap to further safeguard your chimney.
- Protective Gear: It’s important to have appropriate protective gear, such as gloves, safety glasses, and a dust mask, to ensure your safety during the installation process.
Before purchasing materials, measure your chimney’s dimensions and assess the specific requirements of your roof. Consider consulting with a roofing professional or referring to manufacturer guidelines for the most suitable materials for your flashing project.
Now that you have gathered all the necessary materials, you are ready to move on to the next step: inspecting the chimney to assess its condition and determine if any repairs are needed before flashing.
Step 1: Inspecting the Chimney
Before you proceed with flashing around your chimney, it’s crucial to thoroughly inspect its condition. This step is essential to identify any existing damage or potential issues that may affect the flashing installation. Here’s how to inspect your chimney effectively:
- Roof Accessibility: Ensure that you have a safe and stable platform to access the roof near the chimney area. Use a sturdy ladder and take all necessary safety precautions, such as wearing proper footwear and securing the ladder to prevent accidents.
- Check for Cracks or Gaps: Examine the masonry and mortar joints of the chimney for any cracks or gaps. These can be signs of structural damage or deterioration that could compromise the flashing. If you notice significant issues, it’s recommended to consult a professional chimney contractor for repairs before proceeding with flashing.
- Inspect Chimney Cap and Crown: Check the chimney cap and crown for any signs of damage or deterioration. The chimney cap should be securely in place, free from cracks or rust, to prevent water from entering. The crown (the top layer of the chimney) should be intact and properly sloped to direct water away from the chimney’s surface.
- Examine Flashing Condition: Assess the condition of the existing flashing, if any. Look for signs of corrosion, rust, or loose flashing that may need replacing. Damaged or aged flashing can compromise the effectiveness of the new flashing installation.
- Check for Vegetation or Debris: Inspect the chimney for any vegetation growth, such as moss or algae, which indicates excess moisture. Clear away any debris, such as leaves or branches, that could obstruct the flashing installation or cause water buildup.
- Assess Roofing Material: If your roof has asphalt shingles, check for shingle deterioration or missing pieces around the chimney area. Damaged or loose shingles may require repair or replacement before flashing can be installed effectively.
By carefully inspecting your chimney, you can identify any underlying issues that may affect the flashing installation. If you encounter significant structural damage or are unsure about performing the inspection yourself, it’s recommended to consult a professional chimney contractor for a thorough assessment and necessary repairs.
Once you have assessed the condition of your chimney and resolved any underlying problems, you can proceed to the next step: removing the old flashing.
Step 2: Removing Old Flashing
Once you have inspected the condition of your chimney and identified any necessary repairs, you can move on to removing the old flashing. Removing the existing flashing is crucial to ensure a clean and solid base for the new flashing installation. Follow these steps to remove the old flashing properly:
- Gather the Necessary Tools: Before starting, make sure you have the appropriate tools for the job. You may need a pry bar, pliers, or a utility knife to safely remove the old flashing.
- Protect Yourself: Always prioritize your safety during the removal process. Wear protective gloves and safety glasses to prevent any injuries from sharp edges or debris.
- Inspect and Loosen the Old Flashing: Carefully examine the old flashing for any screws, nails, or fasteners holding it in place. Use the appropriate tool to loosen and remove these fasteners. Be cautious not to damage the chimney or surrounding roofing materials in the process.
- Remove the Flashing: Begin by gently prying the old flashing away from the chimney surface. Use a pry bar or pliers to carefully separate the flashing from the chimney and roof materials. If necessary, use a utility knife to cut any adhesive or sealant holding the flashing in place.
- Clean the Surface: Once the old flashing is removed, take the time to clean the chimney and roof surface. Remove any debris, adhesive residue, or caulking to ensure a smooth and clean base for the new flashing installation. A wire brush or scraper can be helpful in this process.
- Inspect for Damage: While removing the old flashing, closely inspect the chimney and roof for any signs of damage or deterioration. Address any issues promptly before proceeding with the new flashing installation.
Remember, if you encounter any difficulties during the removal process or notice extensive damage to the chimney or roofing materials, it’s best to consult a professional roofer or chimney contractor. They will have the expertise and proper tools to handle more complex situations and ensure a successful removal process.
Once you have removed the old flashing and prepared the surface, you can move on to the next step: preparing the chimney surface for the new flashing installation.
Read more: What Is Flashing On A Chimney
Step 3: Preparing the Chimney Surface
With the old flashing removed, it’s time to prepare the chimney surface for the installation of the new flashing. Proper preparation is crucial to ensure a secure and watertight seal. Follow these steps to prepare the chimney surface effectively:
- Clean the Surface: Use a wire brush or scraper to thoroughly clean the chimney surface. Remove any dirt, debris, or loose particles that can interfere with the adherence of the new flashing. Pay close attention to the areas where the old flashing was previously attached.
- Apply a Primer: Consider applying a layer of primer to the cleaned chimney surface. This step is particularly important if you are working with masonry or a porous chimney material. The primer helps promote adhesion and improves the overall durability of the new flashing installation. Follow the manufacturer’s instructions for the specific primer you are using.
- Inspect and Repair Mortar Joints: Check the mortar joints around the chimney for any cracks or gaps. If you notice any issues, repair them using a suitable mortar mix. Ensure that the mortar is fully cured before proceeding with the flashing installation.
- Apply Waterproof Sealant: Consider applying a layer of waterproof sealant to the chimney surface. This can provide an additional layer of protection against water penetration and ensure a more secure seal. Use a sealant that is compatible with your chimney material and follow the manufacturer’s instructions for application.
- Measure and Cut Flashing Material: Measure the dimensions of the chimney and cut the new flashing material accordingly. Use tin snips or shears to achieve clean and precise cuts. Remember to account for any overlaps and bends in the flashing design, as specified by the manufacturer or industry guidelines.
- Pre-fold Flashing: If your flashing design requires pre-folding, carefully fold the flashing material along the designated lines. This ensures that the flashing fits snugly around the chimney and provides maximum protection against water intrusion.
Taking the time to adequately prepare the chimney surface sets the stage for a successful flashing installation. It creates a clean, well-adhered base that promotes the longevity and effectiveness of the new flashing. Ensure that the chimney surface is dry and free from debris before proceeding to the next step of applying the base flashing.
Now that the chimney surface is prepared, we can move on to step 4: applying the base flashing.
When flashing around a chimney, make sure to use a high-quality flashing material such as aluminum or copper to ensure durability and weather resistance. Properly seal all seams and joints to prevent water infiltration.
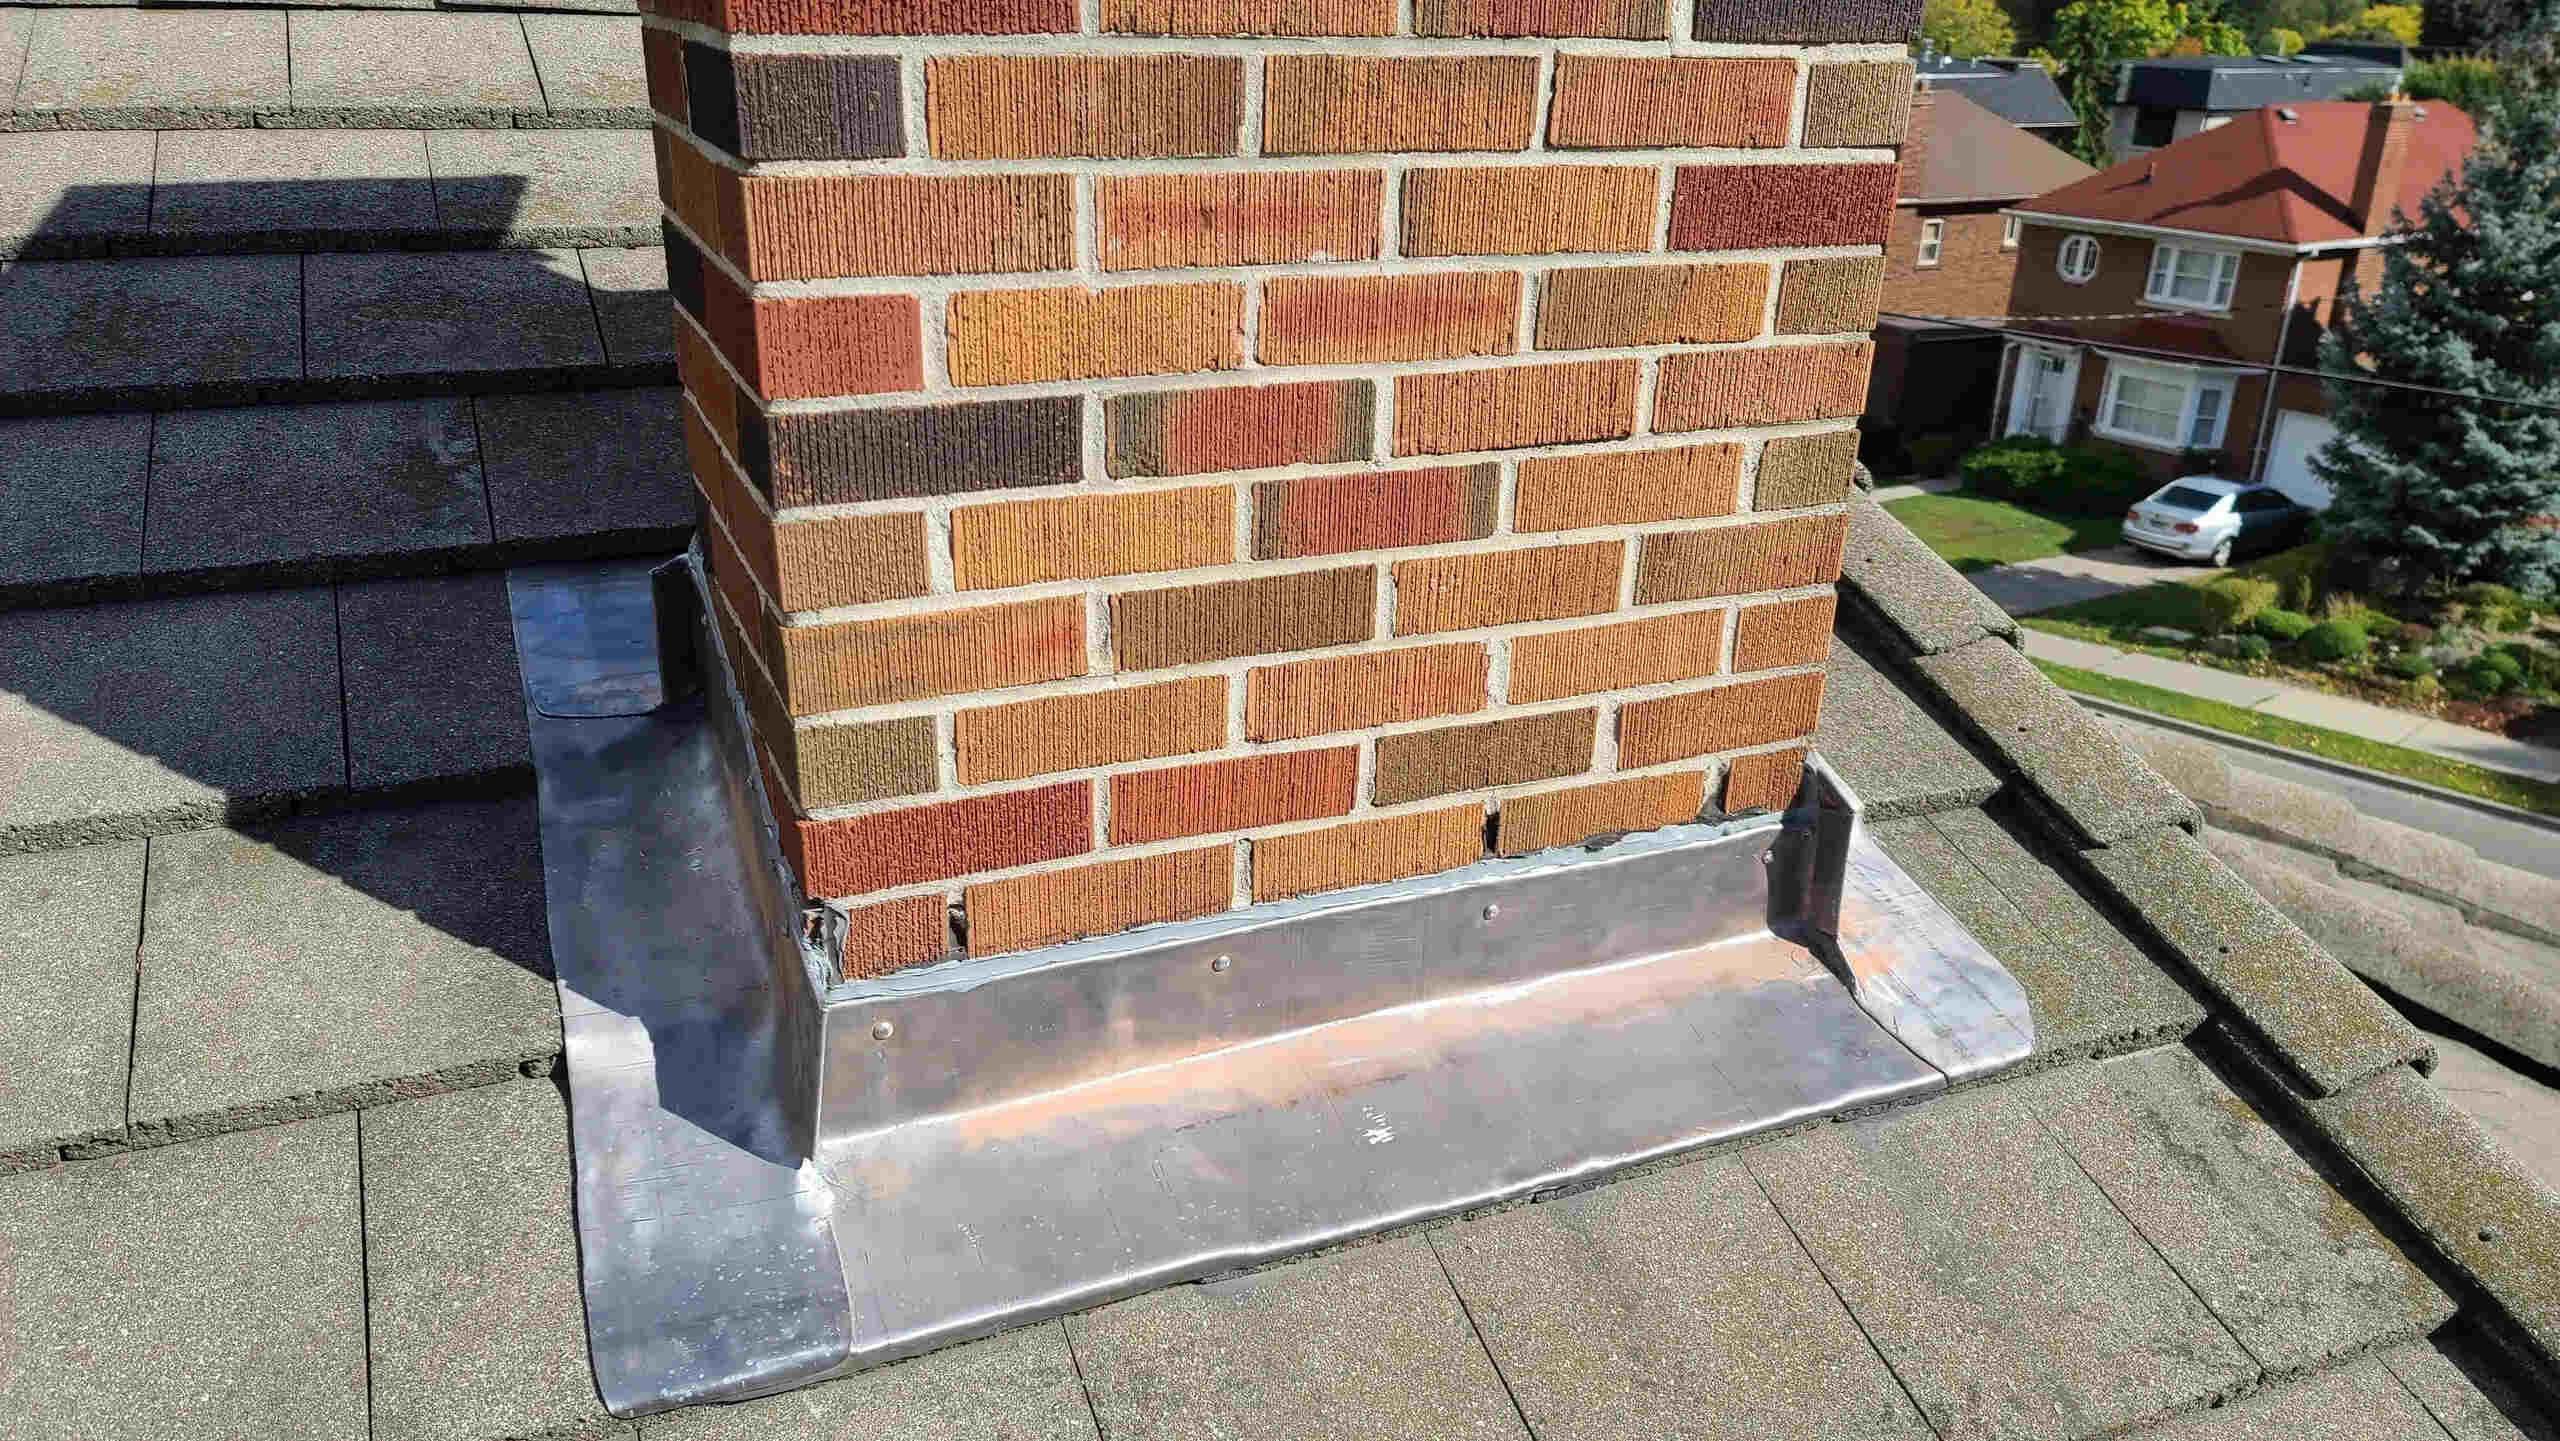
Step 4: Applying the Base Flashing
With the chimney surface prepared, it’s time to move on to the installation of the base flashing. The base flashing creates a foundation for the additional layers of flashing and helps prevent water from seeping into the chimney. Follow these steps to apply the base flashing effectively:
- Position the Base Flashing: Start by positioning the base flashing along the bottom edge of the chimney, ensuring it overlaps the roof material. The flashing should extend a few inches onto the roof surface to create a watertight seal. Use the manufacturer’s guidelines for the recommended overlap and positioning.
- Secure the Base Flashing: Use roofing nails or screws to secure the base flashing in place. Position the fasteners strategically to avoid puncturing the flashing’s critical areas. Ensure that the flashing is firmly attached and does not exhibit any loose or buckling sections.
- Shape and Form the Flashing: As you progress upwards, shape and form the base flashing to fit the contours of the chimney. Use your hands or suitable tools to bend and mold the flashing as needed. Ensure that it snugly covers the chimney surface and creates a smooth transition between the chimney and the roof.
- Overlap the Flashing: When applying successive layers of flashing, ensure proper overlap to create a weatherproof barrier. Follow the manufacturer’s instructions or industry standards for the recommended overlap widths. Typically, overlaps should be at least 3 to 4 inches to provide adequate protection against water infiltration.
- Seal the Edges: Apply a generous amount of roofing cement or sealant along the edges and overlaps of the flashing. Use a caulk gun or a suitable applicator to ensure an even and secure seal. The sealant helps create an additional barrier against water penetration and enhances the longevity of the flashing installation.
- Smooth out the Sealant: After applying the sealant, use a putty knife or a similar tool to smooth out the edges and remove any excess sealant. This step ensures a neat and professional finish while improving the overall durability of the flashing.
Pay close attention to the details and quality of workmanship during the base flashing installation. A properly installed base flashing provides a sturdy foundation for the subsequent layers of flashing and contributes to the overall effectiveness of the chimney flashing system.
With the base flashing in place, we can now move on to step 5: installing the step flashing. This layer of flashing ensures seamless protection and acts as a barrier against water infiltration along the chimney’s sidewalls and roof interface.
Step 5: Installing Step Flashing
Once the base flashing is securely in place, it’s time to install step flashing. Step flashing provides crucial protection against water intrusion along the sidewalls of the chimney and the roof interface. Here’s how to install step flashing effectively:
- Measure and Cut Step Flashing: Measure the height of the chimney sidewall, accounting for any overlapping with the base flashing. Cut the step flashing into individual pieces, ensuring they are long enough to span the height of the chimney wall.
- Insert Step Flashing: Start at the bottom corner of the chimney sidewall and insert one piece of step flashing behind the base flashing. The step flashing should fit snugly against the chimney and overlap the previous piece by a few inches.
- Secure Step Flashing: Use roofing nails or screws to secure the step flashing in place. Position the fasteners near the bottom edge of the flashing, close to the chimney. Ensure that the step flashing is tightly secured to prevent any movement or water seepage.
- Repeat the Process: Continue installing additional step flashing pieces, working your way up the chimney sidewall. Each piece should overlap the one below it by a few inches, creating a continuous barrier against water infiltration. Make sure that the step flashing pieces are installed vertically and maintain a consistent overlap pattern.
- Apply Sealant: Once the step flashing is in place, apply a generous amount of roofing cement or sealant along the edges and overlaps of the flashing. This step helps create a watertight seal and enhances the overall effectiveness of the flashing system. Smooth out the sealant using a putty knife or similar tool.
- Inspect and Adjust: After installing the step flashing, closely inspect the entire chimney flashing system to ensure proper alignment and secure attachment. Make any necessary adjustments or corrections to ensure a tight and weatherproof seal.
Proper installation of step flashing is crucial to prevent water from entering the vulnerable areas of the chimney sidewalls. Take your time to ensure that each piece of step flashing is correctly positioned, securely attached, and adequately sealed. This attention to detail will help maintain the integrity of your chimney and protect against water damage.
With the step flashing installed, we can now move on to step 6: adding counter flashing. This additional layer of protection creates a barrier against water infiltration and enhances the durability of the chimney flashing system.
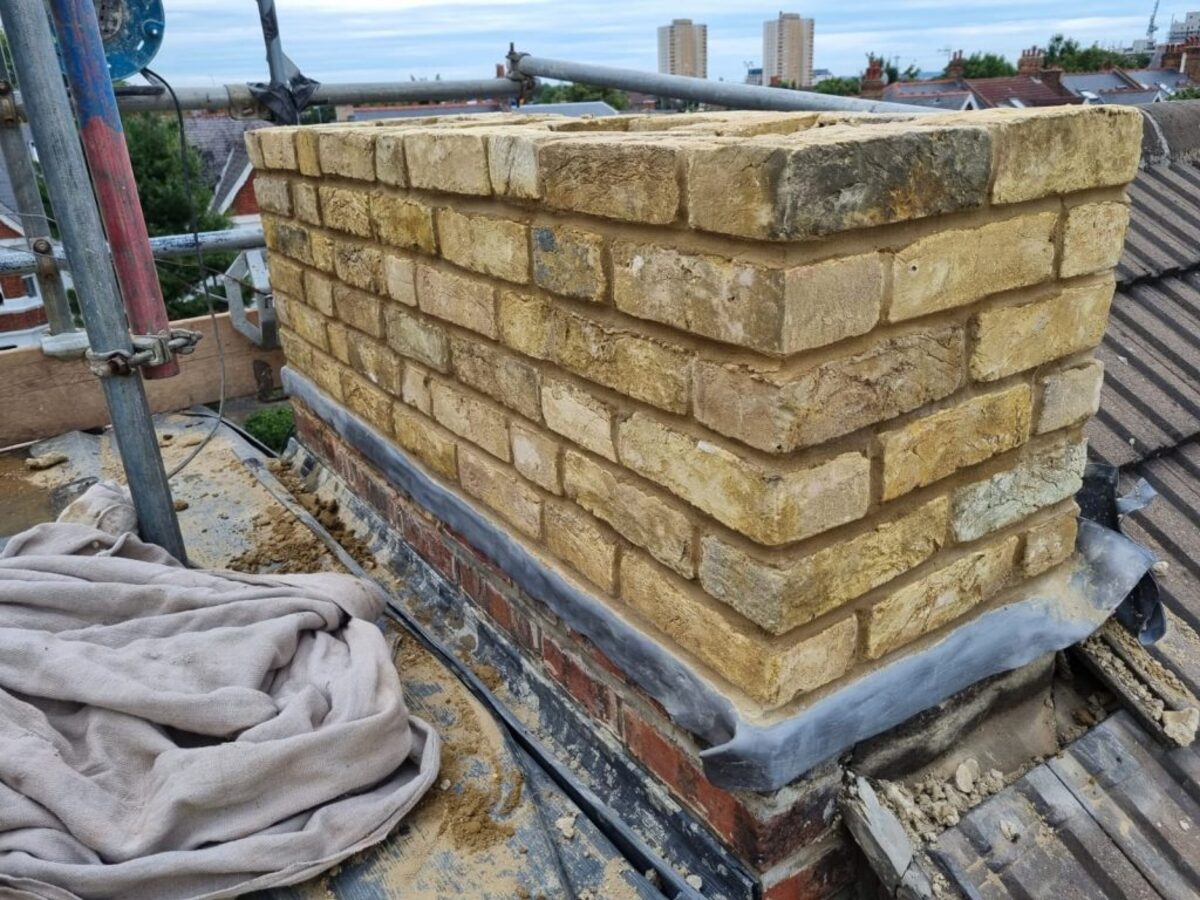
Step 6: Adding Counter Flashing
Counter flashing is the final layer of protection in the chimney flashing system. It is installed over the step flashing and provides an additional barrier against water intrusion and moisture damage. Follow these steps to add counter flashing to your chimney:
- Measure and Cut Counter Flashing: Measure the width of the chimney sidewall, accounting for any overlapping with the step flashing. Cut the counter flashing into individual pieces, ensuring they are long enough to span the width of the chimney.
- Form the Counter Flashing: Use a sheet metal brake or similar tool to form a 90-degree bend along one edge of each piece of counter flashing. This bent edge will be inserted into a slot created in the chimney mortar joint to secure the counter flashing in place.
- Create Slots in the Mortar Joint: Use a grinder or chisel to create a slot in the chimney mortar joint that is wide enough to accommodate the bent edge of the counter flashing. The slot should be approximately 1 inch deep and extend along the width of the chimney sidewall.
- Insert Counter Flashing: Insert the bent edge of each piece of counter flashing into the slots on the chimney sidewall. Ensure that the counter flashing fits snugly against the chimney and overlaps the step flashing by a few inches.
- Secure the Counter Flashing: Use masonry screws or suitable fasteners to secure the counter flashing in place. Position the fasteners near the top edge of the counter flashing, ensuring a secure attachment without damaging the flashing material.
- Apply Sealant: Apply a bead of roofing sealant along the top edge and sides of the counter flashing. This will help create a watertight seal and further protect against water intrusion. Smooth out the sealant and remove any excess using a putty knife or similar tool.
- Inspect and Adjust: After installing the counter flashing, closely inspect the entire chimney flashing system to ensure proper alignment, secure attachment, and effective overlap with the step flashing. Make any necessary adjustments or corrections to ensure a tight and weatherproof seal.
Adding counter flashing is a vital step in the chimney flashing installation process. It provides an added layer of protection and enhances the overall durability of the flashing system. Ensure that the counter flashing is correctly positioned, securely attached, and adequately sealed to maximize its effectiveness and prevent water damage.
With the counter flashing in place, we can now move on to step 7: sealing the flashing to ensure a watertight and long-lasting chimney flashing system.
Read more: How Much To Replace Chimney Flashing
Step 7: Sealing the Flashing
Sealing the flashing is a crucial step to ensure a watertight and long-lasting chimney flashing system. Properly sealed flashing creates a barrier against water intrusion and helps maintain the integrity of the chimney and roof. Follow these steps to seal the flashing effectively:
- Clean the Flashing: Before applying any sealant, ensure that the flashing is clean and free from any dirt, debris, or loose particles. Use a wire brush or scraper to remove any surface contaminants that may compromise the effectiveness of the sealant.
- Choose the Right Sealant: Select a high-quality roofing sealant that is compatible with the flashing material and suitable for your climate zone. Silicone-based or polyurethane sealants are commonly used for chimney flashing projects due to their flexibility and durability.
- Apply the Sealant: Use a caulk gun or suitable applicator to apply a continuous bead of sealant along the edges, overlaps, and any other vulnerable areas of the flashing. Ensure that the sealant covers the flashing seams and creates a tight seal against water infiltration.
- Smooth and Even the Sealant: After applying the sealant, use a putty knife or a similar tool to smooth out the bead of sealant. This step helps achieve an even, professional finish and ensures that the sealant properly adheres to the flashing surface.
- Inspect for Gaps: After sealing the flashing, carefully inspect the entire flashing system for any gaps or areas that may require additional sealant. Pay special attention to the corners, joints, and overlaps where water intrusion is most likely to occur.
- Reapply Sealant if Needed: If you identify any gaps or areas that need additional sealing, apply a second layer of sealant to ensure a robust and comprehensive seal. It’s better to be thorough in sealing the flashing to prevent any potential leaks in the future.
- Allow the Sealant to Cure: Properly curing the sealant is essential for its long-term effectiveness. Follow the manufacturer’s instructions for the recommended curing time, ensuring that the sealant has fully cured before exposing it to heavy rainfall or other weather elements.
Taking the time to seal the flashing properly significantly contributes to the overall durability and effectiveness of the chimney flashing system. It provides an additional layer of protection against water damage and ensures the structural integrity of the chimney and roof.
With the flashing thoroughly sealed, we can now move on to step 8: checking for leaks and conducting a final inspection of the chimney flashing system.
Step 8: Checking for Leaks
After completing the installation and sealing of the chimney flashing, it’s time to check for any potential leaks. This final step is essential to ensure the effectiveness of the flashing system and prevent water damage. Follow these steps to check for leaks and conduct a final inspection:
- Wait for a Dry Day: Choose a day when the weather is dry and without any rainfall. This will allow you to accurately evaluate the performance of the flashing system without interference from external moisture.
- Inspect the Interior: Begin by examining the interior walls and ceiling near the chimney for any signs of water stains or moisture. Look for any discoloration or dampness that may indicate a leak. If you notice any suspicious areas, mark them for further investigation.
- Examine the Roof Exterior: Carefully inspect the roof surface around the chimney for any signs of water pooling or abnormal moisture. Pay close attention to the areas where the flashing is installed, checking for any signs of water penetration or inadequate sealing.
- Check for Dripping or Leakage: With someone inside the house, use a garden hose to spray water on the chimney and flashing system. Start from the bottom and gradually work your way up, allowing water to flow over the flashing and roof surface. Have your helper monitor the interior for any signs of dripping or leakage.
- Observe for Discrepancies: While spraying water, closely observe the flashing system for any discrepancies. Look for areas where water may be seeping through, gaps in the sealant, or any other signs of potential leaks. Pay attention to corners, joints, and areas where different layers of flashing overlap.
- Reapply Sealant if Needed: If you identify any leaks or areas of concern, mark them and allow the flashing and surrounding area to dry. Once dry, reapply sealant to the problematic areas and ensure a tight seal. Allow the sealant to cure fully as per the manufacturer’s instructions before re-testing for leaks.
- Perform a Final Inspection: After addressing any potential leaks, conduct a final inspection of the entire chimney flashing system. Ensure that all layers of flashing, including the base flashing, step flashing, and counter flashing, are properly installed, securely attached, and adequately sealed.
By conducting a thorough inspection and checking for leaks, you can identify and address any potential issues with the chimney flashing system promptly. Taking the time to verify the integrity of the installation ensures that your chimney is well-protected against water damage and maintains its structural integrity for years to come.
With the inspection complete and any necessary repairs made, you can now appreciate the peace of mind that comes with a well-flashed chimney. Regular maintenance and inspections will help maintain the effectiveness of the flashing system over time.
Congratulations on successfully flashing your chimney! You have taken an important step in preserving the durability and longevity of your roof and safeguarding your home from water damage.
Conclusion
Flashing around a chimney is a crucial aspect of roof maintenance that should not be overlooked. By properly flashing your chimney, you can protect your home from water damage, preserve the structural integrity of your roof, and ensure a secure and watertight seal.
In this comprehensive guide, we have covered the importance of chimney flashing and provided step-by-step instructions on how to flash your chimney effectively. We discussed the materials needed for the flashing process, how to inspect the chimney, remove the old flashing, prepare the chimney surface, apply the base flashing, install step flashing, add counter flashing, seal the flashing, and check for leaks.
Throughout the process, it is important to prioritize safety and consider consulting a professional if you are not comfortable working at heights or with tools. Safety should always be the top priority when undertaking any roofing project.
By following these steps and taking the time to properly install and seal your chimney flashing, you can protect your home from water intrusion, prevent structural damage, and maintain optimal energy efficiency. Regular inspection and maintenance of the flashing will help identify any issues early on and prevent costly repairs down the line.
Remember, chimney flashing is not a one-time job. It requires periodic inspection and maintenance to ensure its longevity and effectiveness. Keep an eye out for signs of damage, deterioration, or potential leaks and address them promptly to preserve the integrity of your chimney and roof.
Take pride in your well-flashed chimney, knowing that you have taken the necessary steps to protect your home. With a properly installed and maintained chimney flashing system, you can enjoy peace of mind, knowing that your home is safe and secure from the damaging effects of water infiltration.
Thank you for reading this guide, and we hope it has provided you with valuable insights and knowledge on how to successfully flash your chimney. Here’s to a strong and leak-free roof for years to come!
Now that you've mastered flashing around a chimney, why not extend your skills to other essential tasks with our guide on home upkeep? Proper maintenance ensures durability and saves money long-term. Whether you're dealing with routine checks or seasonal preparations, our comprehensive advice covers all bases, equipping you with knowledge to keep your home in tip-top shape.
Frequently Asked Questions about How To Flash Around A Chimney
Was this page helpful?
At Storables.com, we guarantee accurate and reliable information. Our content, validated by Expert Board Contributors, is crafted following stringent Editorial Policies. We're committed to providing you with well-researched, expert-backed insights for all your informational needs.


0 thoughts on “How To Flash Around A Chimney”