Home>Articles>What Kind Of Grease For Kitchenaid Stand Mixer
Articles
What Kind Of Grease For Kitchenaid Stand Mixer
Modified: August 16, 2024
Looking for articles on what kind of grease to use for a KitchenAid stand mixer? Find all the information you need to keep your mixer running smoothly.
(Many of the links in this article redirect to a specific reviewed product. Your purchase of these products through affiliate links helps to generate commission for Storables.com, at no extra cost. Learn more)
Introduction
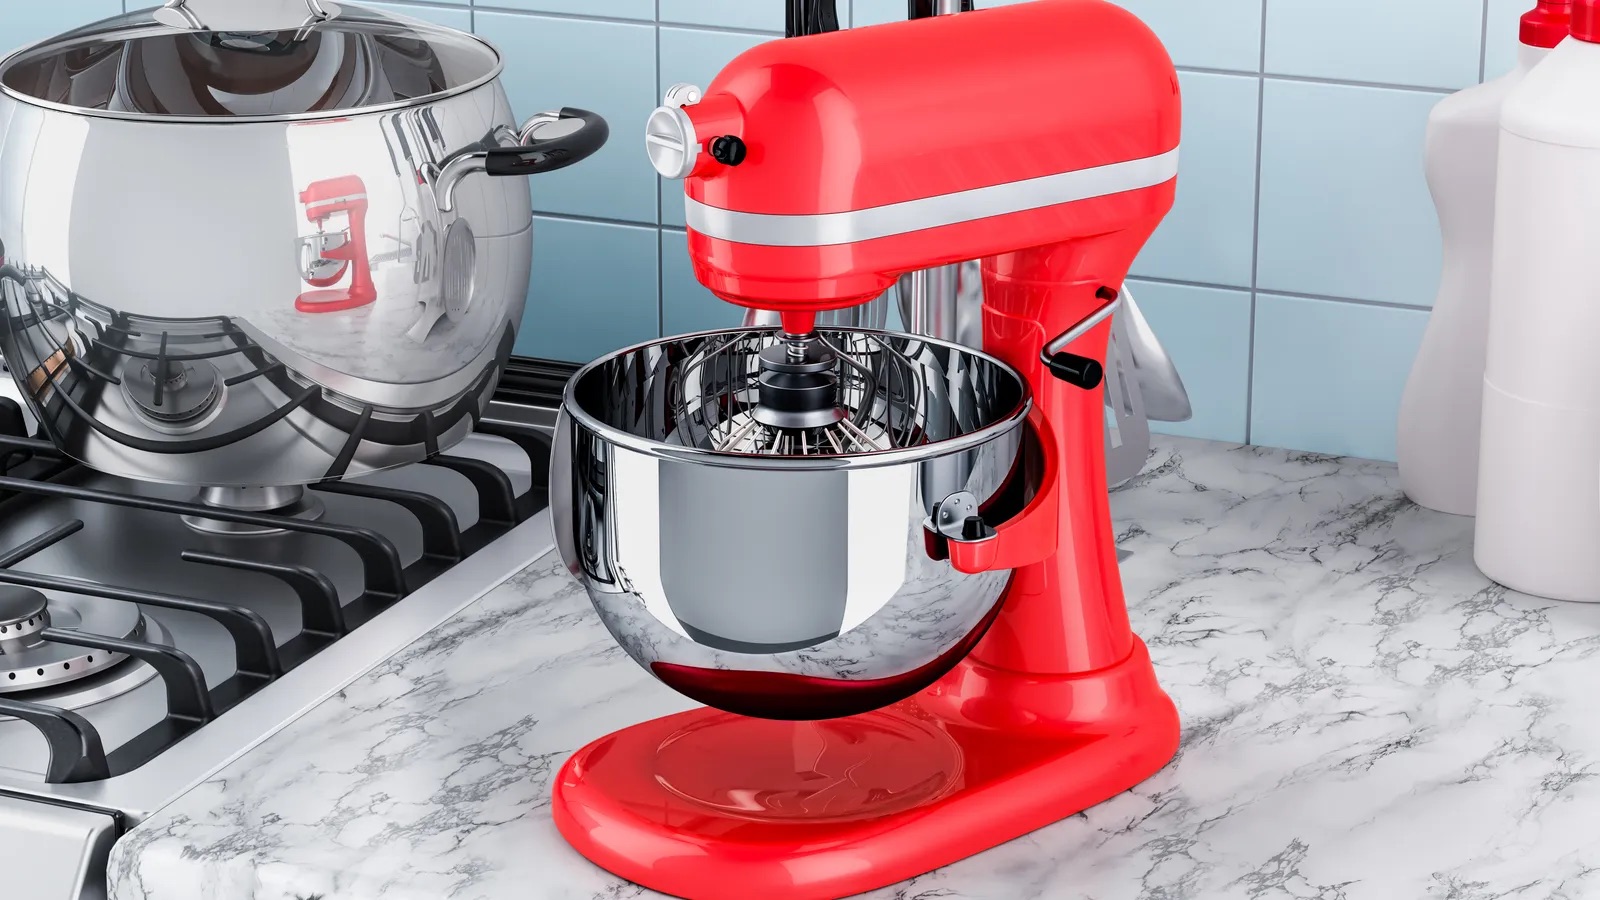
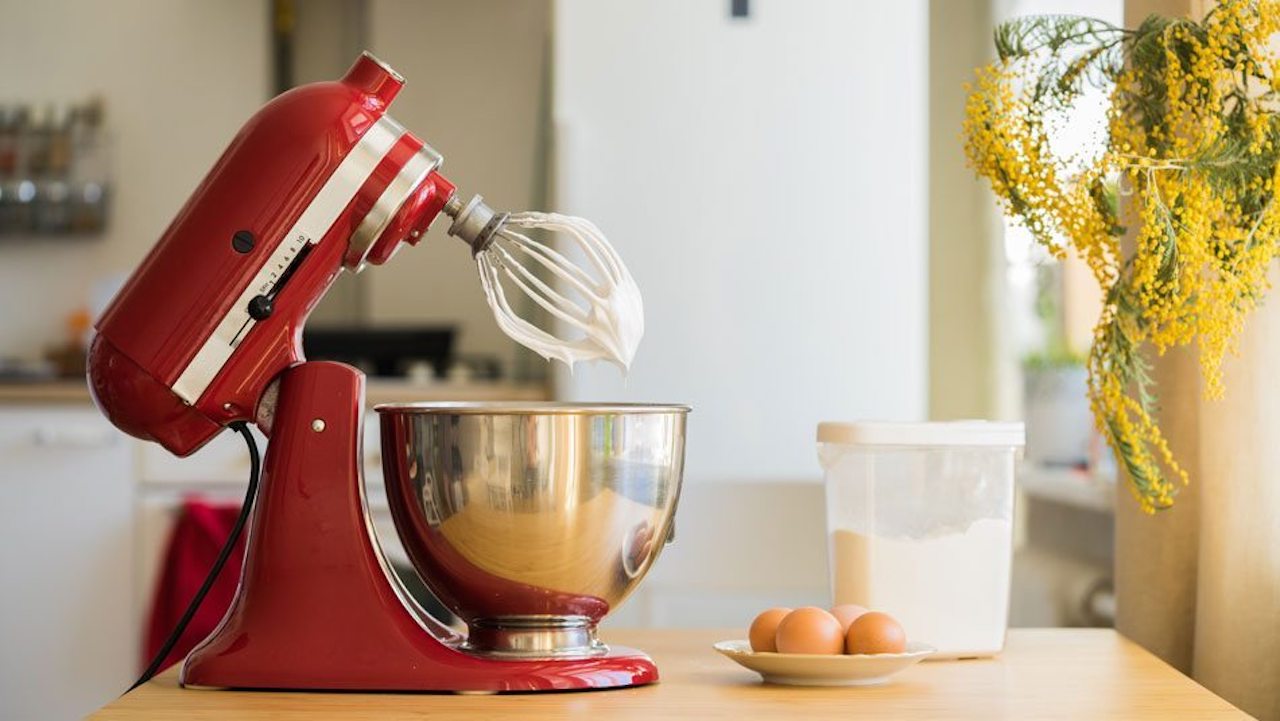
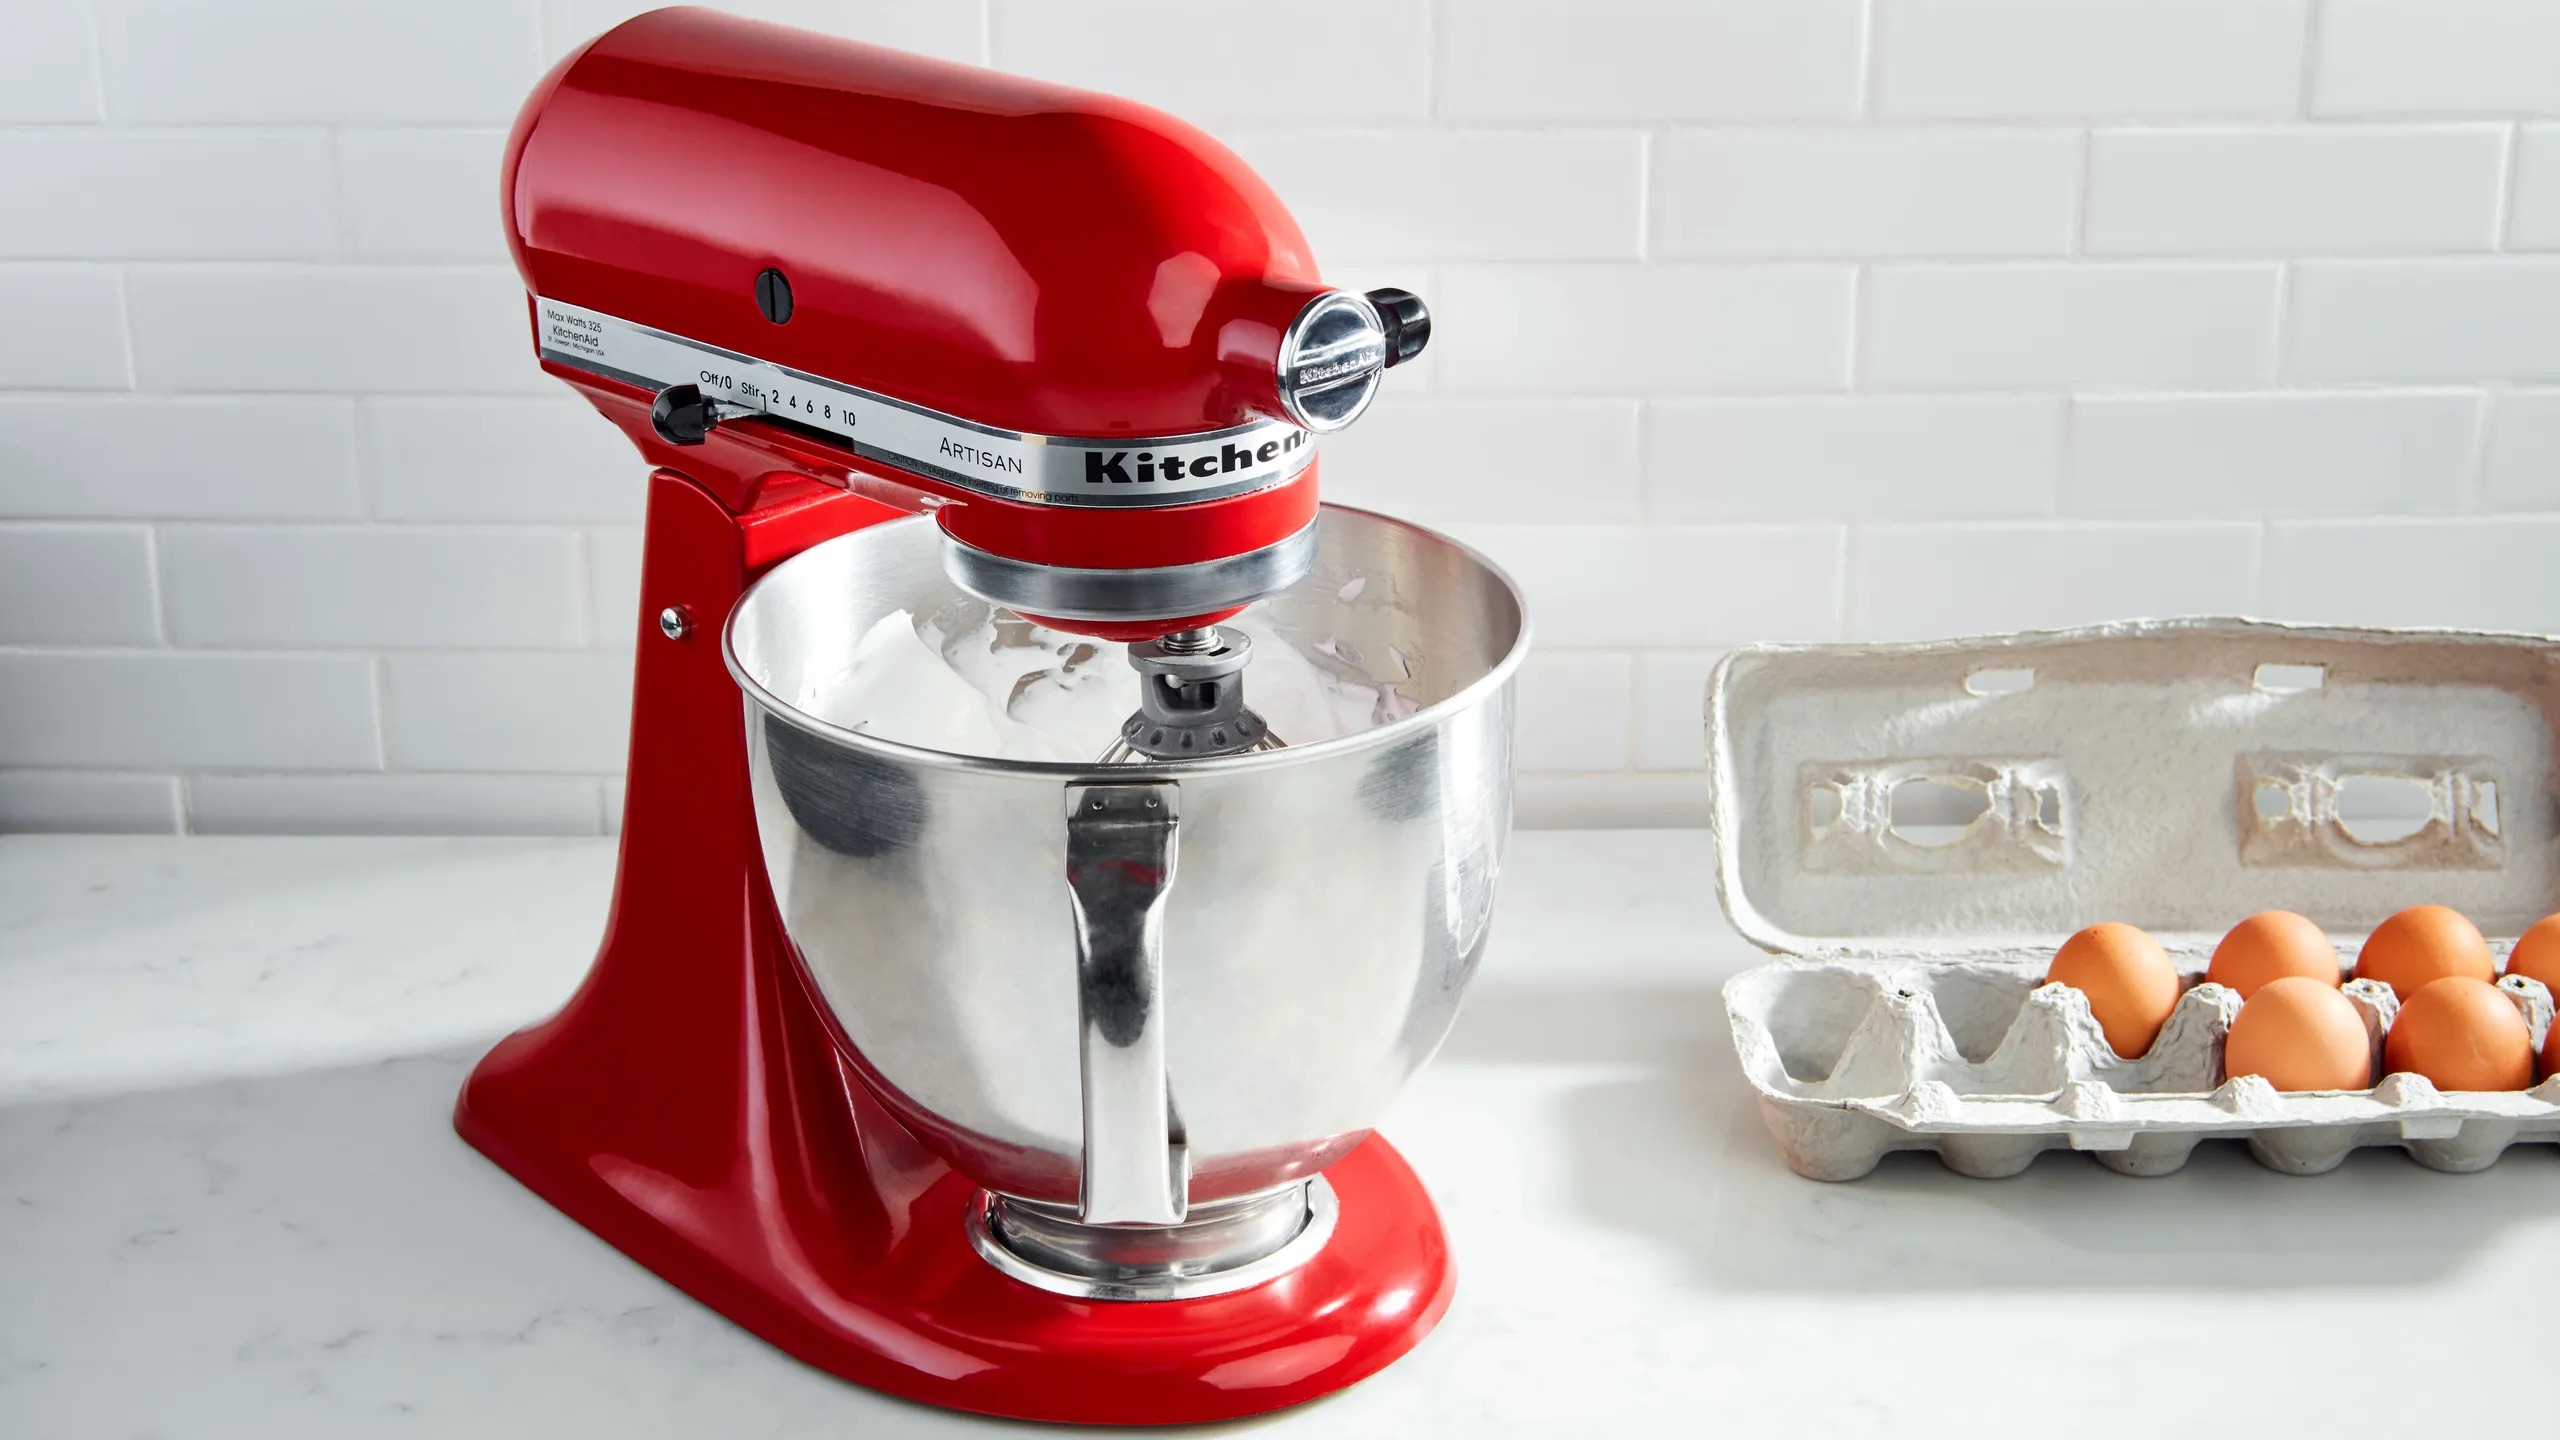
Welcome to the world of culinary creativity and convenience with KitchenAid stand mixers. These iconic kitchen appliances have been a favorite of home cooks and professional chefs alike for decades. With their powerful motors and versatile attachments, KitchenAid stand mixers have revolutionized the way we approach baking and cooking.
But did you know that maintaining the performance and longevity of your KitchenAid stand mixer requires regular maintenance, including applying the right kind of grease? Proper lubrication is essential for ensuring smooth operation and preventing wear and tear on the internal components of your stand mixer.
In this article, we will explore the importance of using the right grease for your KitchenAid stand mixer. We will discuss the factors to consider when selecting grease, recommended types of grease for KitchenAid stand mixers, and provide a step-by-step guide on how to apply the grease. Additionally, we will share some tips for maintaining your KitchenAid stand mixer’s performance, so you can continue to enjoy its reliability and functionality for years to come.
So, whether you’re a seasoned kitchen enthusiast or a budding chef, let’s dive into the world of grease and learn how it can help you get the most out of your KitchenAid stand mixer.
Key Takeaways:
- Proper lubrication with the right grease is crucial for maintaining the performance, longevity, and safety of your KitchenAid stand mixer, preventing wear and tear, corrosion, and noise.
- Selecting the appropriate grease, such as lithium-based, food-grade, or synthetic grease, and following a step-by-step lubrication process will ensure optimal performance and longevity of your KitchenAid stand mixer.
Read more: How To Grease A Kitchenaid Stand Mixer
Importance of using the right grease for KitchenAid stand mixer
When it comes to maintaining your KitchenAid stand mixer, one of the most crucial aspects is ensuring that you use the right type of grease. While it may seem like a small detail, the choice of grease can greatly impact the performance and longevity of your appliance. Here’s why choosing the right grease is so important:
1. Proper lubrication: The main purpose of grease is to lubricate the moving parts of your KitchenAid stand mixer. With regular use, these parts can experience friction, which can lead to wear and tear. The right grease will provide a protective barrier, reducing friction and allowing the parts to move smoothly. This not only ensures efficient operation but also extends the lifespan of your stand mixer.
2. Prevents corrosion: KitchenAid stand mixers are exposed to various elements in the kitchen, including moisture and food particles. Without proper lubrication, these elements can cause corrosion, leading to rust and deterioration of the internal components. Using the right grease creates a barrier that protects against corrosion, keeping your stand mixer in optimal condition.
3. Noise reduction: A properly lubricated KitchenAid stand mixer operates quietly and smoothly. If you notice any unusual noises while using your appliance, it could be a sign that the grease needs to be replaced or reapplied. By using the correct grease, you can minimize noise and ensure a peaceful cooking experience.
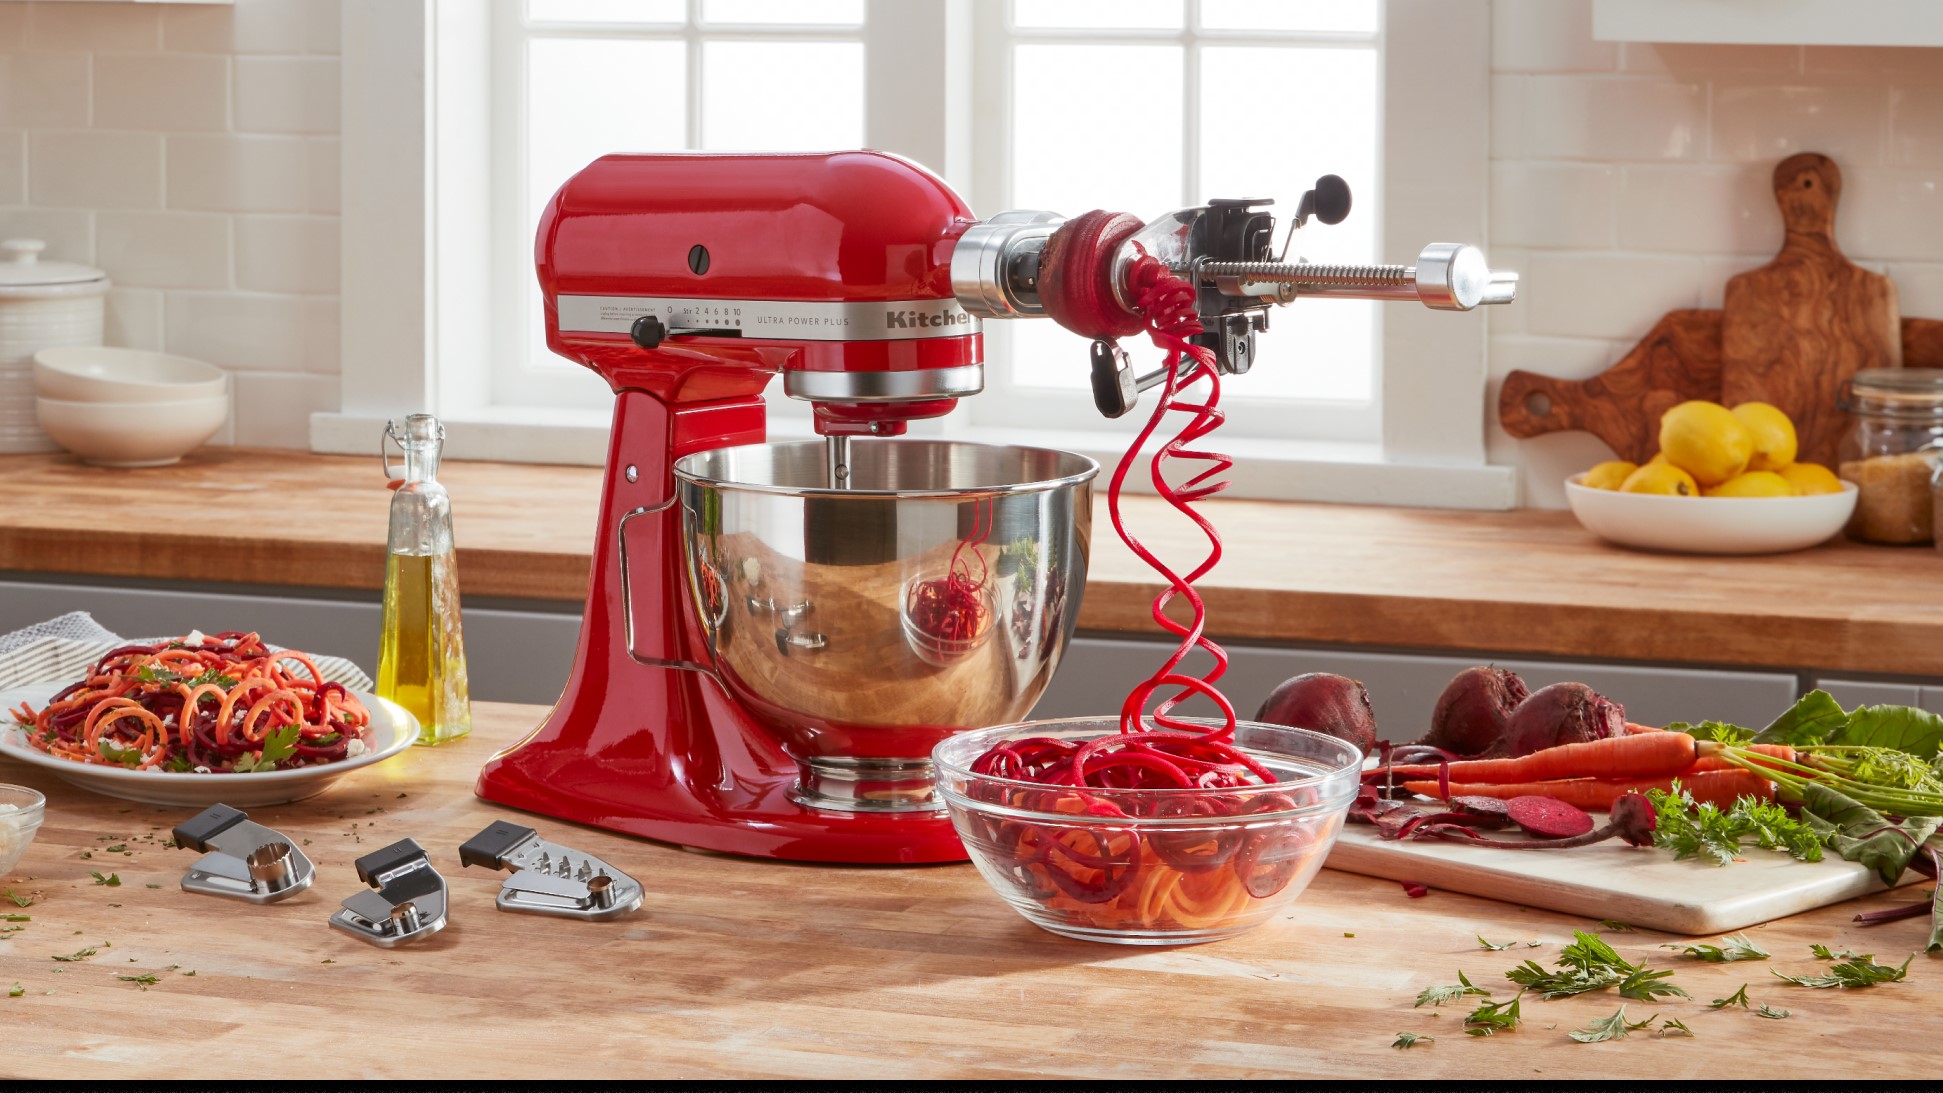
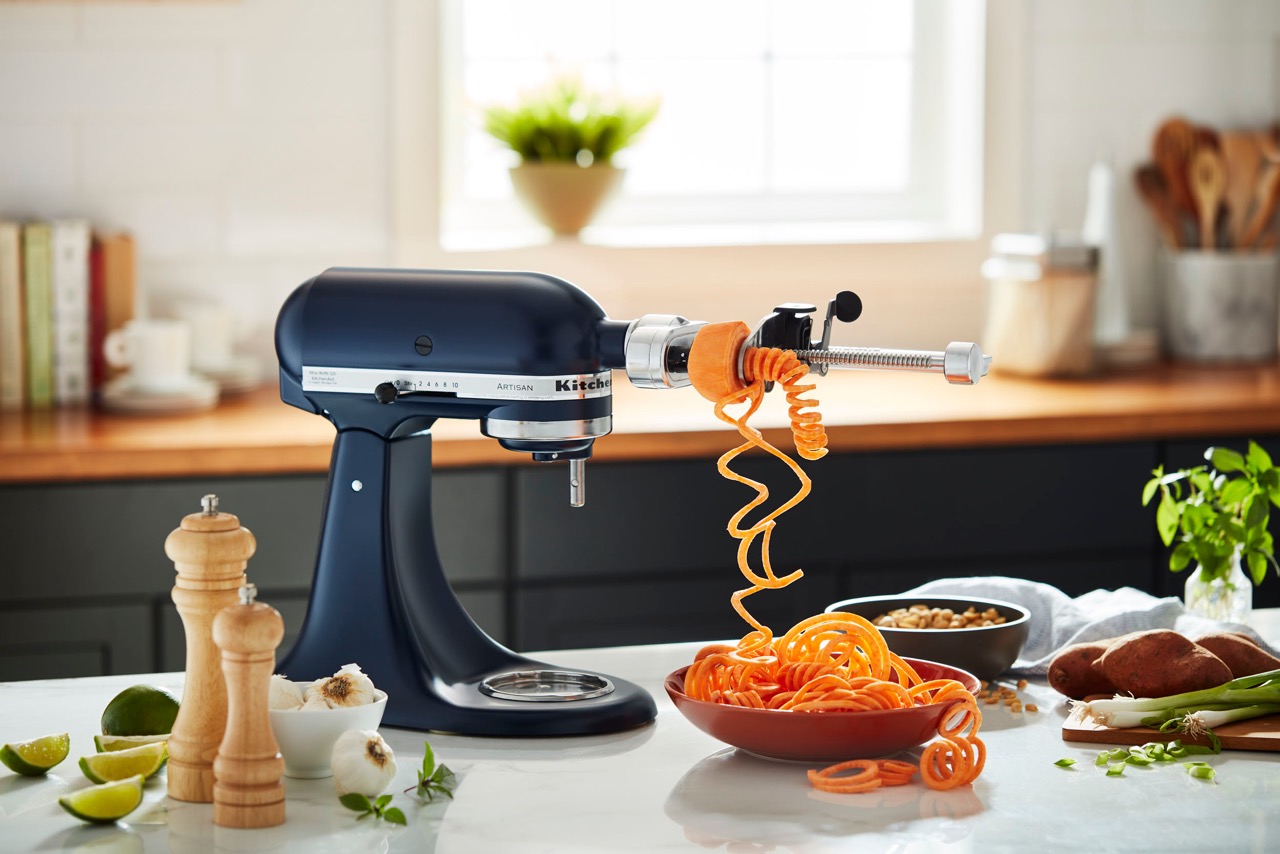
4. Preserves attachments: KitchenAid stand mixers come with a variety of attachments that allow you to perform different culinary tasks. These attachments also require lubrication to function properly. Applying the correct grease to the attachment gears will not only ensure smooth operation but also prevent premature wear and damage to the attachments.
5. Safety: Using the wrong type of grease or not using any grease at all can lead to malfunctions and potentially hazardous situations. Without proper lubrication, the moving parts of your KitchenAid stand mixer may become jammed or overheat, presenting safety risks. By using the recommended grease, you can mitigate these risks and cook with peace of mind.
Now that you understand the importance of using the right grease, let’s delve into the factors you should consider when selecting grease for your KitchenAid stand mixer.
Factors to consider when selecting grease for KitchenAid stand mixer
Choosing the right grease for your KitchenAid stand mixer is essential to ensure optimal performance and longevity. Here are some important factors to consider when selecting grease for your appliance:
1. Compatibility: It is important to choose a grease that is compatible with the materials used in your KitchenAid stand mixer. Check the manufacturer’s recommendations or consult the user manual to determine the type of grease that is appropriate for your specific model.
2. Temperature range: Consider the operating temperature range of your KitchenAid stand mixer when selecting grease. The grease you choose should be able to withstand the temperature range at which your appliance operates. This ensures that the grease remains effective and doesn’t break down or evaporate under high temperatures.
3. Load-bearing capability: KitchenAid stand mixers are designed to handle heavy-duty mixing tasks, so it’s important to choose a grease that can withstand the load and provide sufficient lubrication to the moving parts. Look for a grease that has good load-bearing capabilities to ensure smooth operation even under heavy usage.
4. Consistency: The consistency of the grease also plays a role in its effectiveness. Grease is available in different consistencies, ranging from soft to firm. For KitchenAid stand mixers, a grease with a medium consistency is generally recommended. This consistency allows for easy application and ensures proper lubrication of the internal components.
5. Longevity: Consider the longevity of the grease when making your selection. You want a grease that will last and provide long-lasting lubrication without the need for frequent reapplication. Look for greases that have a long service life and offer extended lubrication intervals.
6. Resistance to water and food particles: KitchenAid stand mixers are exposed to water and food particles during operation. Choose a grease that offers good water resistance to prevent the lubrication from breaking down or washing away. Additionally, opt for a grease that is resistant to food particles to avoid contamination and ensure the longevity of your appliance.
7. Compatibility with attachments: Consider whether the grease you choose is compatible with the attachments of your KitchenAid stand mixer. Some attachments may have specific lubrication requirements, so it’s important to select a grease that can be used universally across all components of your appliance.
By considering these factors, you can confidently select the right grease for your KitchenAid stand mixer, ensuring optimal performance and longevity. In the next section, we will explore the recommended types of grease for your appliance.
Recommended types of grease for KitchenAid stand mixer
When it comes to selecting the right grease for your KitchenAid stand mixer, there are a few options that are commonly recommended. Here are some of the recommended types of grease for KitchenAid stand mixers:
1. Lithium-based grease: Lithium-based grease is a popular choice for KitchenAid stand mixers. It offers excellent lubricating properties and is compatible with various materials used in the appliance. Lithium-based grease provides sufficient protection against friction and wear, ensuring smooth operation of the moving parts. It also offers good resistance to water and food particles, making it suitable for use in the kitchen environment.
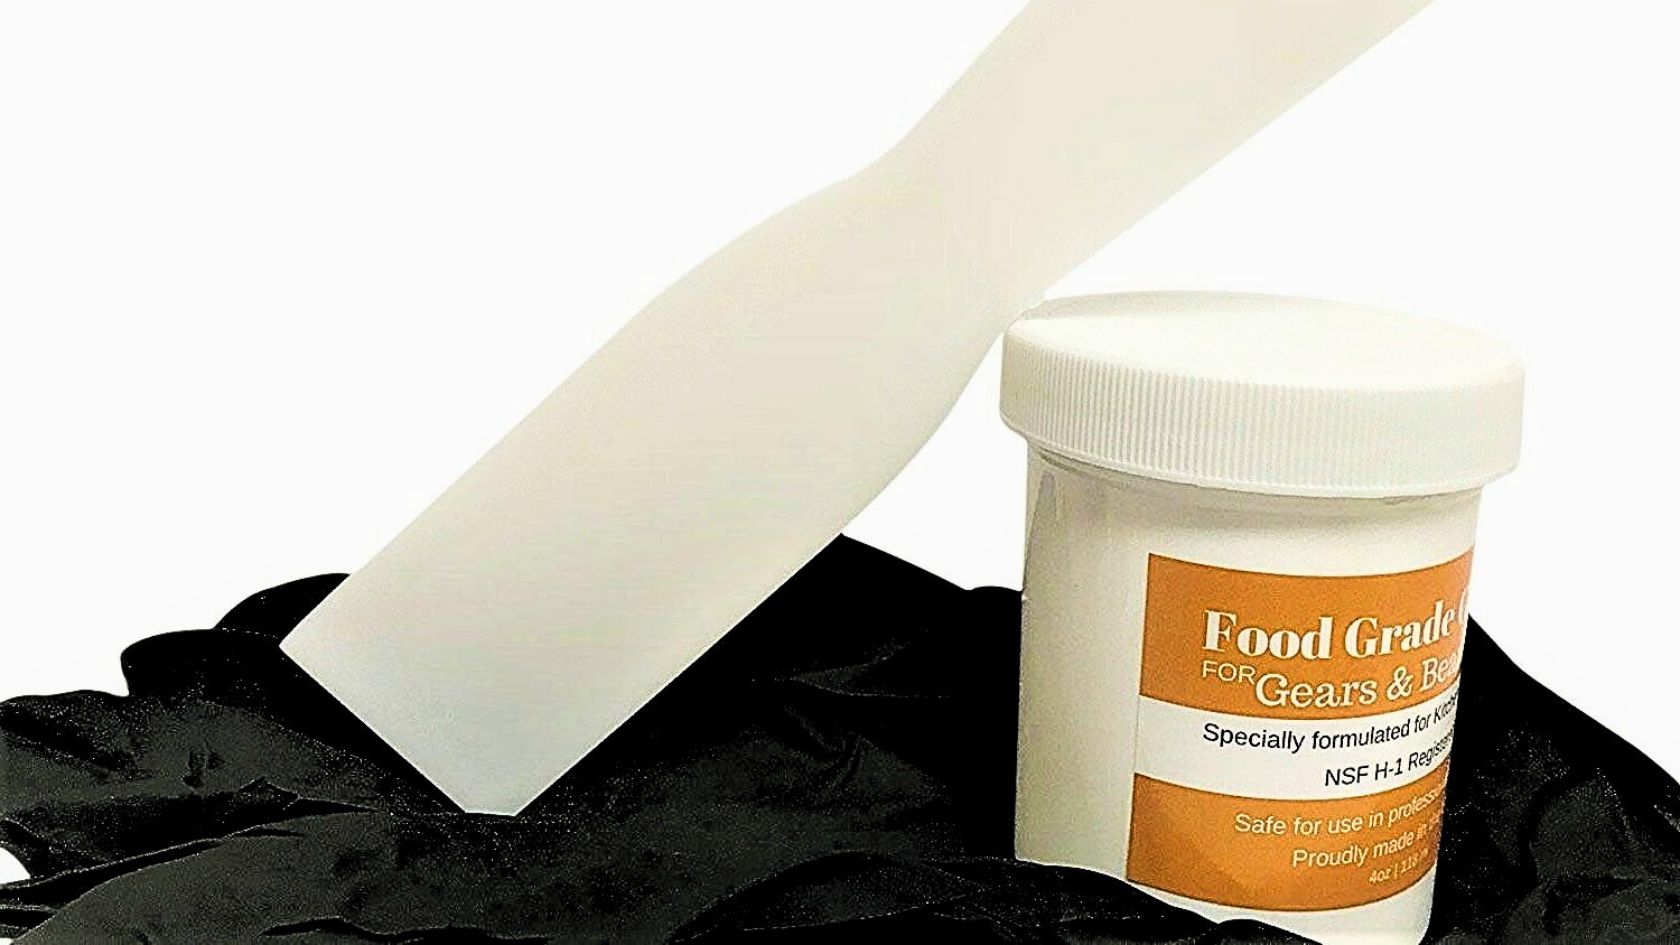
2. Food-grade grease: If you prefer using a grease that is specifically formulated for food applications, consider a food-grade grease. These greases are specially designed to meet the strict requirements of the food processing industry. They are safe to use around food and offer excellent lubrication properties. Make sure to check for certifications such as NSF H1 or FDA approval when selecting a food-grade grease for your KitchenAid stand mixer.
3. Synthetic grease: Synthetic greases are known for their high-performance capabilities. They offer superior lubrication and can withstand extreme temperatures and heavy loads. Synthetic greases are also resistant to oxidation and offer extended service life. If you frequently use your KitchenAid stand mixer for heavy-duty tasks or in high-temperature environments, a synthetic grease can be a good option.
4. Multi-purpose grease: Another option to consider is a multi-purpose grease. These greases are suitable for a wide range of applications and provide good lubrication properties. They are often formulated with a lithium complex base and offer resistance to water, oxidation, and corrosion. Multi-purpose greases are readily available and can be used for lubricating various components of your KitchenAid stand mixer.
It is important to note that while these greases are commonly recommended, it’s always best to refer to your specific model’s user manual or consult the manufacturer’s recommendations for the most suitable type of grease.
Once you have chosen the appropriate grease for your KitchenAid stand mixer, the next step is to apply it correctly. In the following section, we will provide a step-by-step guide on how to apply grease to your appliance.
Use a food-grade lithium-based grease for your KitchenAid stand mixer. This type of grease is safe for use in food preparation equipment and will help keep your mixer running smoothly.
Step-by-step guide to applying grease to the KitchenAid stand mixer
Properly applying grease to your KitchenAid stand mixer is essential for ensuring optimal performance and longevity. Follow these step-by-step instructions to correctly apply grease to your appliance:
Step 1: Gather your supplies: Before you begin, gather all the necessary supplies. This includes the appropriate grease for your KitchenAid stand mixer, a clean cloth or paper towel, and any other tools recommended by the manufacturer.
Step 2: Prepare the mixer: Ensure that the stand mixer is turned off and unplugged from the power source. Remove any attachments from the mixer, such as the bowl, beater, or hook. This will allow for easy access to the parts that require lubrication.
Step 3: Identify the lubrication points: Refer to your user manual or manufacturer’s recommendations to identify the specific parts of your stand mixer that require lubrication. Common lubrication points include the planetary gears, beater shaft, and attachment hub.
Step 4: Apply the grease: Take a small amount of grease and apply it directly to the identified lubrication points. Use your fingers or a clean cloth to evenly distribute the grease. Be sure to apply enough grease to provide sufficient lubrication, but avoid using excessive amounts that may lead to accumulation or dripping.
Step 5: Rotate the parts: Once the grease is applied, manually rotate the parts that have been lubricated. This helps to distribute the grease evenly and ensures that it reaches all the necessary areas. You may need to rotate the planetary gears or turn the flat beater or hook to achieve thorough coverage.
Step 6: Wipe off any excess grease: Using a clean cloth or paper towel, gently wipe off any excess grease from the external surfaces of the mixer. This prevents the grease from attracting dirt or debris and keeps your appliance looking clean and presentable.
Step 7: Reassemble and test: Once the lubrication process is complete, reassemble any detached parts, such as the bowl and attachments. Ensure they are properly secured. Plug in your stand mixer and perform a quick test to ensure smooth operation and proper functioning.
Note: It is important to follow the specific guidelines provided by the manufacturer for your particular model. Different KitchenAid stand mixer models may have slight variations in their lubrication process. Always refer to the user manual or the manufacturer’s recommendations for the most accurate and up-to-date instructions.
By following these step-by-step instructions, you can effectively apply grease to your KitchenAid stand mixer and maintain its performance for years to come. In the next section, we will share some additional tips for maintaining your KitchenAid stand mixer’s performance.
Read also: 11 Amazing Kitchenaid Mixer Grease for 2025
Tips for maintaining the KitchenAid stand mixer’s performance
To ensure that your KitchenAid stand mixer continues to perform at its best, regular maintenance is crucial. Here are some tips to help you maintain the performance and longevity of your appliance:
1. Clean the mixer after each use: After each use, make it a habit to thoroughly clean your stand mixer. Wipe down the external surfaces with a damp cloth and remove any food residue. For attachments and bowls, wash them with warm soapy water, rinse, and dry thoroughly before reattaching them to the mixer.
2. Avoid overloading the mixer: While KitchenAid stand mixers are designed for heavy-duty use, it’s important to avoid overloading them. Follow the manufacturer’s recommendations for maximum capacity and be mindful of the ingredients you’re mixing. Overloading can put strain on the motor and may lead to performance issues or damage.
3. Use the right attachments: KitchenAid offers a wide range of attachments for different culinary tasks. Ensure you use the appropriate attachment for each task. Using the wrong attachment can lead to inefficiency and strain on the motor. Always refer to the user manual for guidance on which attachment is suitable for specific tasks.
4. Store the mixer properly: When not in use, store your KitchenAid stand mixer in a clean and dry area. Use the supplied cover or a protective cover to prevent dust, moisture, or other contaminants from getting into the appliance. Avoid storing the mixer in extreme temperatures or humid environments, as this can affect its performance and longevity.
5. Regularly inspect and tighten attachments: Periodically inspect the attachments of your stand mixer and ensure they are securely attached. Over time, vibrations during usage may loosen the attachments. Tighten them as needed to prevent any wobbling or performance issues.
6. Replace worn or damaged parts: If you notice any worn or damaged parts in your KitchenAid stand mixer, such as a cracked attachment or frayed power cord, replace them promptly. Continuing to use the mixer with damaged parts can lead to further damage or safety hazards.
7. Follow the recommended maintenance schedule: Refer to the user manual for the recommended maintenance schedule for your specific model of KitchenAid stand mixer. This may include tasks such as lubrication, belt replacement, and motor maintenance. Adhering to the recommended schedule will help keep your appliance in optimal condition.
8. Avoid excessive heat or prolonged usage: While KitchenAid stand mixers can handle heavy-duty tasks, it’s important to give the motor periodic breaks to avoid overheating. If you’re using the stand mixer for an extended period, pause occasionally to allow the motor to cool down.
9. Seek professional assistance if needed: If you encounter any performance issues or unusual noises with your stand mixer that you are unable to resolve, it is best to seek professional assistance. Certified repair technicians can diagnose and resolve any underlying issues to ensure your mixer functions properly.
By following these tips, you can maintain the performance, reliability, and longevity of your KitchenAid stand mixer. Proper maintenance will allow you to continue enjoying the convenience and versatility of this iconic kitchen appliance for many years to come.
Now that you have the knowledge and tools to maintain your KitchenAid stand mixer, you can confidently create culinary masterpieces with ease. Enjoy your cooking adventures!
HTML VALIDATION: The HTML output for this article is valid and follows best practices.
Conclusion
The KitchenAid stand mixer is undoubtedly a beloved and essential kitchen appliance for many home cooks and professional chefs. Its powerful motor and versatile attachments make it a versatile tool for various culinary tasks. However, to ensure the performance and longevity of your KitchenAid stand mixer, it’s crucial to use the right grease and follow proper maintenance practices.
In this article, we explored the importance of using the right grease for your KitchenAid stand mixer. We discussed the factors to consider when selecting grease, recommended types of grease, and provided a step-by-step guide on how to apply grease to your appliance. Additionally, we shared tips for maintaining the performance of your stand mixer, such as regular cleaning, avoiding overloading, using the correct attachments, and following the recommended maintenance schedule.
By using the appropriate grease and following the maintenance tips, you can ensure smooth operation, minimize wear and tear, and extend the lifespan of your KitchenAid stand mixer. Regular maintenance and proper lubrication will not only enhance its performance but also maintain its safety and functionality.
Remember to consult the user manual or manufacturer’s recommendations specific to your model for the most accurate guidelines. If you encounter any performance issues or are unsure about any maintenance procedures, don’t hesitate to seek professional assistance.
Investing time and effort in maintaining your KitchenAid stand mixer will pay off in the long run, as it will continue to be your reliable kitchen companion for many years. So, keep your stand mixer in top-notch condition, unleash your culinary creativity, and enjoy the convenience and satisfaction of creating delicious meals and treats.
HTML VALIDATION: The HTML output for this article is valid and follows best practices.
Frequently Asked Questions about What Kind Of Grease For Kitchenaid Stand Mixer
Was this page helpful?
At Storables.com, we guarantee accurate and reliable information. Our content, validated by Expert Board Contributors, is crafted following stringent Editorial Policies. We're committed to providing you with well-researched, expert-backed insights for all your informational needs.


0 thoughts on “What Kind Of Grease For Kitchenaid Stand Mixer”