Articles
Where To Fix Kitchenaid Mixer
Modified: May 6, 2024
Looking for articles on where to fix your Kitchenaid mixer? Find all the information you need to locate reliable repair services and get back to baking in no time!
(Many of the links in this article redirect to a specific reviewed product. Your purchase of these products through affiliate links helps to generate commission for Storables.com, at no extra cost. Learn more)
Introduction
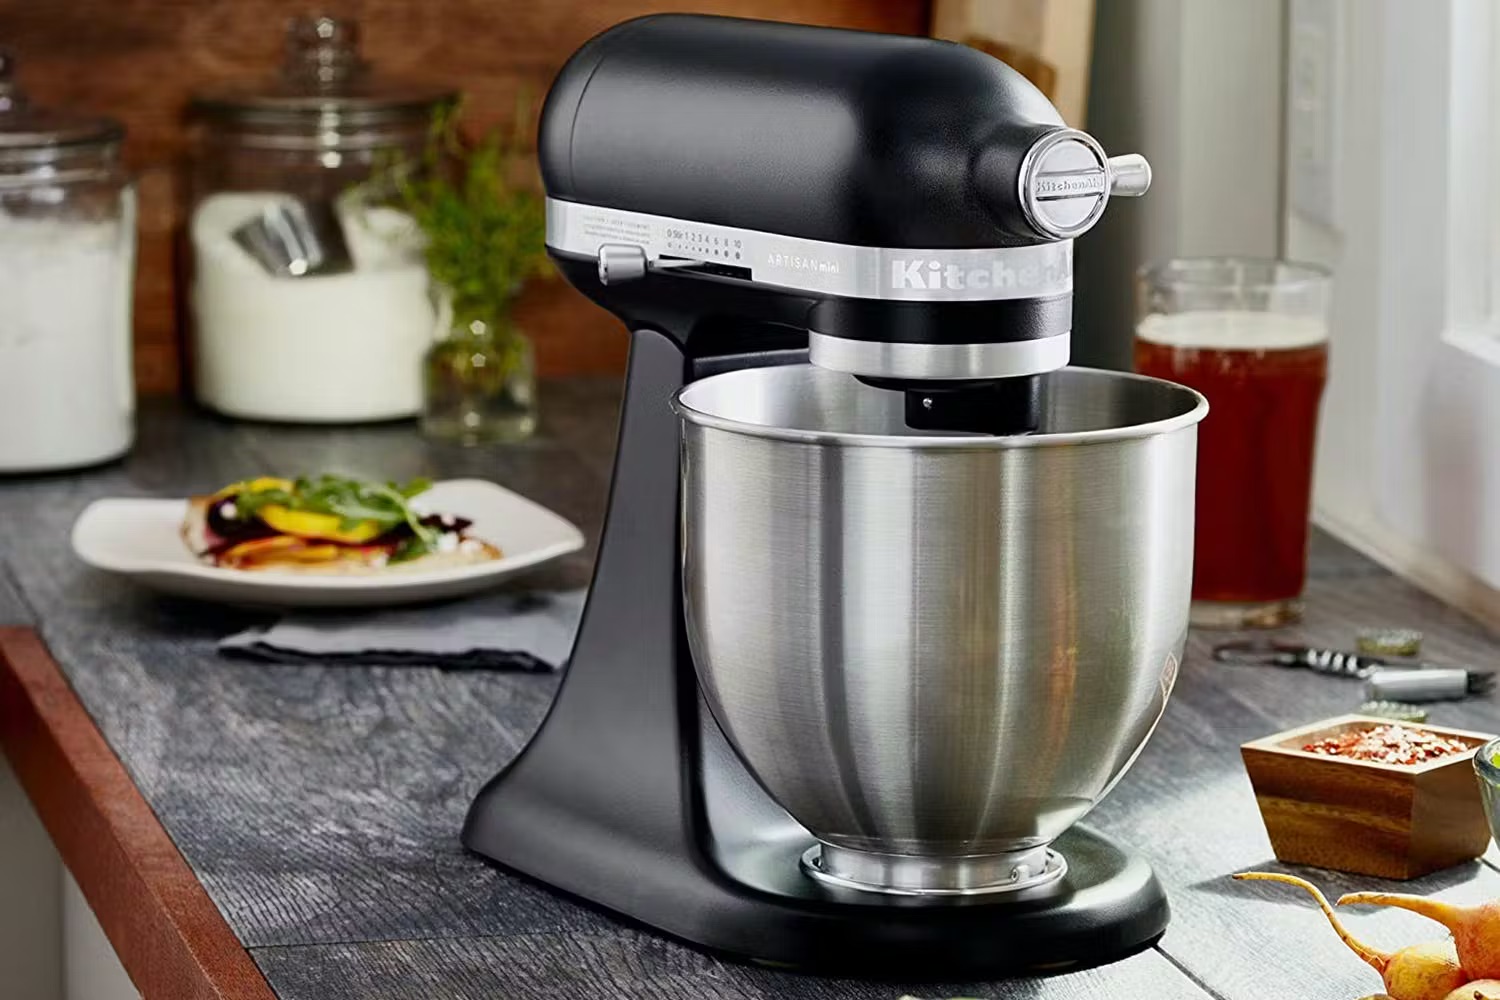
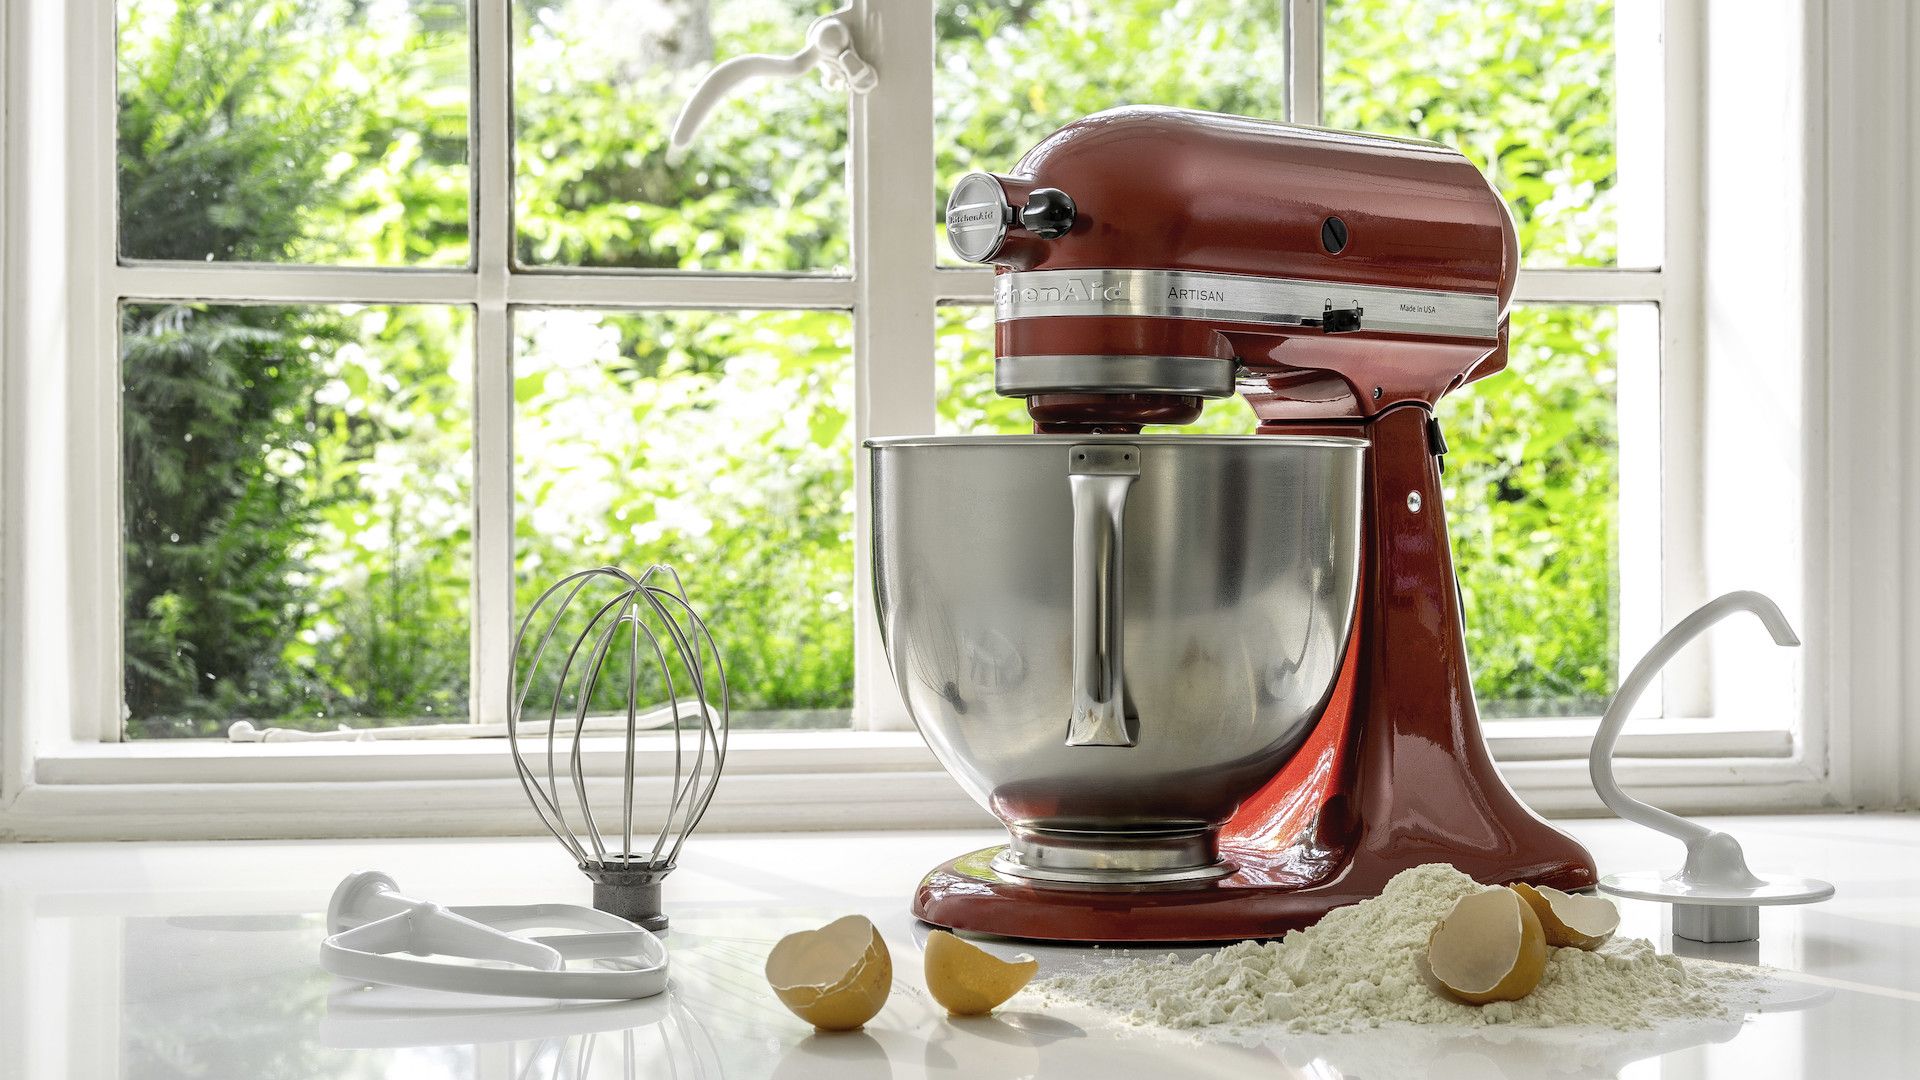
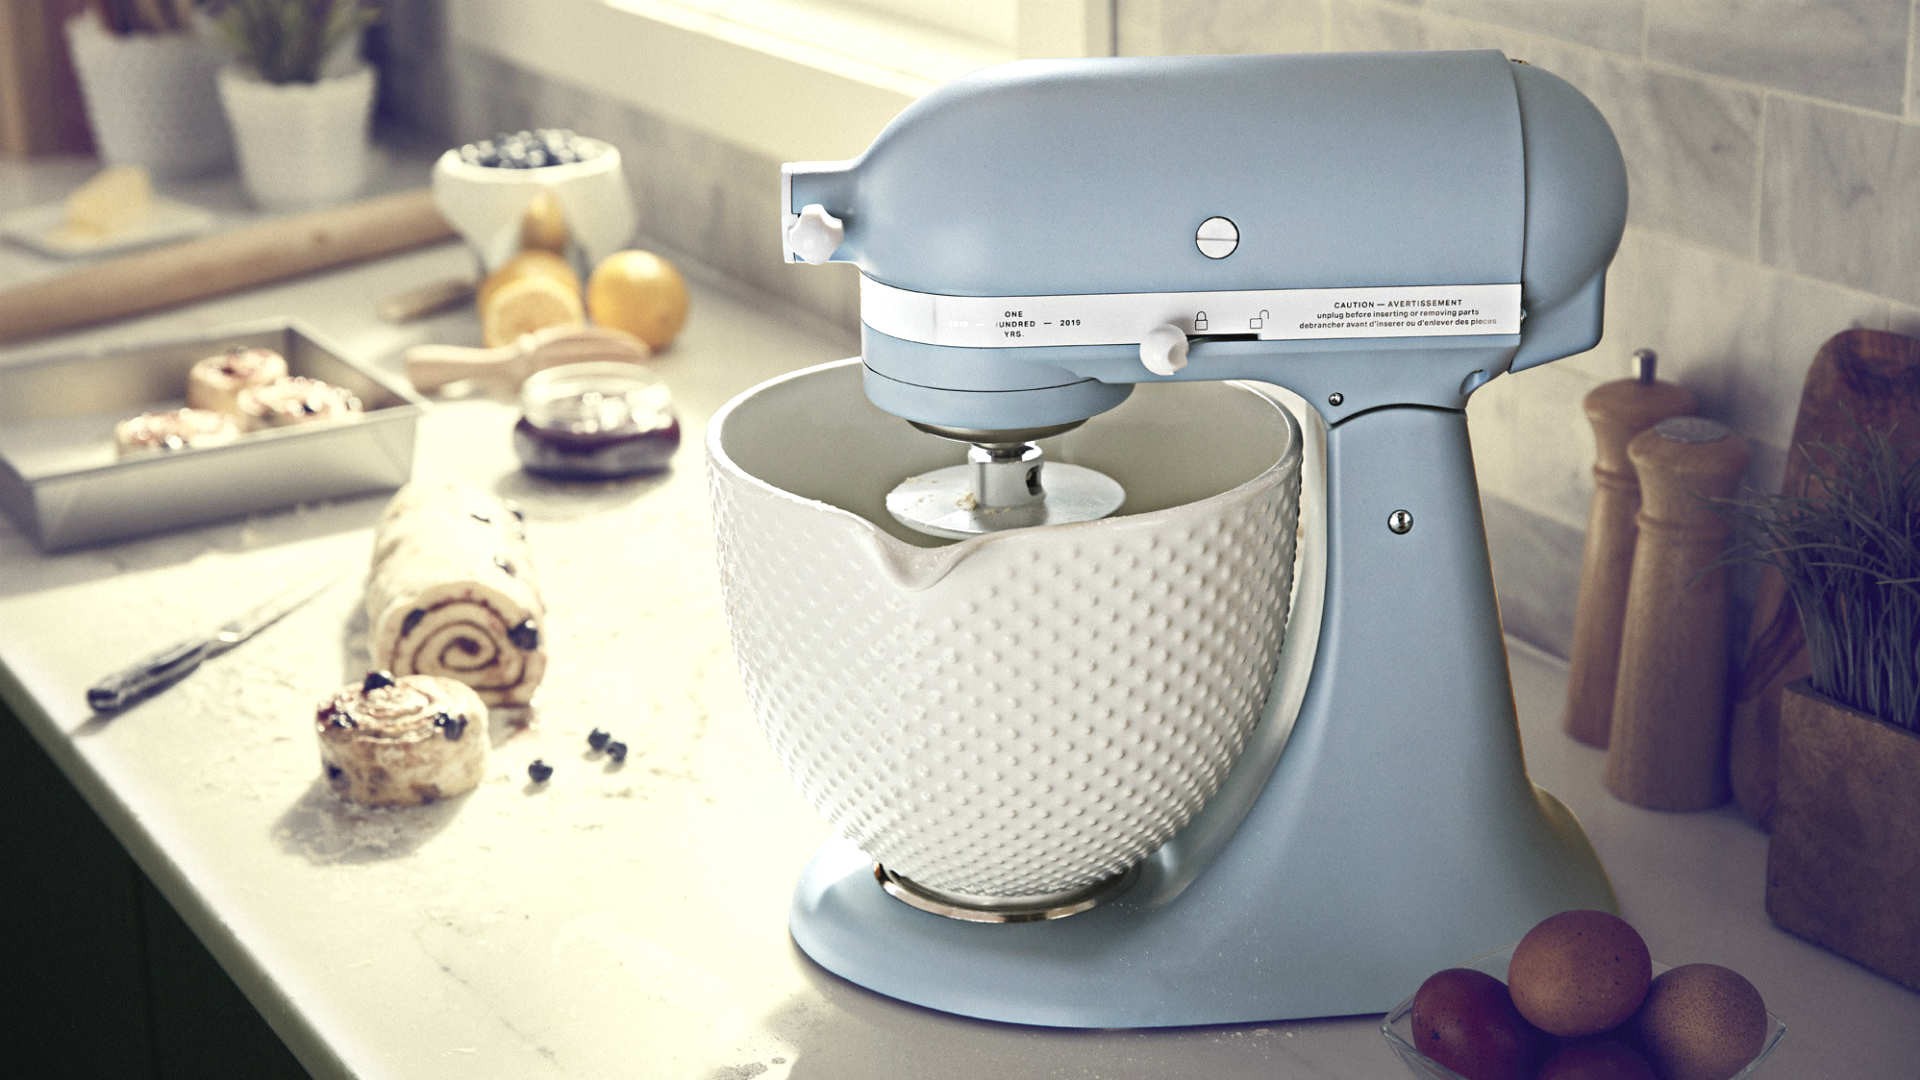
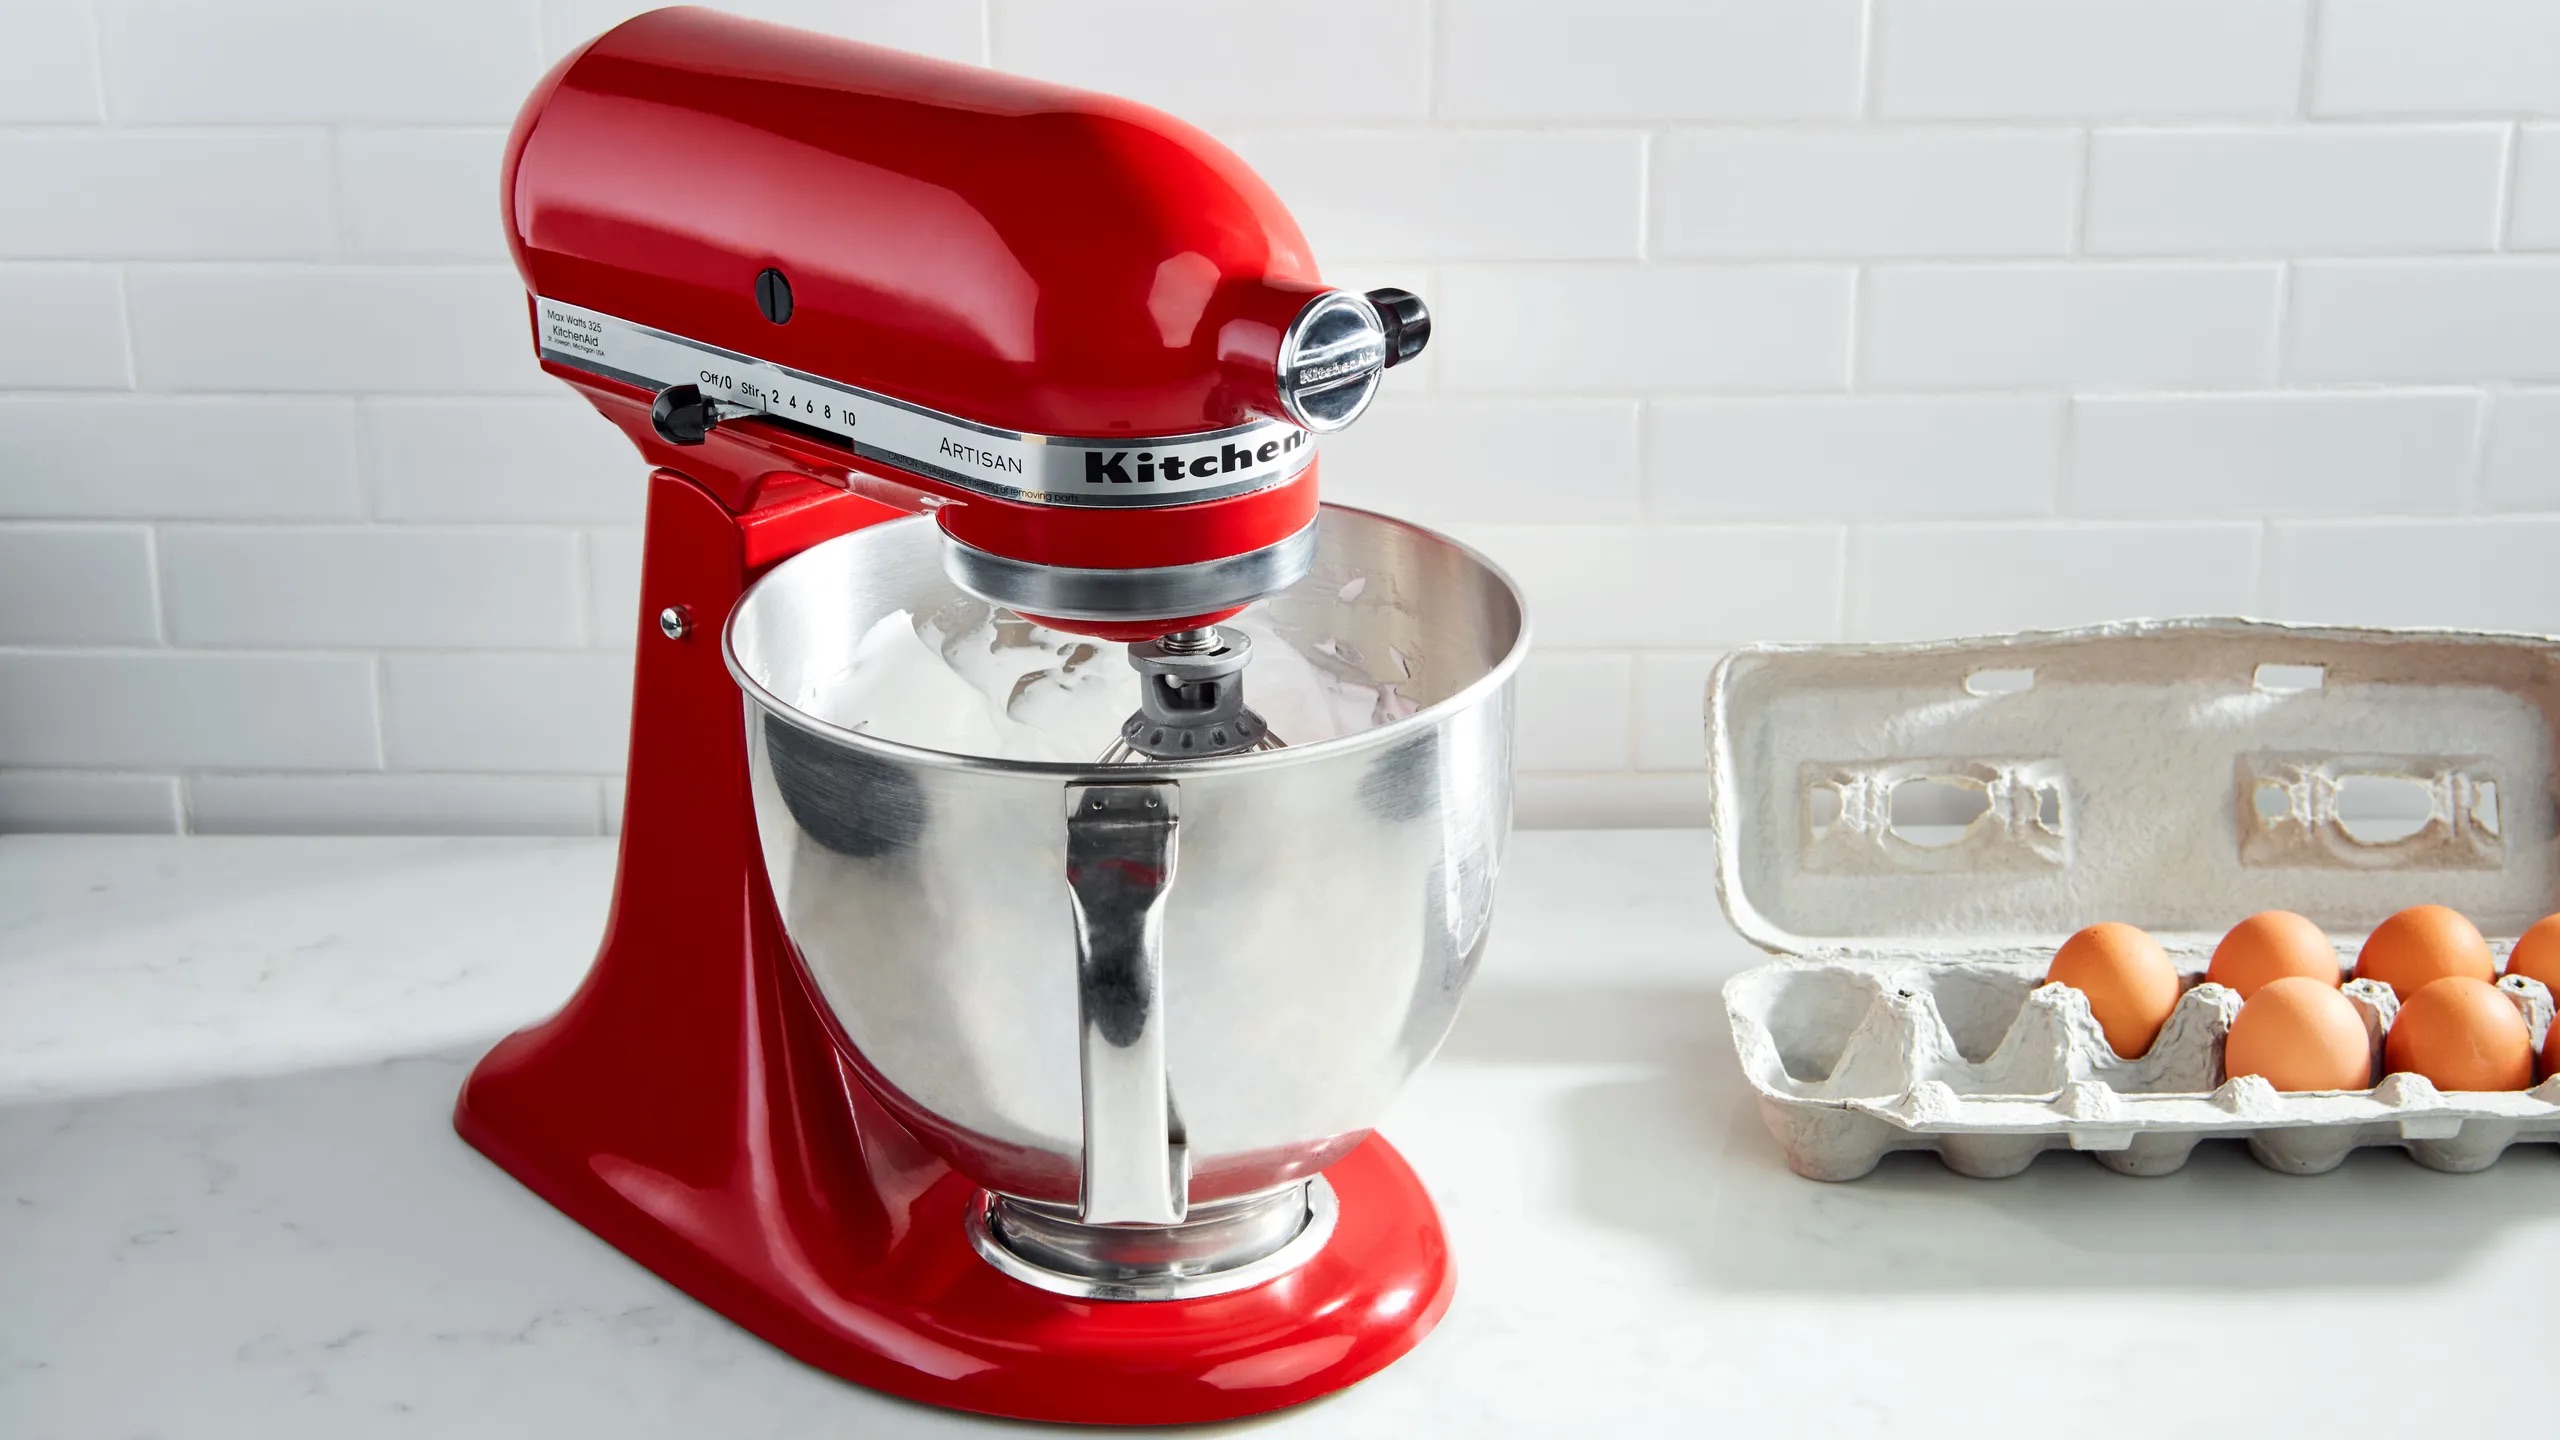
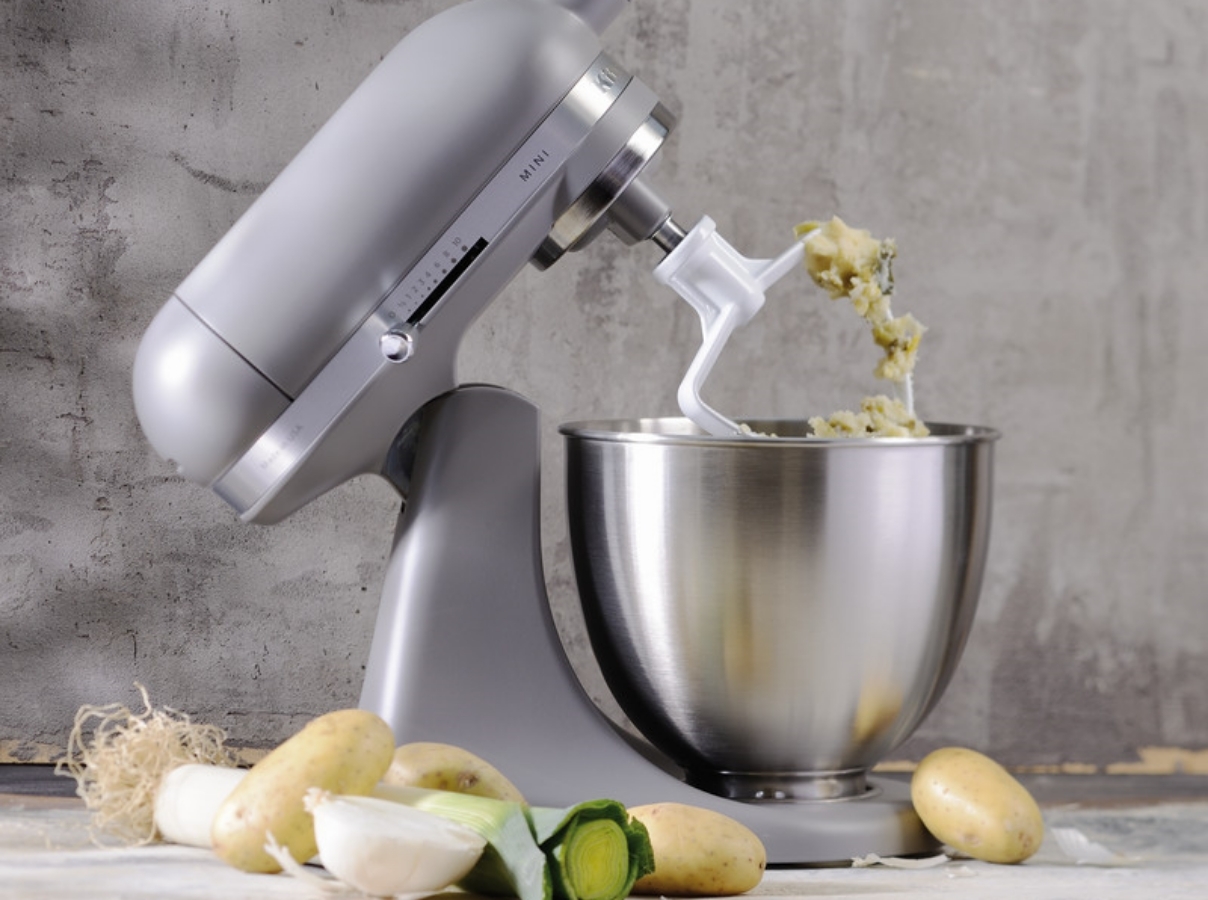
If you’re a passionate home cook or a professional baker, you probably rely on your KitchenAid mixer to help you whip up delicious creations in the kitchen. But what happens when your trusty mixer starts experiencing issues? Finding a reliable repair service becomes crucial to keep your culinary adventures running smoothly.
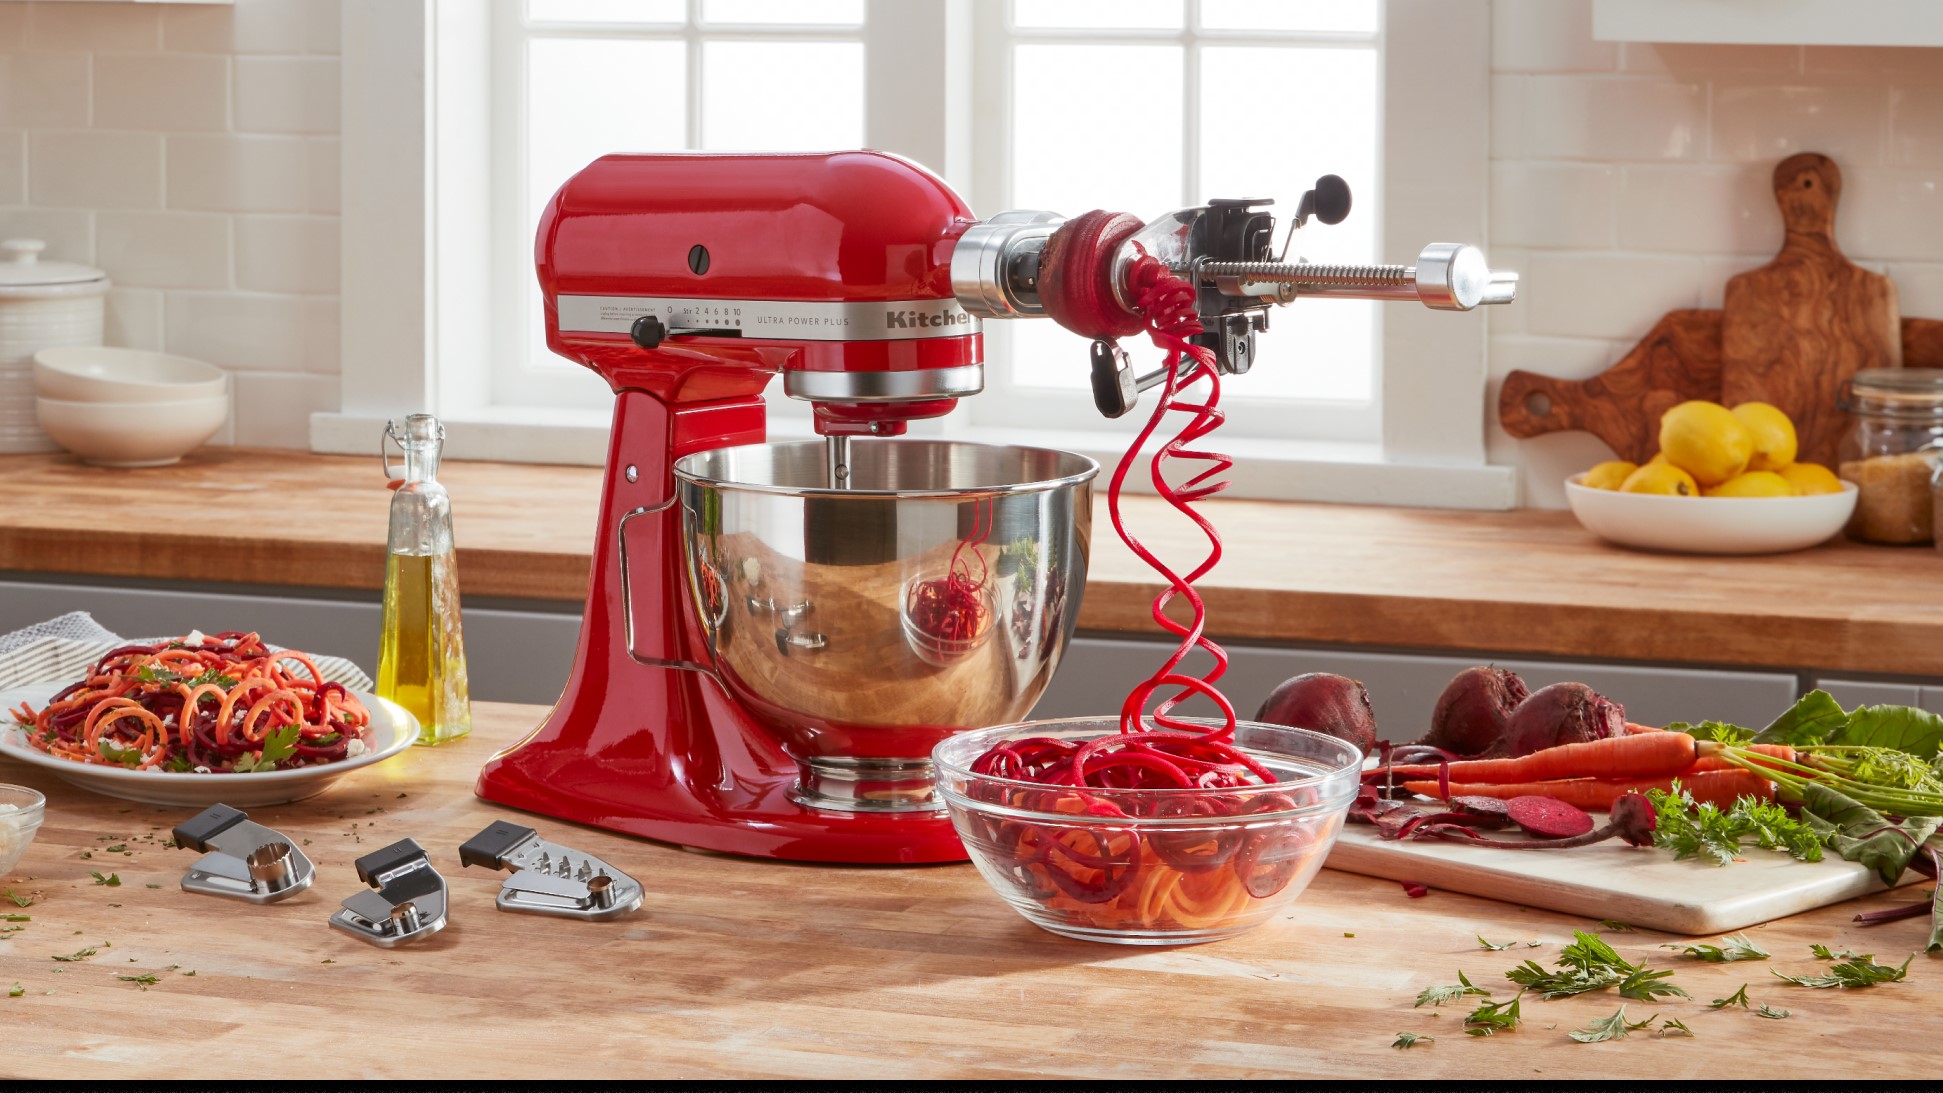
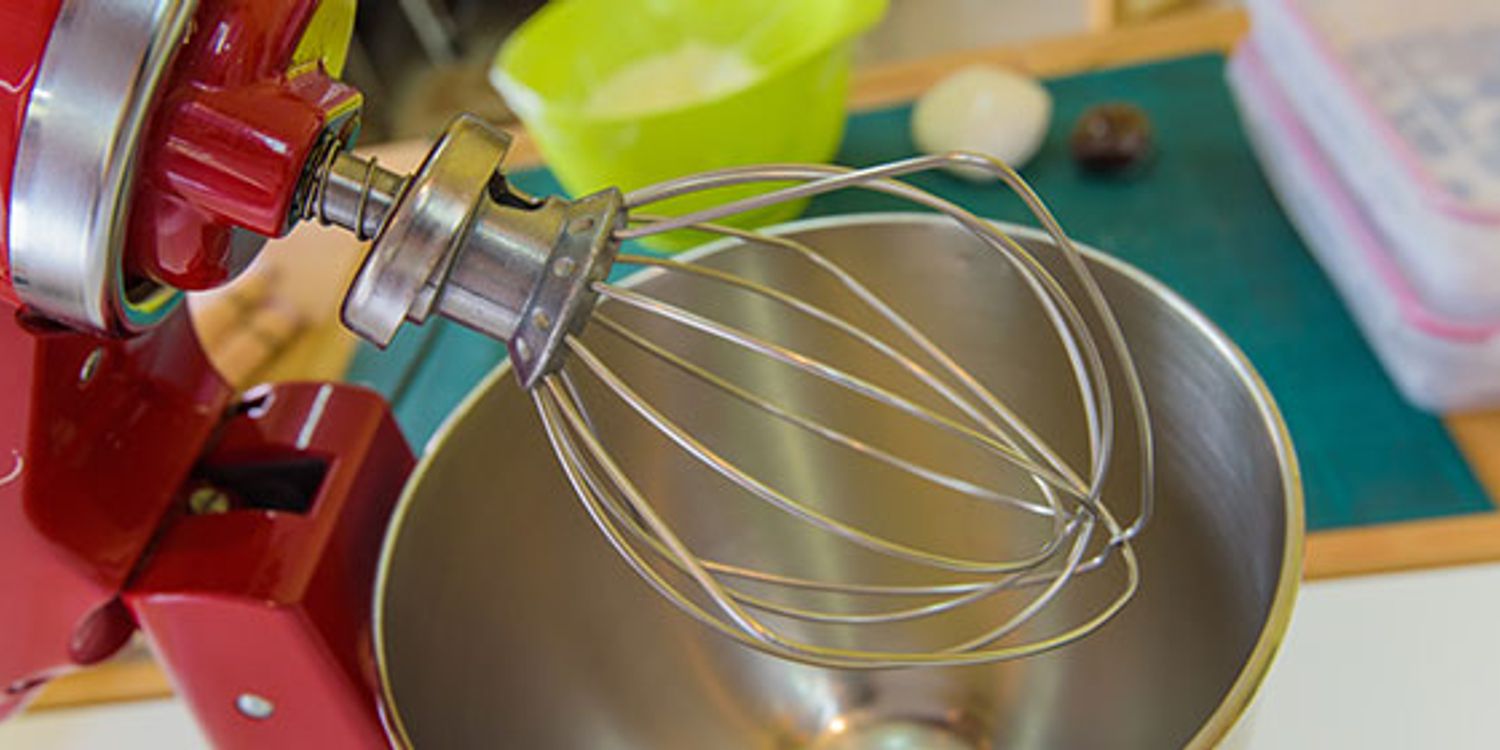
The KitchenAid mixer is well-known for its durability and performance, but like any kitchen appliance, it may need repairs or maintenance from time to time. Whether it’s a motor malfunction, a faulty speed control, or a broken attachment, you’ll want to find a repair service that specializes in KitchenAid mixers to ensure it’s handled properly.
In this article, we will explore the importance of finding a reliable KitchenAid mixer repair service and provide you with valuable information on how to choose the right repair center. We will also discuss various options for repairs, including authorized KitchenAid repair centers, local appliance repair shops, and online platforms. Additionally, we’ll share some tips for DIY repairs that you can try at home.
By the end of this article, you will have all the necessary knowledge to make an informed decision and get your KitchenAid mixer back in working order, allowing you to continue creating culinary masterpieces with ease.
Key Takeaways:
- Finding a reliable repair service for your KitchenAid mixer is crucial for preserving warranty, ensuring safety, and receiving expert repairs with genuine parts. Consider authorized centers, local shops, or online resources for a solution tailored to your needs.
- If you’re considering DIY repairs, prioritize safety, gather information, and start with simple tasks. However, knowing your limits and seeking professional help for complex issues is essential to avoid further damage and ensure the longevity of your beloved KitchenAid mixer.
Read more: Where Is Upc Code On Kitchenaid Mixer Box
Importance of Finding a Reliable KitchenAid Mixer Repair Service
Your KitchenAid mixer is not just a kitchen appliance; it’s a trusty companion that helps you prepare delicious meals and treats. When it starts malfunctioning, the importance of finding a reliable repair service cannot be overstated. Here’s why:
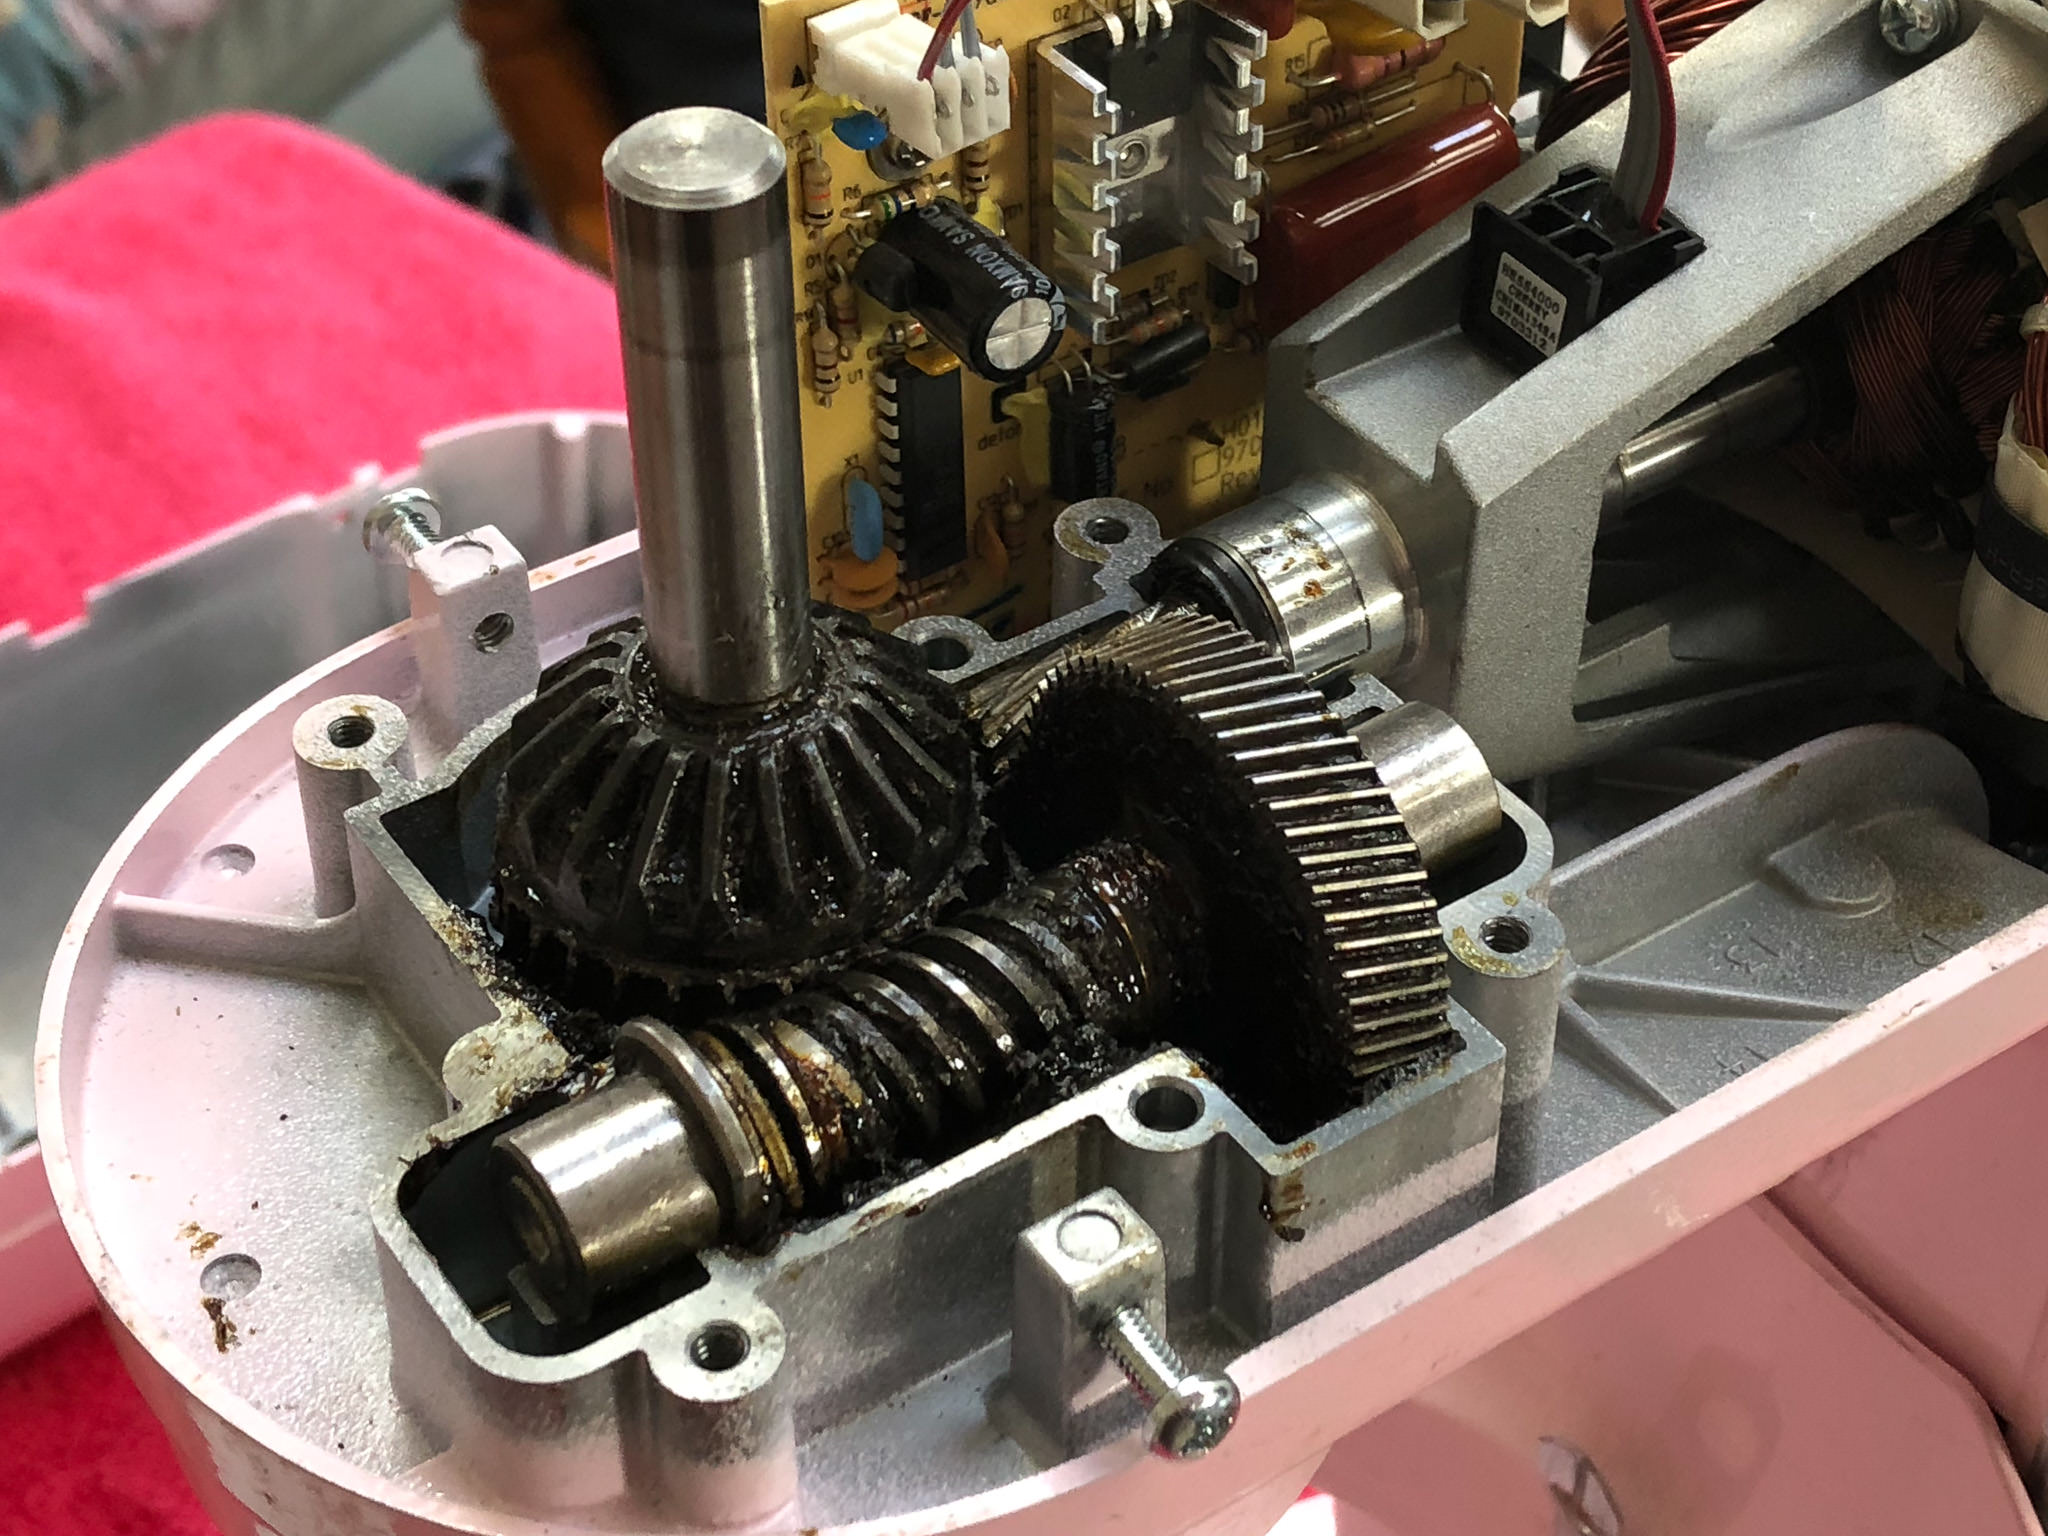
- Expertise and Knowledge: KitchenAid mixers are complex machines with intricate components. A reliable repair service will have technicians who are specifically trained in handling these mixers. They will understand the inner workings of the appliance and know how to diagnose and fix various issues effectively.
- Preserving Warranty: If your KitchenAid mixer is still under warranty, attempting repairs yourself or taking it to an unauthorized repair shop may void the warranty. By choosing a reliable repair service, you can ensure that any repairs are done according to the manufacturer’s specifications, preserving your warranty coverage.
- Quality Parts and Tools: When you entrust your KitchenAid mixer to a reliable repair service, you can be confident that they will use genuine KitchenAid parts for replacements. This ensures the longevity and performance of your mixer. Additionally, reputable repair services will have access to the latest tools and equipment to carry out repairs with precision.
- Time and Convenience: Trying to repair your KitchenAid mixer yourself can be time-consuming and frustrating, especially if you’re not familiar with electrical or mechanical systems. A reliable repair service can save you valuable time by efficiently diagnosing and fixing the issue, allowing you to get back to your culinary endeavors sooner.
- Safety First: Repairing electrical appliances can pose safety risks, especially if you don’t have the necessary experience or knowledge. A reliable repair service ensures that the repair work is conducted in a safe manner, eliminating any potential hazards and protecting you and your home.
By finding a reliable KitchenAid mixer repair service, you can have peace of mind knowing that your appliance is in capable hands. Whether it’s a minor repair or a major overhaul, professionals will provide the expertise, quality, and safety needed to restore your KitchenAid mixer to its optimal functionality.
Factors to Consider When Choosing a KitchenAid Mixer Repair Service
When it comes to choosing a KitchenAid mixer repair service, it’s essential to consider several factors to ensure you make the right decision. Here are some key factors to keep in mind:
- Experience and Expertise: Look for a repair service with a solid track record and extensive experience in handling KitchenAid mixers. A service provider with years of experience is more likely to have encountered a wide range of issues and will have developed the expertise to handle them effectively.
- Reputation and Reviews: Research the reputation of the repair service before making your decision. Check online reviews and testimonials from previous customers to get an idea of their satisfaction level. A reputable repair service will have positive feedback and a good reputation within the community.
- Authorized Service Provider: Consider choosing an authorized KitchenAid repair center if your mixer is under warranty. Authorized service providers have the expertise to handle warranty repairs and can ensure that your warranty remains intact.
- Quality of Service: Assess the quality of the repair service by looking at the professionalism of their staff, the cleanliness of their facilities, and their commitment to customer satisfaction. A reliable repair service will provide clear communication, transparent pricing, and timely repairs.
- Turnaround Time: Find out about the repair service’s turnaround time. While it may vary depending on the complexity of the issue, choose a service that offers reasonable and efficient repair times. This will minimize your downtime and get your mixer back to you as soon as possible.
- Pricing: Consider the cost of the repair service in relation to the value of your KitchenAid mixer. While it’s important to find an affordable option, beware of excessively low prices, as they may indicate subpar service or the use of substandard parts. Look for a service that offers a fair and competitive price for quality repairs.
- Customer Support: Assess the level of customer support provided by the repair service. Do they offer assistance and guidance throughout the repair process? Can you easily reach out to them for any questions or concerns? A reliable repair service will prioritize customer satisfaction and provide excellent support.
- Warranty on Repairs: Inquire if the repair service offers a warranty on their repairs. A reputable repair center will stand behind their work and provide a warranty period, which ensures that you can have any issues addressed without incurring additional costs.
By considering these essential factors, you can find a reliable KitchenAid mixer repair service that meets your needs and provides you with the confidence that your beloved appliance will be repaired to the highest standards.
Where to Find Authorized KitchenAid Mixer Repair Centers
If your KitchenAid mixer is still under warranty, it’s recommended to have it repaired at an authorized KitchenAid repair center. These centers have the expertise and knowledge to perform warranty repairs and ensure that your warranty remains valid. Here are some places where you can find authorized KitchenAid mixer repair centers:
- KitchenAid Official Website: Visit the official KitchenAid website and look for a “Service & Support” or “Repair” section. They usually provide a list of authorized repair centers in your area. Simply input your location or zip code, and you’ll be able to find the nearest authorized service location.
- Customer Support: Reach out to the KitchenAid customer support team directly. They can provide you with information on authorized repair centers in your area. You can find their contact information on the KitchenAid website or through the documentation that came with your mixer.
- Authorized Retailers: Check with authorized retailers that sell KitchenAid mixers. They often have their own repair centers or can provide you with information on authorized repair centers nearby. These retailers may include department stores, kitchen appliance stores, or specialty retailers.
- Manufacturer Directory: Look for manufacturer directories or databases that provide a comprehensive list of authorized repair centers. Some websites specialize in aggregating this information, making it easier for you to find a trusted repair service for your KitchenAid mixer.
When contacting authorized repair centers, be sure to inquire about their process for warranty repairs, any required documentation, and estimated repair times. It’s also a good idea to ask if they offer additional services, such as maintenance or out-of-warranty repairs, in case you need them in the future.
Remember that authorized repair centers have direct access to genuine KitchenAid parts and have been trained by the manufacturer to handle repairs with precision. By choosing an authorized center, you can have confidence in the quality of service provided and ensure the longevity of your KitchenAid mixer.
If your KitchenAid mixer needs to be fixed, consider reaching out to the manufacturer for authorized repair centers or certified technicians. This will ensure that your mixer is repaired by professionals who are familiar with the product.
Local Appliance Repair Shops that Specialize in KitchenAid Mixer Repairs
If you prefer a local repair option for your KitchenAid mixer, there are often several appliance repair shops in your area that specialize in KitchenAid mixer repairs. These local shops can provide personalized service and quick turnaround times. Here are some ways to find local appliance repair shops that specialize in KitchenAid mixer repairs:
- Online Directories: Utilize online directories such as Yelp, Google Maps, or Yellow Pages to search for appliance repair shops in your area. Filter your search by specialties or services, and look for shops that specifically mention KitchenAid mixer repairs.
- Local Business Listings: Check local business listings or directories in your community, such as newspapers, community bulletin boards, or local magazines. These resources often include advertisements or listings for appliance repair shops and their specialties.
- Word of Mouth: Ask friends, family, and neighbors for recommendations. If they have had positive experiences with local repair shops for their KitchenAid mixers, they can provide valuable insights and direct you to trusted repair professionals.
- Appliance Retailers: Inquire with local appliance retailers if they have in-house repair services or if they can recommend any nearby appliance repair shops that specialize in KitchenAid mixers. Many retailers have established relationships with local repair professionals and can provide referrals.
- Join Community Forums or Groups: Join local community forums, social media groups, or online message boards dedicated to home appliance repairs or DIY enthusiasts. Ask for recommendations from the community members who have had their KitchenAid mixers repaired locally.
When researching local appliance repair shops, it’s important to consider their reputation, customer reviews, and experience with KitchenAid mixer repairs. Look for shops that have positive feedback, experienced technicians, and a history of reliable service. You can also call the shops and ask about their experience with KitchenAid mixers, pricing, and their process for repairs.
Choosing a local appliance repair shop can offer convenience and a personal touch. These shops are often invested in the local community and are dedicated to providing excellent service. By supporting local businesses, you can contribute to the growth of your community while getting your KitchenAid mixer repaired by knowledgeable professionals.
Read more: Where To Get Kitchenaid Mixer Serviced
Online Platforms for Repairing KitchenAid Mixers
In addition to authorized repair centers and local appliance repair shops, there are online platforms available that can help you with repairing your KitchenAid mixer. These platforms offer convenience, accessibility, and a wide range of resources to assist you in fixing your mixer. Here are some online platforms to consider:
- KitchenAid Website: The official KitchenAid website provides comprehensive support and resources for repairing your mixer. They offer troubleshooting guides, instructional videos, and downloadable manuals that can help you diagnose and fix common issues. Additionally, you may find a dedicated customer support section where you can submit inquiries or live chat with a representative for further assistance.
- Online Forums and Communities: Joining online forums or communities dedicated to KitchenAid mixers and appliance repairs can be a valuable resource. Websites like Reddit, appliance repair forums, or specialized online communities allow you to connect with experienced individuals who can provide advice, step-by-step guides, and troubleshooting tips to help you resolve common mixer issues.
- YouTube Tutorials: YouTube is a treasure trove of DIY repair tutorials, and KitchenAid mixers are no exception. Many YouTubers create detailed videos showcasing specific repairs, from replacing gears to fixing electrical components. Search for keywords like “KitchenAid mixer repair” or “fixing KitchenAid motor,” and you’ll find a plethora of visual guides to assist you through the repair process.
- E-commerce Platforms: Online marketplaces, such as Amazon or eBay, offer a range of replacement parts and accessories for KitchenAid mixers. If you have identified the issue with your mixer and require a specific part, these platforms can connect you with sellers who offer genuine or third-party replacement parts for affordable prices. Remember to verify the seller’s reputation and check customer reviews before making a purchase.
- Online Repair Services: Some online platforms specialize in providing remote repair assistance for KitchenAid mixers. These services connect you with experienced technicians who can guide you through the repair process via video calls or chat support. They can help diagnose the issue, provide step-by-step instructions, and offer advice on parts replacement. While these services may come at a cost, they can be a viable option if you prefer professional guidance from the comfort of your own home.
When using online platforms for repairing your KitchenAid mixer, it’s crucial to exercise caution and ensure the reliability of the resources or individuals you’re engaging with. Verify the credibility of the platform or individual providing guidance, cross-reference information from multiple sources, and proceed with caution during repairs to avoid causing further damage.
Online platforms can be a great option, particularly for minor repairs and troubleshooting. They provide convenience, access to a vast knowledge base, and the ability to connect with experts and enthusiasts who share a passion for KitchenAid mixers.
Tips for DIY KitchenAid Mixer Repairs at Home
If you’re a handy person and enjoy tackling DIY projects, you may feel confident in attempting some basic repairs on your KitchenAid mixer. However, it’s important to approach these repairs with caution and follow proper safety guidelines. Here are some tips to help you successfully perform DIY KitchenAid mixer repairs at home:
- Research and Gather Information: Before you begin repairing your KitchenAid mixer, take the time to research the specific issue you’re facing. Look for instructional guides, repair manuals, and online resources that provide step-by-step instructions and troubleshooting tips for your particular model.
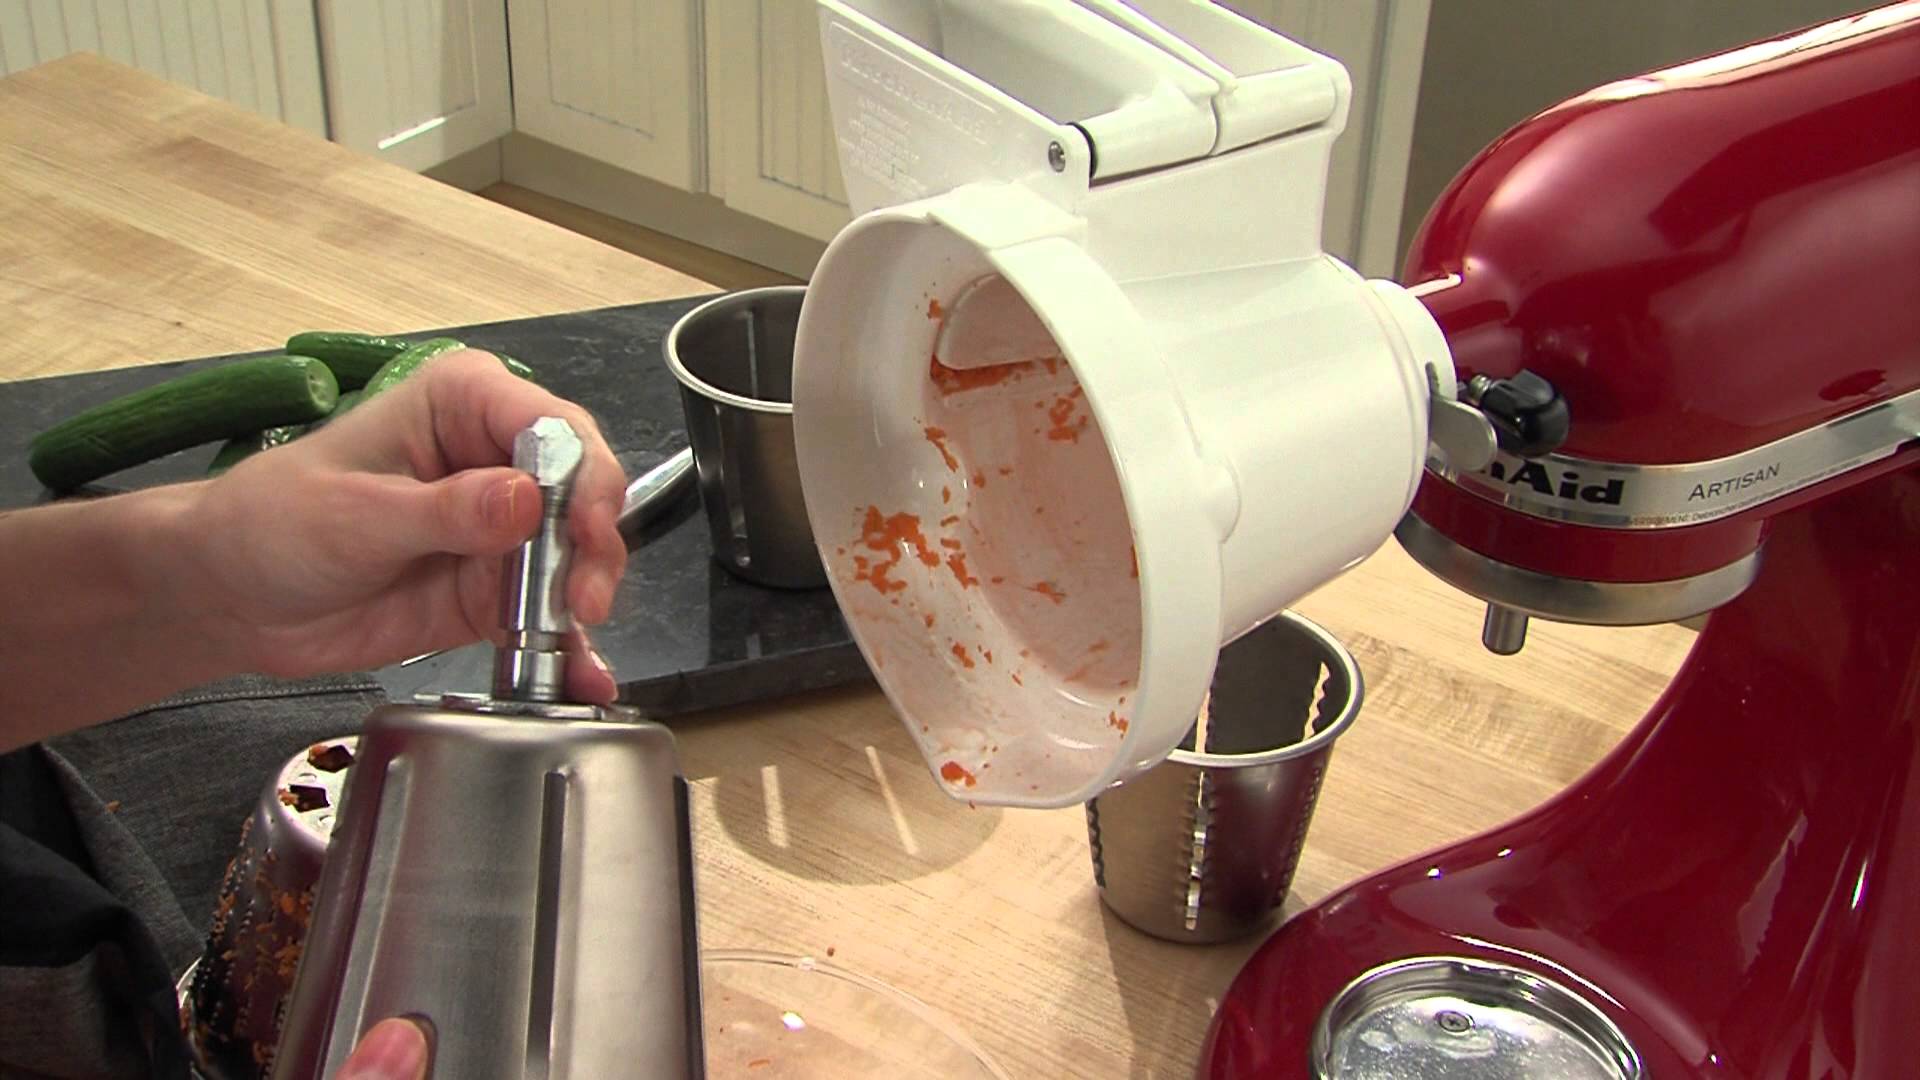
- Use Genuine Parts: If you need to replace any parts, it’s recommended to use genuine KitchenAid replacement parts. These parts are designed specifically for your mixer and will ensure optimal performance and longevity. Avoid using generic or incompatible parts as they may not fit properly or function as intended.
- Follow Safety Precautions: Always unplug your mixer before attempting any repairs. This will prevent any accidental electric shocks. Additionally, wear appropriate protective gear, such as gloves and safety glasses, to protect yourself from potential injuries during the repair process.
- Start with Simple Repairs: If you’re new to DIY repairs, start with simple repairs that don’t involve complex disassembly or electrical work. Focus on tasks like replacing attachments, fixing loose screws, or adjusting speed controls before moving on to more advanced repairs.
- Take Pictures: Before disassembling any components, take detailed pictures or make notes of the arrangement. This will help you remember how things were positioned and make reassembly easier. It’s also a good practice to document the steps you take during the repair process.
- Be Organized: Keep track of all the screws, bolts, and small parts during disassembly. Place them in labeled containers or use a magnetic tray to prevent them from getting lost. A well-organized workspace will make the repair process smoother and less frustrating.
- Test Before Reassembling: After completing the repairs and reassembling the mixer, perform a quick test to ensure that everything is functioning correctly. Plug in the mixer and test the different speed settings, attachments, and any other features that were repaired.
- Know Your Limits: DIY repairs can be rewarding, but it’s crucial to recognize when a repair is beyond your skill level. If you encounter a major issue or feel unsure about your abilities to handle the repair, it’s best to seek professional help. Attempting complex repairs without the necessary knowledge and experience can lead to further damage or safety hazards.
Remember that DIY repairs should only be carried out if you feel comfortable and have the necessary skills and tools. It’s essential to prioritize your safety and the integrity of your KitchenAid mixer. When in doubt, consult with a professional repair service to ensure the best outcome for your appliance.
Performing DIY repairs can be a satisfying experience, but always proceed with caution and take the necessary precautions while working on your KitchenAid mixer.
Conclusion
When your KitchenAid mixer encounters issues, it’s important to find a reliable repair service to get it back in working order. Whether you choose an authorized KitchenAid repair center, a local appliance repair shop, or explore online platforms, there are options available to suit your needs.
Finding a reliable repair service ensures that your mixer is handled by experts with the necessary knowledge and experience. They can diagnose and fix the issues efficiently, preserving your warranty if applicable and using quality parts. Additionally, professional repair services prioritize safety and provide you with peace of mind.
If you prefer the DIY route, there are resources available online, such as the KitchenAid website, online communities, and instructional videos, that can guide you through simple repairs. However, it’s important to approach DIY repairs with caution, follow safety precautions, and know your limitations. When in doubt, it’s always wise to consult a professional to avoid further damage or potential harm.
Regardless of the repair option you choose, the goal is to get your KitchenAid mixer back to its optimal functionality. By investing in reliable repairs, you can continue to enjoy the convenience and performance that your mixer offers, and continue creating culinary masterpieces in your kitchen.
Remember to consider factors such as experience, reputation, and customer reviews when selecting a repair service. Take advantage of authorized repair centers, local appliance repair shops, and online platforms to find the most suitable solution for your needs.
Whether you opt for professional repairs or decide to try your hand at DIY repairs, maintaining the functionality of your KitchenAid mixer ensures that you can continue to enjoy its benefits for years to come. So, don’t let a malfunctioning mixer hold you back – explore your repair options today and bring your beloved KitchenAid mixer back to life!
If you've mastered fixing your Kitchenaid mixer and are ready for your next challenge, why not tackle another common kitchen appliance issue? Our next guide, "How to Fix a Kitchenaid Ice Maker," offers practical steps and insightful advice on Kitchenaid repairs. Whether you're facing minor hiccups or major malfunctions, this article provides the know-how to get your ice maker running smoothly again, ensuring you're well-prepared for any kitchen contingency.
Frequently Asked Questions about Where To Fix Kitchenaid Mixer
Was this page helpful?
At Storables.com, we guarantee accurate and reliable information. Our content, validated by Expert Board Contributors, is crafted following stringent Editorial Policies. We're committed to providing you with well-researched, expert-backed insights for all your informational needs.


0 thoughts on “Where To Fix Kitchenaid Mixer”