Articles
How To Grease A Kitchenaid Mixer
Modified: February 28, 2024
Learn how to properly grease your Kitchenaid mixer in this informative article. Keep your appliance running smoothly and efficiently with our step-by-step guide.
(Many of the links in this article redirect to a specific reviewed product. Your purchase of these products through affiliate links helps to generate commission for Storables.com, at no extra cost. Learn more)
Introduction
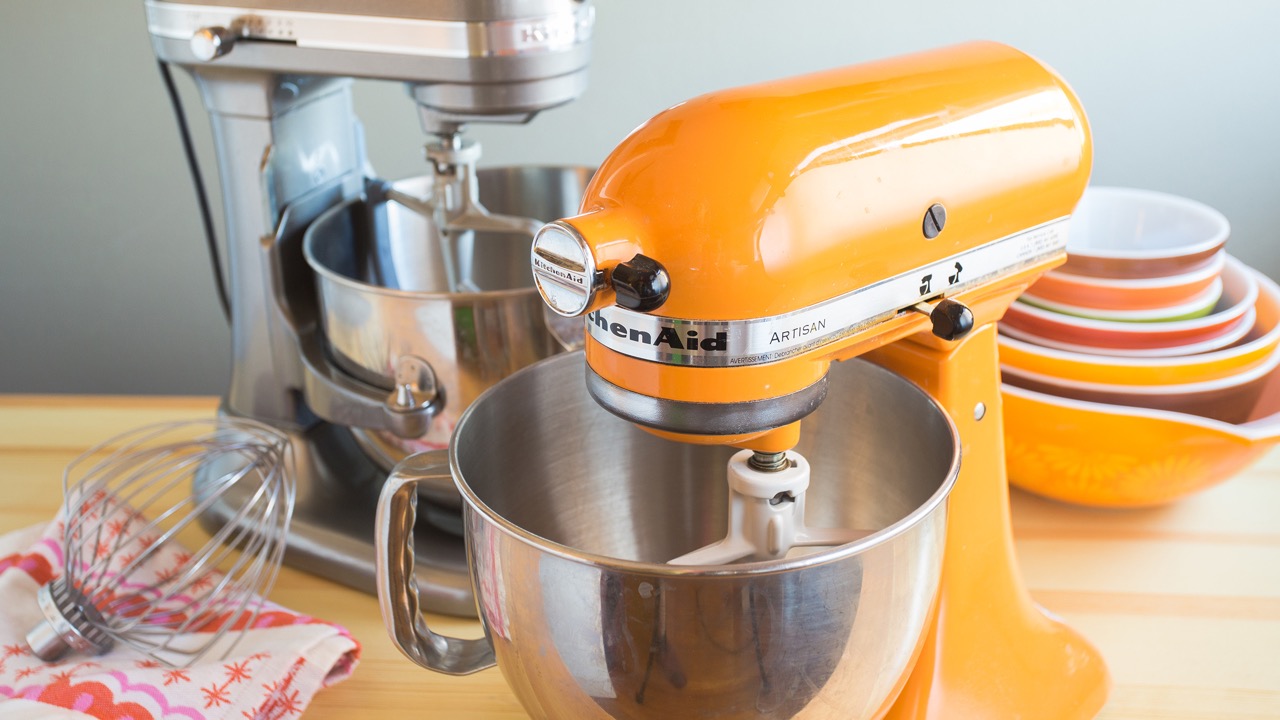
Welcome to the ultimate guide on how to grease a Kitchenaid mixer! If you own a Kitchenaid mixer, you know how essential it is for baking and cooking. Over time, the gears inside the mixer can become dry or worn out, resulting in a less efficient and noisy operation. Greasing the mixer helps to lubricate the gears, ensuring smooth and quiet functionality.
In this article, we will walk you through the necessary steps to properly grease your Kitchenaid mixer. By following these instructions, you can prolong the lifespan of your mixer and ensure it continues to perform at its best. So let’s dive in and learn how to properly grease a Kitchenaid mixer!
Key Takeaways:
- Properly greasing your Kitchenaid mixer is essential for smooth and efficient operation, prolonging its lifespan and ensuring it continues to perform at its best for years to come.
- Always use a food-grade grease or lubricant when greasing your mixer to maintain safety and integrity. Regular maintenance, such as greasing the gears, is vital for keeping your Kitchenaid mixer in top condition.
Read more: How To Grease A Kitchenaid Stand Mixer
Step 1: Gather the necessary supplies
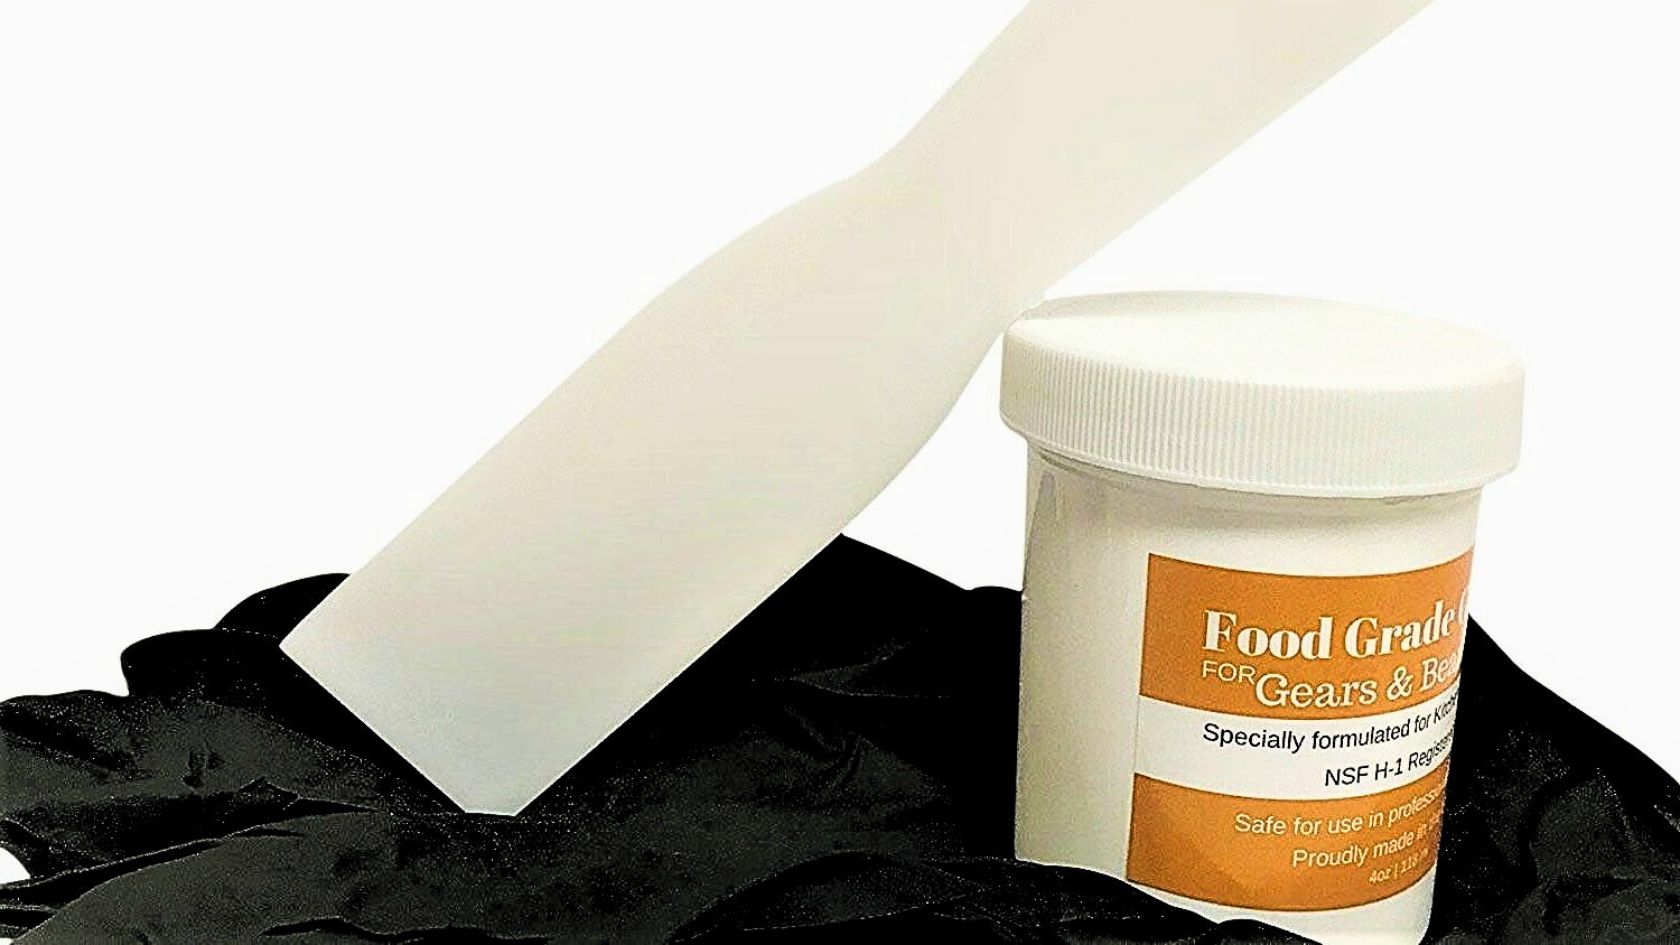
Before you start greasing your Kitchenaid mixer, make sure you have all the necessary supplies on hand. Here’s what you’ll need:
- Grease or lubricant: Choose a high-quality food-grade grease or lubricant that is safe for use in kitchen appliances. This will ensure that no harmful substances come into contact with your food.
- Clean cloth or paper towel: You’ll need a clean cloth or paper towel to wipe off any excess grease and clean the surfaces of the mixer.
It’s essential to gather these supplies before you start, as it will make the greasing process much smoother and efficient. Once you have everything ready, you can move on to the next step.
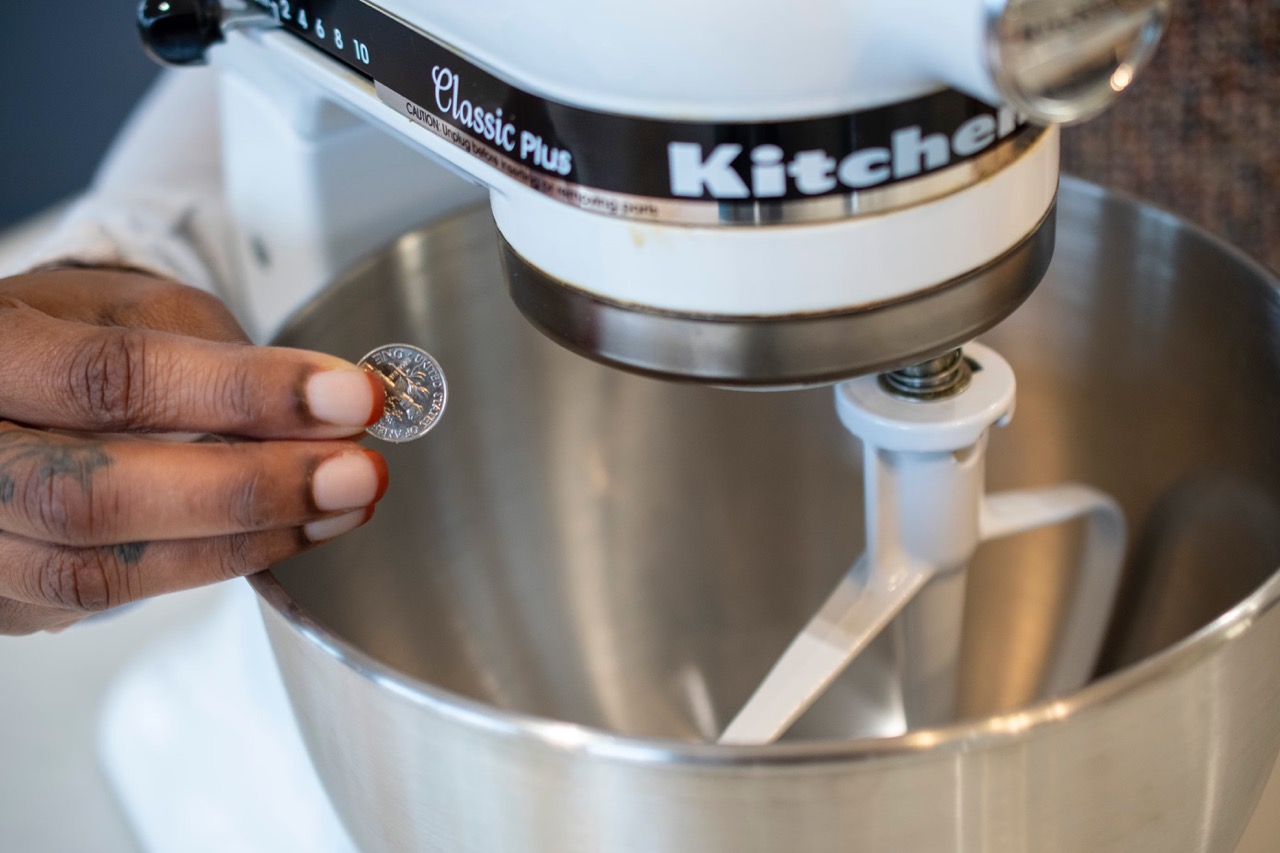
Step 2: Unplug the mixer and tilt it back
Before you begin greasing your Kitchenaid mixer, it’s crucial to take the necessary safety precautions. Follow these steps:
- Ensure the mixer is turned off and unplugged: Before working on any electrical appliance, it’s essential to make sure it is not connected to a power source. This will prevent any accidents or injuries.
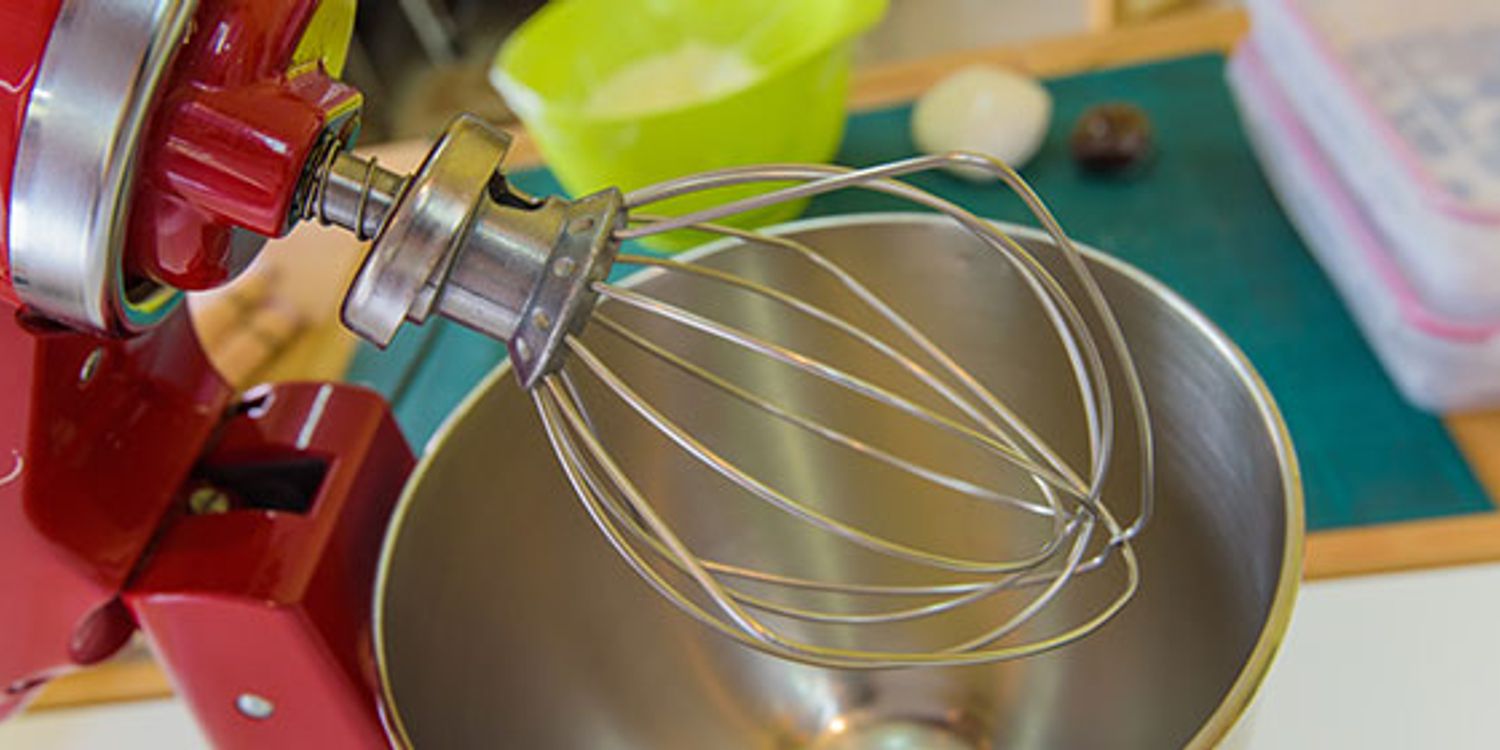
- Tilt the head of the mixer back: The next step is to tilt the head of the mixer back. This will give you better access to the planetary assembly, where the gears and moving parts are located.
By unplugging the mixer and tilting it back, you ensure your safety and create a suitable working environment for greasing the mixer. Once you have completed these steps, you can move on to the next stage of the process.
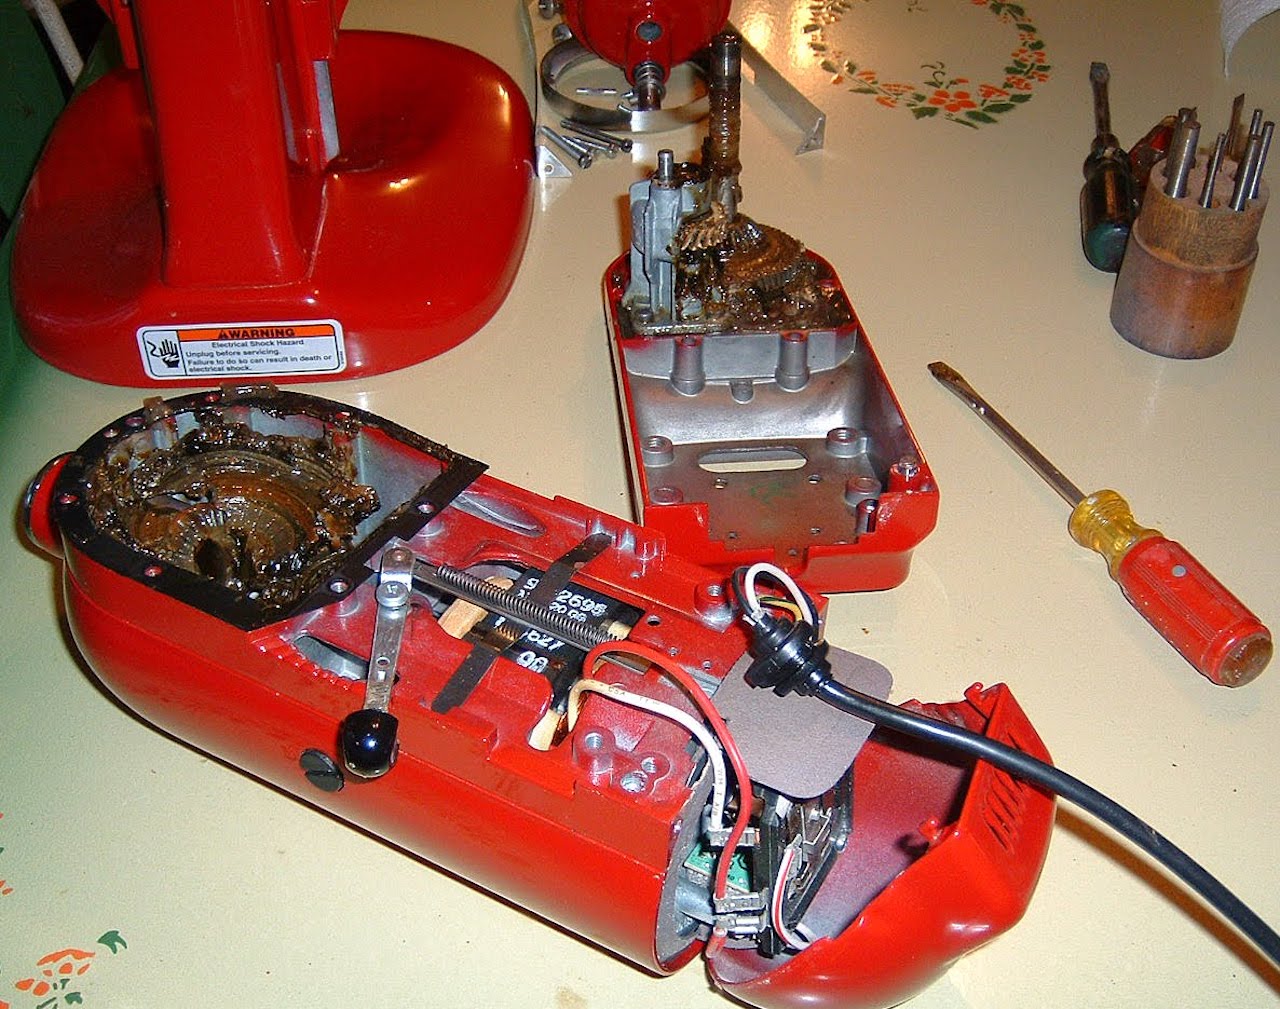
Step 3: Access the planetary assembly
Now that you have unplugged the mixer and tilted it back, it’s time to access the planetary assembly, where the gears and other key components are located. Follow these steps to do so:
- Locate the planetary assembly on the mixer: The planetary assembly is typically located at the bottom of the mixer head. It’s a large, round, metal plate that covers the gears.
- Remove the attachment hub cover: To access the gears and components inside the planetary assembly, you need to remove the attachment hub cover. This cover is usually held in place by a screw or a clip. Use a screwdriver or a small tool to remove it, being careful not to damage the cover or the mixer.
By following these steps, you will have successfully accessed the planetary assembly, allowing you to proceed with greasing the gears and other moving parts. Take your time and be gentle when removing the attachment hub cover to avoid any unnecessary damage or mishaps.
Before greasing your Kitchenaid mixer, make sure to unplug it and remove any attachments. Use a food-grade grease or lubricant and apply a small amount to the gears and moving parts to keep it running smoothly.
Step 4: Apply grease to the gears
Now that you have accessed the planetary assembly, it’s time to apply grease to the gears. Proper lubrication is essential for ensuring smooth and efficient operation of your Kitchenaid mixer. Follow these steps:
- Identify the gear housing and gear assembly: Inside the planetary assembly, you will find the gear housing, which houses the gears and other moving parts. Take a moment to locate and familiarize yourself with the components.
- Apply a small amount of grease to the gears: Using a clean cloth or your fingers, apply a small amount of food-grade grease directly onto the gears. Be sure to cover all the gears evenly, applying enough grease to ensure proper lubrication.
When applying the grease, be careful not to use too much. Excessive grease can lead to messy operation and may interfere with the mixer’s performance. A small amount is typically sufficient to achieve the desired lubrication.
Take your time and ensure that the gears are generously coated but not overloaded with grease. Slowly rotate the gears to distribute the grease evenly and reach any hard-to-reach areas. This will ensure that all the moving parts are adequately lubricated.
Remember, using a food-grade grease is essential to maintain the safety and integrity of your mixer. Avoid using any lubricants that are not explicitly labeled for kitchen appliance use.
Read also: 11 Amazing Kitchenaid Mixer Grease for 2024
Step 5: Reassemble and test
After applying grease to the gears, it’s time to reassemble the mixer and test its operation. Follow these steps to complete the process:
- Replace the attachment hub cover: Take the attachment hub cover that you removed earlier and carefully place it back in its original position. Make sure it fits snugly and is properly aligned.
- Lower the mixer head and plug it back in: Gently lower the mixer head into its regular operating position. Ensure that it is securely locked in place. Once the head is lowered, plug the mixer back into a power source.
- Turn on the mixer and ensure smooth operation: With the mixer plugged in, turn it on and let it run for a few minutes. Pay attention to any unusual noises or vibrations. A properly greased mixer should operate smoothly and quietly.
If you notice any unusual noises or issues with the mixer’s operation, it may indicate that it requires further attention or maintenance. In such cases, it is recommended to consult the user manual or contact Kitchenaid customer support for assistance.
By completing these steps, you have successfully reassembled and tested your Kitchenaid mixer after greasing the gears. Regularly greasing your mixer will help maintain its performance, increase its lifespan, and ensure that it continues to operate efficiently for years to come.
Conclusion
Congratulations! You have successfully learned how to grease your Kitchenaid mixer. By following these steps, you can ensure that your mixer operates smoothly and efficiently, providing you with delicious culinary creations for many years to come.
Regular maintenance, such as greasing the gears, is vital for keeping your Kitchenaid mixer in top condition. Proper lubrication helps reduce wear and tear on the internal components, minimizing the risk of damage and prolonging the mixer’s lifespan.
Remember to always use a food-grade grease or lubricant that is safe for use in kitchen appliances. Avoid using any substances that may be harmful to your health or compromise the integrity of your mixer.
If you ever encounter any issues with your Kitchenaid mixer or feel unsure about performing maintenance tasks like greasing the gears, it is recommended to consult the user manual or contact Kitchenaid customer support for guidance.
Now that you have the knowledge and understanding of how to grease your Kitchenaid mixer, go ahead and give your mixer some love and care. Your mixer will thank you by continuing to be your trusty companion in the kitchen, assisting you in creating countless culinary delights.
Frequently Asked Questions about How To Grease A Kitchenaid Mixer
Was this page helpful?
At Storables.com, we guarantee accurate and reliable information. Our content, validated by Expert Board Contributors, is crafted following stringent Editorial Policies. We're committed to providing you with well-researched, expert-backed insights for all your informational needs.


0 thoughts on “How To Grease A Kitchenaid Mixer”