Articles
How To Paint Your Kitchenaid Mixer
Modified: October 20, 2024
Learn the best way to paint your Kitchenaid mixer with our helpful articles. Get step-by-step instructions and expert tips for a flawless finish.
(Many of the links in this article redirect to a specific reviewed product. Your purchase of these products through affiliate links helps to generate commission for Storables.com, at no extra cost. Learn more)
Introduction
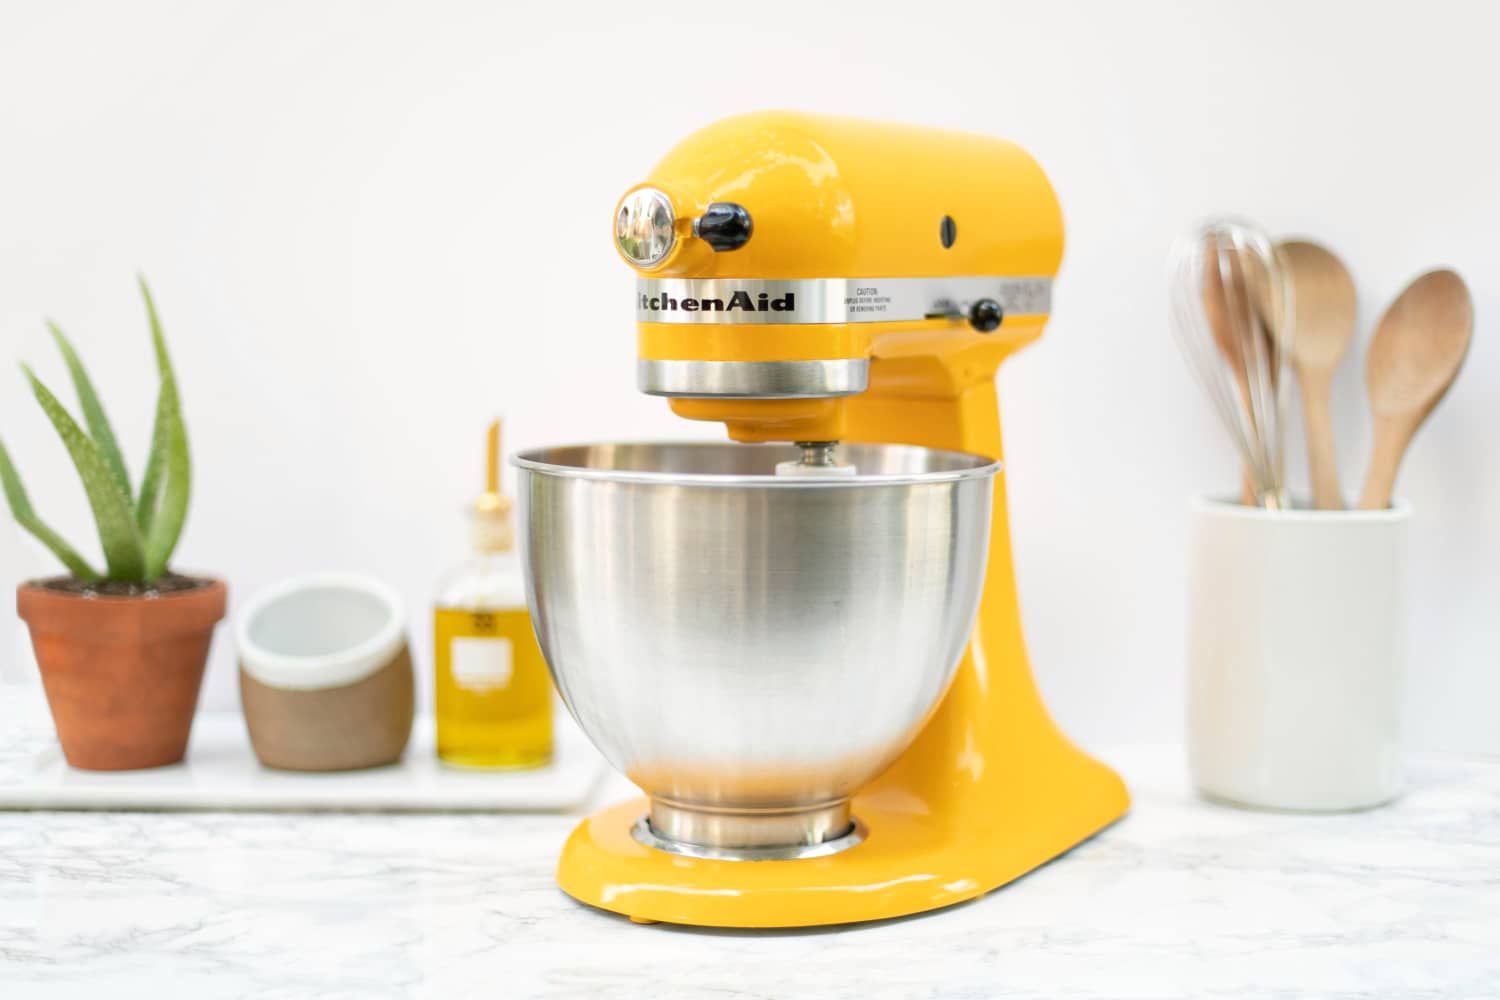
Welcome to our comprehensive guide on how to paint your KitchenAid mixer! Your KitchenAid mixer is not just a versatile kitchen tool, but also a statement piece that adds style to your countertop. If you want to give your mixer a fresh look or personalize it to match your kitchen decor, painting it can be a fun and rewarding project.
Painting your KitchenAid mixer allows you to unleash your creativity and make a bold statement in the heart of your kitchen. Whether you want to add a pop of color or create a vintage-inspired aesthetic, this guide will provide you with all the information you need to transform your mixer into a unique piece.
Before we dive into the step-by-step process, it’s important to note that painting your KitchenAid mixer will void any warranty it may still have. Additionally, it is essential to follow the instructions carefully to achieve a professional-looking and long-lasting finish. So, let’s gather the materials you will need for this project.
Key Takeaways:
- Unleash your creativity and personalize your kitchen with a painted KitchenAid mixer, adding a unique and eye-catching statement piece to your countertop.
- Transform your KitchenAid mixer into a personalized work of art by following the step-by-step guide, allowing you to showcase your style and creativity in the heart of your kitchen.
Read more: How To Clean Kitchenaid Mixer
Materials Needed
Before you begin painting your KitchenAid mixer, you will want to gather the following materials:
- Screwdriver: To disassemble the mixer and remove any detachable parts.
- Sandpaper or sanding block: Choose a medium-grit sandpaper to create a smooth surface for painting.
- Primer: Look for a high-quality bonding primer designed for use on metal surfaces.
- Paint: Choose a paint specifically designed for metal surfaces for durability and long-lasting results. Consider using enamel or acrylic paint in your desired color.
- Paintbrushes: Select a set of high-quality paintbrushes with different sizes for various areas and details.
- Painter’s tape: Use painter’s tape to cover any areas you do not want to paint, such as buttons or logos.
- Clear Coat: A clear coat will provide an additional layer of protection and a glossy finish. Ensure the clear coat is compatible with the paint you have chosen.
- Drop cloth or newspaper: Use a drop cloth or newspaper to protect your work area from paint drips and spills.
- Cleaning supplies: Have cleaning supplies on hand to clean the mixer before painting, as well as for any spills or messes during the process.
- Masking or respirator: Protect yourself by wearing a mask or respirator to avoid inhaling paint fumes.
By gathering these materials, you will be fully prepared to begin the process of transforming your KitchenAid mixer into a work of art. Now that you have everything you need, let’s move on to the first step: preparing your mixer.
Step 1: Preparing Your Mixer
Before painting your KitchenAid mixer, it’s crucial to properly prepare the surface to ensure adhesion and a smooth finish. Follow these steps to prepare your mixer:
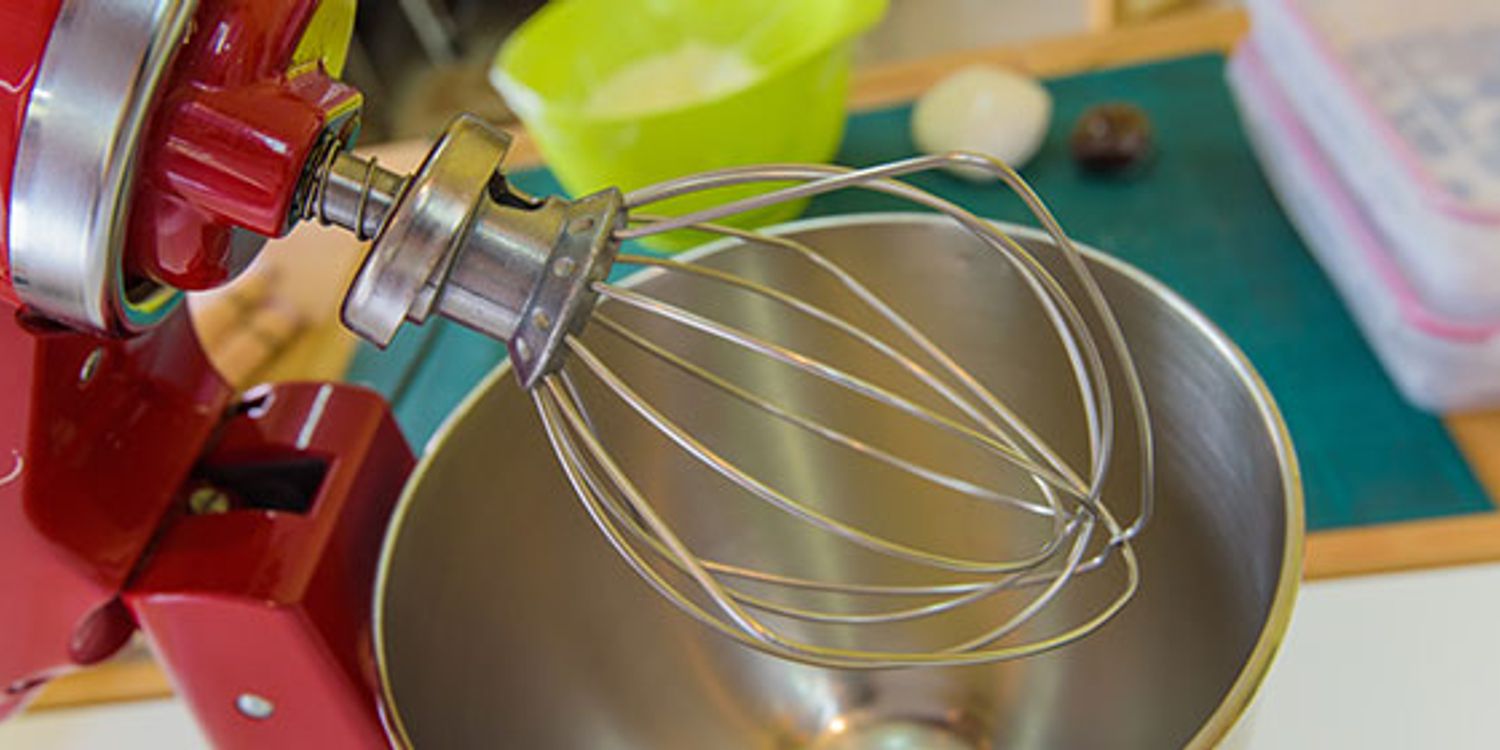
- Disassemble the mixer: Start by unplugging your mixer and removing any detachable parts, such as the mixing bowl, attachments, and splash guard. Using a screwdriver, carefully remove the housing and set aside.
- Clean the mixer: Thoroughly clean the mixer using warm, soapy water. Pay special attention to any grease, dirt, or residue that may have accumulated on the surface. Rinse with clean water and allow it to dry completely.
- Protect sensitive areas: Use painter’s tape to cover any areas you don’t want to paint, such as buttons, logos, or the power cord. This will ensure a clean and professional-looking finish.
Once you have completed these steps, your mixer will be ready for the next stage: sanding the surface. Sanding is an essential step as it helps create a roughened surface that allows the paint and primer to adhere better. Let’s move on to the next step.
Step 2: Sanding the Surface
Sanding the surface of your KitchenAid mixer is a crucial step in ensuring optimal adhesion and a smooth finish for your paint. Follow these steps to properly sand the surface:
- Select the right sandpaper: Choose a medium-grit sandpaper or sanding block. A grit between 120-220 is typically suitable for this project.
- Gently sand the surface: Start by lightly sanding the entire surface of the mixer, including the housing and any detachable parts. Make sure to sand in a circular motion, applying even pressure. The goal is to create a roughened surface for the primer and paint to adhere to, not to remove the existing finish.
- Pay attention to details: Use a smaller piece of sandpaper or sanding block to reach any nooks, crevices, or intricate parts of the mixer. This will ensure that the entire surface is properly prepped.
- Wipe off the dust: Use a clean cloth or tack cloth to carefully remove any dust or debris generated from the sanding process. It’s essential to create a clean surface for the next steps.
Once you have finished sanding and cleaning the surface, you are now ready to move on to the next step: applying the primer. The primer will not only help with adhesion but also provide a smooth and even base for your paint. Let’s proceed to Step 3.
Step 3: Applying the Primer
Applying a primer to your KitchenAid mixer is an essential step that helps with adhesion, improves paint durability, and creates a smooth base for the final coat of paint. Follow these steps to correctly apply the primer:
- Select a high-quality bonding primer: Choose a primer specifically designed for metal surfaces. Look for a primer that promotes adhesion and is compatible with the type of paint you will be using.
- Prepare your work area: Place your mixer on a protected work surface, such as a drop cloth or newspaper, to avoid getting primer on surrounding objects.
- Stir the primer: Open the can of primer and thoroughly stir it to ensure an even consistency. This will help achieve a consistent application.
- Apply the primer: Use a paintbrush or a foam roller specifically designed for smooth surfaces to apply the primer. Begin with broad, even strokes, ensuring complete coverage of the mixer’s surface. Pay attention to any small details or crevices to ensure even application.
- Allow the primer to dry: Follow the manufacturer’s instructions for drying time. Typically, it takes about 1-2 hours for the primer to dry. Make sure the primer is completely dry before moving on to the next step.
- Sand the primer: Once the primer is dry, lightly sand the surface using fine-grit sandpaper. This step helps create an even smoother surface for the final coat of paint.
- Remove any dust: Once again, use a clean cloth or tack cloth to carefully remove any dust or debris from sanding. This will ensure a clean surface for the next step.
With the primer applied, your KitchenAid mixer is now ready for the exciting part: painting! In the next step, we will guide you through the process of painting your mixer and bringing it to life with your desired color and style.
When painting your Kitchenaid mixer, make sure to thoroughly clean and sand the surface to ensure the paint adheres properly. Use a high-quality primer and paint designed for metal surfaces for best results.
Read more: How To Turn On A Kitchenaid Mixer
Step 4: Painting Your Mixer
Now comes the fun part – painting your KitchenAid mixer! Follow these steps to achieve a smooth, professional-looking finish:
- Select the right paint: Choose a high-quality paint specifically designed for metal surfaces. Enamel or acrylic paints are commonly used for this project.
- Prepare your work area: Once again, place your mixer on a protected surface and ensure good ventilation in the area to avoid paint fumes.
- Stir the paint: Open the can of paint and stir it thoroughly to mix any settling or separation. This will ensure an even application of color.
- Apply the paint: Using a clean paintbrush or foam roller, start applying the paint to your mixer in even strokes. Begin with the larger areas and gradually move to the smaller, more intricate parts. Take your time and ensure full coverage.
- Allow the paint to dry between coats: Depending on the paint’s instructions, you may need to apply multiple coats for full coverage and a vibrant finish. Be sure to follow the recommended drying time between coats.
- Smooth out any imperfections: After each coat of paint has dried, inspect the surface for any imperfections or drips. Use fine-grit sandpaper to gently smooth out any rough areas. Wipe away any dust with a clean cloth.
Remember to take your time during the painting process to achieve the best results. Once you are satisfied with the color and coverage, move on to the next step: applying a protective coat.
Step 5: Applying a Protective Coat
To ensure the longevity and durability of your newly painted KitchenAid mixer, it’s important to apply a protective coat. This will not only add a layer of defense against everyday wear and tear but also provide a glossy finish. Follow these steps to apply a protective coat:
- Select a clear coat: Choose a clear coat specifically designed for metal surfaces. Look for a clear coat that is compatible with the type of paint you used for your mixer.
- Prepare your work area: Ensure that your work area is clean and well-ventilated, just like during the painting process.
- Stir the clear coat: Open the can of clear coat and stir it thoroughly to ensure an even application.
- Apply the clear coat: Using a clean paintbrush or foam brush, apply a thin, even layer of clear coat to your mixer. Make sure to cover all painted surfaces, including the smaller details. Avoid applying the clear coat too heavily, as it can result in drips or an uneven finish.
- Allow the clear coat to dry: Follow the manufacturer’s instructions for the recommended drying time. Typically, it takes about 24 hours for the clear coat to fully dry and cure.
Once the protective coat is fully dry, your KitchenAid mixer will have a beautiful, glossy finish that enhances both its appearance and durability. Now, it’s time to move on to the final step: drying and curing.
Step 6: Drying and Curing
After applying the protective coat, it’s important to allow your newly painted KitchenAid mixer to properly dry and cure. This final step ensures that the paint and clear coat fully bond to the surface and achieve maximum durability. Follow these guidelines for drying and curing:
- Find a well-ventilated area: Place your mixer in a well-ventilated area where it can dry undisturbed. Avoid placing it in direct sunlight, as this can cause the paint and clear coat to fade or yellow over time.
- Allow sufficient drying time: It’s crucial to be patient during this step. Let the mixer dry for at least 24-48 hours before using or reassembling any detachable parts. This will ensure that the paint and clear coat have fully cured and hardened.
- Handle with care: Even though the paint may appear dry, it can still be susceptible to minor scuffs and scratches until fully cured. Handle your mixer with caution during this curing period to avoid any damage to the finish.
Once the drying and curing process is complete, you can now enjoy your newly painted KitchenAid mixer and proudly showcase it in your kitchen. Remember to clean it with gentle care, using mild soap and water, to maintain the longevity of the paint finish. Enjoy your customized and personalized mixer!
By following these steps carefully and using the recommended materials, you can successfully paint your KitchenAid mixer and give it a fresh, personalized look. This project allows you to unleash your creativity and make a unique statement piece for your kitchen. Enjoy the process and happy painting!
Conclusion
Congratulations! You have reached the end of our comprehensive guide on how to paint your KitchenAid mixer. By following the step-by-step instructions and using the recommended materials, you have transformed your mixer into a personalized, eye-catching piece that reflects your style and adds a touch of uniqueness to your kitchen.
Painting your KitchenAid mixer not only allows you to unleash your creativity but also provides an opportunity to breathe new life into an essential kitchen appliance. Whether you have chosen a vibrant color to make a bold statement or a subtle shade to complement your kitchen decor, your painted mixer will undoubtedly become a conversation starter.
Remember to take your time during each step of the process, from preparing the mixer to applying the final protective coat. Attention to detail and patience will result in a professional-looking finish that will stand the test of time.
Once your mixer has dried and cured, you can confidently reassemble the detachable parts and start using it again. Be sure to clean your mixer with care using mild soap and water, avoiding abrasive cleaners to preserve the longevity of the paint finish.
Now, every time you mix up a batch of cookies, knead dough, or whip up a delicious cake, your painted KitchenAid mixer will be a visual delight in your kitchen. It will not only be a functional appliance but also a representation of your personal style and creativity.
We hope you have enjoyed this journey of transforming your KitchenAid mixer. Feel free to share your experience and show off your beautifully painted mixer to inspire others in their own DIY projects. Happy painting!
Frequently Asked Questions about How To Paint Your Kitchenaid Mixer
Was this page helpful?
At Storables.com, we guarantee accurate and reliable information. Our content, validated by Expert Board Contributors, is crafted following stringent Editorial Policies. We're committed to providing you with well-researched, expert-backed insights for all your informational needs.


0 thoughts on “How To Paint Your Kitchenaid Mixer”