Articles
What To Cut Insulation With
Modified: January 8, 2024
Looking for articles on what to cut insulation with? Find helpful tips and tools for cutting insulation efficiently and safely.
(Many of the links in this article redirect to a specific reviewed product. Your purchase of these products through affiliate links helps to generate commission for Storables.com, at no extra cost. Learn more)
Introduction
When it comes to cutting insulation, having the right tools can make all the difference. Whether you’re working on a DIY project or a professional contractor, using the proper cutting tools ensures clean and accurate cuts, saving you time and effort in the process. With a variety of insulation materials available, it’s important to know which tools are best suited for each type of insulation.
In this article, we will explore ten different tools that are commonly used to cut insulation. Each tool is designed to provide specific benefits for different insulation materials, and understanding their features will help you choose the most appropriate tool for your needs.
Before we delve into the details, it’s important to remember that safety should always be your top priority. Make sure to wear protective gear such as gloves, goggles, and a dust mask when working with insulation materials. Additionally, securely support the insulation to prevent any accidental slips or injuries while cutting.
Now, let’s dive into the world of insulation cutting tools:
Key Takeaways:
- Choose the right cutting tool for your insulation material to ensure clean and precise cuts. From utility knives to hot wire cutters, each tool has its unique benefits and safety considerations.
- Prioritize safety by wearing protective gear and following manufacturer’s guidelines when using cutting tools. Keep blades sharp and maintain tools for optimal cutting performance and safety.
Read more: How To Cut Roll Insulation
Utility Knife
The utility knife is a versatile tool that is commonly used for a wide range of tasks, including cutting insulation. It features a retractable blade that can be easily adjusted to the desired length, allowing for precise and controlled cuts.
When using a utility knife to cut insulation, it’s important to ensure that the blade is sharp and in good condition. Dull blades can lead to jagged cuts and make the task more challenging. Replace the blade if it becomes dull to achieve clean and smooth cuts.
To cut insulation with a utility knife, follow these steps:
- Measure and mark the desired length of insulation on the surface.
- Place a straight edge or a ruler along the marking to guide the knife.
- Hold the utility knife at an angle, applying light pressure to the blade.
- Begin cutting by applying steady pressure and making multiple passes if needed.
- Continue cutting until you reach the end of the insulation.
While a utility knife is suitable for cutting various types of insulation, including fiberglass and foam board, it may struggle with thicker or denser materials. In such cases, using specialized insulation cutting tools may be more effective.
Remember to always exercise caution and work in a well-ventilated area when cutting insulation. Some insulation materials may release particles or fibers that can irritate the skin, eyes, or respiratory system. Take appropriate safety measures and clean up any debris or scraps after completing the cutting process.
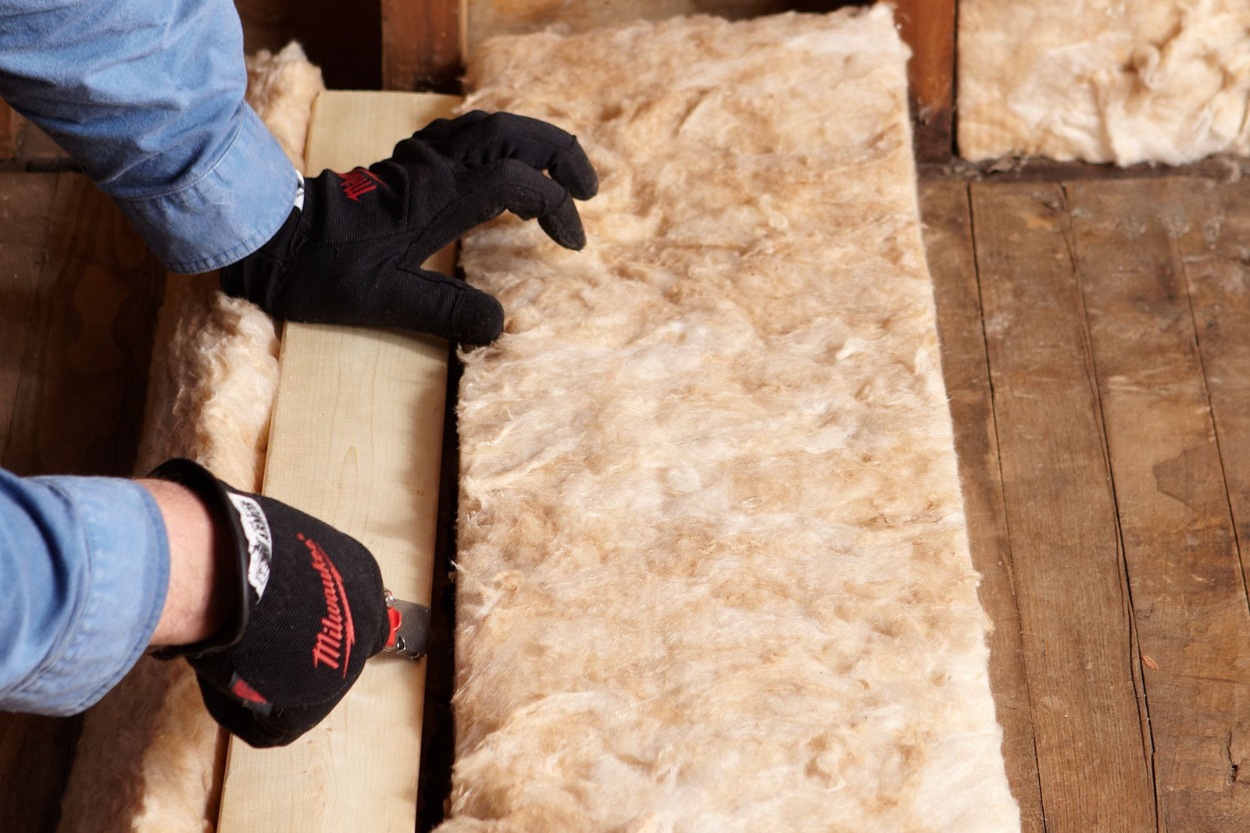
Insulation Knife
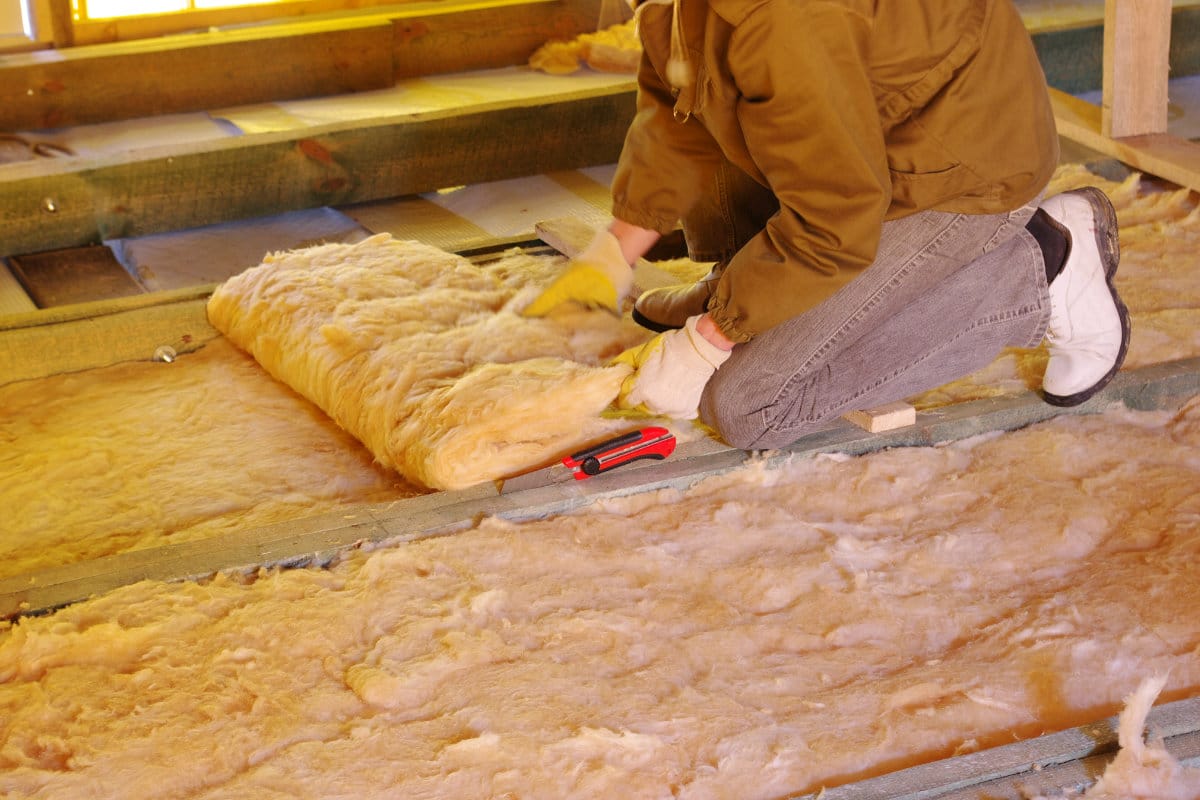
When it comes to cutting insulation materials like fiberglass or mineral wool, an insulation knife is a specialized tool that can provide precise and clean cuts. This type of knife is designed with a serrated blade that effortlessly cuts through thick and dense insulation without tearing or fraying the material.
The serrated blade of an insulation knife helps to grip the insulation, preventing it from slipping or moving during the cutting process. This ensures accurate cuts and reduces the risk of accidents or injuries.
To use an insulation knife effectively, follow these steps:
- Measure and mark the desired length of insulation on the surface.
- Hold the insulation firmly in place.
- Position the insulation knife perpendicular to the material.
- Apply moderate pressure and saw back and forth to cut through the insulation.
- Continue cutting until you reach the end of the material.
An insulation knife is particularly useful when working with thick batt insulation, as it allows for precise trimming and shaping. It can also be used to cut insulation that requires intricate or curved cuts, such as around pipes or ductwork.
When using an insulation knife, it’s important to handle it with care and avoid applying excessive force that can cause the blade to snap or break. Always make sure the blade is sharp, and replace it if it becomes dull to maintain optimal cutting performance.
Remember to wear the appropriate personal protective equipment, such as gloves and safety glasses, when using an insulation knife to protect yourself from any potential injuries or irritations caused by the insulation material.
Saw
For cutting insulation materials like rigid foam board or plywood, a saw can be a valuable tool. There are different types of saws that can be used, depending on the thickness and density of the insulation.
If you are working with thinner insulation materials, a hand saw or a coping saw can be an effective choice. These saws have fine teeth that can cut through the material with precision. They are easy to control and allow for intricate cuts, making them ideal for shaping insulation around obstacles or in tight spaces.
When working with thicker and denser insulation materials, such as rigid foam boards, a circular saw or a reciprocating saw may be more suitable. These power tools can quickly cut through the insulation with ease, making them ideal for larger projects or when time is of the essence.
When using a saw to cut insulation, follow these steps:
- Mark the desired length or shape on the insulation material.
- Secure the material in place using clamps or by firmly holding it down.
- Choose an appropriate saw for the task at hand.
- Position the saw blade on the marked line.
- Start the saw and slowly guide it along the marked line, applying steady pressure.
- Continue cutting until you reach the end of the insulation material.
Always wear safety goggles and follow the manufacturer’s instructions when using a saw. It’s also recommended to have a dust mask on hand, as cutting insulation materials can generate dust particles that may be harmful when inhaled.
Using a saw for cutting insulation provides clean and accurate cuts, allowing for a precise fit when installing the insulation. However, it’s essential to be cautious and take appropriate safety measures to prevent accidents or injuries during the cutting process.
Wire Cutter
When it comes to cutting insulation materials such as flexible foam or rubber foam, a wire cutter can be a handy tool to have. Wire cutters are designed with sharp blades and a wire-gripping mechanism that can effortlessly cut through soft and pliable insulation materials.
Wire cutters are particularly useful when working with insulation materials that have a covering or jacket, such as HVAC duct insulation or wiring insulation. The sharp blades of the wire cutter can easily penetrate through the jacket, providing clean and precise cuts.
To cut insulation with a wire cutter, follow these steps:
- Measure and mark the desired length of insulation on the material.
- Hold the insulation firmly in place.
- Position the wire cutter’s cutting edge on the marked line.
- Squeeze the handles of the wire cutter to engage the cutting mechanism.
- Apply steady pressure to the handles, ensuring that the blades penetrate through the insulation.
- Continue cutting until you reach the end of the insulation.
Wire cutters are not only efficient for cutting insulation but can also be used for other tasks such as cutting wires, cables, or zip ties. They are lightweight, portable, and easy to handle, making them a versatile tool to have in your toolkit.
Always make sure to use wire cutters that are appropriate for the thickness of the insulation material you are working with. Choosing a wire cutter with sharp and durable blades will ensure optimal cutting performance and prolong the lifespan of the tool.
It is important to note that wire cutters are not suitable for cutting rigid insulation materials such as foam boards or rigid fiberglass. Using wire cutters on these materials may result in damage to the insulation or the tool itself. In such cases, consider using specialized tools designed for cutting rigid insulation materials.
Remember to wear safety goggles and gloves when using a wire cutter, as they can provide protection from any sharp edges or flying debris during the cutting process.
Read more: How To Cut Rockwool Insulation
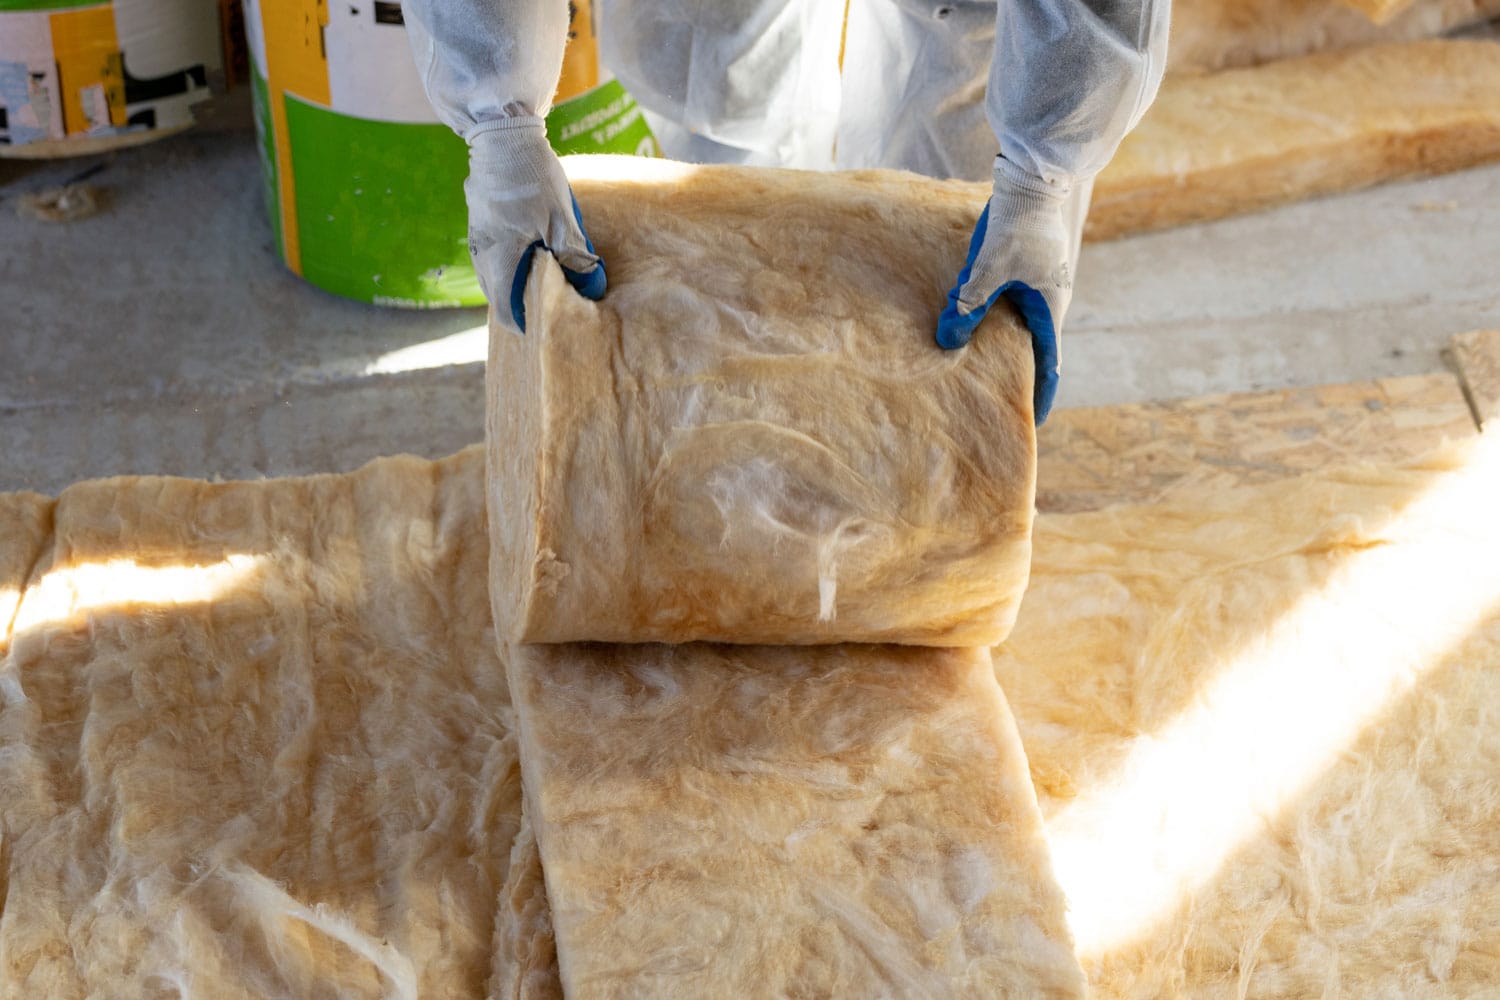
Insulation Shears
Insulation shears are specifically designed for cutting insulation materials such as fiberglass, mineral wool, or foam board. These shears feature a serrated blade and a spring-loaded handle, allowing for easy and efficient cutting of various types of insulation.
The serrated blade of insulation shears grips the insulation material, preventing it from slipping or moving during the cutting process. This ensures clean and precise cuts without tearing or fraying the insulation. The spring-loaded handle provides added leverage and minimizes hand fatigue, making insulation shears comfortable to use for extended periods.
To cut insulation with insulation shears, follow these steps:
- Measure and mark the desired length of insulation on the material.
- Hold the insulation firmly in place.
- Position the insulation shears on the marked line.
- Squeeze the handles of the shears to engage the cutting mechanism.
- Apply firm and even pressure to the handles to cut through the insulation.
- Continue cutting until you reach the end of the material.
Insulation shears are particularly useful when working with fiberglass batt insulation or mineral wool, as they provide clean and accurate cuts without disturbing the fibers. They can also be used to trim foam board insulation or make intricate cuts for fitting around obstacles.
When using insulation shears, it’s important to choose the appropriate shears for the thickness and density of the insulation material. Using shears that are too small or weak may result in difficulty cutting through the material or damaging the blades.
Always ensure that the blades of insulation shears are sharp and in good condition, as dull blades can make the cutting process more challenging and result in uneven or jagged cuts. If the blades become dull, consider sharpening or replacing them for optimal cutting performance.
Remember to wear proper protective gear, including gloves and safety glasses, when using insulation shears. This will help protect you from any potential injuries or irritations caused by the insulation material.
Use a sharp utility knife or insulation knife to cut fiberglass insulation. For foam board insulation, use a handsaw or a specialty foam board cutter for clean, precise cuts. Always wear gloves and a mask for protection.
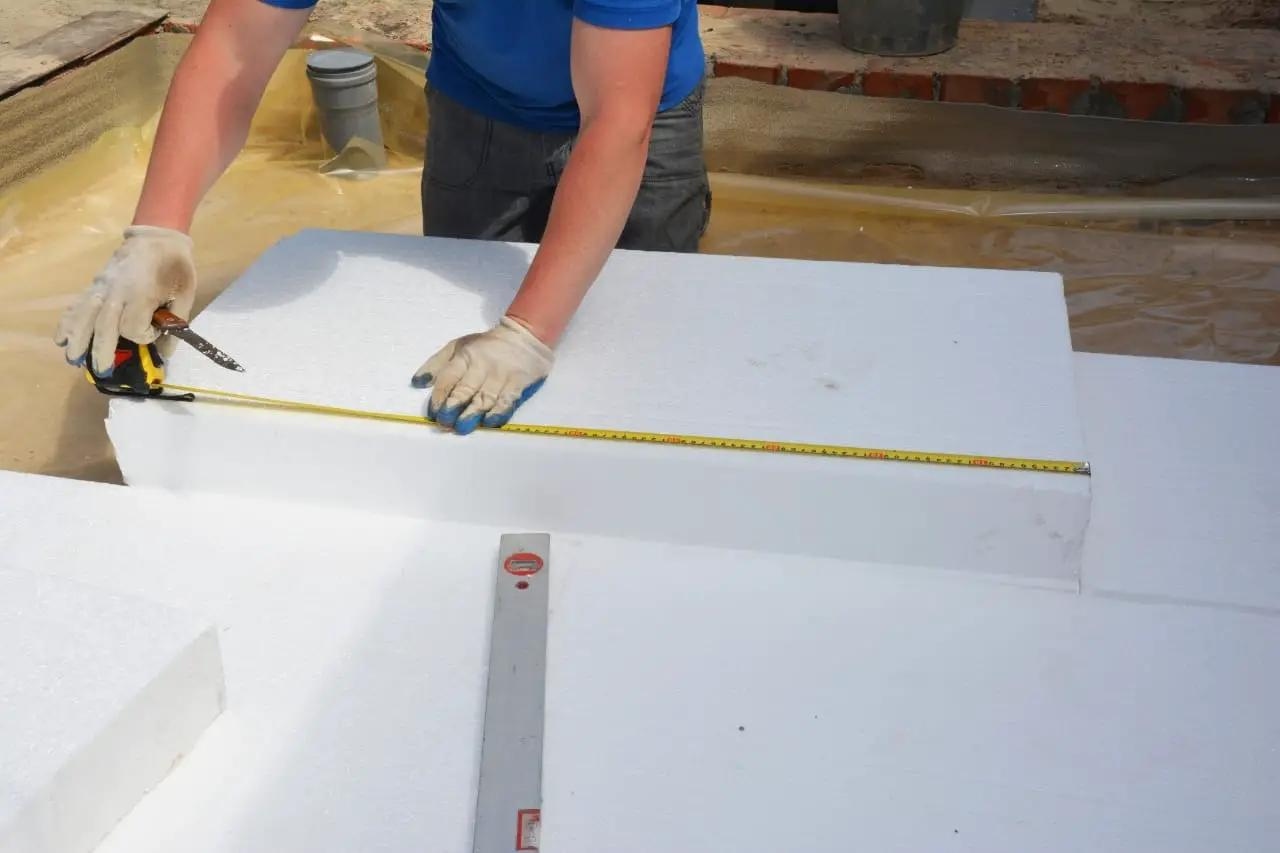
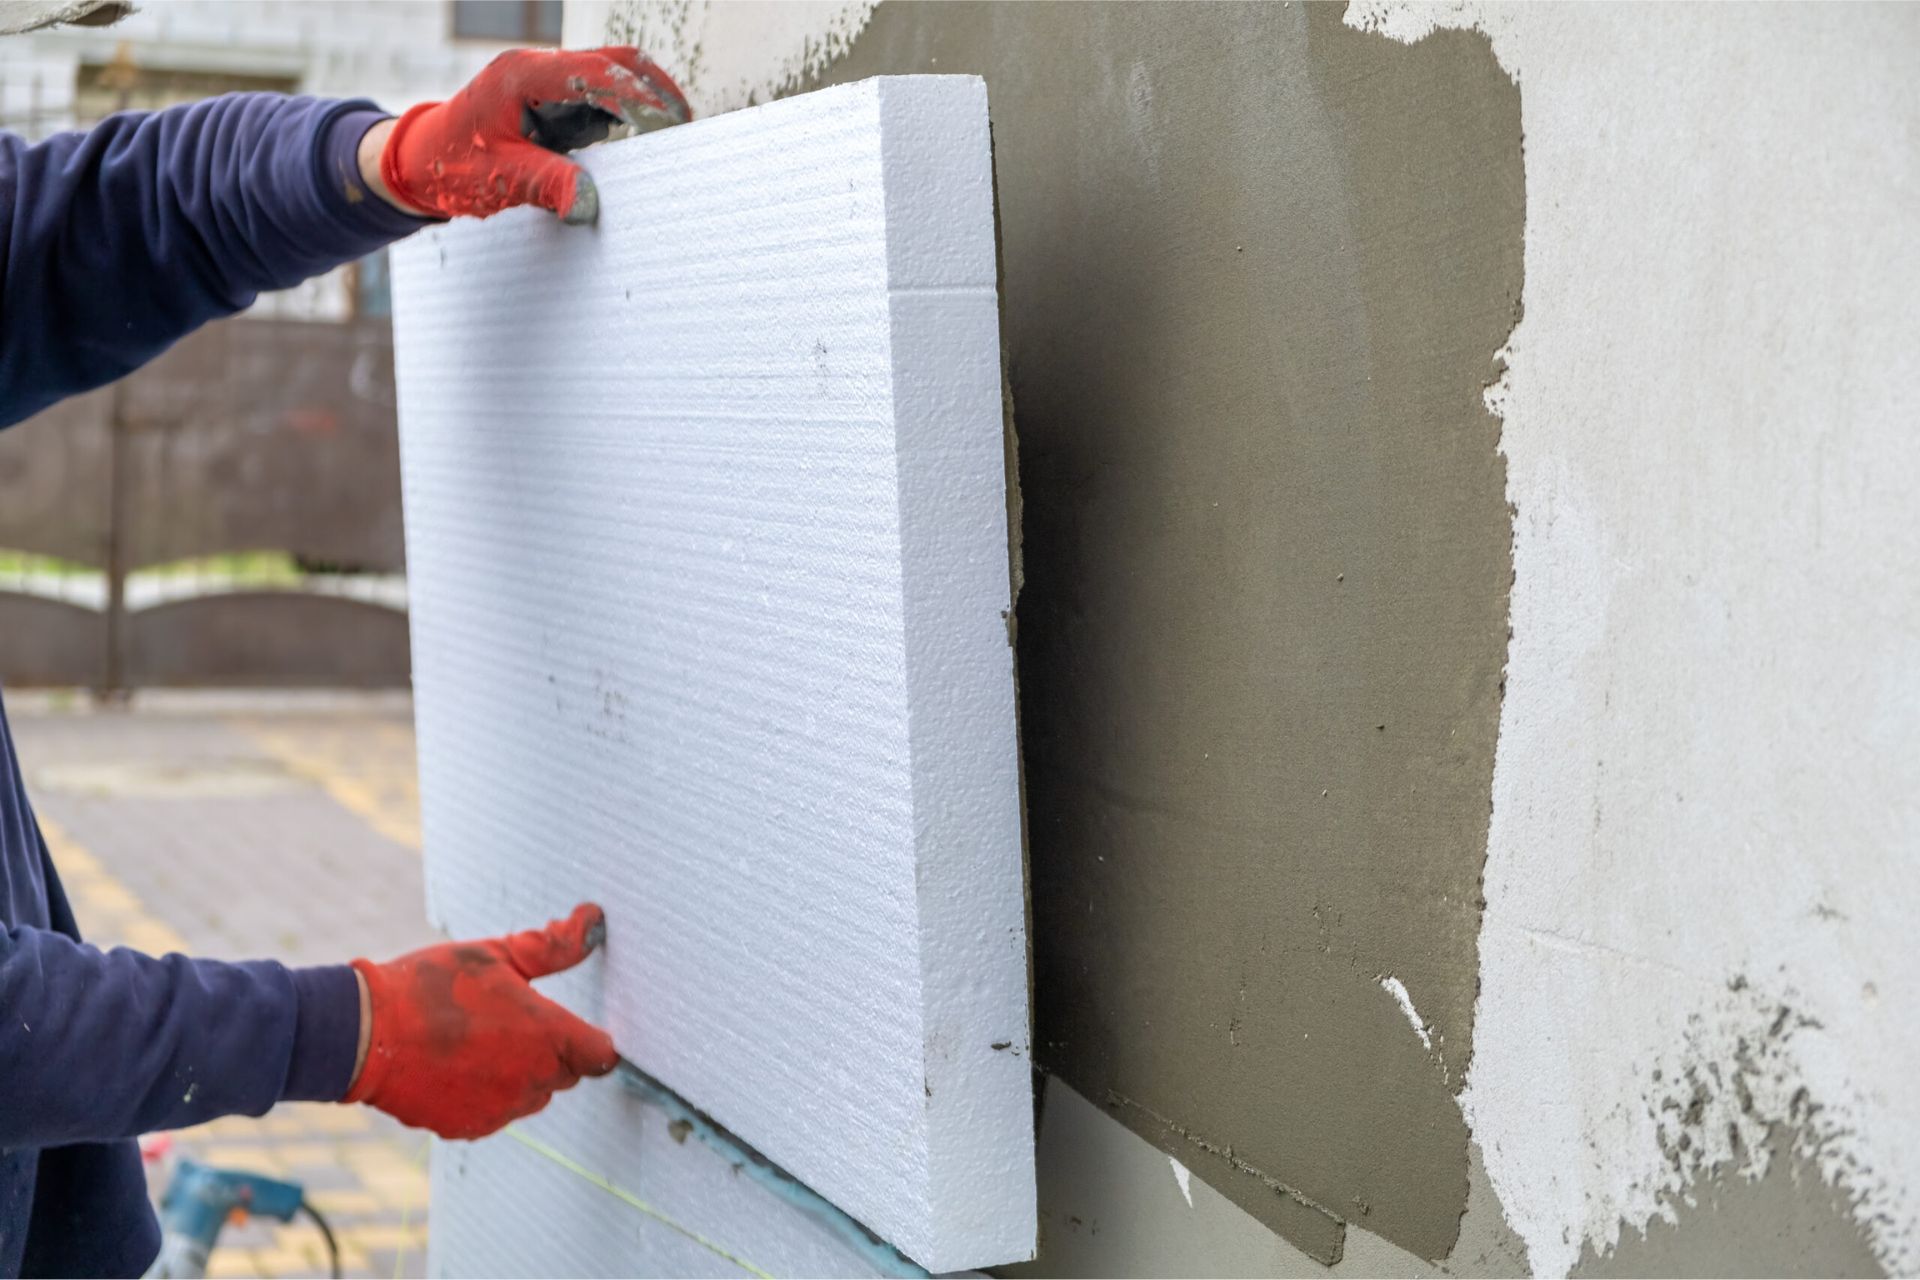
Foam Board Cutter
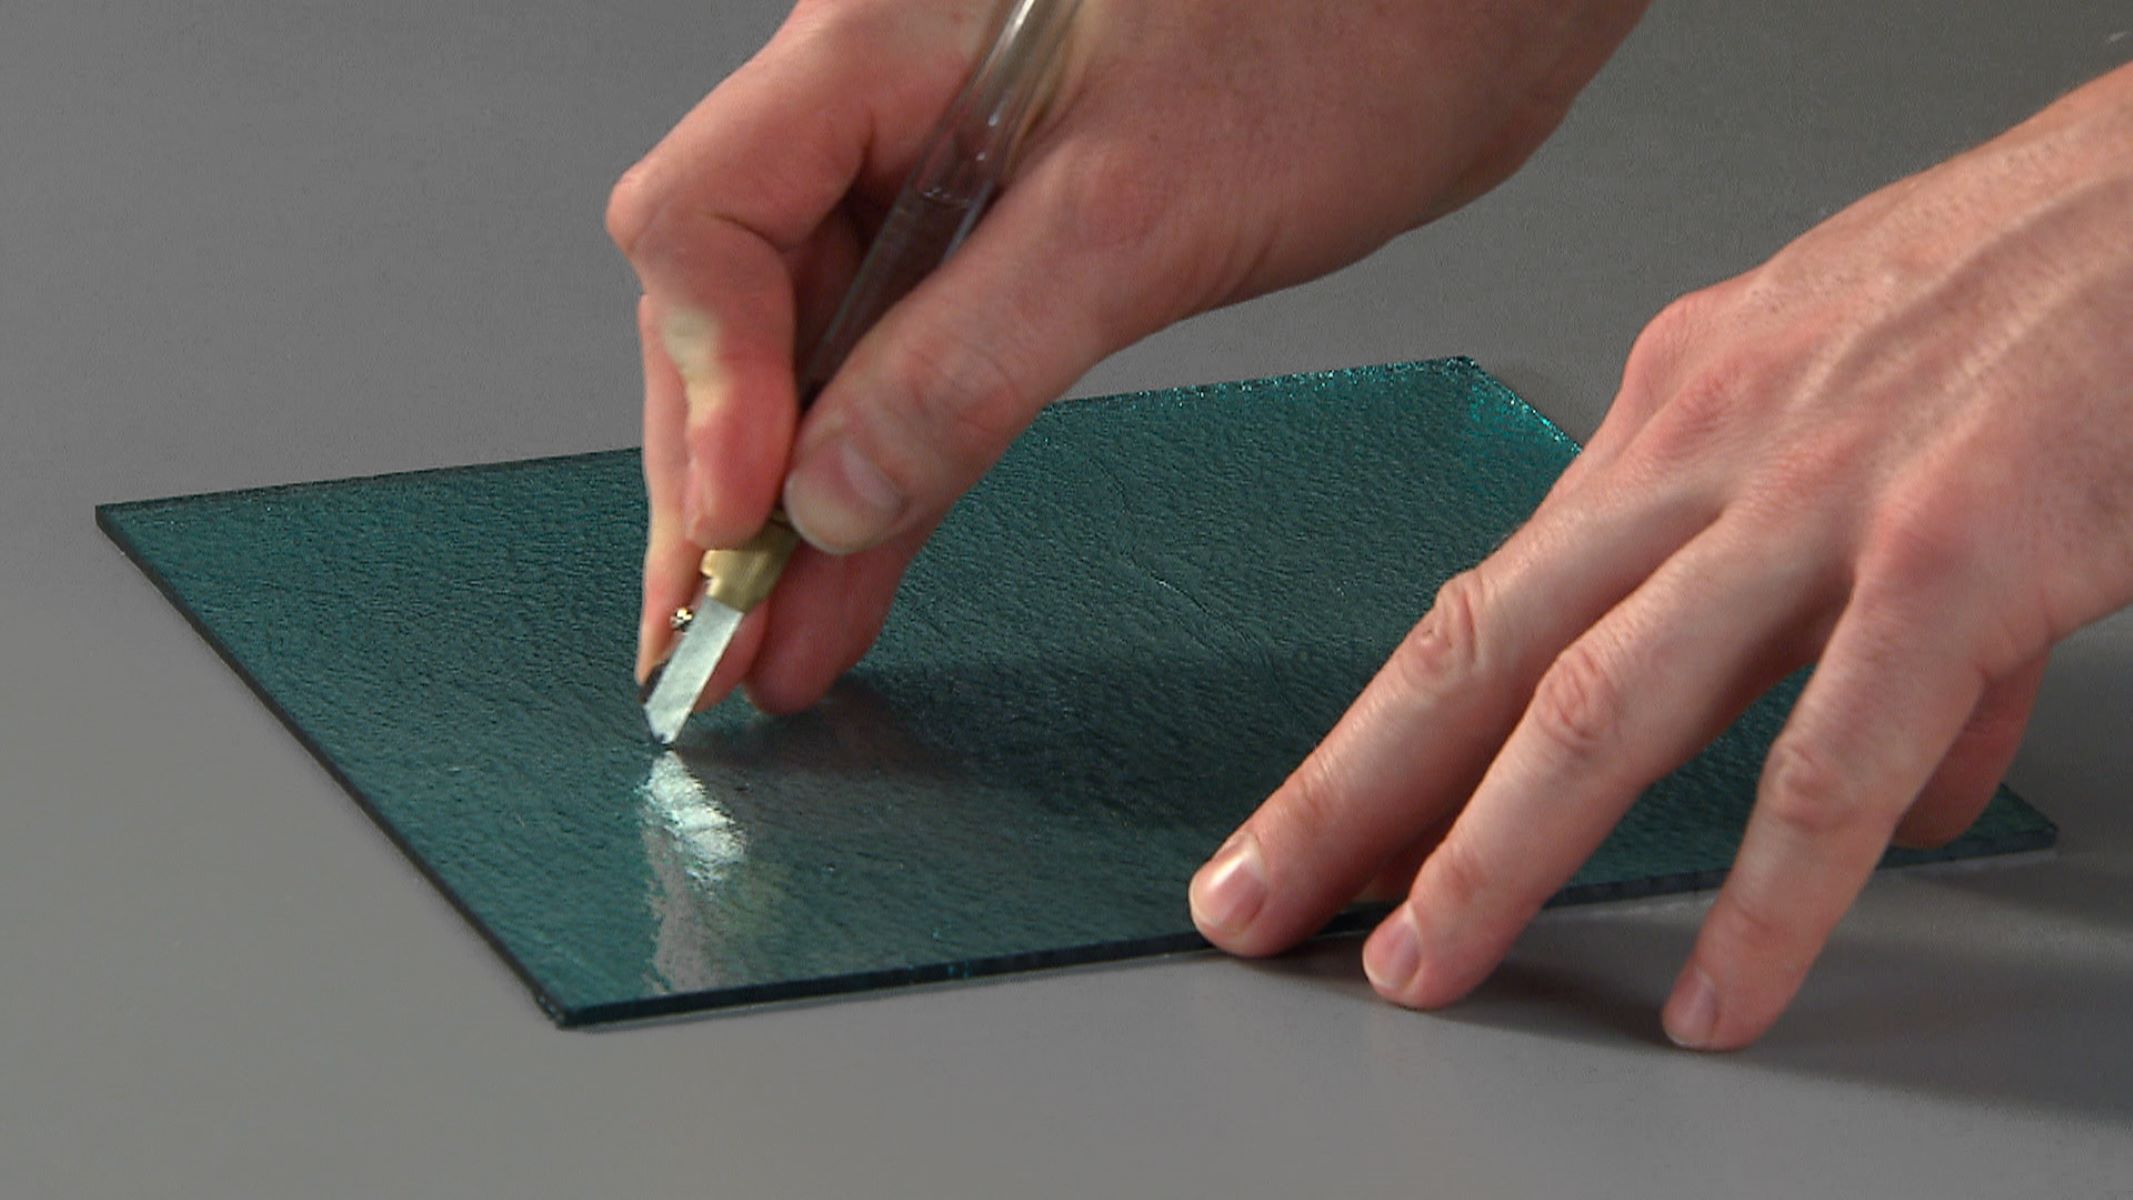
When working with foam board insulation, a foam board cutter is an essential tool for precise and clean cuts. Foam board cutters are specifically designed to cut through foam board materials, such as expanded polystyrene (EPS) or extruded polystyrene (XPS), commonly used in insulation applications.
A foam board cutter typically consists of a sharp blade and a guide that helps to ensure straight and accurate cuts. Some foam board cutters also have adjustable depth settings, allowing you to control the depth of the cut for different thicknesses of foam board.
To use a foam board cutter effectively, follow these steps:
- Measure and mark the desired length or shape on the foam board.
- Place the foam board on a flat surface or workbench.
- Align the guide of the foam board cutter with the marked line.
- Hold the foam board cutter firmly and gently score the foam board along the marked line.
- Repeat the scoring process a few times, gradually increasing the pressure to achieve a clean cut.
- If needed, snap the foam board along the scored line to finalize the cut.
Foam board cutters are ideal for cutting foam board insulation because they prevent the foam board from compressing or deforming during the cutting process. This results in clean and precise cuts without causing any damage to the foam board.
It’s important to use a foam board cutter that is appropriate for the thickness and density of the foam board. Using a cutter with a blade that is too small or weak may result in difficulty cutting through the material or create rough and uneven edges.
Always ensure that the blade of the foam board cutter is sharp and in good condition. A dull blade can make the cutting process more challenging and lead to jagged or torn edges. If the blade becomes dull, consider sharpening or replacing it for optimal cutting performance.
Remember to wear safety goggles and gloves when using a foam board cutter to protect yourself from any potential injuries or irritations caused by the foam board material.
Hot Wire Cutter
A hot wire cutter is a specialized tool that is commonly used for cutting foam insulation materials, such as expanded polystyrene (EPS) or extruded polystyrene (XPS) foams. This tool uses a heated wire to melt through the foam, creating clean and precise cuts with minimal mess.
The hot wire cutter typically consists of a handle with a power source and a thin wire stretched taut between two points. The wire heats up when the power is turned on, allowing it to easily slice through foam insulation materials without compressing or crushing them.
To use a hot wire cutter effectively, follow these steps:
- Measure and mark the desired length or shape on the foam insulation.
- Place the foam insulation on a flat surface or workbench.
- Turn on the hot wire cutter and allow the wire to heat up.
- Guide the hot wire cutter along the marked line, applying gentle and consistent pressure.
- Allow the wire to melt through the foam insulation, creating a smooth and clean cut.
- Continue cutting until you reach the end of the foam insulation.
A hot wire cutter is an excellent tool for creating intricate cuts and shapes in foam insulation materials. It allows for precise detailing and can be used to cut angles, curves, and even intricate designs, making it a popular choice for architectural models or artistic projects.
It’s important to note that safety precautions should be taken when using a hot wire cutter. The heated wire can cause burns or fire hazards, so it’s crucial to keep the tool away from flammable materials and to use it in a well-ventilated area. Always follow the manufacturer’s instructions and guidelines for safe usage.
When using a hot wire cutter, it’s important to be mindful of the wire’s temperature. Excessive heat can lead to the wire breaking or warping, affecting the quality of the cuts. Allow the wire to cool down between cuts to maintain optimal cutting performance.
Remember to use appropriate protective gear, such as gloves and safety goggles, when using a hot wire cutter to protect yourself from any potential injuries or hazards.
Scissors
While perhaps one of the most basic and common cutting tools, scissors can still be a practical option for cutting certain types of insulation materials. Scissors are versatile and readily available, making them a convenient choice for quick and simple cuts.
When using scissors to cut insulation, it’s important to consider the type and thickness of the material. Scissors work best for thinner and softer insulation materials, such as acoustic foam or felt insulation.
To cut insulation with scissors, follow these steps:
- Measure and mark the desired length or shape on the insulation material.
- Hold the insulation firmly in place.
- Position the scissors along the marked line.
- Using even and controlled pressure, squeeze the scissors to cut through the insulation.
- Continue cutting until you reach the end of the material.
While scissors can be a convenient tool for cutting insulation, there are a few things to keep in mind. Insulation materials like fiberglass or rigid foam boards may cause wear and dull the scissors’ blades more quickly. It’s advisable to reserve a pair of scissors specifically for cutting insulation to maintain their effectiveness.
Additionally, be cautious when working with insulation materials that release particles or fibers, as they can accumulate on the blades of the scissors. Clean the blades regularly to prevent build-up, and consider wearing gloves and a mask to protect yourself from any irritants.
When cutting insulation with scissors, it’s essential to exercise caution and ensure that the blades are sharp. Dull blades can make the cutting process more challenging and result in rough and jagged edges. If the scissors’ blades become dull, sharpen them or consider replacing them for cleaner and more efficient cuts.
Remember to always prioritize safety by wearing appropriate protective gear, such as gloves and safety glasses, when working with insulation and using scissors. Take care to avoid accidents and injuries while cutting.
Read more: How To Cut Batt Insulation
Tin Snips
Tin snips, also known as aviation snips, are a type of cutting tool that is commonly used to cut sheet metal. While primarily designed for metalworking, tin snips can also be useful for cutting certain insulation materials that have a metallic component, such as reflective insulation or metal foil-faced insulation boards.
Tin snips are available in several different types, including straight-cut, left-cut, and right-cut snips. Each type is designed for specific cutting applications, so it’s important to choose the appropriate one for the insulation material you’re working with.
To use tin snips effectively for cutting insulation, follow these steps:
- Measure and mark the desired length or shape on the insulation material.
- Secure the material in place to prevent unwanted movement.
- Select the appropriate type of tin snips for cutting the insulation material.
- Position the snips’ cutting jaws along the marked line.
- Apply steady pressure and squeeze the handles of the snips to cut through the material.
- Continue cutting until you reach the end of the insulation material.
It’s crucial to note that tin snips are most effective for cutting thin and lightweight insulation materials that contain metal components. Attempting to use tin snips on thicker or denser insulation materials, such as foam board, may result in damage to both the insulation material and the snips.
When using tin snips, it’s important to be cautious and wear appropriate safety gear. The snips’ sharp blades can be hazardous, and metal shards or sharp edges may be present when cutting certain insulation materials. Protect your hands with gloves and wear safety goggles to prevent injuries.
Regular maintenance of tin snips is also essential for optimal performance. Keep the blades clean and free of debris, and periodically lubricate the pivot point to ensure smooth cutting action. If the blades become dull or damaged, sharpen or replace them to maintain clean and efficient cuts.
Always follow the manufacturer’s instructions and guidelines for safe usage of tin snips. Proper usage and care will not only ensure a successful cutting experience but also extend the lifespan of your tin snips.
Oscillating Tool
An oscillating tool, also known as a multi-tool, is a versatile power tool that can be used for a wide range of cutting applications, including cutting insulation. The oscillating tool features a small and fast-moving blade that moves in a back-and-forth motion, making it ideal for precise and controlled cutting.
When it comes to cutting insulation, an oscillating tool can be a valuable asset, particularly for thicker or denser materials like foam board or rigid fiberglass. The oscillating blade can effortlessly cut through these materials without causing undue pressure or distortion.
To use an oscillating tool effectively for cutting insulation, follow these steps:
- Measure and mark the desired length or shape on the insulation material.
- Select an appropriate blade for cutting insulation, such as a carbide-toothed blade or a specialty insulation cutting blade.
- Position the oscillating tool’s blade on the marked line.
- Turn on the tool and gently guide the blade along the marked line, applying consistent pressure.
- Continue cutting until you reach the end of the insulation material.
One of the advantages of using an oscillating tool for cutting insulation is the ability to make plunge cuts. This allows you to start a cut in the middle of a material or create openings and notches in the insulation as needed.
It’s important to note that using an oscillating tool requires care and attention, especially when cutting insulation. The fast-moving blade can generate heat, so it’s advisable to work in short bursts to prevent overheating of the blade or the insulation material.
As with any power tool, wearing personal protective equipment such as safety goggles and gloves is essential when using an oscillating tool. This will protect you from any potential hazards or debris that may be generated during the cutting process.
Lastly, regularly inspect the blade’s condition and replace it when necessary. A worn or damaged blade can hinder the cutting performance and create rough edges. Follow the manufacturer’s guidelines for blade changes and maintenance to ensure safe and efficient cutting.
An oscillating tool can be a valuable addition to your toolkit, providing versatility and precision when cutting insulation and a variety of other materials.
Frequently Asked Questions about What To Cut Insulation With
Was this page helpful?
At Storables.com, we guarantee accurate and reliable information. Our content, validated by Expert Board Contributors, is crafted following stringent Editorial Policies. We're committed to providing you with well-researched, expert-backed insights for all your informational needs.


0 thoughts on “What To Cut Insulation With”