Articles
How To Stop A Leak In The Ceiling
Modified: February 28, 2024
Learn effective ways to stop a leak in your ceiling with these informative articles. Prevent water damage and save your home from further deterioration.
(Many of the links in this article redirect to a specific reviewed product. Your purchase of these products through affiliate links helps to generate commission for Storables.com, at no extra cost. Learn more)
Introduction
Welcome to our comprehensive guide on how to stop a leak in the ceiling. Dealing with a leak in the ceiling can be a frustrating experience, but with the right steps and materials, you can effectively identify the source of the leak and repair it. Whether you are facing a small drip or a larger, more significant leak, this article will provide you with the necessary information and guidance to address the issue.
Leaks in the ceiling can occur for various reasons, such as a damaged roof, a burst pipe, or even condensation build-up. Regardless of the cause, it is crucial to address the problem promptly to prevent further damage to your ceiling, walls, and other areas of your home.
In this article, we will walk you through the process of identifying the source of the leak, gathering the necessary materials, preparing the area for repair, patching a small ceiling leak, and tackling a larger ceiling leak. We will also provide guidance on dealing with water damage and offer tips on how to prevent future ceiling leaks.
So, let’s dive in and get started on fixing that pesky leak in your ceiling!
Key Takeaways:
- Identify the source of the leak by observing, tracing, and inspecting the roof and plumbing. Proper identification is crucial for an effective repair.
- Take proactive measures to prevent future ceiling leaks, such as regular roof inspections, maintaining plumbing systems, and ensuring proper ventilation and sealing.
Read more: How To Stop Water Pump Leak
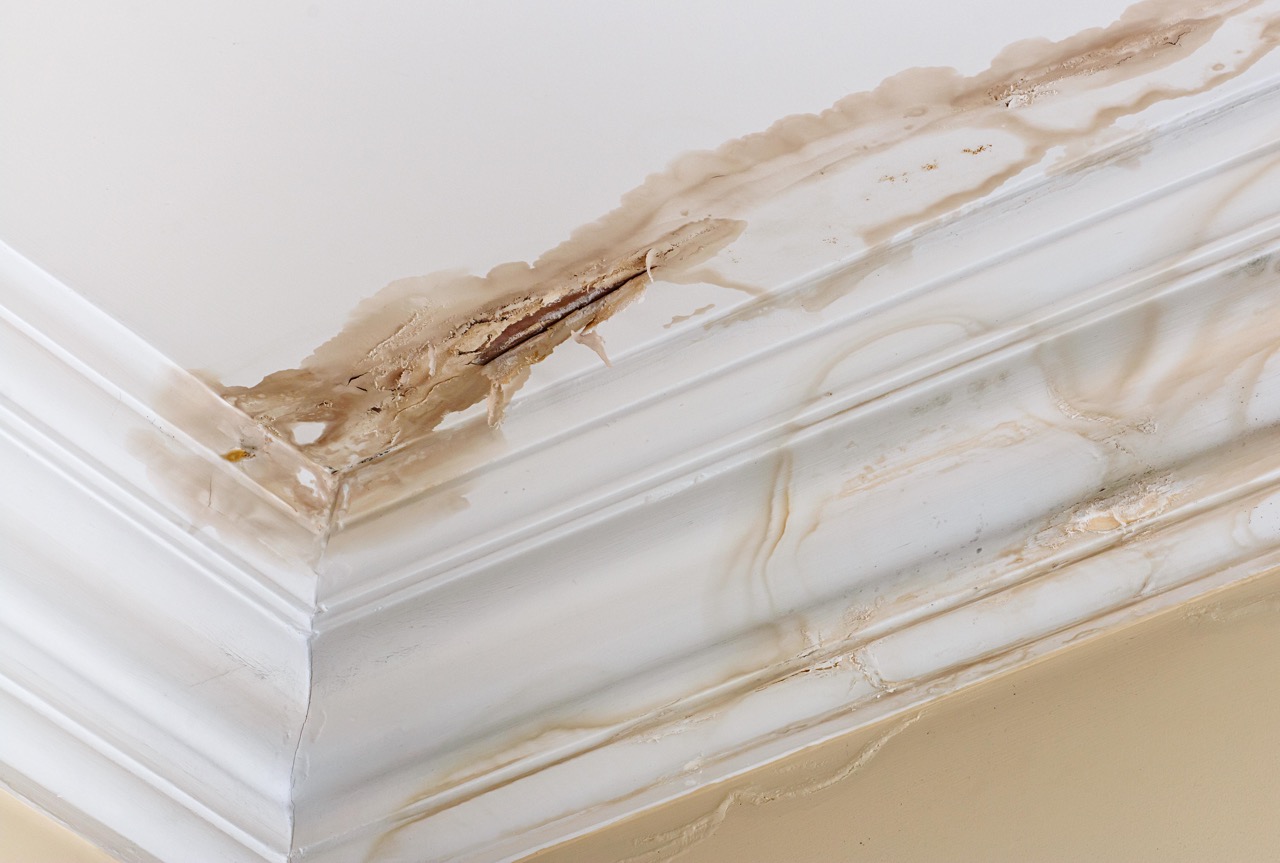
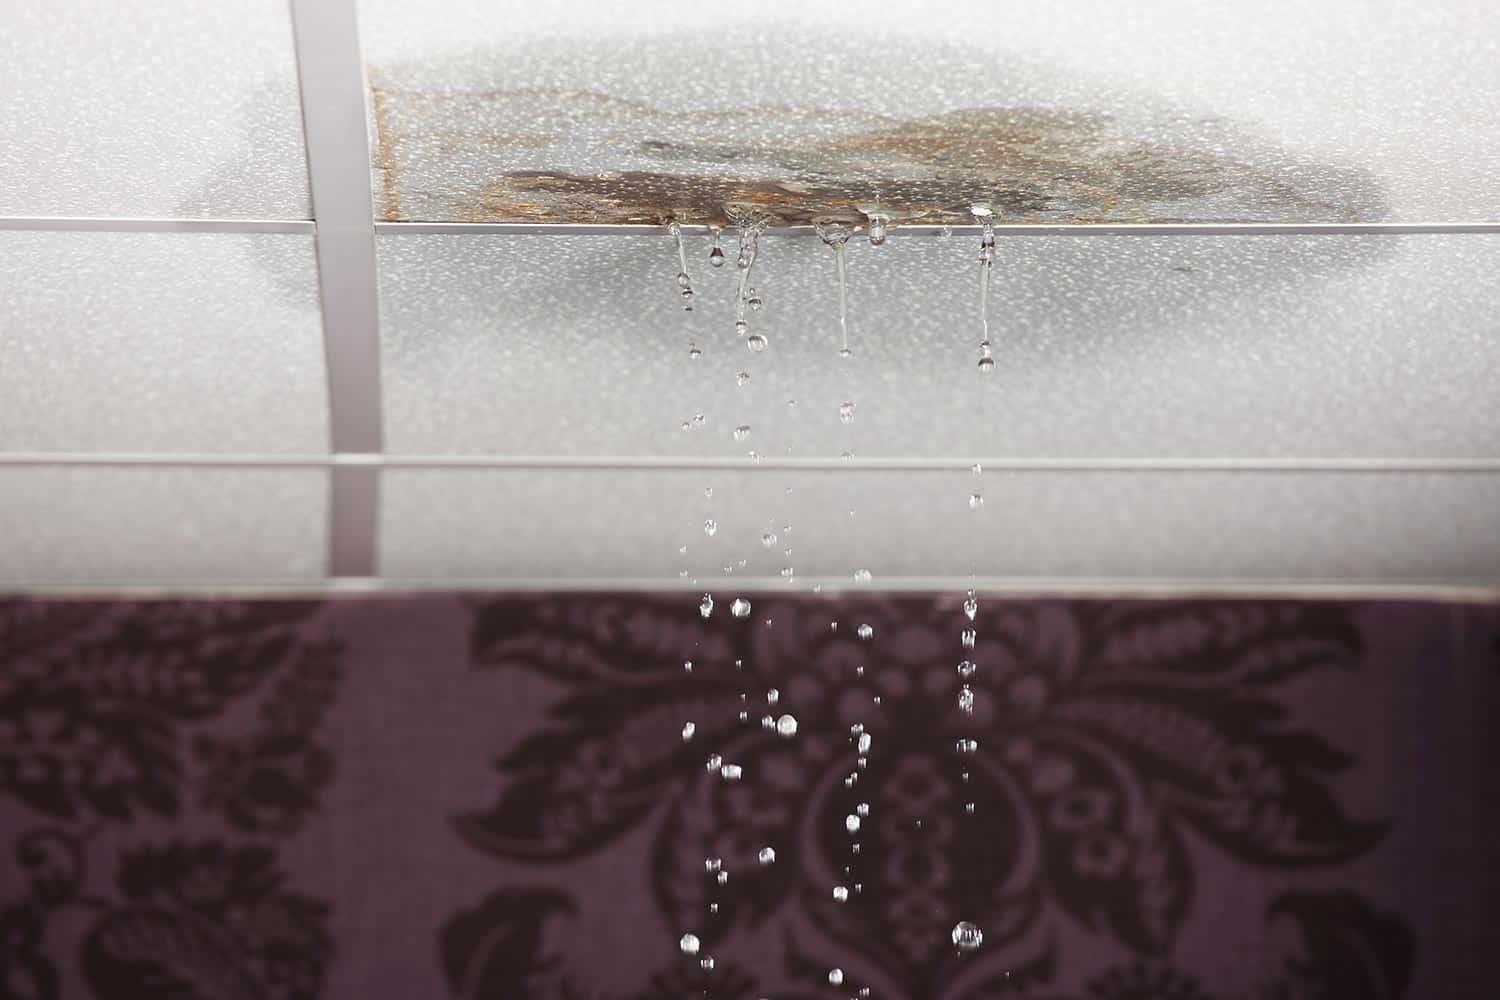
Identifying the Source of the Leak
The first step in stopping a leak in the ceiling is to identify its source. This can sometimes be a challenging task as the water may be coming from a different location than where you see it dripping. Here are some steps to help you pinpoint the source:
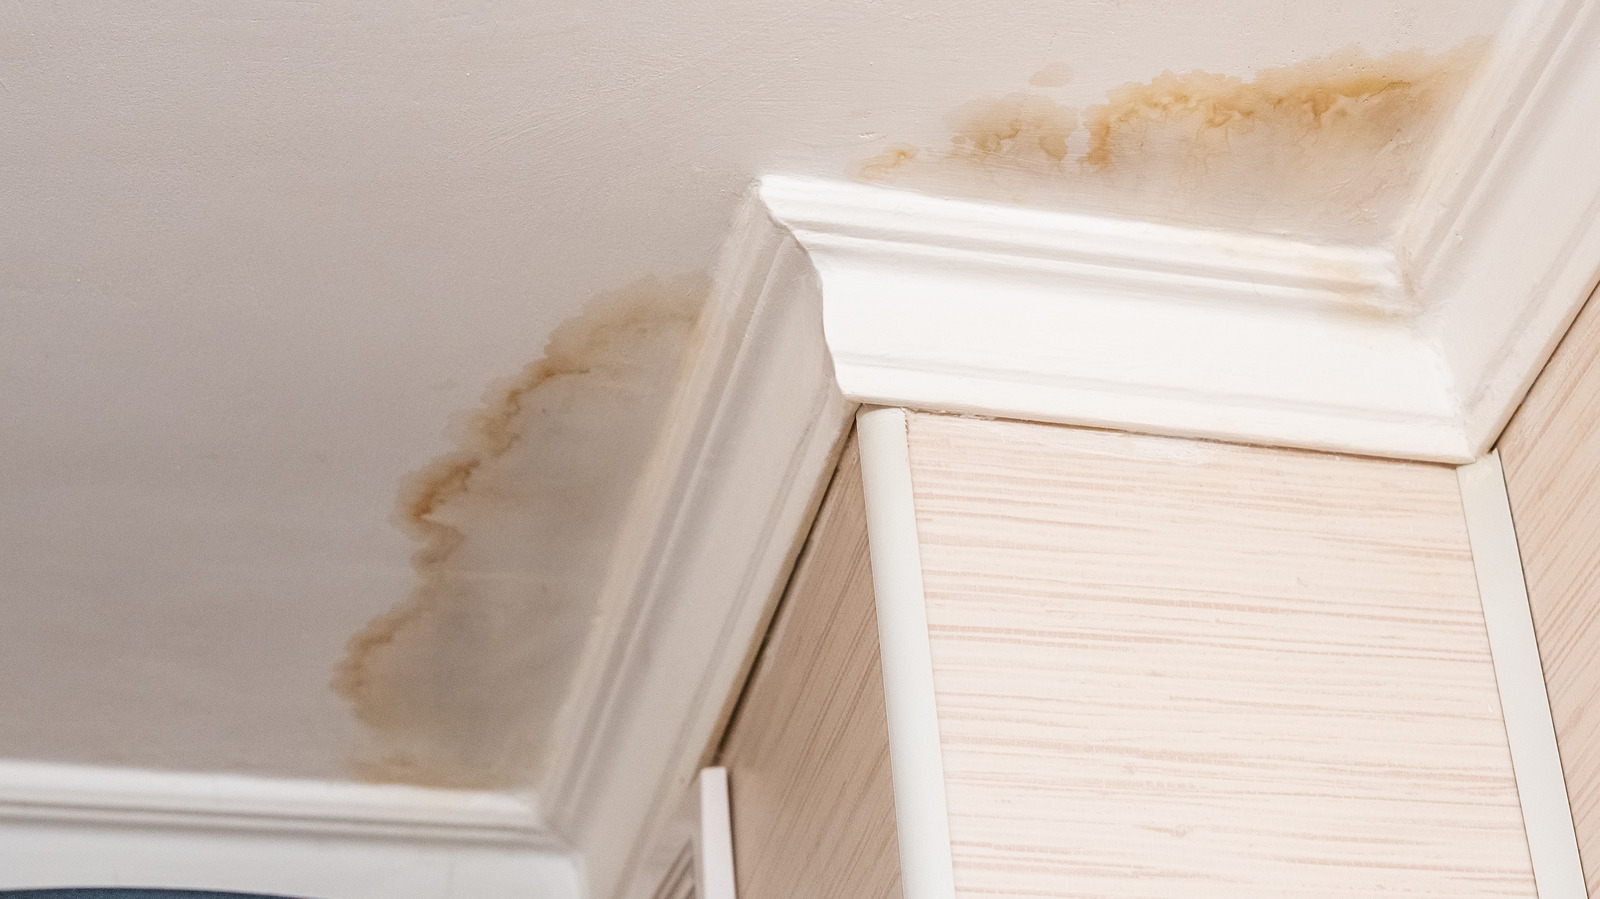
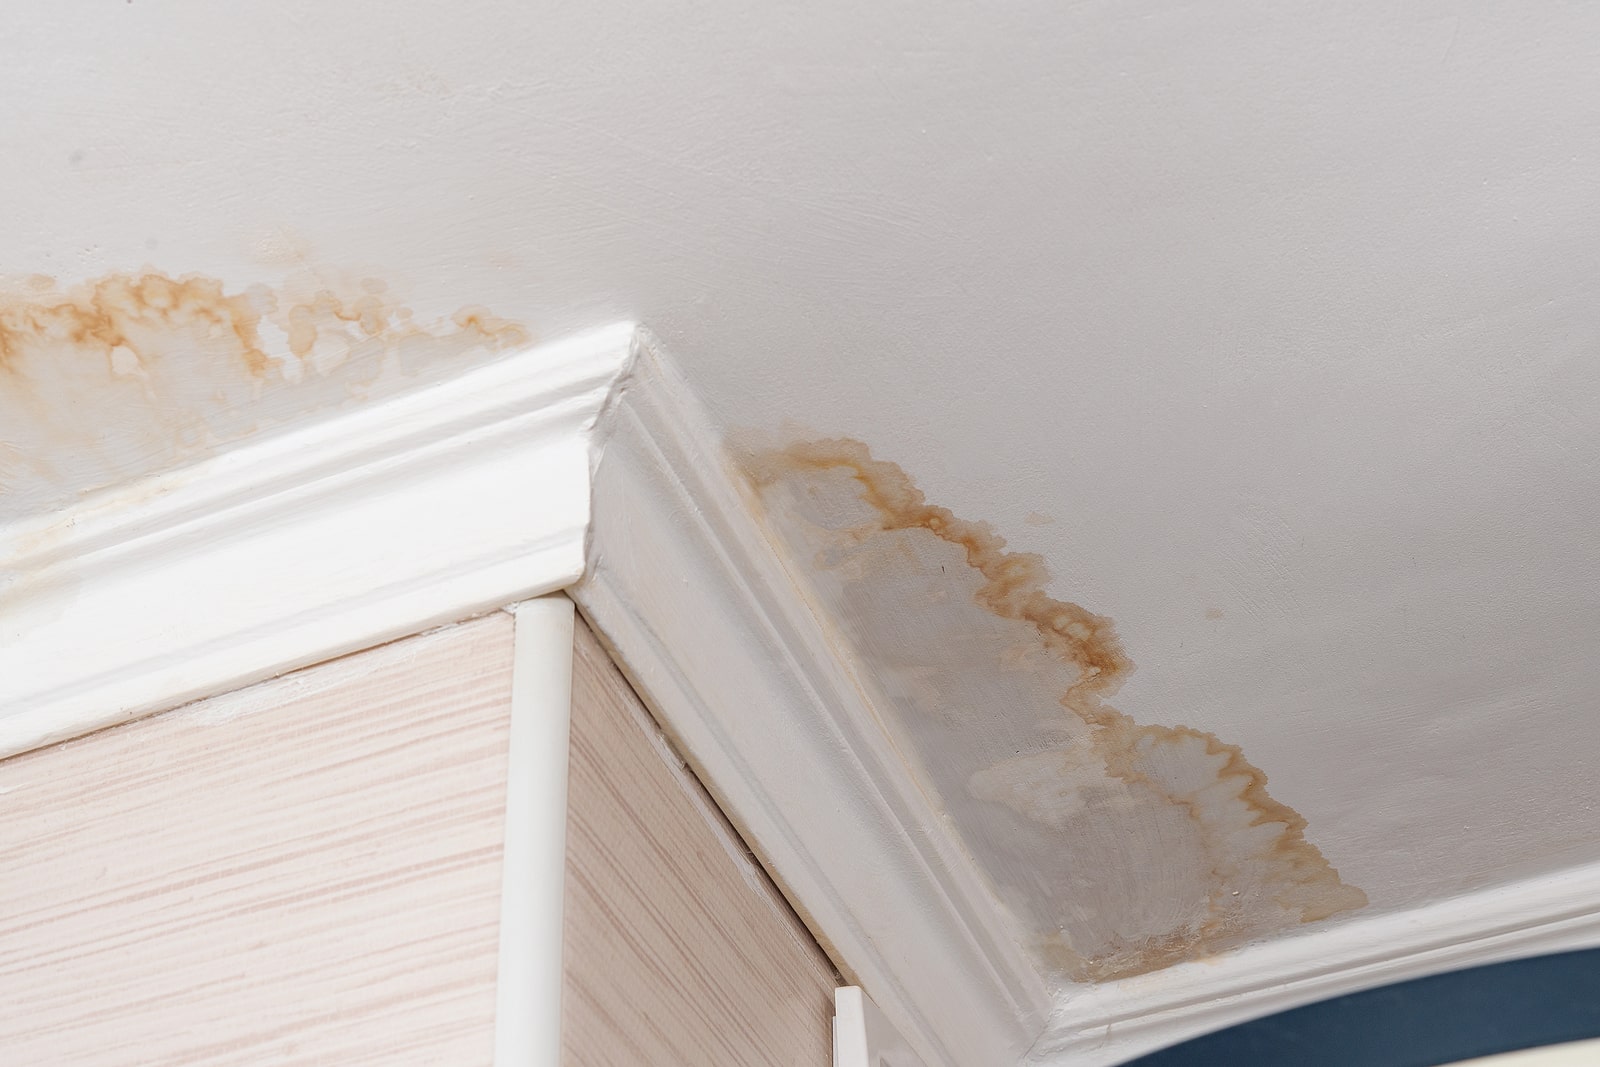
- Observe the area: Look for any visible signs of water damage or staining on the ceiling. Pay attention to any bulging or sagging areas, as these may indicate a larger problem.
- Trace the drips: If you notice water dripping from the ceiling, try to trace the path of the water back to its source using a flashlight. Sometimes, the water may be traveling along a beam or pipe before it reaches the visible drip point.
- Check the roof: If your ceiling is directly under the roof, inspect the rooftop for any signs of damage, such as missing or damaged shingles, cracked flashing, or clogged gutters. These issues can allow water to seep into your home and cause the ceiling to leak.
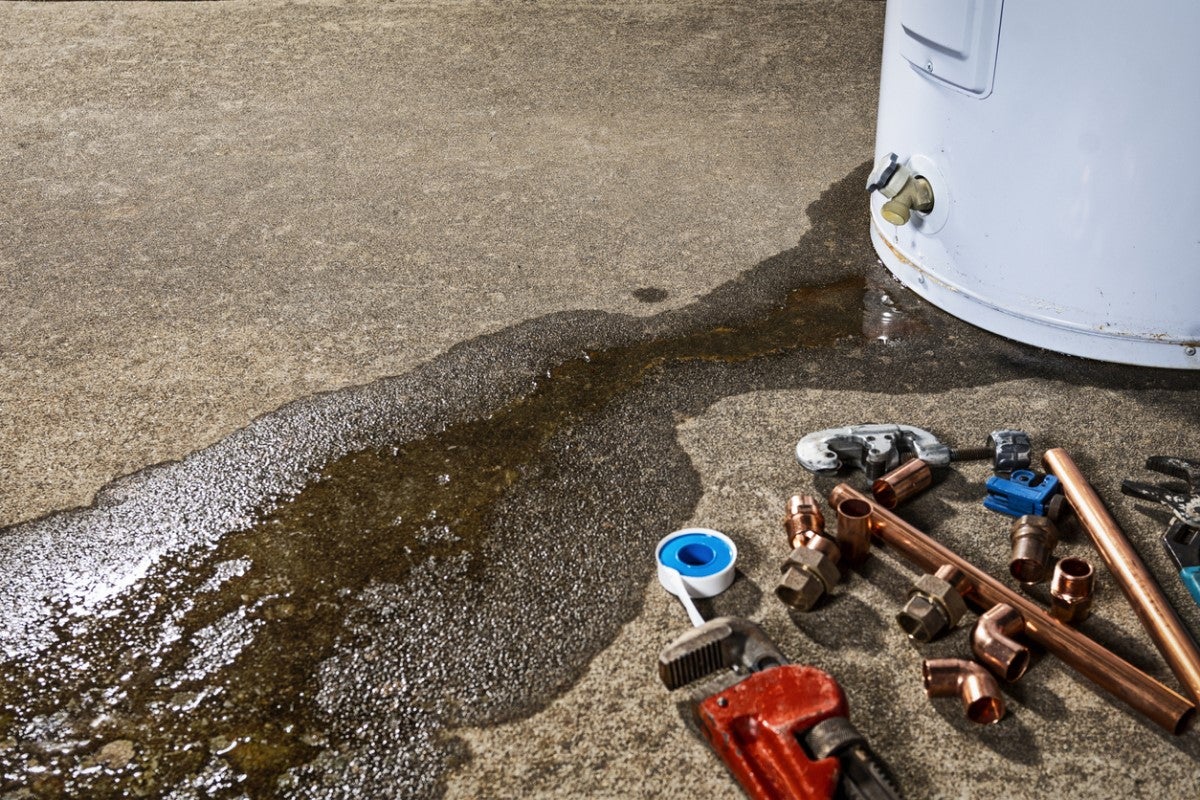
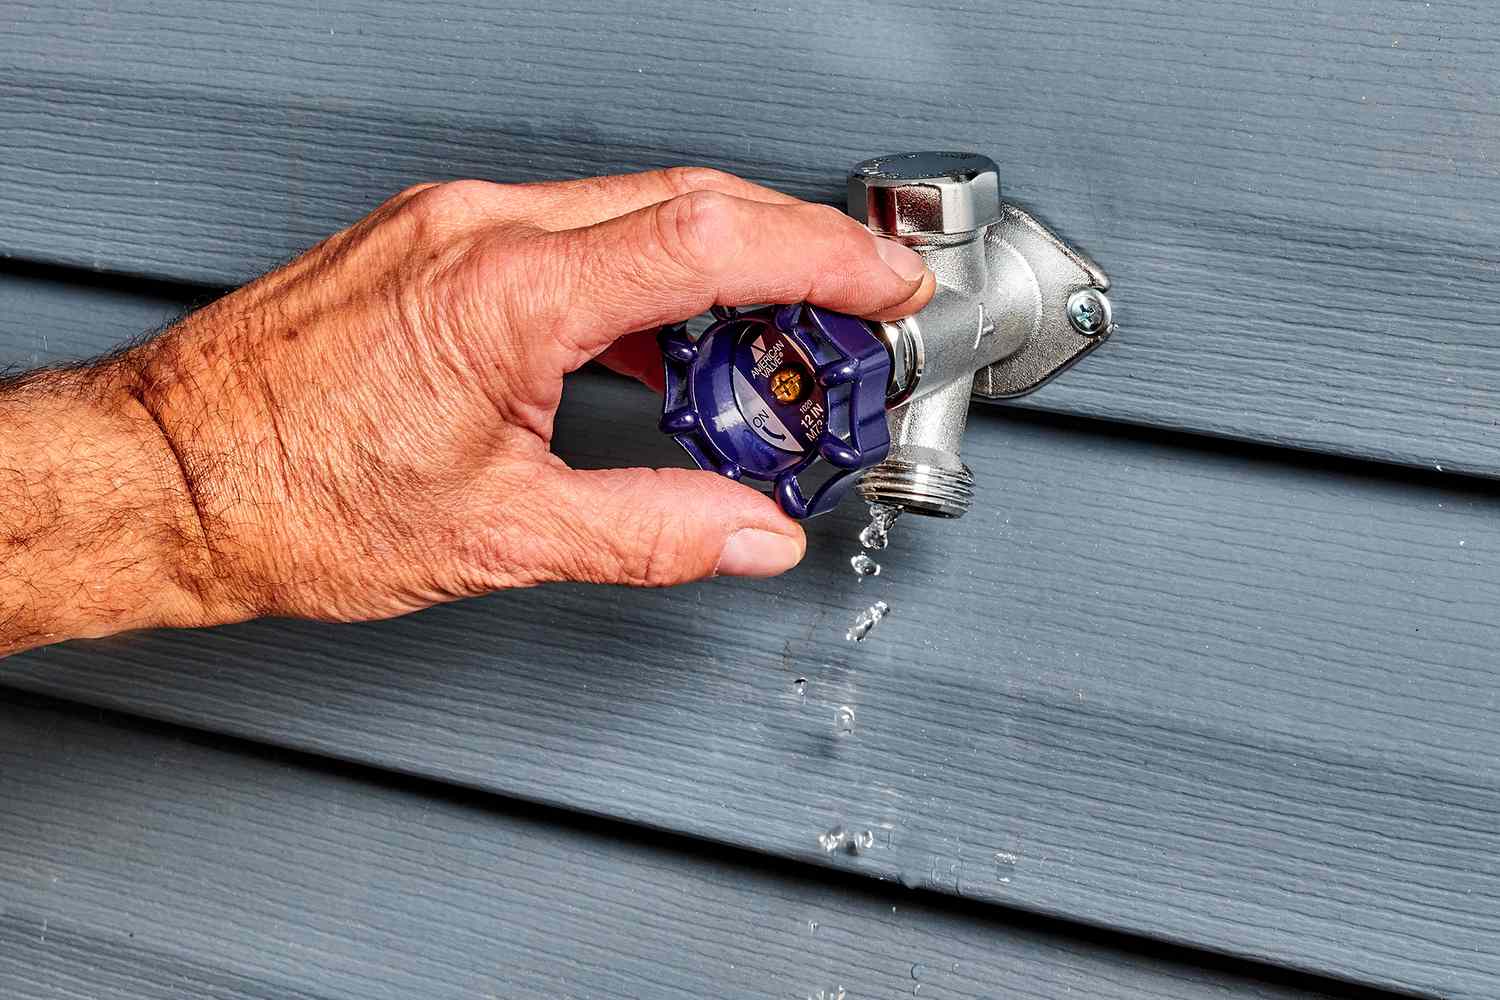
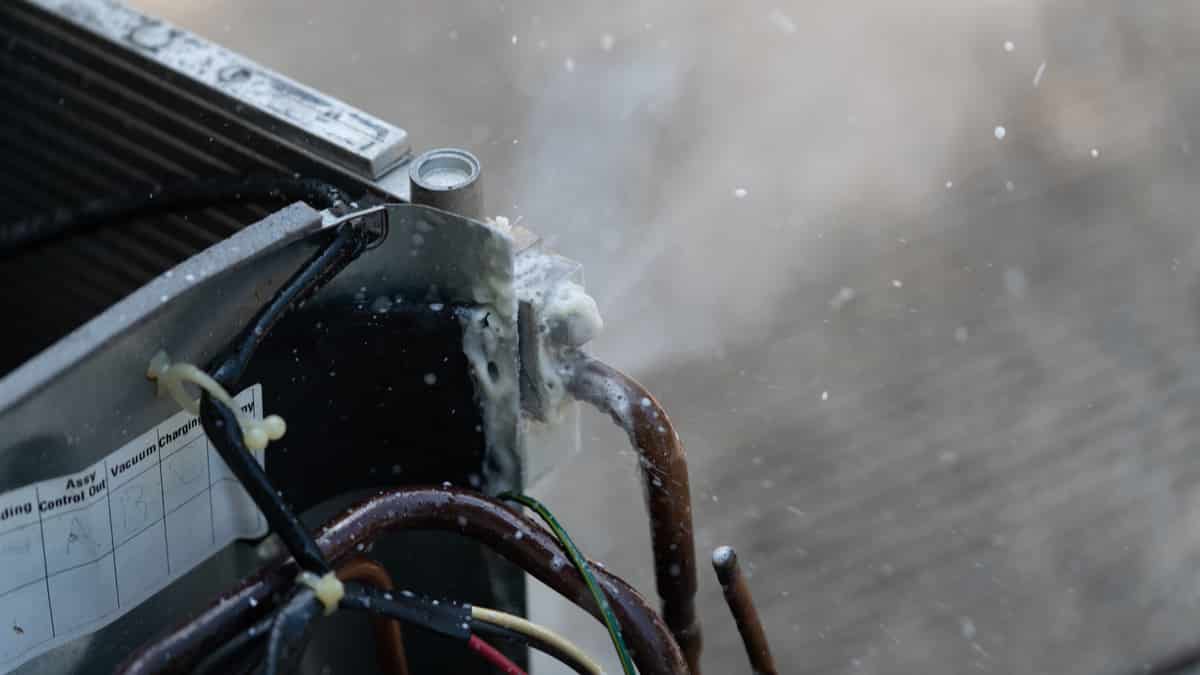
- Inspect the plumbing: If the leak is occurring in a room with plumbing fixtures, such as a bathroom or kitchen, check for any visible signs of leaks around sinks, toilets, or pipes. A faulty pipe or plumbing fixture can be the culprit.
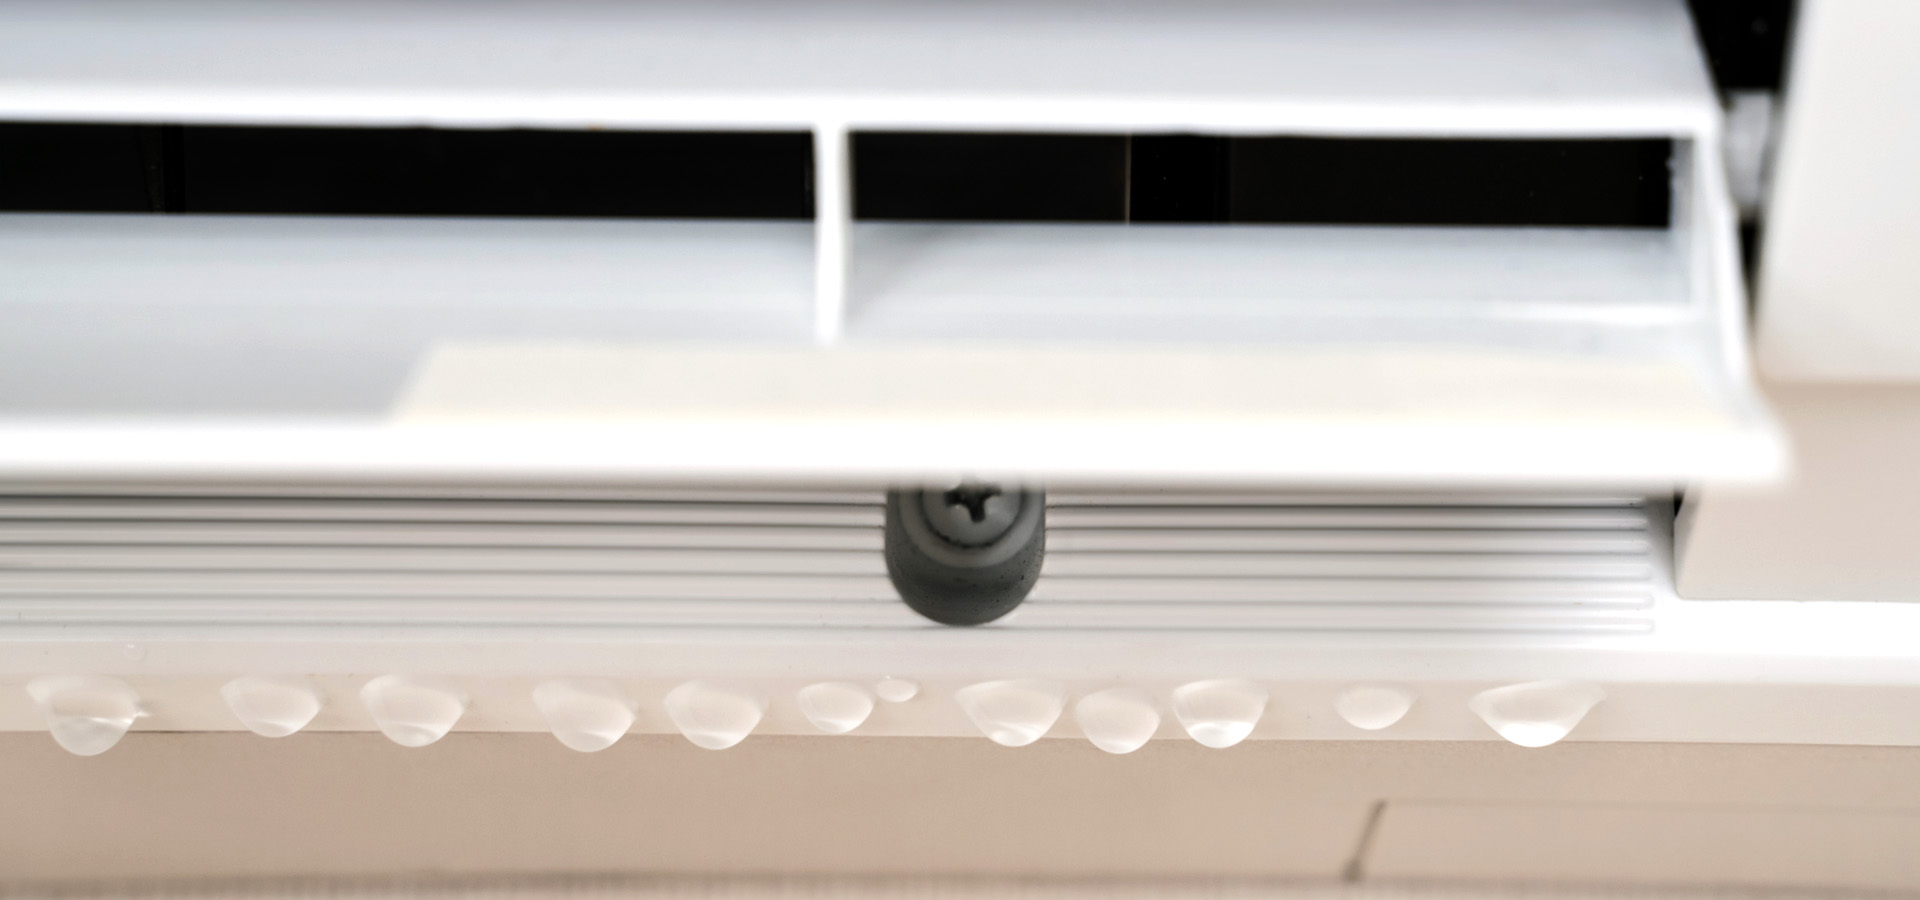
- Consider condensation: In some cases, the moisture on the ceiling may not be from an actual leak but rather from condensation. Poor ventilation or high humidity levels can result in water accumulation on the ceiling, mimicking a leak. Make sure to rule out condensation as the cause before proceeding with repairs.
Taking the time to properly identify the source of the leak will help you determine the most effective repair method. If you are unable to locate the source of the leak or if the damage is extensive, it may be best to consult a professional for further assistance.
Gathering Necessary Materials
Once you have identified the source of the leak, it’s time to gather the necessary materials to repair the ceiling. Having the right tools and materials on hand will make the repair process much more efficient. Here are the essential items you’ll need:
- Bucket or container: A leaky ceiling often results in dripping water. Place a bucket or container underneath the leak to catch the water and prevent it from causing further damage.
- Ladder or step stool: Depending on the height of the ceiling, you may need a ladder or step stool to safely access the area and make the repairs.
- Protective gear: It’s important to protect yourself during the repair process. Wear safety goggles, gloves, and a dust mask to prevent any debris or particles from getting in your eyes, skin, or lungs.
- Patching material: The type of patching material you’ll need will depend on the size and severity of the leak. For small holes or cracks, a patching compound such as spackling paste or joint compound can be used. For larger leaks or damaged areas, you may need drywall patches or a complete drywall replacement.
- Drywall knife: A drywall knife will be necessary for applying the patching material and smoothing it out. Different sizes of drywall knives may be needed to accommodate the size of the repair area.
- Sanding block or sandpaper: After the patching material has dried, you’ll need a sanding block or sandpaper to smooth out any rough edges and create a seamless finish.
- Paint and paintbrush: Once the repair is complete, you may need to paint the area to match the surrounding ceiling. Make sure to have the appropriate paint color and a paintbrush on hand.
- Caulking gun and caulk (if applicable): If the leak is originating from gaps or cracks in the ceiling, you may need to use caulk to seal these areas. A caulk gun and appropriate caulk will be necessary for this step.
- Leak detection tools (optional): If you suspect the leak is coming from a plumbing fixture, you may want to have leak detection tools such as a moisture meter or thermal camera to help locate the source more accurately.
Ensure that you have all the necessary materials before you start the repair process to avoid unnecessary delays or trips to the store. Having these items ready will make the repair process smoother and more convenient.
Preparing the Area
Before you begin repairing the leak in the ceiling, it is essential to properly prepare the area to ensure a successful repair. Taking the time to prepare will not only make the process smoother but also help prevent further damage. Follow these steps to prepare the area:
- Clear the area: Remove any furniture, decorations, or belongings from the area surrounding the leak. This will prevent them from getting damaged during the repair process and allow you to have better access to the ceiling.
- Protect the floor: Lay down a drop cloth or plastic sheeting to protect the floor from any debris or water that may fall during the repair. This will make the cleanup process much easier once the repair is complete.
- Turn off the electricity: If the leak is near any electrical fixtures or outlets, it is crucial to turn off the electricity to that area. This will ensure your safety and prevent any electrical hazards during the repair process.
- Remove any loose or damaged materials: Inspect the ceiling and remove any loose or damaged materials, such as loose plaster or crumbling drywall. This will create a stable and clean surface for the repair.
- Clean the area: Use a damp cloth or sponge to clean the area around the leak. Removing any dirt, dust, or debris will allow the patching material to adhere properly and create a seamless finish.
- Apply a primer (if necessary): Depending on the type of patching material you are using and the condition of the ceiling, you may need to apply a primer before the patching compound. A primer helps the patching material to adhere better to the surface and promotes a smoother finish.
Preparing the area is an essential step that should not be overlooked. It sets the foundation for a successful and long-lasting repair. Taking the time to clear the area, protect the floor, and properly clean and prime the surface will ensure the best possible results.
Patching a Small Ceiling Leak
If you have identified a small hole or crack as the source of the ceiling leak, you can typically repair it using a patching compound. Follow these steps to patch a small ceiling leak:
- Clean the area: Use a damp cloth or sponge to clean the area around the leak. Removing any dirt, dust, or debris will ensure proper adhesion of the patching compound.
- Apply the patching compound: Use a putty knife to apply the patching compound to the hole or crack. Fill the area completely, slightly overfilling if necessary to ensure a flush finish.
- Smooth out the compound: Use the putty knife or a drywall knife to smooth out the patching compound, making it level with the surrounding ceiling. Feather the edges of the compound to create a seamless blend with the rest of the ceiling.
- Allow it to dry: Follow the manufacturer’s instructions for drying time. Typically, it takes a few hours for the patching compound to dry completely.
- Sand the area: Once the patching compound is dry, use a sanding block or sandpaper to smooth out any rough edges and create a seamless finish. Be careful not to sand too aggressively, as this may damage the surrounding ceiling.
- Prime and paint (if necessary): If the patched area stands out from the rest of the ceiling, you may need to apply a primer and paint to blend it in. Choose a paint color that matches the rest of the ceiling and apply it with a brush or roller.
By following these steps, you can effectively patch a small ceiling leak and restore the integrity and appearance of the ceiling. Remember to allow the patching compound to fully dry before moving on to sanding and painting, and always follow the manufacturer’s instructions for the best results.
Locate the source of the leak and place a bucket underneath to catch the water. Then, use a temporary patch such as a tarp or roofing cement to cover the area until a professional can make a permanent repair.
Read more: How To Stop Basement From Leaking
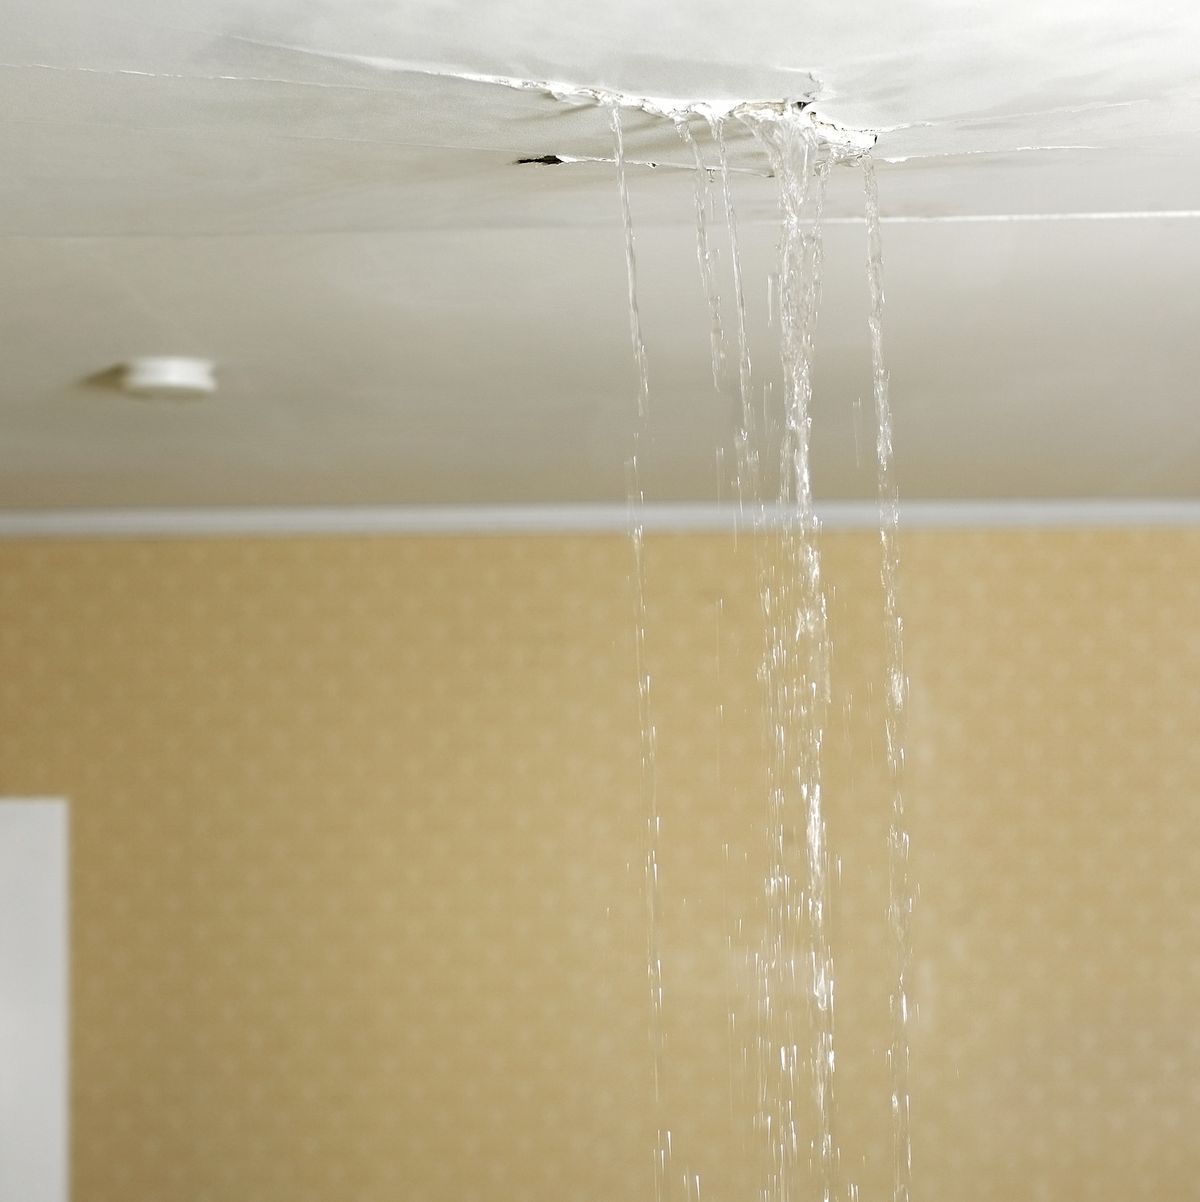
Repairing a Larger Ceiling Leak
If you’re dealing with a larger ceiling leak or significant damage, patching a small hole or crack may not be sufficient. In such cases, you may need to undertake a more extensive repair process. Here’s how you can repair a larger ceiling leak:
- Assess the damage: Examine the size and severity of the leak. If the damaged area is larger than a small hole or crack, you may need to cut out the damaged section of the ceiling and replace it with new drywall.
- Clear the area: Remove any furniture, decorations, or belongings from the area surrounding the leak. Place a drop cloth or plastic sheeting on the floor to protect it from debris.
- Mark the damaged area: Use a pencil or chalk to mark the area that needs to be cut out. It’s advisable to create a straight-edge shape, such as a rectangle or square, for easier replacement.
- Cut out the damaged section: Use a drywall saw or utility knife to carefully cut along the marked lines. Be cautious not to damage any surrounding intact drywall.
- Install a new piece of drywall: Cut a new piece of drywall that matches the size and shape of the removed section. Secure it to the ceiling using drywall screws or nails, making sure it sits flush with the surrounding ceiling.
- Tape and mud the seams: Apply drywall joint tape over the seams between the existing ceiling and the newly installed piece. Apply joint compound over the tape, gradually feathering it out to create a smooth transition. Allow it to dry according to the manufacturer’s instructions and repeat the process if necessary.
- Sand and finish the repair: Once the joint compound is completely dry, use a sanding block or sandpaper to smooth out any rough edges and create a seamless finish. Prime the repaired area and paint it to match the rest of the ceiling.
Repairing a larger ceiling leak can be more time-consuming and labor-intensive, but it is necessary to ensure proper restoration. Take your time during each step, and don’t rush the drying process for the joint compound. With patience and attention to detail, you can successfully repair a larger ceiling leak and have your ceiling looking as good as new.
Dealing with Water Damage
When a ceiling leak occurs, it often leads to water damage in the affected area. It’s crucial to address water damage promptly to prevent further issues such as mold growth, structural damage, or compromised insulation. Here’s how you can deal with water damage:
- Remove standing water: If there is standing water on the floor or any furniture, use a wet vacuum or mop to remove it. Promptly drying the area will help prevent further water damage and minimize the chance of mold growth.
- Dry the affected area: Use fans and dehumidifiers to circulate air and accelerate the drying process. Open windows and doors if weather conditions permit to improve ventilation. Monitor the moisture levels using a moisture meter to ensure the area is adequately dried.
- Inspect for mold growth: Even after the area appears dry, keep an eye out for any signs of mold growth. Mold can develop within 24-48 hours in a moist environment. If you spot mold, it’s crucial to take immediate action by contacting a professional mold remediation service to eliminate it safely.
- Repair or replace damaged materials: Assess the extent of water damage to determine whether any materials need to be repaired or replaced. This may include damaged drywall, insulation, or flooring. It’s advisable to consult a professional for proper assessment and to ensure the repair work is done correctly.
- Address any electrical concerns: If the water has come into contact with electrical fixtures or outlets, it’s essential to consult a licensed electrician to evaluate the safety of the electrical system. Do not attempt to handle electrical repairs yourself as it can pose a significant risk.
- Prevent future water damage: Take steps to prevent future water leaks or damage. This may include regular inspection and maintenance of your roof, plumbing systems, and appliances. Ensure proper sealing around windows and doors, and consider installing leak detection devices or a whole-house water shut-off system for added protection.
Dealing with water damage requires a proactive approach to prevent further issues and protect your home. Swift action in removing the water, drying the affected area, and addressing any potential mold growth is essential. By taking these steps, you can minimize the impact of water damage and maintain a safe and healthy home environment.
Preventing Future Ceiling Leaks
While it’s essential to know how to stop a leak in the ceiling, it’s equally important to take preventative measures to minimize the risk of future leaks. Here are some tips to help you prevent future ceiling leaks:
- Regularly inspect your roof: Conduct routine inspections of your roof to check for any signs of damage, such as missing or damaged shingles, cracked flashing, or deteriorating seals. Address any issues promptly to prevent water from seeping into your home.
- Keep gutters and downspouts clean: Regularly clean out your gutters and downspouts to prevent debris buildup and clogs. This will ensure that rainwater is effectively directed away from your roof and foundation, reducing the risk of leaks.
- Trim overhanging tree branches: Trim back any tree branches that are hanging over your roof. Falling branches or excessive debris from trees can cause damage to your roof and lead to leaks.
- Maintain plumbing systems: Regularly inspect and maintain your plumbing systems to prevent leaks. Check for any signs of drips or leaks around sinks, toilets, and pipes. Repair any issues immediately and consider replacing older plumbing fixtures if necessary.
- Ensure proper ventilation: Proper ventilation in your home can help prevent moisture buildup, which can lead to ceiling leaks. Install exhaust fans in kitchens, bathrooms, and laundry rooms to vent out excess moisture. Ensure that attic spaces are well-ventilated to prevent condensation buildup as well.
- Insulate pipes: Insulate pipes in areas prone to freezing temperatures to prevent pipe bursts and subsequent ceiling leaks. Proper insulation will help maintain a consistent temperature and prevent pipes from freezing and expanding.
- Seal windows and doors: Inspect and seal any gaps or cracks around windows and doors to prevent water from seeping in during heavy rain or storms. Maintain proper seals to protect against water intrusion.
- Consider a roof coating or sealant: Applying a roof coating or sealant can provide an extra layer of protection against water intrusion. Consult a professional to determine the best option for your specific roof type and condition.
- Perform regular maintenance: Conduct regular maintenance checks on your home to catch any potential issues before they turn into major problems. This includes checking for water stains or discoloration on ceilings, monitoring for any signs of leaks or drips, and addressing them promptly.
By taking proactive measures to prevent future ceiling leaks, you can avoid the inconvenience, damage, and expenses associated with water intrusion. Regular inspections, proper maintenance, and addressing any issues promptly are key to maintaining a leak-free home.
Conclusion
Dealing with a leak in the ceiling can be a stressful experience, but with the right knowledge and approach, you can effectively stop the leak and prevent future issues. By following the steps outlined in this comprehensive guide, you can identify the source of the leak, gather the necessary materials, prepare the area, and patch both small and larger ceiling leaks.
It’s important to remember that addressing a ceiling leak promptly is crucial to prevent further damage to your home. Water damage can lead to mold growth, compromised structural integrity, and costly repairs. By taking the necessary steps to repair the leak and mitigate water damage, you can protect the overall condition of your home.
Furthermore, prevention is key in maintaining a leak-free home. Conduct regular inspections of your roof, gutters, and plumbing systems, and take steps to ensure proper ventilation and sealing. By implementing these preventive measures, you can minimize the risk of future ceiling leaks and maintain a safe and healthy living environment.
If you are unsure about the severity of the leak or feel overwhelmed by the repair process, don’t hesitate to seek professional assistance. Consulting a qualified contractor or plumber can provide you with expert guidance and ensure that the repair is done correctly.
Remember, early detection and timely action are essential when it comes to dealing with ceiling leaks. By following the steps and tips outlined in this article, you can effectively stop a leak in the ceiling and protect the integrity of your home.
Frequently Asked Questions about How To Stop A Leak In The Ceiling
Was this page helpful?
At Storables.com, we guarantee accurate and reliable information. Our content, validated by Expert Board Contributors, is crafted following stringent Editorial Policies. We're committed to providing you with well-researched, expert-backed insights for all your informational needs.


0 thoughts on “How To Stop A Leak In The Ceiling”