Articles
Brizo Showerhead Leaks When Running
Modified: March 1, 2024
Find helpful articles and tips on how to fix a leaking Brizo showerhead when it is running. Stop the leaks with our easy DIY solutions.
(Many of the links in this article redirect to a specific reviewed product. Your purchase of these products through affiliate links helps to generate commission for Storables.com, at no extra cost. Learn more)
Introduction
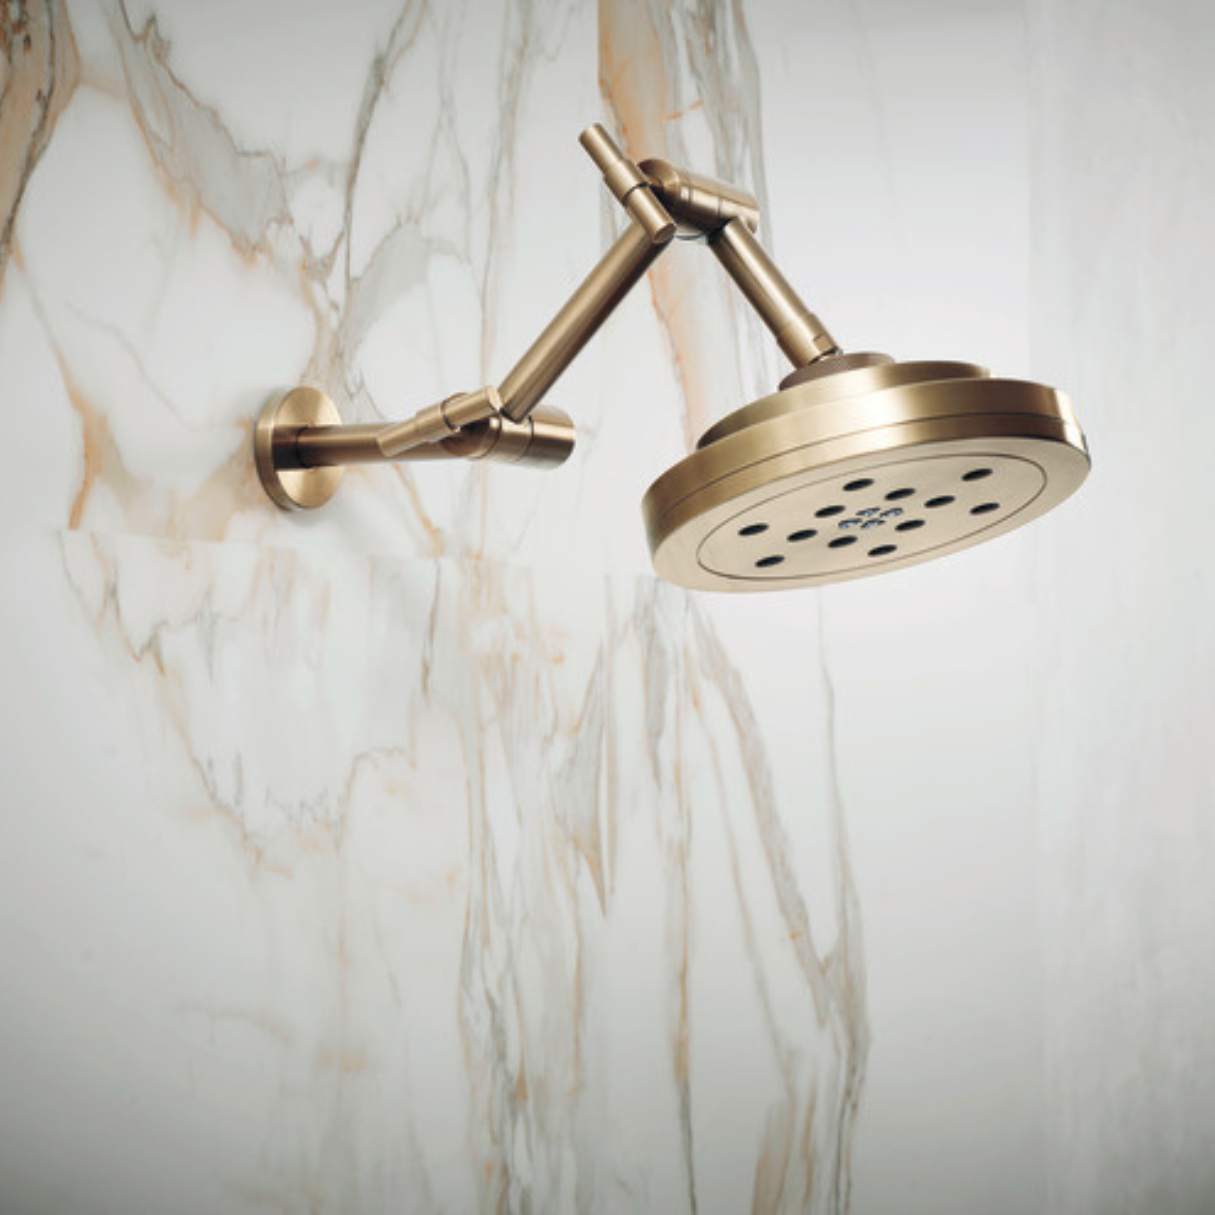
Welcome to our comprehensive guide on addressing leaks in Brizo showerheads. A leaking showerhead can be frustrating and wasteful, leading to increased water bills and potential water damage. We understand the importance of maintaining a functional and efficient showerhead, and that’s why we’re here to help you identify and fix any leaks you might encounter.
Brizo is known for producing high-quality showerheads that provide a luxurious and invigorating shower experience. However, even the best showerheads can develop leaks over time due to various factors. Common causes of leaks in Brizo showerheads include worn-out seals, loose connections, and mineral deposits.
In this article, we will guide you through the process of identifying and diagnosing leaks in Brizo showerheads. We will also provide you with a step-by-step guide on how to fix these leaks. Additionally, we will provide helpful tips on preventing leaks in the future, allowing you to enjoy a hassle-free shower experience.
Whether you’re a DIY enthusiast or simply want to understand the common causes of leaks in Brizo showerheads, this guide is for you. So, let’s dive in and learn how to address these leaks effectively.
Key Takeaways:
- Identifying and fixing leaks in Brizo showerheads involves inspecting seals, connections, and mineral buildup. Regular maintenance and proper installation can prevent leaks, ensuring a refreshing shower experience.
- Prevention is key to avoiding future leaks in Brizo showerheads. Implementing simple tips such as regular cleaning, tightening connections, and using thread seal tape can extend the lifespan of your showerhead and minimize the hassle of dealing with leaks.
Read more: New Delta Showerhead Leaking When Off
Common Causes of Leaks in Brizo Showerheads
Understanding the common causes of leaks in Brizo showerheads is crucial in effectively addressing and preventing them. Here are some of the most common culprits:
- Worn-out Seals: Over time, the rubber seals and gaskets in your Brizo showerhead can deteriorate, resulting in leaks. This can occur due to constant exposure to water, harsh cleaning chemicals, or general wear and tear.
- Loose Connections: A loose or improperly connected showerhead can cause leaks to occur. If the connections between the showerhead and the shower arm are not tight, water can seep through and cause leakage.
- Mineral Deposits: Mineral deposits, such as lime and calcium, can build up inside your showerhead over time. These deposits can clog the spray nozzles and disrupt the water flow, leading to leaks. It’s important to regularly clean your showerhead to prevent mineral buildup.
- Damaged or Cracked Parts: Any damaged or cracked parts within the showerhead, such as the spray plate or nozzle, can result in leaks. This can occur due to accidental knocks or excessive force during installation or maintenance.
- Incompatible Showerhead Settings: Some Brizo showerheads offer multiple spray settings and modes. If the showerhead is not properly set to a specific mode or the settings are not aligned correctly, it can cause leaks to occur.
By understanding these common causes, you can take appropriate steps to identify the specific issue and address it effectively. In the following section, we will guide you on how to identify and diagnose leaks in your Brizo showerhead.
How to Identify and Diagnose Leaks in Brizo Showerheads
Identifying and diagnosing leaks in your Brizo showerhead is the first step towards resolving the issue. Here are some steps to help you identify the source of the leak:
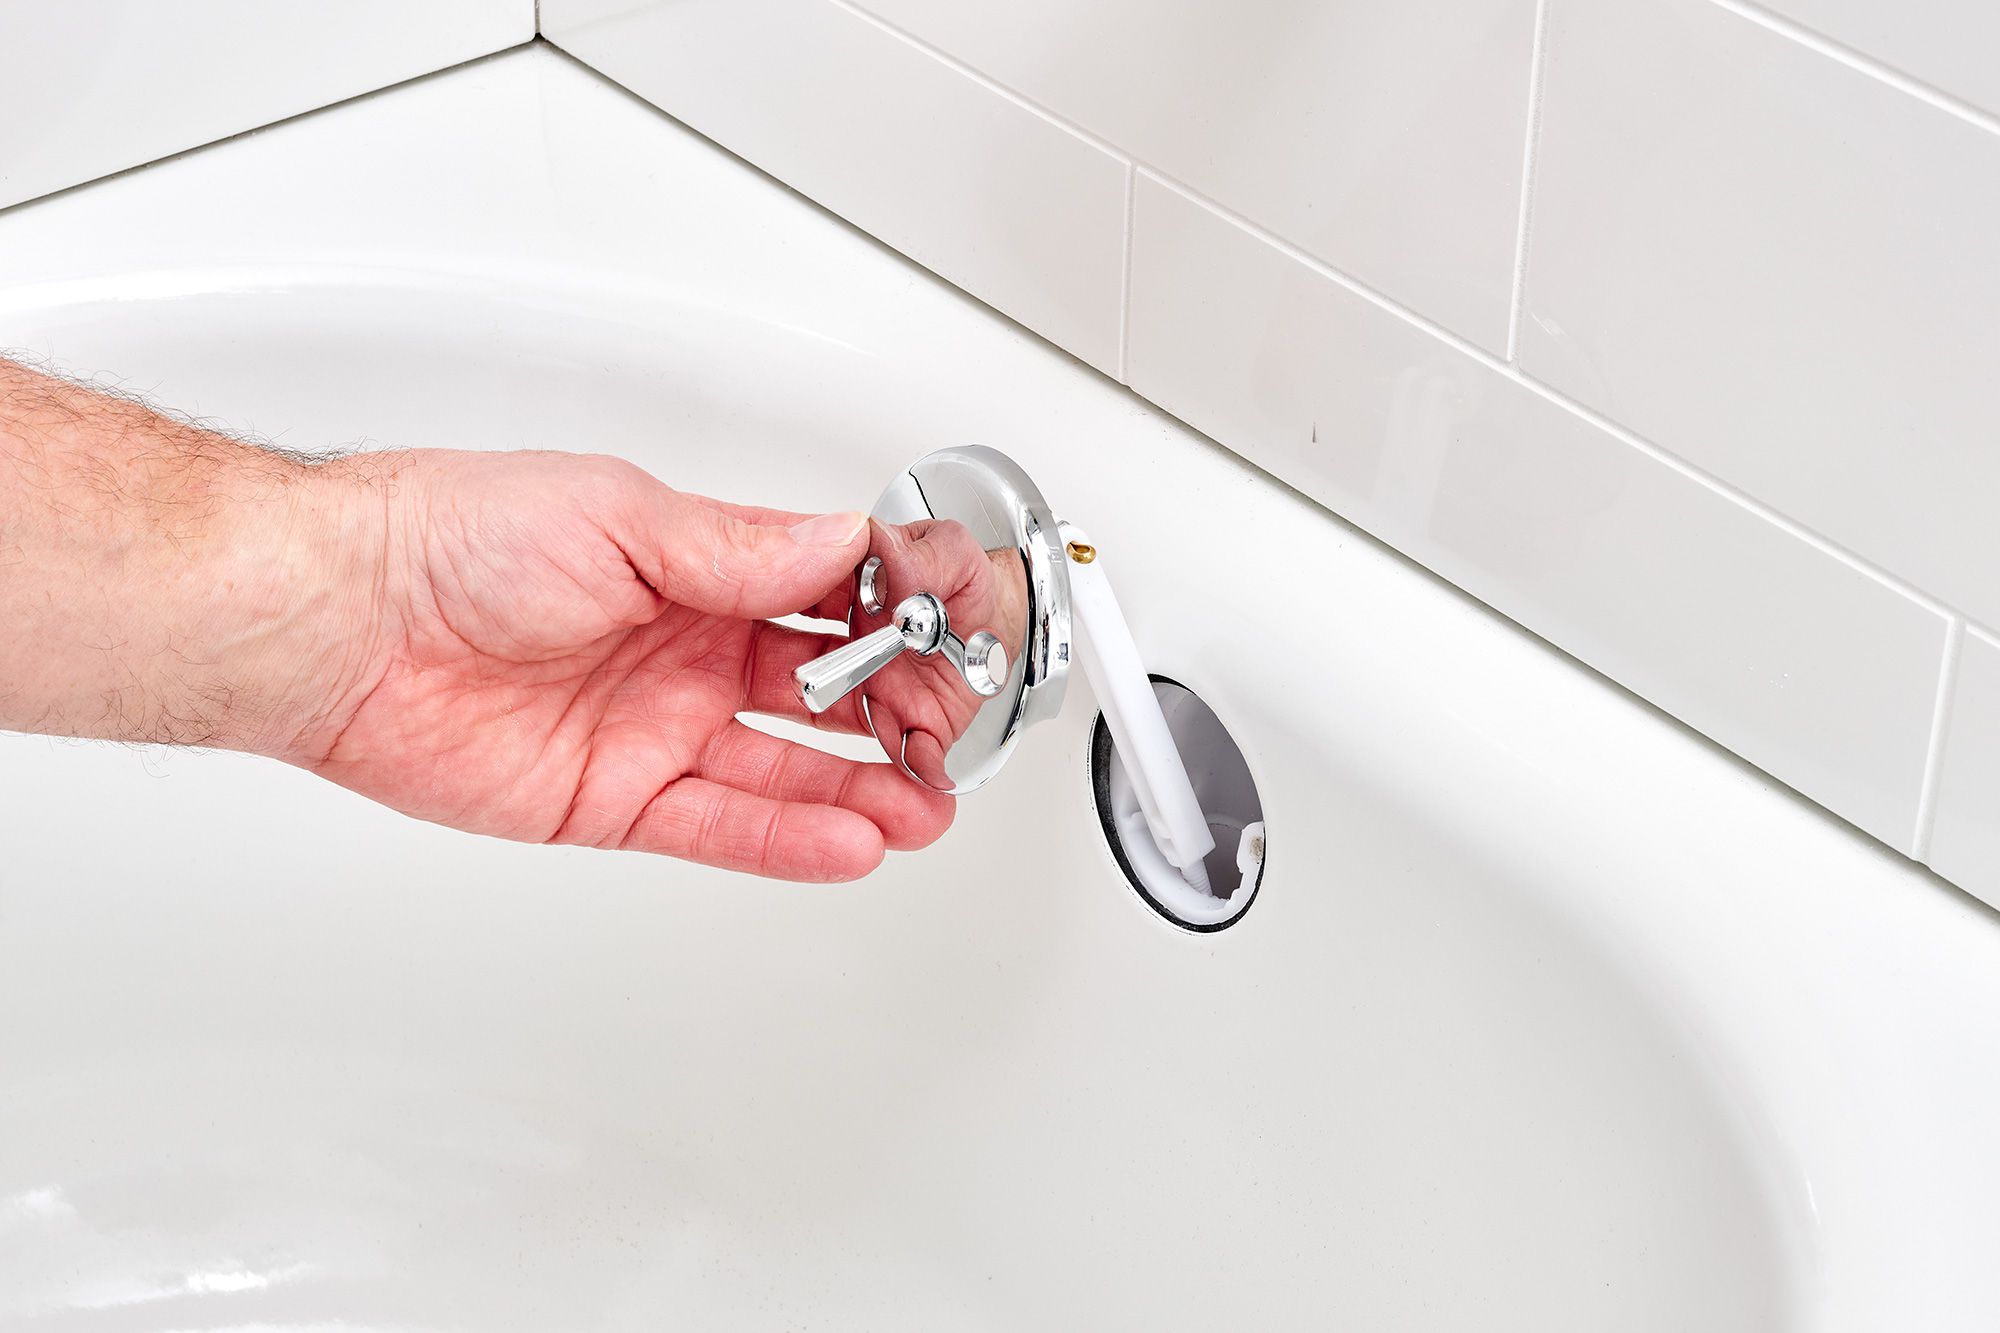
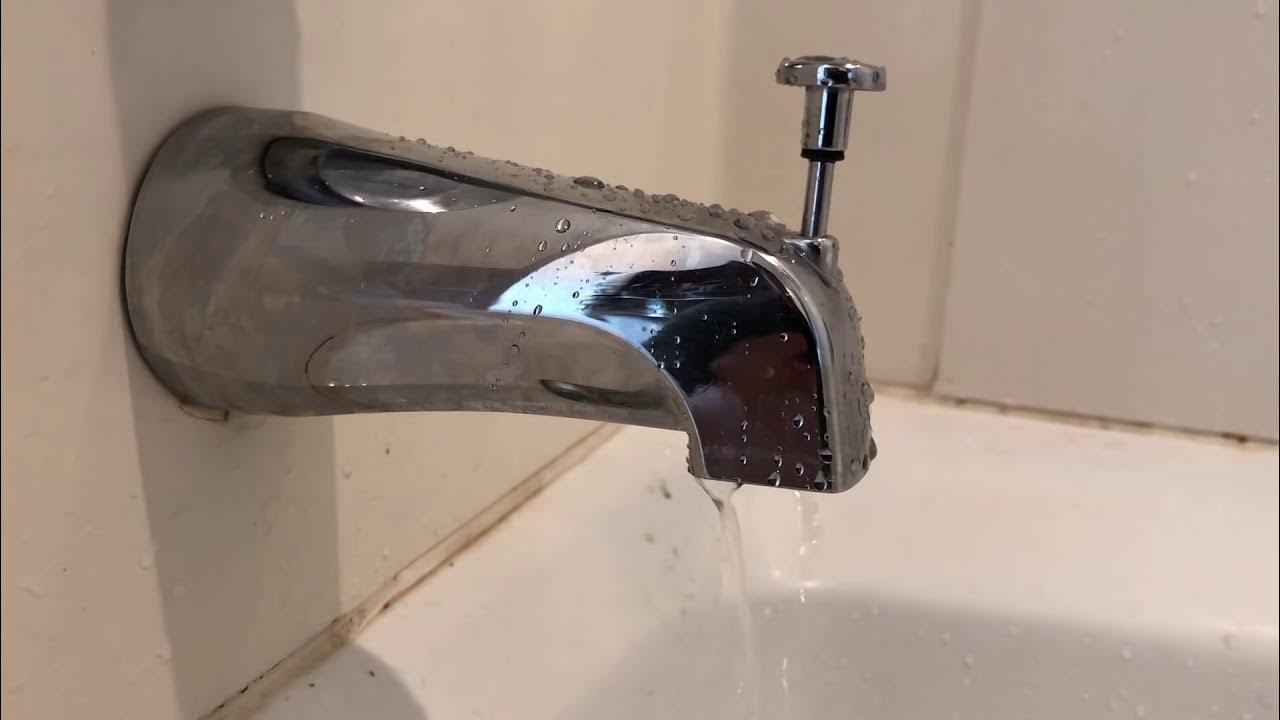
- Visual Inspection: Start by visually inspecting your showerhead for any obvious signs of leakage. Look for water dripping from the showerhead or pooling around the base. Examine the connections between the showerhead and the shower arm for any signs of looseness or damage.
- Turn Off Water Supply: Before proceeding with further inspection, it’s crucial to turn off the water supply to your shower. This will prevent any accidental leaks or water damage during the diagnostic process.
- Test for Leakage: To test for leakage, wrap a cloth or towel around the showerhead and secure it with a rubber band or tie. Turn on the water supply and observe if any water seeps through the cloth. If there is leakage, it indicates that there is a problem with your showerhead.
- Inspect Seals and Gaskets: Examine the seals and gaskets within your showerhead for any signs of wear, cracks, or damage. These components are crucial for preventing leaks, so if you notice any issues, they may need to be replaced.
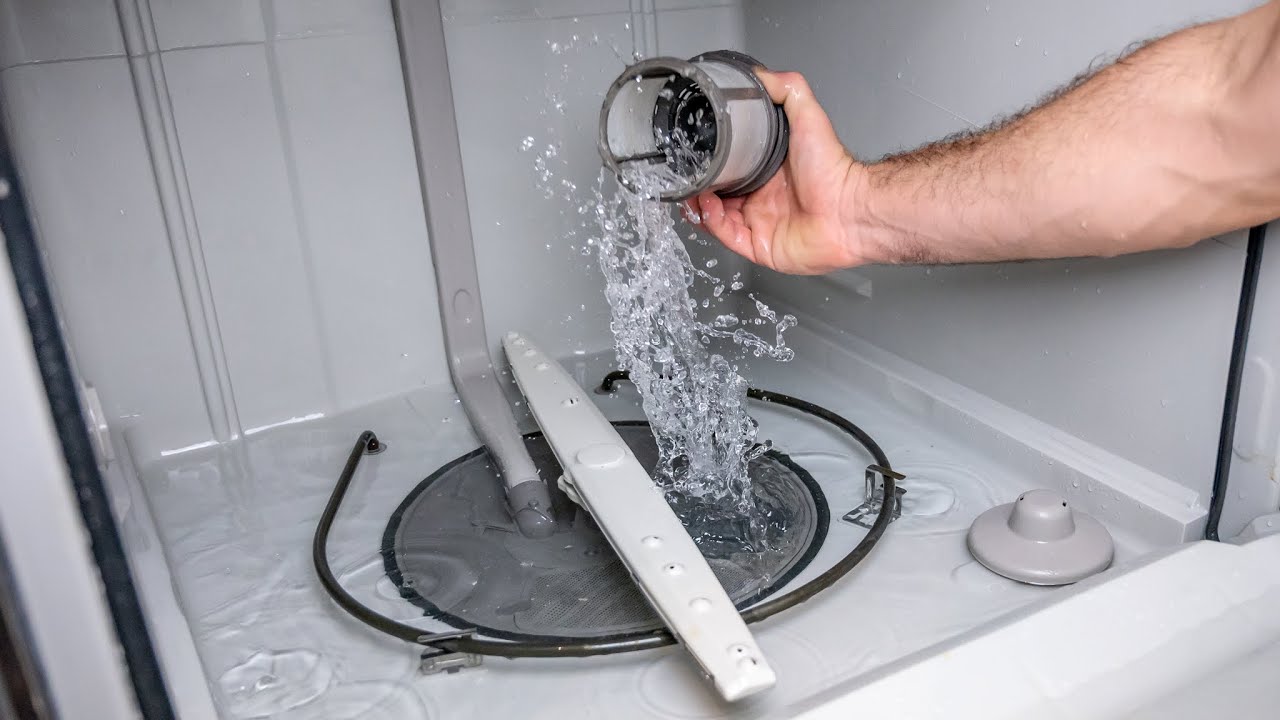
- Clean the Showerhead: If you’re experiencing reduced water flow or uneven spray patterns, mineral deposits may be the culprit. Remove the showerhead and soak it in a solution of vinegar and water to loosen and remove any buildup. Rinse the showerhead thoroughly before reattaching it.
- Check for Loose Connections: Ensure that all connections between the showerhead and the shower arm are secure and tight. If you find any loose connections, use a wrench or pliers to tighten them, being careful not to overtighten and cause damage.
By following these steps, you can identify and diagnose the source of the leak in your Brizo showerhead. Once you have identified the issue, you can proceed with fixing the leak, as outlined in the next section.
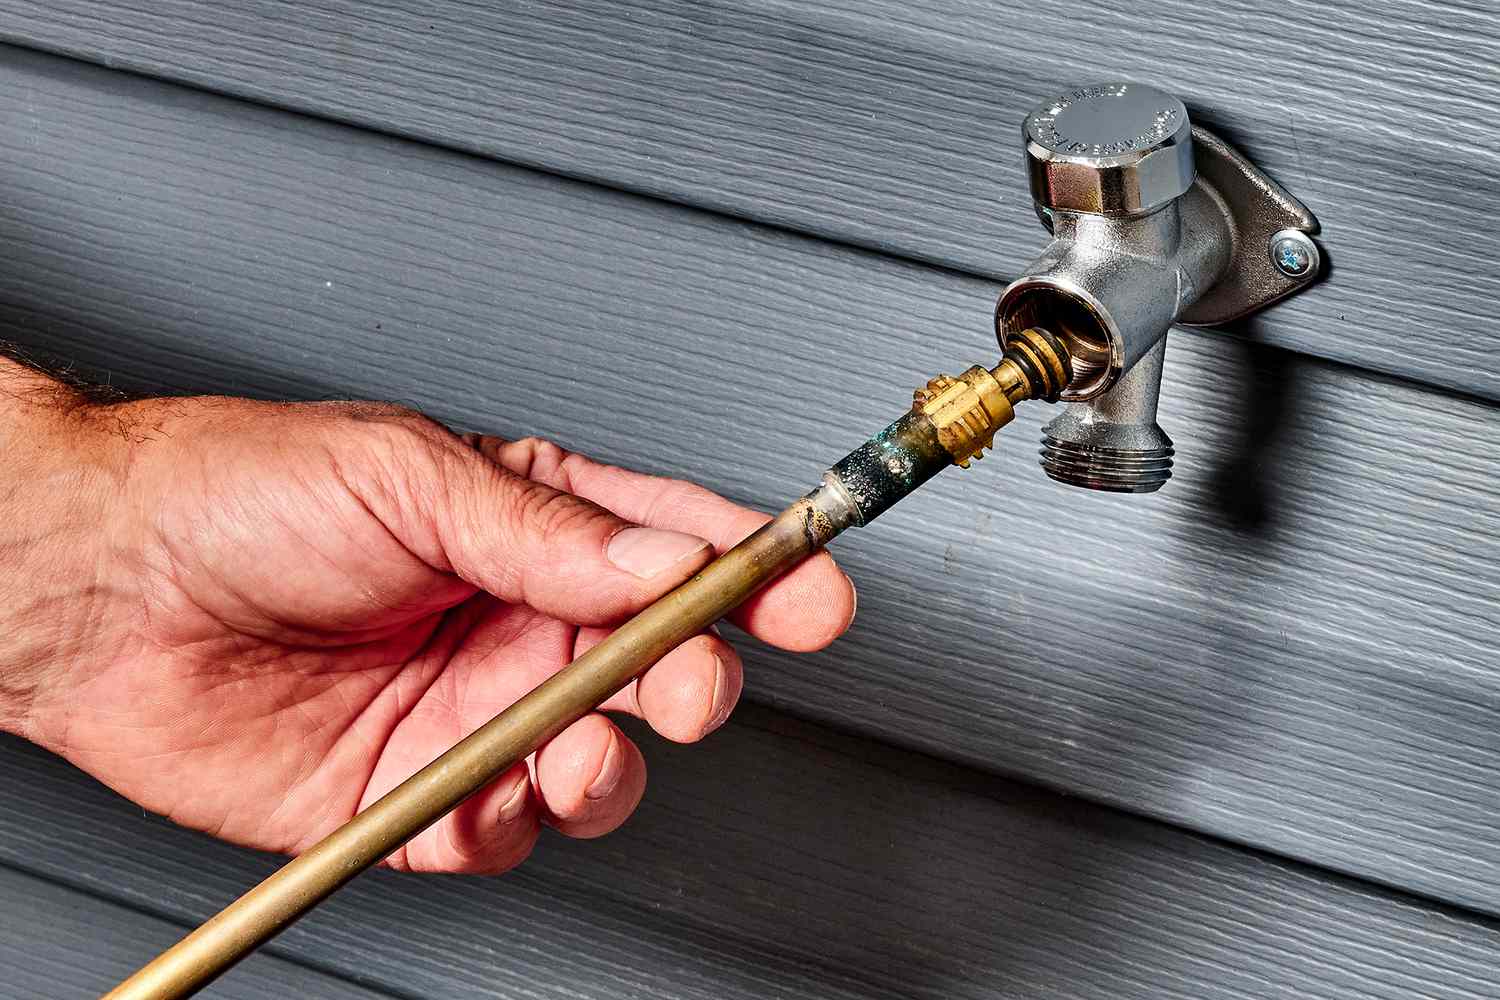
Check the showerhead connection for any loose fittings or worn out washers. Tighten the connections or replace the washers to prevent leaks while running.
Fixing Leaks in Brizo Showerheads: Step-by-step Guide
Once you have identified the source of the leak in your Brizo showerhead, it’s time to address and fix the issue. Follow these step-by-step instructions to successfully fix the leaks:
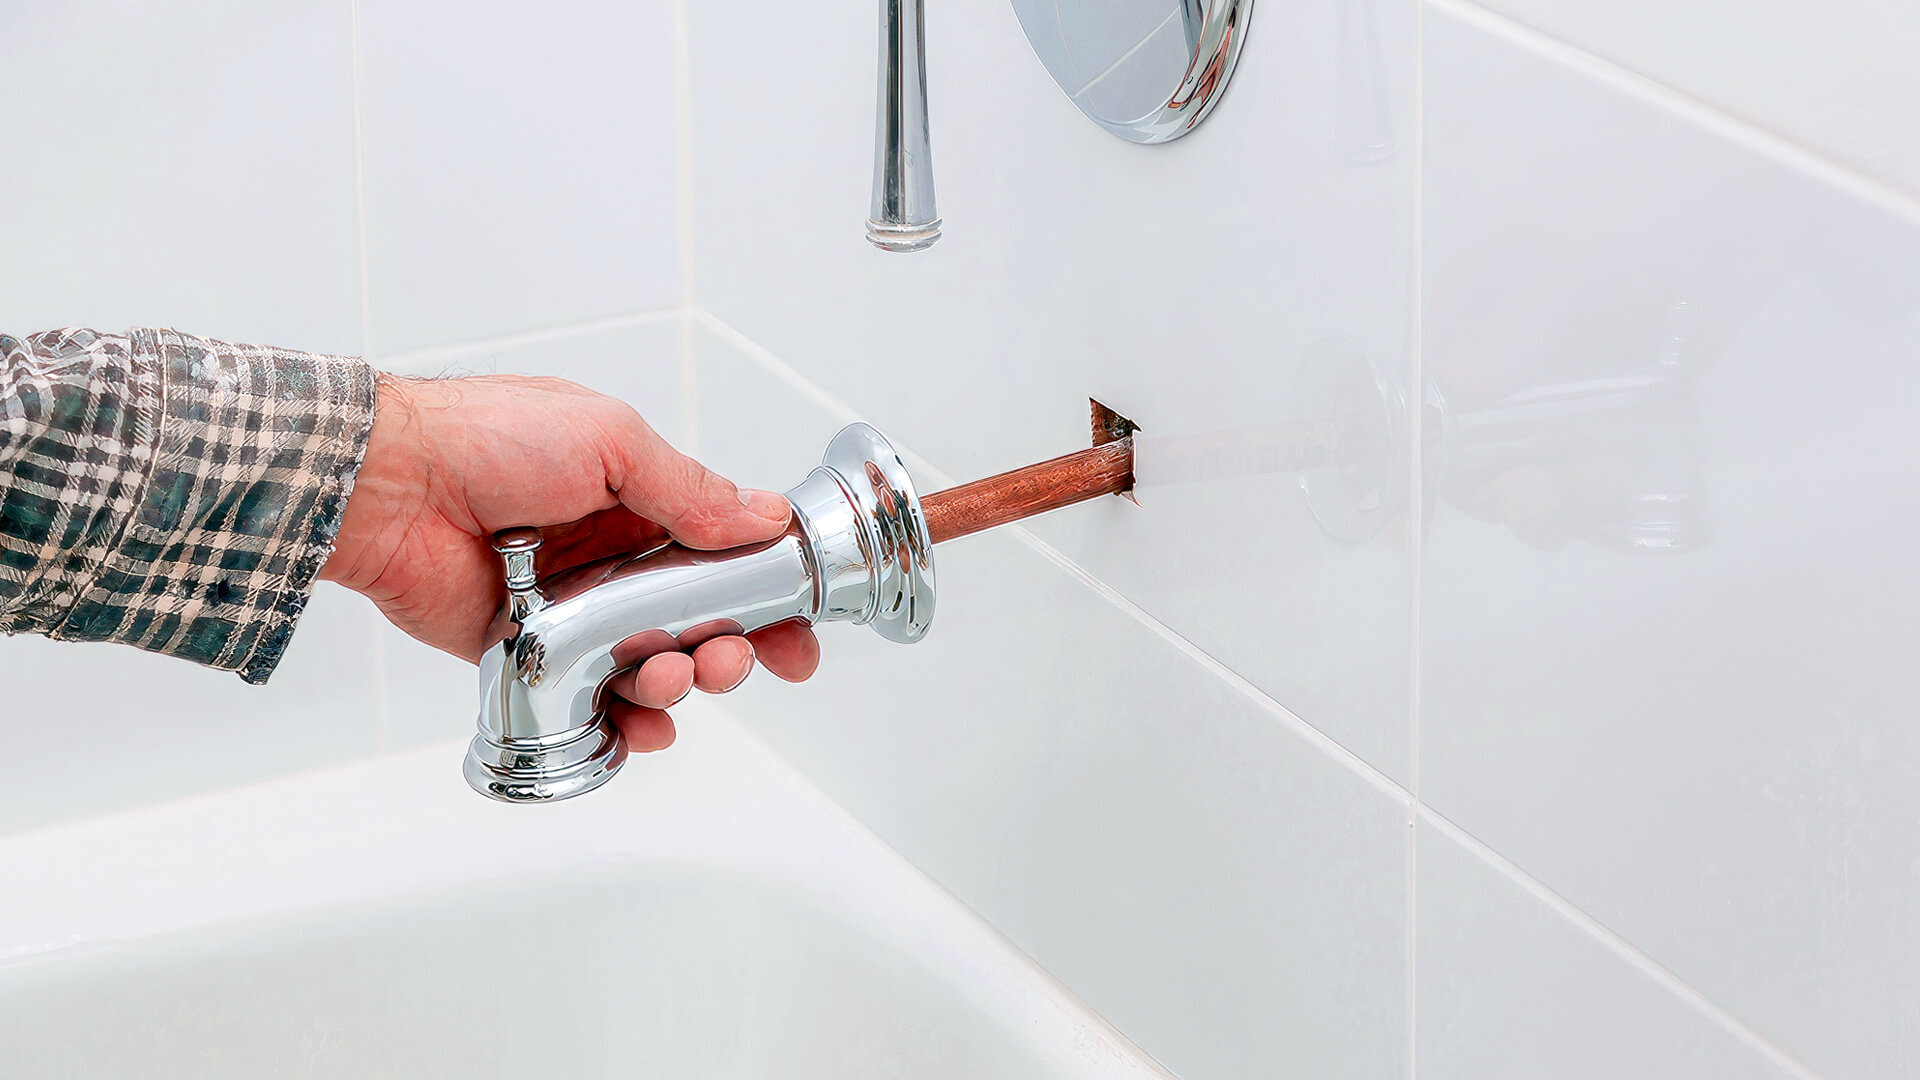
- Replace Seals and Gaskets: If the seals and gaskets in your showerhead are worn out or damaged, they need to be replaced. Remove the showerhead from the shower arm by unscrewing it. Locate the seals and gaskets inside the showerhead and carefully remove them. Install new seals and gaskets in their place and reattach the showerhead to the shower arm.
- Tighten Loose Connections: If loose connections are causing the leaks, use a wrench or pliers to tighten them. Be careful not to overtighten, as this can cause damage. Once the connections are secure, turn on the water supply and check for any remaining leaks.
- Remove Mineral Deposits: If mineral deposits are causing reduced water flow and leakage, cleaning your showerhead is necessary. Remove the showerhead and soak it in a solution of equal parts vinegar and water for about an hour. Scrub the showerhead gently with a brush to remove any remaining deposits. Rinse the showerhead thoroughly and reattach it to the shower arm.
- Replace Damaged Parts: If you have identified any cracked or damaged parts within the showerhead, they will need to be replaced. Contact Brizo customer service or visit their website for information on obtaining replacement parts. Once you have the new parts, follow the manufacturer’s instructions to replace them correctly.
- Adjust Showerhead Settings: If the leaks occur when using specific spray settings or modes, adjust the showerhead settings to the desired mode. Ensure that the settings are aligned correctly, and test for any remaining leaks.
After following these steps, turn on the water supply and carefully check for any leaks. If the leaks persist, it may be necessary to consult a professional plumber or contact Brizo customer service for further assistance.
Now that you know how to fix leaks in your Brizo showerhead, let’s explore some prevention tips to avoid future leaks.
Prevention Tips to Avoid Leaks in Brizo Showerheads
Preventing leaks in your Brizo showerhead is essential to ensure its longevity and optimal performance. By following these simple tips, you can avoid the hassle of dealing with leaks in the future:
- Regular Cleaning: Maintain a regular cleaning routine for your showerhead to prevent mineral deposits from building up. This can be done by soaking the showerhead in a vinegar and water solution, as mentioned earlier, or by using a descaling agent specifically designed for showerheads.
- Tighten Connections: Periodically check the connections between the showerhead and the shower arm to ensure they are tight. Loose connections can lead to leaks, so if you notice any looseness, use a wrench or pliers to tighten them.
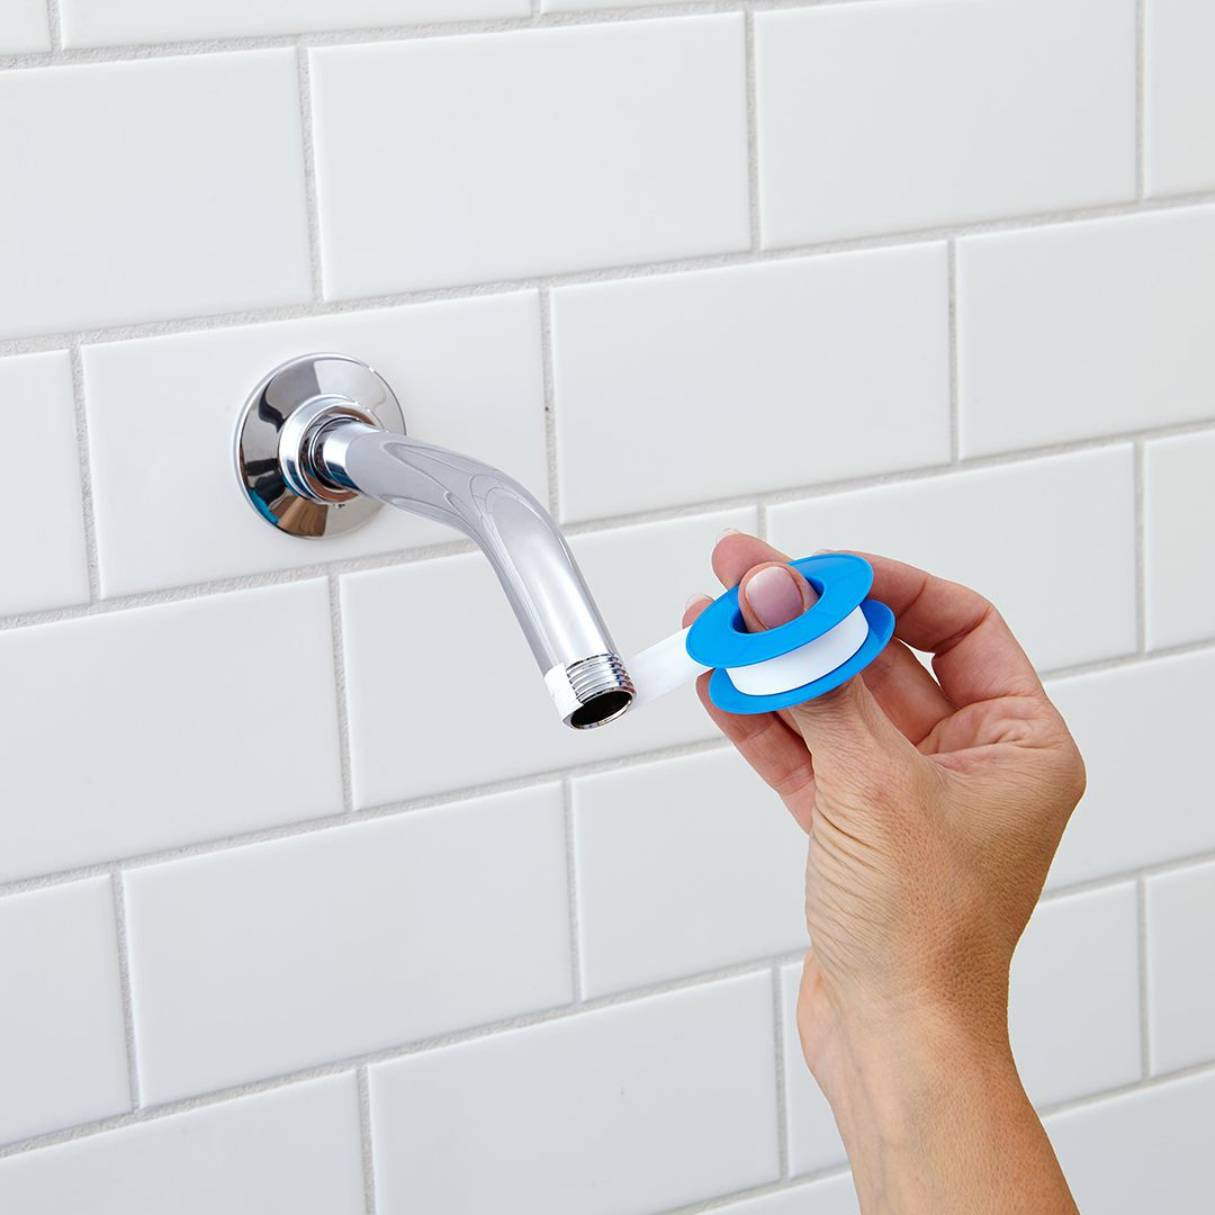
- Use Thread Seal Tape: Apply a layer of thread seal tape (also known as plumber’s tape) to the threads of the shower arm before attaching the showerhead. This will create a watertight seal and prevent leaks from occurring at the connection point.
- Avoid Excessive Force: When installing or removing your Brizo showerhead, avoid using excessive force. This can lead to damage and cause leaks. Follow the manufacturer’s instructions for proper installation and maintenance procedures.
- Check Water Pressure: High water pressure can strain the seals and gaskets in your showerhead, potentially leading to leaks. Consider installing a pressure regulator if your water pressure is consistently high to protect your showerhead and plumbing system.
- Use Soft Water or Water Softener: If your household water supply has a high mineral content, consider using a water softener or installing a water softening system. Soft water reduces the likelihood of mineral deposits forming in your showerhead, reducing the chances of leaks.
- Keep Showerhead Dry: After each use, it’s a good practice to wipe the showerhead dry to prevent moisture buildup. This can help prevent the growth of mold and bacteria and prolong the lifespan of your showerhead.
By implementing these prevention tips and incorporating them into your regular showerhead maintenance routine, you can significantly reduce the chances of experiencing leaks in your Brizo showerhead.
Now that you know how to prevent leaks, let’s wrap up this guide.
Read more: How To Fix Leaking Showerhead
Conclusion
Leaking showerheads can be a nuisance, but with the information and steps provided in this comprehensive guide, you are equipped to address and prevent leaks in your Brizo showerhead. By understanding the common causes of leaks, such as worn-out seals, loose connections, and mineral deposits, you can diagnose the issue and take appropriate action.
Whether it involves replacing seals and gaskets, tightening connections, cleaning mineral deposits, or even replacing damaged parts, following the step-by-step guide outlined in this article will help you fix the leaks in your Brizo showerhead effectively.
Additionally, by implementing the prevention tips discussed, such as regular cleaning, tightening connections, using thread seal tape, and maintaining optimal water pressure, you can minimize the chances of future leaks and extend the lifespan of your Brizo showerhead.
Remember to consult the manufacturer’s instructions and, if necessary, seek assistance from a professional plumber or Brizo customer service to ensure proper maintenance and care for your showerhead.
By taking proactive measures and following the guidance provided here, you can enjoy a leak-free, refreshing shower experience with your Brizo showerhead for years to come.
Thank you for taking the time to read this article. We hope it has been informative and helpful in addressing any leaks you may encounter in your Brizo showerhead. Happy showering!
Frequently Asked Questions about Brizo Showerhead Leaks When Running
Was this page helpful?
At Storables.com, we guarantee accurate and reliable information. Our content, validated by Expert Board Contributors, is crafted following stringent Editorial Policies. We're committed to providing you with well-researched, expert-backed insights for all your informational needs.


0 thoughts on “Brizo Showerhead Leaks When Running”