Home>Articles>What To Know About Light Switch Wiring Before Trying DIY Electrical Work
Articles
What To Know About Light Switch Wiring Before Trying DIY Electrical Work
Modified: August 27, 2024
Discover essential information about light switch wiring and the important factors to consider before attempting any DIY electrical work. Read our informative articles to ensure a safe and successful project.
(Many of the links in this article redirect to a specific reviewed product. Your purchase of these products through affiliate links helps to generate commission for Storables.com, at no extra cost. Learn more)
Introduction
When it comes to DIY electrical work, one of the most common tasks is light switch wiring. Whether you’re replacing an old switch or installing a new one, understanding the basics of light switch wiring is essential for a successful and safe project.
In this article, we will explore the different types of light switches, the components of a light switch, and provide a step-by-step guide to help you wire a light switch correctly. We will also discuss important safety precautions to follow and provide troubleshooting tips for common issues that may arise.
Before we dive into the details, it’s important to note that electrical work can be dangerous if not performed correctly. If you don’t have the experience or knowledge, it is highly recommended to consult a qualified electrician. However, if you are confident in your abilities and follow the proper safety procedures, light switch wiring can be a rewarding DIY project.
By the end of this article, you will have a solid understanding of light switch wiring and be well-equipped to tackle this task with confidence.
Key Takeaways:
- Understanding the different types of light switches, the electrical circuit, and the components of a light switch is crucial for a successful DIY light switch wiring project. Prioritize safety, gather the right tools, and follow the step-by-step guide for a smooth installation.
- When troubleshooting common issues like switch malfunctions, dimmer switch installations, or wiring multiple switches, follow the provided tips and consider consulting a licensed electrician if needed. Prioritize safety and ensure correct wiring for a successful outcome.
Read more: What To Know About Sealing A Deck
Understanding the Basics of Light Switch Wiring
Before you begin wiring a light switch, it’s important to have a clear understanding of the different types of light switches, the electrical circuit involved, and the components that make up a light switch.
Different Types of Light Switches
There are several types of light switches commonly used in residential settings. The most common ones include:
- Single-Pole Switch: This is the standard switch used to control a light fixture from a single location. It has two screw terminals for connecting the live and switched live wires.
- Three-Way Switch: A three-way switch is used when you want to control a light fixture from two separate locations. It has three screw terminals, including one common terminal and two traveler terminals.
- Four-Way Switch: A four-way switch is used in combination with two three-way switches to control a light fixture from more than two locations. It has four screw terminals.
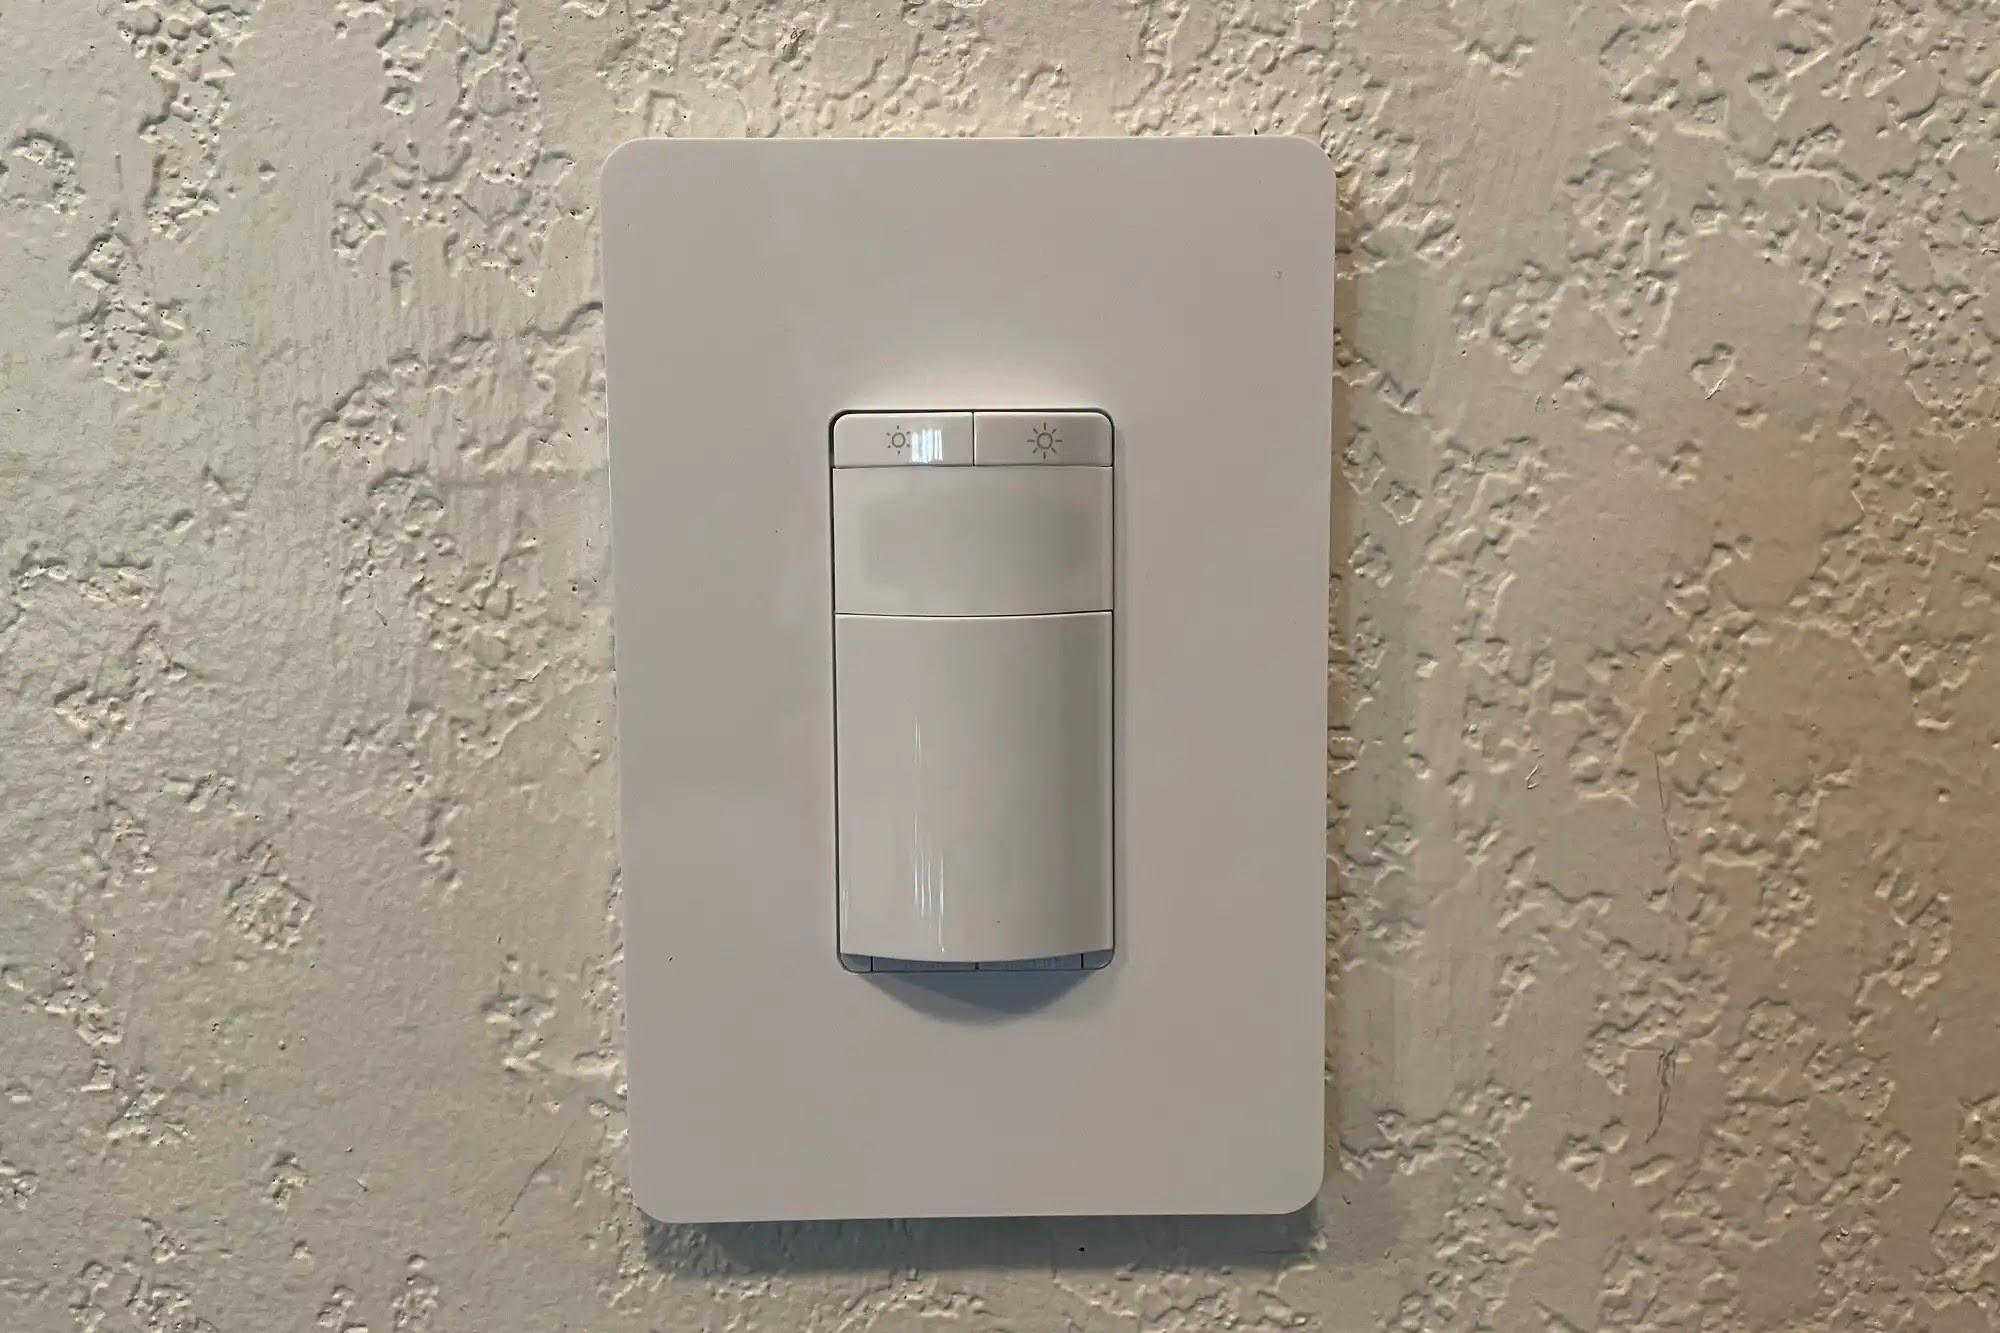
- Dimmer Switch: A dimmer switch allows you to adjust the brightness of a light fixture. It usually has a slider, knob, or touch-sensitive panel for controlling the dimming level.
- Toggle Switch: A toggle switch has a simple on-off mechanism and is commonly used for controlling simple lighting fixtures.
Electrical Circuit and Wiring Diagram
A light switch is part of an electrical circuit that controls the flow of electricity to the light fixture. Understanding the circuit and the wiring diagram is crucial for proper installation.
Typically, the circuit consists of a power source, such as a circuit breaker or fuse box, a cable that runs from the power source to the light fixture, and the light switch in between. The wiring diagram illustrates the connections between these components.
Components of a Light Switch
A light switch consists of several key components:
- Faceplate: The faceplate is the visible part of the switch and covers the electrical components. It is available in various styles and finishes to match your decor.
- Toggle or Rocker: The toggle or rocker is the part you physically interact with to turn the switch on or off. In the case of a dimmer switch, it may have additional controls for adjusting the brightness.
- Terminals: The terminals are where the electrical wires are connected. Depending on the type of switch, there will be different terminals such as live, switched live, traveler, and common terminals.
- Internal Mechanism: Inside the switch, there are internal connections and mechanisms that control the flow of electricity. These mechanisms may include springs, contacts, and toggles.
Understanding these components will help you wire the light switch correctly and troubleshoot any issues that may arise during or after the installation process.
Now that you have a basic understanding of the different types of light switches, the electrical circuit, and the components of a light switch, let’s move on to the important safety precautions you should follow before starting the wiring process.
Read more: How To Wire A Ceiling Light To A Switch
Important Safety Precautions to Follow
Before you begin any electrical work, including light switch wiring, it is crucial to prioritize safety. Here are some important safety precautions to follow:
Shutting off Power to the Circuit
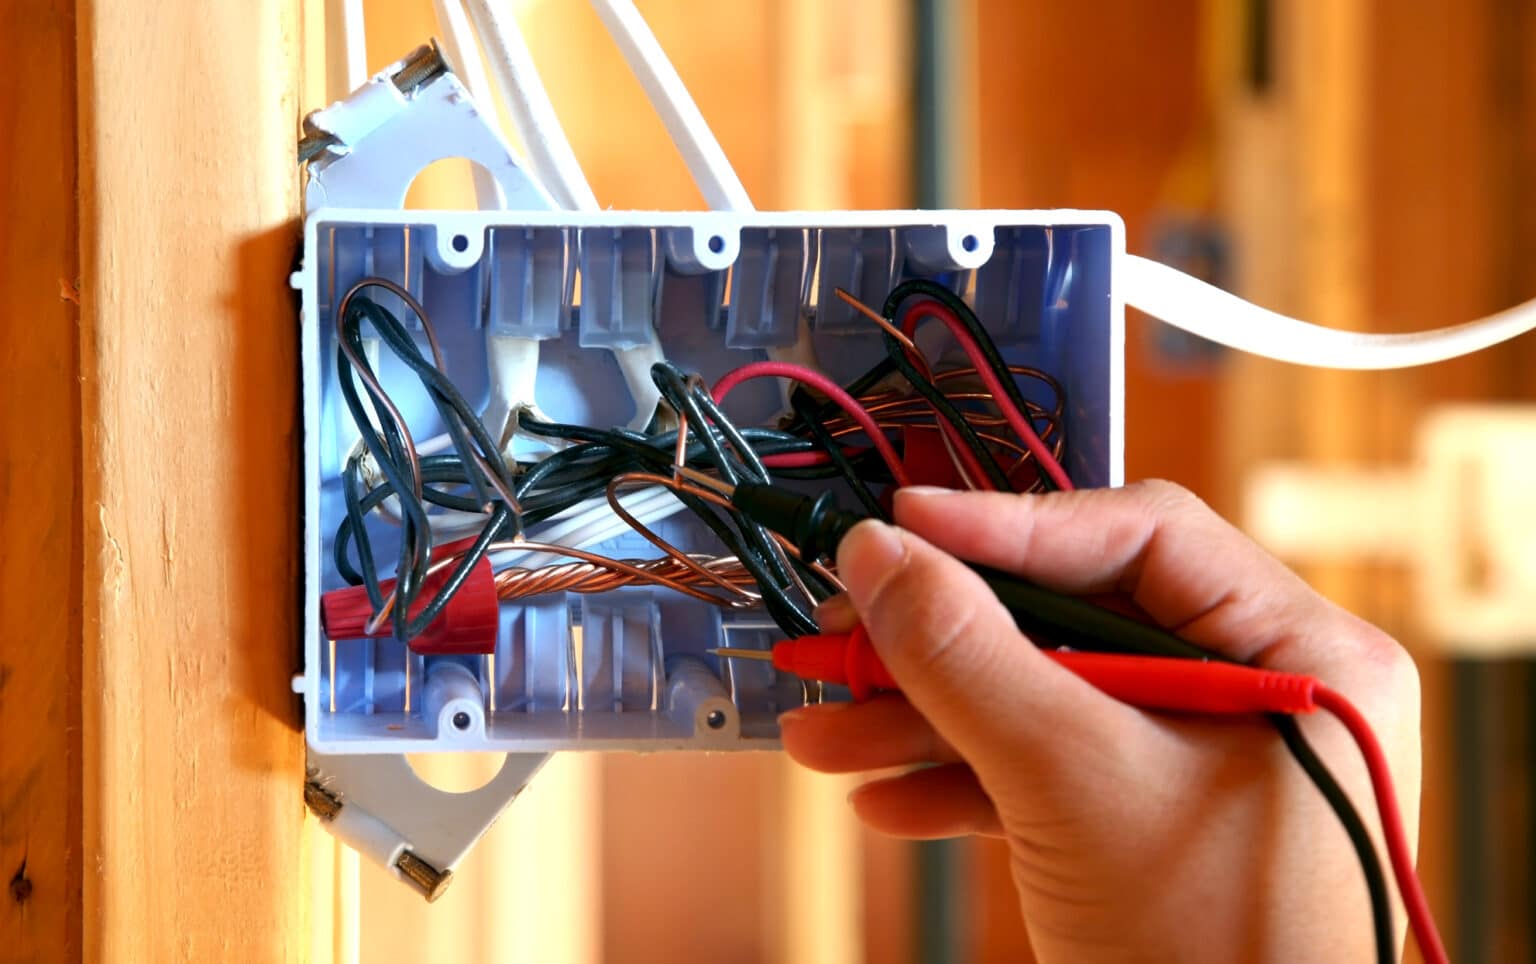
Prior to starting any electrical work, ensure that you have shut off the power to the circuit you will be working on. This step is essential to prevent electric shock or other accidents. Locate the circuit breaker or fuse box and switch off the specific circuit. It is also a good practice to use a voltage tester to confirm that the power is indeed off before proceeding.
Using Proper Tools and Equipment
Using the right tools and equipment is crucial for safety and ease of installation. Ensure you have the following tools on hand:
- Screwdrivers: Both flathead and Phillips screwdrivers will be necessary for removing and installing the switch.
- Pliers: Pliers are useful for gripping and manipulating wires.
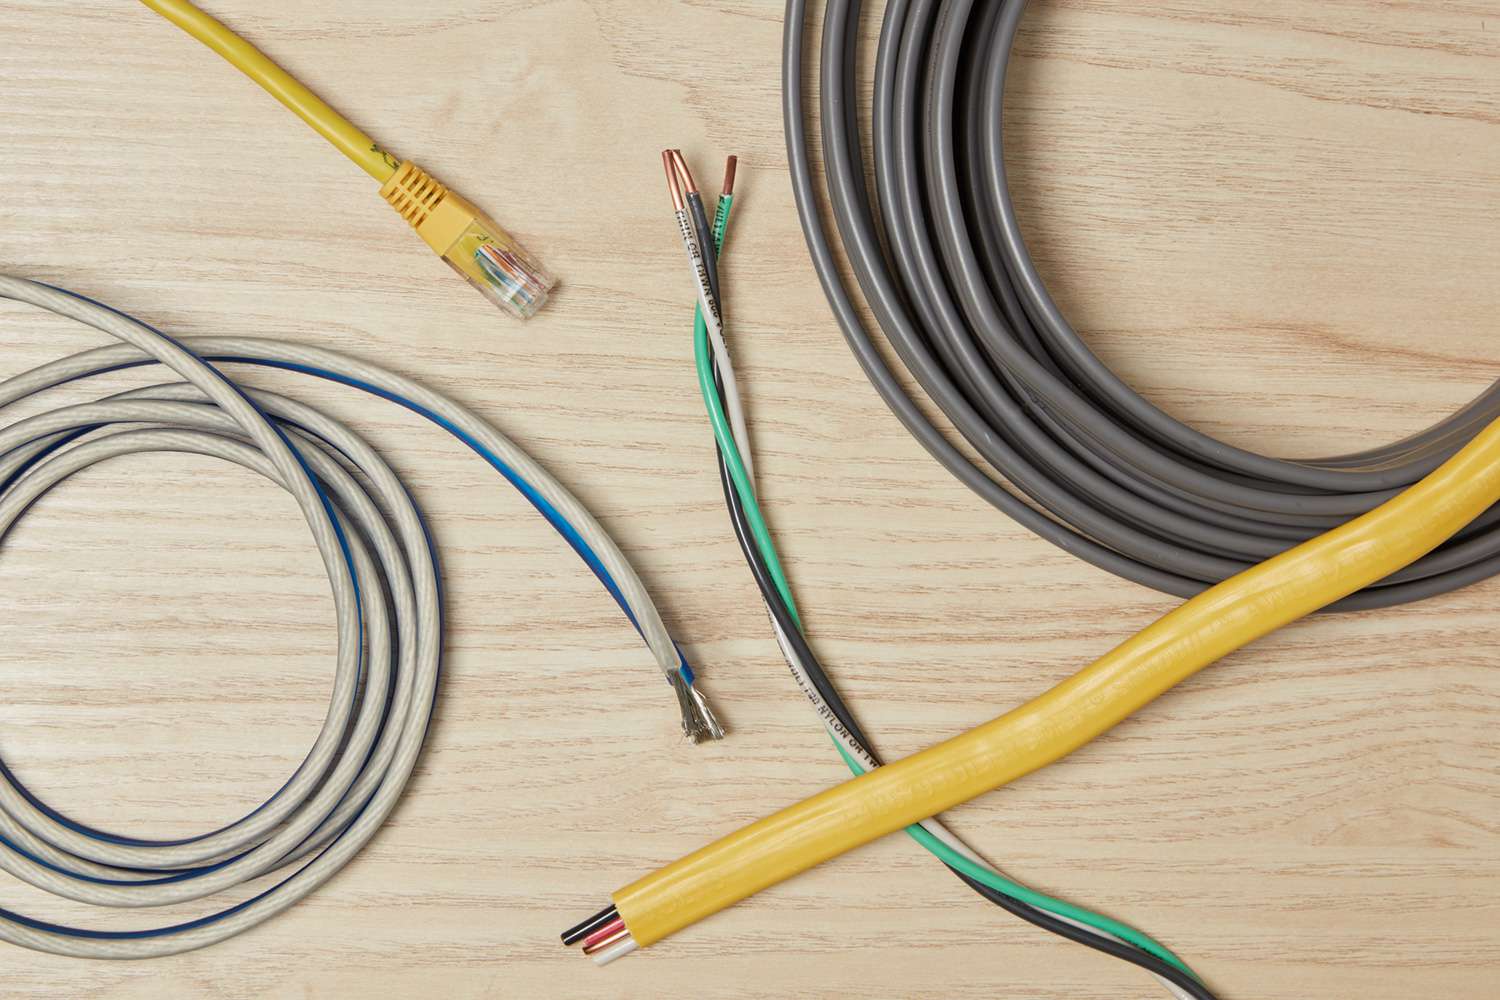
- Wire Strippers: Wire strippers are essential for removing the insulation from the wires properly.
- Wire Nuts and Electrical Tape: These are used for securing wire connections and insulating bare wires.
- Voltage Tester: A voltage tester is essential for verifying that the power is off before touching any wires.
Identifying and Labeling Wires
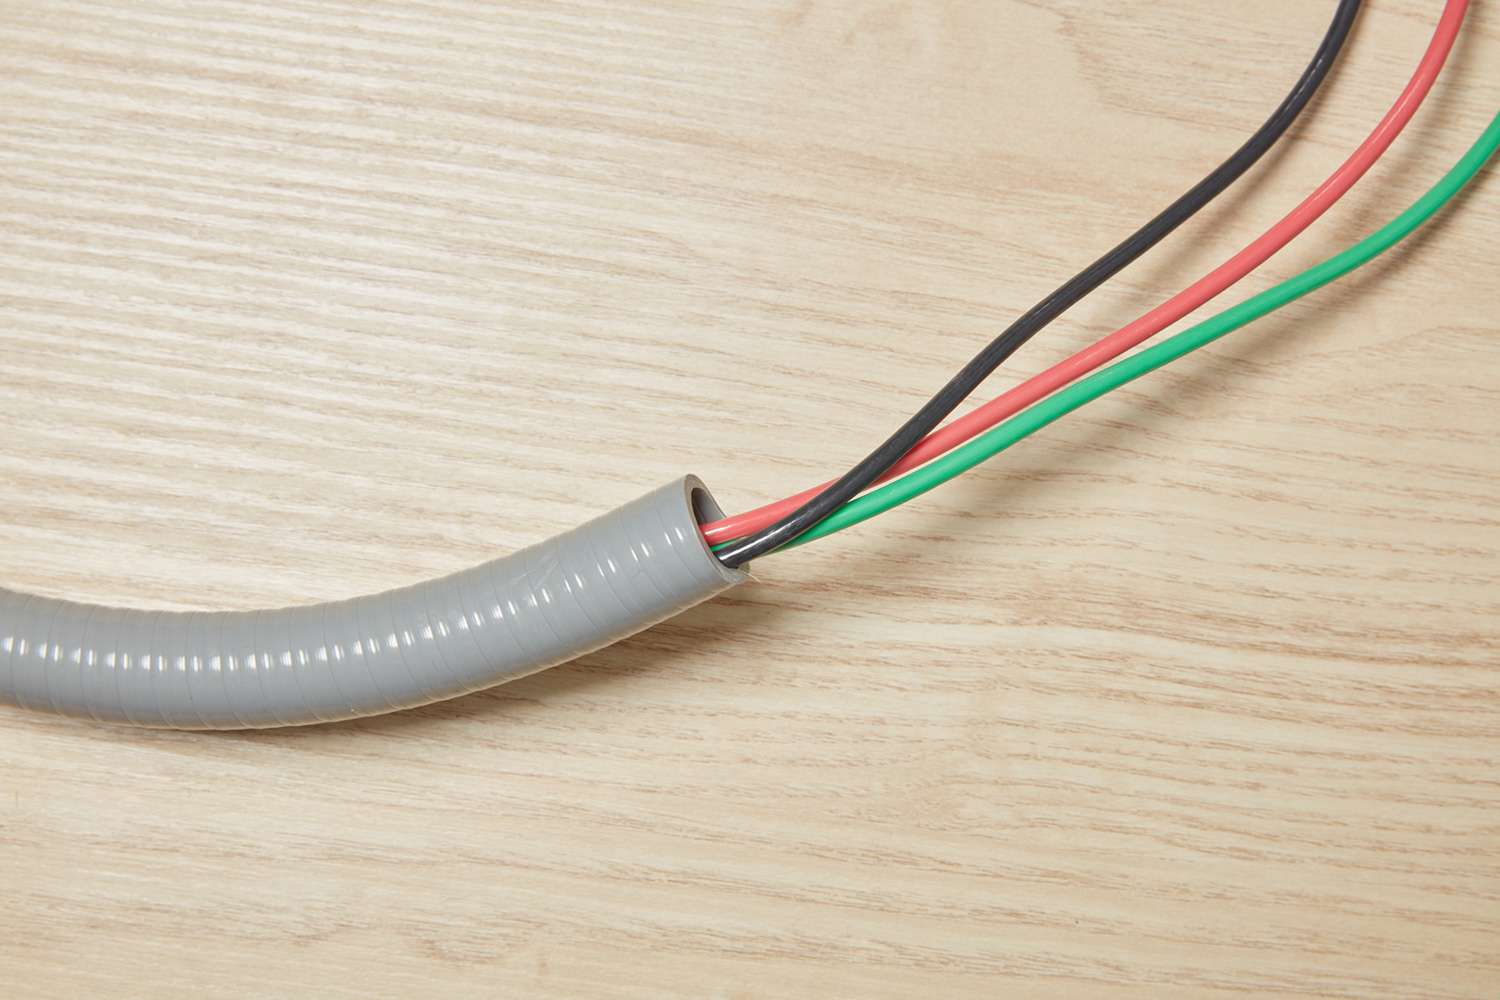
Before disconnecting any wires, it’s important to identify and label them to ensure proper reconnection. Start by making a note of how the existing switch is wired and take pictures if possible. Use a label or masking tape to mark each wire with its corresponding terminal or function, such as live, switched live, or traveler. Properly labeling the wires will save you time and confusion when installing the new switch.
Always exercise caution when working with electrical components. If you are unsure about any step or lack experience, it is advisable to seek the assistance of a licensed electrician. Remember, your safety is the highest priority.
Now that you are aware of the important safety precautions, let’s move on to the step-by-step guide for wiring a light switch.
Read more: What To Know About Building A House
Step-by-Step Guide to Wiring a Light Switch
Wiring a light switch may seem daunting, but with the right steps and precautions, it can be a straightforward process. Here is a step-by-step guide to help you wire a light switch:
Gather the Necessary Materials
Before you begin, gather all the materials you’ll need. This includes a new light switch, wire nuts, electrical tape, screwdrivers, pliers, wire strippers, and a voltage tester.
Turn off the Power
Start by turning off the power to the circuit you’ll be working on. Locate the circuit breaker or fuse box and switch off the corresponding circuit. Use a voltage tester to double-check that the power is off before proceeding.
Remove the Old Switch
Next, remove the faceplate of the old switch by unscrewing the mounting screws. Carefully pull the switch away from the wall, exposing the wiring connections.
Read more: How To Wire A Switch Into An Electrical Cord
Identify and Disconnect Wires
Take note of the existing wiring connections before disconnecting any wires. If necessary, use a label or masking tape to mark each wire according to its function, such as live, switched live, or traveler. Use pliers or screwdrivers to loosen the terminal screws and disconnect the wires from the old switch. Keep the wires separate and away from each other to avoid accidental contact.
Install the New Switch
Now, it’s time to install the new switch. Start by connecting the wires to the corresponding terminals on the switch. Typically, black or red wires are connected to the live terminal, while the white or gray wires are connected to the switched live terminal. Follow the manufacturer’s instructions for your specific switch model.
Make sure the connections are secure by tightening the terminal screws. If necessary, trim any excess wire to ensure a clean and neat installation.
Test the Switch
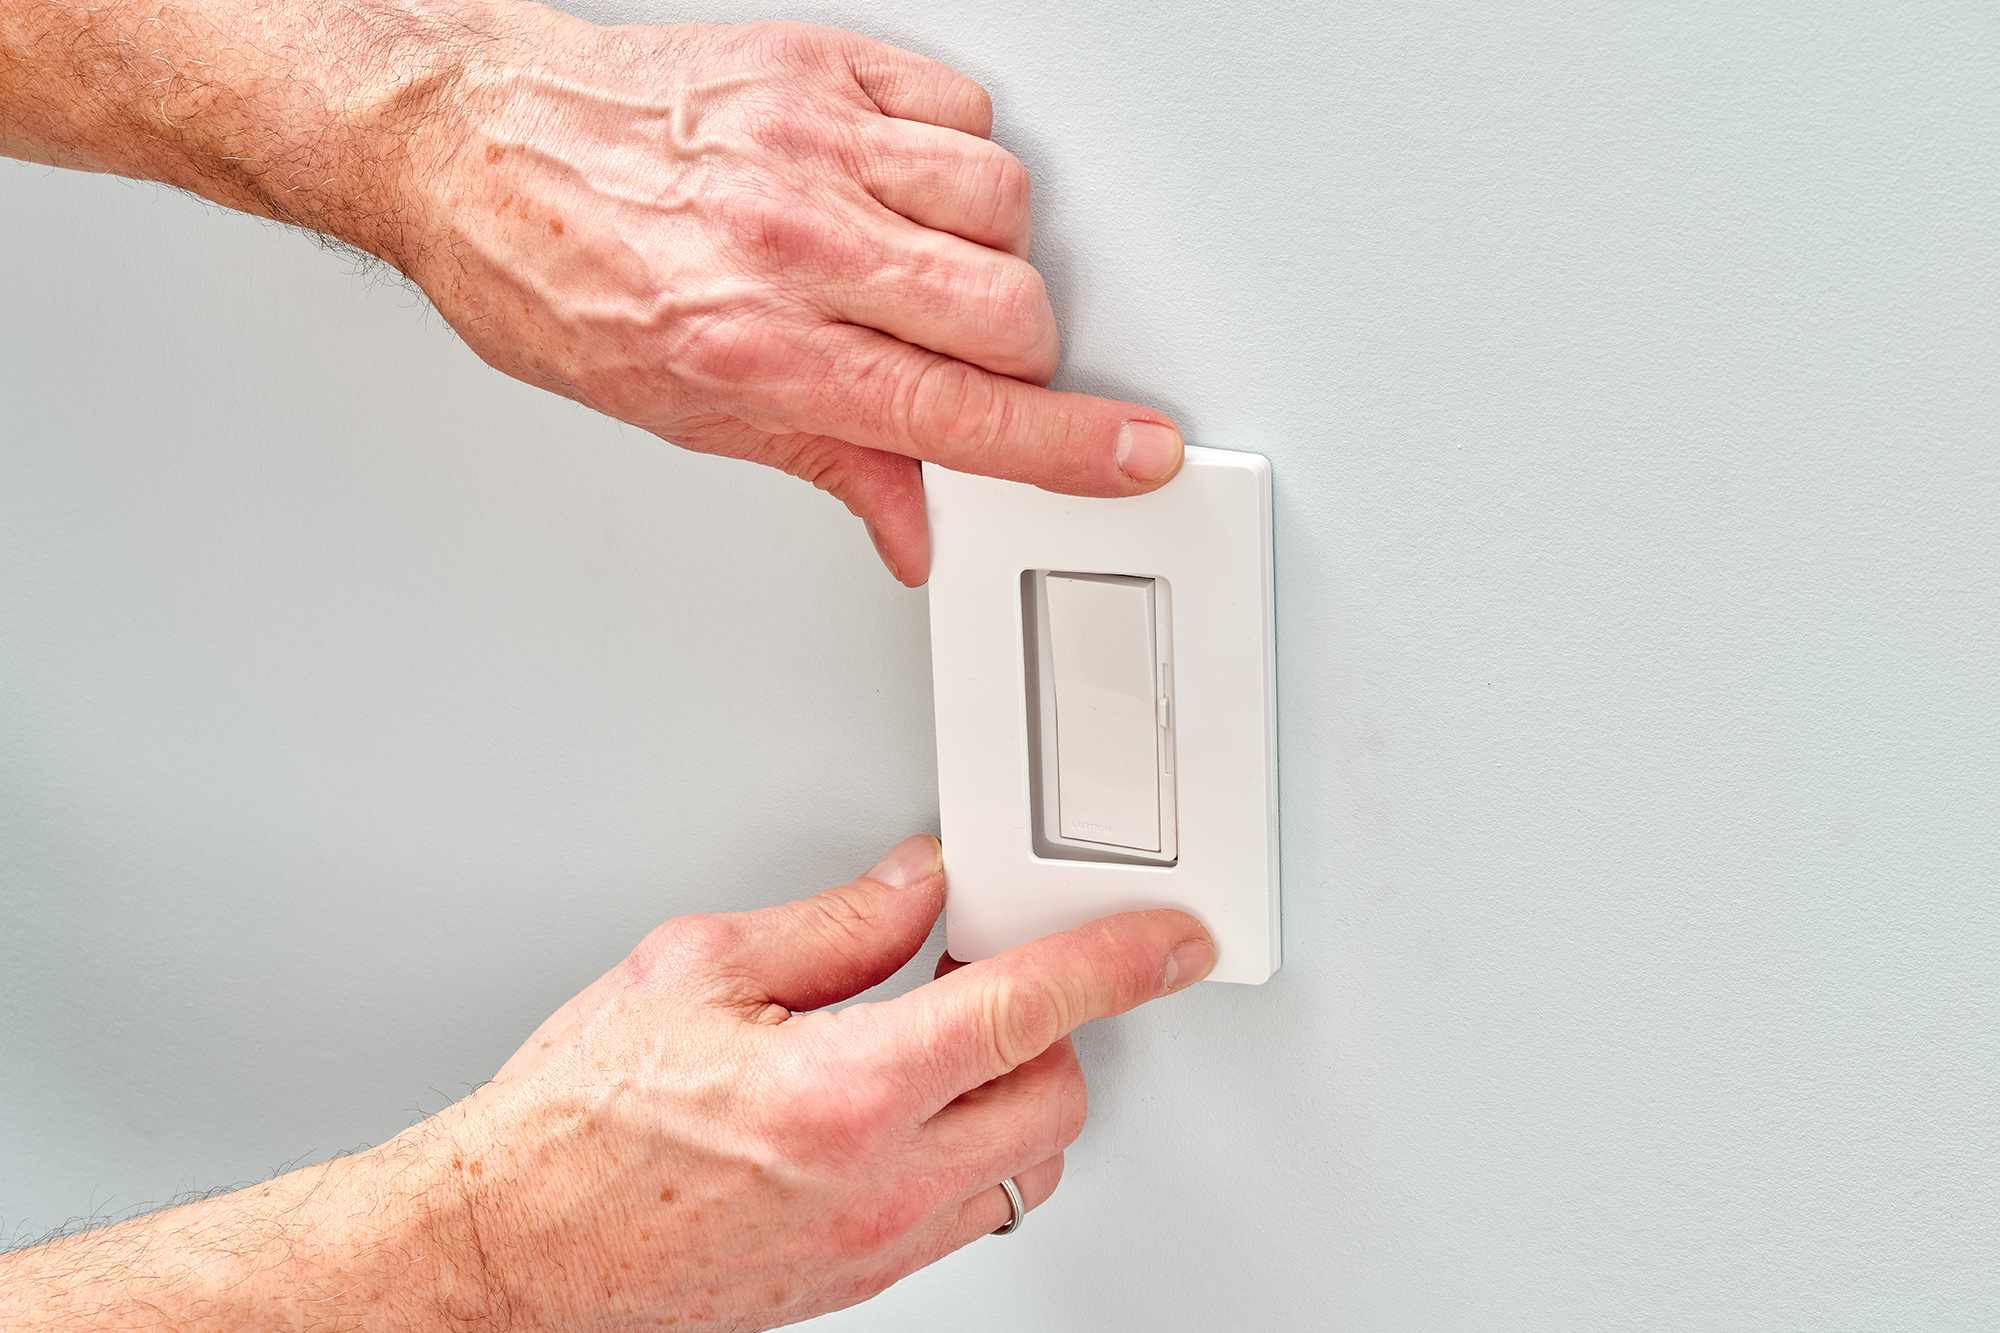
Before reattaching the faceplate and turning on the power, it’s essential to test the switch. Turn on the power to the circuit and use the voltage tester to check if the switch is working correctly. Carefully flip the switch to its on and off positions and verify that the light fixture responds accordingly.
If the switch is functioning properly, turn off the power again and proceed to reattach the faceplate. Screw it back into place, ensuring a secure fit.
Remember, safety is crucial throughout the entire process. If you encounter any difficulties or are unsure about any step, it is advisable to seek the assistance of a licensed electrician.
Now that you have successfully wired the light switch, you can enjoy the convenience of controlling your light fixture with ease.
Common Issues and Troubleshooting Tips
Even with careful installation, there are some common issues that may arise when wiring a light switch. Here are a few troubleshooting tips to help you resolve these issues:
Switch Not Functioning Properly
If the switch is not functioning as expected, there could be a few potential causes:
- Check the wiring connections: Ensure that all the wires are securely connected to the correct terminals on the switch. Loose or incorrect connections can prevent the switch from working properly.
- Test the switch: If the connections are secure, use a voltage tester to check if the switch is receiving power. If there is no power, double-check the circuit breaker or fuse box to ensure the circuit is powered on.
- Replace the switch: If the wiring and power are confirmed to be correct, but the switch still doesn’t function, it may be a faulty switch. Consider replacing it with a new one.
Dimmer Switch Installation
Installing a dimmer switch requires some additional considerations:
- Compatibility: Make sure the dimmer switch you select is compatible with the type of light fixture you are using. Some dimmers are designed for specific types of bulbs, while others are more universal.
- Wiring: Dimmer switches often have additional wires, such as dimmer leads or adjustment screws, for controlling the brightness. Follow the manufacturer’s instructions carefully to ensure proper installation.
- Load capacity: Check the load capacity of the dimmer switch to ensure it can handle the wattage of the light fixture. Overloading the switch can lead to malfunctions or even cause damage to the switch or the electrical circuit.
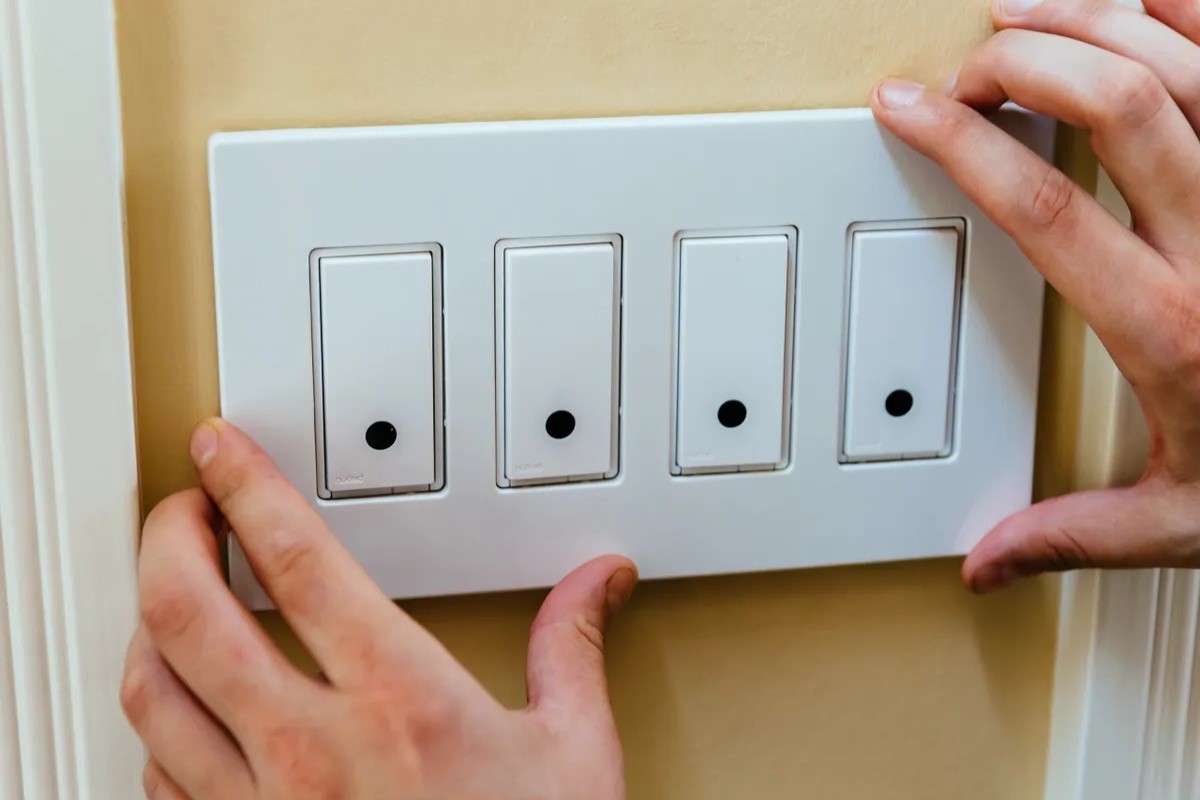
Wiring Multiple Switches
If you are wiring multiple switches to control different light fixtures or appliances, it’s important to follow these guidelines:
- Proper wiring: Each switch should be connected to its respective fixture or appliance. Ensure that the wires are correctly identified and connected to the appropriate terminals on each switch.
- Switch boxes: To wire multiple switches, you may need to install switch boxes with enough space to accommodate the additional wiring connections. Check local electrical codes for specific requirements regarding the number and type of switches allowed in a single switch box.
- Switch labeling: To avoid confusion, label each switch to indicate which fixture or appliance it controls. This will make it easier to identify the correct switch for each desired function.
If you encounter any issues or are unsure about any step during the troubleshooting process, it’s recommended to consult a licensed electrician for assistance. Electrical work can be complex, and it’s crucial to prioritize safety and ensure the wiring is done correctly.
With these troubleshooting tips in mind, you can overcome common issues and successfully wire your light switches with confidence.
Conclusion
Wiring a light switch may seem like a daunting task, but with the right knowledge and precautions, it can be a manageable DIY project. Understanding the basics of light switch wiring, following important safety precautions, and using the proper tools are essential for a successful installation.
In this article, we have discussed the different types of light switches, the components of a light switch, and the basics of light switch wiring. We have also covered important safety precautions, such as shutting off the power, using proper tools and equipment, and identifying and labeling wires.
Furthermore, we provided you with a step-by-step guide to help you wire a light switch correctly. From gathering the necessary materials to testing the switch, each step was outlined to ensure a smooth installation process.
In addition, we addressed common issues that may arise during light switch wiring, such as switches not functioning properly, dimmer switch installations, and wiring multiple switches. We provided troubleshooting tips to help you overcome these challenges and achieve the desired results.
Remember, safety should always be the top priority when working with electrical components. If you are unsure about any step or lack experience, it is advisable to consult a licensed electrician.
By following the guidelines and tips provided in this article, you can successfully wire a light switch and have full control over your lighting. Whether you’re replacing an old switch or installing a new one, the knowledge and skills you have gained will enable you to tackle this DIY project with confidence.
Happy wiring!
Frequently Asked Questions about What To Know About Light Switch Wiring Before Trying DIY Electrical Work
Was this page helpful?
At Storables.com, we guarantee accurate and reliable information. Our content, validated by Expert Board Contributors, is crafted following stringent Editorial Policies. We're committed to providing you with well-researched, expert-backed insights for all your informational needs.


0 thoughts on “What To Know About Light Switch Wiring Before Trying DIY Electrical Work”