Home>Home Security and Surveillance>How To Wire A Motion Detector To My Light Switch
Home Security and Surveillance
How To Wire A Motion Detector To My Light Switch
Modified: March 6, 2024
Learn how to enhance your home security and surveillance by wiring a motion detector to your light switch.
(Many of the links in this article redirect to a specific reviewed product. Your purchase of these products through affiliate links helps to generate commission for Storables.com, at no extra cost. Learn more)
Introduction
Welcome to the world of home security and surveillance! Whether you are concerned about the safety of your family, the security of your valuables, or simply want to have peace of mind, installing a motion detector connected to your light switch is a smart choice. This powerful combination adds an extra layer of security by automatically turning on the lights when motion is detected, deterring potential intruders and improving visibility in and around your home.
In this article, we will guide you through the process of wiring a motion detector to your light switch, providing you with a comprehensive understanding of how motion detectors work and how to install them effectively. We will cover the necessary tools and materials, safety precautions, step-by-step wiring instructions, testing and adjusting the motion detector, troubleshooting common issues, and more.
Before we dive into the details, let’s take a moment to explore the different types of motion detectors available in the market today. This knowledge will help you make an informed decision when choosing the right one for your home.
Key Takeaways:
- Automating your home’s lighting with a motion detector connected to your light switch adds an extra layer of security by deterring intruders and improving visibility. It’s a smart choice for enhancing safety and peace of mind.
- Before wiring a motion detector to your light switch, gather essential tools and materials, follow safety precautions, and test the detector’s sensitivity and range. Troubleshoot common issues to ensure a successful and secure installation.
Understanding Motion Detectors
Before we jump into the process of wiring a motion detector to your light switch, let’s take a closer look at the different types of motion detectors, how they work, and the benefits they provide.
Types of Motion Detectors
There are several types of motion detectors available, each with its own advantages and features. The most common types include passive infrared (PIR) sensors, microwave sensors, and dual technology sensors.
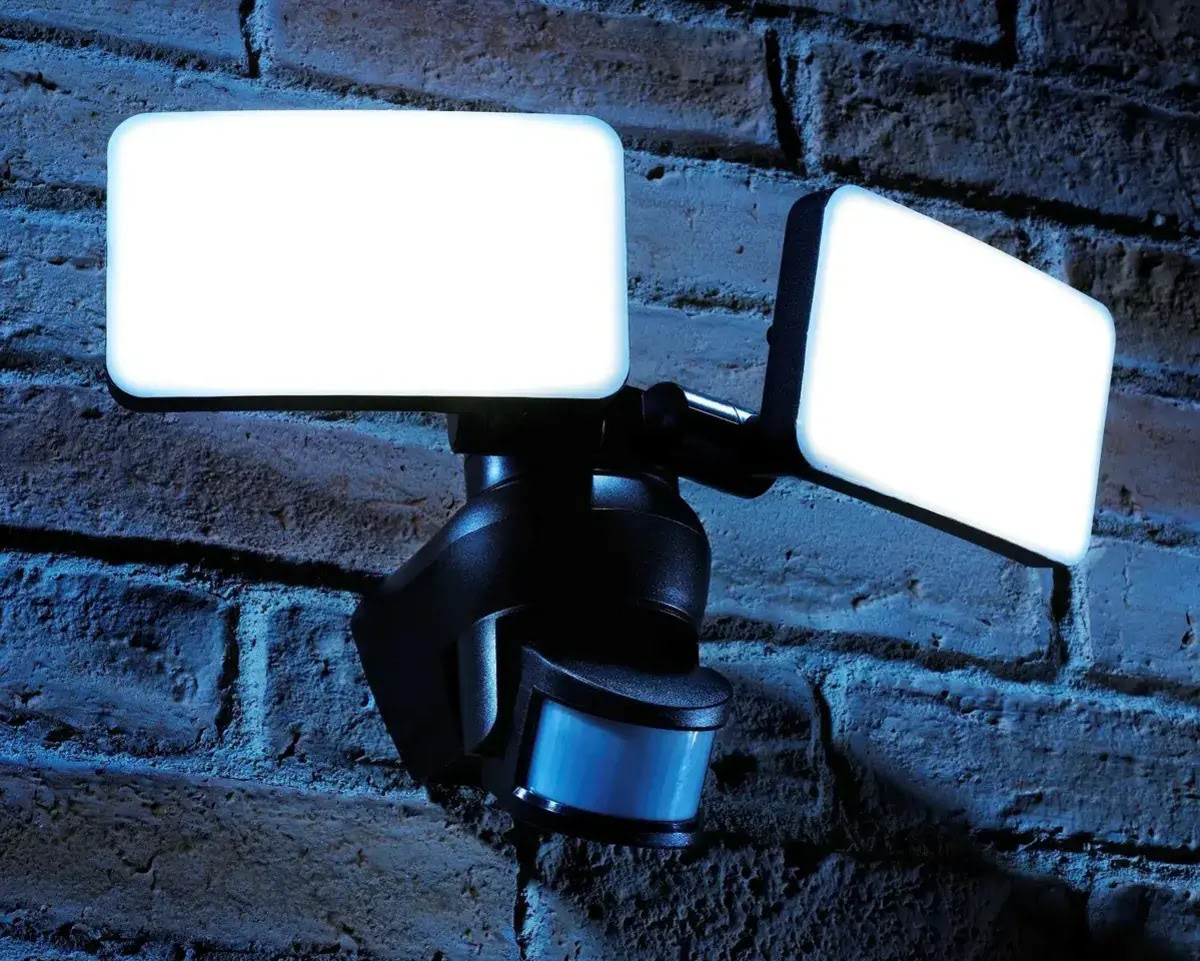
Passive Infrared (PIR) Sensors: PIR sensors detect changes in infrared energy emitted by objects in their field of view. When an intruder enters the sensor’s range, the detector recognizes the change in infrared energy and triggers the alarm or turns on the lights. PIR sensors are ideal for indoor use and are highly effective in detecting human movement.
Microwave Sensors: Microwave sensors use radio waves to detect motion. They emit microwave signals and measure the reflection of those signals to determine if there is any movement in the area. These sensors are suitable for outdoor use as they are less prone to false alarms caused by environmental factors such as wind or heat.
Dual Technology Sensors: Dual technology sensors combine PIR and microwave technology to provide enhanced accuracy and reduce false alarms. By using both technologies, they can detect both heat and movement, minimizing the chances of false triggers caused by pets or other non-human objects.
How Motion Detectors Work
Motion detectors work by monitoring changes in their environment and detecting any movement within their range. When a motion detector detects movement, it sends a signal to the connected device, such as an alarm system or a light switch, triggering the desired action.
Passive infrared (PIR) sensors, as mentioned earlier, detect changes in infrared energy. They have a sensor that is capable of detecting heat emitted by objects, including humans.
Microwave sensors emit microwave signals and analyze the reflection pattern created when those signals bounce off objects in the area. When there is movement, the reflection pattern changes, indicating the presence of an intruder.
Dual technology sensors combine the benefits of both PIR and microwave sensors to provide more reliable and accurate detection.
Benefits of Motion Detectors
Installing motion detectors in your home offers numerous benefits, including:
- Enhanced security: Motion detectors provide an added layer of security by automatically alerting you to any movement in and around your property.
- Deterrence factor: The presence of motion detectors can deter potential intruders from attempting to break into your home.
- Convenience and energy efficiency: Motion detectors programmed to control lights and appliances can help save energy by automatically turning them on and off when needed.
- Peace of mind: With motion detectors in place, you can have peace of mind knowing that your home is being monitored and any suspicious activity will be promptly detected.
Now that you have a better understanding of the different types of motion detectors, how they work, and the benefits they offer, it’s time to gather the necessary tools and materials to begin the installation process.
Read more: How To Wire A Motion Detector Light
Tools and Materials Needed
Before you start the process of wiring a motion detector to your light switch, it’s important to gather all the necessary tools and materials. Having everything prepared ahead of time will ensure a smooth and hassle-free installation process.
List of Required Tools
Here are the essential tools you will need:
- Screwdriver (flathead and Phillips head)
- Wire strippers
- Wire cutters
- Needle-nose pliers
- Voltage tester
- Drill
- Drill bits
- Electrical tape
- Level
List of Required Materials
Here is a list of the materials you will need for the installation:
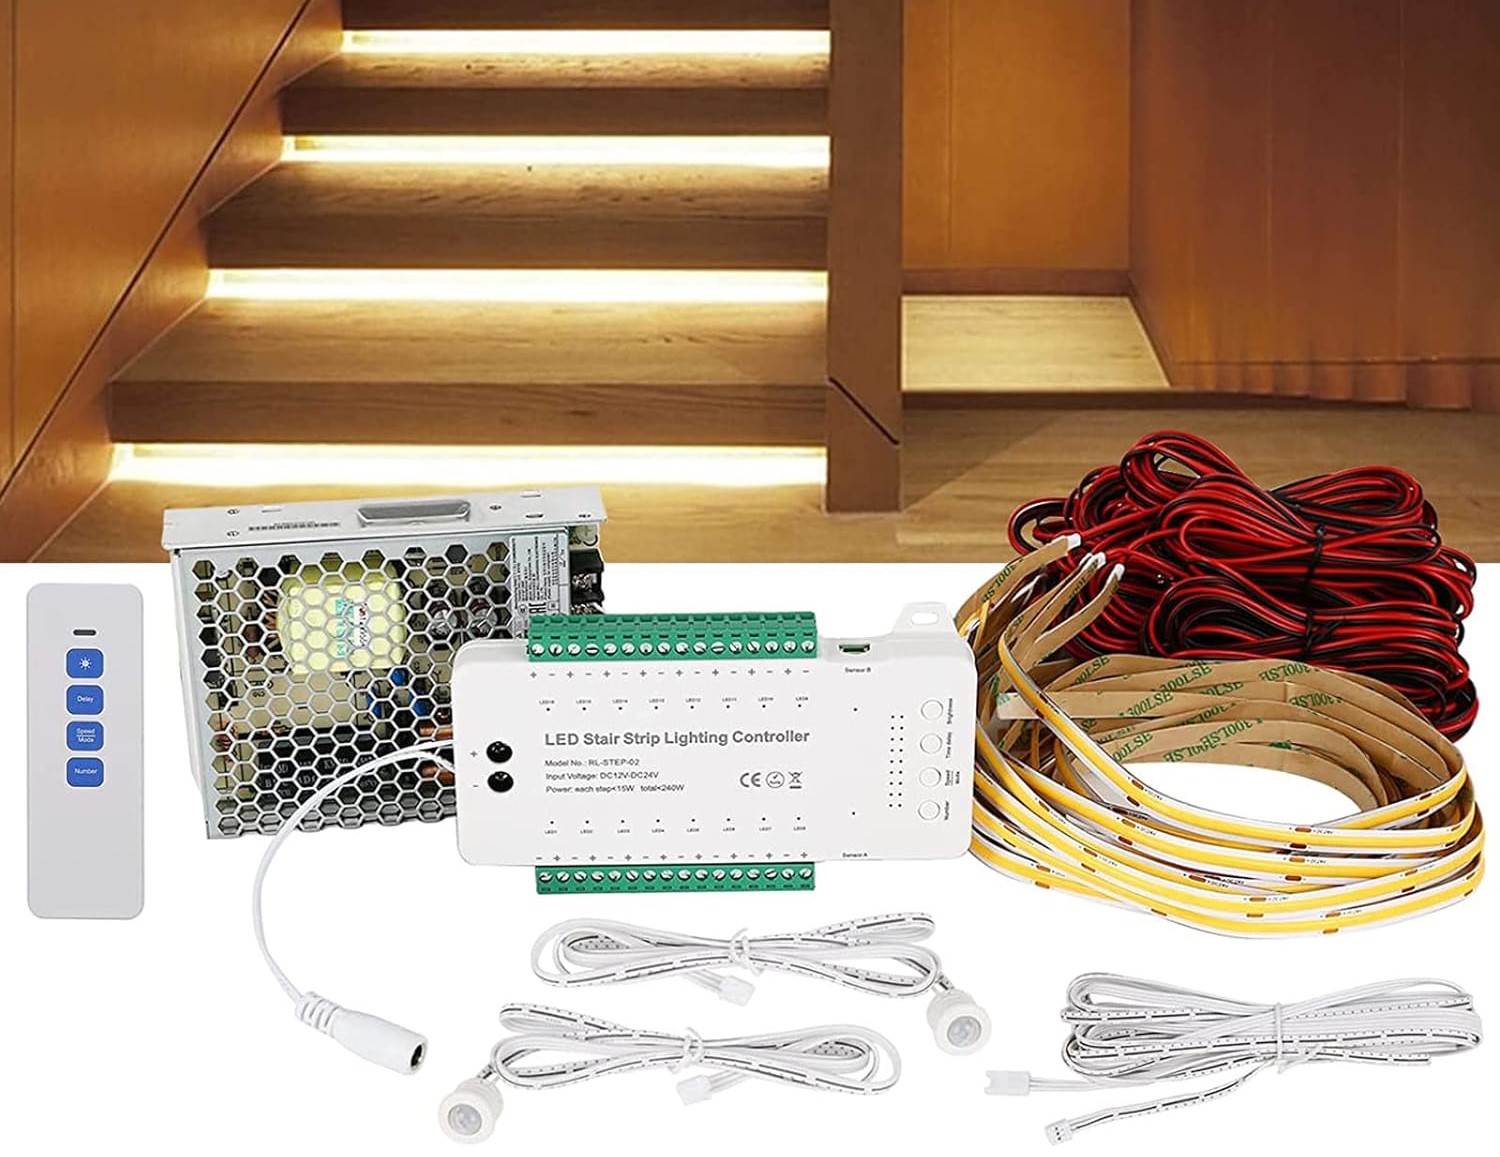
- Motion detector
- Light switch
- Electrical wires
- Wire connectors
- Mounting brackets
- Wall anchors
- Screws
It’s important to note that the specific tools and materials required may vary depending on the type and model of the motion detector and light switch you are installing. Always refer to the manufacturer’s instructions for the recommended tools and materials for your specific setup.
Now that you have gathered all the necessary tools and materials, it’s time to move on to the next step: preparing for the installation. But before we proceed, it’s crucial to follow some safety precautions to ensure a safe and successful installation process. Let’s go over them briefly.
Preparing for Installation
Before starting the installation process, it’s crucial to take necessary safety precautions to ensure your well-being and the safety of your home. Here are some important steps to follow:
Read more: How To Adjust Motion Detector Light Switch
Safety Precautions
1. Turn off the power: Before working with any electrical wiring, it’s essential to switch off the power to the area where you will be installing the motion detector and light switch. Locate the circuit breaker that controls the power to the specific switch, and turn it off to prevent any electrical accidents.
2. Confirm the power is off: After turning off the circuit breaker, it’s important to verify that the power is indeed off. Use a voltage tester to check the wires for any electrical current. If the tester indicates the presence of electricity, double-check the circuit breaker to ensure it is switched off.
3. Wear protective gear: When working with electrical wiring, it’s advisable to wear safety gloves and goggles to protect yourself from potential hazards and prevent any injuries.
4. Follow manufacturer’s instructions: Always refer to the manufacturer’s instructions and guidelines specific to your motion detector and light switch to ensure a safe and proper installation process.
Steps to Switch Off the Power
1. Locate the electrical panel: The electrical panel, also known as the circuit breaker box, is typically located in a utility room, basement, or garage. Familiarize yourself with the location of the electrical panel in your home.
2. Identify the correct breaker: Look for the breaker labeled with the appropriate designation for the area where you will be working. If the breakers are not properly labeled, you may need to test each one individually or enlist the help of a professional to identify the correct breaker.
3. Switch off the breaker: Once you have identified the correct breaker, switch it to the “Off” position. You can typically do this by flipping the switch to the opposite direction from the “On” position.
4. Test the power: Use a voltage tester to verify that the power has been successfully turned off. Touch the voltage tester to the wires at the light switch to ensure there is no electrical current. If the tester does not detect any voltage, it is safe to proceed with the installation.
By following these safety precautions and properly switching off the power, you can minimize the risk of electrical accidents and create a safe environment for the installation process. With the power turned off and safety measures in place, you are now ready to start wiring the motion detector to your light switch.
Wiring the Motion Detector to the Light Switch
Now that you have taken the necessary safety precautions and switched off the power, you can proceed with wiring the motion detector to your light switch. Follow these step-by-step instructions for a successful installation:
Step-by-Step Instructions for Wiring the Motion Detector
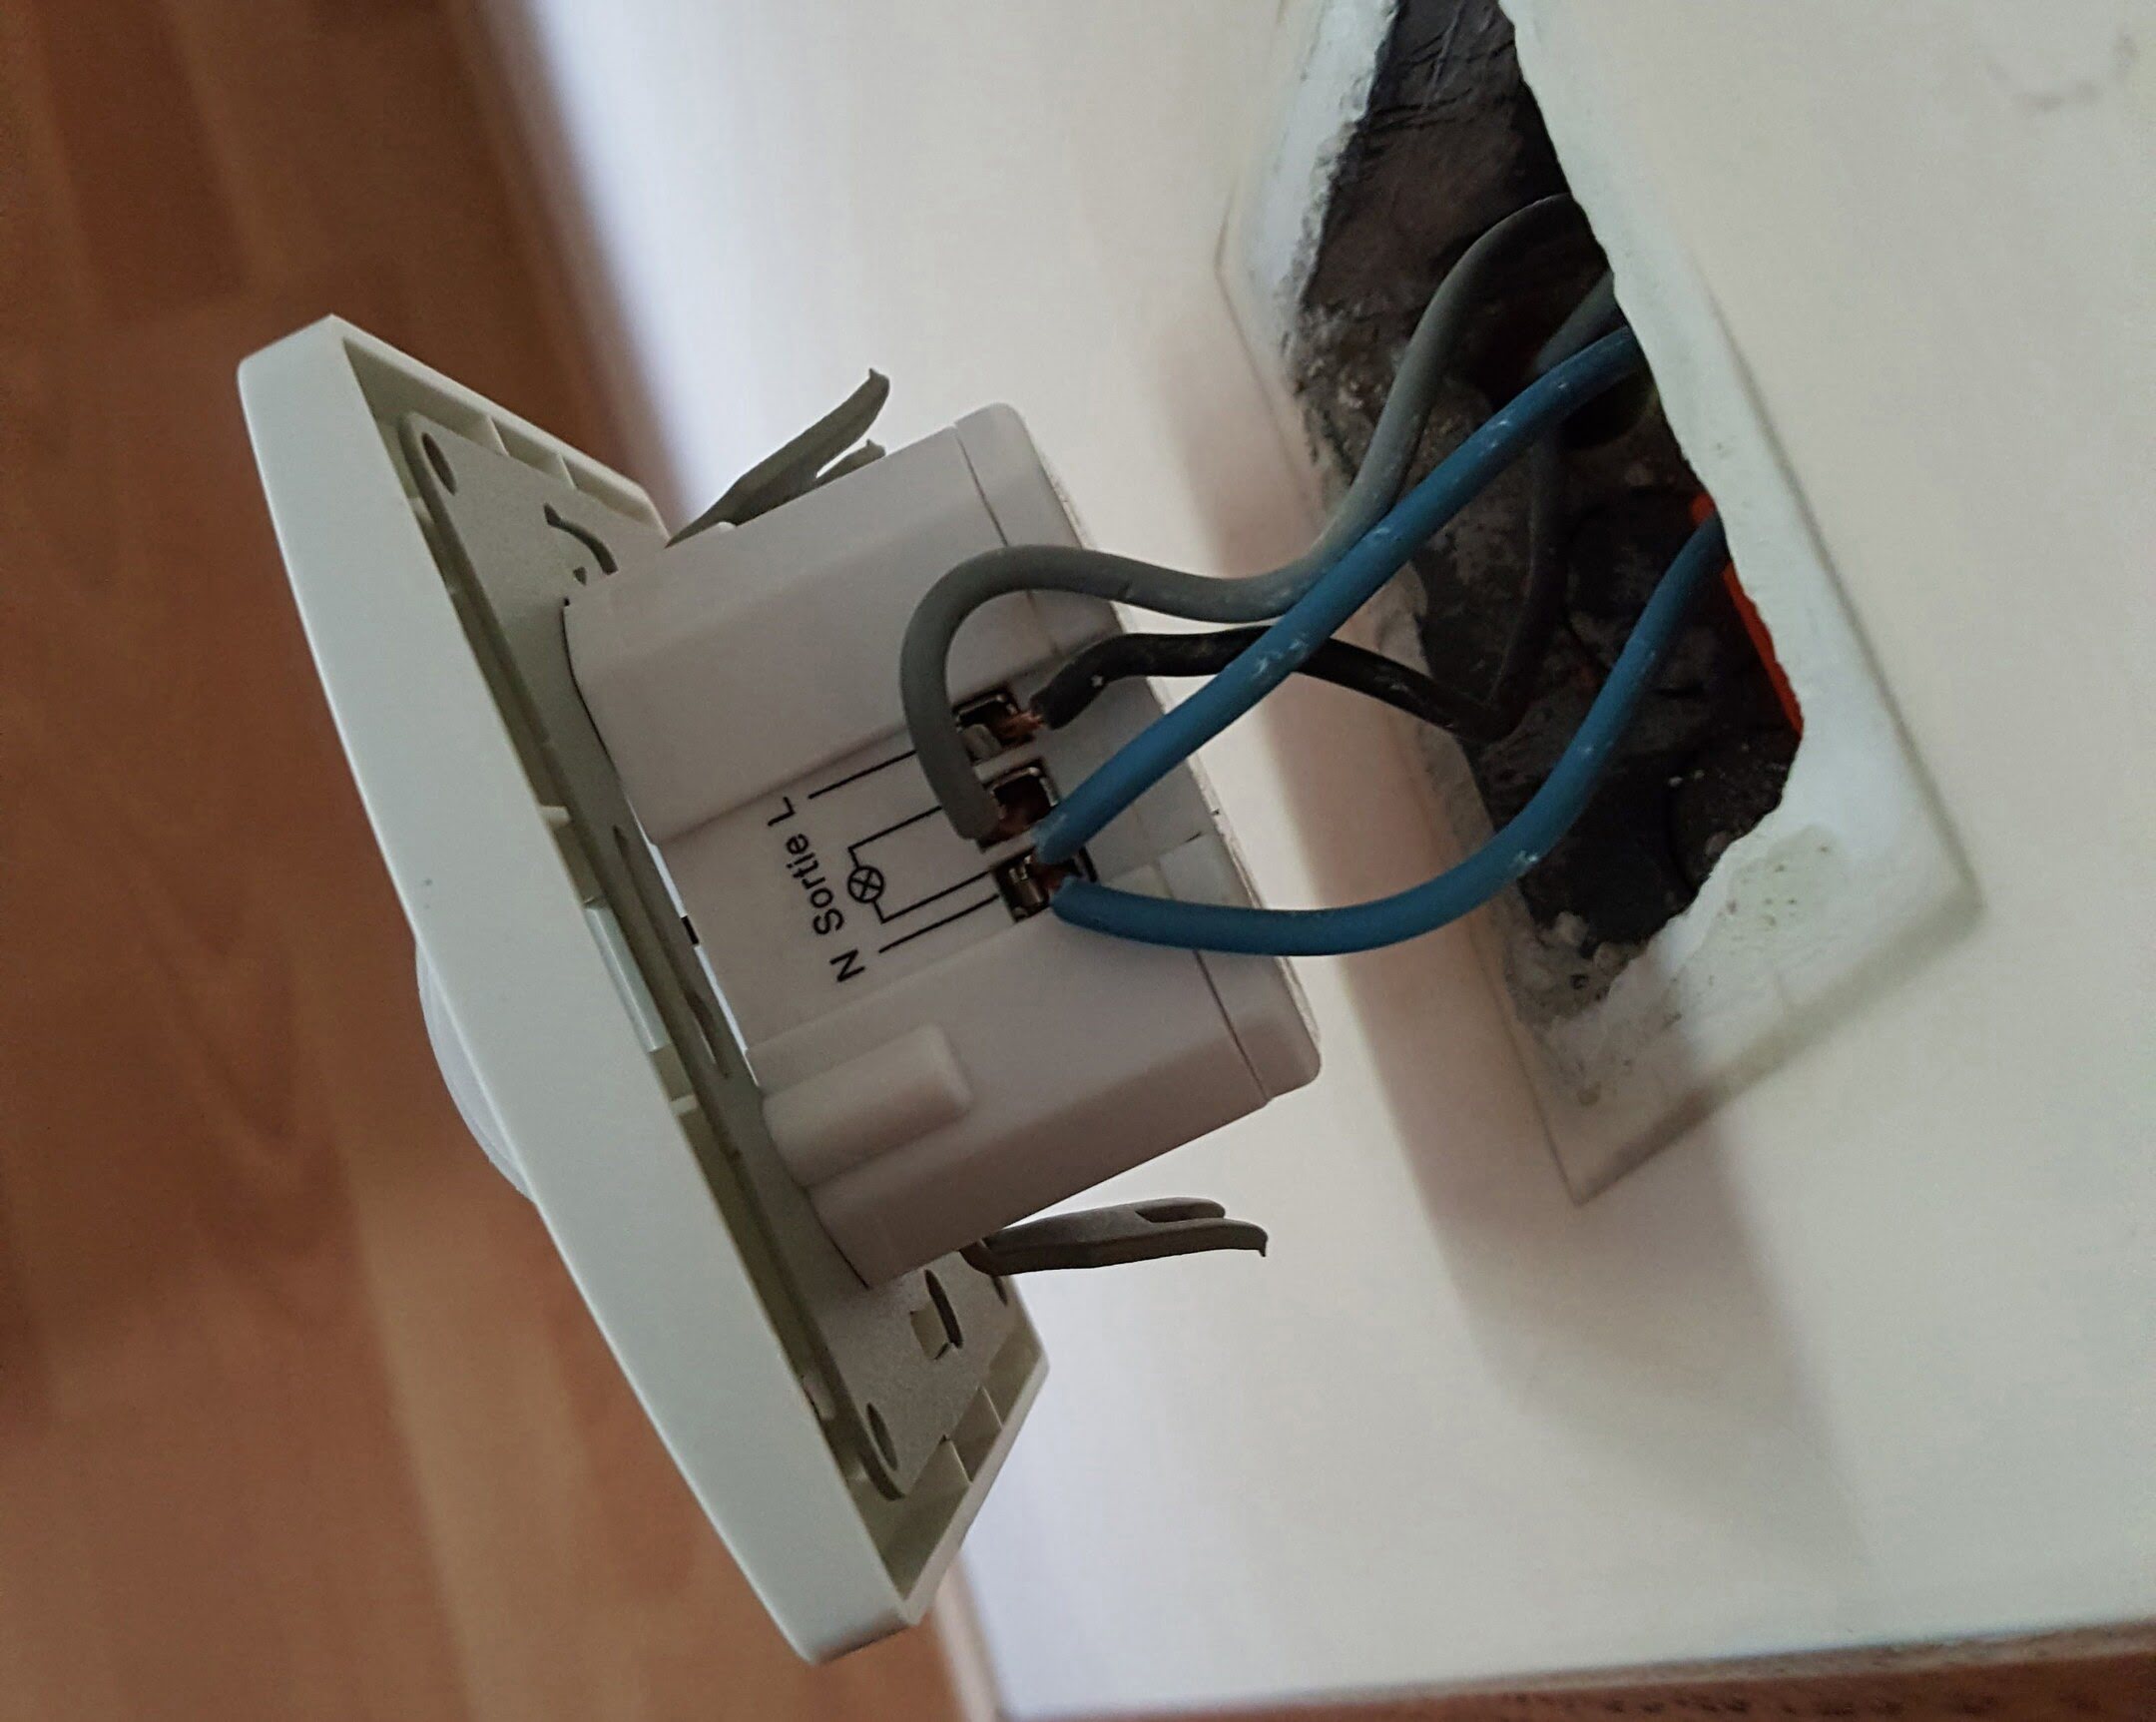
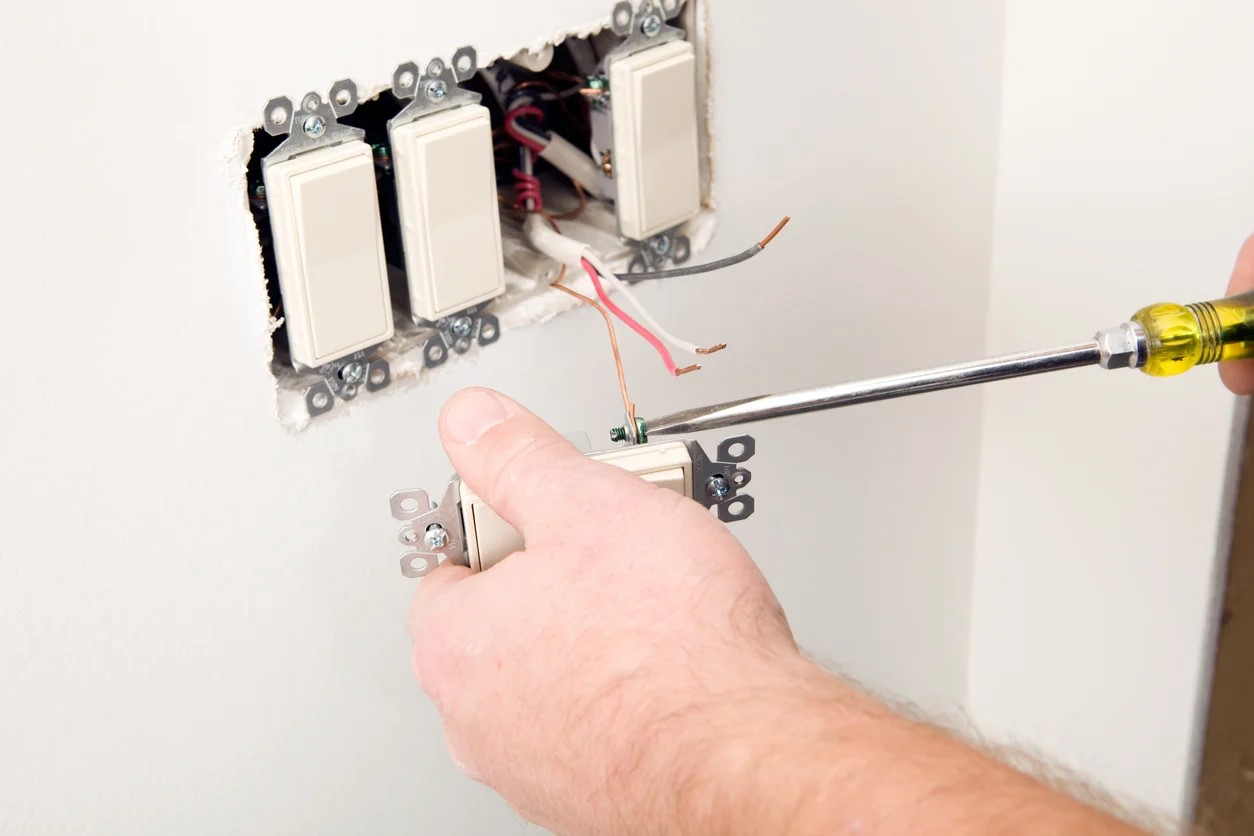
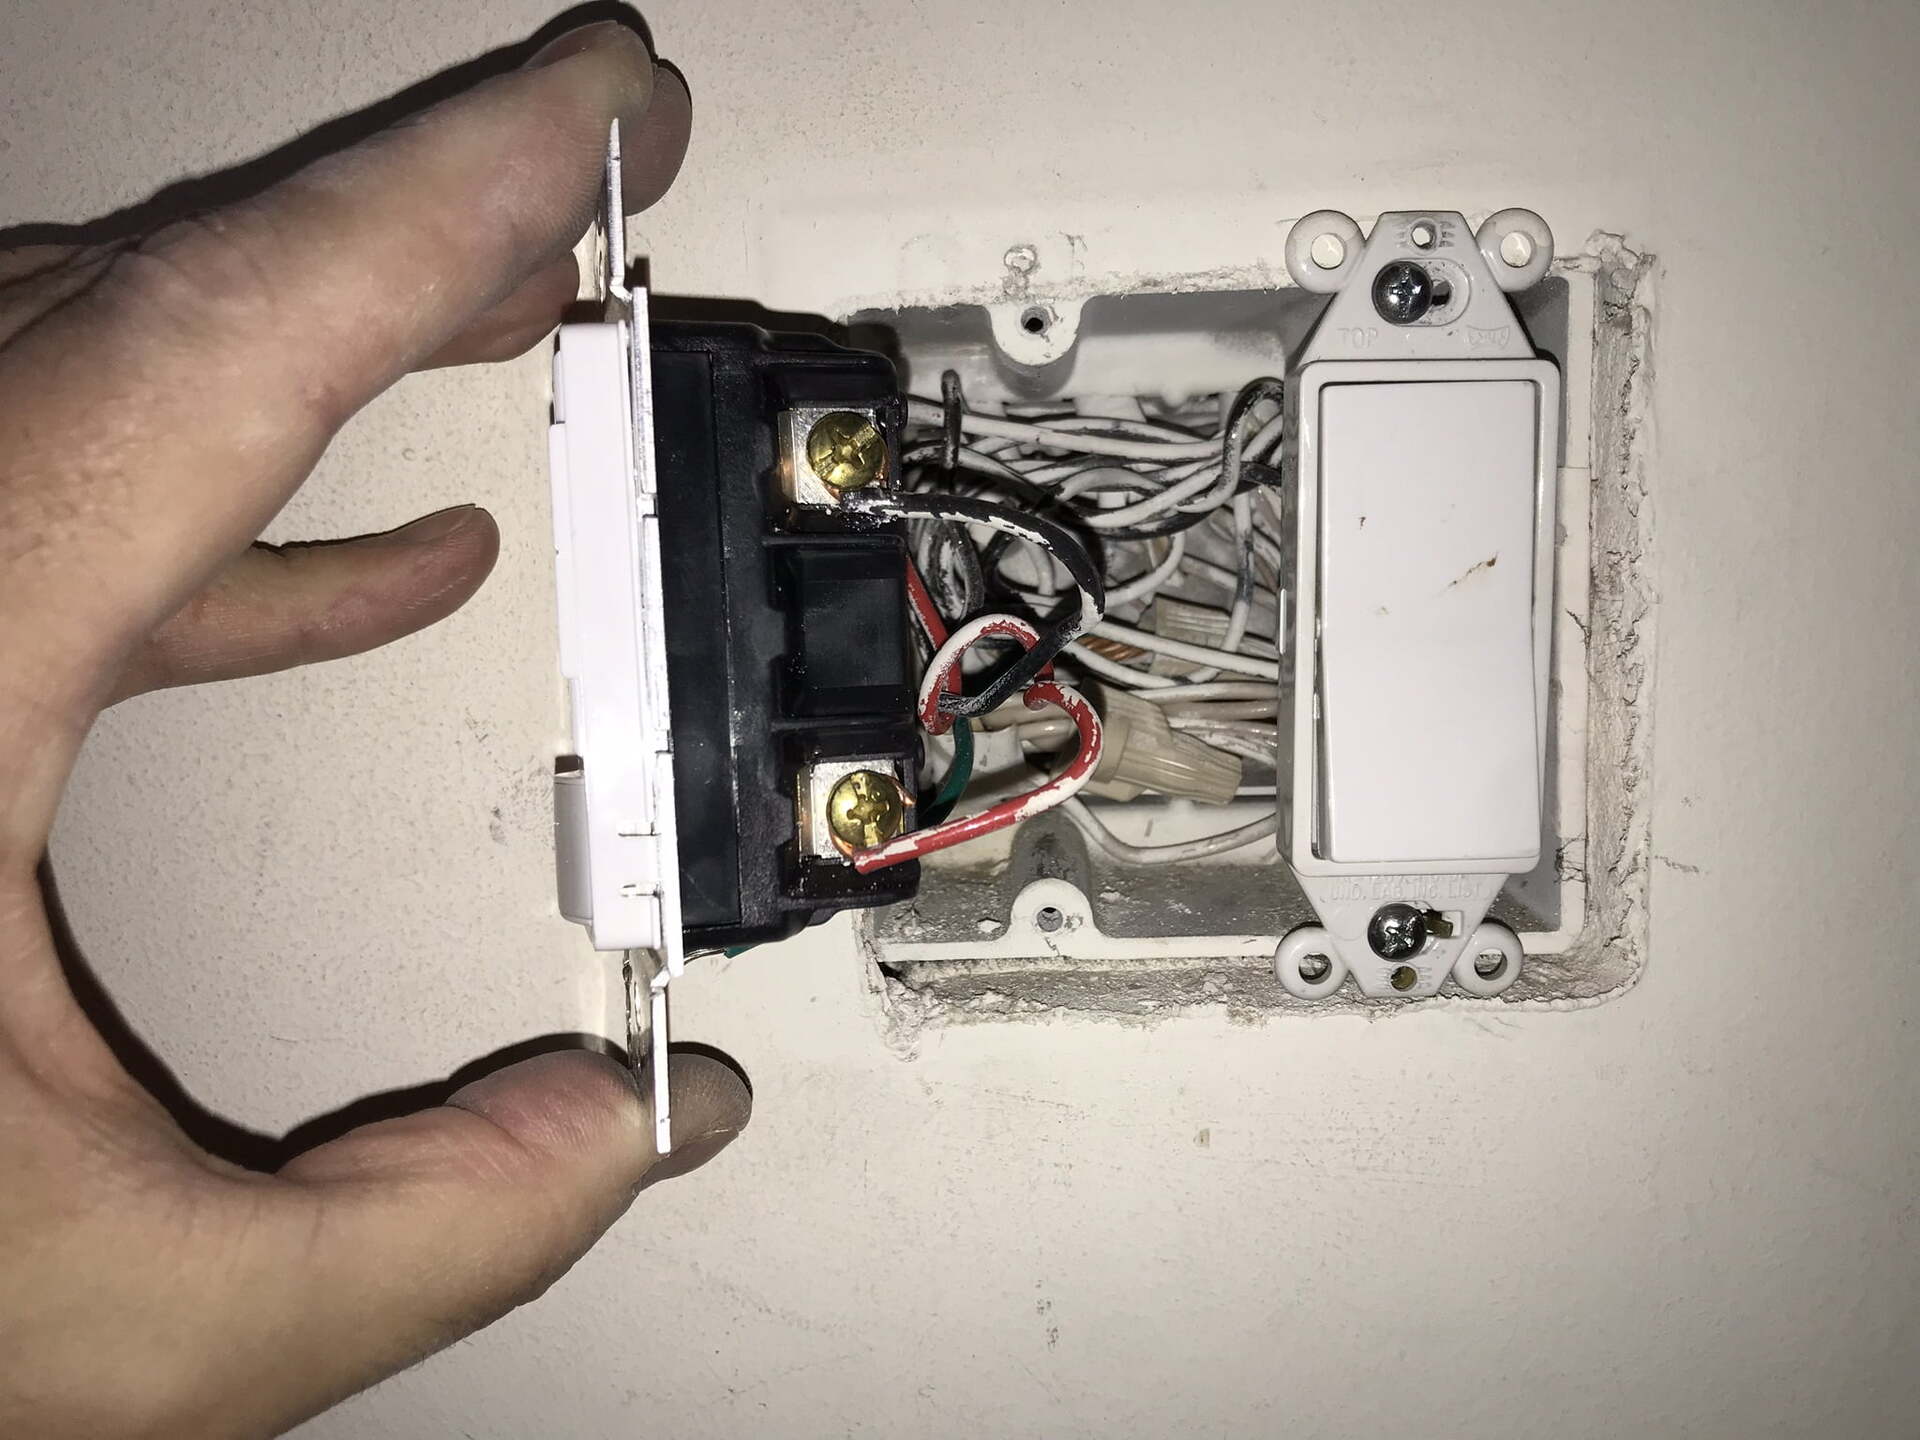
- Remove the existing light switch: Use a screwdriver to remove the screws holding the light switch in place. Gently pull the switch away from the wall, exposing the electrical wires behind it.
- Identify the wires: You will typically find three wires behind the light switch, including a black “hot” wire, a white neutral wire, and a green or copper ground wire. Take note of the colors and their corresponding locations.
- Prepare the motion detector: Depending on the specific model, your motion detector may require some preparation before installation. Follow the manufacturer’s instructions to properly prepare the motion detector for wiring.
- Connect the wires: Begin by connecting the black “hot” wire from the light switch to the black wire from the motion detector using a wire connector. Twist the ends of the wires together and secure them with the wire connector.
- Connect the neutral wires: Proceed to connect the white neutral wire from the light switch to the white wire from the motion detector using another wire connector. Again, twist the ends of the wires together and secure them with the wire connector.
- Ground the motion detector: If your motion detector has a green or copper ground wire, connect it to the ground wire in the electrical box using a wire connector. Ensure a secure connection to provide proper grounding for the motion detector.
- Secure the motion detector: Once all the wires are properly connected, you can secure the motion detector to the electrical box using the provided mounting brackets and screws. Make sure the motion detector is securely attached and aligned properly.
- Attach the faceplate and restore power: Finally, attach the faceplate to the motion detector and carefully push it back into position on the wall. Secure it in place using the screws provided. Once the faceplate is in place, turn the power back on by switching the circuit breaker to the “On” position.
Read more: How To Install Motion Detector Light Switch
Connecting the Motion Detector to the Light Switch
After successfully wiring the motion detector, you can now connect it to the light switch. This step allows the motion detector to control the activation of the lights based on detected movement.
If your motion detector has a built-in switch, connect the wires from the light switch and the motion detector following the manufacturer’s instructions. Generally, you will connect the black wire from the light switch to the line terminal on the motion detector and the black wire from the light to the load terminal on the motion detector.
If your motion detector does not have a built-in switch, you can connect it to a separate light switch in the same electrical box. Follow the same wiring instructions as mentioned earlier, connecting the wires from the light switch and motion detector accordingly.
Remember to consult the manufacturer’s instructions specific to your motion detector and light switch to ensure the correct wiring method for your particular setup.
With the motion detector successfully wired and connected to the light switch, you’re now ready to move on to the next step: testing and adjusting the motion detector.
Testing and Adjusting the Motion Detector
After wiring the motion detector to your light switch, it’s important to thoroughly test and adjust the settings to ensure optimal performance. Here are some tips for testing the motion detector and adjusting its sensitivity and range:
Tips for Testing the Motion Detector
- Activate the motion detector: Test the motion detector by walking in front of it or waving your hand within its range. The detector should detect the motion and trigger the connected lights or alarm. If it doesn’t activate, double-check the wiring connections and ensure that power is properly restored.
- Check the detection range: Observe the motion detector’s range and ensure it covers the desired area. Walk around the monitored space to confirm that the detector picks up movement from various angles and distances.
- Consider lighting conditions: Test the motion detector under different lighting conditions, both during the day and at night. Make sure it functions well even in low-light or complete darkness, depending on your specific requirements.
- Eliminate false triggers: Pay attention to any potential false triggers such as moving tree branches, animals, or reflective surfaces. Adjust the motion detector’s sensitivity and range settings to minimize false alarms while still ensuring proper detection of human movement.
- Test the response time: Evaluate how quickly the motion detector responds to motion. Ensure that the lights or alarm activate promptly when movement is detected, allowing sufficient time for a response or scare off potential intruders.
Adjusting the Sensitivity and Range
Most motion detectors offer adjustable sensitivity and range settings, allowing you to customize their performance based on your specific needs. Here’s how you can adjust these settings:
- Sensitivity: Locate the sensitivity adjustment feature on the motion detector. It is typically a knob or switch that allows you to increase or decrease the sensitivity. Start with a medium setting and gradually adjust it as needed, considering the level of activity in the monitored area.
- Range: Some motion detectors also have an adjustable range setting. This allows you to control the distance at which the detector can detect motion. Again, start with a moderate setting and test the range to ensure it covers the desired area without extending beyond it.
- Testing and fine-tuning: After adjusting the sensitivity and range settings, perform additional testing to ensure the motion detector functions optimally. Make any necessary tweaks to find the right balance between sensitivity, range, and false trigger avoidance.
It’s important to note that each motion detector may have slightly different adjustment methods and options. Refer to the manufacturer’s instructions specific to your motion detector to understand the available settings and how to make adjustments effectively.
By properly testing and adjusting the motion detector, you can optimize its performance, minimize false alarms, and ensure that it effectively detects and responds to any movement in and around your home.
Once you have completed the testing and adjustment process, you can proceed with the final step: troubleshooting common issues that may arise with your motion detector installation.
Read more: How Do Motion Detector Light Switches Work
Troubleshooting Common Issues
While wiring a motion detector to your light switch is generally a straightforward process, it is possible to encounter some common issues along the way. Here are some of the most common problems and their solutions, as well as some troubleshooting tips and tricks:
Common Problems and Their Solutions
- False alarms: False alarms can occur when the motion detector is triggered by non-human movement, such as pets or passing cars. To minimize false alarms, adjust the sensitivity and range settings to better suit the environment and consider repositioning the motion detector to avoid unwanted triggers.
- Lights not turning on: If the lights connected to the motion detector fail to turn on, double-check the wiring connections to ensure they are secure and properly connected. Additionally, verify that power has been restored and test the motion detector to ensure it is detecting motion correctly.
- Lights not turning off: If the lights remain on constantly and fail to turn off, make sure there is no continuous motion within the detector’s range. Check for any obstructions or sources of movement that may be causing the lights to stay on. Adjust the sensitivity and range settings if necessary.
- Inconsistent detection: If the motion detector is intermittently detecting motion or failing to trigger the lights consistently, check for any loose or damaged wiring connections. Ensure all connections are secure and properly insulated using wire connectors and electrical tape.
- Poor range coverage: If the motion detector’s range does not adequately cover the desired area, reposition it or consider adding additional motion detectors to provide better coverage. Make sure the detector is adjusted to the appropriate range setting and that there are no obstructions impeding its view.
Troubleshooting Tips and Tricks
- Check power supply: Verify that the power supply is consistent and stable. Fluctuations in power can cause issues with the motion detector’s performance.
- Clean the lens: Dust, dirt, or debris can accumulate on the detector’s lens, affecting its performance. Regularly clean the lens with a soft, lint-free cloth to ensure clear detection.
- Test with different light bulbs: Some motion detectors are sensitive to the type of light bulbs used. If you experience issues with certain light bulbs, try different ones to see if the problem persists.
- Reset and reconfigure: If you are still experiencing issues after troubleshooting, try resetting the motion detector and reconfiguring it according to the manufacturer’s instructions.
- Consult the manufacturer or seek professional help: If you encounter persistent issues or are unsure about troubleshooting the problem, reach out to the motion detector’s manufacturer for assistance. Alternatively, hire a professional electrician who specializes in home security systems to assess and resolve any issues.
By addressing common problems and employing these troubleshooting tips and tricks, you can overcome challenges that may arise during the installation and operation of your motion detector system.
Now that you are equipped with troubleshooting knowledge, you can finalize the installation process and enjoy the added security and convenience provided by your motion detector and light switch setup.
Conclusion
Incorporating a motion detector into your home security and surveillance system is a wise decision that can greatly enhance your safety and peace of mind. By connecting your motion detector to a light switch, you can automate the lighting in your home, deter potential intruders, and improve visibility in and around your property.
Throughout this article, we have provided you with a comprehensive guide to wiring a motion detector to your light switch. We explored the different types of motion detectors, how they work, and their various benefits. We also discussed the tools and materials needed for the installation, as well as safety precautions to follow.
Step-by-step instructions were provided for wiring the motion detector to the light switch, ensuring a proper and secure connection. We also covered the importance of testing and adjusting the motion detector, including tips for fine-tuning its sensitivity and range settings.
Additionally, we discussed common issues that may arise during the installation and operation of a motion detector system, along with their solutions. Troubleshooting tips and tricks were provided to help you overcome any challenges you may encounter.
By following the guidelines and recommendations outlined in this article, you can successfully wire a motion detector to your light switch and create a more secure and convenient living environment.
Remember, if at any point you feel unsure or uncomfortable with the installation process, it’s always advisable to seek professional assistance from an electrician or home security expert. They can provide the expertise and ensure a safe and efficient installation.
Investing in home security and surveillance is an investment in the safety and well-being of your loved ones and your property. With motion detectors connected to your light switch, you can have peace of mind knowing that your home is protected and that you have taken an important step towards a more secure future.
Frequently Asked Questions about How To Wire A Motion Detector To My Light Switch
Was this page helpful?
At Storables.com, we guarantee accurate and reliable information. Our content, validated by Expert Board Contributors, is crafted following stringent Editorial Policies. We're committed to providing you with well-researched, expert-backed insights for all your informational needs.