Articles
How To Wire A Ceiling Fan To A Light Switch
Modified: January 6, 2024
Learn how to wire a ceiling fan to a light switch with our informative articles. Gain valuable insights and step-by-step instructions to complete your project.
(Many of the links in this article redirect to a specific reviewed product. Your purchase of these products through affiliate links helps to generate commission for Storables.com, at no extra cost. Learn more)
Introduction
A ceiling fan is a popular choice for homeowners who want to improve air circulation and add a touch of style to their living spaces. But did you know that you can also wire a ceiling fan to a light switch? By doing so, you can control both the fan and the light fixture with a single switch, providing convenience and easy access.
This article will guide you through the process of wiring a ceiling fan to a light switch. Whether you are a seasoned DIYer or a beginner looking to tackle your first electrical project, this step-by-step guide will help you get the job done safely and efficiently.
Before we start, it is important to note that working with electricity can be dangerous. Always turn off the power to the circuit you are working on and follow all safety precautions. If you are not comfortable working with electrical wiring, it is recommended to consult a licensed electrician.
Now, let’s gather our tools and materials and get started on wiring a ceiling fan to a light switch!
Key Takeaways:
- Simplify your electrical project by wiring a ceiling fan to a light switch for convenient control of both the fan and light. Prioritize safety, gather the right tools, and follow the step-by-step guide for a successful installation.
- Enjoy the comfort and style of a newly installed ceiling fan by testing its functionality and adjusting the fan speed. Remember to prioritize safety and consult a professional if needed for a smooth and successful installation.
Read more: How To Wire A Ceiling Light To A Switch
Step 1: Gather the necessary tools and materials
Before starting any electrical project, it is important to ensure that you have all the necessary tools and materials on hand. Here is a list of what you will need to wire a ceiling fan to a light switch:
- Wire cutters
- Wire strippers
- Voltage tester
- Screwdriver set
- Wire nuts
- Electrical tape
- Ceiling fan with light kit
- Ceiling fan mounting bracket
- Wire connectors
- Electrical box
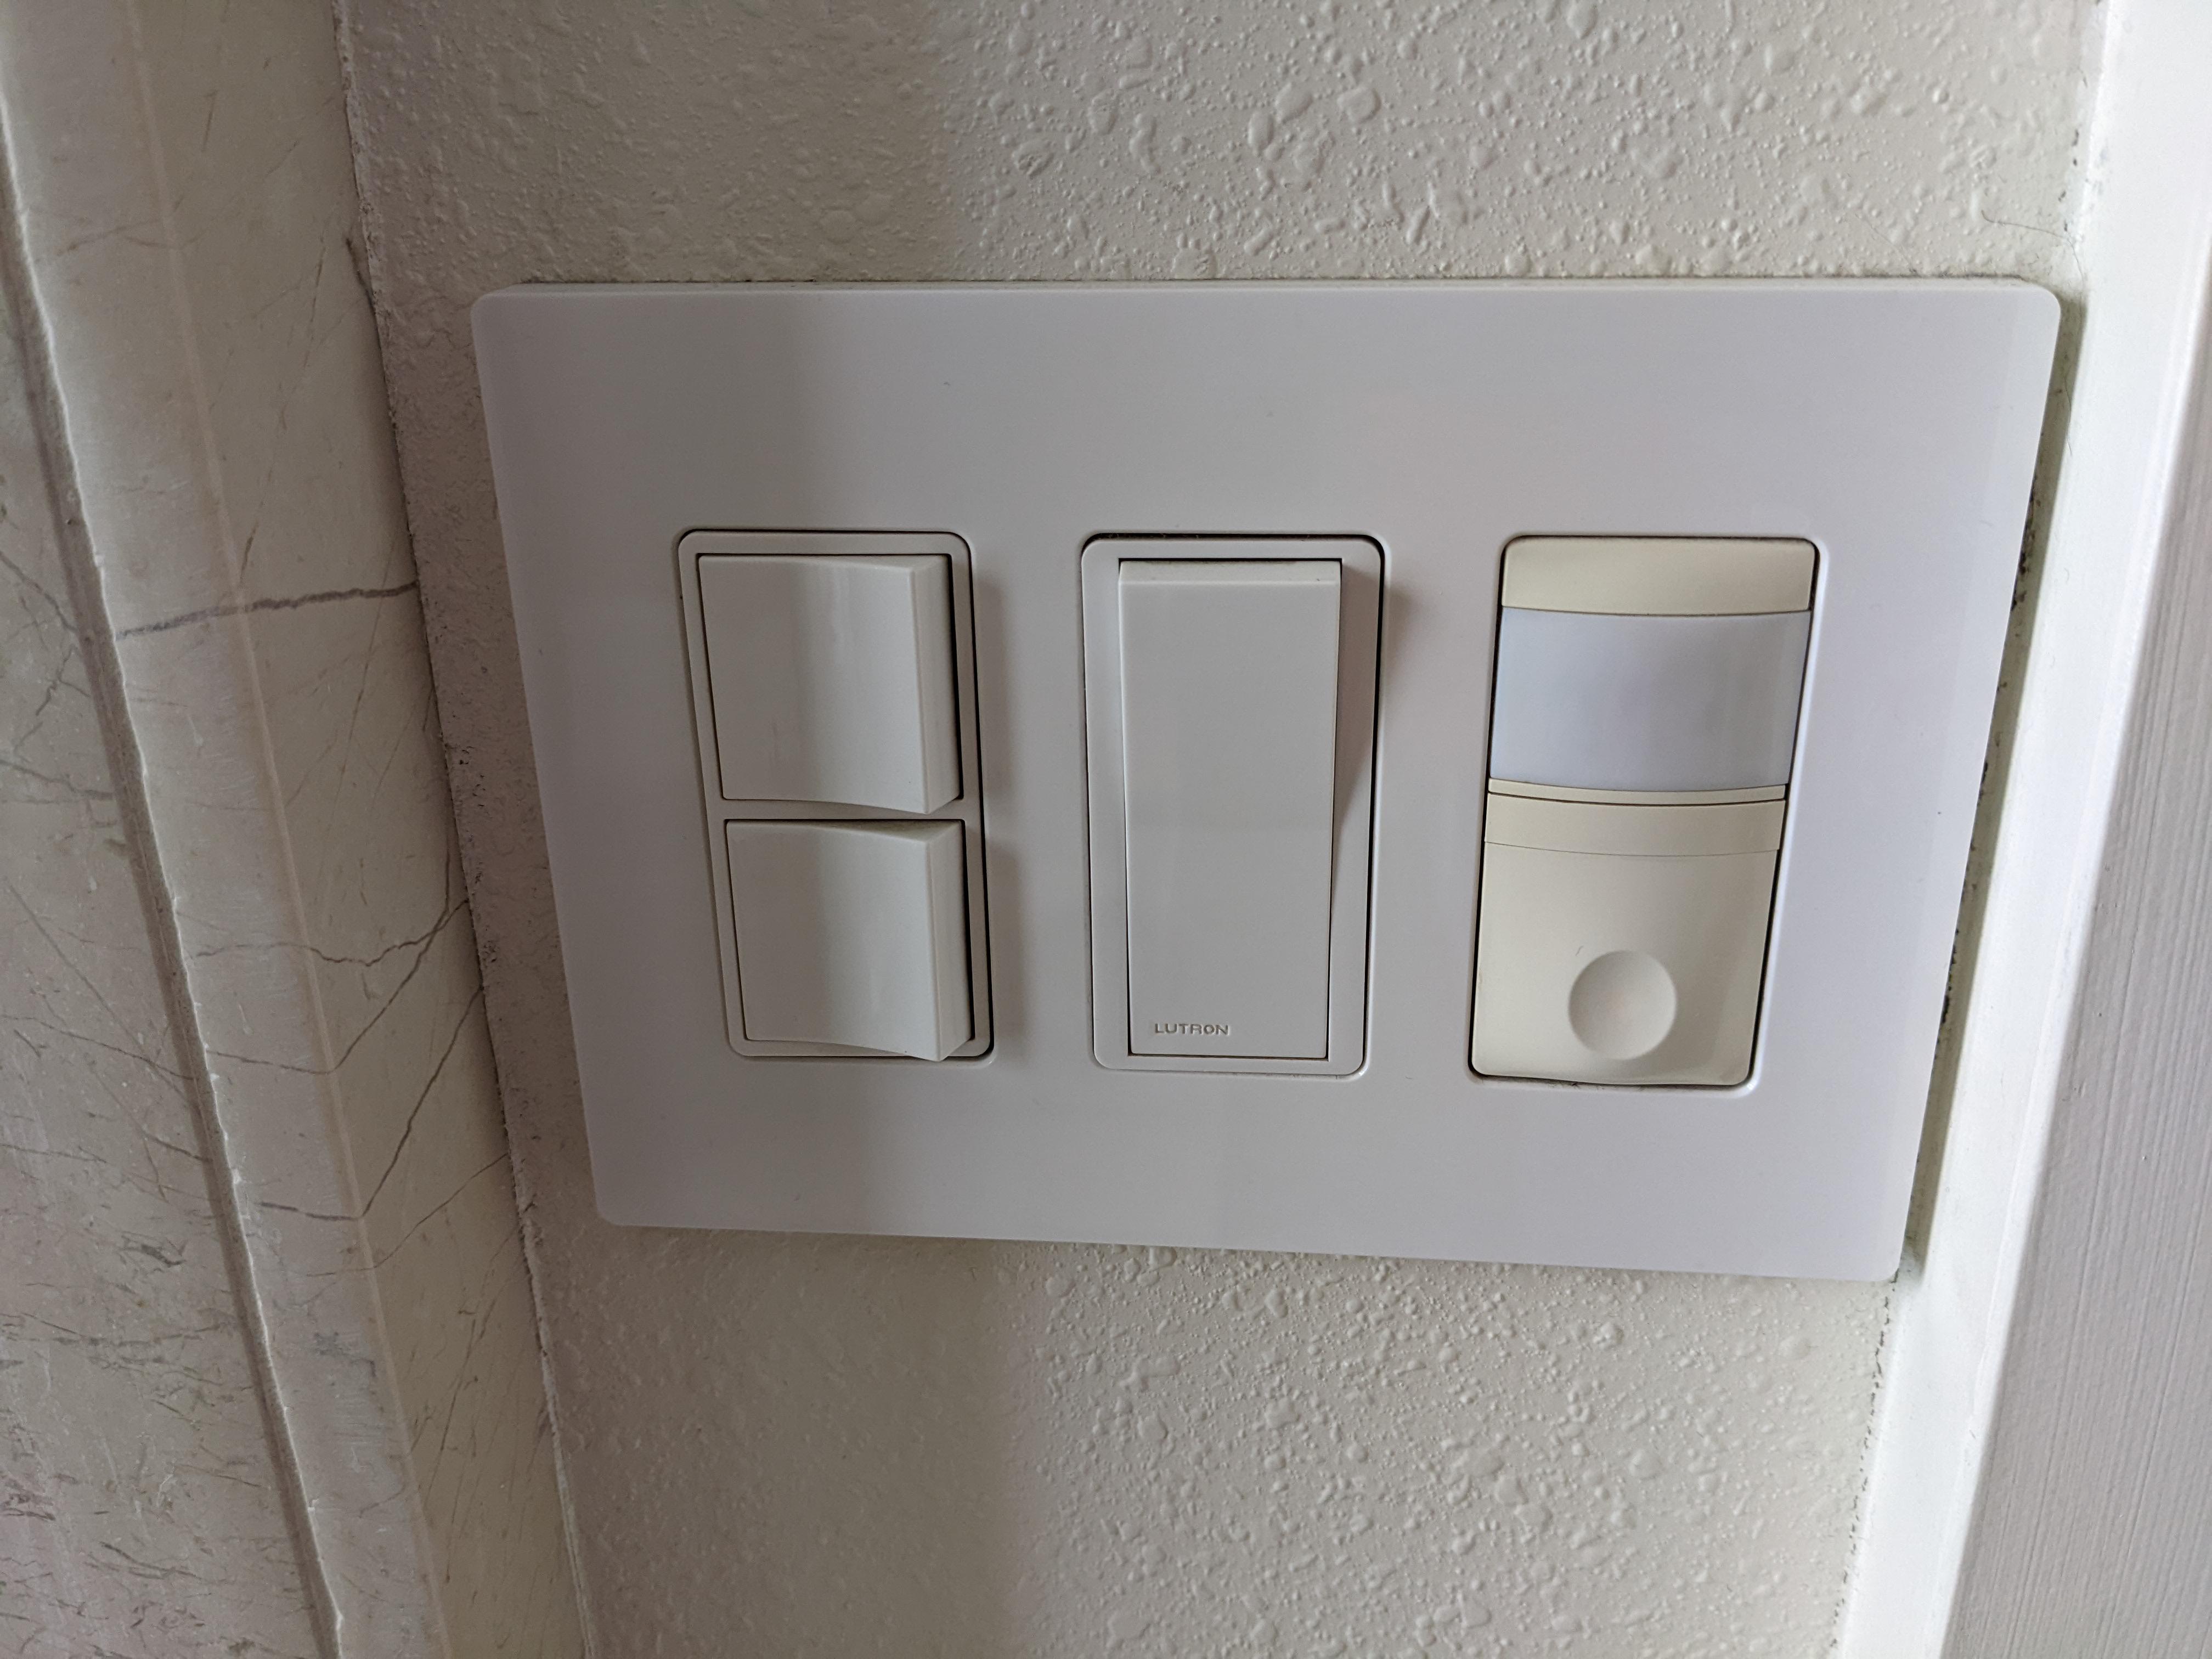
- Light switch
- Electrical wiring (depending on your specific wiring needs)
Make sure to gather all these tools and materials before starting the project. It is essential to have the right tools to ensure a safe and successful installation.
Additionally, it is crucial to understand the specific wiring requirements of your ceiling fan and light switch. Consult the manufacturer’s instructions or research the wiring diagram for your specific model. This will help you understand the color coding and connections needed for a proper installation.
Once you have gathered all the necessary tools and materials, you are ready to proceed to the next step: turning off the power and removing the existing light fixture.
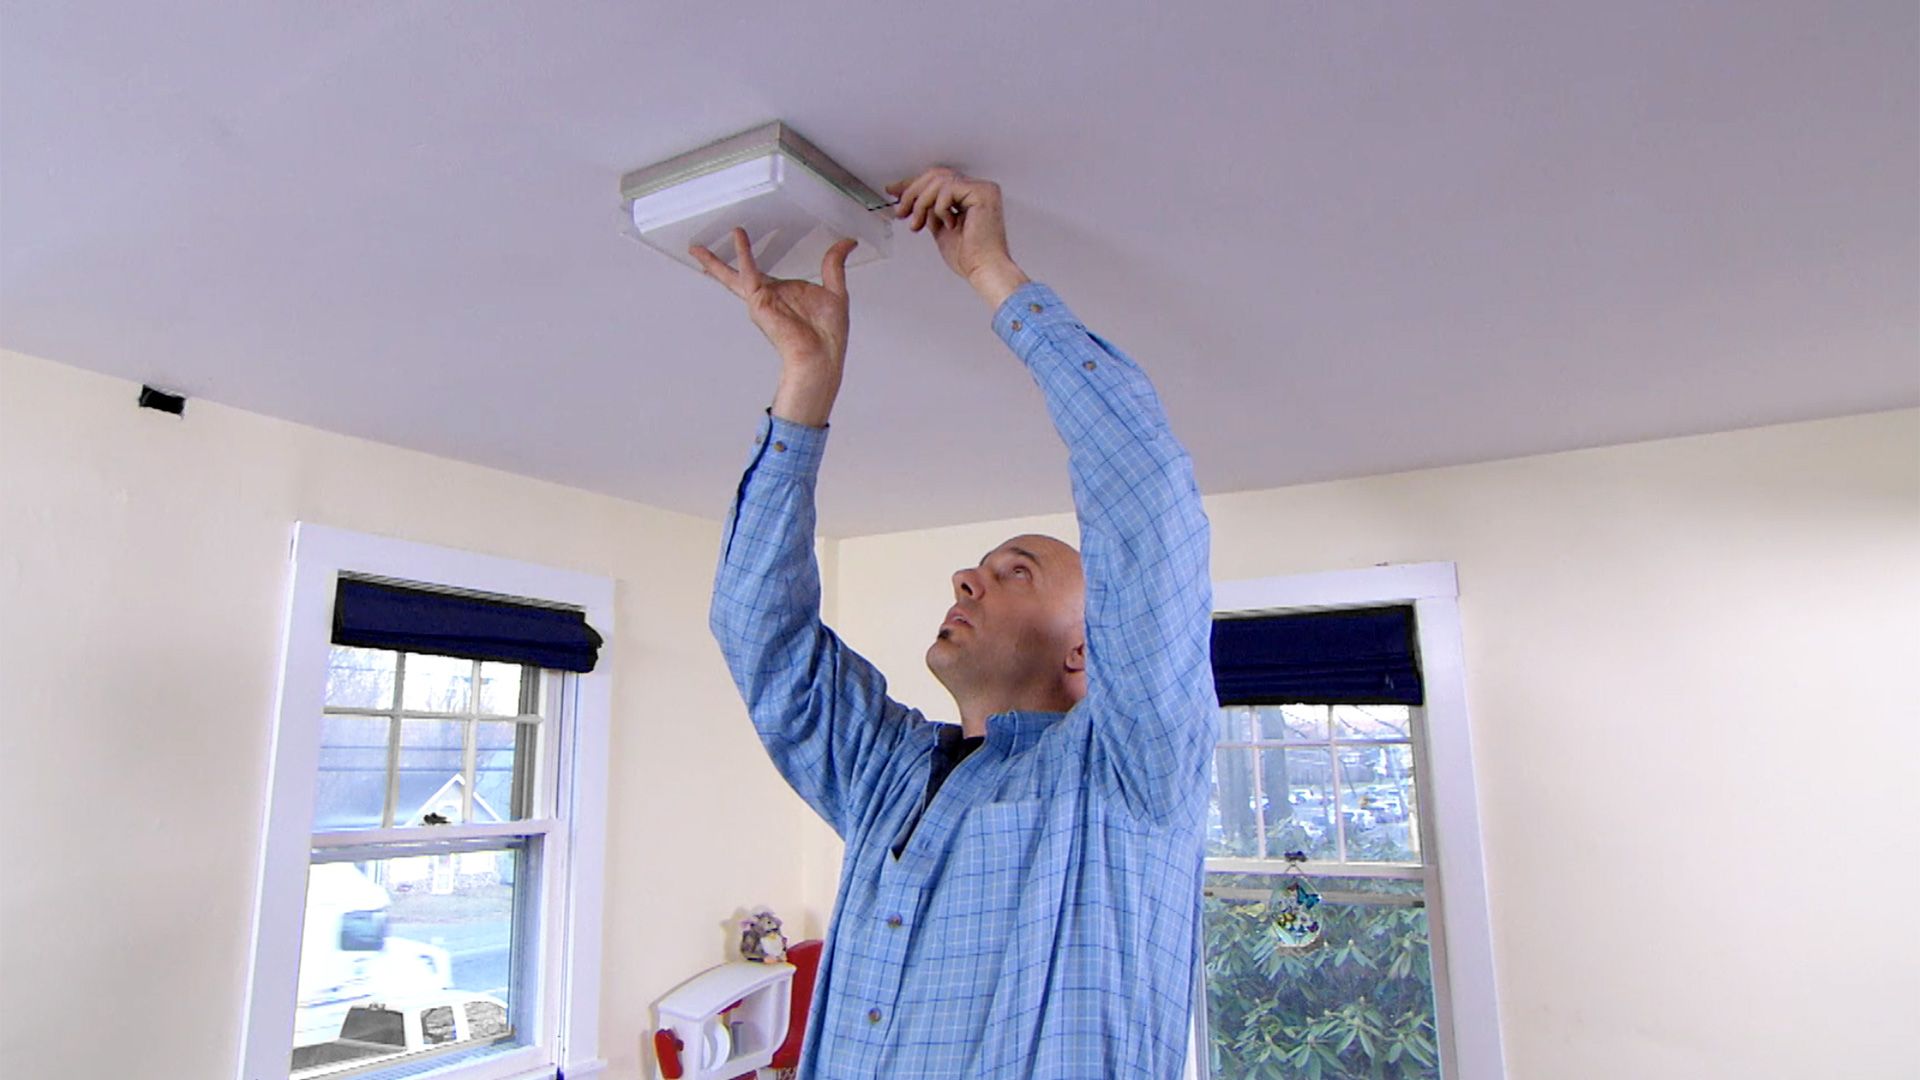
Step 2: Turn off the power and remove the existing light fixture
Before working on any electrical project, it is crucial to prioritize safety. The first step in wiring a ceiling fan to a light switch is to turn off the power to the circuit you will be working on. This will prevent any accidental shocks or electrical mishaps.
Locate the electrical panel in your home and find the breaker that controls the circuit you will be working on. Switch off the breaker to cut off power to the circuit. To ensure that the power is indeed turned off, use a voltage tester to check for any live wires.
With the power turned off, you can safely proceed to remove the existing light fixture. Start by removing the lightbulbs and any other attachments of the fixture. Carefully unscrew and detach the fixture from the ceiling, taking note of how it is mounted.
If there are any wires connected to the fixture, use wire nuts to cap them off and secure them. It is important to keep the wires separated and not let them touch each other or any metal surfaces.
Once the existing light fixture is removed and the wires are capped off, you can move on to the next step: installing the ceiling fan mounting bracket.
Note: If you are unsure or uncomfortable with any part of this process, it is recommended to consult a licensed electrician.
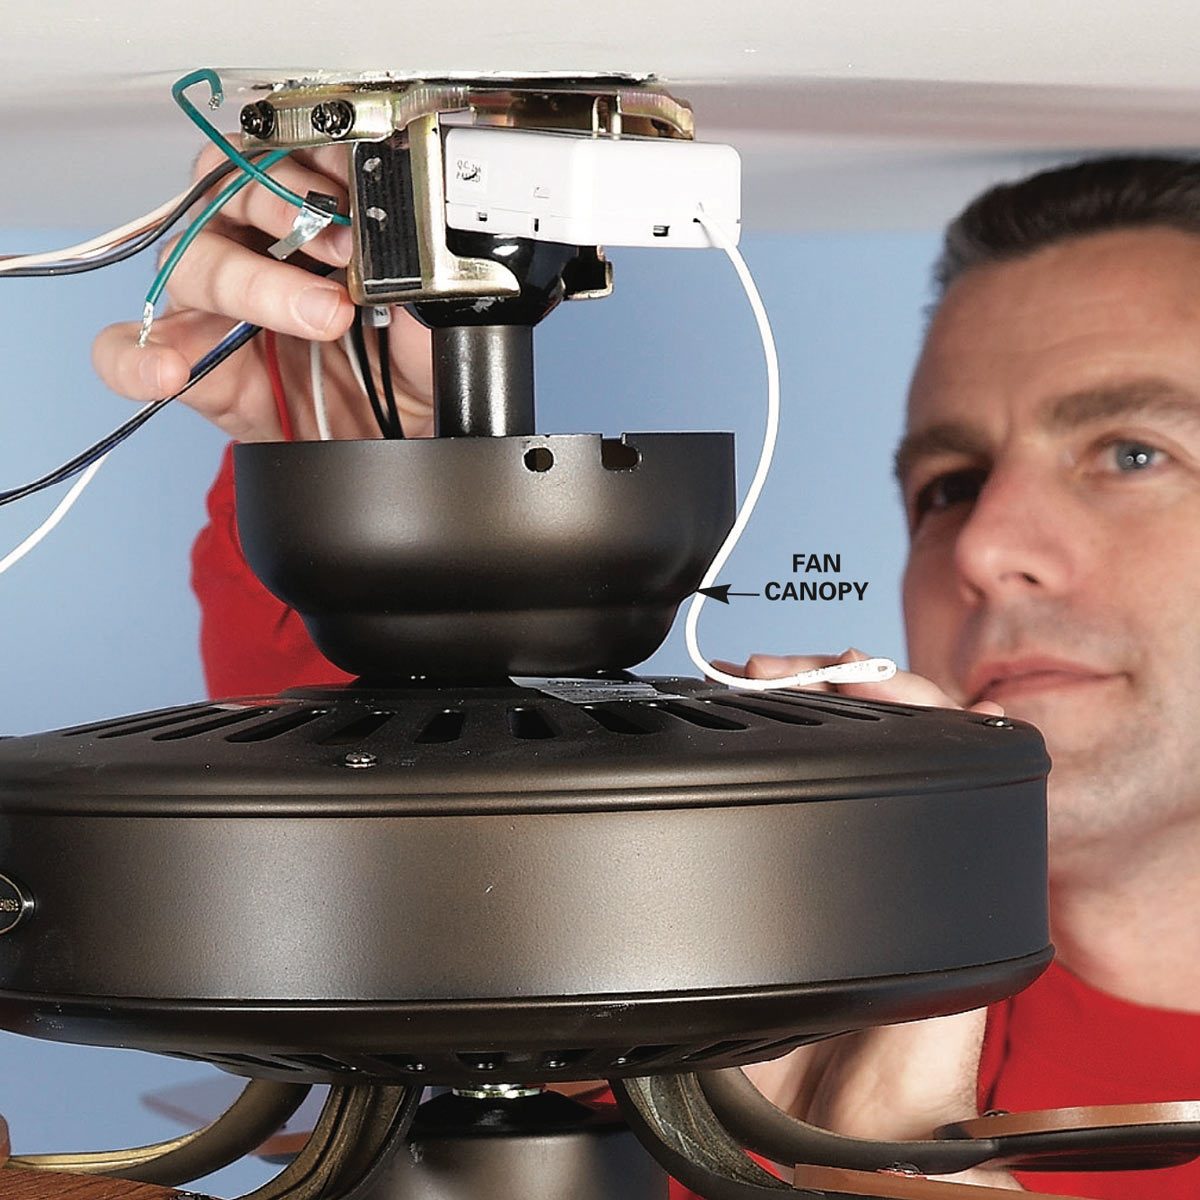
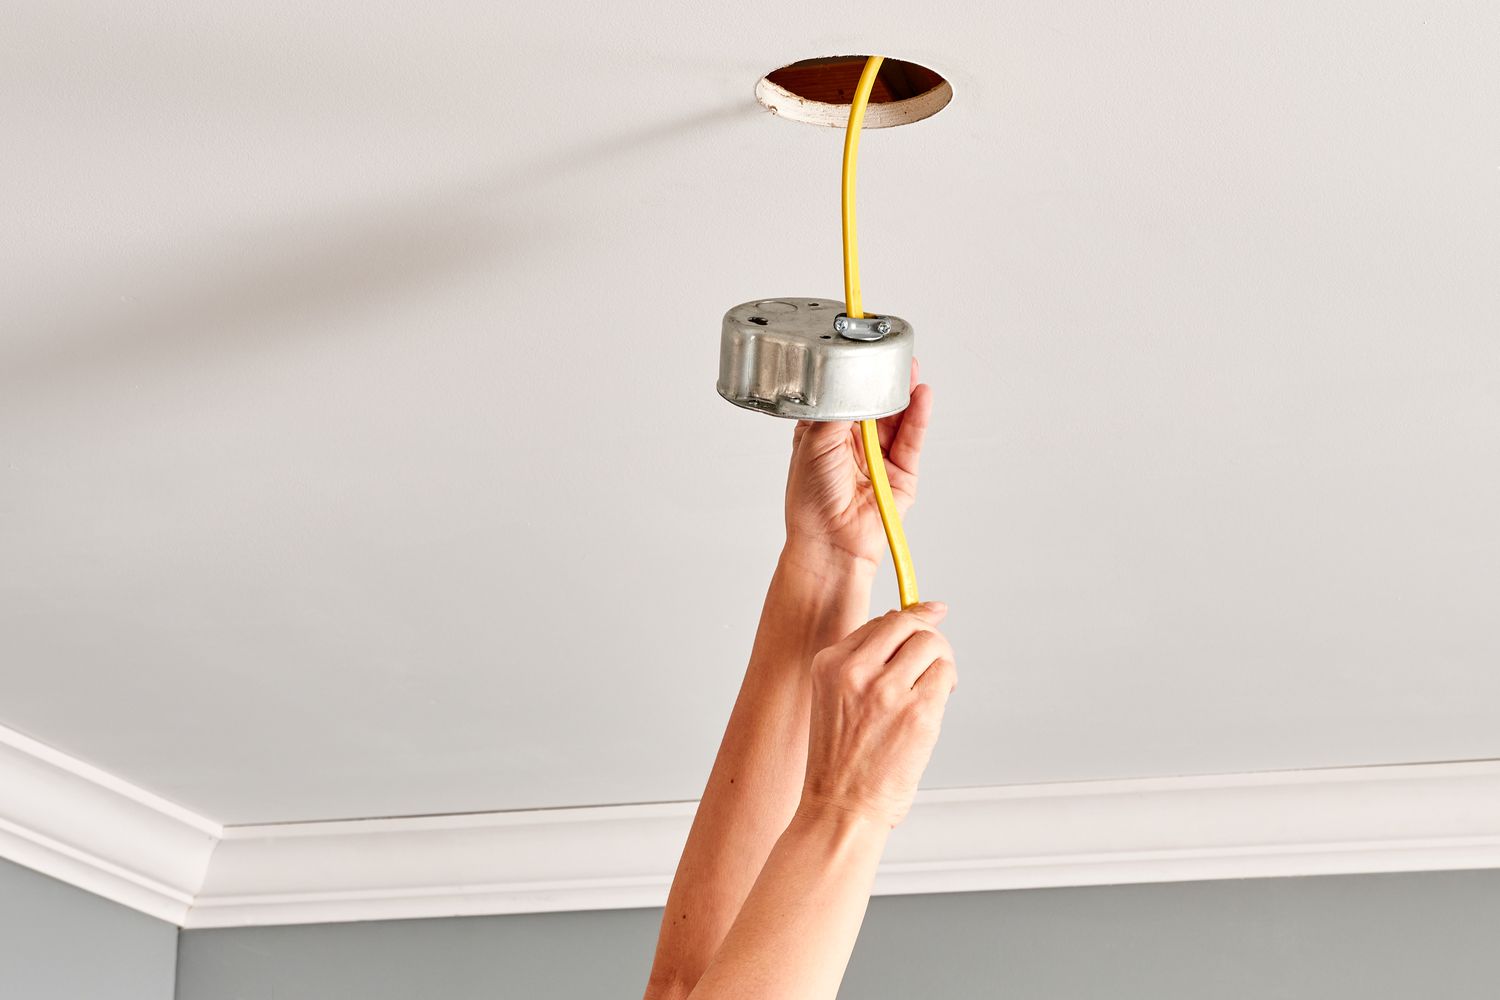
Step 3: Install the ceiling fan mounting bracket
With the existing light fixture removed, it’s time to install the ceiling fan mounting bracket. The mounting bracket provides support for the ceiling fan and ensures a secure installation.
Start by locating the electrical box in the ceiling where the light fixture was previously installed. This box should be securely mounted to a ceiling joist or brace. If the existing electrical box is not suitable for the ceiling fan installation, you will need to replace it with a fan-rated box.
Attach the mounting bracket to the electrical box using the provided screws. Ensure that the screws are tightened securely, as this will support the weight of the ceiling fan.
Depending on the type of mounting bracket you have, there may be additional steps involved. Follow the instructions provided by the manufacturer to properly install the bracket. Some brackets require additional support or installation of a ceiling canopy.
Once the mounting bracket is installed, double-check its stability by giving it a gentle tug. It should feel secure and firmly attached to the ceiling. If there is any wobbling or instability, recheck the installation or consult a professional for assistance.
With the mounting bracket securely in place, you are now ready to move on to the next step: connecting the wires from the ceiling fan to the light switch.
Note: If you are uncertain about the installation process or don’t have experience working with electrical wiring, it is recommended to seek the assistance of a professional electrician to ensure a safe and proper installation.
When wiring a ceiling fan to a light switch, make sure to turn off the power at the circuit breaker before starting. Use a voltage tester to double-check that the power is off before working on the wiring.
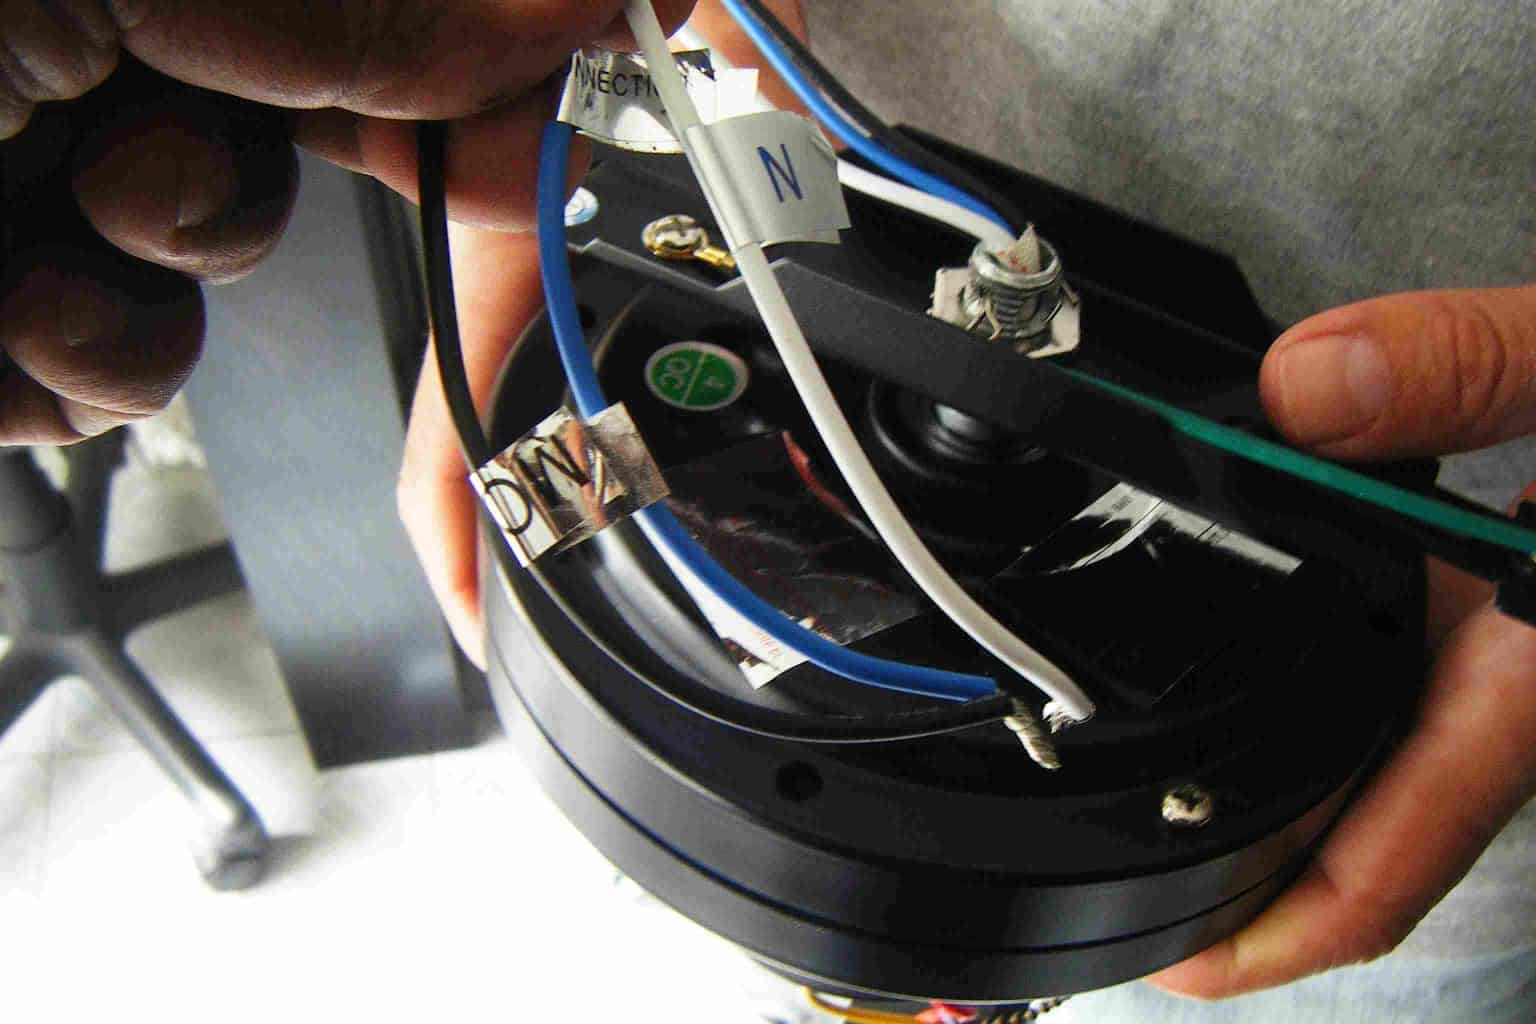
Step 4: Connect the wires from the ceiling fan to the light switch
Now that the ceiling fan mounting bracket is securely installed, it is time to connect the wires from the ceiling fan to the light switch. This step involves carefully wiring the different components to ensure proper operation.
Before proceeding, make sure the power to the circuit is still turned off. Use a voltage tester to confirm that there is no electricity running through the wires.
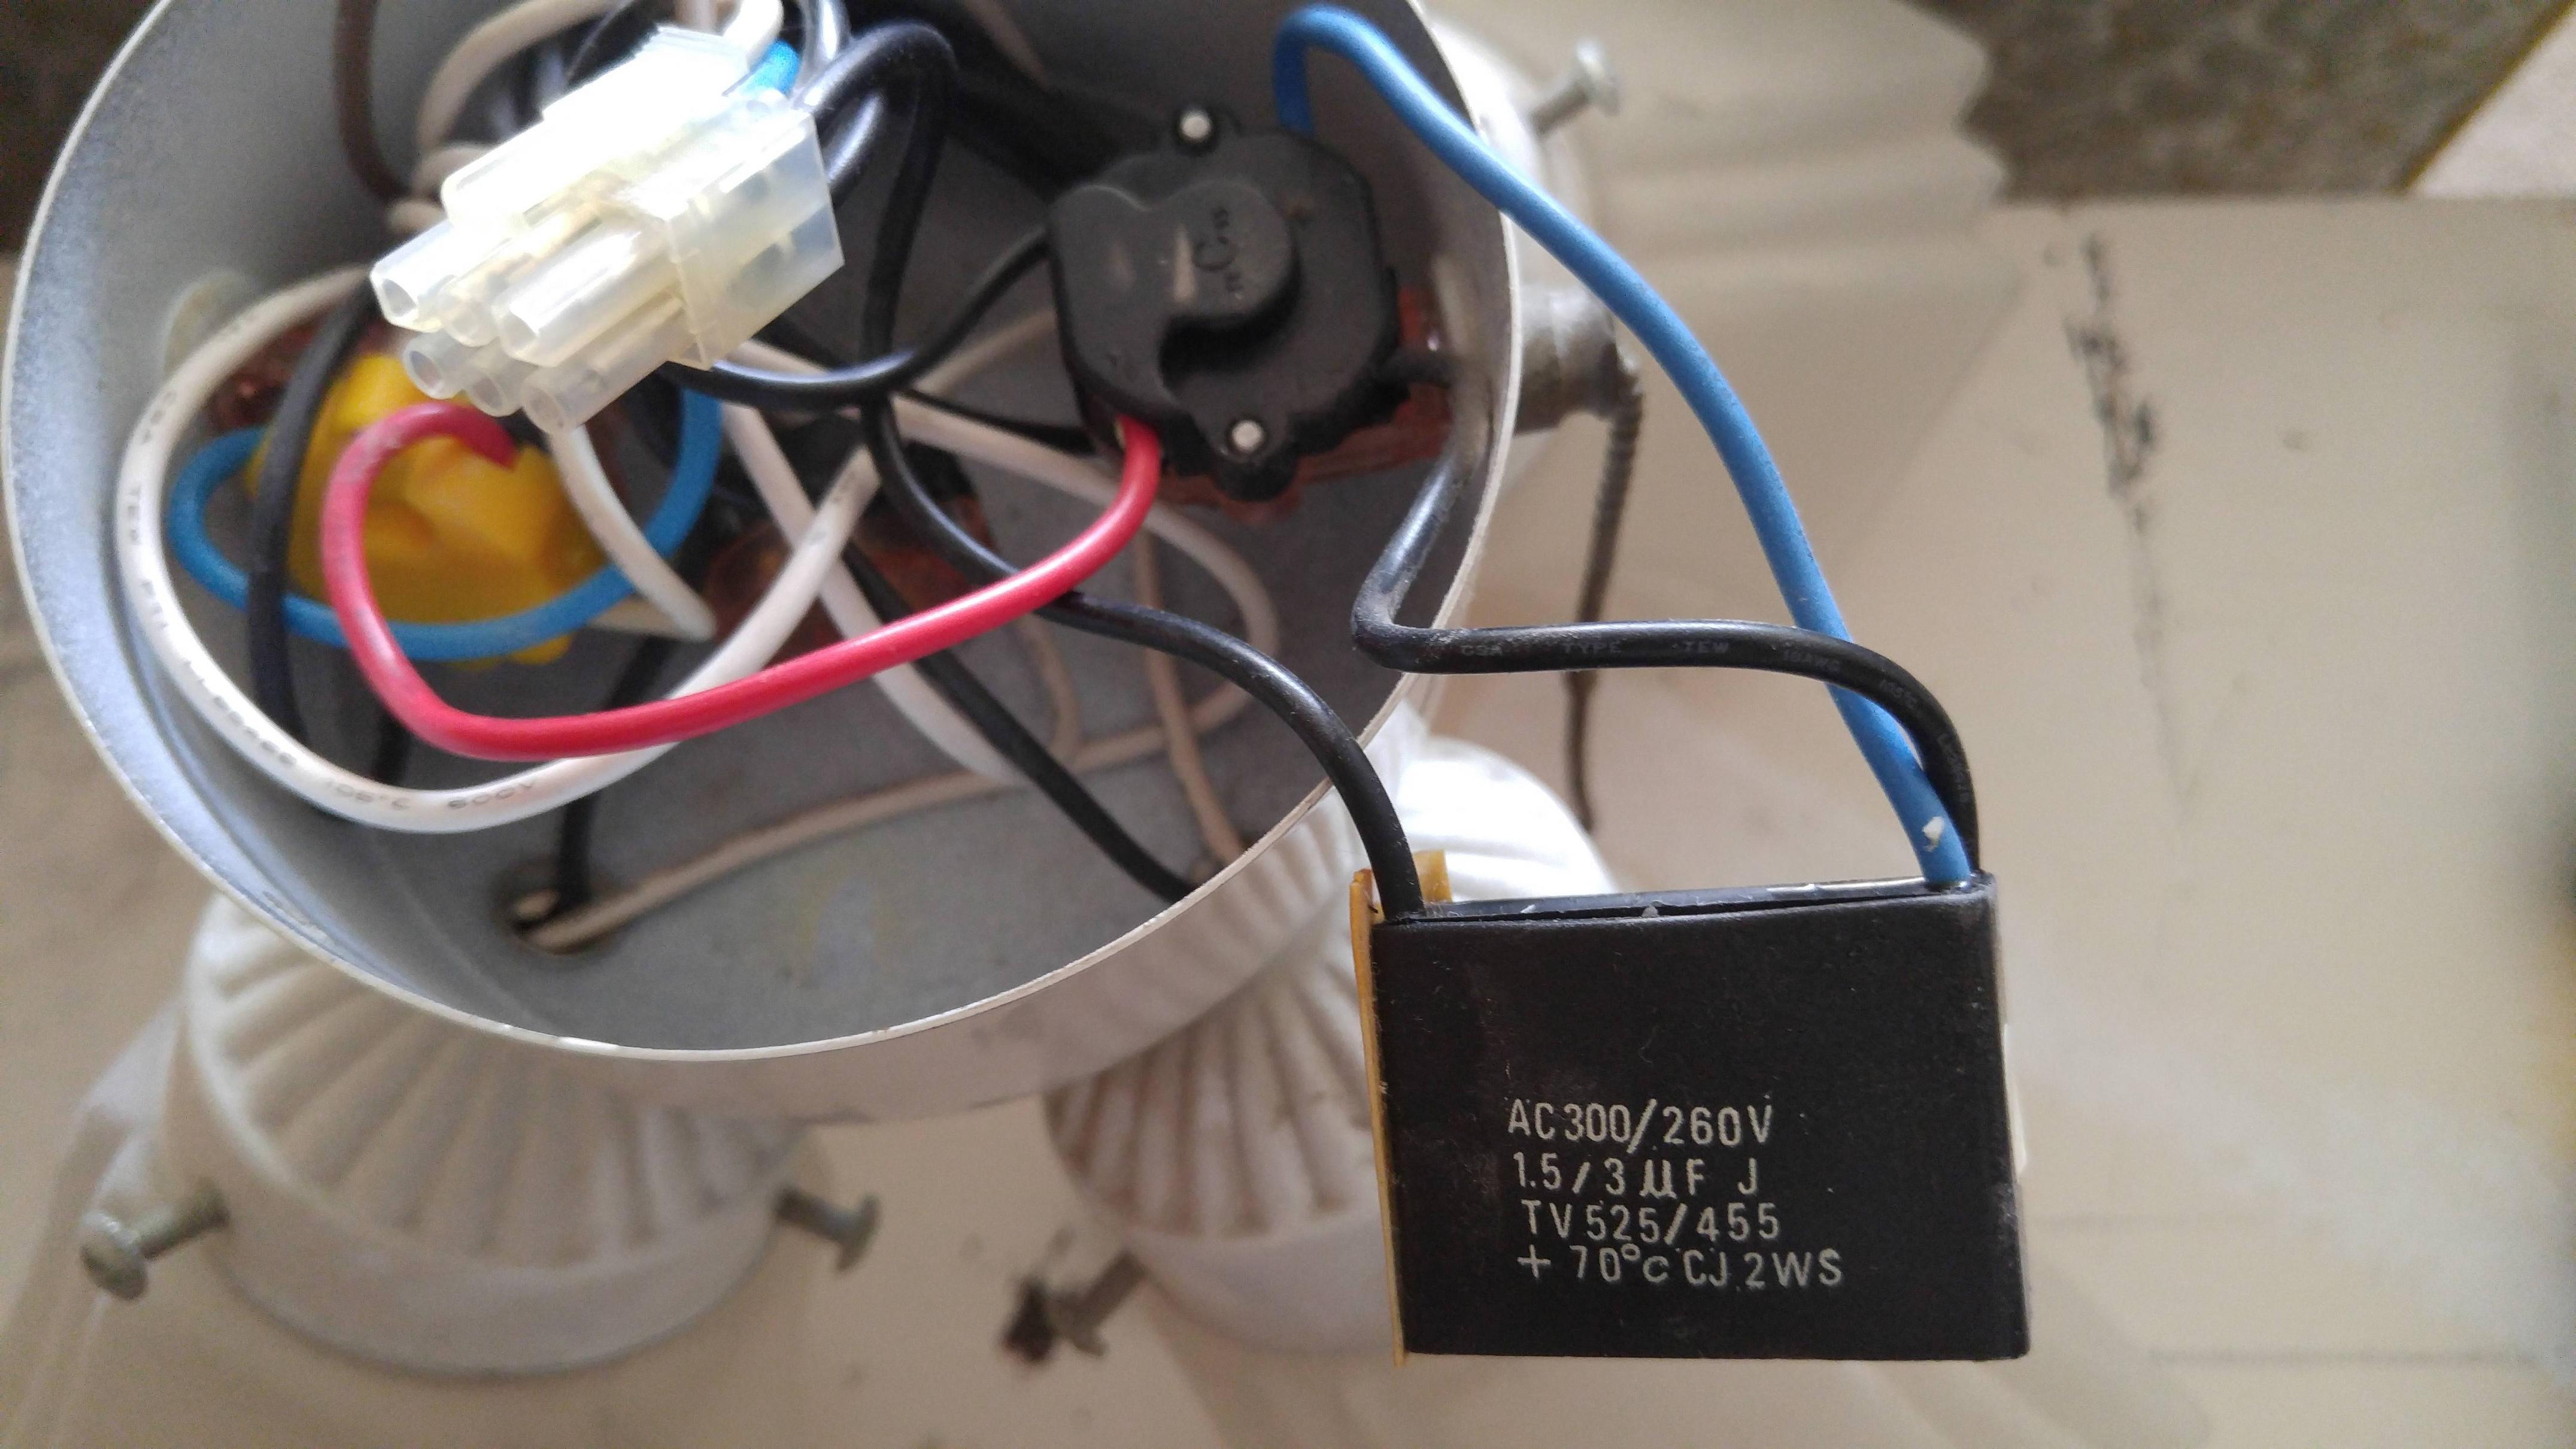
Start by identifying the wires coming from the ceiling fan. There are typically three main wires: a black wire (hot), a white wire (neutral), and a green or copper wire (ground).
Next, locate the wires from the light switch. Typically, there will be a black wire (hot) and a white wire (neutral).
Using wire strippers, carefully remove about half an inch of insulation from the ends of the wires from the ceiling fan and the light switch.
Connect the black wire from the ceiling fan to the black wire from the light switch using a wire nut. Twist the wires together clockwise and secure them tightly with the wire nut.
Next, connect the white wire from the ceiling fan to the white wire from the light switch using another wire nut.
If there is a green or copper wire from the ceiling fan, connect it to the grounding wire in the electrical box using a wire nut.
Once all the wires are securely connected, use electrical tape to wrap around the wire nuts to provide extra insulation and protection.
After connecting the wires, carefully tuck them into the electrical box, ensuring that they are not pinched or twisted.
Now that the wiring is complete, you can move on to the next step: securing the ceiling fan to the mounting bracket.
Remember, if you are unsure about any part of the wiring process, it is best to consult a licensed electrician to ensure a safe and proper installation.
Read more: How To Wire A Ceiling Fan With Two Switches
Step 5: Secure the ceiling fan to the mounting bracket
With the wires connected, it’s time to secure the ceiling fan to the mounting bracket. This step ensures that the fan is properly installed and stable.
Start by lifting the ceiling fan and aligning the mounting holes on the fan with the screws on the mounting bracket. Carefully slide the fan onto the bracket, making sure it sits securely and flush against the ceiling.
Using the screws provided with the ceiling fan, tighten them into the pre-drilled holes on the mounting bracket. Make sure to use a screwdriver set that fits the specific screw heads to avoid stripping them.
As you tighten the screws, check for any wobbling or instability. If the fan feels loose, double-check the screws to ensure they are securely tightened. If needed, adjust the position of the fan slightly to correct any imbalances.
Once the ceiling fan is securely mounted, give it a gentle shake to check for any excessive movement. It should feel stable and secure.
Take a moment to check all the connections and wires to ensure they are properly tucked away and not visible. Use zip ties or cable clips to secure any loose or dangling wires to the ceiling or fan body.
Now that the ceiling fan is securely installed, you can proceed to the next step: installing the fan blades and light fixtures.
Remember, if you are unsure about any part of the installation or do not have experience working with electrical components, it is best to consult a professional electrician.
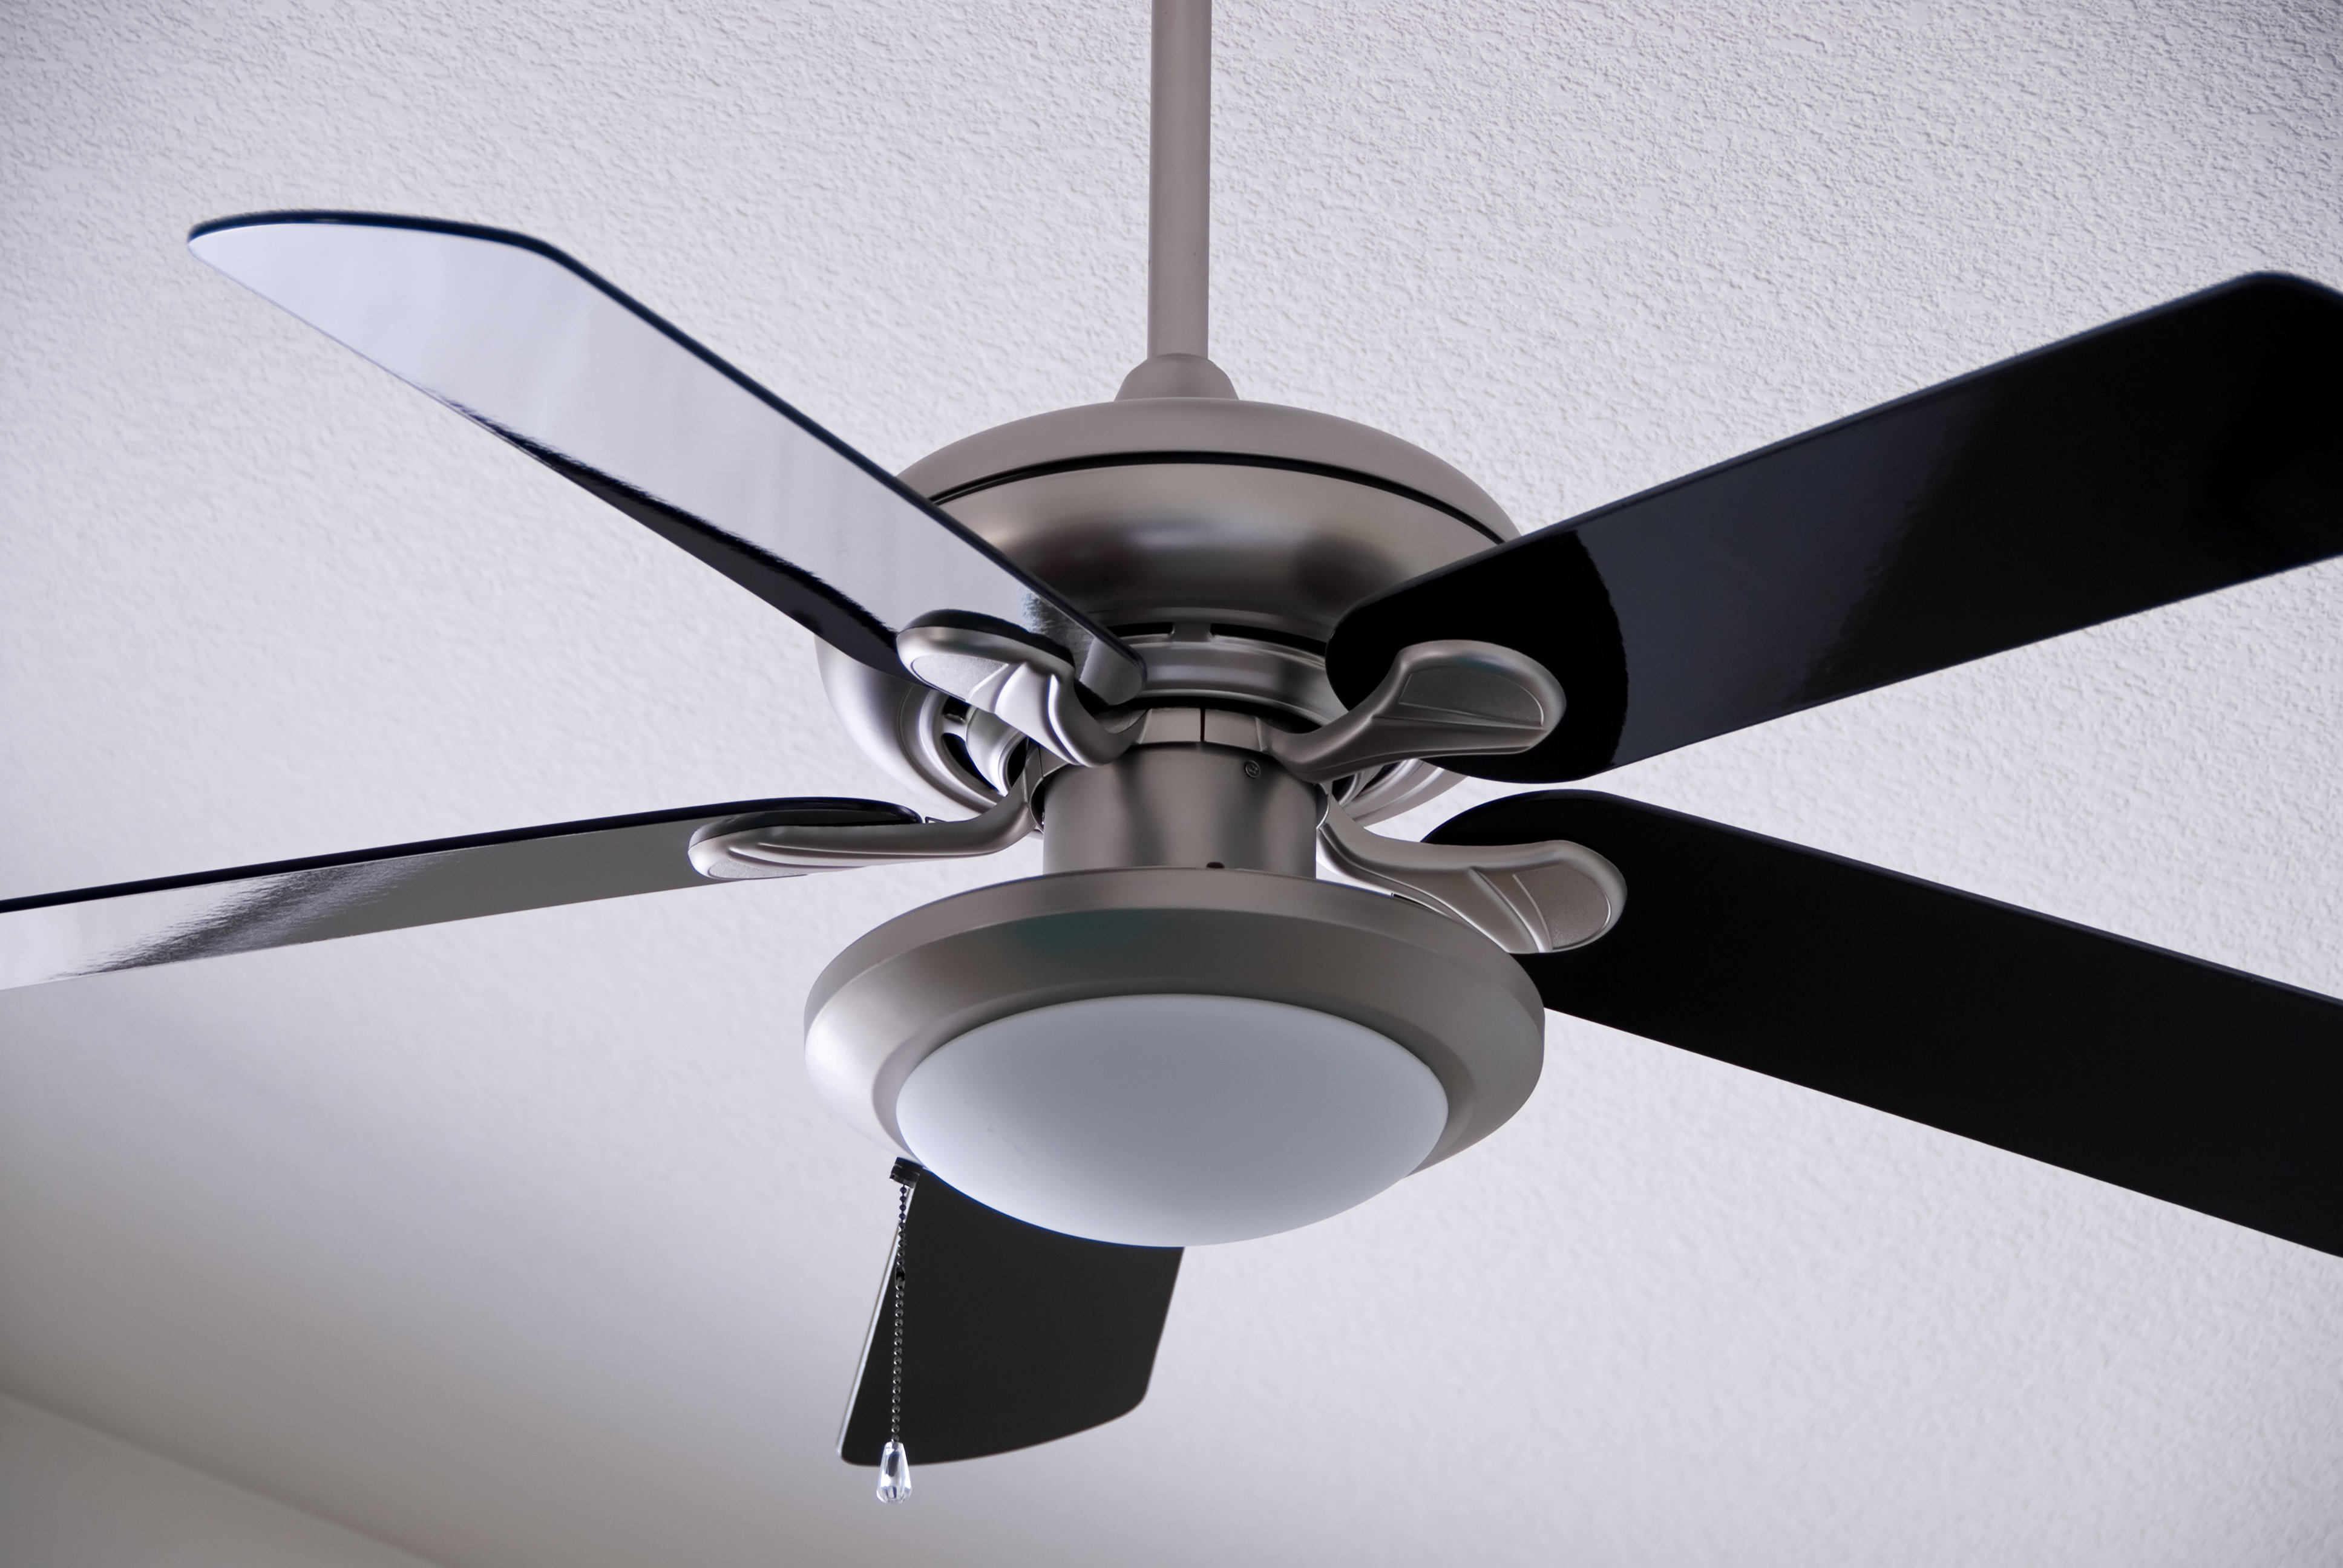
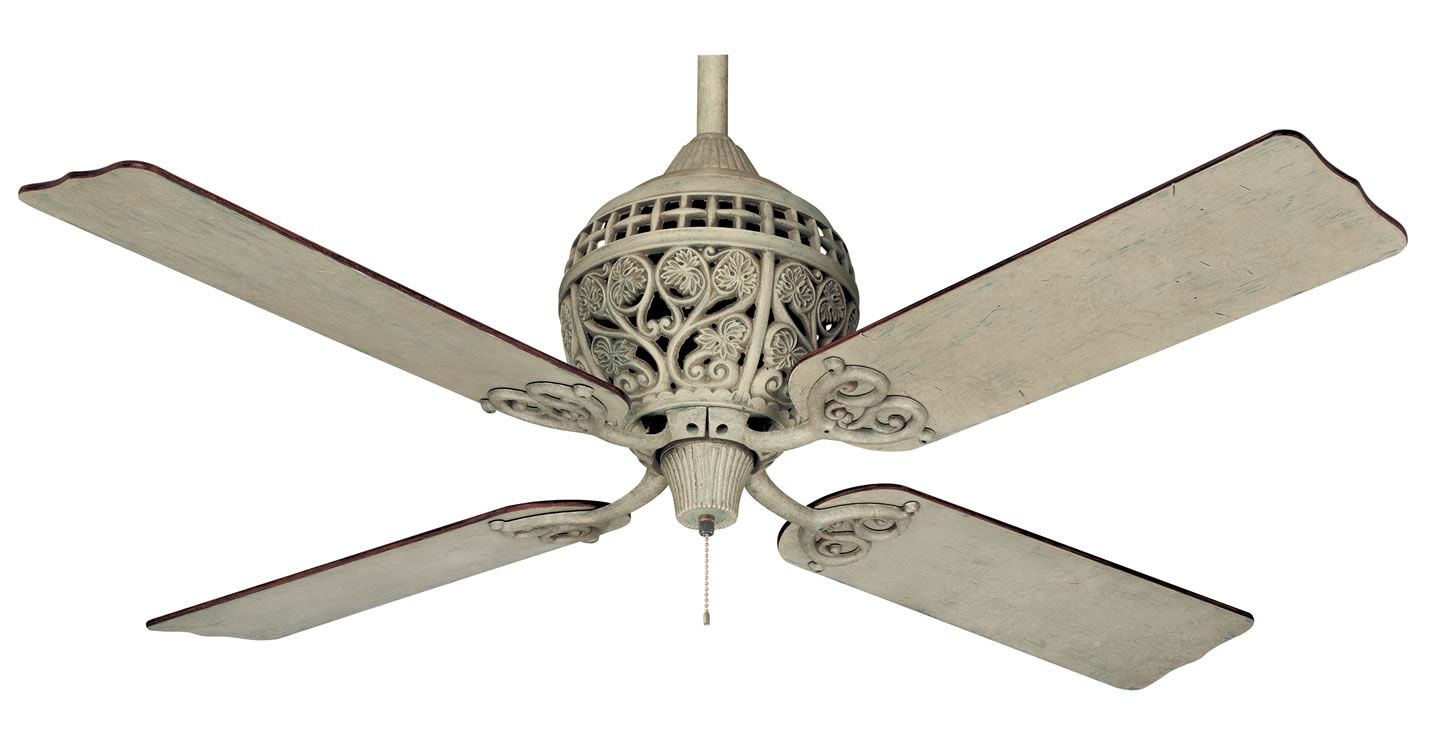
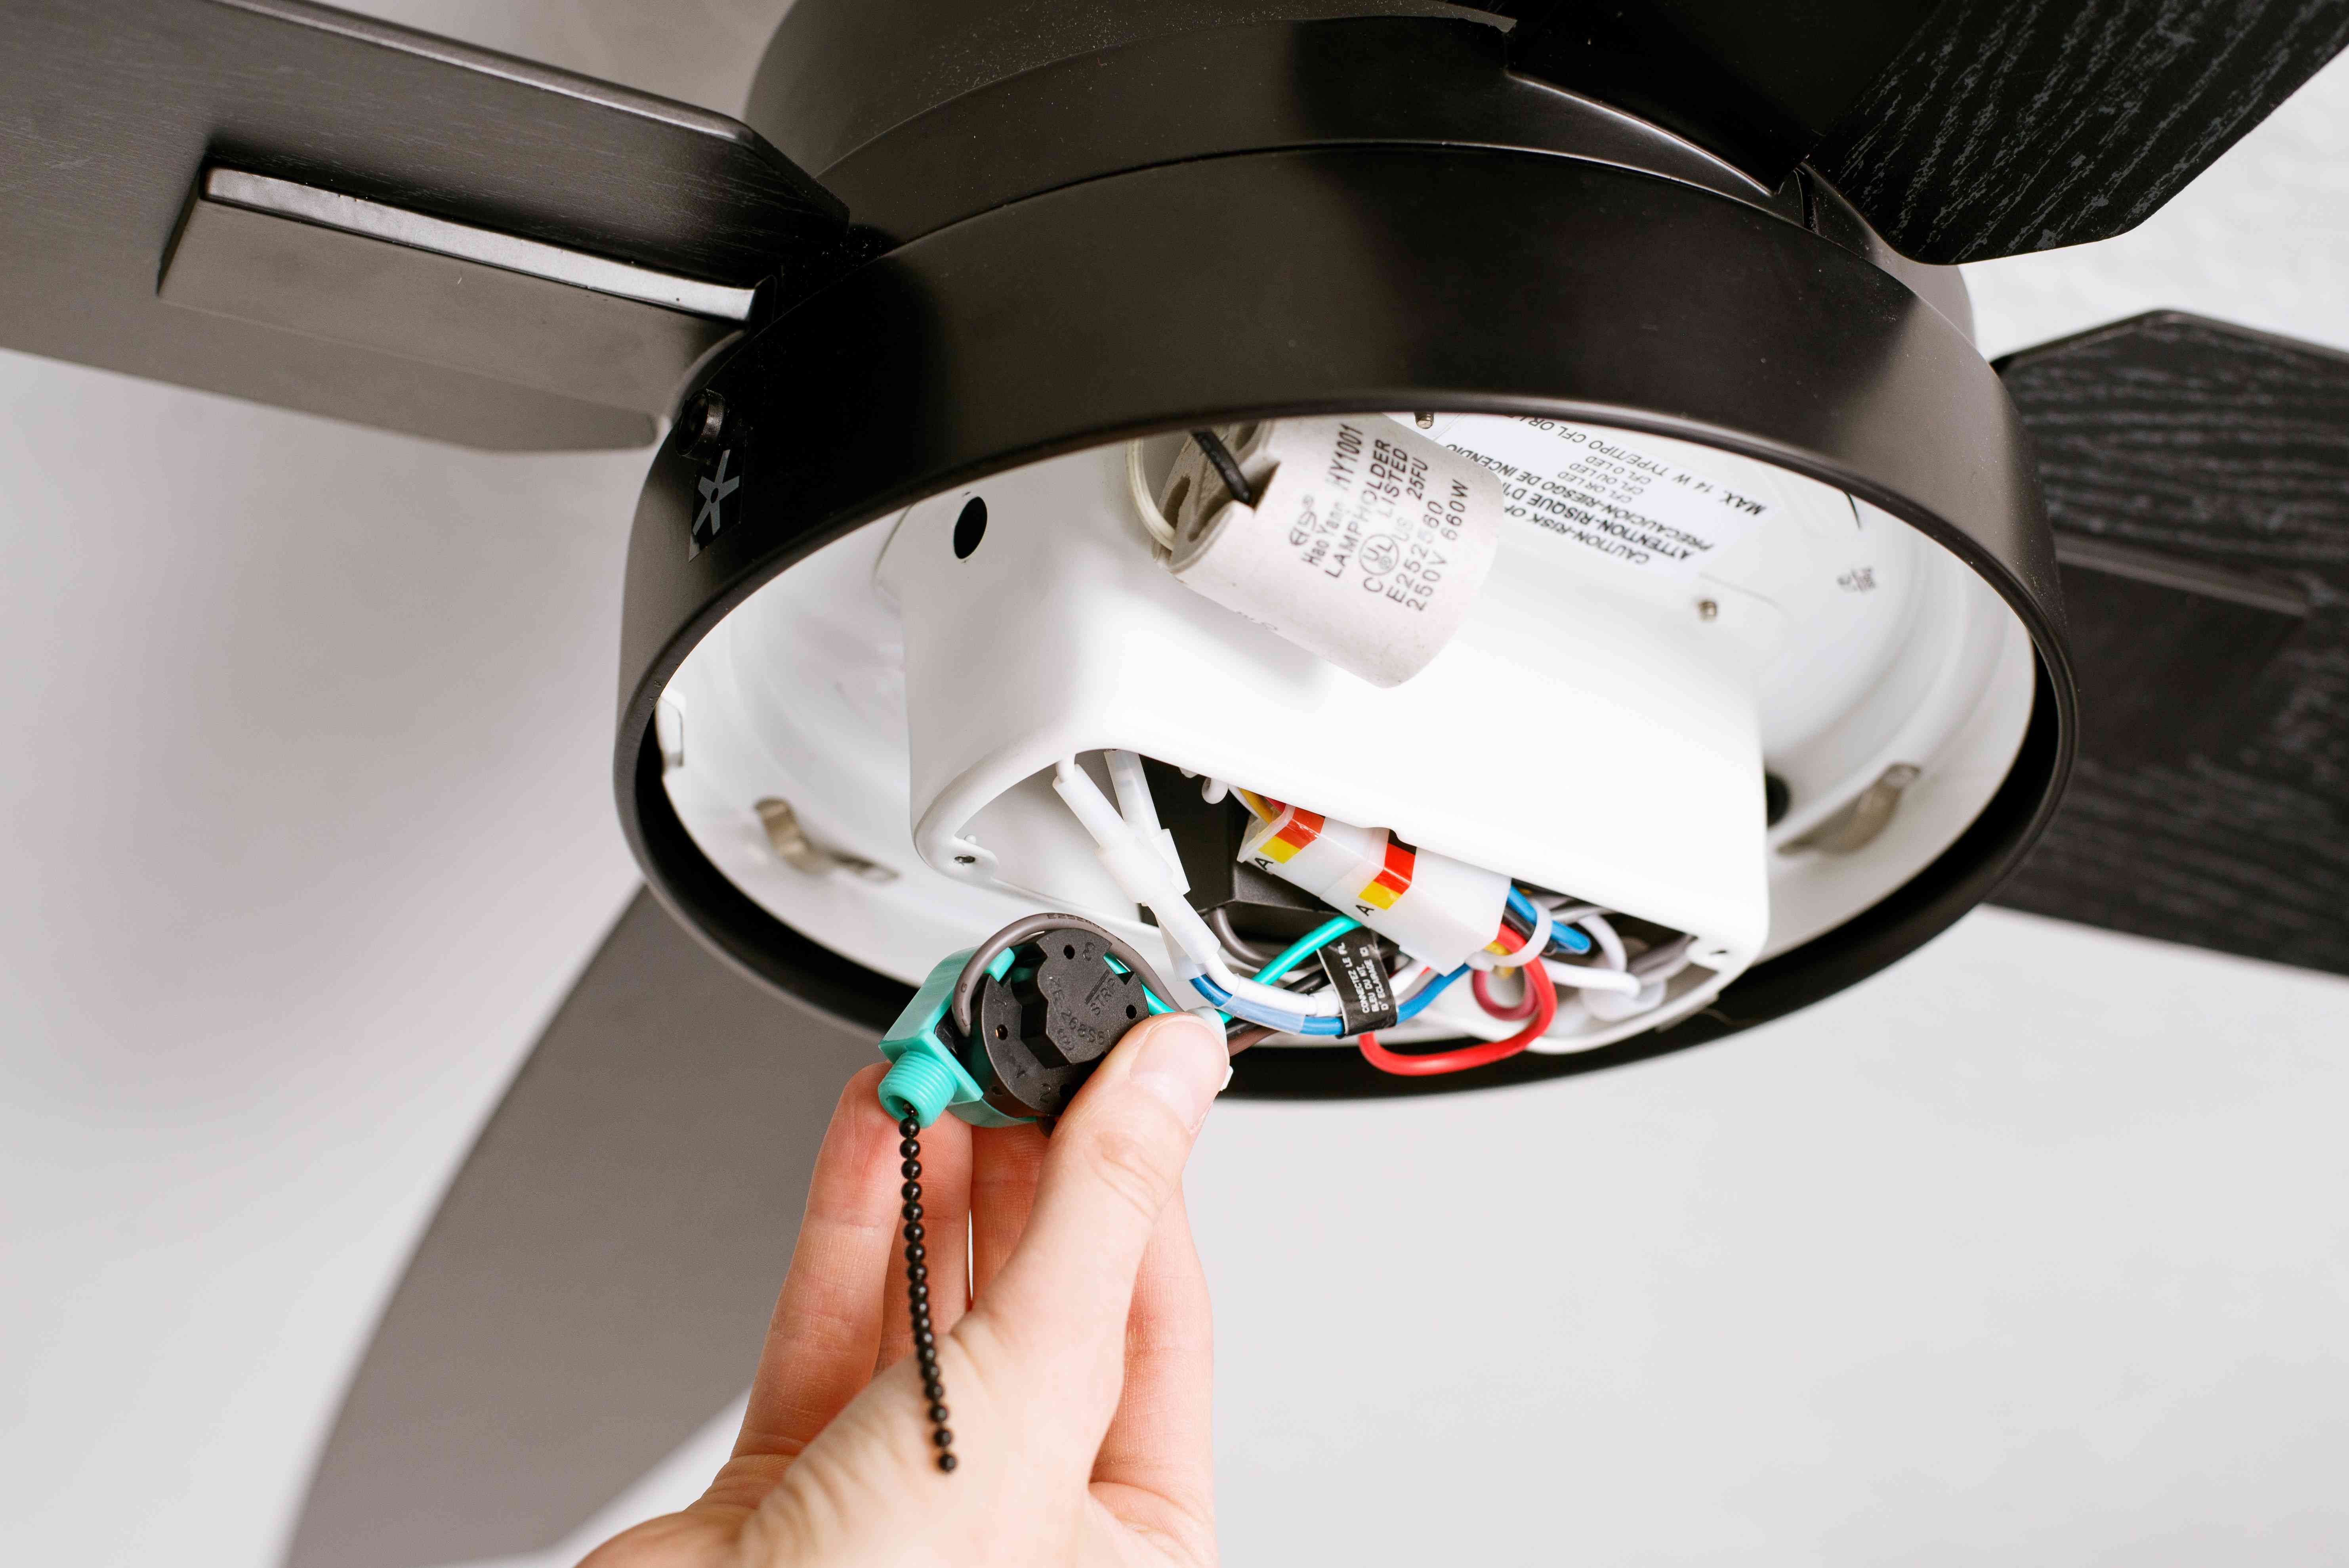
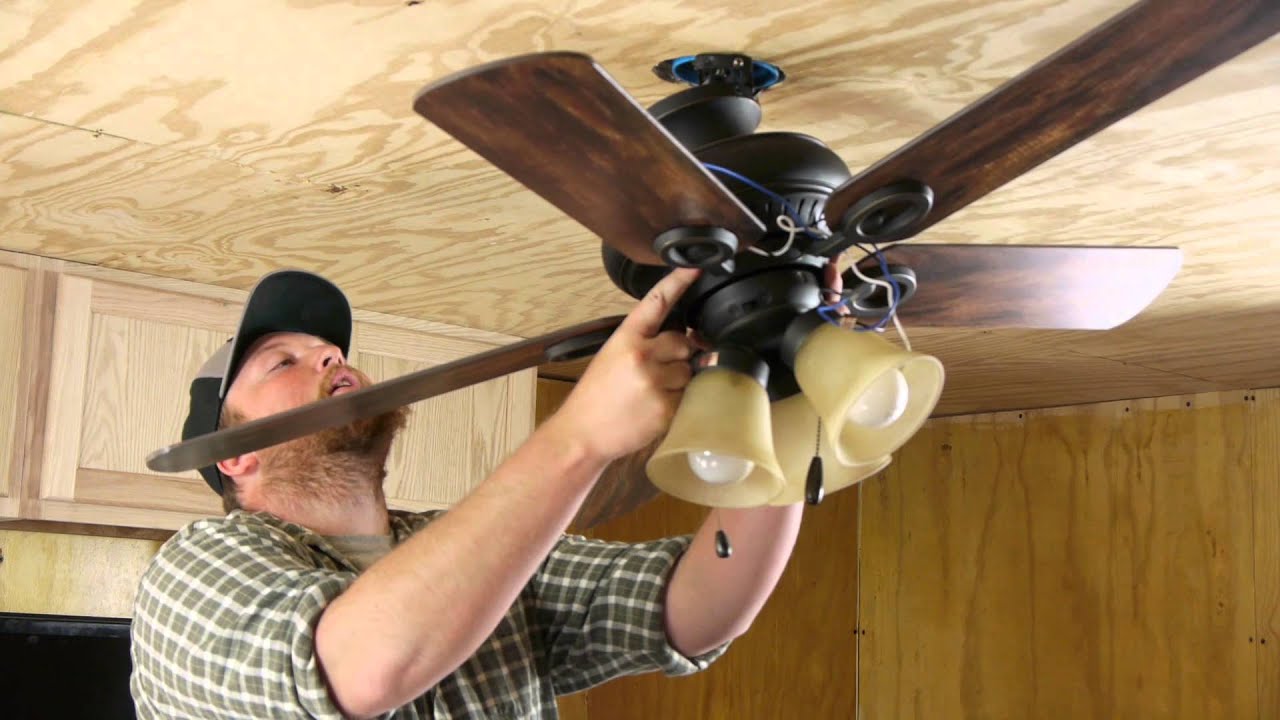
Step 6: Install the fan blades and light fixtures
With the ceiling fan securely mounted, it’s time to install the fan blades and light fixtures. This step will complete the installation process and allow you to fully enjoy the functionality and aesthetics of your new ceiling fan.
Start by attaching the fan blades to the fan motor. Depending on the model of your ceiling fan, the blades may need to be screwed into place or they may have a snap-on installation. Follow the manufacturer’s instructions to properly attach the blades, ensuring that they are securely in place.
Next, if your ceiling fan has a light fixture, it’s time to install it. Carefully follow the manufacturer’s instructions to assemble and attach the light fixture to the fan. This may involve connecting wires and attaching the light cover or shades.
Once the light fixture is installed, check that all connections are secure and the light cover is properly fastened. Test the light switch to ensure that the light turns on and off correctly.
Take a moment to step back and admire your newly installed ceiling fan with its blades and light fixture. It’s now ready to provide you with refreshing air circulation and illumination.
Before moving on to the final step, it is recommended to clean the fan blades and light fixtures to remove any dust or debris. This will ensure optimal performance and keep your ceiling fan looking its best.
Now that the fan blades and light fixtures are installed, it’s time to move on to the final step: turning on the power and testing the ceiling fan.
Note: If you are unsure about the installation process or have any concerns, it is always best to consult a licensed electrician.
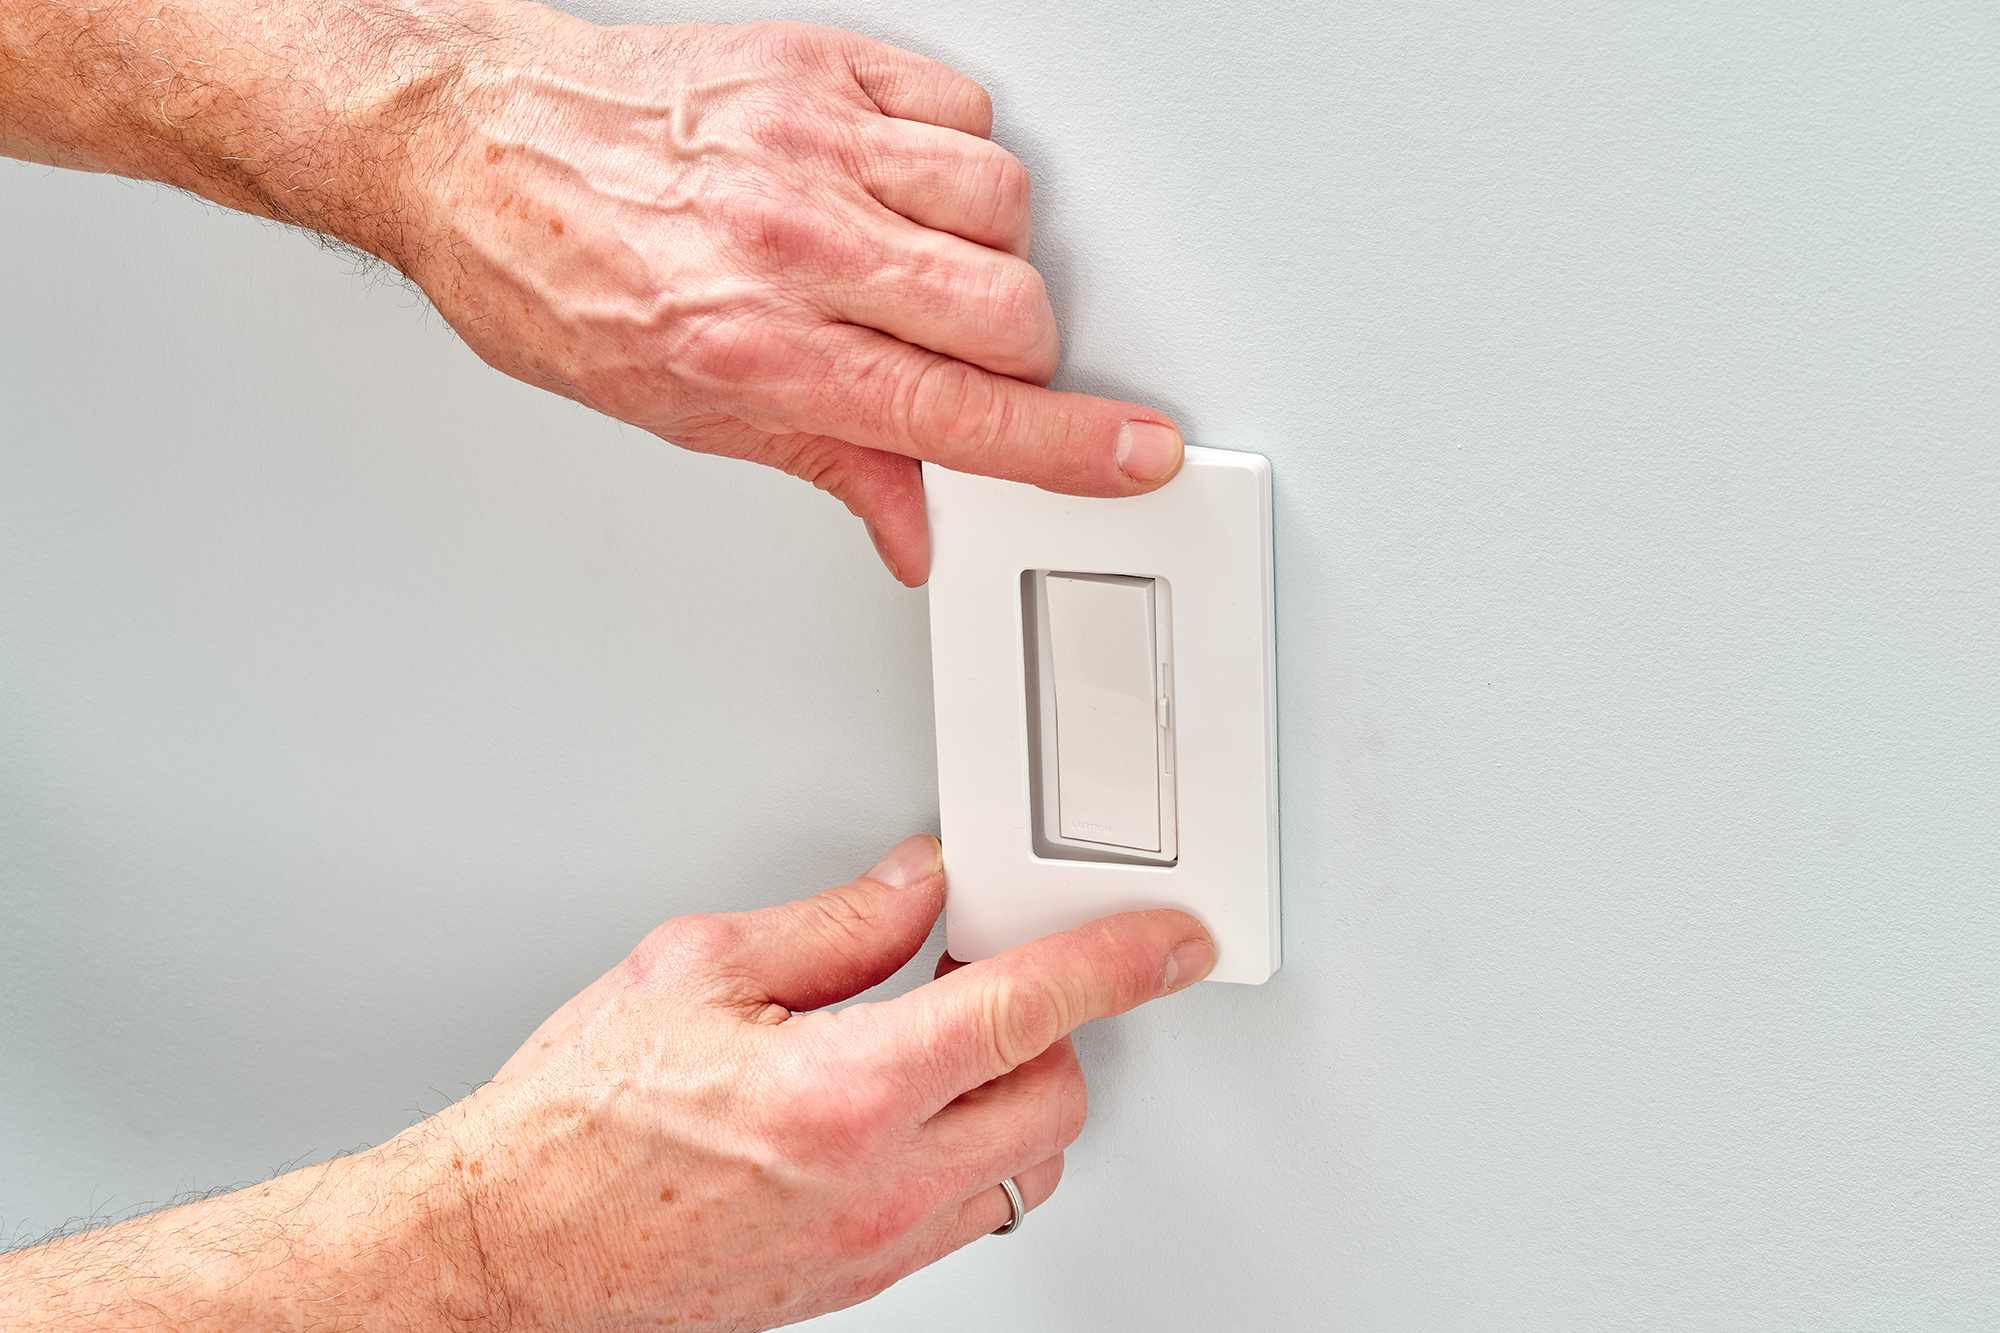
Step 7: Turn on the power and test the ceiling fan
After successfully installing the ceiling fan and completing all the necessary steps, it’s time to turn on the power and test the functionality of your newly installed fan.
Before turning on the power, make sure all the switches and controls are in the off position. This includes the light switch connected to the ceiling fan.
Go to the electrical panel in your home and locate the breaker that controls the circuit for the ceiling fan. Flip the breaker switch to the “on” position to restore power to the fan.
Once the power is restored, you can go back to the room where the ceiling fan is installed and test it. Flip the light switch connected to the fan to the “on” position to turn on the lights. Verify that the lights illuminate and function properly.
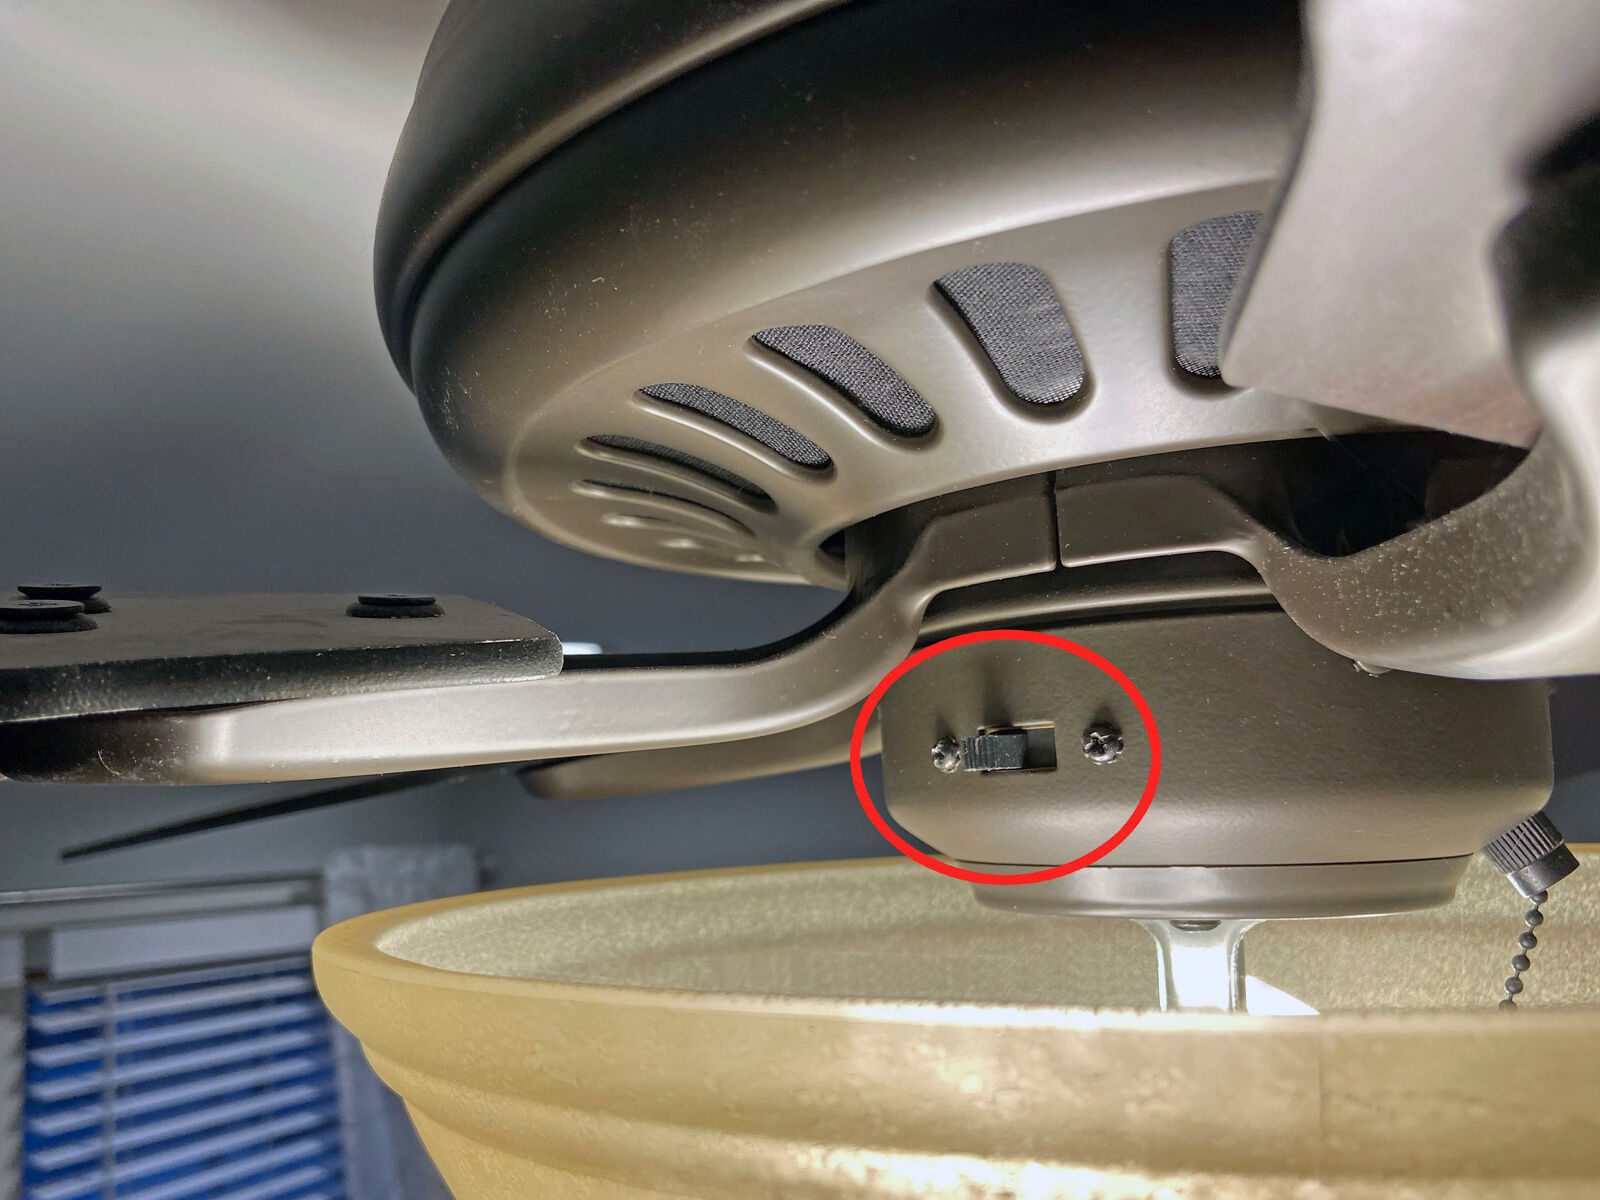
Next, use the fan controls, either included on the fan or via a separate switch, to adjust the fan speed. Test each speed setting to ensure that the fan operates smoothly and quietly.
Observe the rotation of the fan blades to confirm that they are moving in the correct direction. In warmer months, the blades should rotate counterclockwise to create a cooling breeze. In colder months, the blades can be switched to rotate clockwise to promote better circulation of warm air.
Listen for any unusual noises or vibrations while the fan is running. If you notice anything out of the ordinary, it may indicate an installation issue or a problem with the fan. In such cases, it is recommended to consult a professional electrician for further inspection.
Once you have tested the functionality of the ceiling fan and verified that everything is working as expected, you can consider the installation process complete.
Congratulations! You have successfully wired a ceiling fan to a light switch and completed the installation. Enjoy the comfort, style, and convenience that your newly installed ceiling fan brings to your living space.
Note: If you ever need to perform maintenance or make adjustments to the ceiling fan in the future, remember to turn off the power at the breaker before doing so, to ensure your safety.
Frequently Asked Questions about How To Wire A Ceiling Fan To A Light Switch
Was this page helpful?
At Storables.com, we guarantee accurate and reliable information. Our content, validated by Expert Board Contributors, is crafted following stringent Editorial Policies. We're committed to providing you with well-researched, expert-backed insights for all your informational needs.


0 thoughts on “How To Wire A Ceiling Fan To A Light Switch”