Home>Home Appliances>Lighting Appliances>How To Wire A Ceiling Light To A Switch

Lighting Appliances
How To Wire A Ceiling Light To A Switch
Modified: October 20, 2024
Learn how to wire a ceiling light to a switch with our step-by-step guide. Get expert tips for installing lighting appliances in your home.
(Many of the links in this article redirect to a specific reviewed product. Your purchase of these products through affiliate links helps to generate commission for Storables.com, at no extra cost. Learn more)
Introduction
Wiring a ceiling light to a switch is a fundamental electrical task that can enhance the functionality and aesthetics of any room. Whether you're replacing an outdated fixture or installing a new one, understanding the process of connecting a ceiling light to a switch is essential for any homeowner or DIY enthusiast. By completing this task, you can illuminate your space with a stylish and functional lighting solution.
This comprehensive guide will walk you through the step-by-step process of wiring a ceiling light to a switch. From turning off the power to testing the connection, each stage is crucial for ensuring a safe and successful installation. By following these instructions, you can confidently tackle this electrical project and enjoy the benefits of a well-lit and visually appealing room.
Let's dive into the details of how to wire a ceiling light to a switch, ensuring that you have the necessary knowledge and skills to complete this task effectively and safely.
Key Takeaways:
- Safety First!
Before wiring a ceiling light to a switch, always turn off the power at the circuit breaker and verify it’s off. This ensures a safe working environment and prevents electrical accidents. - Test and Verify
After installation, test the switch and light to ensure they work properly. Check for any irregularities and verify safety measures for a well-lit and safe space.
Step 1: Turn off the power
Before beginning any electrical work, the first and most crucial step is to turn off the power to the circuit you'll be working on. This is a non-negotiable safety measure that must be strictly adhered to in order to prevent the risk of electric shock or other serious injuries. Here's how to safely turn off the power:
-
Locate the Circuit Breaker: Identify the circuit breaker that controls the electricity supply to the area where you'll be installing the ceiling light. Circuit breakers are typically located in the main electrical panel of your home.
-
Switch Off the Circuit: Once you've located the correct circuit breaker, switch it to the "off" position. This action will cut off the power supply to the specific circuit, ensuring that no electricity is flowing to the wires and fixtures you'll be working on.
-
Verify the Power Cut: After turning off the circuit breaker, it's essential to verify that the power has been successfully cut off. You can do this by using a non-contact voltage tester, which will indicate whether there is still electrical current present in the wires. This extra precaution provides added assurance of your safety before proceeding with the installation.
-
Secure the Circuit Breaker: To prevent accidental reconnection of the power while you're working, it's advisable to secure the circuit breaker with a lock or a tag. This simple yet effective step can prevent potential hazards and ensure that the power remains off until the installation is complete.
By diligently following these steps to turn off the power, you can create a safe working environment for yourself and others involved in the installation process. Always remember to exercise caution and prioritize safety when working with electricity, as it is essential for preventing accidents and ensuring a successful outcome.
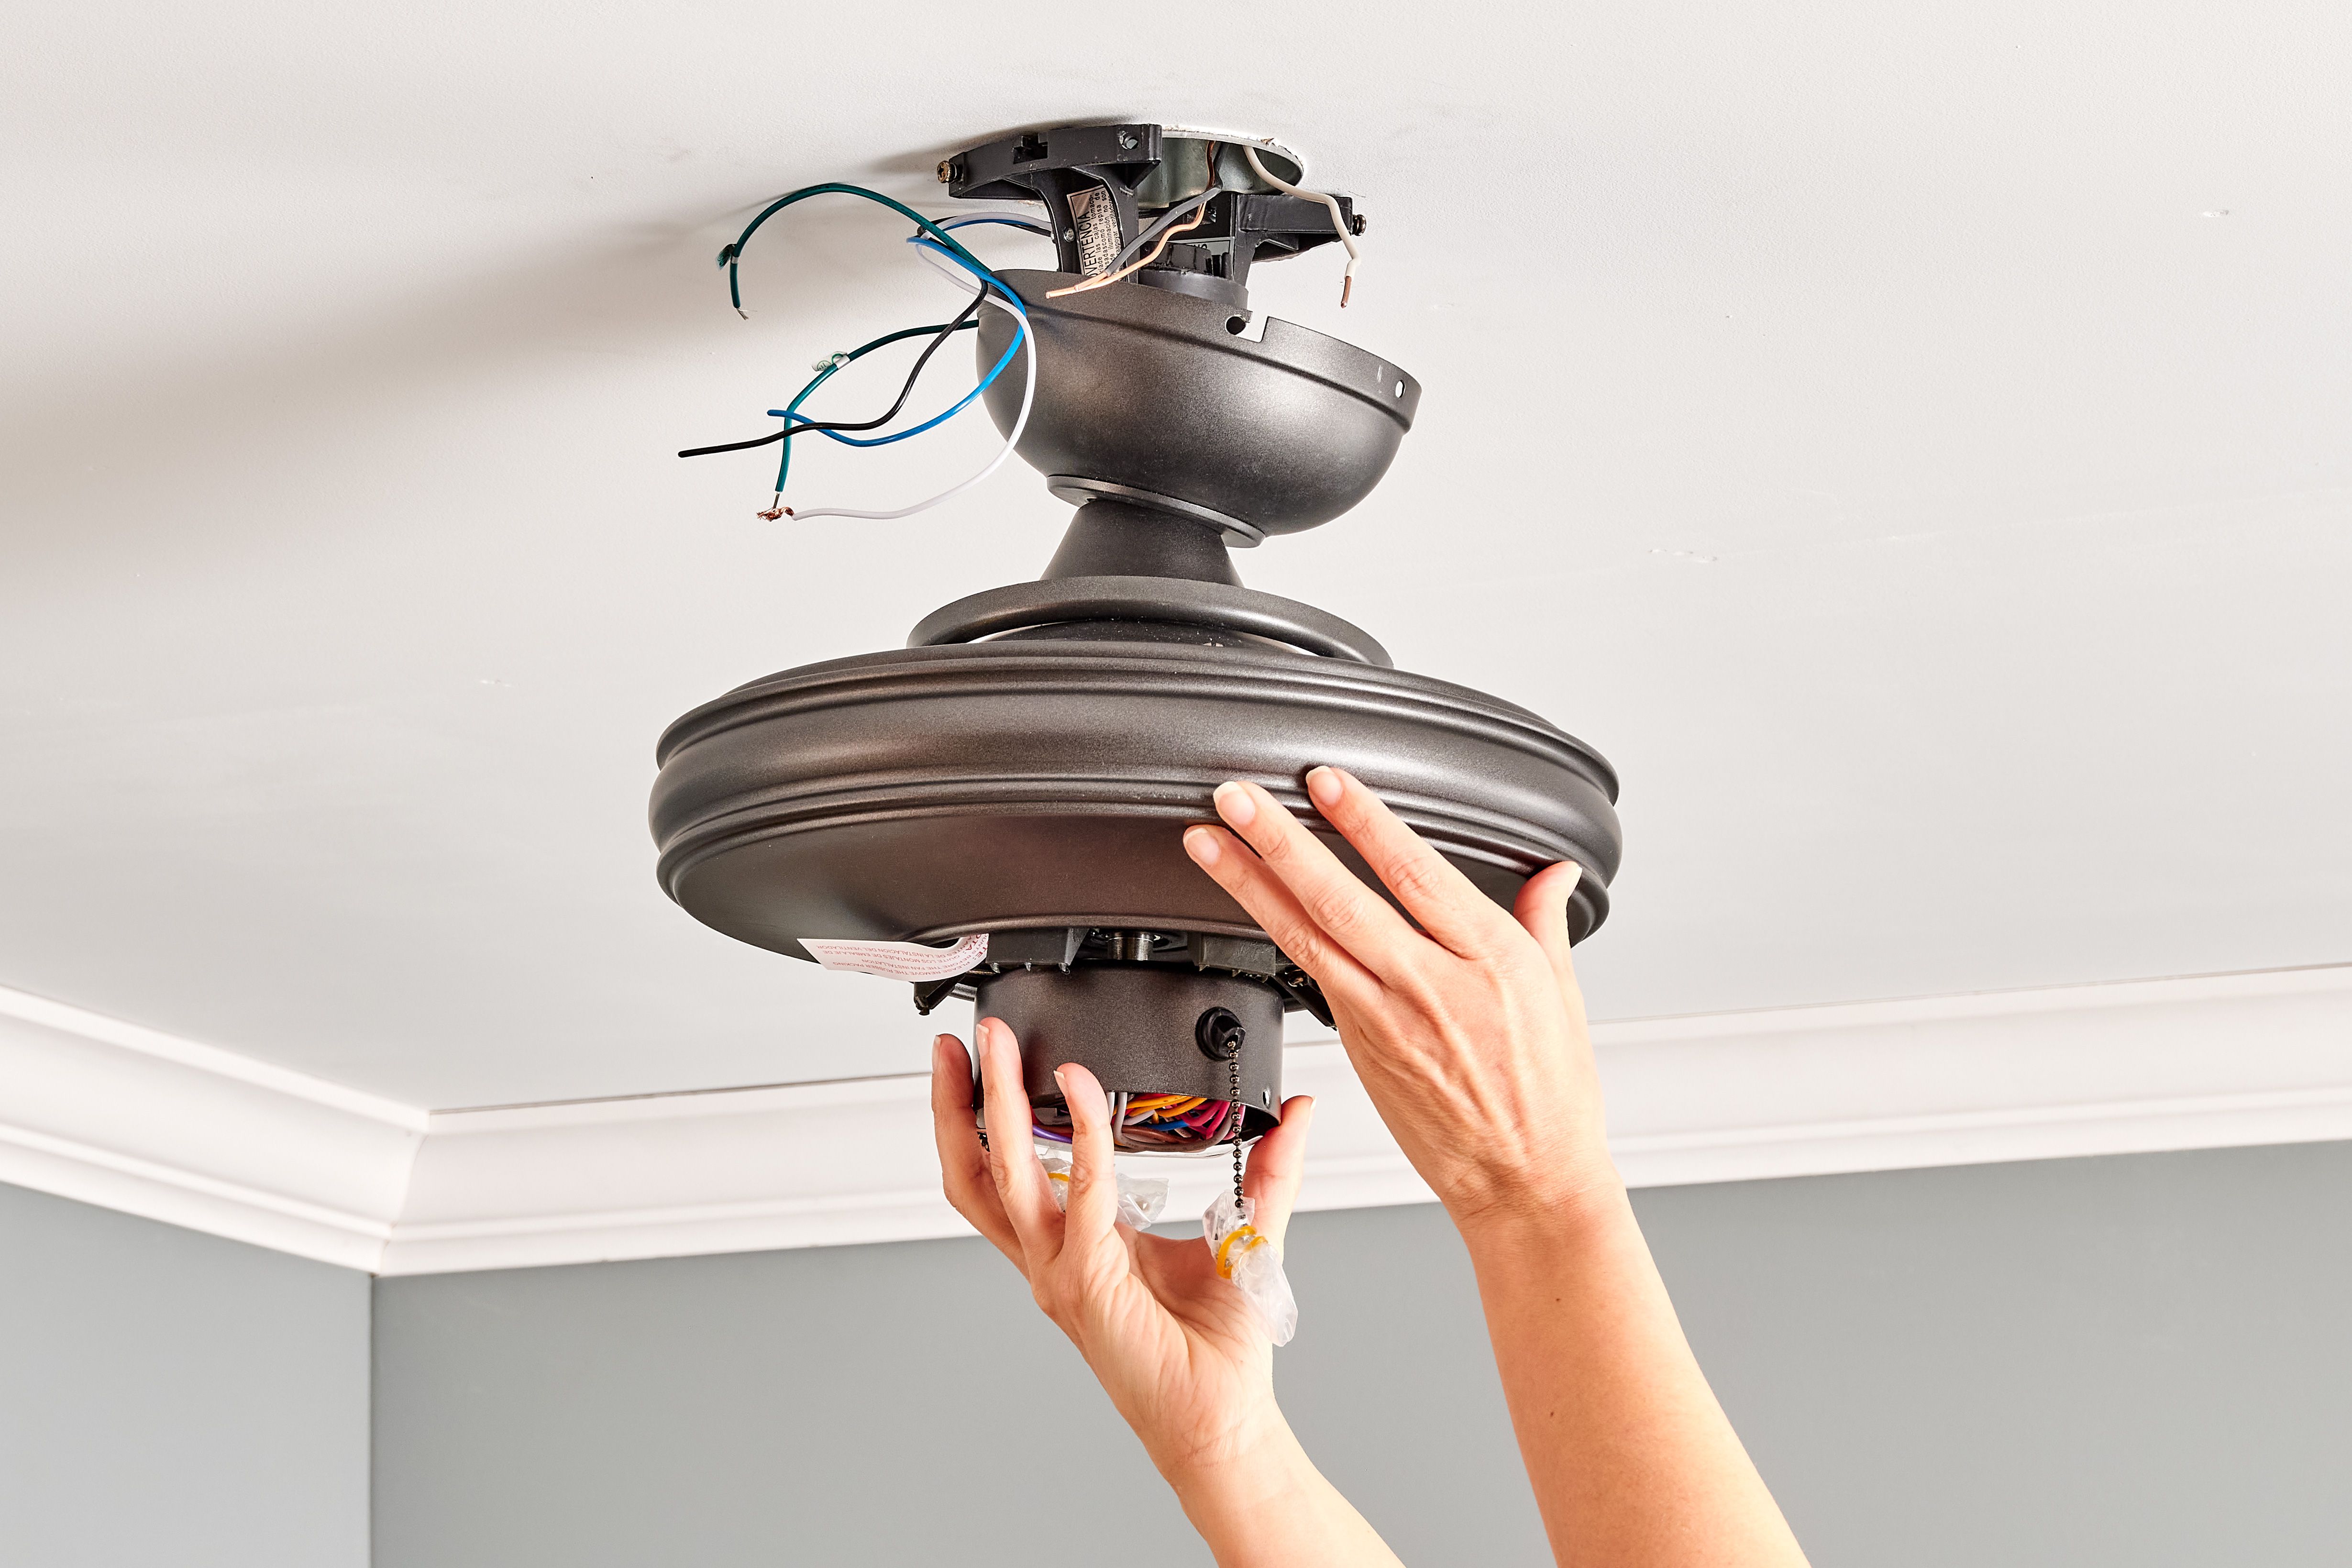
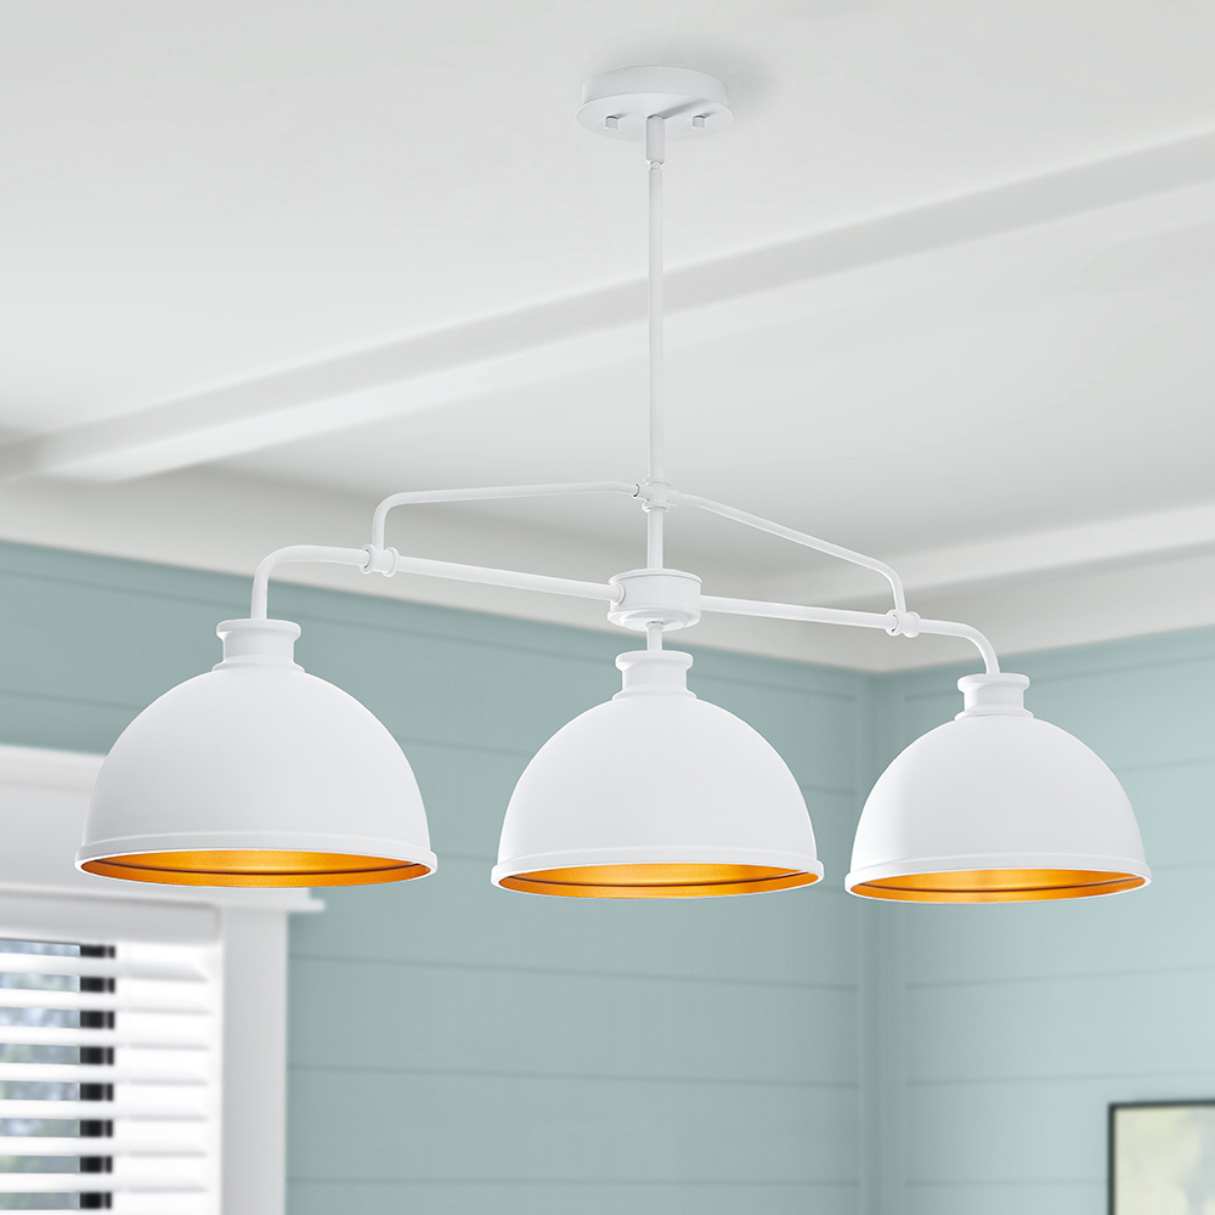
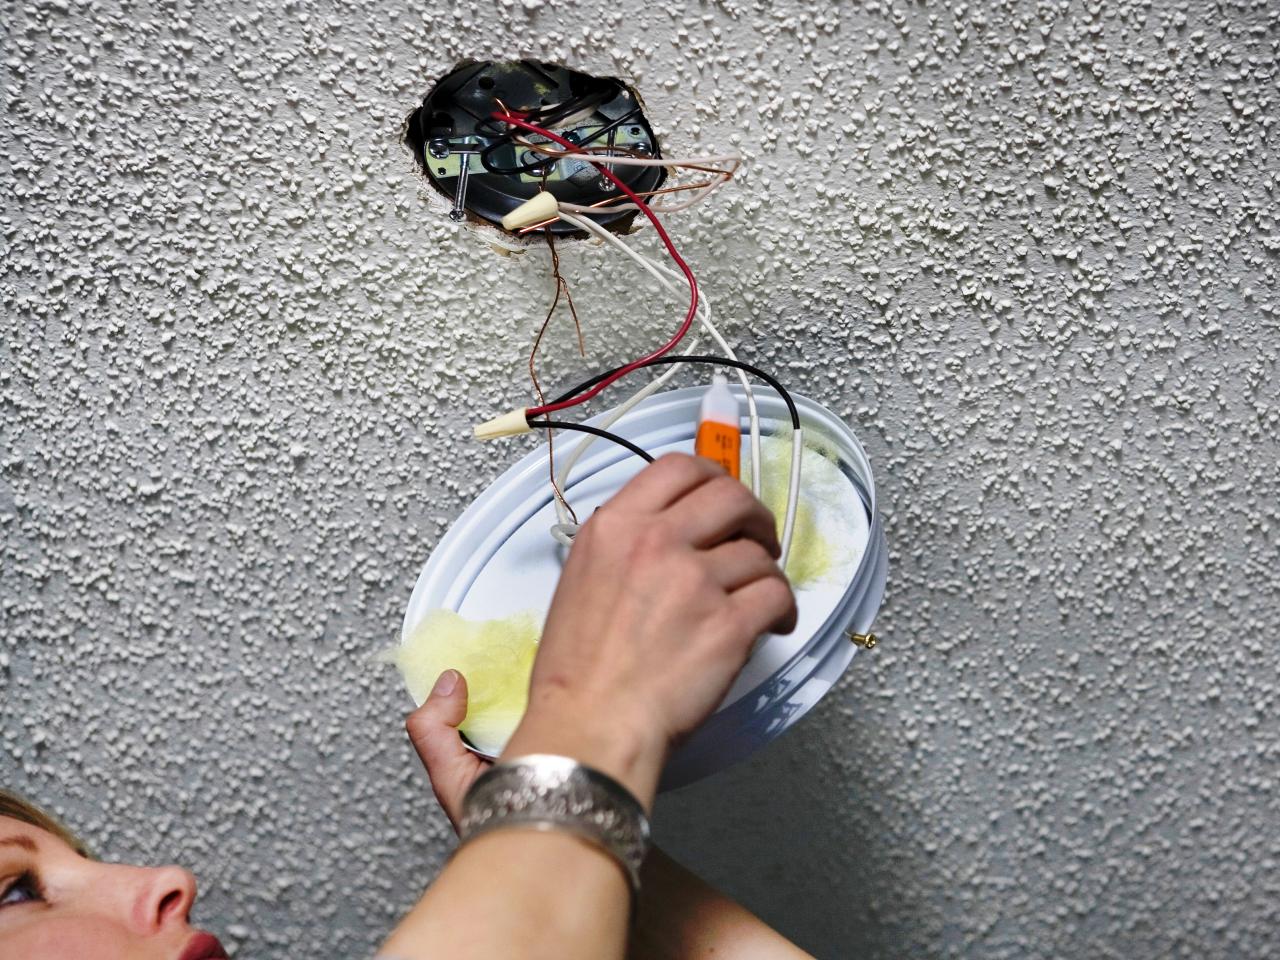
Step 2: Install the ceiling light fixture
With the power safely turned off, you can proceed to install the ceiling light fixture. This step involves mounting the fixture to the ceiling and connecting it to the electrical wiring. Here's a detailed guide on how to accomplish this crucial phase of the installation process.
-
Prepare the Mounting Area: Begin by preparing the area where the ceiling light will be installed. Clear any obstructions and ensure that the mounting surface is clean and free from debris. This will provide a stable and secure foundation for the fixture.
-
Assemble the Fixture: If the ceiling light fixture requires assembly, carefully follow the manufacturer's instructions to put together the various components. This may involve attaching the canopy, installing the light bulbs, and securing any decorative elements.
-
Mount the Fixture: With the assistance of a helper if needed, hold the fixture against the ceiling at the desired location. Use a screwdriver and the provided hardware to secure the fixture in place. Ensure that the mounting screws are tightened securely to prevent any movement or instability.
-
Connect the Wires: Once the fixture is mounted, it's time to connect the electrical wires. Typically, this involves matching the fixture's wires to the corresponding wires in the electrical box. Follow the manufacturer's instructions and adhere to the standard wiring color codes (usually black to black, white to white, and green or bare copper to the ground wire).
-
Secure the Connections: After connecting the wires, carefully tuck them into the electrical box. Use wire connectors to join the fixture's wires with the house wiring, ensuring a secure and reliable connection. Gently push any excess wiring into the electrical box, taking care not to overcrowd the space.
-
Attach the Canopy: If the ceiling light fixture includes a canopy, carefully position it over the electrical box and secure it in place using the provided screws. This step adds a finishing touch to the installation and conceals the wiring and electrical components.
-
Double-Check the Installation: Before proceeding to the next step, take a moment to double-check the installation of the ceiling light fixture. Ensure that all connections are secure, the fixture is level, and any decorative elements are properly aligned.
By following these detailed steps, you can successfully install the ceiling light fixture, bringing you one step closer to completing the wiring process. This phase of the installation is crucial for ensuring that the fixture is securely mounted and properly connected to the electrical wiring, setting the stage for the final steps of the installation process.
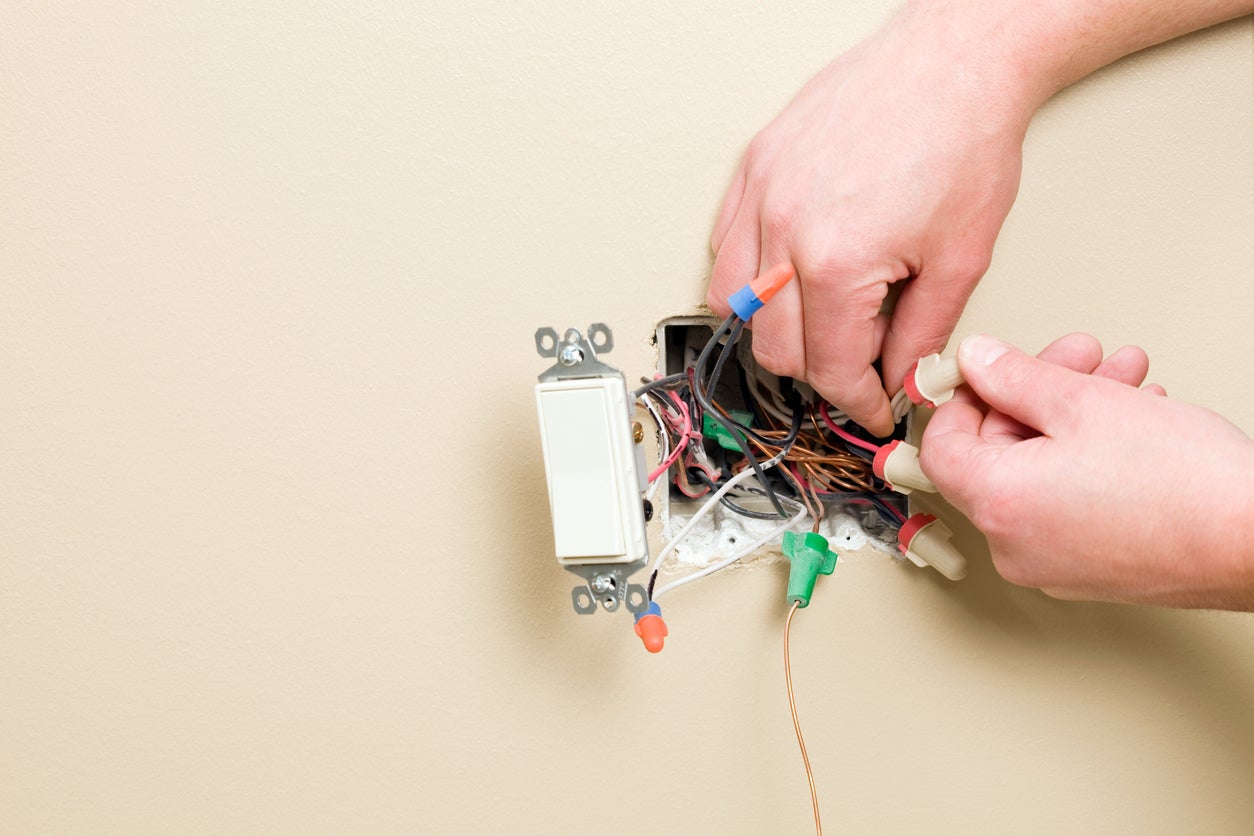
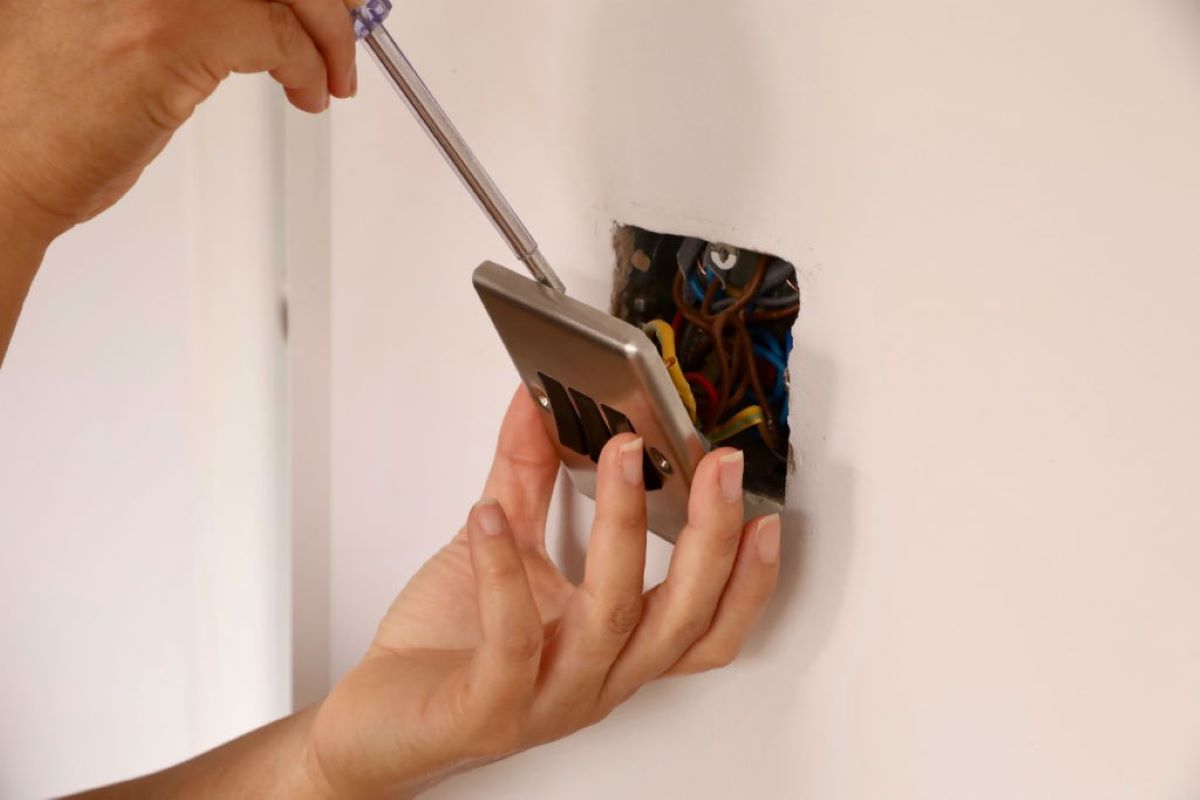
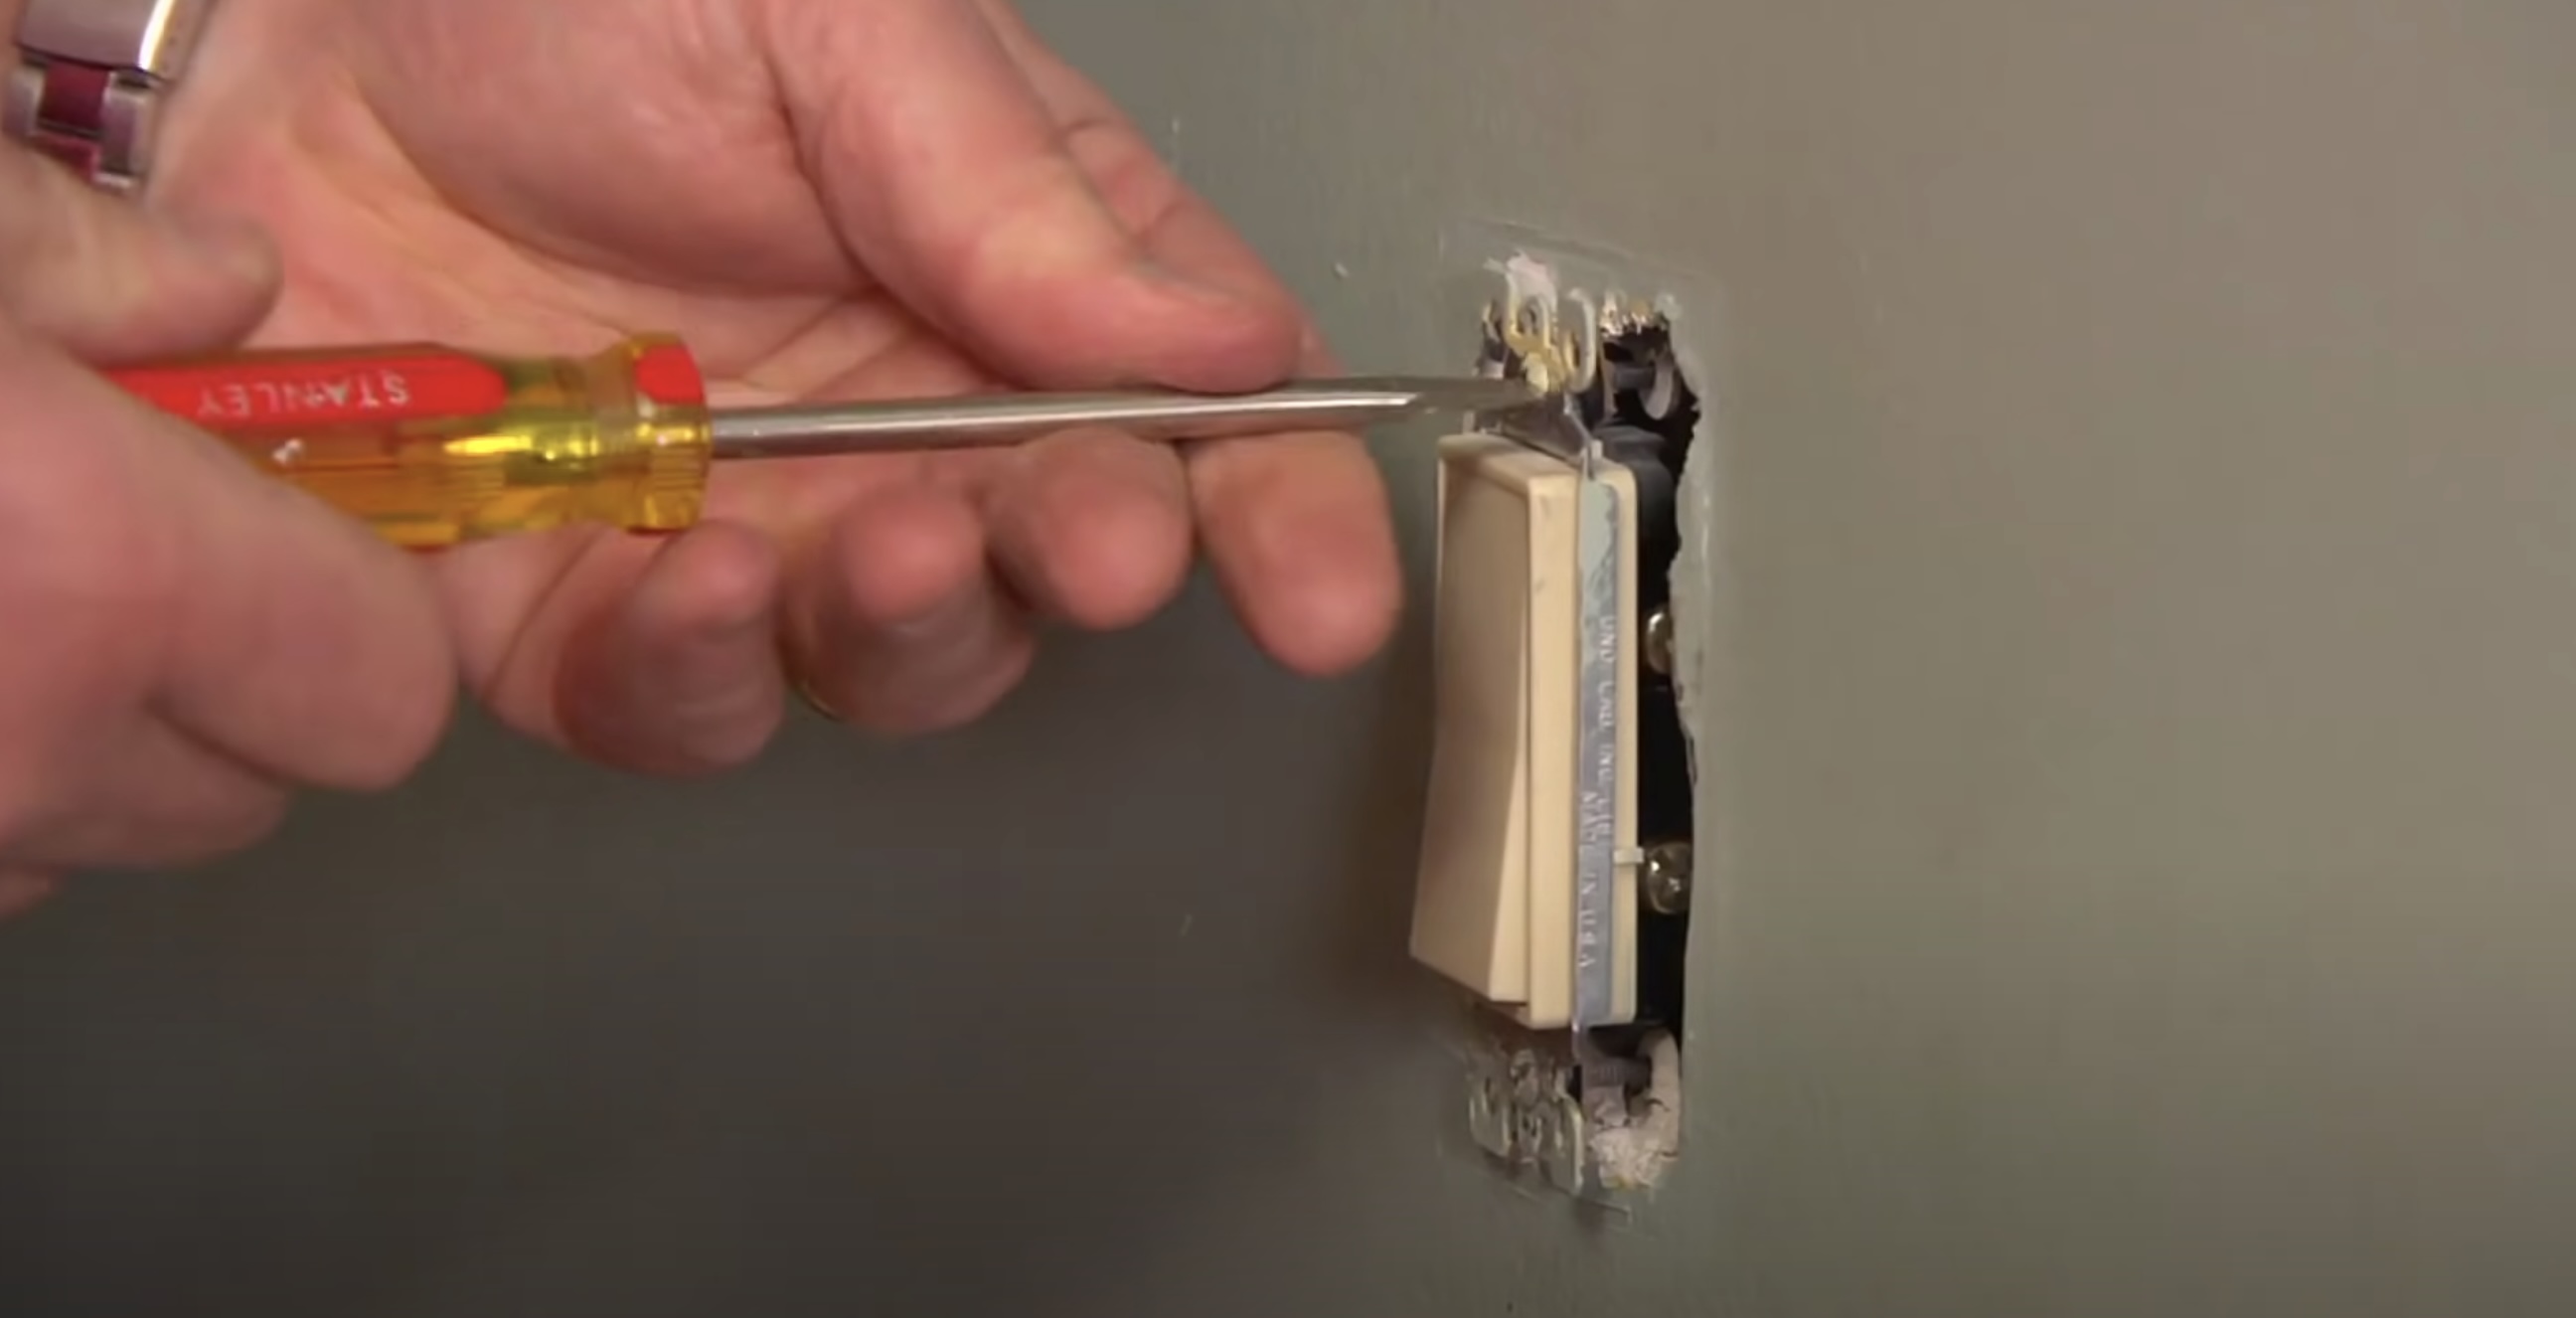
Step 3: Install the switch
Installing the switch is a pivotal step in the process of wiring a ceiling light to a switch. This component serves as the control point for turning the light on and off, and its proper installation is essential for seamless operation. Here's a comprehensive guide on how to install the switch effectively:
-
Select the Switch Type: Begin by selecting the type of switch that best suits your needs. Common options include single-pole switches, which control a single fixture from one location, and three-way switches, which allow control from two different locations. Choose the appropriate switch based on your specific lighting setup and preferences.
-
Turn Off the Power: As with any electrical work, it's crucial to turn off the power supply to the circuit where the switch will be installed. Follow the same safety procedures outlined in Step 1 to ensure a safe working environment.
-
Prepare the Mounting Location: Identify the ideal location for the switch on the wall, considering factors such as convenience and aesthetics. Use a stud finder to locate the wall studs, as switches are typically mounted to the side of a stud for stability. Mark the position for the switch box and ensure that it aligns with the height of other switches in the room for uniformity.
-
Cut an Opening for the Switch Box: Using a drywall saw or a utility knife, carefully cut an opening in the wall for the switch box. Exercise caution to avoid damaging any existing wiring or structural components within the wall. The size of the opening should match the dimensions of the switch box, providing a snug fit for the installation.
-
Install the Switch Box: Insert the switch box into the opening in the wall, ensuring that it sits flush with the surface. Secure the box in place by tightening the screws on the integrated clamps, which anchor the box to the wall. This step creates a stable and secure housing for the switch and its wiring.
-
Connect the Switch Wiring: With the switch box in place, it's time to connect the wiring. Depending on the type of switch and the existing wiring configuration, follow the manufacturer's instructions to connect the hot (black) wire, the neutral (white) wire, and the ground (green or bare copper) wire to the corresponding terminals on the switch. Use wire connectors to secure the connections and ensure proper insulation.
-
Attach the Switch Plate: Once the wiring is connected, attach the switch plate to the switch box, covering the internal components and providing a finished look. Secure the switch plate with the provided screws, ensuring that it sits flush against the wall for a professional appearance.
-
Test the Switch Operation: Before proceeding to the next step, it's essential to test the switch to ensure that it functions as intended. Turn the power back on and verify that the switch effectively controls the flow of electricity to the designated circuit. This step confirms the successful installation of the switch and prepares the system for the final wiring connections.
By following these detailed steps, you can effectively install the switch, a critical component in the process of wiring a ceiling light to a switch. This phase of the installation sets the stage for the final step of connecting the wires, bringing you closer to completing the electrical work and enjoying the benefits of a well-lit and functional space.
When wiring a ceiling light to a switch, always turn off the power at the breaker before starting. Connect the black wire from the light to the black wire from the switch, and the white wire from the light to the white wire from the switch. Finally, connect the ground wires together. Always double check your connections before turning the power back on.
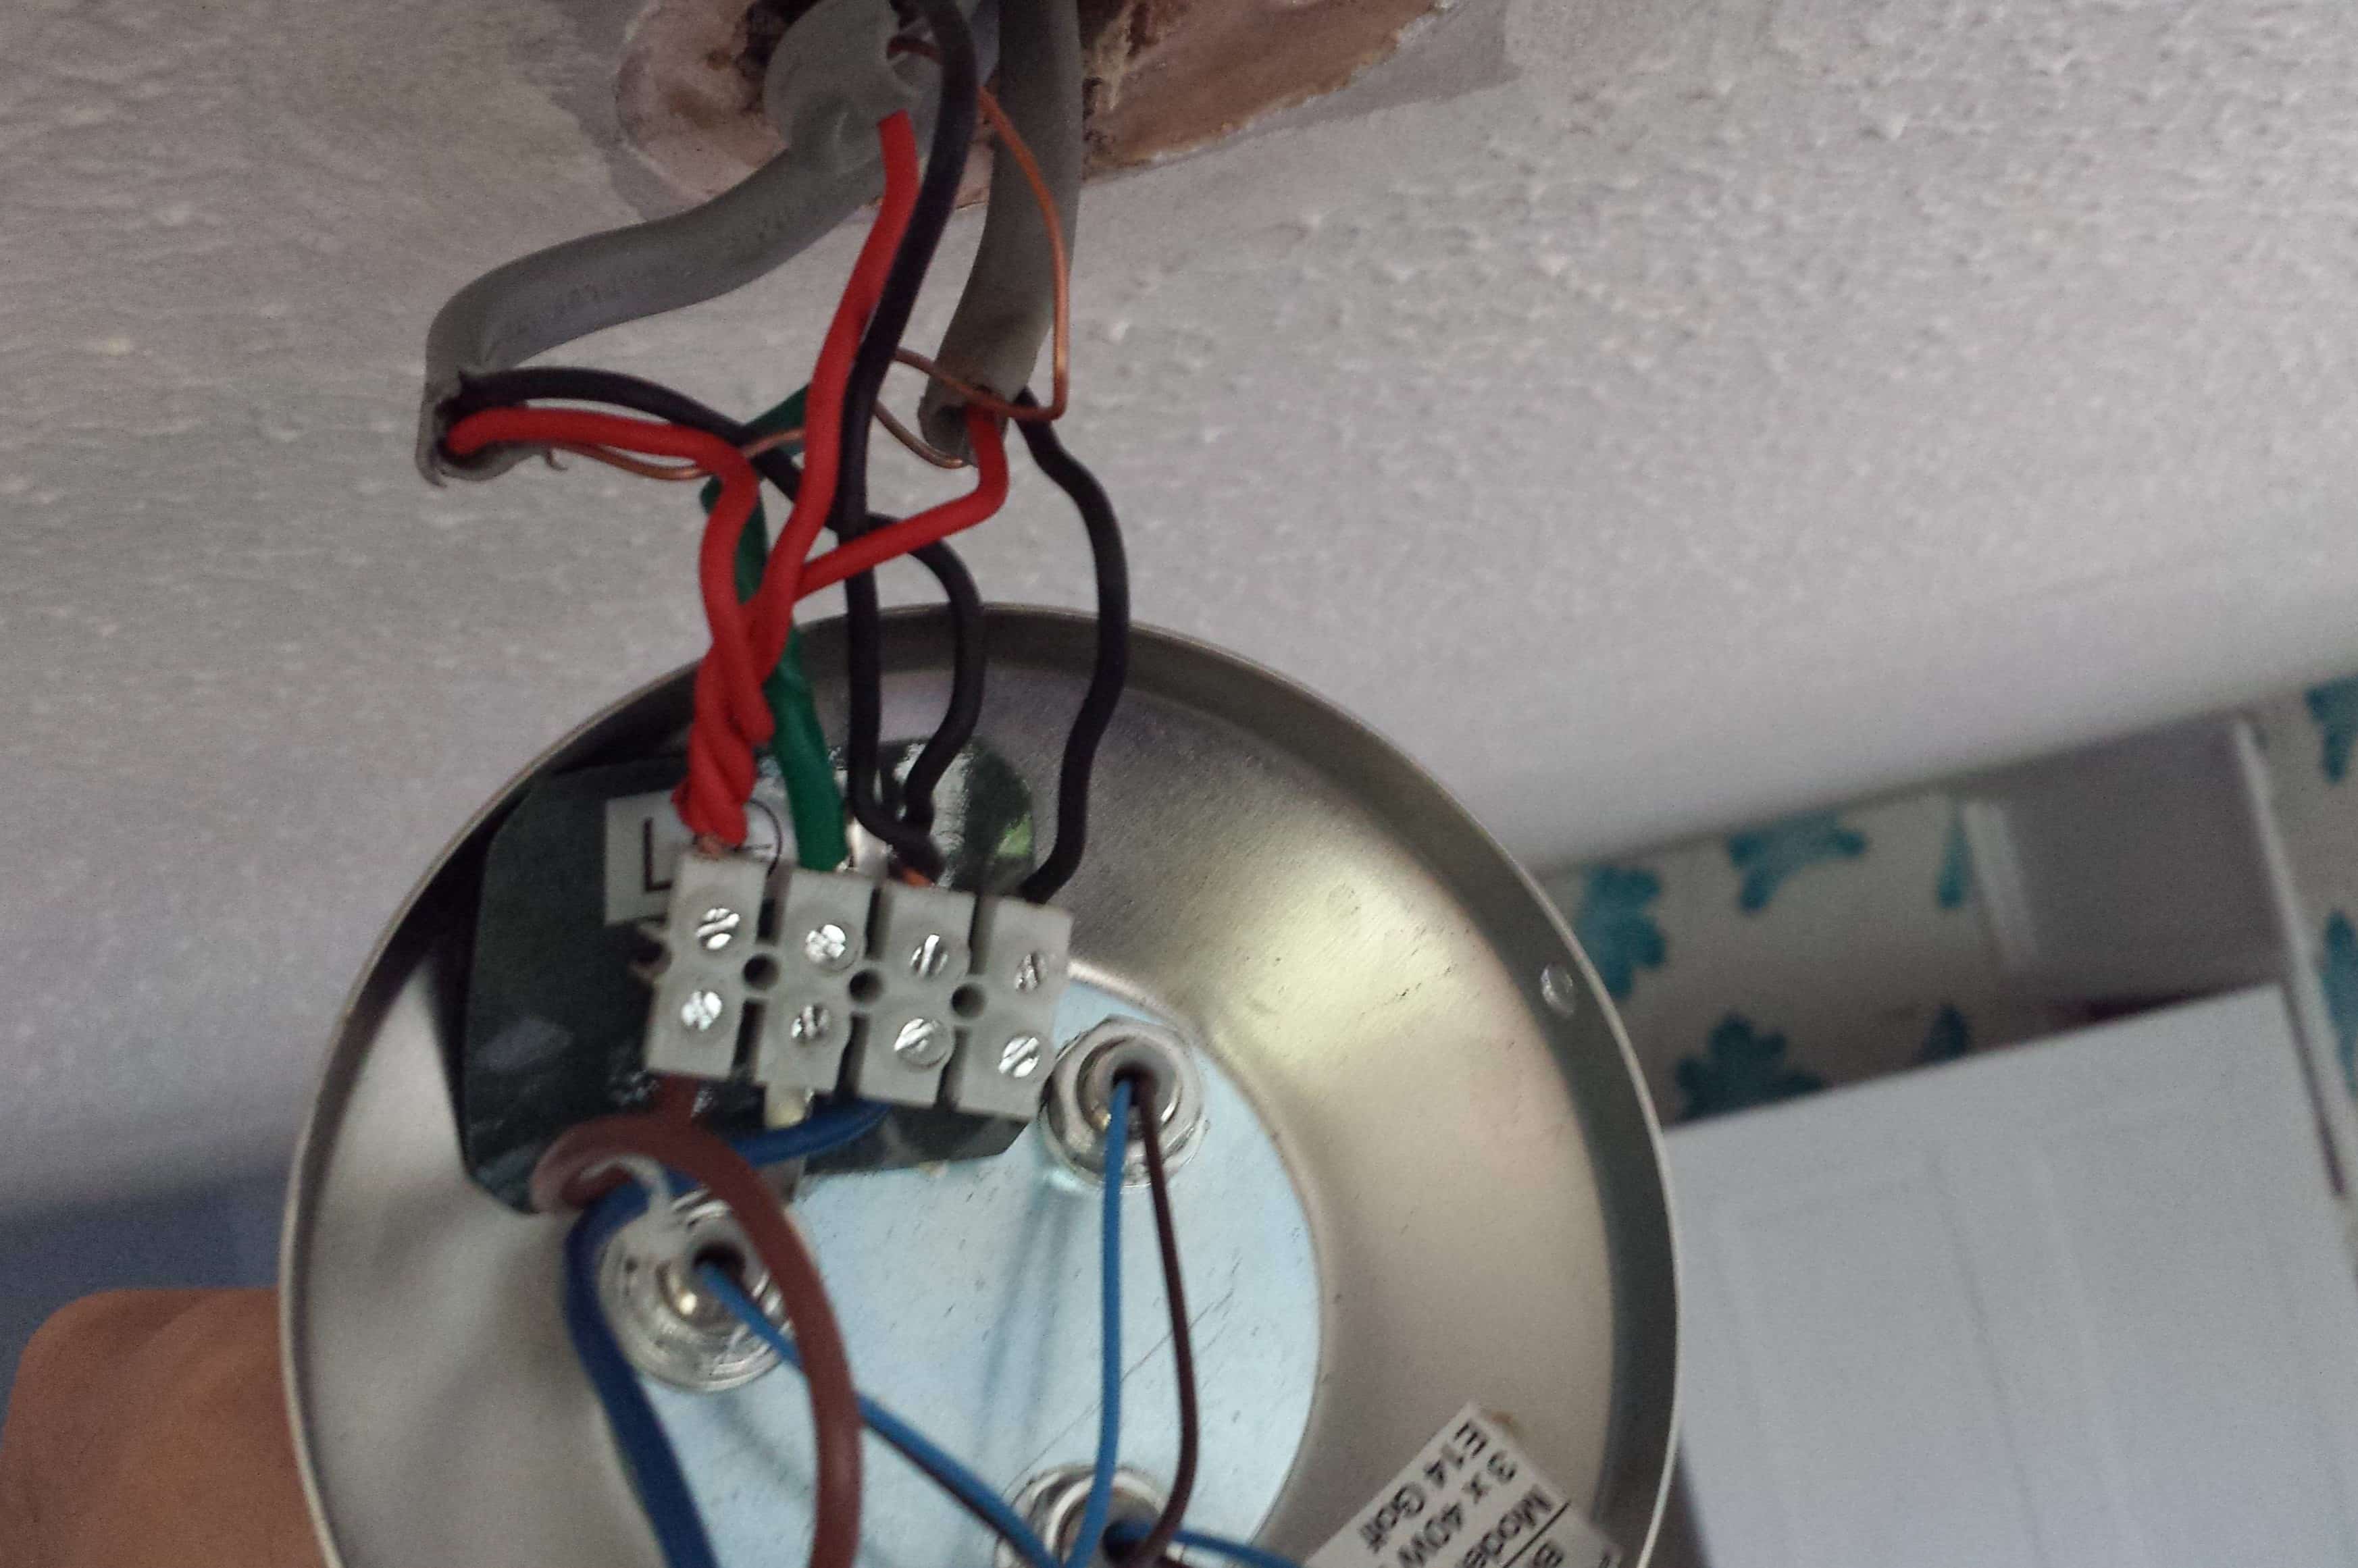
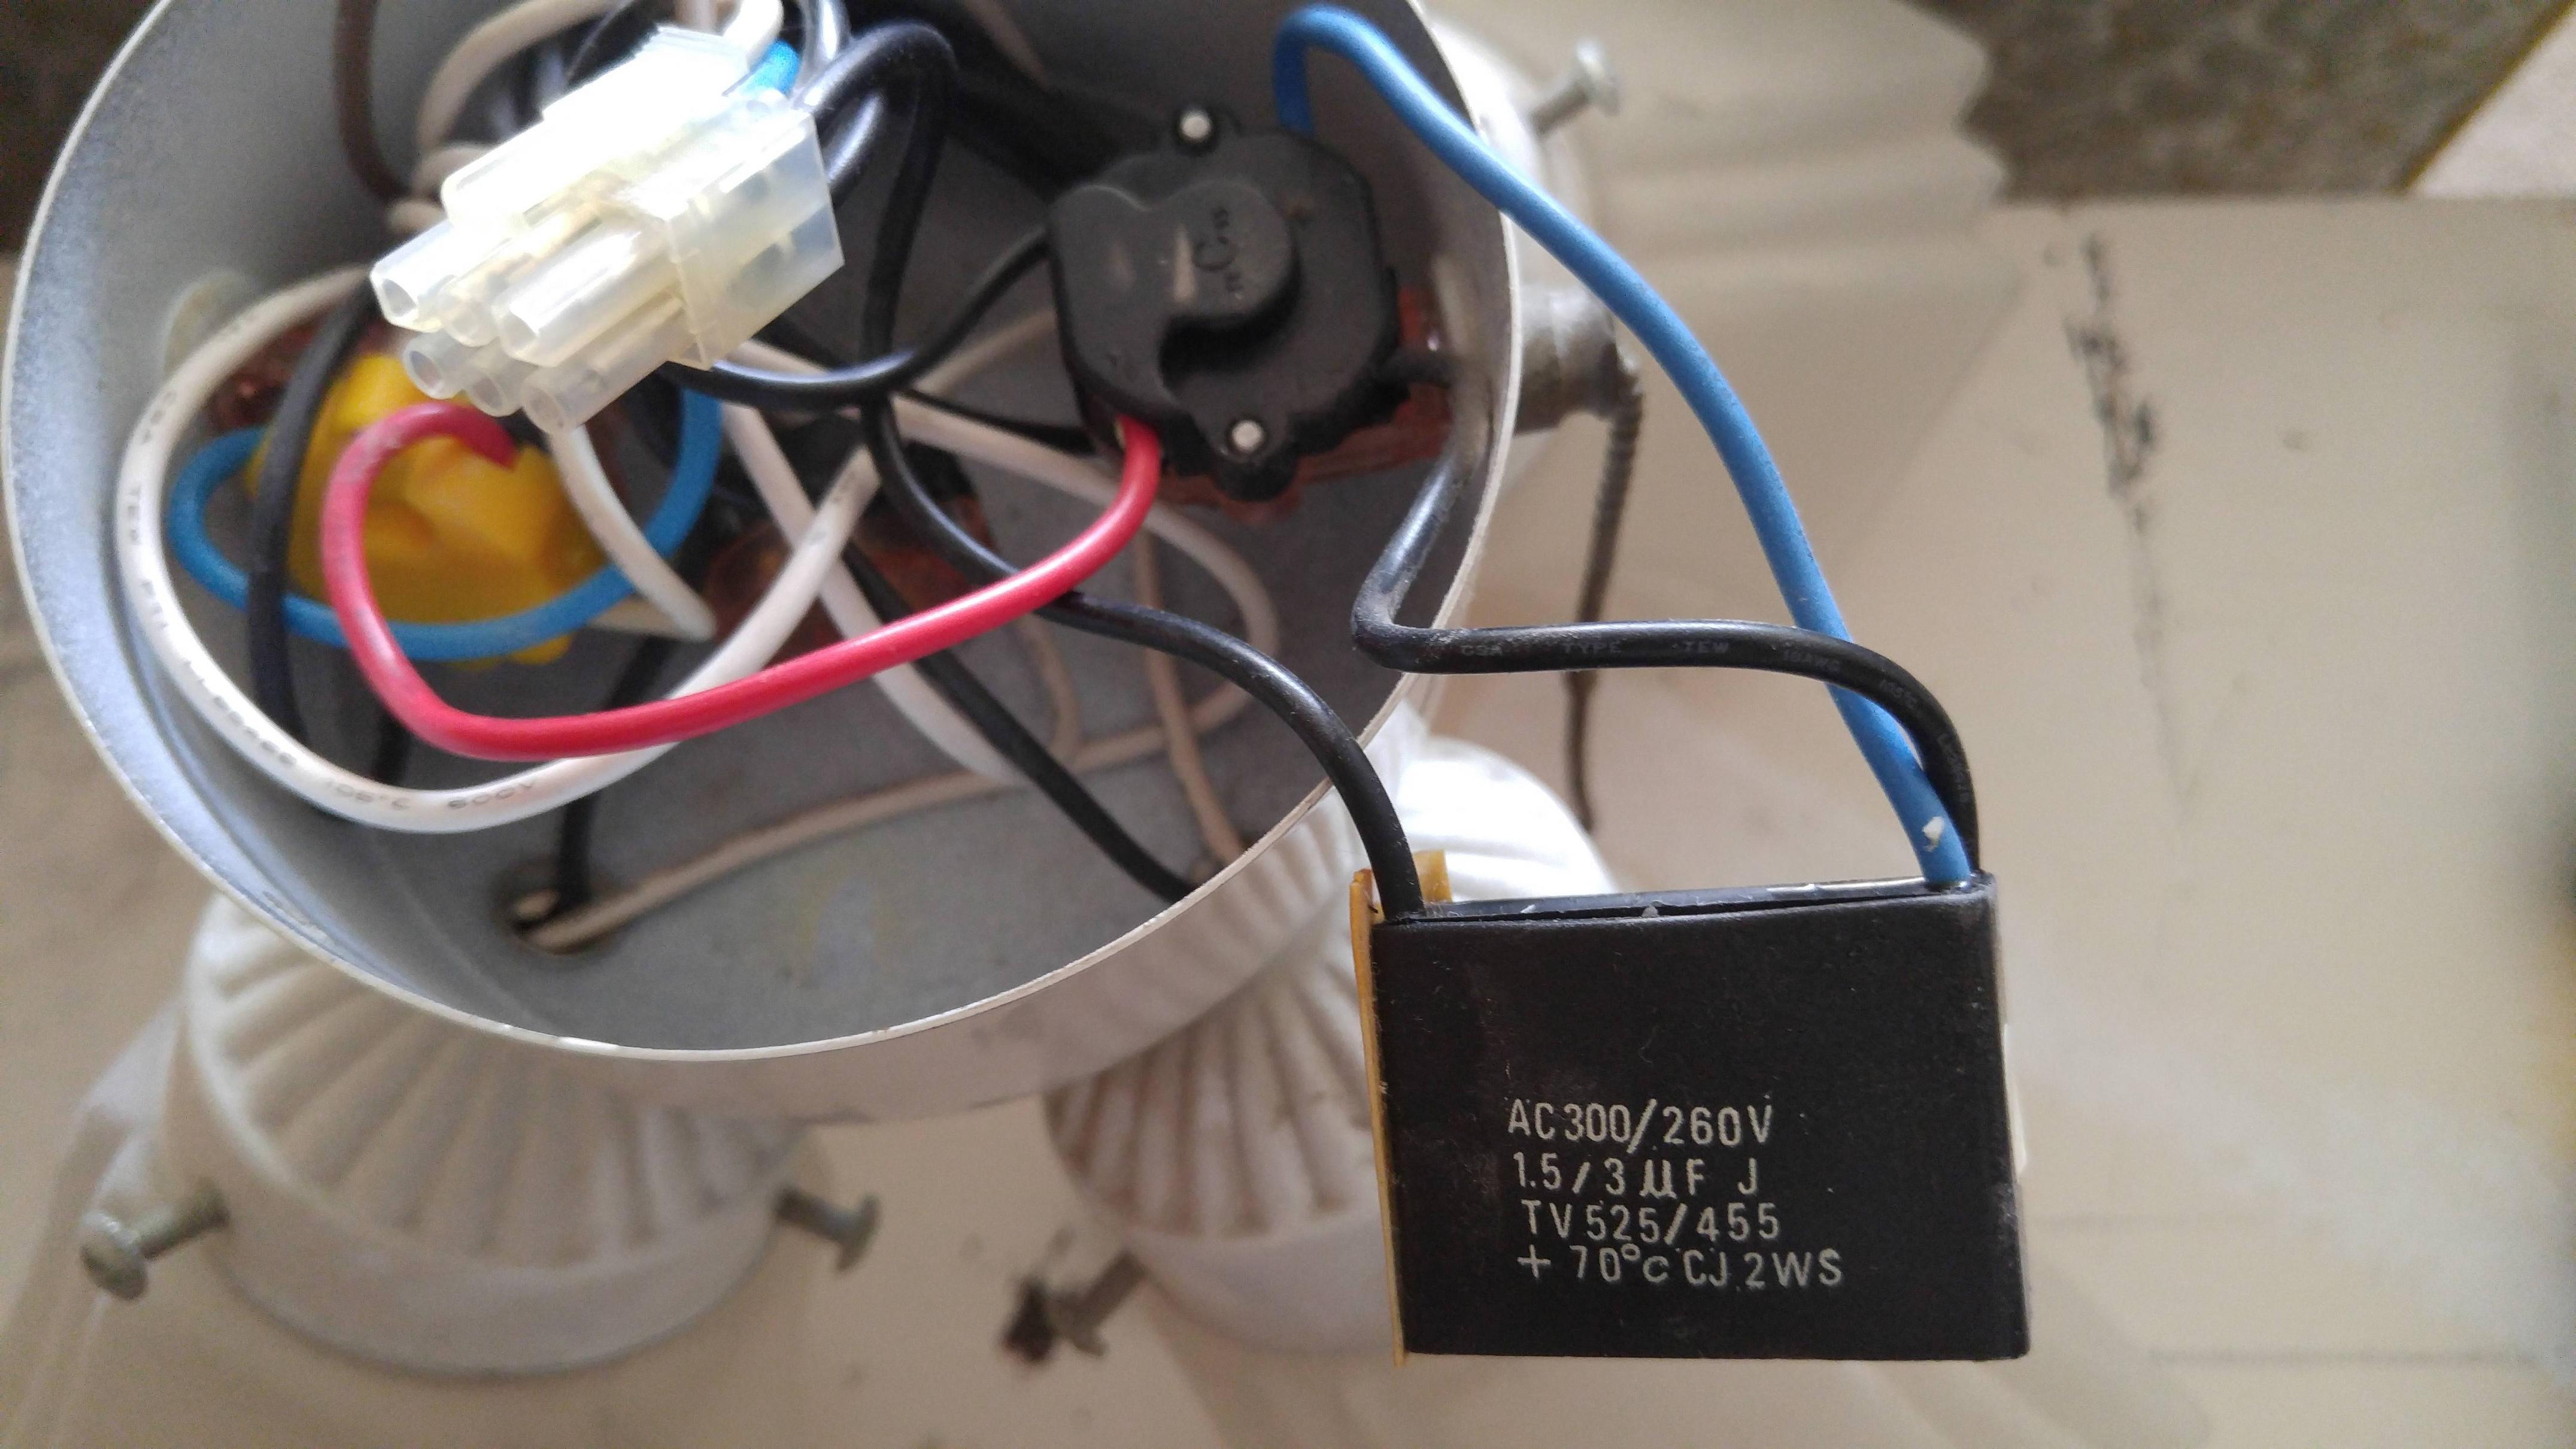
Step 4: Connect the wires
With the ceiling light fixture and switch successfully installed, the next crucial step is to connect the wires, establishing the electrical pathways that enable the light to function. This phase of the installation process requires careful attention to detail and adherence to standard wiring practices to ensure a safe and reliable connection. Here's a comprehensive guide on how to effectively connect the wires for a seamless and functional electrical setup:
-
Identify the Wiring: Begin by identifying the electrical wiring within the ceiling electrical box and the switch box. Typically, you will encounter three main wires: the hot wire (usually black), the neutral wire (usually white), and the ground wire (usually green or bare copper). It's essential to verify the presence of these wires and understand their respective functions before proceeding with the connections.
-
Prepare the Wires: If the wires are not already stripped of insulation, carefully strip off approximately 3/4 inch of insulation from the ends of the wires using wire strippers. This exposes the conductive metal cores, allowing for proper connection to the corresponding terminals and components.
-
Connect the Ceiling Light Fixture: In the ceiling electrical box, connect the wires from the light fixture to the corresponding house wiring. Typically, this involves joining the black fixture wire to the black house wire (hot), the white fixture wire to the white house wire (neutral), and the green or bare copper fixture wire to the bare copper or green house wire (ground). Use wire connectors to secure the connections, ensuring a tight and reliable bond.
-
Connect the Switch: In the switch box, connect the switch to the house wiring. Depending on the type of switch and the wiring configuration, this may involve connecting the hot wire (black) to the appropriate terminal on the switch and the neutral wire (white) to the neutral bundle in the box. Ensure that all connections are secure and properly insulated to prevent any exposed wiring.
-
Secure the Wiring: After making the necessary connections, carefully tuck the wires into their respective boxes, ensuring that there is no excess wiring that could interfere with the installation. Use cable clamps or staples to secure the wiring to the framing members, preventing any movement or strain on the connections.
-
Double-Check the Connections: Before proceeding to the final step, take a moment to double-check all the wiring connections. Ensure that each wire is securely connected, properly insulated, and free from any damage or exposed conductors. This thorough inspection is essential for ensuring the safety and functionality of the electrical setup.
By diligently following these steps to connect the wires, you can establish a reliable and safe electrical connection for the ceiling light fixture and switch. This phase of the installation process is crucial for ensuring that the electrical components are properly integrated, setting the stage for the final step of testing the connection and verifying the functionality of the lighting system.
Read more: How To Wire A Ceiling Light
Step 5: Test the connection
After completing the installation of the ceiling light fixture and the switch, the final and critical step is to test the connection to ensure that the electrical setup functions as intended. This essential phase of the installation process involves verifying the functionality of the lighting system and confirming that all components are operating safely and effectively. Here's a detailed guide on how to conduct a thorough and reliable test of the connection:
-
Turn On the Power: Begin by turning the power back on at the circuit breaker, restoring electricity to the circuit where the ceiling light and switch are installed. Exercise caution and be mindful of safety protocols as you restore the power supply.
-
Test the Switch: With the power restored, test the switch to verify that it effectively controls the flow of electricity to the ceiling light fixture. Flip the switch to the "on" position and observe the response of the light. The fixture should illuminate, indicating that the switch is functioning as intended. Similarly, flipping the switch to the "off" position should result in the light turning off, confirming the switch's control over the lighting circuit.
-
Check for Proper Operation: Once the light is illuminated, assess its operation to ensure that it functions without flickering, dimming, or exhibiting any irregular behavior. Pay attention to the brightness and stability of the light, as well as any unusual sounds or odors that may indicate a malfunction.
-
Inspect the Connections: While the light is on, visually inspect the wiring connections in the ceiling electrical box and the switch box. Look for any signs of overheating, sparking, or loose connections. Additionally, check for proper insulation and the absence of exposed conductors. Any irregularities in the connections should be addressed immediately to prevent potential hazards.
-
Test the Dimmer Functionality (If Applicable): If the switch is a dimmer switch, test its dimming functionality by adjusting the light intensity. Gradually dim the light to its lowest setting and then increase the brightness to its maximum level. This test ensures that the dimmer switch operates smoothly and that the light responds appropriately to the adjustments.
-
Verify Safety Measures: As a final precaution, verify that all safety measures, such as ground fault circuit interrupters (GFCIs) and tamper-resistant receptacles, are functioning correctly. These safety features are essential for protecting against electrical hazards and should be routinely checked for proper operation.
By diligently conducting these tests, you can ensure that the connection of the ceiling light to the switch is reliable, safe, and fully operational. This thorough evaluation provides peace of mind and confirms the successful completion of the wiring process, allowing you to enjoy the benefits of a well-lit and functional space while prioritizing safety and electrical integrity.
Conclusion
In conclusion, successfully wiring a ceiling light to a switch is a rewarding accomplishment that enhances the functionality and ambiance of any room. By following the comprehensive steps outlined in this guide, you can confidently tackle this electrical task and achieve a safe and effective installation. From turning off the power to testing the connection, each stage of the process is crucial for ensuring a successful outcome and prioritizing safety.
The initial step of turning off the power is non-negotiable and sets the foundation for a safe working environment. By carefully following the procedures to cut off the power supply and verify its disconnection, you create a secure space for the installation process, mitigating the risk of electrical accidents.
Installing the ceiling light fixture and the switch involves meticulous attention to detail and adherence to standard wiring practices. From mounting the fixture to connecting the wires and installing the switch, each phase of the installation requires precision and careful execution. By diligently following the steps outlined in this guide, you can effectively install the components and establish a reliable electrical setup.
The final step of testing the connection is essential for verifying the functionality and safety of the lighting system. By conducting thorough tests and inspections, you can ensure that the electrical components operate as intended and prioritize the well-being of those who will interact with the lighting system.
Ultimately, the successful completion of wiring a ceiling light to a switch not only illuminates the space but also reflects your commitment to safety and attention to detail. By following the steps outlined in this guide and prioritizing safety at every stage of the installation process, you can enjoy the benefits of a well-lit and visually appealing room while maintaining the integrity of the electrical setup.
In summary, the process of wiring a ceiling light to a switch is a valuable skill that empowers homeowners and DIY enthusiasts to enhance their living spaces. By embracing the knowledge and techniques presented in this guide, you can confidently undertake this electrical task, creating a well-lit and inviting environment while prioritizing safety and electrical integrity.
Frequently Asked Questions about How To Wire A Ceiling Light To A Switch
Was this page helpful?
At Storables.com, we guarantee accurate and reliable information. Our content, validated by Expert Board Contributors, is crafted following stringent Editorial Policies. We're committed to providing you with well-researched, expert-backed insights for all your informational needs.


0 thoughts on “How To Wire A Ceiling Light To A Switch”