Home>Articles>Where Is Learn Button On Liftmaster Garage Door Opener
Articles
Where Is Learn Button On Liftmaster Garage Door Opener
Modified: October 20, 2024
Looking for information on where to find the learn button on your Liftmaster garage door opener? Read our helpful articles to learn more.
(Many of the links in this article redirect to a specific reviewed product. Your purchase of these products through affiliate links helps to generate commission for Storables.com, at no extra cost. Learn more)
Introduction
When it comes to operating and maintaining a Liftmaster garage door opener, one important aspect is understanding the location of the learn button. The learn button is a vital component that enables you to program your remote control or keypad to work with your garage door opener system. Knowing where to find the learn button can save you time and frustration when setting up or troubleshooting your Liftmaster garage door opener.
In this article, we will delve into the topic of locating the learn button on a Liftmaster garage door opener. We will provide you with step-by-step instructions and helpful tips to make the process easier for you. By the end of this article, you will have a clear understanding of where to find the learn button and how it can benefit you in operating your garage door opener system efficiently.
Key Takeaways:
- Locating the learn button on your Liftmaster garage door opener is crucial for easy programming, troubleshooting, and maintenance. Understanding its location streamlines the process and enhances the overall functionality and security of your garage.
- Knowing the learn button’s location empowers you to take control of your garage door opener system. It simplifies programming, improves access control, and ensures smooth operation, providing convenience and peace of mind.
Understanding Liftmaster Garage Door Opener
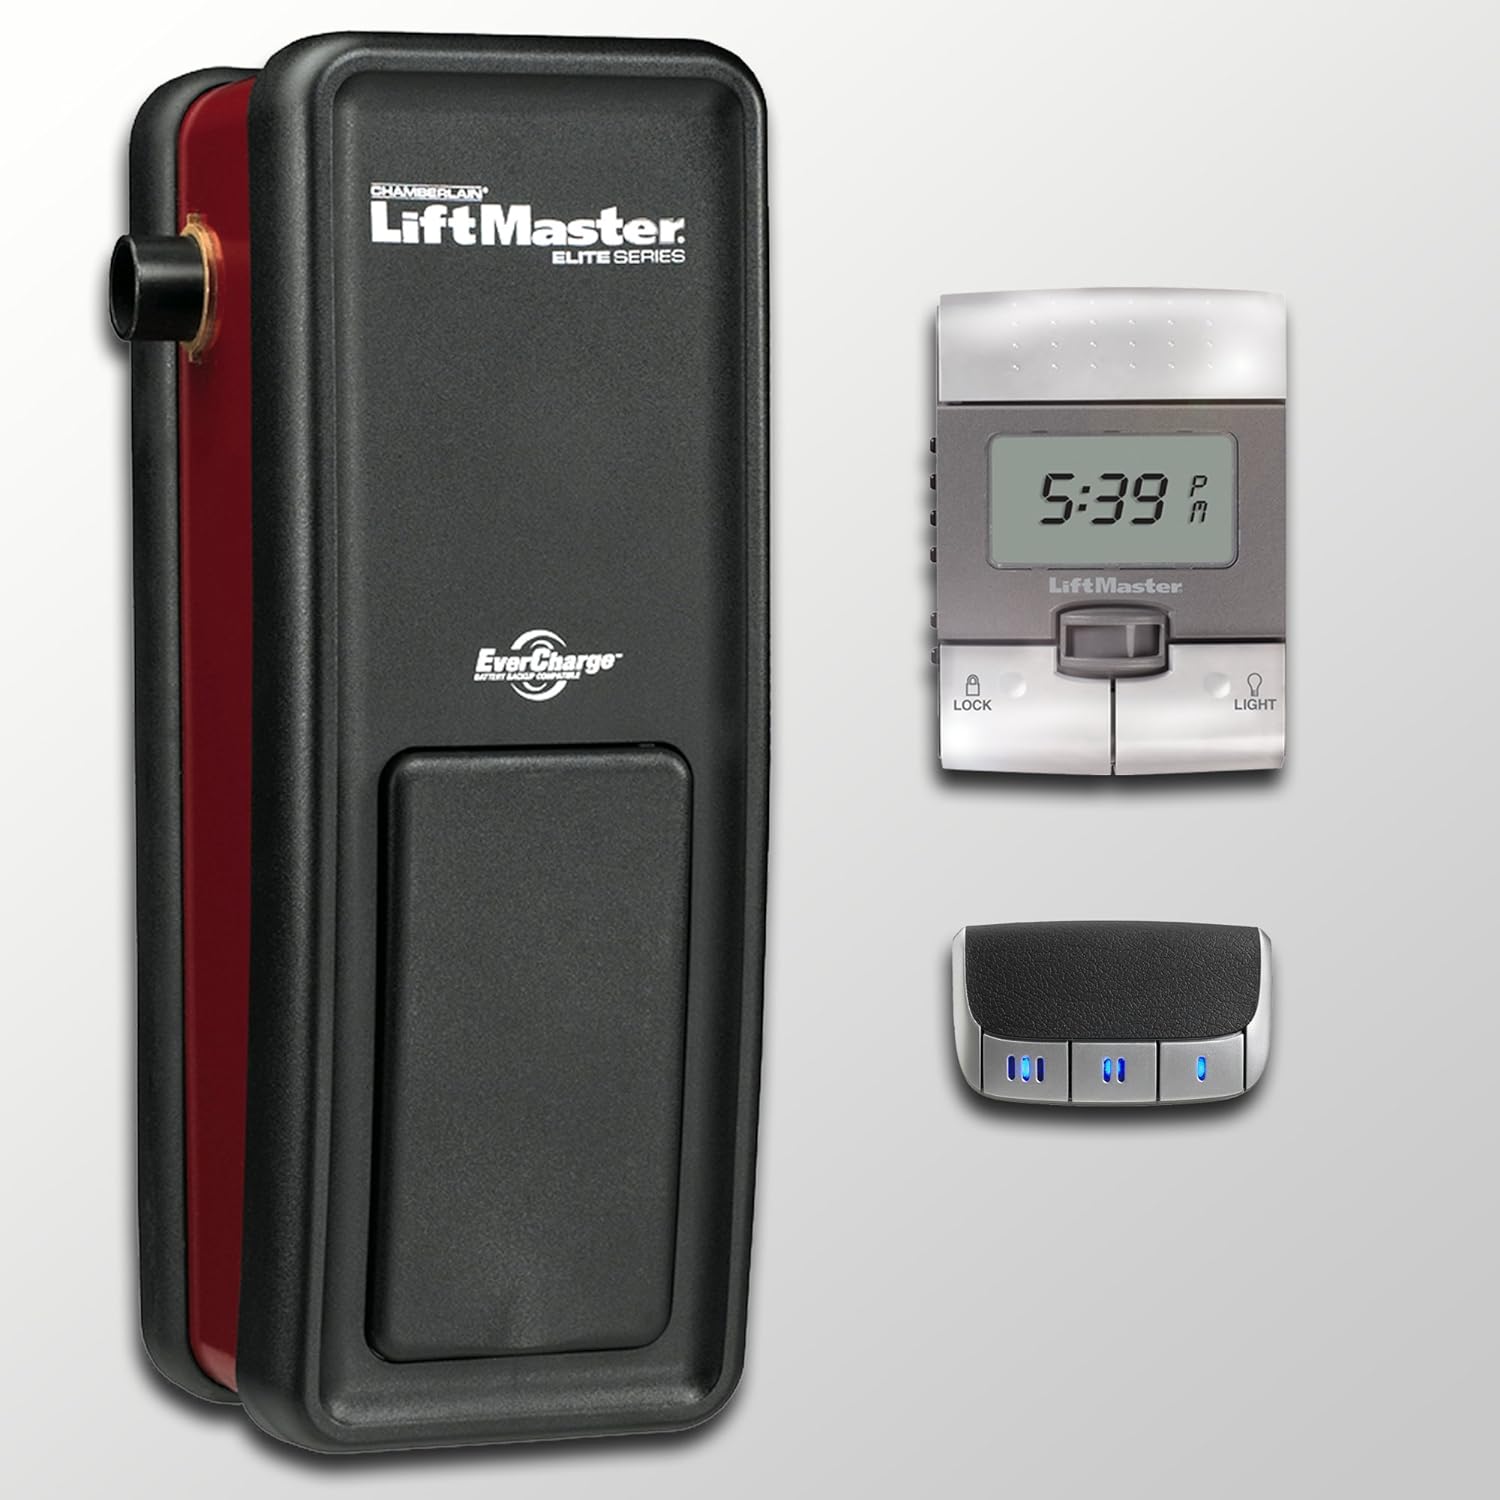
Liftmaster is a leading brand in the garage door opener industry, known for its superior performance, reliability, and advanced features. Liftmaster offers a wide range of garage door openers to suit different types and sizes of garage doors.
One key feature of Liftmaster garage door openers is their use of innovative technology. Liftmaster utilizes a rolling code system that generates a new code each time you operate your garage door opener. This ensures enhanced security as it prevents unauthorized access to your garage.
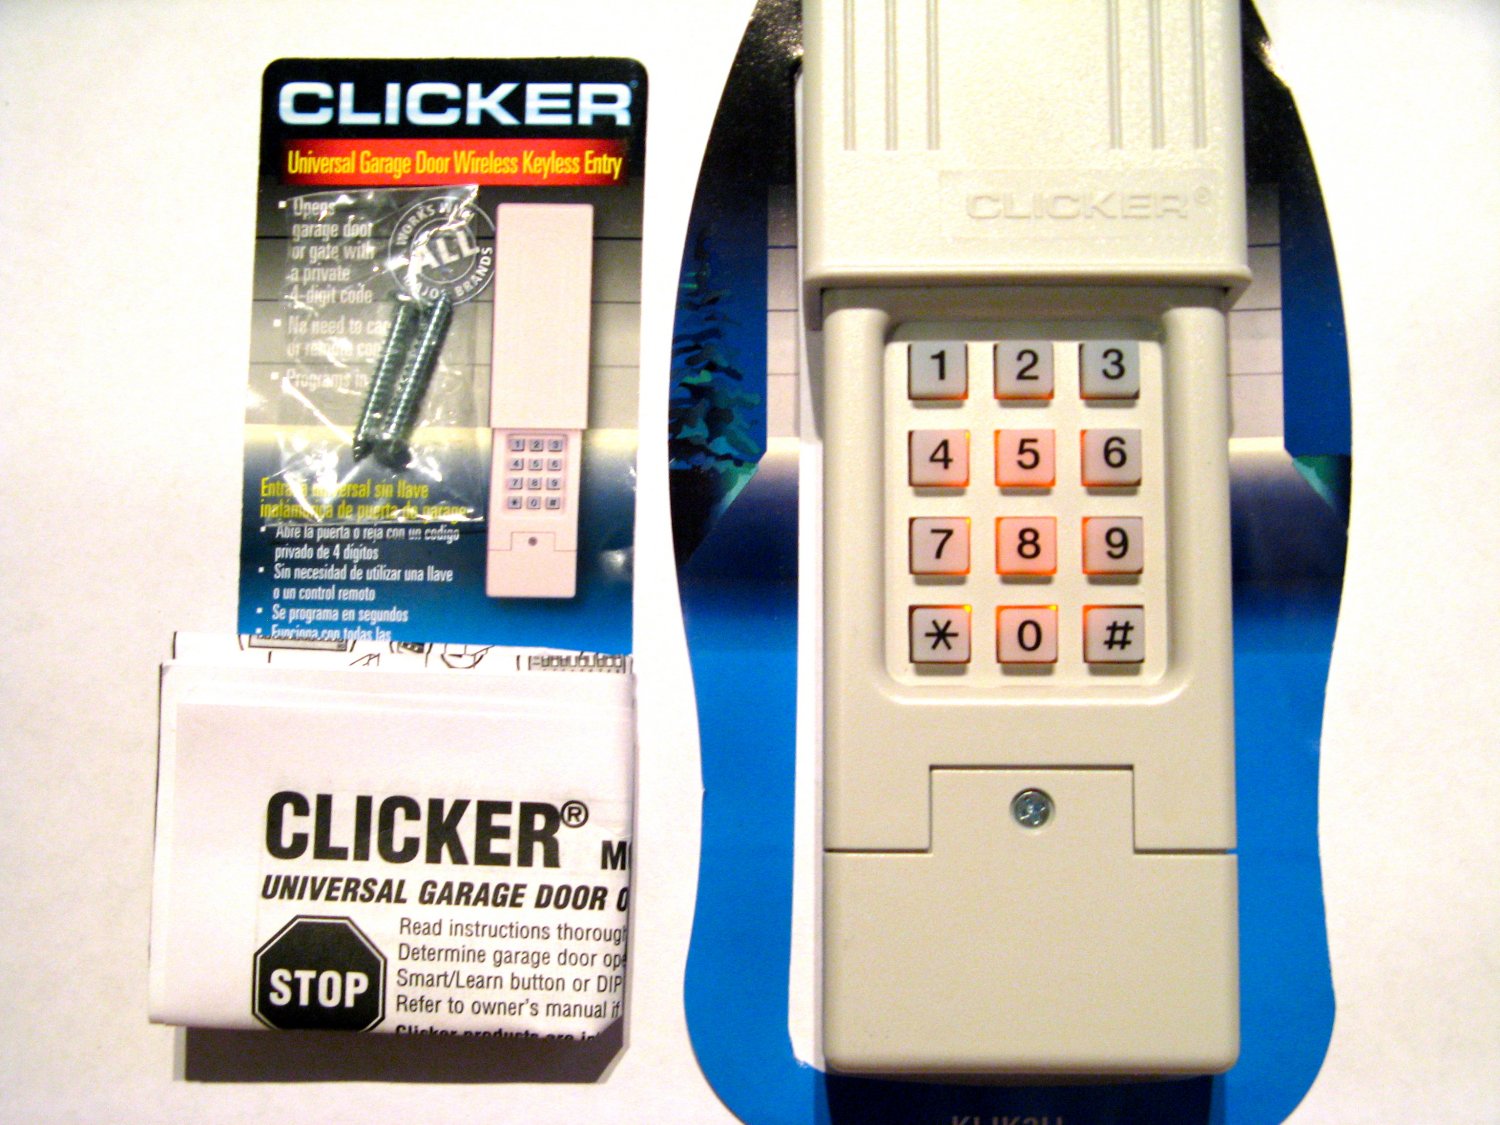
Another important feature of Liftmaster garage door openers is their compatibility with a variety of remote controls and keypads. This allows you to conveniently control your garage door opener from inside your car or outside your garage using a portable remote control or keypad.
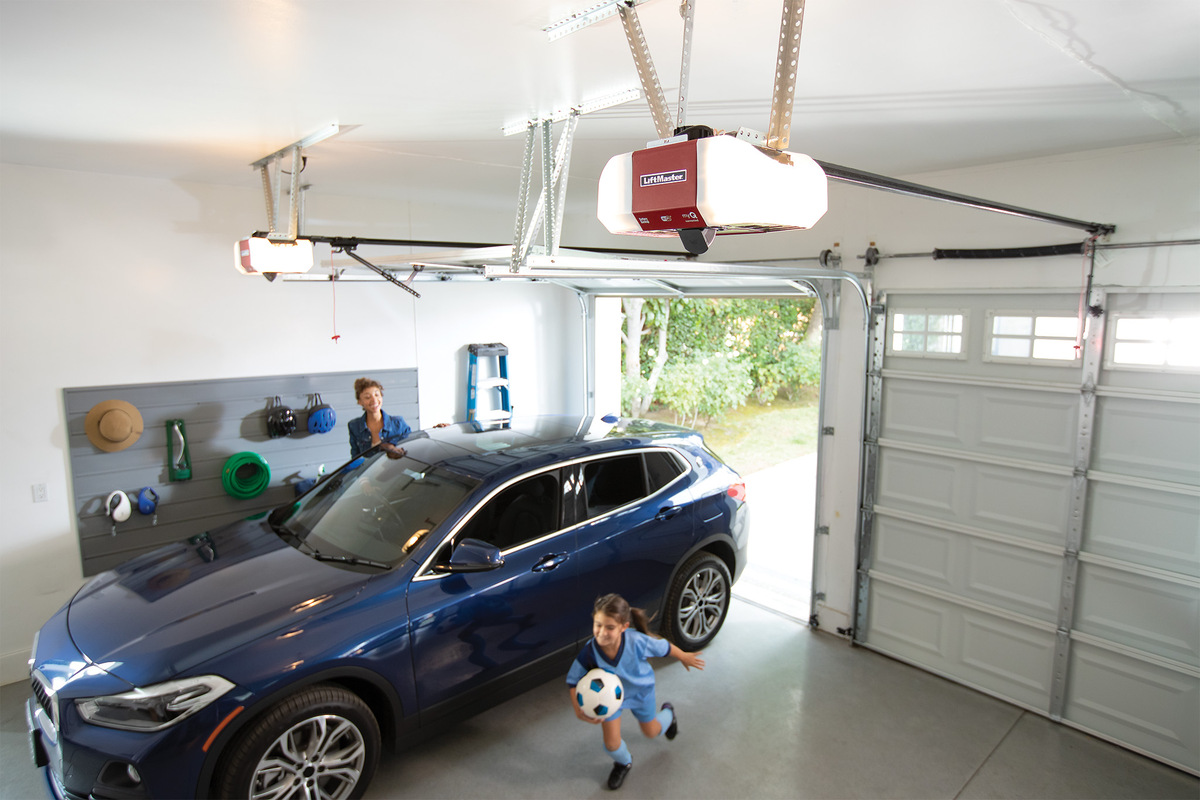
Moreover, Liftmaster garage door openers are known for their quiet and smooth operation. They are designed with noise-reduction technology, making them ideal for homes with bedrooms or living spaces adjacent to the garage.
Liftmaster garage door openers also come with safety features to protect you and your family. These features include infrared sensors that detect any obstructions in the path of the closing door, preventing accidents or damage. Additionally, Liftmaster openers have a manual emergency release mechanism, allowing you to manually open the garage door in case of power outages.
Overall, Liftmaster garage door openers are trusted for their durability, performance, and advanced features. Understanding the various components and functions of a Liftmaster opener will help you effectively operate and maintain your garage door opener system.
Locating the Learn Button on Liftmaster Garage Door Opener
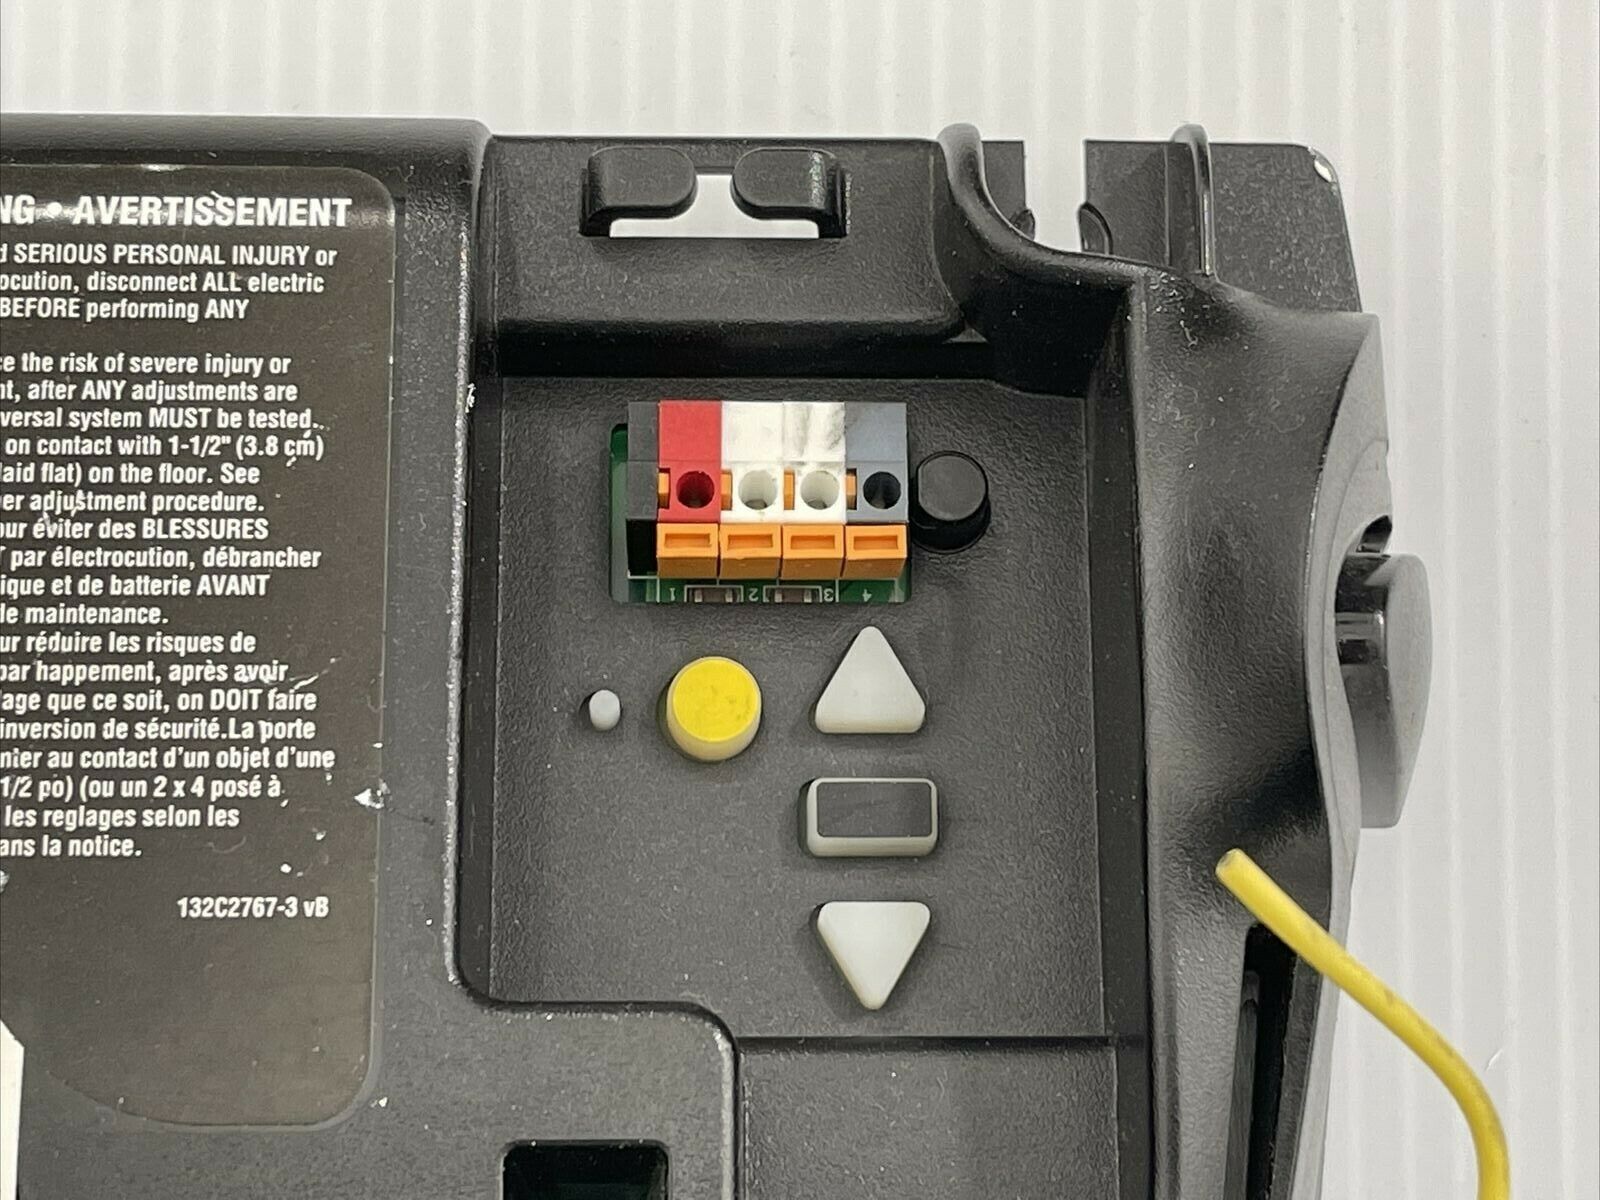
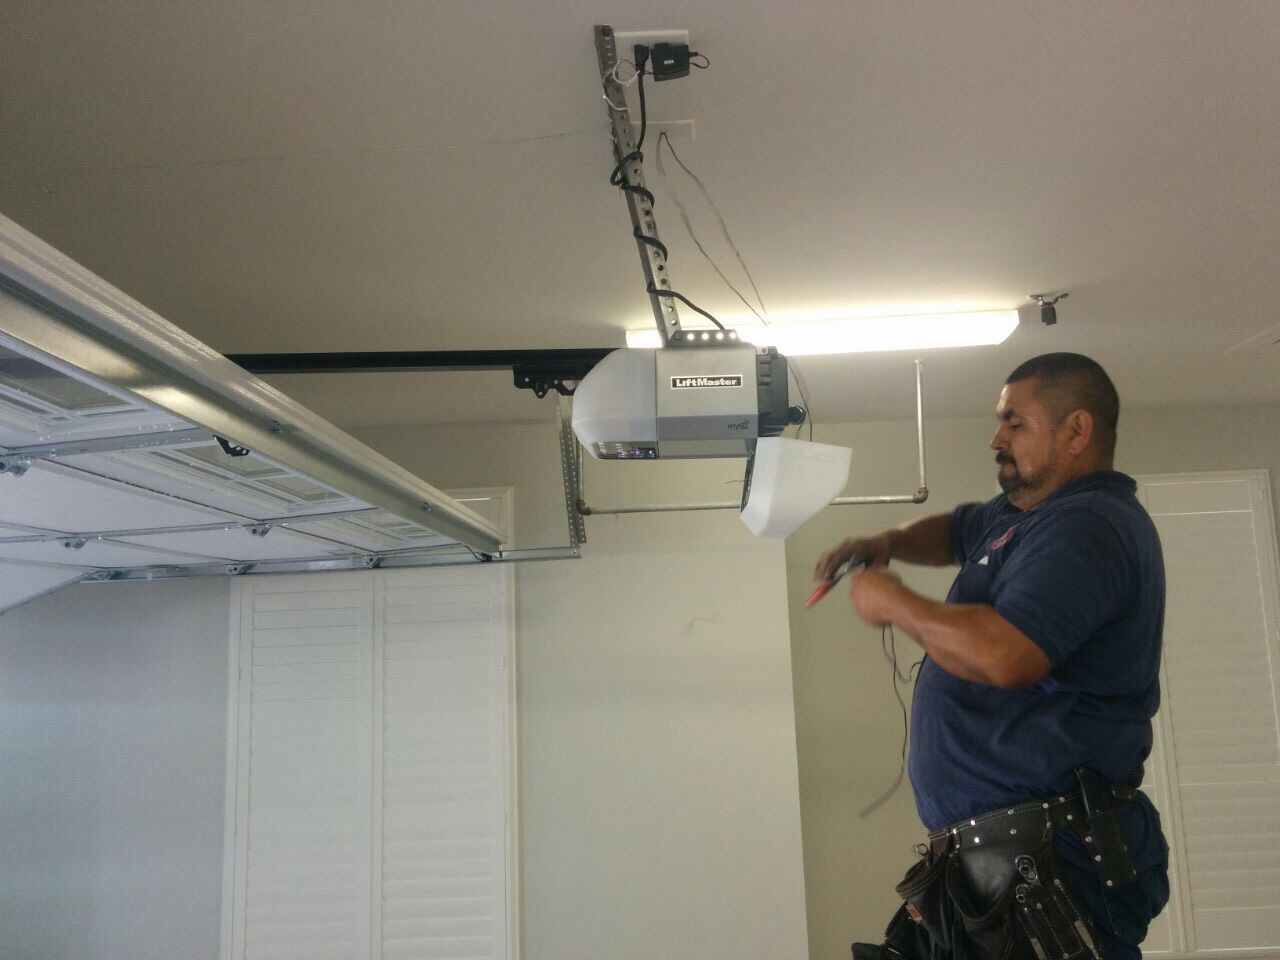
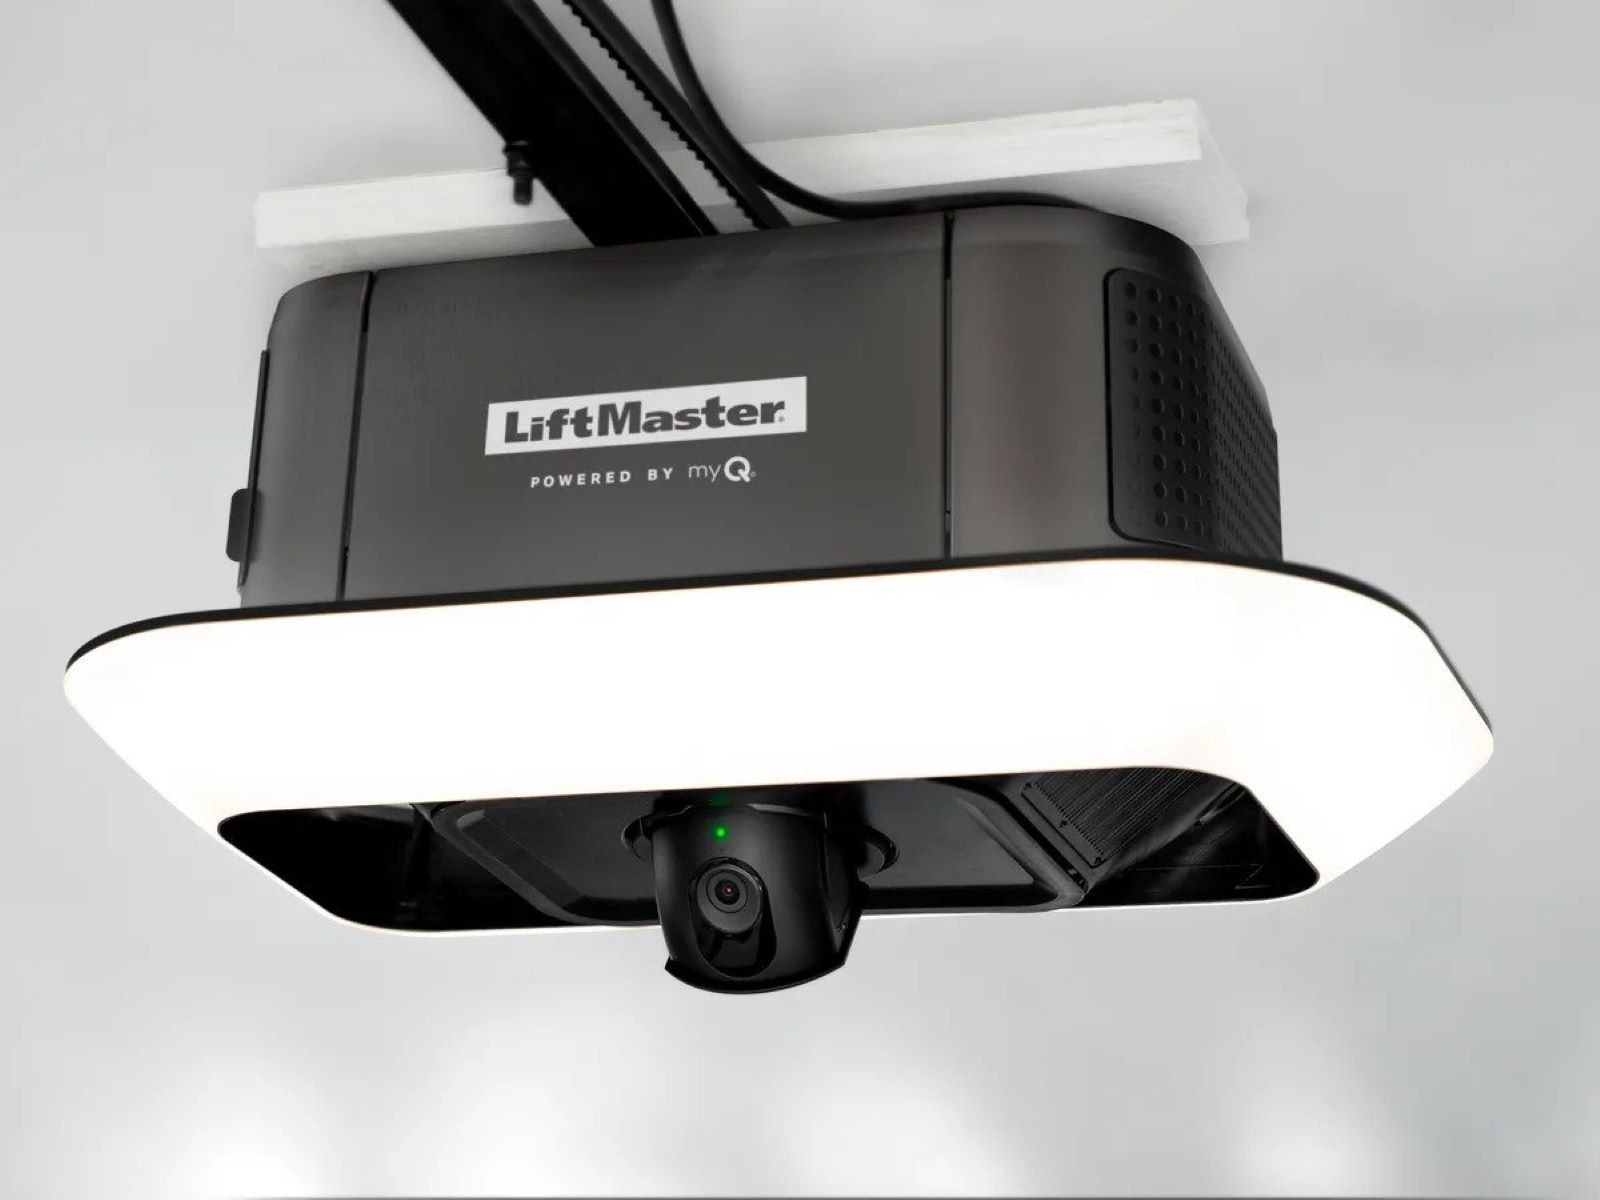
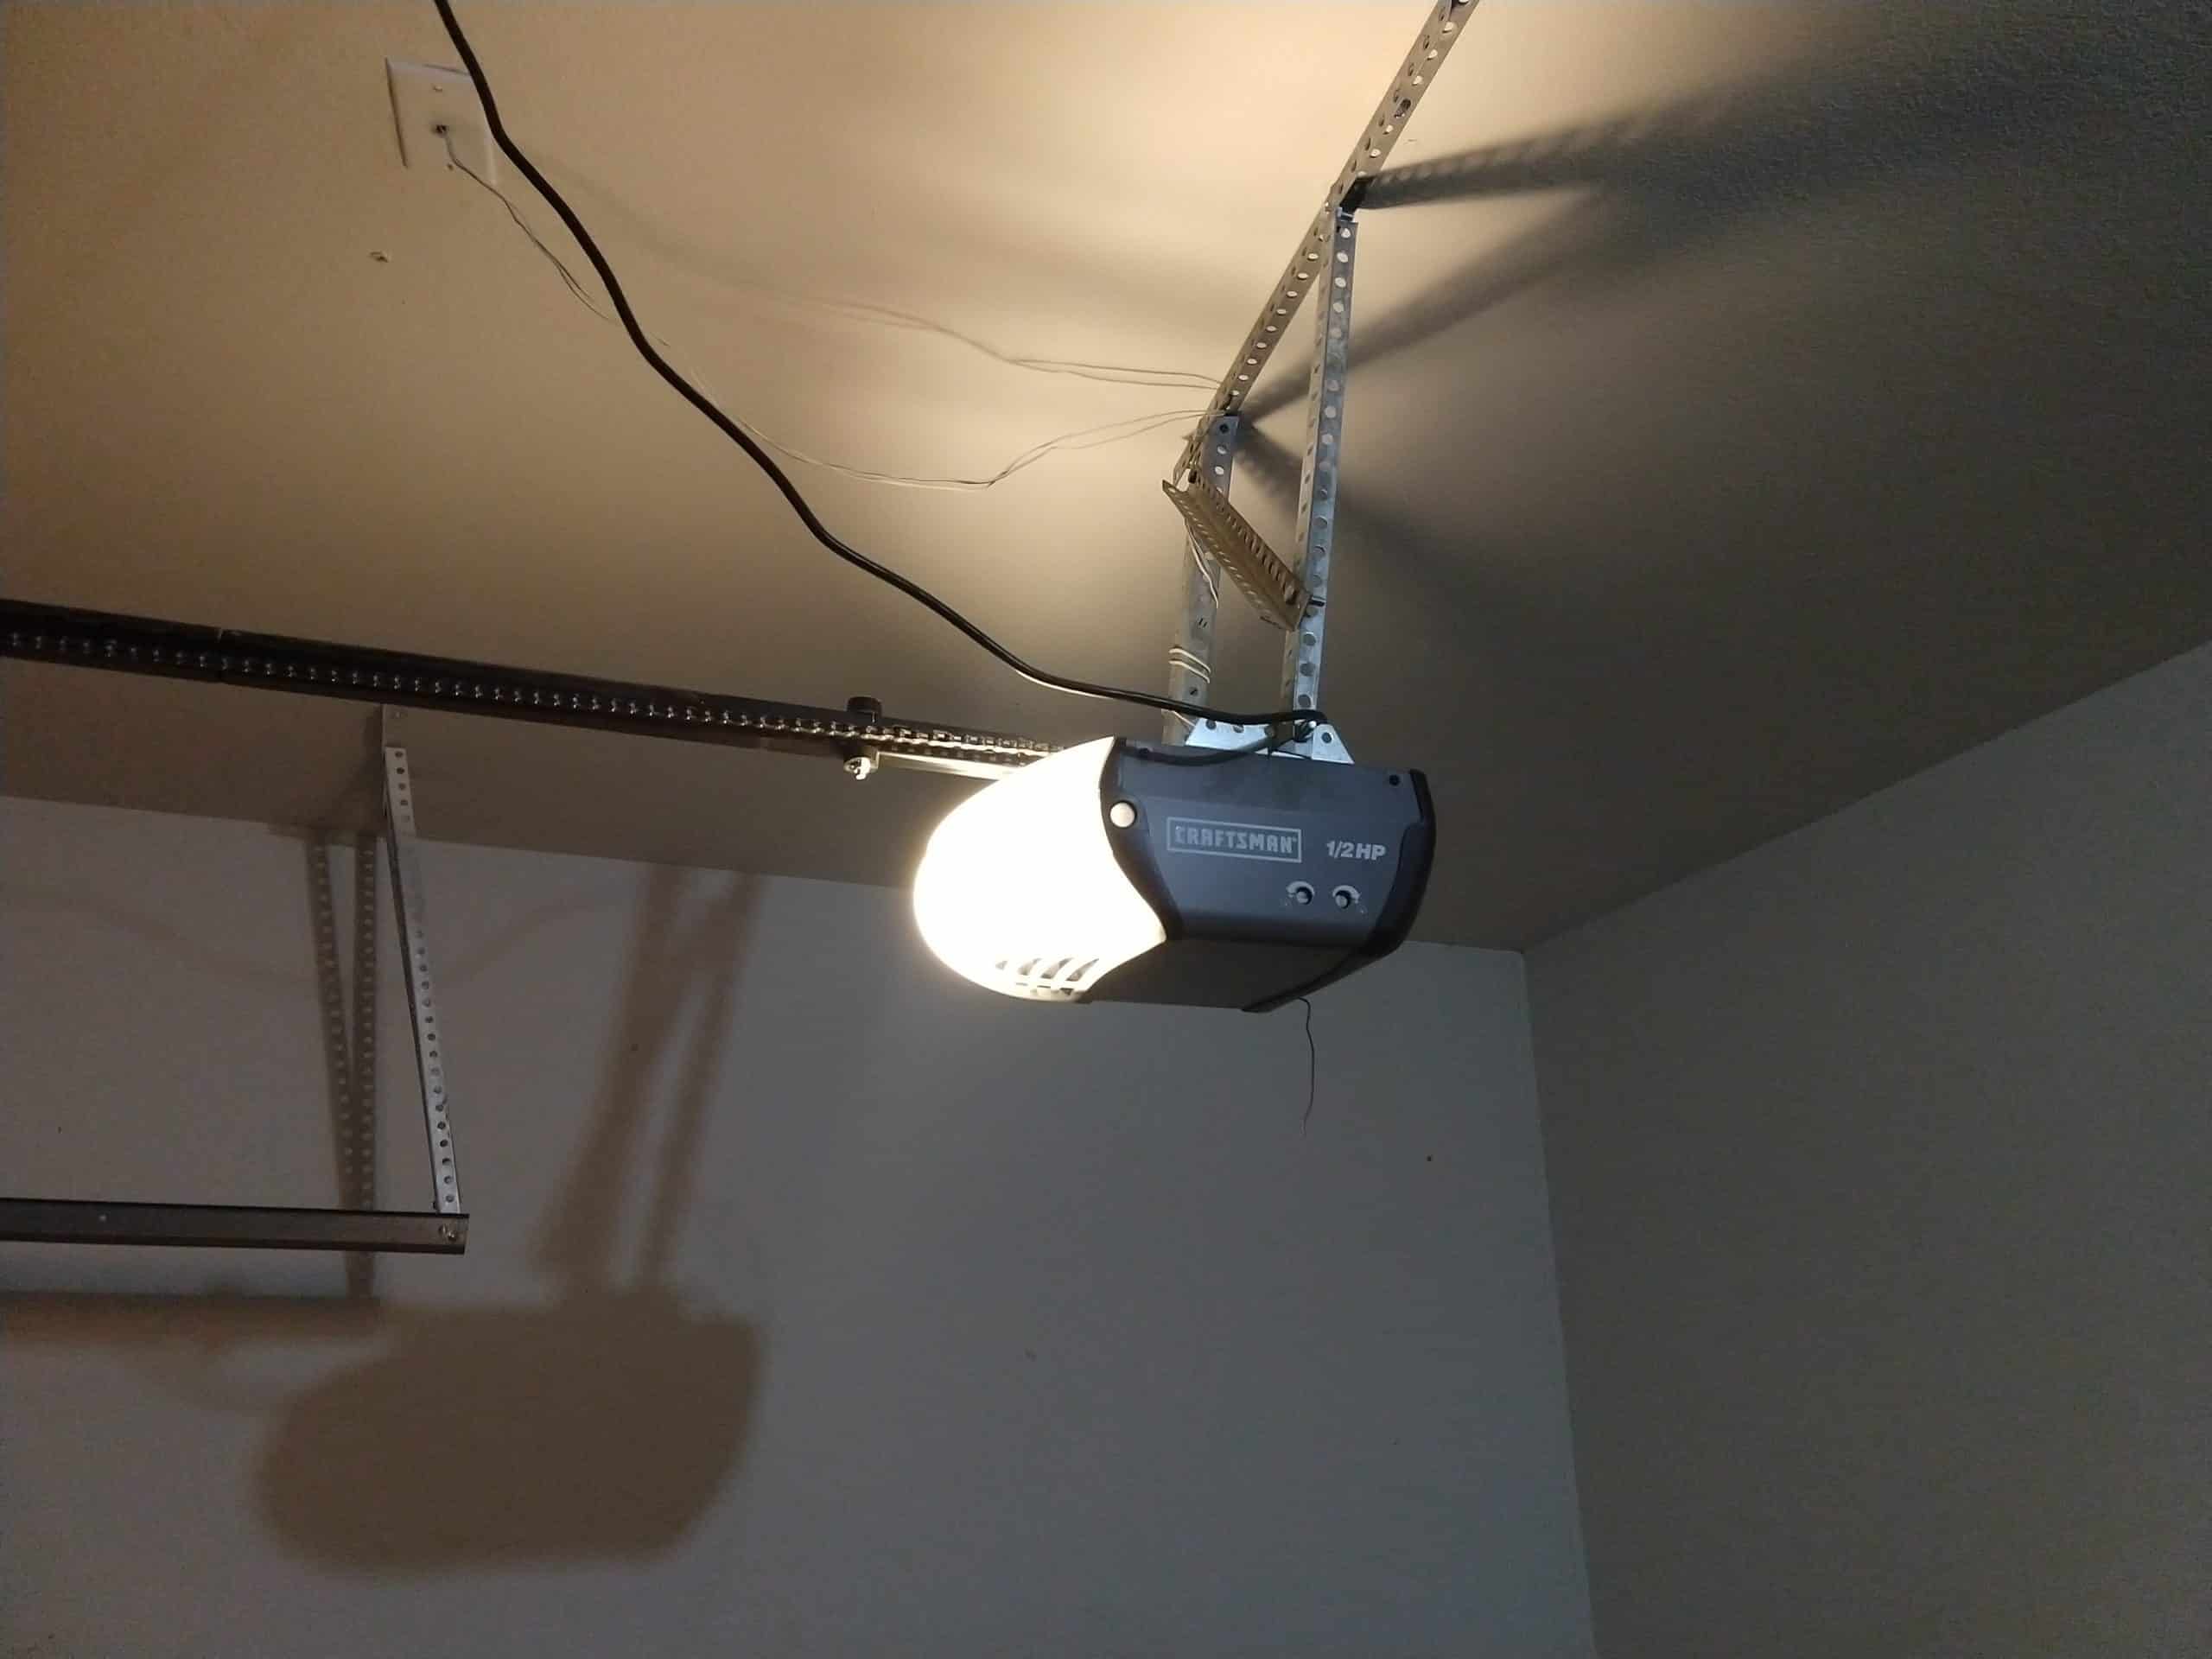
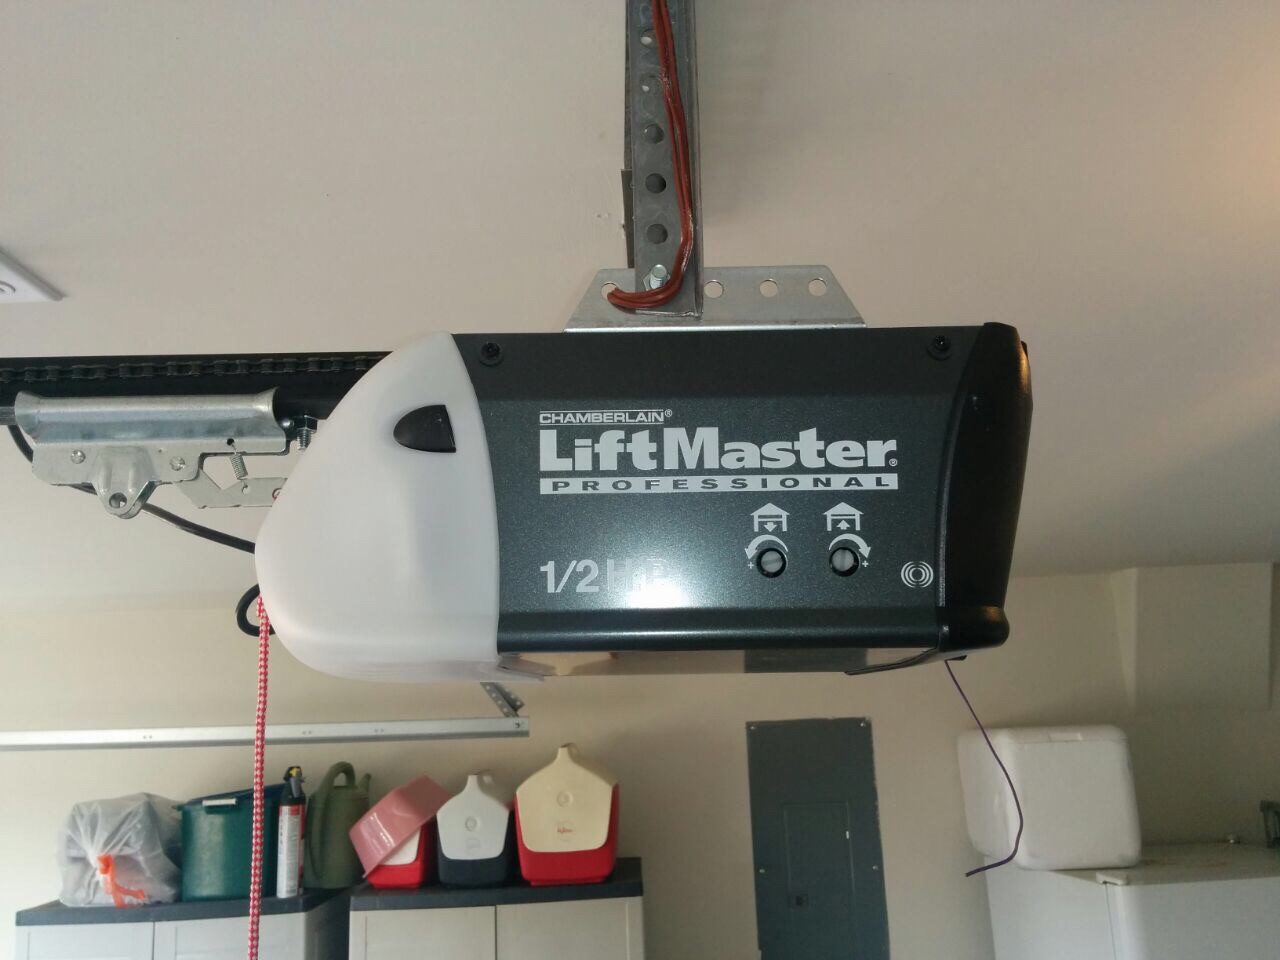
The learn button on a Liftmaster garage door opener is a small button located on the motor unit of the opener. It is usually colored differently than the other buttons or components, making it easy to identify. The learn button serves as a programming tool, allowing you to sync your remote control or keypad with the garage door opener system.
Each model of Liftmaster garage door opener may have a slightly different location for the learn button, but it is commonly found on the motor unit. Here are the typical places where you can find the learn button:
- On the back or side of the motor unit: Some Liftmaster models have the learn button conveniently located on the back or side of the motor unit. It may be easily accessible by simply removing a small cover or panel.
- Under a light cover: In certain Liftmaster models, the learn button is hidden under a small cover that protects the motor unit’s light bulb. You will need to remove the cover to access the learn button.
- Attached to a wire: In a few Liftmaster opener models, the learn button is attached to a wire that connects to the motor unit. You will need to follow the wire to locate the button.
It’s important to refer to your specific Liftmaster garage door opener model’s manual for the exact location of the learn button. The manual will provide detailed instructions and illustrations to help you locate the learn button with ease.
Once you have located the learn button, you are ready to proceed with programming your remote control or keypad to work with your Liftmaster garage door opener. Simply follow the instructions provided in the manual or refer to the next section for step-by-step guidance.
Steps to Finding the Learn Button
Now that you have a general idea of where to find the learn button on your Liftmaster garage door opener, let’s dive into the step-by-step process of locating it:
- Refer to the manual: Start by referring to the manual that came with your Liftmaster garage door opener. The manual will provide specific instructions and illustrations for locating the learn button on your particular model.
- Inspect the motor unit: Carefully examine the motor unit on your garage door opener. Look for any buttons or components that stand out and are different in color from the rest.
- Check the back or side: If there is no obvious learn button on the front of the motor unit, check the back or side. Some models have the learn button conveniently placed in these locations.
- Look for a small cover: Liftmaster openers with a hidden learn button may have a small cover protecting it. Gently remove the cover to access the learn button.
- Follow the wire: In case the learn button is attached to a wire, trace the wire from the motor unit to locate the button’s position.
- Contact Liftmaster support: If you are unable to locate the learn button or have any doubts, don’t hesitate to contact Liftmaster customer support for assistance. They will be able to guide you in finding the learn button specific to your model.
Remember, the exact location of the learn button may vary depending on the model of your Liftmaster garage door opener. Take your time, be patient, and refer to the manual or reach out to customer support if needed.
Once you have successfully located the learn button, you are now ready to program your remote control or keypad to operate your Liftmaster garage door opener. Follow the instructions provided in the manual or refer to the next section for additional guidance on programming.
The learn button on a Liftmaster garage door opener is typically located on the back panel or side panel of the opener unit. It is used to program new remotes or keypads to the opener.
Benefits of Knowing the Learn Button Location
Understanding the location of the learn button on your Liftmaster garage door opener can provide several benefits:
- Easier programming: When you know where the learn button is located, programming your remote control or keypad becomes a quick and smooth process. You won’t waste time searching for the button, allowing you to set up your devices and start using them right away.
- Troubleshooting made simple: If you encounter any issues with your remote control or keypad, knowing the learn button location can help with troubleshooting. By accessing the learn button, you can easily reset or reprogram your devices to resolve any connectivity or programming problems.
- Convenient maintenance: Liftmaster garage door openers require periodic maintenance, including reprogramming your remote control or keypad. By being aware of the learn button location, you can perform routine maintenance tasks efficiently, keeping your garage door opener system in optimal condition.
- Assistance when seeking help: If you need assistance from Liftmaster customer support or a professional technician, knowing the location of the learn button allows you to provide them with accurate information. This can expedite the troubleshooting or repair process, saving you time and frustration.
- Improved access control: By programming your remote control or keypad through the learn button, you can ensure that only authorized individuals can operate your garage door opener system. This adds an extra layer of security, protecting your home and belongings.
Knowing the learn button location on your Liftmaster garage door opener empowers you to take control of your garage door opener system. It streamlines the programming process, simplifies troubleshooting, and enhances the overall functionality and security of your garage.
Make it a priority to familiarize yourself with the learn button location specific to your Liftmaster model. By doing so, you can maximize the benefits offered by your garage door opener system and enjoy convenient and efficient operation.
Read more: Where To Buy Liftmaster Garage Door Opener
Frequently Asked Questions
Here are some common questions related to the learn button on Liftmaster garage door openers:
- What is the purpose of the learn button?
- Where can I find the learn button on my Liftmaster garage door opener?
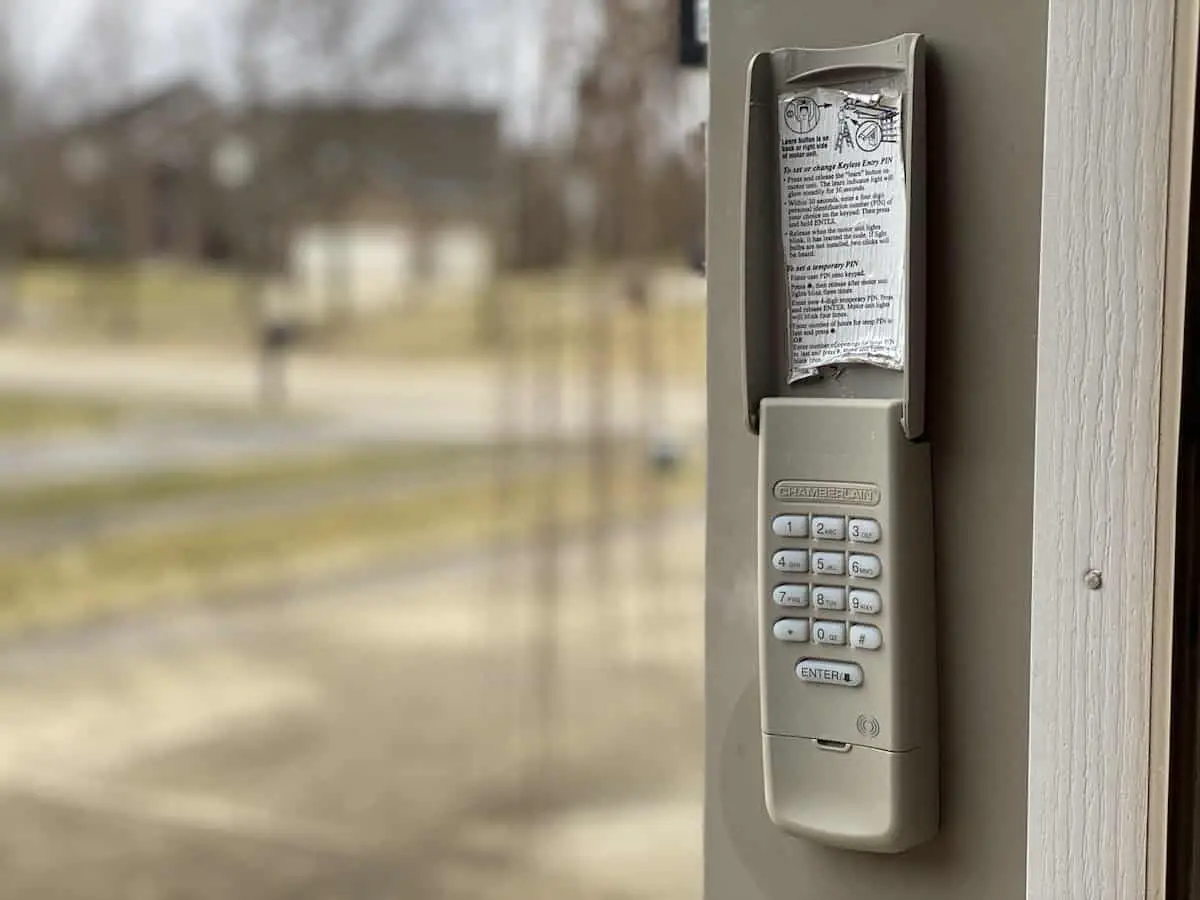
- How do I program my remote control or keypad using the learn button?
- Can I program multiple remote controls or keypads to work with my Liftmaster garage door opener?
- What should I do if I can’t find the learn button on my Liftmaster garage door opener?
- Do I need to reprogram my remote control or keypad if I change the batteries?
The learn button is used for programming your remote control or keypad to communicate with your Liftmaster garage door opener. It allows you to sync these devices with the opener system, enabling convenient operation and access control.
The learn button’s location can vary depending on the model, but it is typically found on the motor unit. It may be on the back or side, under a small cover, or attached to a wire. Refer to your specific model’s manual for the exact location.
Once you have located the learn button, follow the instructions provided in your Liftmaster garage door opener’s manual. The process usually involves pressing the learn button, then pressing a button on the remote control or entering a code on the keypad to establish the connection.
Yes, most Liftmaster models allow you to program multiple remote controls and keypads to operate the garage door opener system. You can follow the same process using the learn button to program additional devices.
If you are having difficulty finding the learn button, consult your Liftmaster garage door opener’s manual for specific instructions. If needed, you can also contact Liftmaster customer support for assistance.
In most cases, changing the batteries of your remote control or keypad does not require reprogramming. The learn button retains the programming even when the batteries are replaced. However, always refer to your manual for any specific instructions related to battery replacement.
If you have any further questions or concerns regarding the learn button on your Liftmaster garage door opener, it is always best to consult your model’s manual or contact Liftmaster customer support for accurate and detailed assistance.
Conclusion
Knowing the location of the learn button on your Liftmaster garage door opener is essential for seamless operation and convenience. By understanding where to find the learn button, you can easily program your remote control or keypad, troubleshoot any issues, and perform routine maintenance tasks efficiently.
Liftmaster garage door openers offer advanced features, superior performance, and enhanced security. Having a clear understanding of the learn button and its role in the programming process will allow you to fully utilize the capabilities of your garage door opener system.
Remember to consult your Liftmaster garage door opener manual for specific instructions regarding the location of the learn button on your model. This will ensure that you have accurate information tailored to your particular opener.
If you ever encounter challenges locating the learn button or need assistance with programming or troubleshooting, don’t hesitate to reach out to Liftmaster customer support. They have a team of experts who can provide guidance and support to help you overcome any obstacles you may face.
Ultimately, being knowledgeable about the learn button on your Liftmaster garage door opener empowers you to take control of your garage access. It simplifies the process of programming your devices, enhances security, and ensures smooth operation of your garage door opener system.
Take the time to familiarize yourself with the learn button location on your Liftmaster garage door opener, and enjoy the convenience and peace of mind that comes with a properly programmed and maintained garage door opener.
Now that you've mastered locating the learn button on your Liftmaster garage door opener, why not step up your game with smart home technology? Our next article dives into the world of home automation, showcasing the latest gadgets that can transform your living space into a modern, efficient, and convenient haven. From controlling your lights with a simple voice command to automating your heating system for optimal comfort, discover how these top picks can elevate your home lifestyle.
Frequently Asked Questions about Where Is Learn Button On Liftmaster Garage Door Opener
Was this page helpful?
At Storables.com, we guarantee accurate and reliable information. Our content, validated by Expert Board Contributors, is crafted following stringent Editorial Policies. We're committed to providing you with well-researched, expert-backed insights for all your informational needs.

0 thoughts on “Where Is Learn Button On Liftmaster Garage Door Opener”