
Articles
Where To Install Check Valve On Water Pump
Modified: August 27, 2024
Looking for articles on where to install a check valve on a water pump? Find helpful information and tips in our comprehensive guide.
(Many of the links in this article redirect to a specific reviewed product. Your purchase of these products through affiliate links helps to generate commission for Storables.com, at no extra cost. Learn more)
Introduction
A check valve is an essential component in a water pump system. It plays a crucial role in preventing the flow of water from reversing and causing potential damage to the pump or the system itself. Proper installation of check valves is vital to ensure smooth and efficient functioning of water pumps.
In this article, we will delve into the importance of check valves in water pump systems and discuss the factors to consider when installing them. We will also explore the different types of check valves available and provide guidance on where to install them on water pumps. Lastly, we will outline the steps for proper installation and highlight common mistakes to avoid.
Whether you are a homeowner or a professional plumber, understanding the significance of check valves and knowing how to install them correctly is crucial for maintaining the integrity and longevity of your water pump system.
Let’s dive into the world of check valves and explore the ins and outs of their installation.
Key Takeaways:
- Proper installation of check valves in water pump systems is crucial for preventing backflow, protecting the pump, and maintaining consistent water pressure, ensuring efficient and reliable operation.
- When installing check valves, consider factors such as type, flow rate, and installation location. Avoid common mistakes like incorrect orientation and neglecting maintenance to ensure long-lasting performance.
Read more: What Is A Foot Valve For A Water Pump
Understanding Check Valves
Before we discuss the installation of check valves, let’s start by understanding what they are and how they function. A check valve, also known as a non-return valve or one-way valve, is a mechanical device that allows fluid (in this case, water) to flow in one direction only.
The primary purpose of a check valve is to prevent backflow, which is when water flows in the opposite direction from its intended path. This can occur when the water pump is switched off, the pressure drops, or when there is a sudden change in flow direction.
Check valves consist of a valve body with an opening and a closing mechanism. When water flows in the correct direction, the valve opens and allows the water to pass through freely. However, when there is a reverse flow or pressure change, the valve closes, preventing water from going back.
Check valves are essential components in water pump systems because they help maintain the pressure and prevent the pump from overworking or sustaining damage. They also help maintain a consistent flow of water, avoiding disruptions or inconsistencies.
Now that we have a basic understanding of check valves, let’s explore why they are crucial for water pump systems.
Importance of Check Valves in Water Pump Systems
Check valves play a vital role in the efficient operation of water pump systems. Here are some key reasons why they are important:
- Preventing Reverse Flow: The primary function of a check valve is to prevent the backflow of water. This is crucial as reverse flow can cause damage to the pump, disrupt the water flow, and even contaminate the water supply.
- Protecting the Pump: Backflow can subject the pump to excessive pressure, causing it to work harder than necessary. By installing a check valve, the pump is protected from the strain of reverse flow, which can extend its lifespan and reduce the need for repairs or replacements.
- Maintaining System Pressure: Check valves help maintain consistent water pressure within the system. They ensure that water flows in the desired direction, preventing pressure drops or fluctuations. This is especially important for applications where consistent pressure is required, such as irrigation systems or firefighting systems.
- Reducing Water Hammer: Water hammer is a phenomenon that occurs when the flow of water abruptly stops or changes direction. This can cause pressure surges within the system, leading to pipe damage or noisy vibrations. Check valves help minimize water hammer by allowing the water to flow in a controlled manner.
- Preventing Contamination: Check valves, particularly those equipped with a backflow preventer, prevent contaminated water from flowing back into the main water supply. This is especially critical in homes, commercial buildings, and industrial settings where potable water quality is essential.
By ensuring the proper installation and functioning of check valves, water pump systems can operate smoothly, efficiently, and with reduced risk of damage or disruptions.
Factors to Consider When Installing Check Valves
Installing check valves in water pump systems requires careful consideration of several factors to ensure optimal performance and functionality. Here are some key factors to keep in mind:
- Type of Check Valve: There are different types of check valves available, including swing check valves, spring-loaded check valves, and inline check valves. Each type has its own advantages and considerations, so it’s important to choose the appropriate one based on the specific application and system requirements.
- Flow Rate and Pressure: Consider the expected flow rate and pressure of the water pump system. Ensure that the selected check valve is compatible with the anticipated flow rate to avoid restrictions or inefficiencies in water flow. It’s also essential to confirm that the check valve can handle the system’s pressure to prevent leaks or valve failure.
- Installation Location: Determine the ideal location for installing the check valve in the water pump system. It is typically recommended to place the check valve close to the pump outlet, as this allows for better control and monitoring of the water flow. Additionally, consider accessibility for maintenance purposes.
- Orientation and Alignment: When installing a check valve, ensure that it is oriented correctly to allow for the desired flow direction. Check valves usually have arrow indicators to indicate their correct alignment. Installing them upside down or in the wrong direction can prevent water from flowing properly or result in valve failure.
- Material and Durability: Select a check valve made of durable and corrosion-resistant materials that are suitable for the water conditions and any potential contaminants. Common materials used for check valves include brass, stainless steel, and PVC. The chosen material should withstand the specific environment and provide long-lasting performance.
- Proper Sizing: Ensure that the check valve is properly sized for the water pump system. A valve that is too small can cause flow restrictions and decrease efficiency, while an oversized valve may lead to water hammer or other system issues. Consult manufacturer guidelines or seek professional advice to determine the appropriate size for your system.
By taking these factors into account during the installation process, you can ensure that the check valve is properly matched to your water pump system’s requirements, maximizing its effectiveness and longevity.
Different Types of Check Valves for Water Pumps
When it comes to check valves for water pumps, there are several types available, each designed to serve specific purposes. Let’s explore some of the common types:
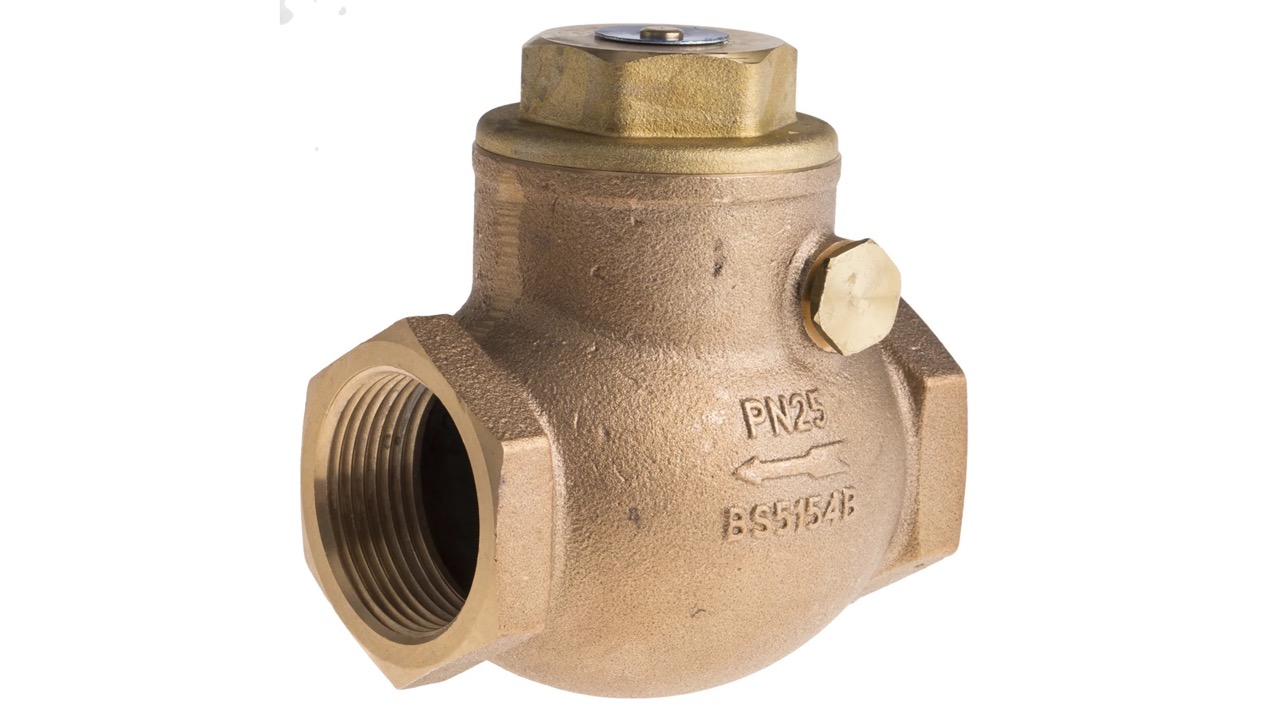
- Swing Check Valve: This type of check valve has a hinged disc that swings open in the direction of water flow and closes to prevent backflow. Swing check valves are commonly used in residential and commercial water pump systems and are effective in preventing reverse flow.
- Spring-Loaded Check Valve: As the name suggests, spring-loaded check valves use a spring mechanism to regulate the opening and closing of the valve. When water flows in the correct direction, the pressure pushes the valve open against the spring tension. However, when there is a reverse flow or pressure drop, the spring forces the valve closed, preventing backflow. These valves are commonly used in high-pressure systems.
- Inline Check Valve: Inline check valves are compact and are installed within the pipeline itself. They feature a disc or ball that blocks the flow in the reverse direction. Inline check valves are easy to install and offer minimal resistance to the water flow.
- Double Check Valve: The double check valve assembly (DCVA) is a type of check valve that consists of two independently operating check valves. It is commonly used for backflow prevention in plumbing systems, especially where there is a risk of contamination. The double check valve assembly provides an extra layer of protection against backflow and is often required by building codes in certain applications.
- Wafer Check Valve: Wafer check valves are designed for applications where space is limited. These valves are thin, lightweight, and fit between two flanges in the pipeline. They provide reliable backflow prevention and offer low pressure drop.
- Ball Check Valve: Ball check valves utilize a spherical ball inside the valve body to control the flow. When water flows in the correct direction, the ball is pushed aside, allowing the water to pass through. If there is a reverse flow or pressure drop, the ball seats against the valve body, preventing backflow.
It’s important to choose the appropriate type of check valve based on the specific requirements of your water pump system. Consider factors such as the flow rate, pressure, installation space, and the need for backflow prevention when selecting the right check valve for your application.
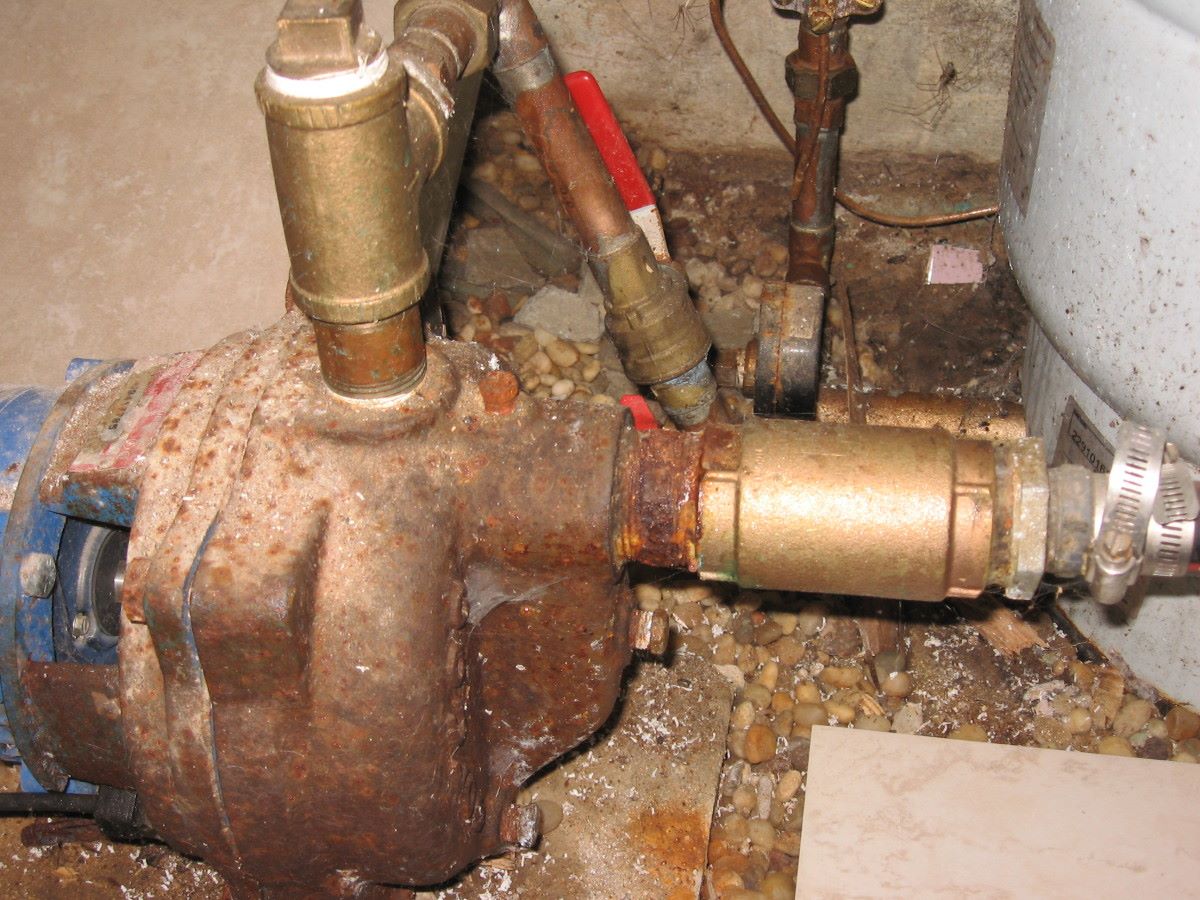
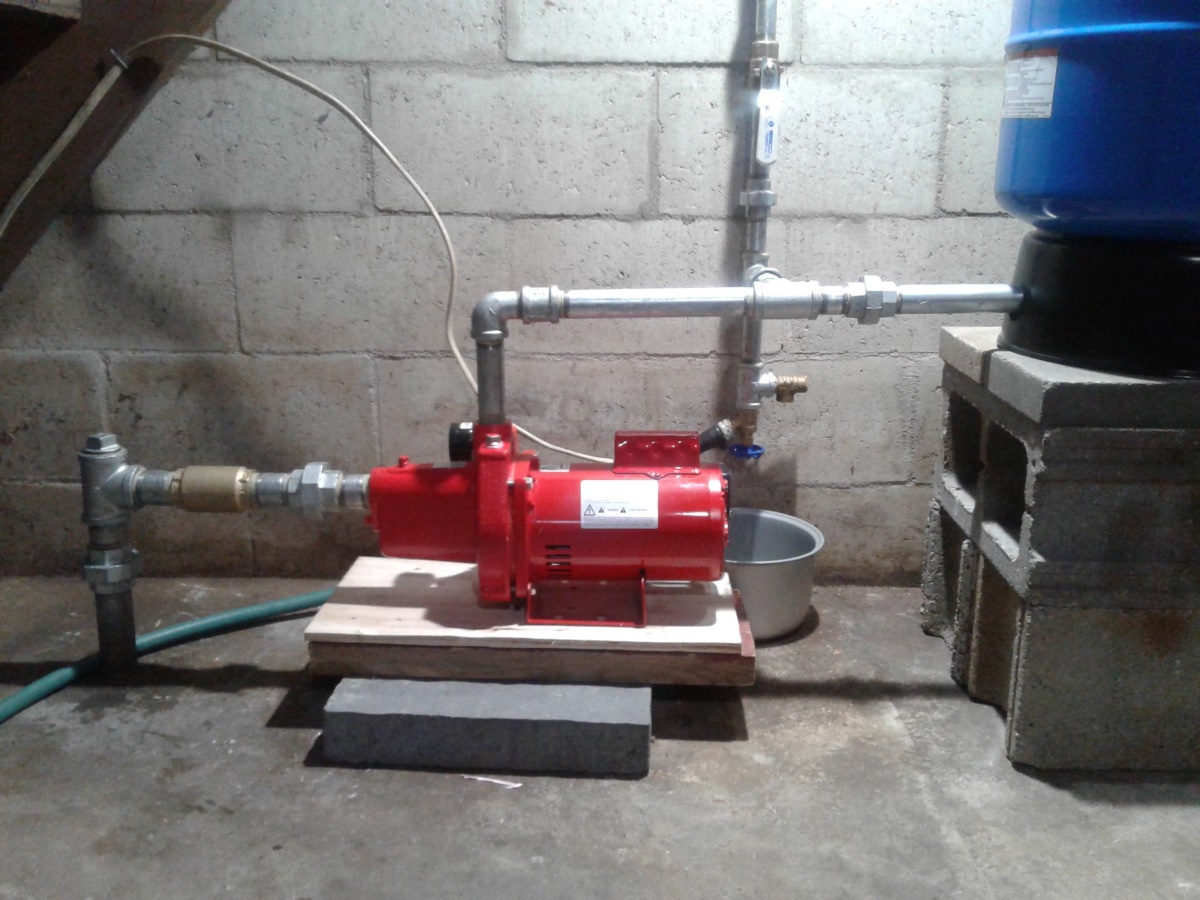
Install the check valve on the discharge side of the water pump to prevent backflow and maintain pressure in the system. This will help protect the pump and ensure efficient water flow.
Read more: Where Is Drain Valve On Water Heater
Where to Install Check Valves on Water Pumps
The proper installation of check valves in a water pump system is crucial to ensure their effective functioning. Here are some common locations where check valves should be installed:
1. Pump Outlet: The most common and recommended location for installing a check valve is on the outlet side of the water pump. Placing the check valve directly after the pump ensures that the water flows in the desired direction and prevents any backflow when the pump is turned off.
2. Water Supply Line: Another location to consider is on the water supply line leading to the pump. Installing a check valve in this position helps prevent any unwanted backflow from the main water supply into the pump or the system.
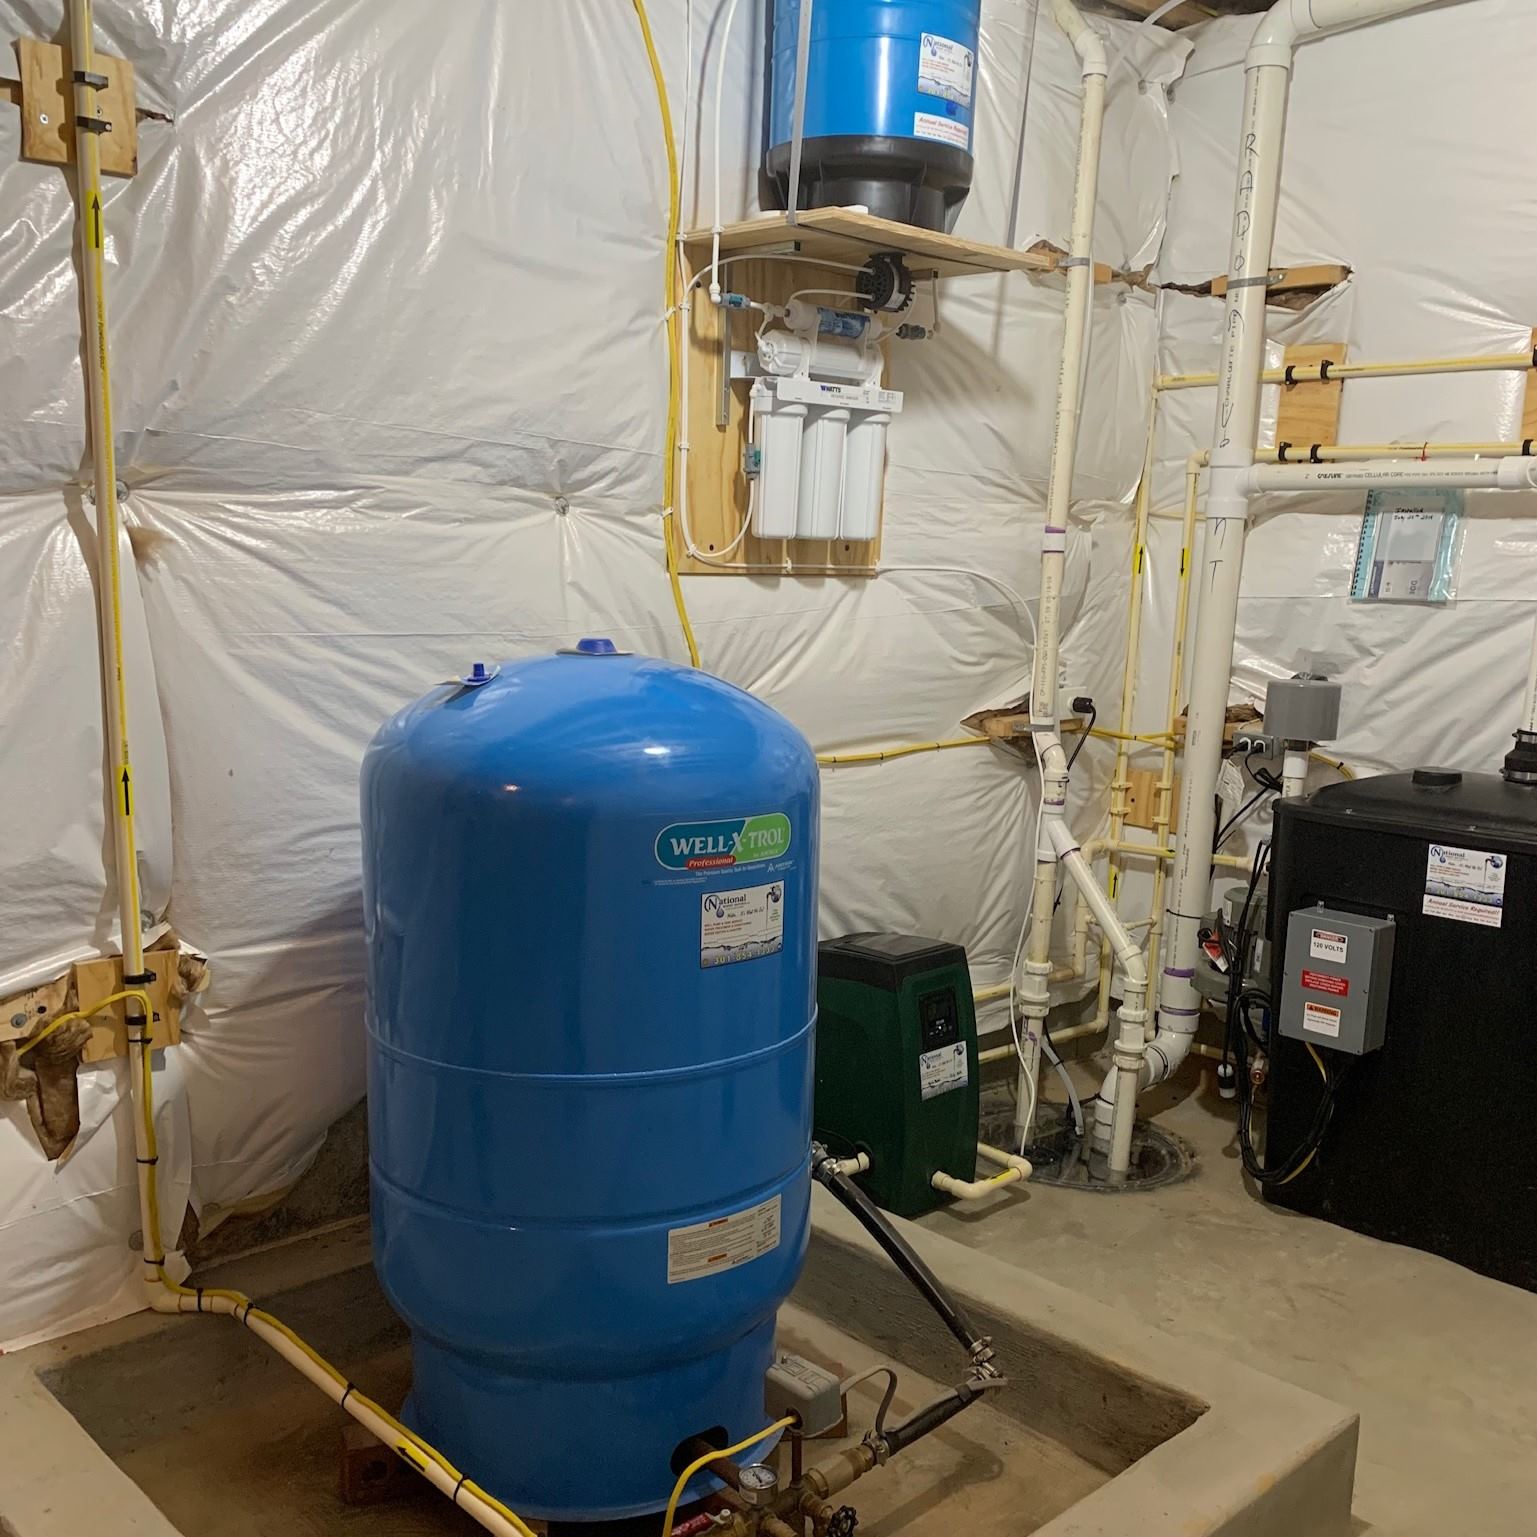
3. Well Pump Systems: In well pump systems, it is important to install a check valve near the pump’s discharge pipe to prevent water from flowing back into the well. This ensures that the pump does not need to work harder to overcome the backflow, which can lead to premature wear and tear.
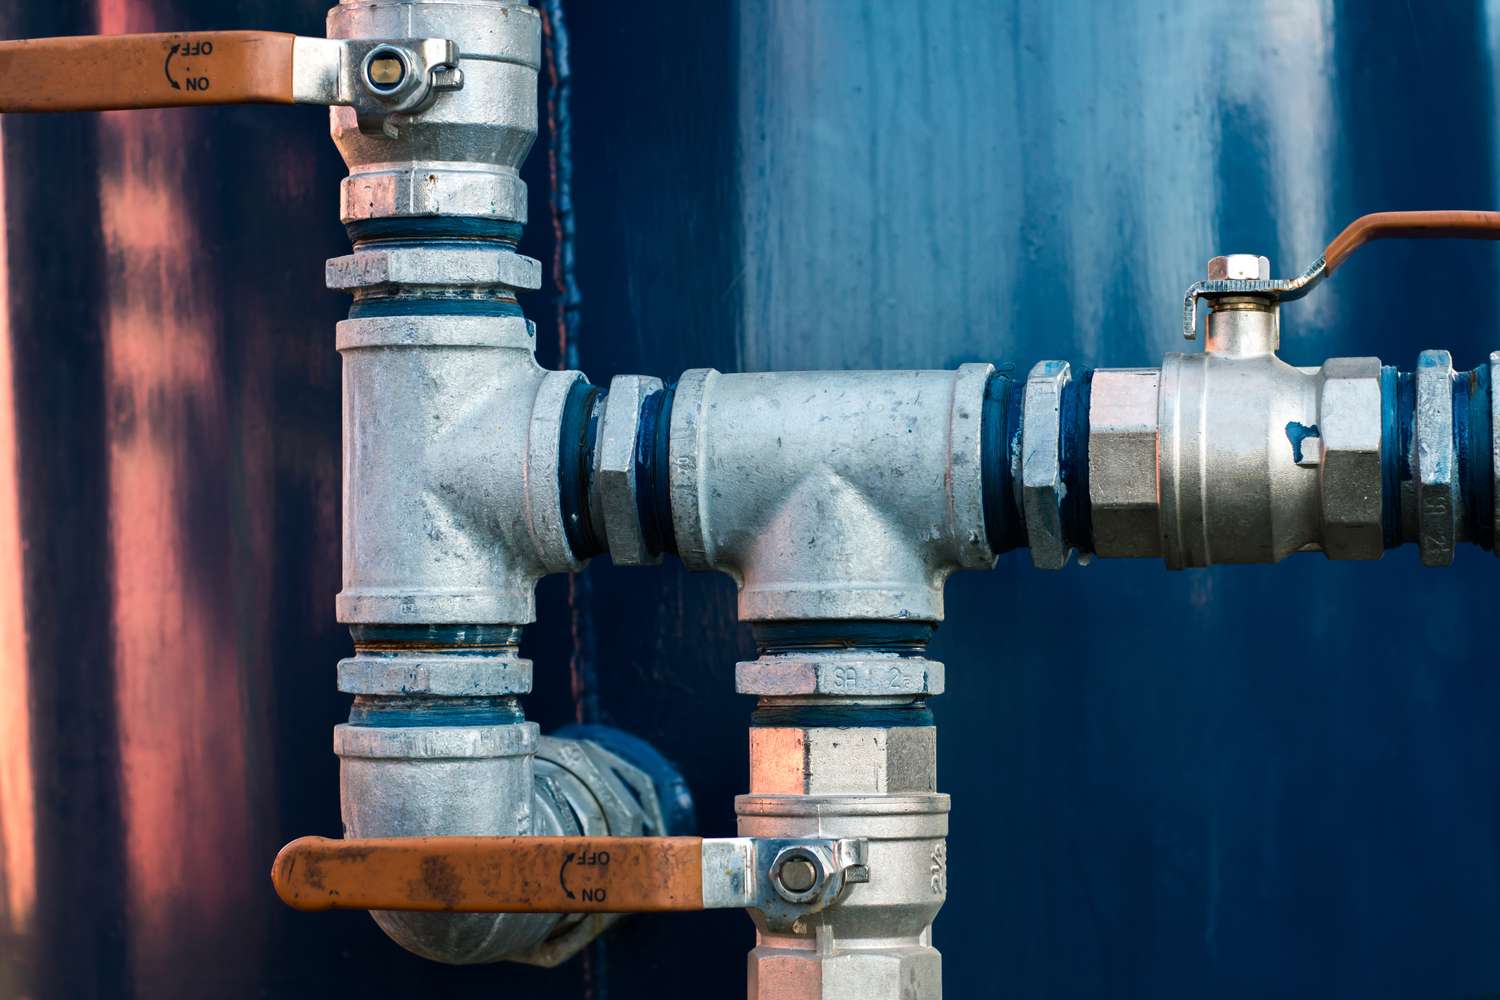
4. Pipe Branches and T-Junctions: If your water pump system includes pipe branches or T-junctions, it is advisable to install check valves at these points. This helps control the flow of water and prevents backflow or cross-contamination between different branches of the system.
5. Aboveground and Underground Piping: Depending on the layout of your water pump system, you may need to install check valves at various points along the aboveground or underground piping. This ensures that water flows in the desired direction and prevents any backflow that could damage the system or contaminate the water supply.
Remember to refer to the manufacturer’s recommendations or consult with a professional plumber for specific installation guidance based on your water pump system’s design and requirements. Proper placement of check valves is crucial for maintaining the system’s efficiency, preventing damage, and protecting the quality and integrity of the water supply.
Installation Steps for Check Valves on Water Pumps
Proper installation of check valves in water pump systems is essential to ensure their optimal performance. Follow these step-by-step instructions to install check valves effectively:
- Select the Right Check Valve: Choose the appropriate type and size of check valve based on the flow rate, pressure, and requirements of your water pump system. Ensure that the valve is compatible with the materials used in your plumbing system.
- Prepare the Installation Site: Identify the ideal location for installing the check valve. Typically, the valve is placed on the pump outlet or the water supply line leading to the pump. Ensure that the installation site is accessible and provides enough space for proper installation and future maintenance.
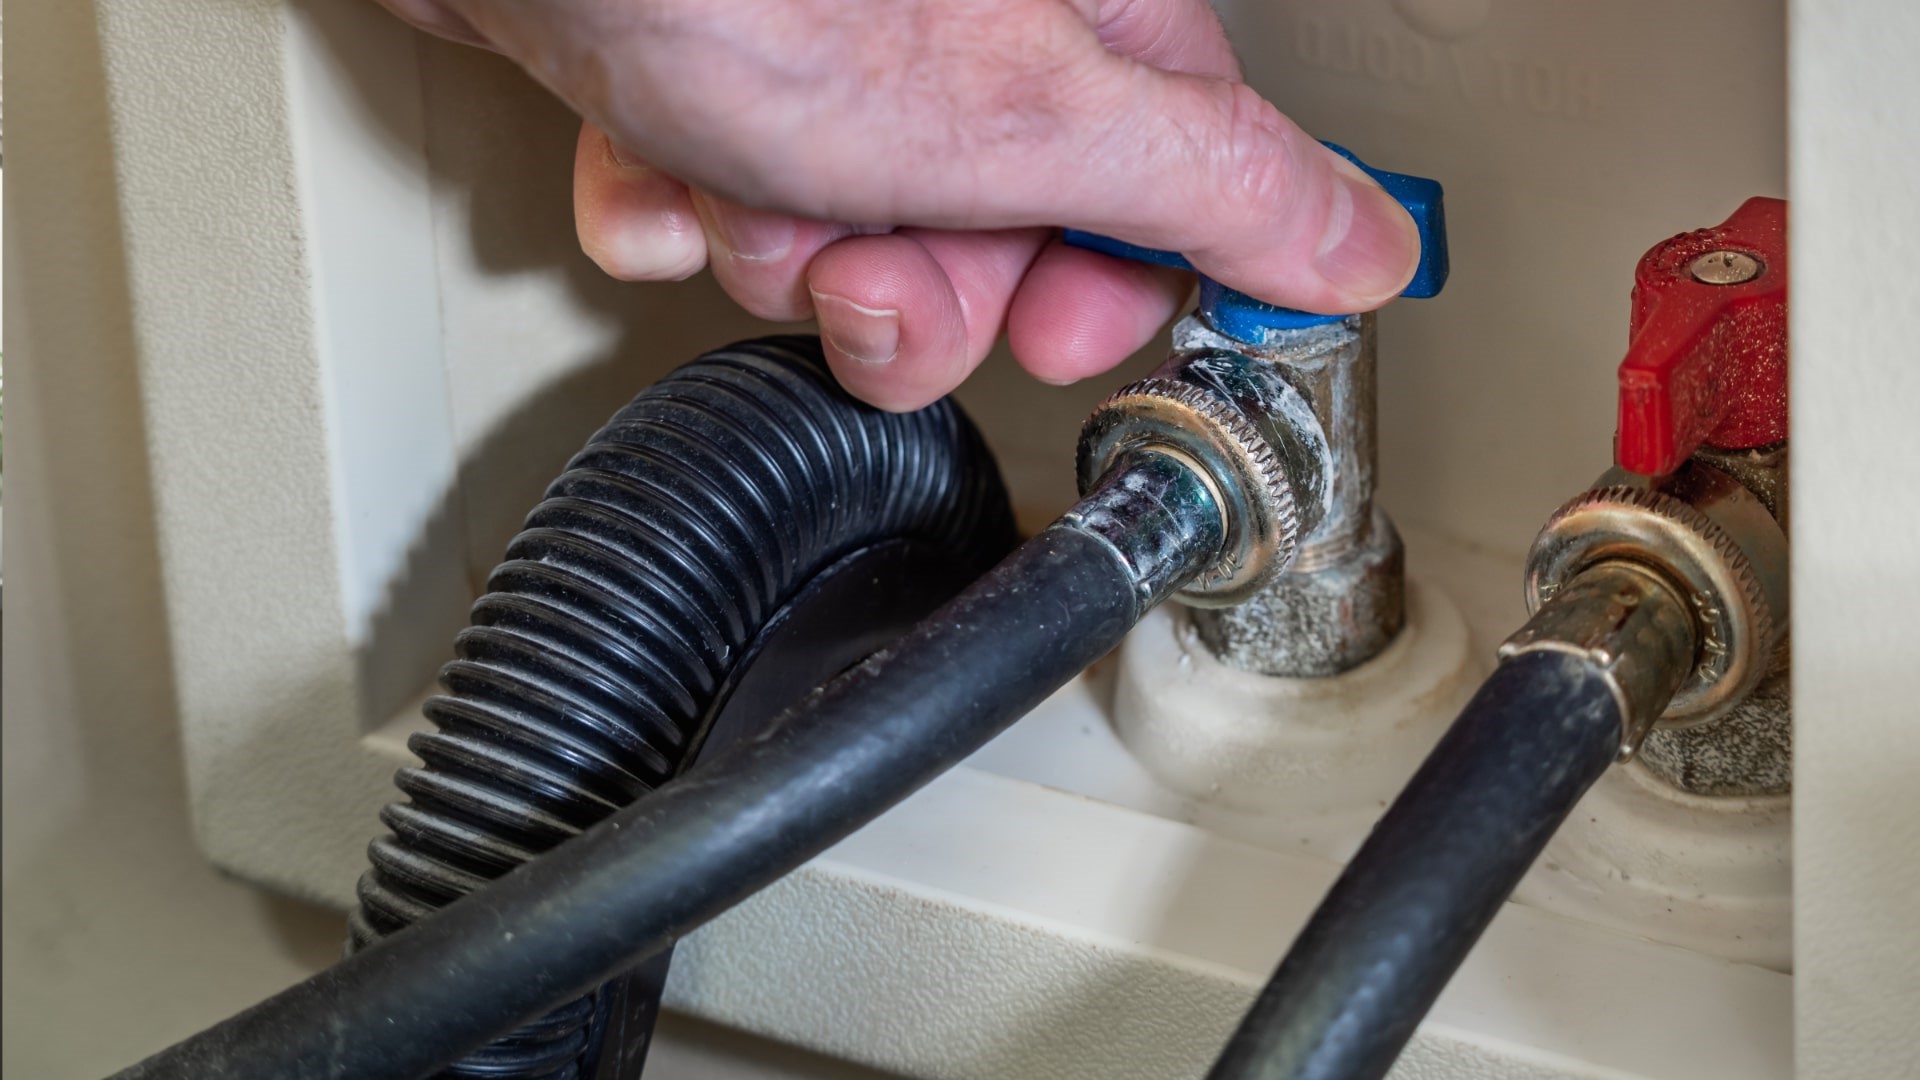
- Shut Off the Water and Depressurize the System: Turn off the water supply to the pump and release any pressure in the system. This step ensures a safe and smooth installation process.
- Prepare Pipe Ends: Clean the pipe ends where the check valve will be installed. Remove any debris, old tape, or corrosion to ensure a tight and secure connection. If necessary, use a pipe cutter or deburring tool to create clean and smooth edges on the pipe.
- Apply Pipe Thread Sealant or Tape: Use pipe thread sealant or Teflon tape on the male threads of the check valve. This helps create a watertight seal and prevents any leaks in the connection.
- Attach the Check Valve: Carefully screw the check valve onto the pipe threads. Use an adjustable wrench or pipe wrench to tighten the connection, ensuring a secure fit. Be cautious not to overtighten, as it may damage the valve or the plumbing components.
- Test the Installation: Once the check valve is securely installed, turn on the water supply to the pump and check for any leaks or abnormal water flow. Observe the valve operation to ensure it opens correctly when the water flows in the desired direction and closes to prevent backflow.
- Secure the Check Valve: Depending on the type of check valve and the installation site, consider securing the valve in place using pipe clamps or brackets. This provides additional stability and prevents unnecessary stress on the valve and the plumbing connections.
- Document the Installation: Keep a record of the check valve installation for future reference and maintenance purposes. Include details such as the type of valve, installation date, and any additional notes or observations.
If you are unsure about any step of the installation process or if you encounter any issues, it is recommended to seek assistance from a professional plumber. Proper installation of check valves ensures their efficient operation and protects your water pump system from potential damage or malfunction.
Common Mistakes to Avoid When Installing Check Valves
When installing check valves in water pump systems, it’s important to avoid common mistakes that can compromise their performance and reliability. Here are some mistakes to be aware of and avoid:
- Incorrect Orientation: One of the most common mistakes is installing the check valve in the wrong orientation. Check valves have arrow indicators to show the correct flow direction. Installing the valve upside down or in the wrong direction can prevent water flow or cause valve failure.
- Overtightening: Over-tightening the check valve or using excessive force when securing it to the pipe can lead to damage or leaks. It’s important to follow the manufacturer’s instructions and use the appropriate tools to ensure a secure but not overly tight connection.
- Failure to Depressurize the System: Neglecting to shut off the water supply and depressurize the system before installing the check valve can result in water spraying or leaks upon installation. Always turn off the water supply and open faucets to release any pressure in the system before starting the installation.
- Using Improper Materials: Using incompatible materials or low-quality components can lead to leaks, corrosion, or premature failure of the check valve. Make sure to select check valves that are designed for the specific plumbing system and water conditions to ensure long-lasting performance.
- Incorrect Sizing: Selecting a check valve that is either too small or too large for the water pump system can lead to flow restrictions, inefficiencies, or water hammer. It’s important to consult the manufacturer’s guidelines or seek professional advice to ensure that the check valve is properly sized for the system.
- Failure to Perform a Leak Test: After installing the check valve, it’s crucial to perform a leak test to ensure there are no leaks in the connection. Failure to do so can result in water damage or system malfunctions. Check for any signs of water seepage or abnormal water flow and make any necessary adjustments or repairs.
- Neglecting Maintenance: Once the check valve is installed, it’s important to include regular inspection and maintenance as part of your plumbing system maintenance routine. Check for any signs of wear, damage, or build-up that may affect the performance of the check valve, and address any issues promptly.
By being aware of these common mistakes and taking the necessary precautions, you can ensure a successful installation of check valves and maximize the efficiency and longevity of your water pump system.
Conclusion
Proper installation of check valves in water pump systems is crucial for maintaining the efficiency, reliability, and longevity of the system. These valves play a vital role in preventing backflow, protecting the pump, maintaining system pressure, reducing water hammer, and preventing contamination.
When installing check valves, it is important to consider factors such as the type of check valve, flow rate, pressure, installation location, and proper sizing. Installing the check valve in the correct orientation, avoiding overtightening, and using compatible materials are also essential for a successful installation.
Some common mistakes to avoid during installation include incorrect orientation, over-tightening, failure to depressurize the system, using improper materials, incorrect sizing, neglecting leak testing, and failing to perform regular maintenance.
By following the proper installation steps and avoiding these common mistakes, you can ensure that your water pump system operates efficiently, minimizing the risk of damage, disruption, or contamination.
Remember to consult the manufacturer’s guidelines or seek professional advice when installing check valves, especially if you are unsure about any aspect of the installation process. With the right installation techniques, check valves can provide reliable backflow prevention and maintain the integrity of your water pump system for years to come.
Now that you've mastered the installation of check valves on water pumps, why not tackle your next home project with some flair? Our article on DIY home improvement offers clever tricks and straightforward steps to enhance your living space. From simple repairs to major renovations, you'll find everything needed to transform your house into a home. Don't miss out on practical advice that could save time and money while boosting your DIY skills.
Frequently Asked Questions about Where To Install Check Valve On Water Pump
Was this page helpful?
At Storables.com, we guarantee accurate and reliable information. Our content, validated by Expert Board Contributors, is crafted following stringent Editorial Policies. We're committed to providing you with well-researched, expert-backed insights for all your informational needs.

0 thoughts on “Where To Install Check Valve On Water Pump”