Articles
How To Check Water Heater Element
Modified: August 17, 2024
Learn how to check the water heater element with our informative articles. Ensure your water heater is working efficiently and troubleshoot any issues.
(Many of the links in this article redirect to a specific reviewed product. Your purchase of these products through affiliate links helps to generate commission for Storables.com, at no extra cost. Learn more)
Introduction
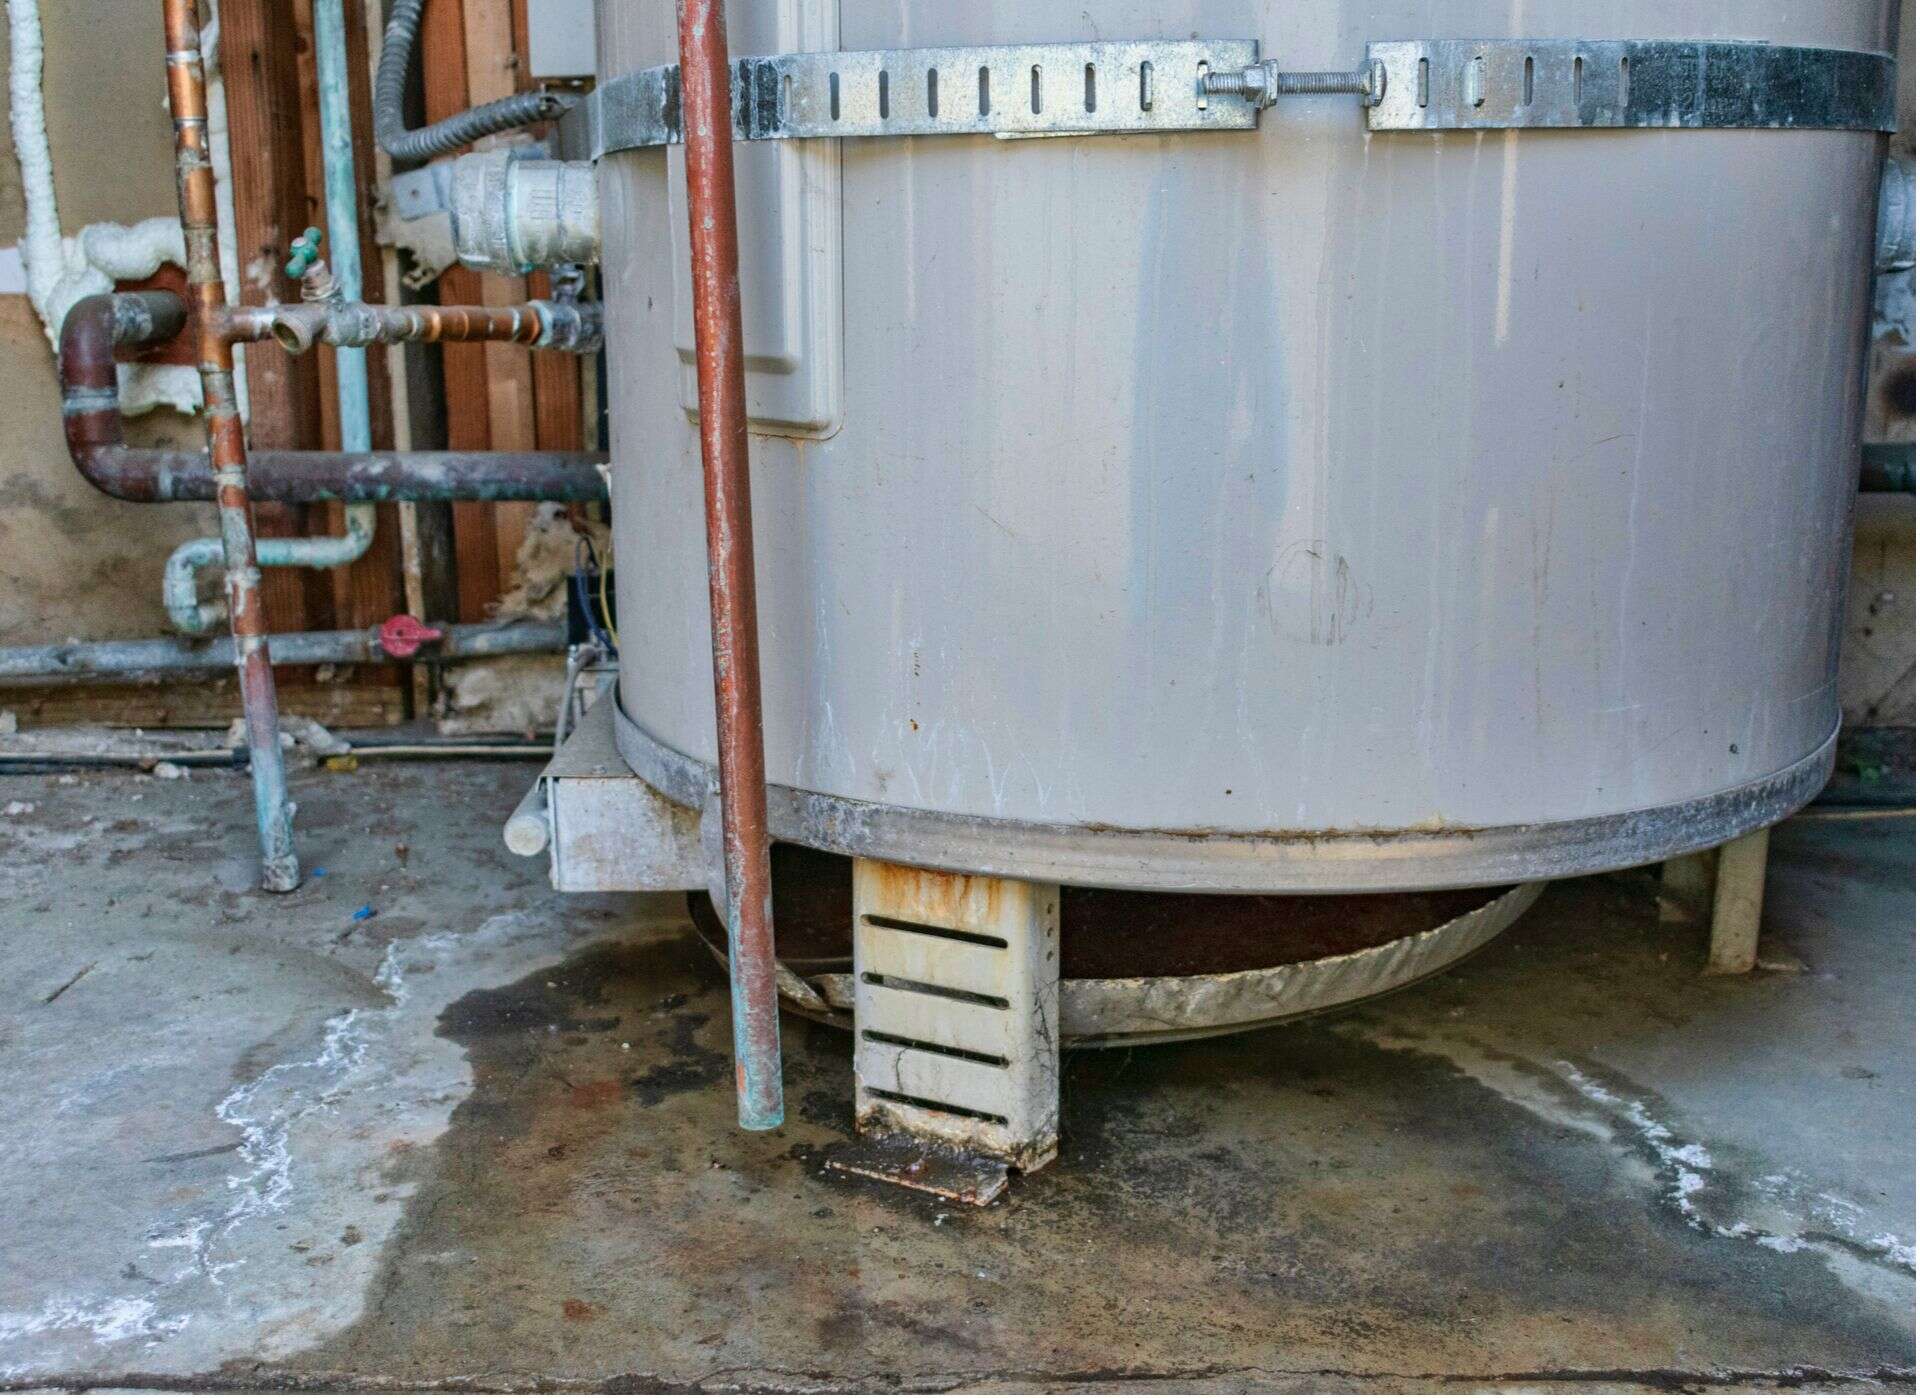
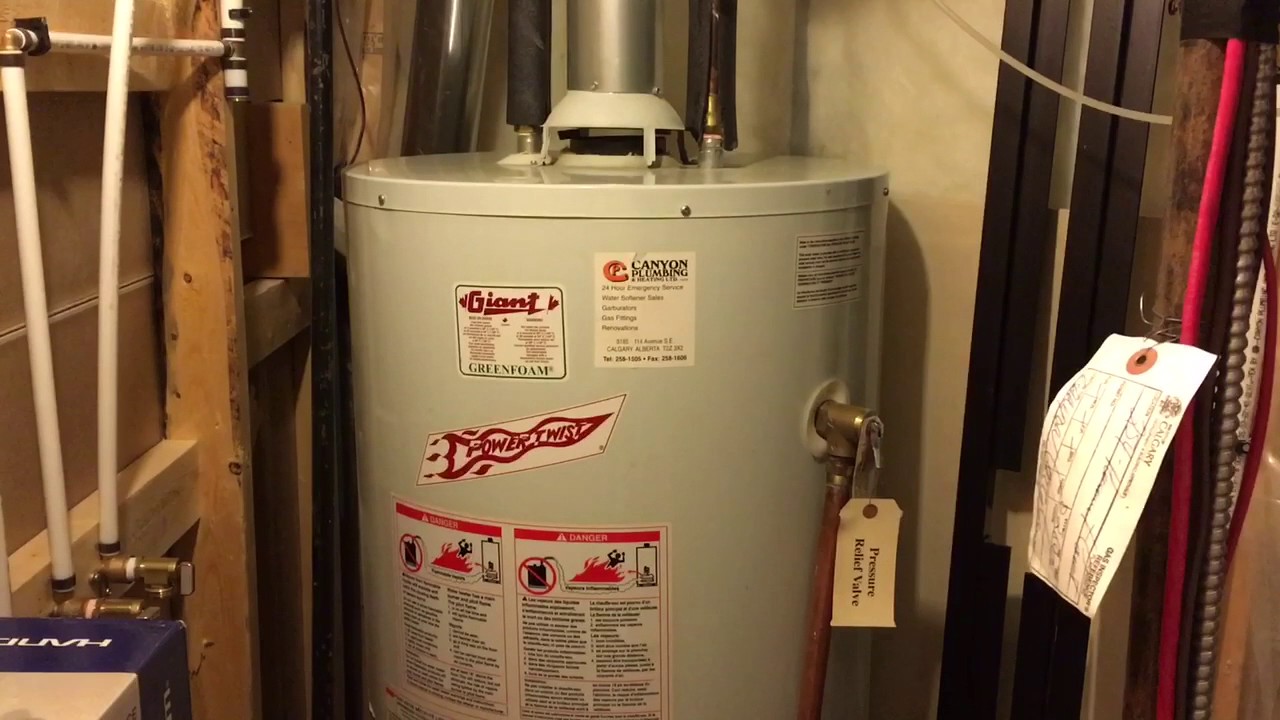
Water heaters are essential appliances that provide us with hot water for various everyday activities, such as taking showers and washing dishes. However, over time, water heater elements can deteriorate, leading to a decrease in performance and efficiency. To ensure that your water heater is functioning optimally, it’s important to periodically check the water heater element.
In this article, we will guide you through the process of checking your water heater element. We will explore the purpose of water heater elements, the signs that indicate a faulty element, and the safety precautions you should take before conducting any inspections. By following these steps, you can diagnose any issues with your water heater element and take the necessary steps to fix or replace it.
Key Takeaways:
- Regularly checking your water heater element is crucial for maintaining hot water supply. Look out for signs of a faulty element and follow safety precautions before conducting any inspections.
- Understanding the purpose of water heater elements and following a step-by-step inspection process can help you diagnose and address any issues. Prioritize safety and seek professional help if needed.
Read more: How To Replace Element In Water Heater
Understanding Water Heater Elements
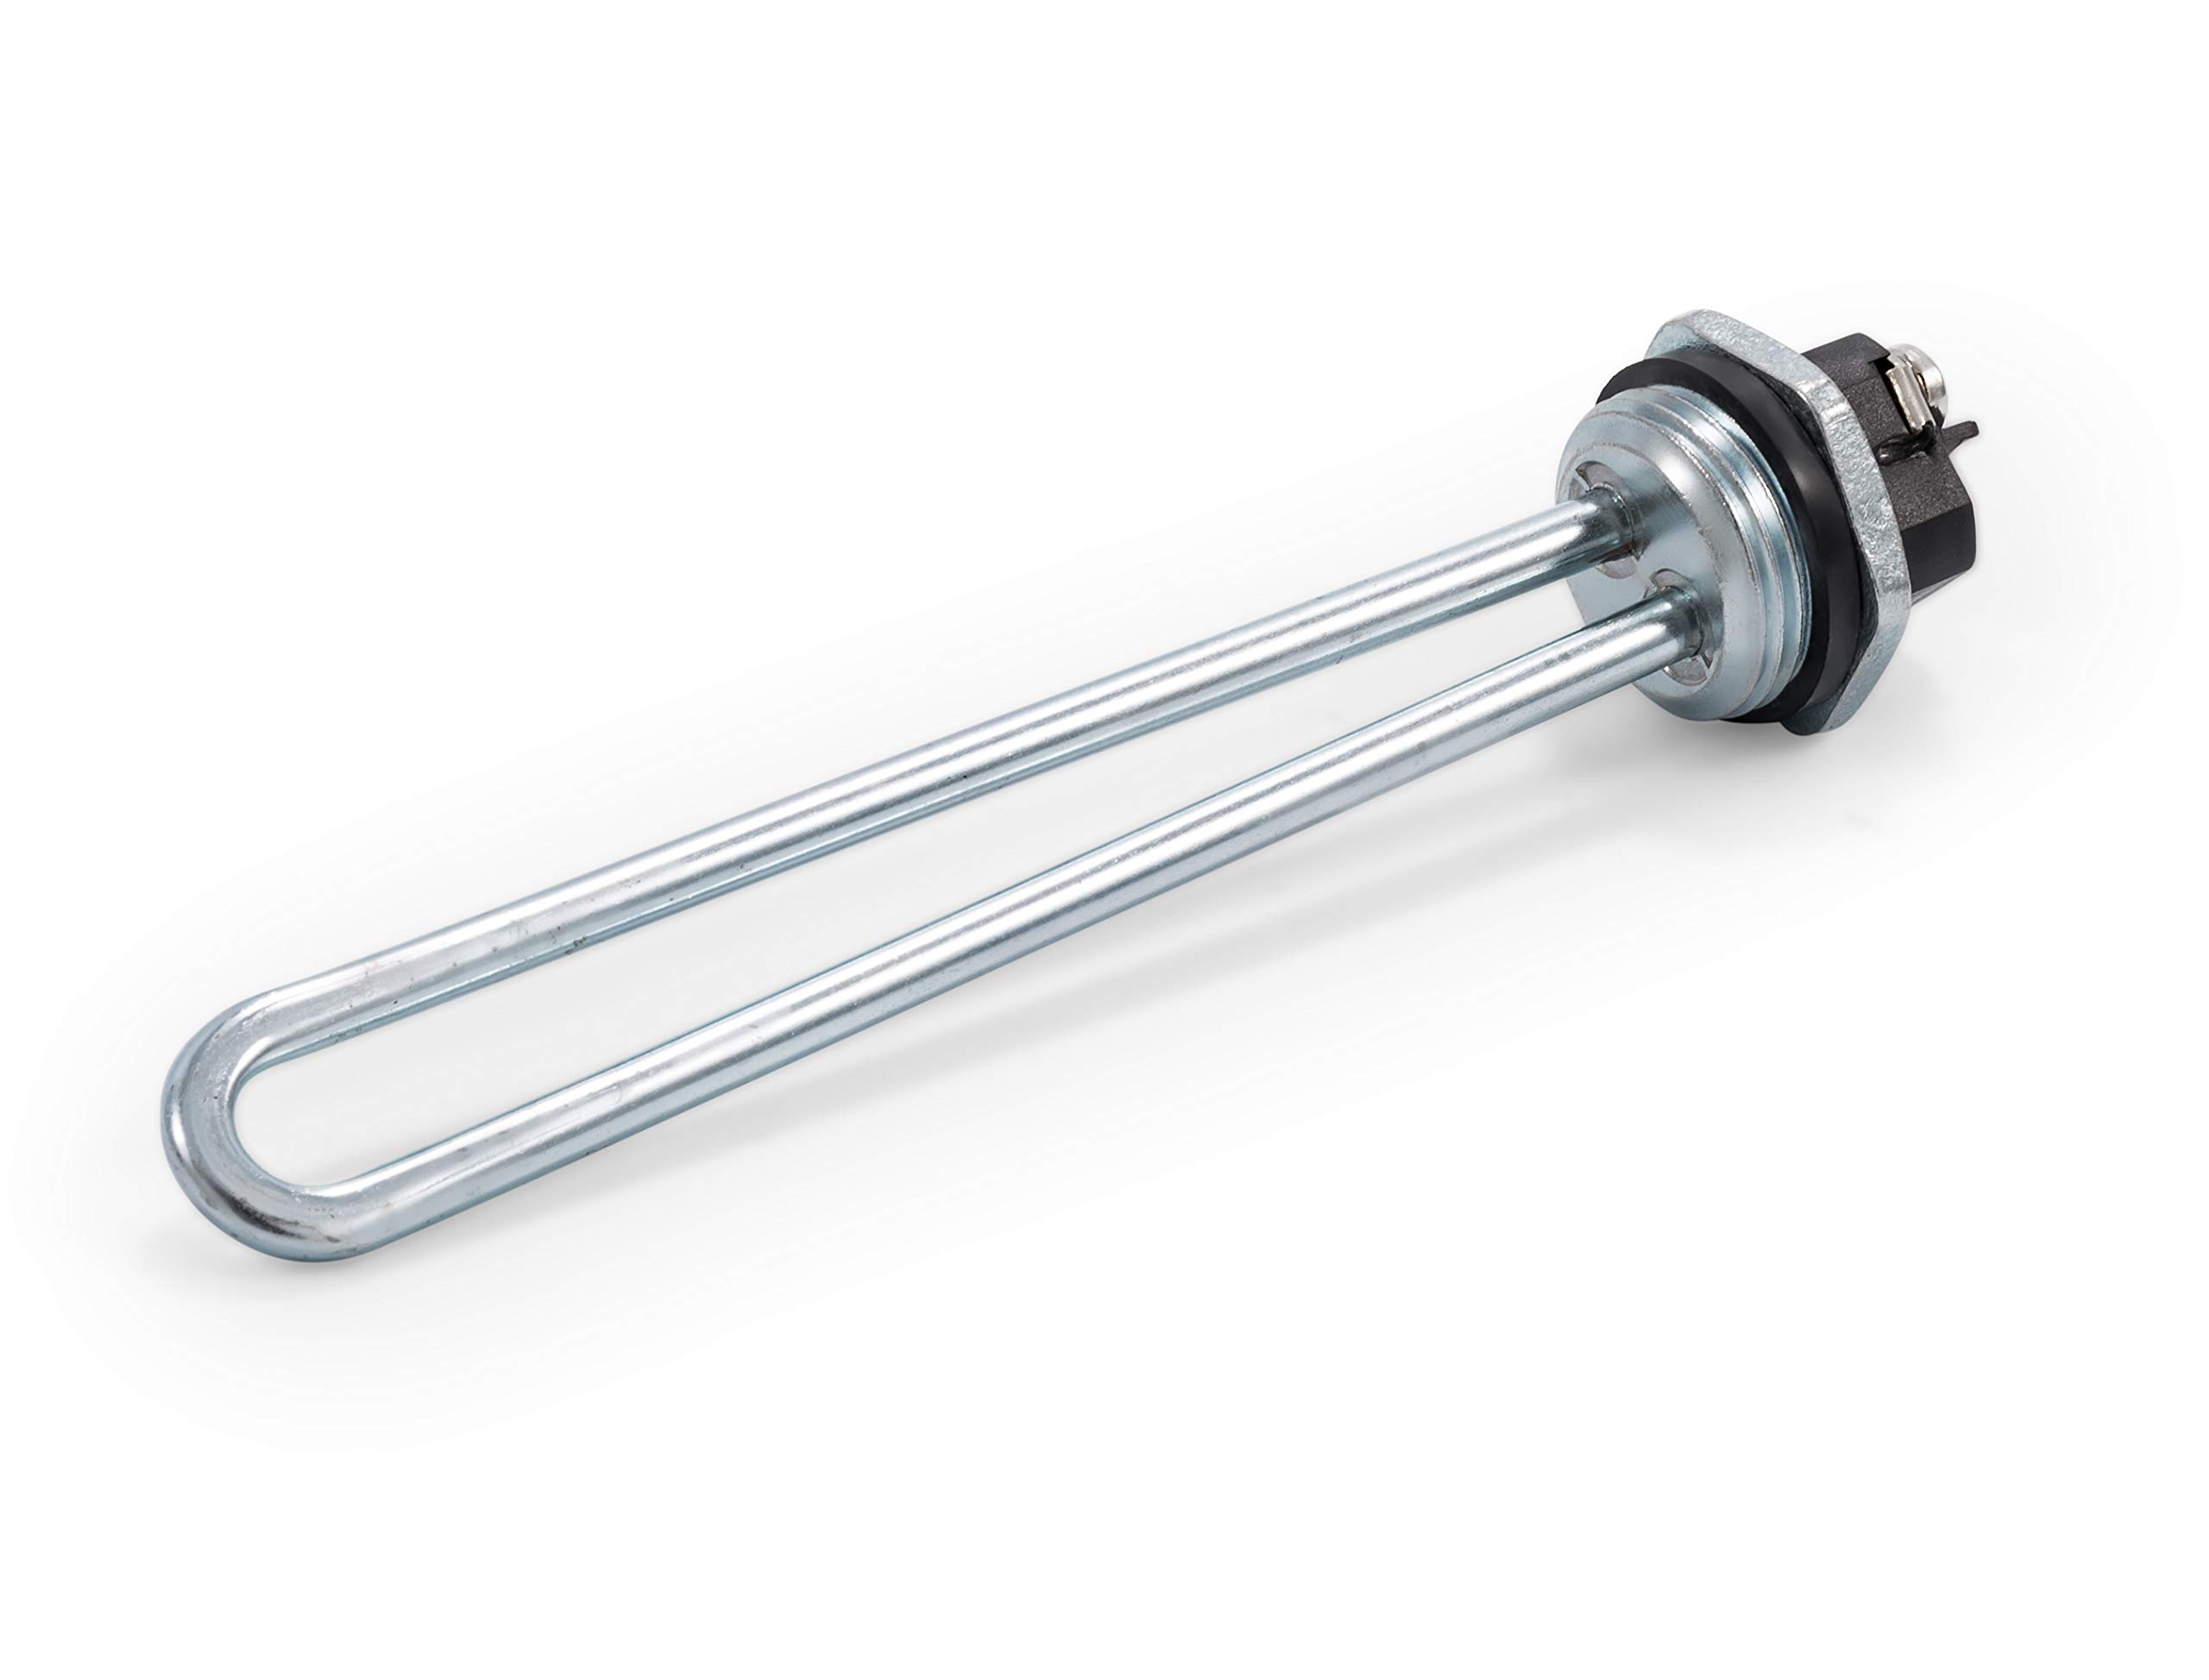
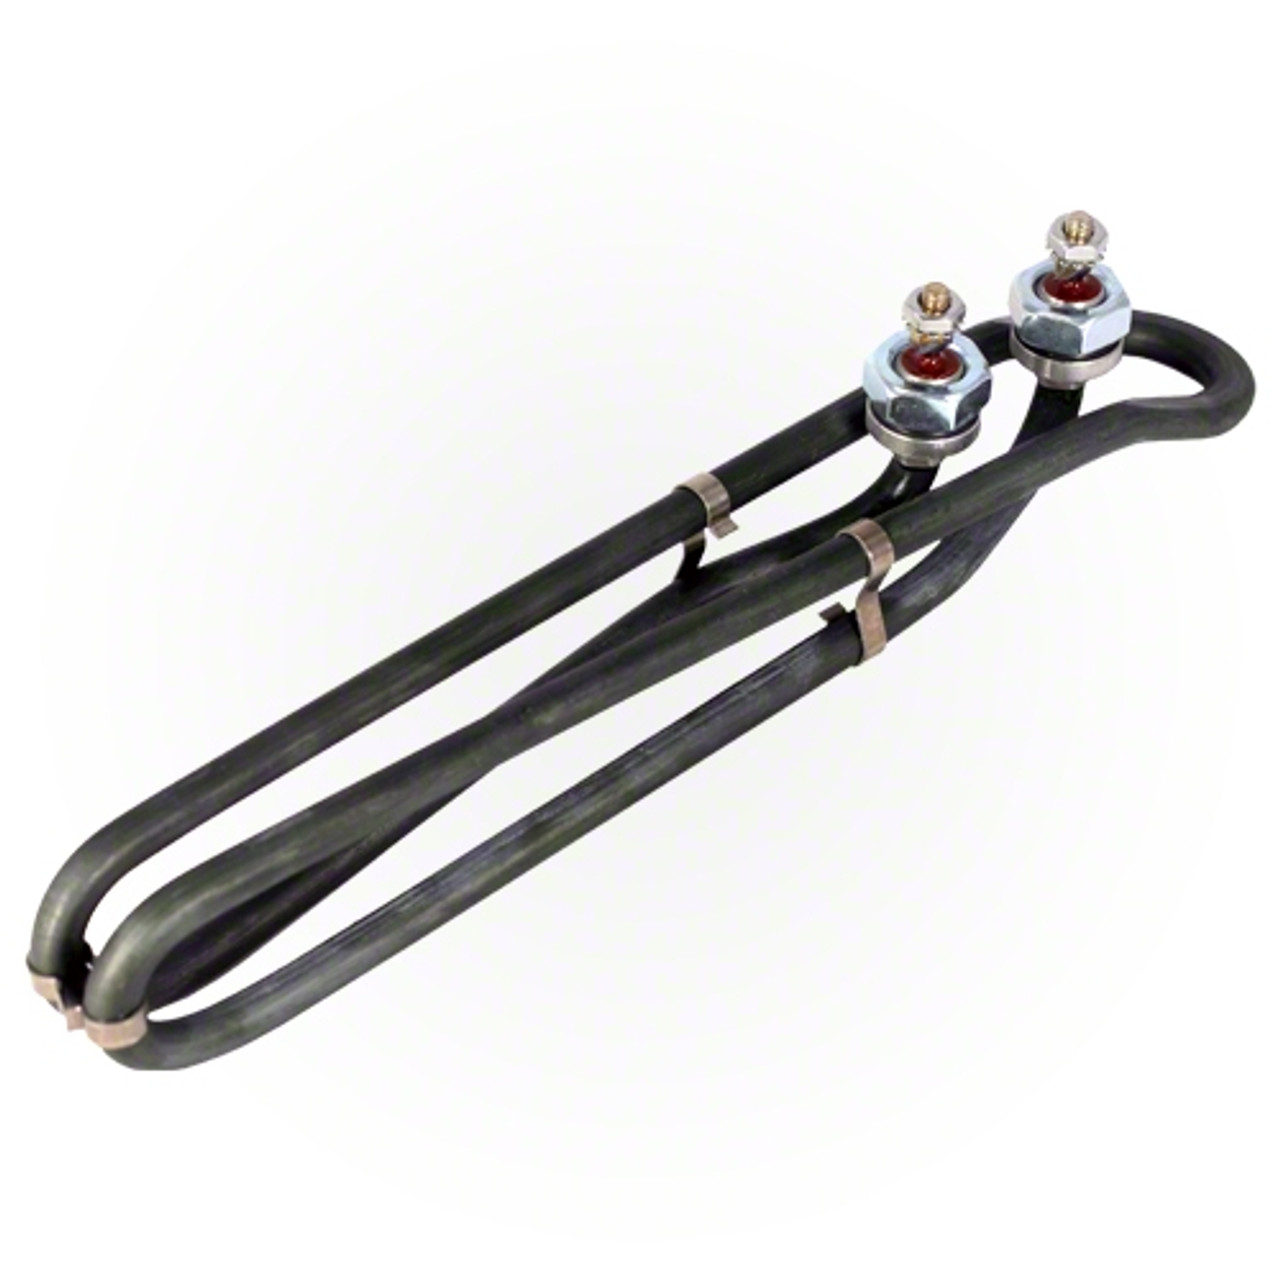
Water heater elements are the components responsible for heating the water in your water heater tank. They are typically made of either copper or stainless steel and are immersed in the water to transfer heat effectively. The two most common types of elements are the upper and lower elements, each serving a specific purpose.
The upper element is primarily responsible for heating the incoming cold water to the desired temperature. It is the first element activated when a hot water faucet is turned on. Once the water temperature reaches a certain threshold, the lower element kicks in to maintain the temperature of the water in the tank. This dual-element system ensures a continuous supply of hot water.
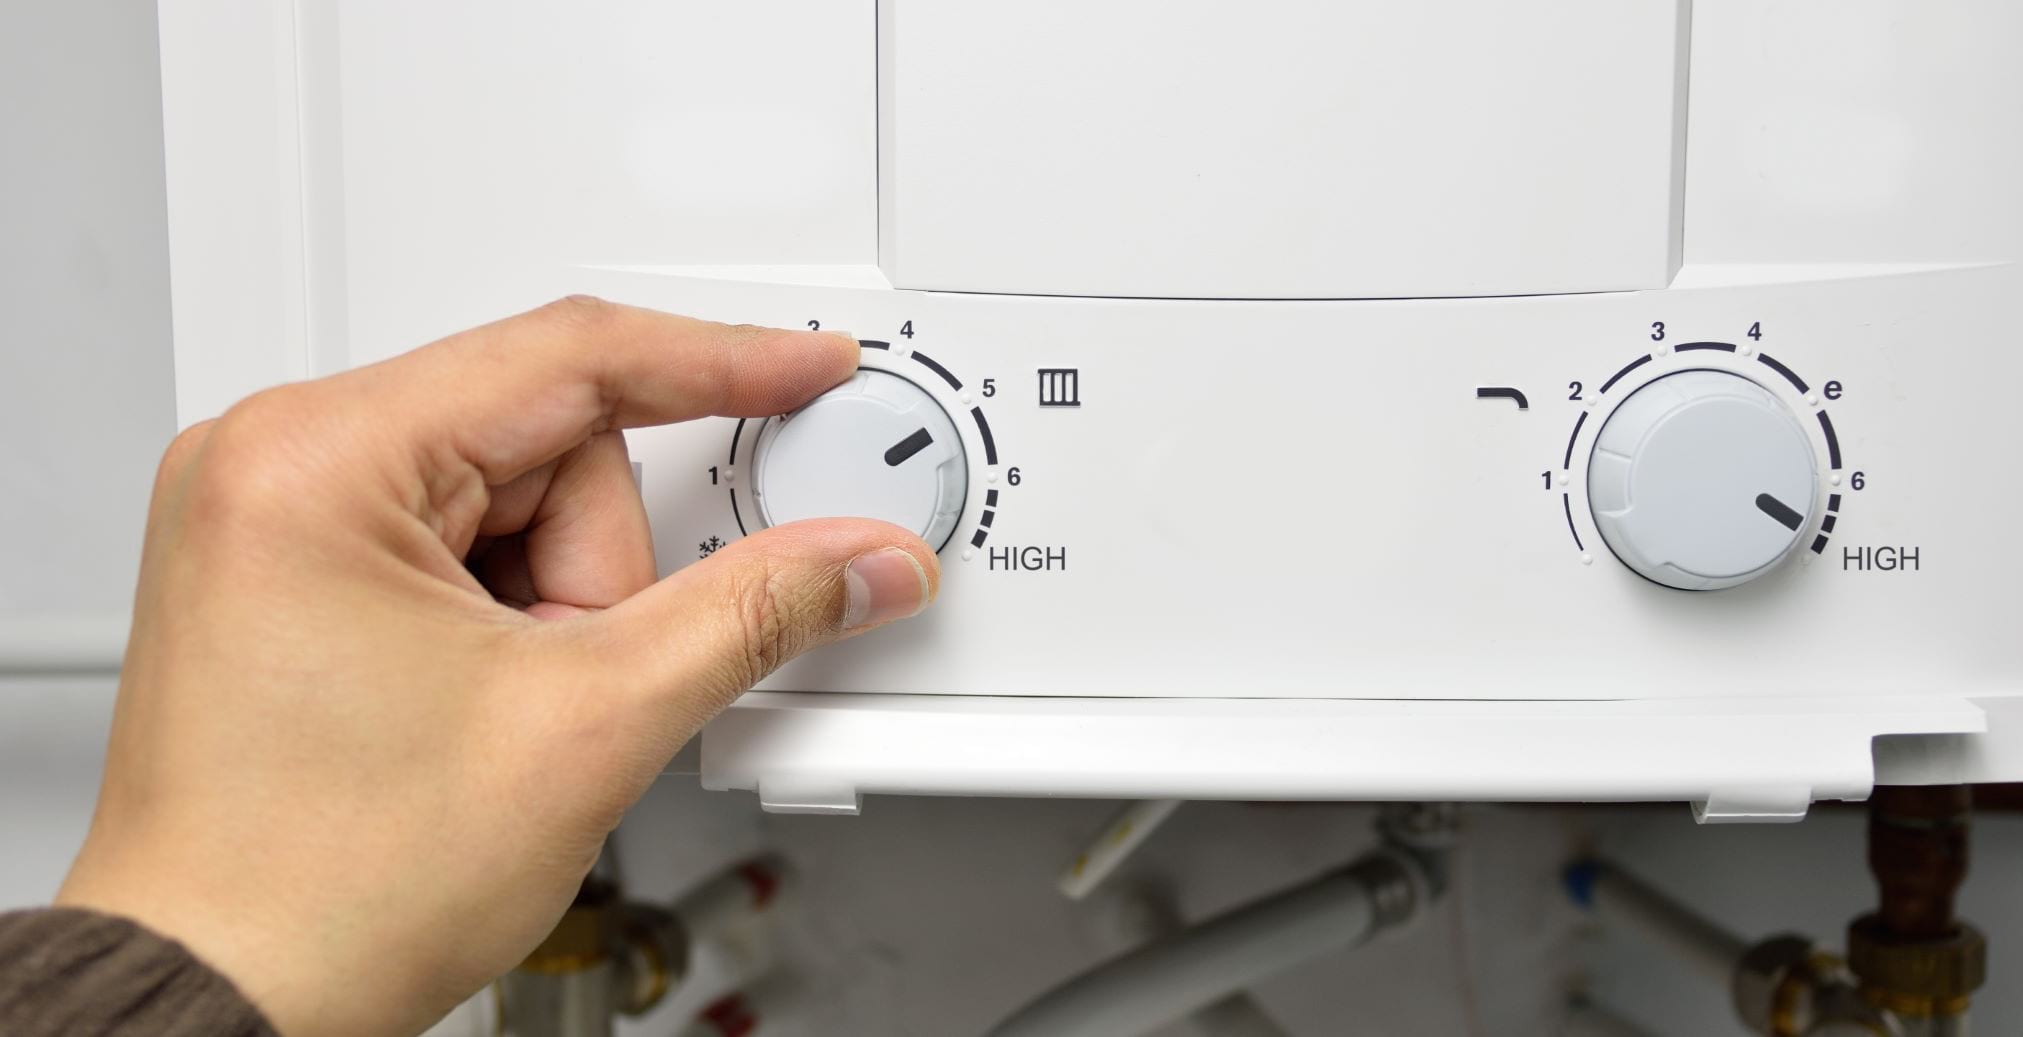
Water heater elements are powered by electricity and are connected to the water heater thermostat. The thermostat monitors and regulates the temperature of the water, signaling the elements to turn on or off as needed. It’s important to note that the elements are submerged in water, which acts as a cooling medium. This prevents overheating and potential damage to the components.
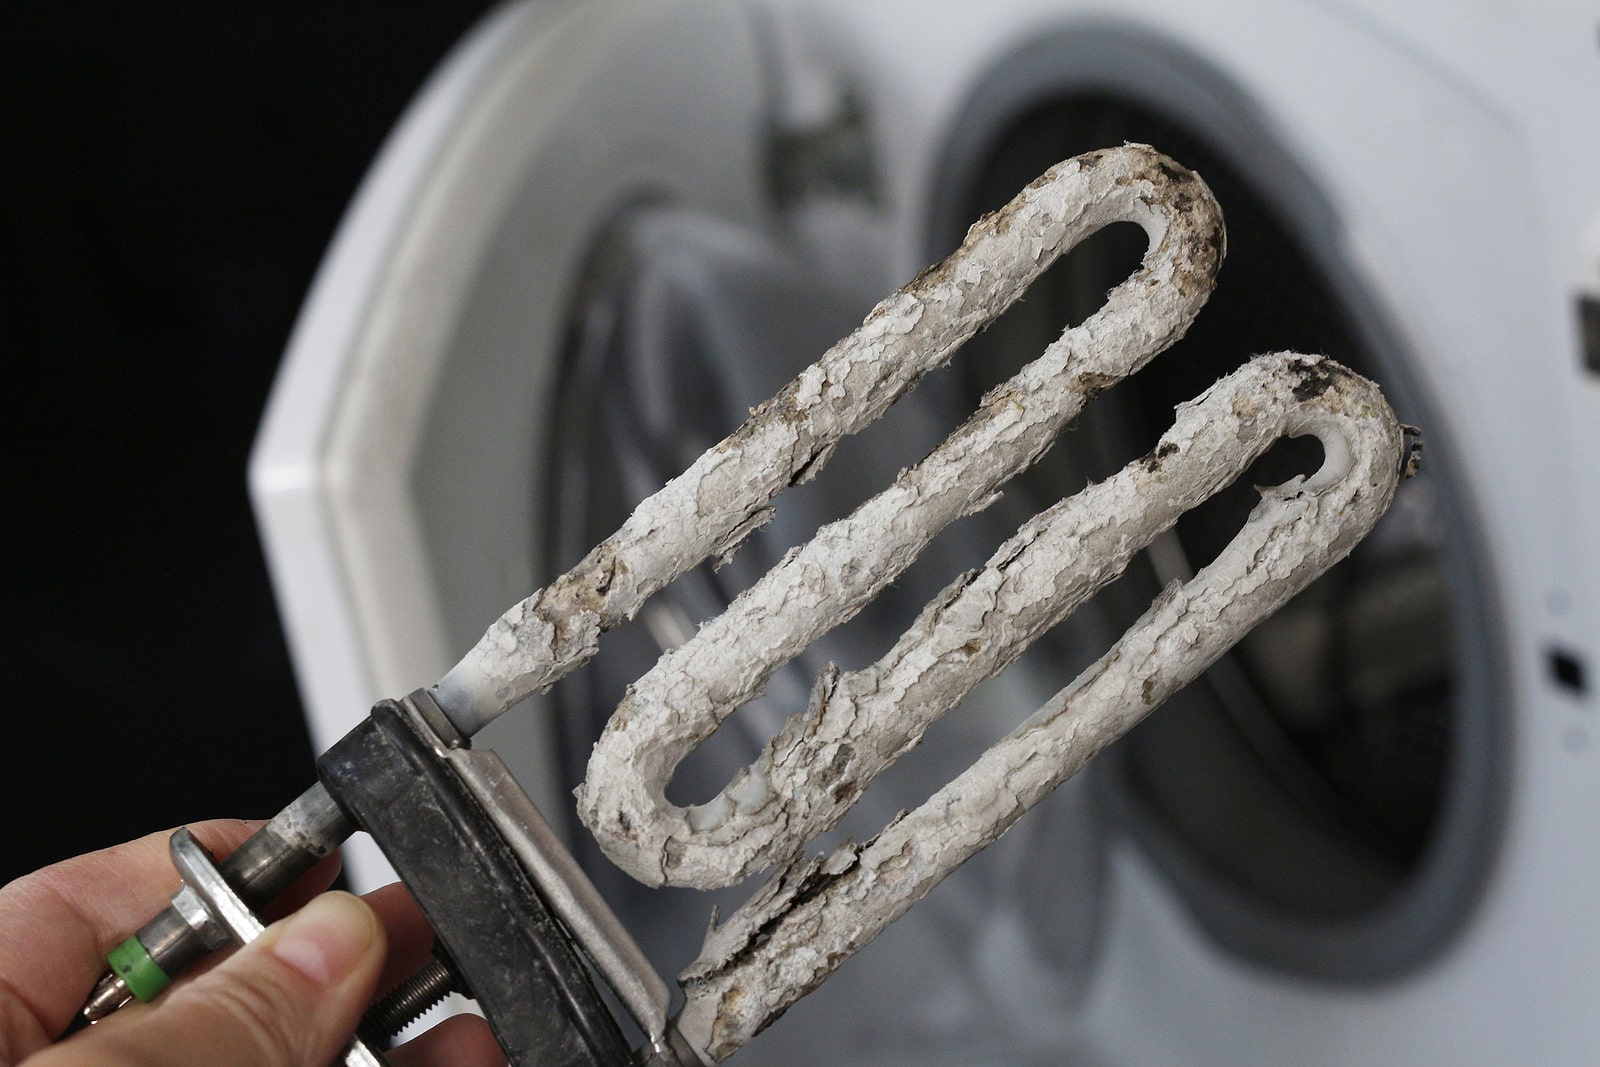
Over time, water heater elements may develop issues due to normal wear and tear or mineral buildup. Sediments in the water can accumulate on the element’s surface, forming a layer that reduces its efficiency. In some cases, elements may become completely non-functional and require replacement.
Having a basic understanding of water heater elements will help you diagnose any issues and make informed decisions regarding their maintenance or replacement. In the next section, we will discuss the common signs that indicate a faulty water heater element.
Signs of a Faulty Water Heater Element
Recognizing the signs of a faulty water heater element is crucial in maintaining the performance and longevity of your water heater. Here are some common indicators that may suggest a problem with the elements:
- Lack of hot water: If you notice a significant decrease in the amount of hot water available or if the water doesn’t get as hot as it used to, it could be a sign of a failing water heater element. The element may not be heating the water sufficiently, resulting in lukewarm or cold water.
- Inconsistent water temperature: If you experience fluctuating water temperature, where it alternates between hot and cold, it may indicate a faulty element. The element may be partially working or intermittently heating the water, causing uneven temperature output.
- Longer heating time: If it takes longer than usual for the water heater to heat up, it could be a sign of a struggling element. As the element loses its efficiency, it requires more time to heat the water to the desired temperature.
- Strange noises: Unusual sounds coming from the water heater, such as popping or crackling noises, can indicate mineral buildup on the heating elements. When sediments accumulate on the surface of the element, they can create a barrier that hinders efficient heat transfer.
- Visible damage: Inspect the elements for any visible signs of damage, such as corrosion, rust, or cracks. These can directly affect the performance of the element and may require immediate attention.
If you notice any of these signs, it’s important to take action to address the issue promptly. Ignoring a faulty water heater element can lead to further damage to the system or result in higher energy bills due to reduced efficiency. In the next section, we will discuss the safety precautions you should take before attempting to check the water heater element.
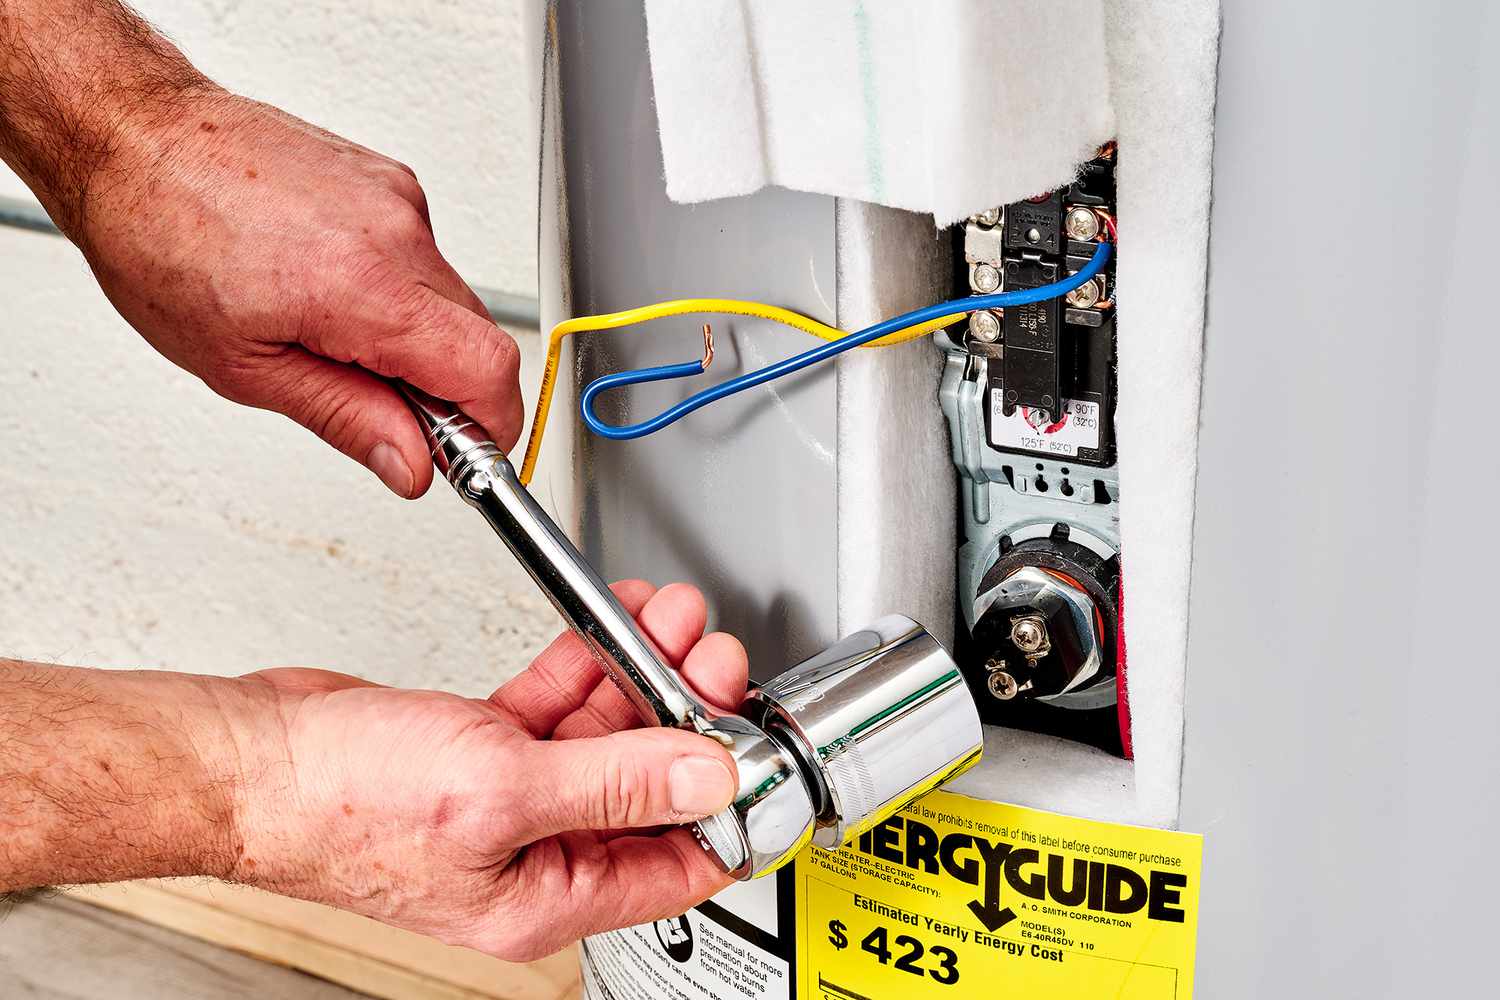
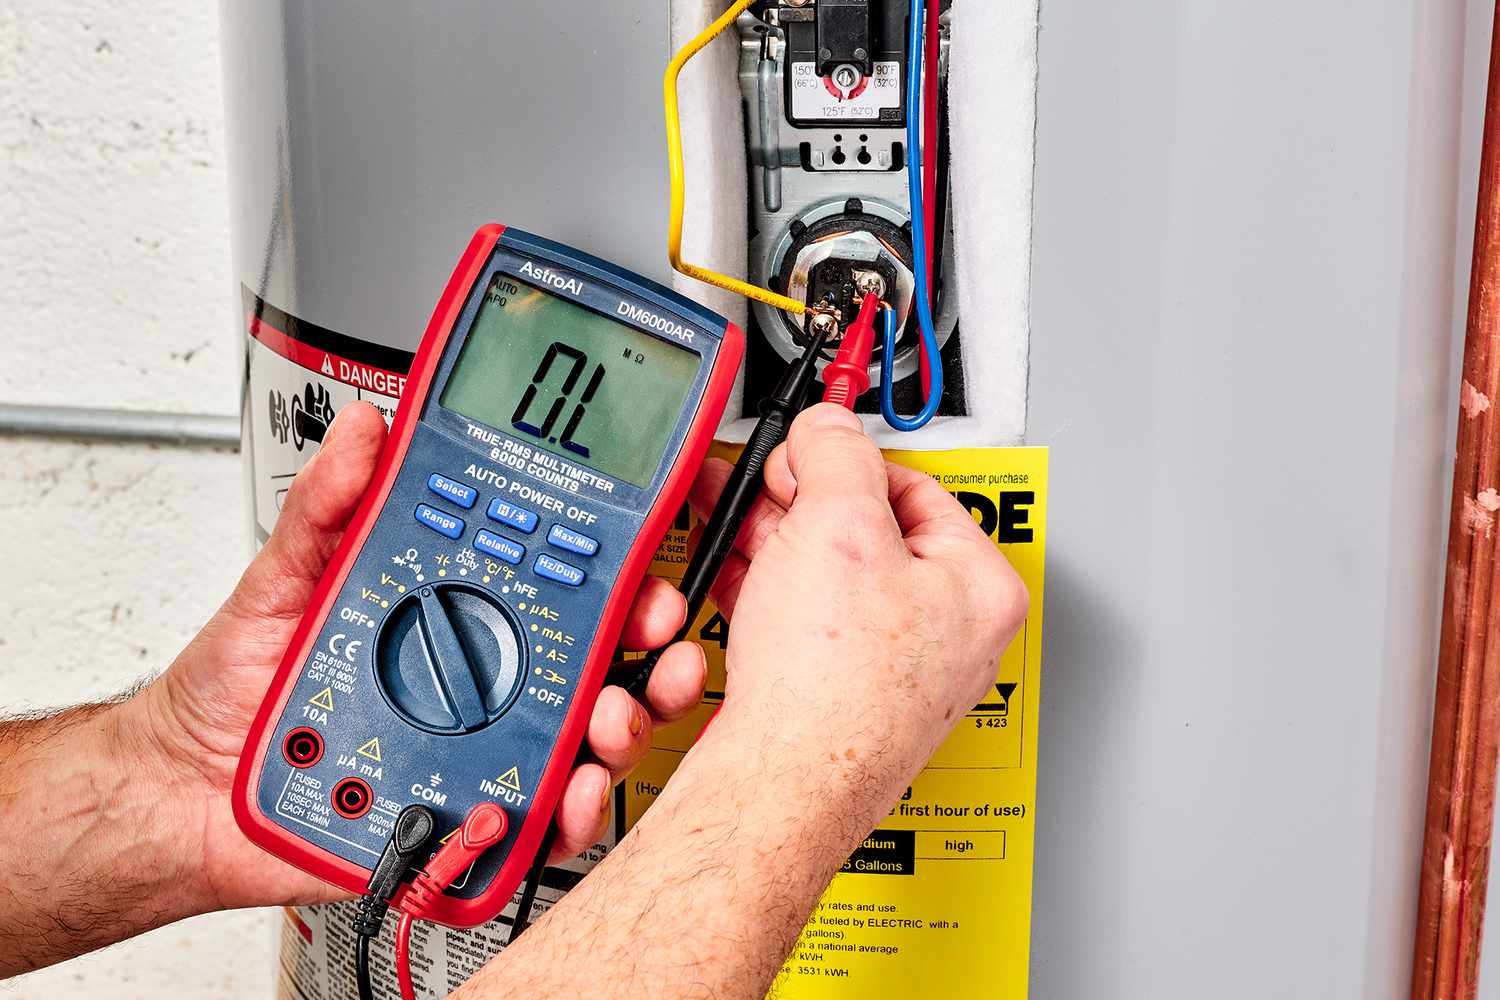
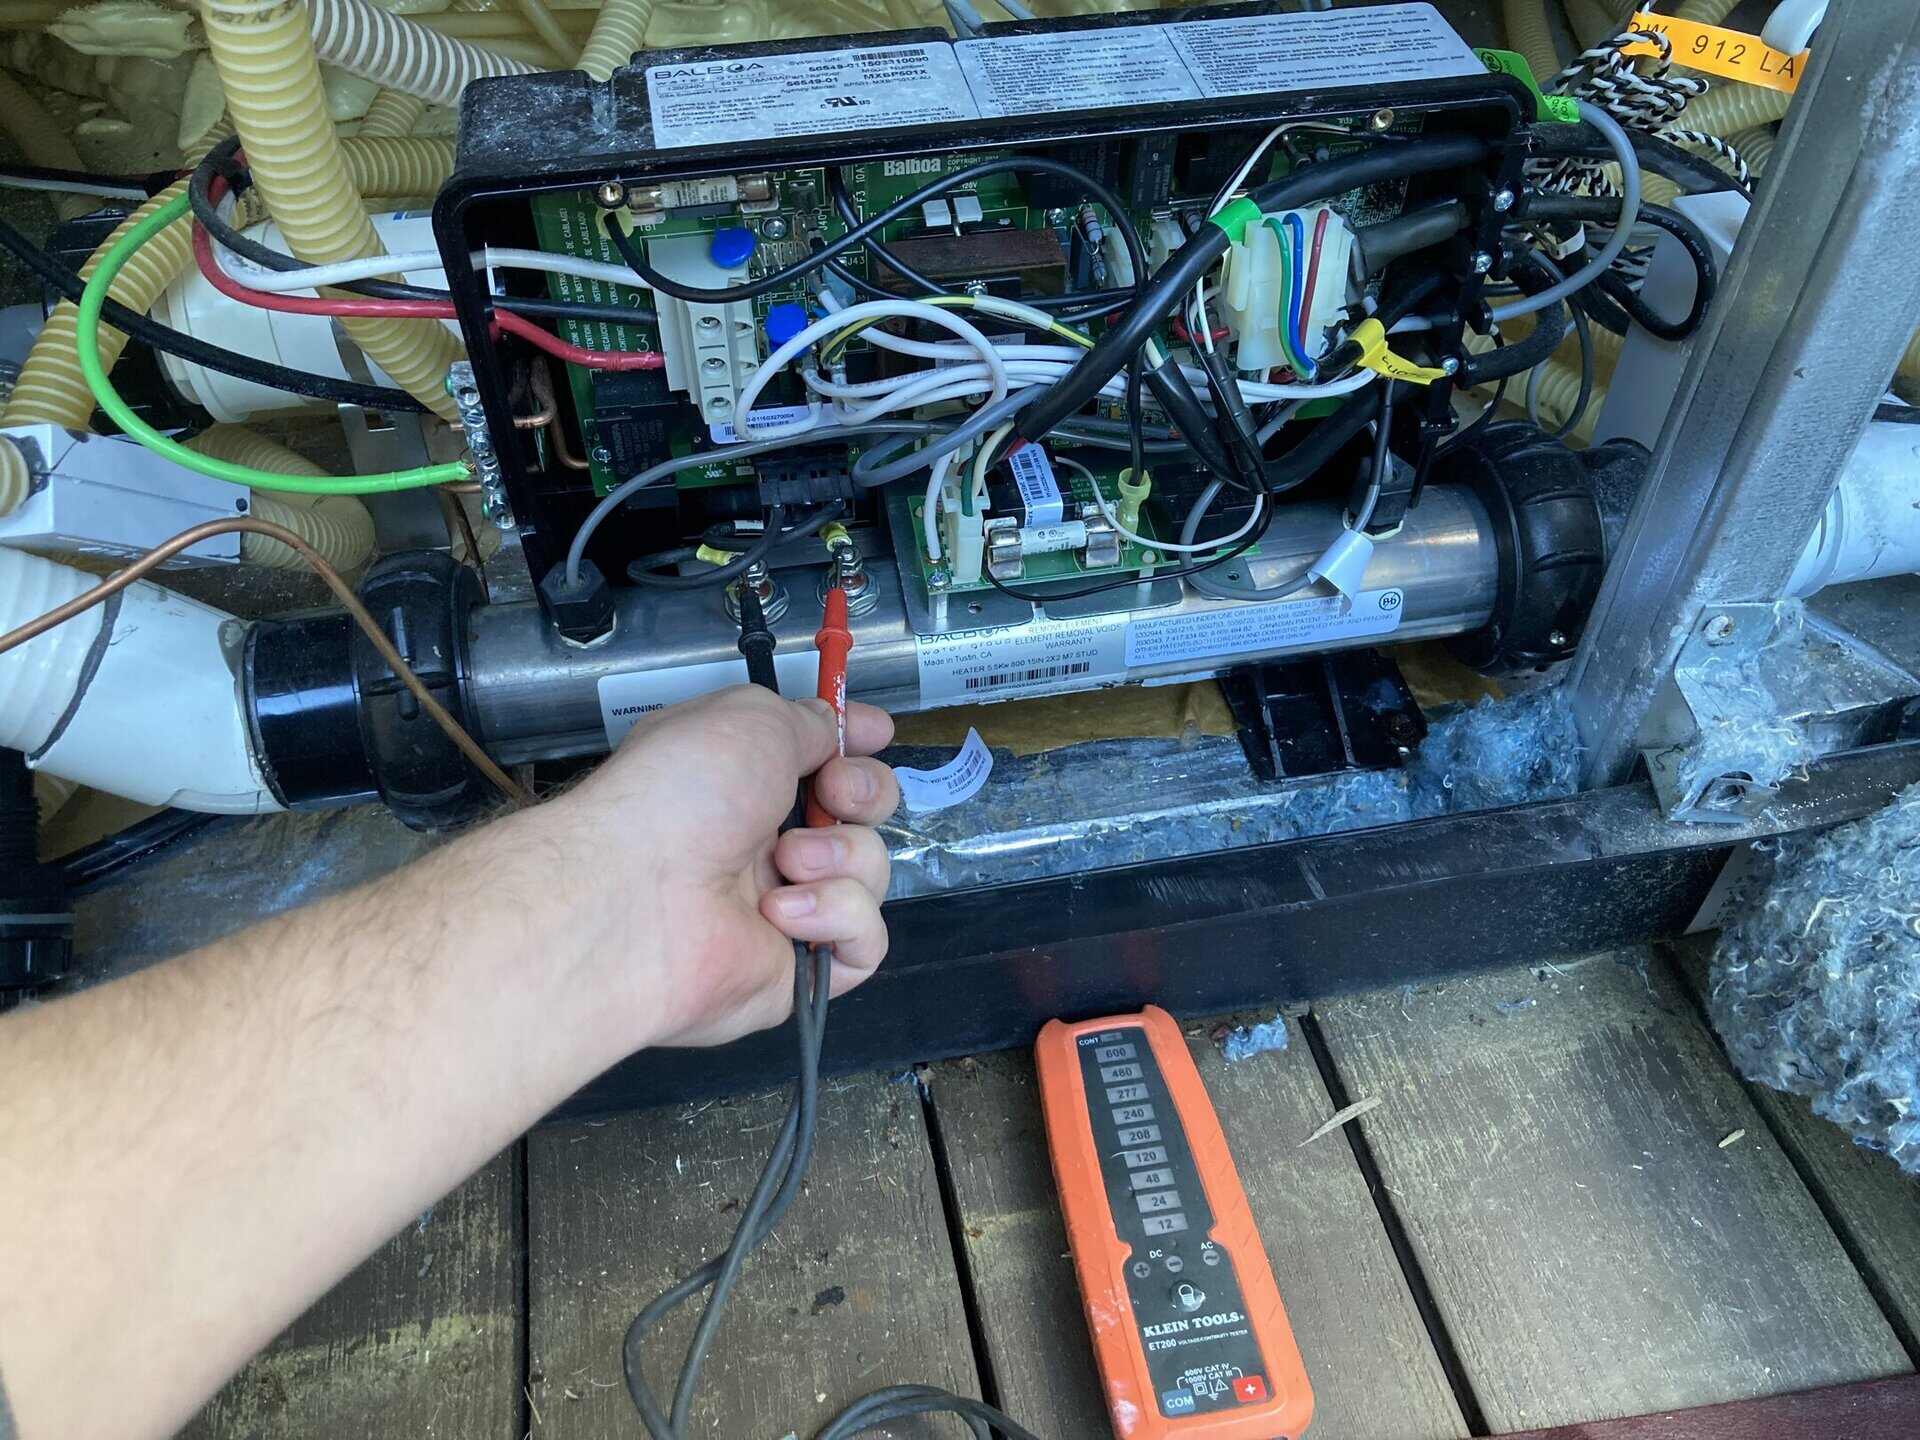
Before checking the water heater element, make sure to turn off the power and water supply to the heater. Use a multimeter to test for continuity in the element. If there is no continuity, the element may need to be replaced.
Safety Precautions Before Checking Water Heater Element
Before you begin checking your water heater element, it is crucial to prioritize safety to prevent any accidents or injuries. Here are some essential safety precautions you should follow:
- Power off the water heater: Start by turning off the power to the water heater at the circuit breaker or fuse box. This will ensure that there is no electricity flowing to the water heater during the inspection process. The last thing you want is to accidentally come into contact with live electrical components.
- Shut off the water supply: Locate the main water supply valve leading to the water heater and shut it off. This will prevent any potential leaks or flooding while you are working on the element.
- Allow time for the water to cool: Hot water can cause burns and scalding, so it’s crucial to allow the water in the tank to cool down before conducting any inspections. Give it several hours to cool off to a safe temperature before proceeding.
- Use appropriate protective gear: When working on the water heater, it’s wise to wear safety goggles, gloves, and protective clothing. These will help protect you from potential hazards, such as flying debris or sharp edges.
- Have a fire extinguisher nearby: In the event of a fire or electrical mishap, having a fire extinguisher nearby can help you quickly control and extinguish the flames. Make sure the fire extinguisher is in good working condition and easily accessible.
- Read the water heater manual: Familiarize yourself with the specific instructions and precautions mentioned in your water heater’s manual. Different models and brands may have unique guidelines, so it’s important to follow the manufacturer’s recommendations.
By following these safety precautions, you will minimize risks and ensure a safe working environment. Remember, if you are unsure or uncomfortable performing the inspection yourself, it’s best to consult a professional plumber or technician who has the expertise to handle water heater elements safely. In the next section, we will guide you through the steps to check your water heater element.
Steps to Check Water Heater Element
Once you have taken the necessary safety precautions, you can proceed with checking your water heater element. Here are the steps you can follow:
- Prepare the necessary tools: Gather the tools you will need for the inspection, including a multimeter, screwdriver, and a flashlight. These tools will help you accurately assess the condition of the water heater element.
- Locate the access panel: On most water heaters, the access panel is located near the bottom of the unit. Use a screwdriver to remove the access panel and expose the heating elements and the thermostat.
- Test for power: With the multimeter set to the voltage mode, touch the multimeter probes to the terminals of the element to check for electrical current. Ensure that the power supply to the water heater is turned off before conducting this test. If there is still power present, do not proceed further and consult a professional.
- Inspect the elements: Visually inspect the heating elements for signs of damage or corrosion. Look for discolored areas, rust, or cracks. If any of these issues are present, it’s a clear indication that the element needs to be replaced.
- Measure resistance: Set the multimeter to the resistance mode and touch the probes to the terminal screws of the element. A healthy element should display a resistance reading within the specified range mentioned in your water heater’s manual. If the reading is significantly different or shows no continuity, it indicates a faulty element.
- Replace the faulty element: If you have determined that the element is indeed faulty based on the visual inspection and resistance test, it is time to replace it. Follow the instructions provided in your water heater’s manual for proper element replacement.
- Reassemble and test: Once the new element is installed, reassemble the access panel, and turn on the power supply and water to the water heater. Monitor the water heater’s performance to ensure that it is producing hot water as expected.
Remember, if you are unsure about any step or encounter difficulties during the inspection process, it is best to seek the assistance of a professional plumber or technician. They will have the expertise to properly diagnose and address any issues with your water heater element.
Read more: How To Check Electric Water Heater
Conclusion
Checking your water heater element is an important task that can help maintain the efficiency and functionality of your water heater. By recognizing the signs of a faulty element and following the necessary safety precautions, you can identify any issues and take appropriate action to rectify them.
Understanding the purpose and function of water heater elements allows you to make more informed decisions regarding their maintenance and replacement. Regular inspections and prompt replacement of faulty elements can help you avoid potential issues such as decreased hot water supply, inconsistent water temperature, and increased energy consumption.
Remember to always prioritize safety when working with water heater elements. Follow the recommended precautions, including turning off the power supply, shutting off the water, and allowing the water to cool before conducting any inspections. If you are unsure or uncomfortable performing the inspection yourself, it is best to consult a professional plumber or technician.
By following the step-by-step guide outlined in this article, you can confidently check your water heater element and address any concerns that may arise. Proper maintenance and timely replacement of faulty elements will ensure that your water heater continues to provide reliable hot water for your daily needs.
Investing time and effort in checking and maintaining your water heater element will ultimately contribute to the longevity and efficient operation of your water heating system, providing you with consistent hot water whenever you need it.
Now that you're equipped with the know-how to check your water heater element, why stop there? Expand your DIY skills by diving into our guide on home repairs. From fixing leaky faucets to patching up drywall, mastering these essentials can save you time and money. Ready to tackle more projects around your house? Our comprehensive guide will help you handle common repairs with confidence.
Frequently Asked Questions about How To Check Water Heater Element
Was this page helpful?
At Storables.com, we guarantee accurate and reliable information. Our content, validated by Expert Board Contributors, is crafted following stringent Editorial Policies. We're committed to providing you with well-researched, expert-backed insights for all your informational needs.


0 thoughts on “How To Check Water Heater Element”