Home>Home Maintenance>How To Check For Water In The Ventilation System
Home Maintenance
How To Check For Water In The Ventilation System
Modified: March 6, 2024
Learn how to properly check for water in your home's ventilation system. Ensure your home's ventilation system is functioning efficiently with our home maintenance tips.
(Many of the links in this article redirect to a specific reviewed product. Your purchase of these products through affiliate links helps to generate commission for Storables.com, at no extra cost. Learn more)
Introduction
Welcome to our comprehensive guide on how to check for water in the ventilation system. As homeowners, it is crucial to regularly inspect and maintain our ventilation systems to ensure their optimal functioning. One common issue that can arise is the presence of water in the ventilation system, which can cause serious damage and reduce the efficiency of the system.
In this article, we will explain the importance of checking for water in the ventilation system and provide you with a step-by-step guide on how to do it effectively. By understanding the signs of water in the system, gathering the necessary tools and materials, and following our instructions, you can proactively identify and resolve any water-related issues in your ventilation system.
So let’s delve into the topic and learn how to protect your home from the potential damage caused by water in the ventilation system!
Key Takeaways:
- Regularly checking for water in your home’s ventilation system is crucial to prevent mold, damage, and health issues. Use a flashlight, screwdriver, and absorbent material to inspect and address any water-related issues promptly.
- Signs of water in the ventilation system include dripping water, musty odors, visible mold, water stains, and decreased airflow. Be proactive in checking for these signs and take necessary measures to resolve any issues.
Read more: How To Check For Mold In HVAC System
Understanding the Importance of Checking for Water in the Ventilation System
The ventilation system plays a crucial role in maintaining indoor air quality and creating a comfortable living environment. It helps to circulate fresh air, remove stale air, and control humidity levels. However, when water infiltrates the ventilation system, it can disrupt this delicate balance and lead to a range of issues.
One of the primary concerns with water in the ventilation system is the potential for mold and mildew growth. Mold spores thrive in damp environments, and if left unchecked, they can spread rapidly throughout the system and into your home. Exposure to mold can cause various health problems, including respiratory issues, allergies, and even infections.
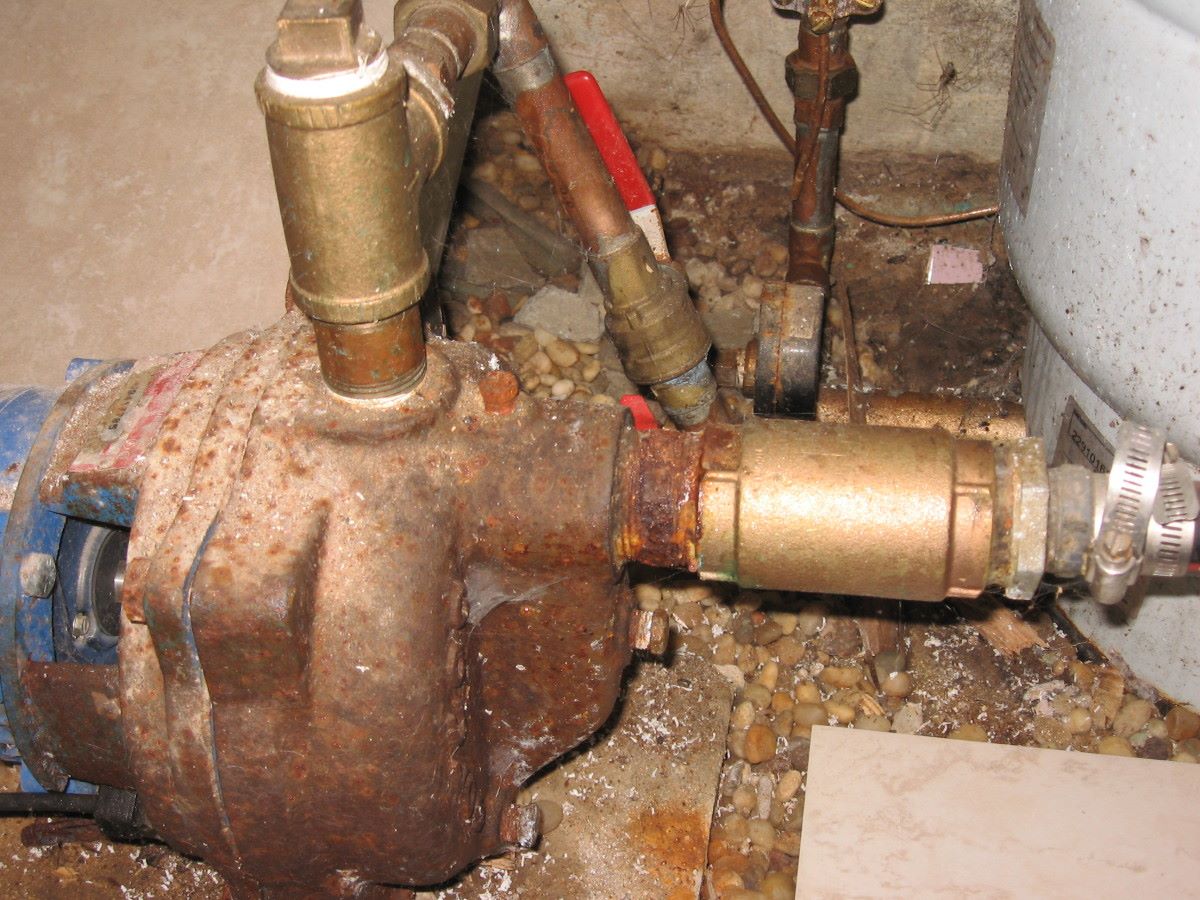
Another consequence of water in the ventilation system is the deterioration of the system’s components. Water can cause rust, corrosion, and damage to the ductwork, fan motors, filters, and other parts of the system. This damage can lead to reduced efficiency, increased energy consumption, and even system malfunctions.
In addition to the health risks and damage to the ventilation system, water in the system can also indicate underlying issues in your home, such as leaks or condensation problems. By detecting and addressing these issues early on, you can avoid more extensive and costly repairs in the future.
Regularly checking for water in the ventilation system is an essential part of home maintenance. It allows you to identify and resolve any water-related issues promptly, ensuring the longevity and optimal performance of your ventilation system.
Now that we understand the importance of checking for water in the ventilation system, let’s move on to the next section, where we will discuss the signs that indicate the presence of water in the system.
Signs of Water in the Ventilation System
Detecting water in the ventilation system early on is crucial to prevent further damage and ensure the health and efficiency of your home. Here are some signs that indicate the presence of water in the ventilation system:
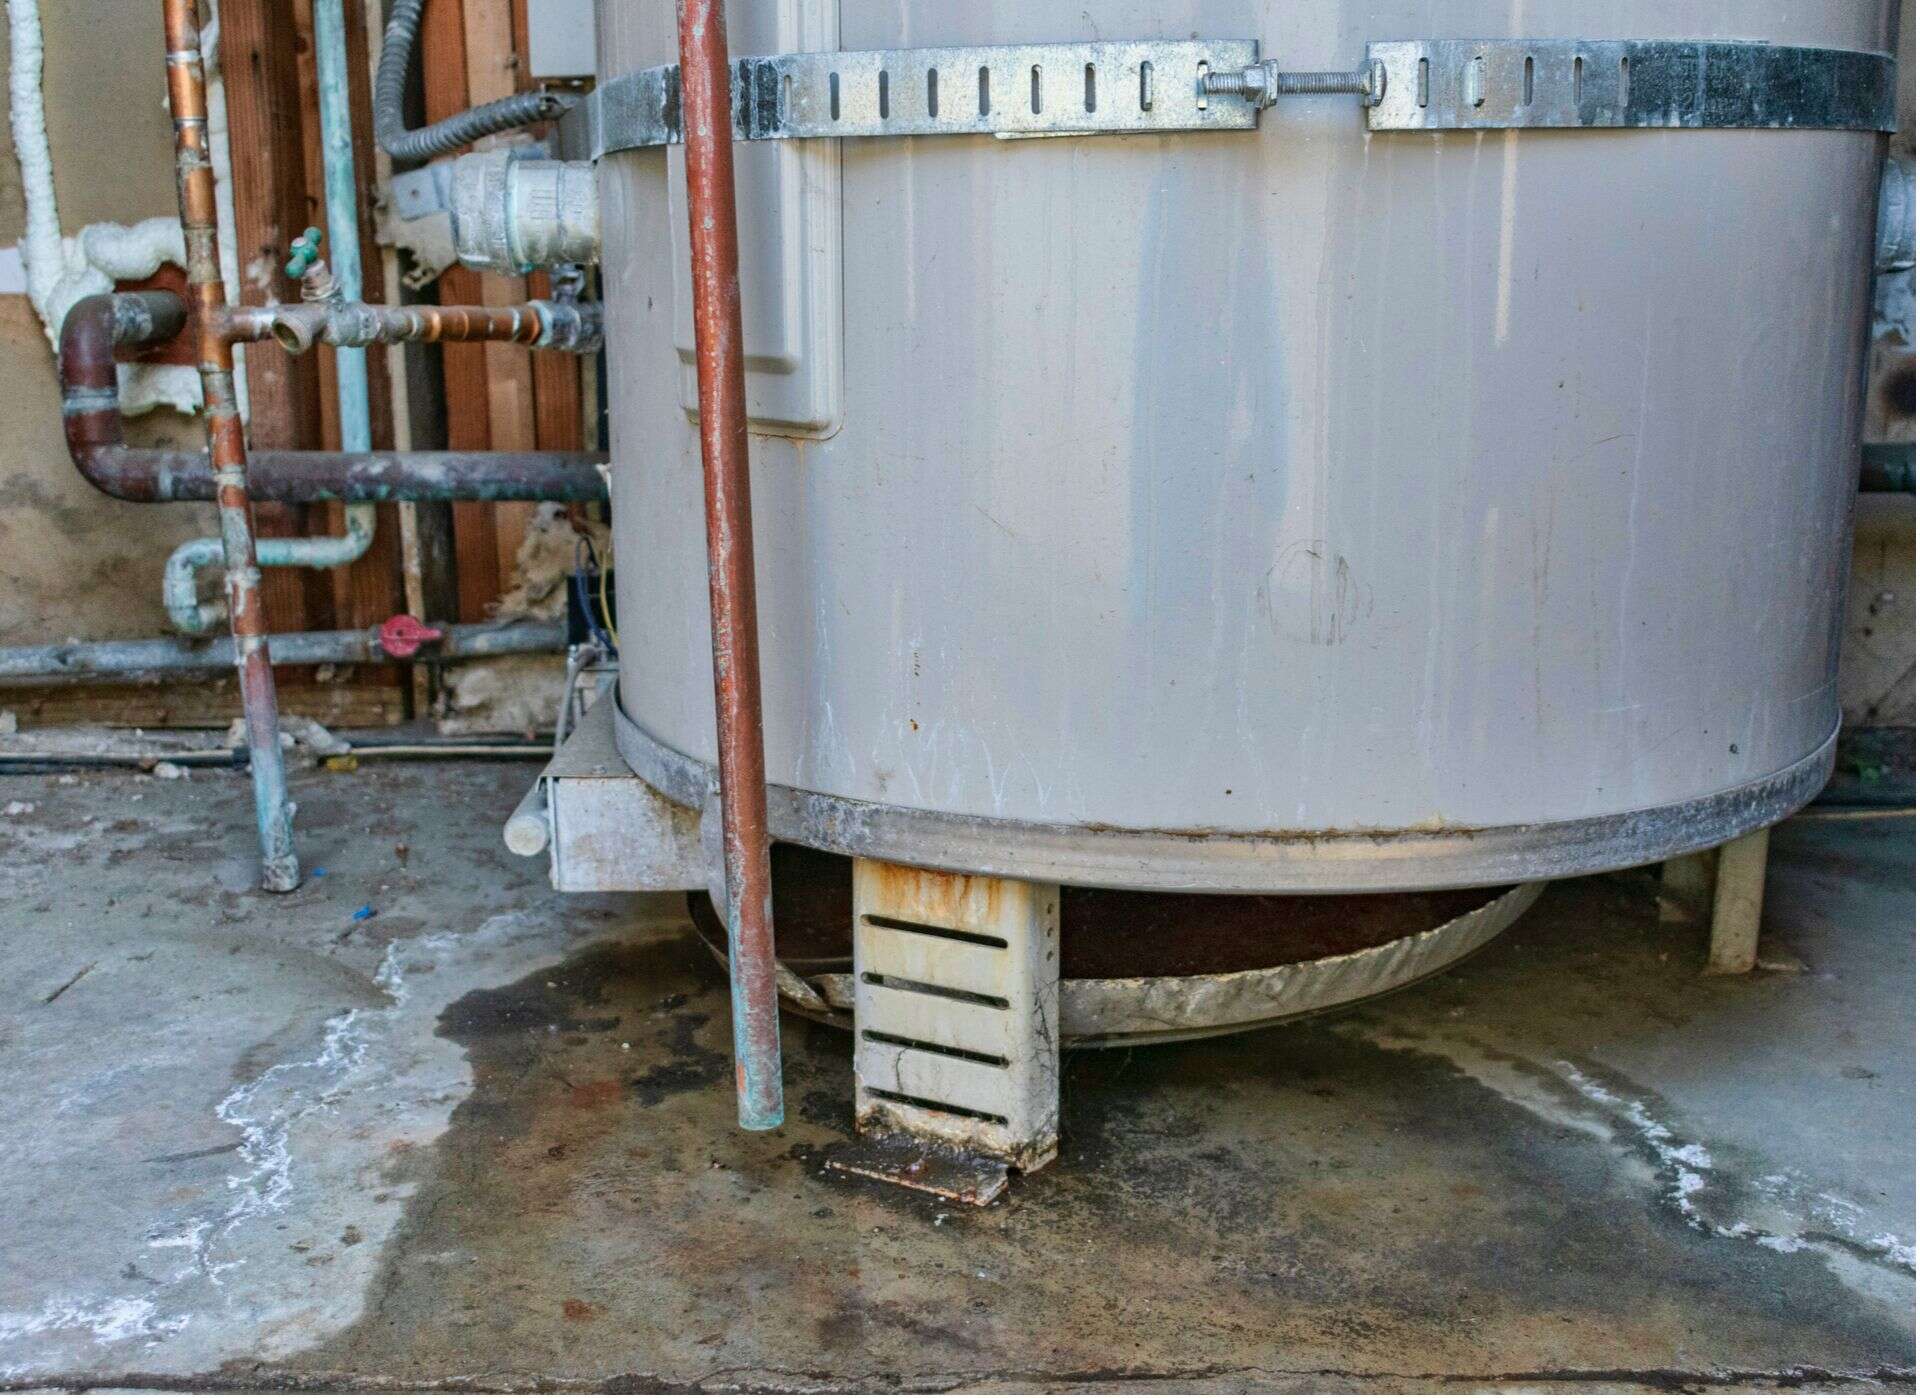
- Dripping or pooling water: If you notice water dripping from vents or pooling around them, it is a clear indication of water infiltration. This could be due to leaks in the ductwork, condensation buildup, or other plumbing issues.
- Musty or moldy odors: The presence of mold or mildew in the ventilation system often results in a strong, musty smell. If you detect unusual odors coming from your vents, it is a sign that there may be water-related issues in the system.
- Visible mold or mildew: If you see any visible signs of mold or mildew around your vents, it is a clear indication of water infiltration. Mold and mildew thrive in damp environments, so their presence suggests excess moisture in the ventilation system.
- Water stains or discoloration: Look out for water stains or discoloration on the ceilings, walls, or around the vents. These stains may indicate that water is seeping through the ductwork or other components of the ventilation system.
- Decreased airflow: If you notice reduced airflow from your vents, it could be a result of water blocking or obstructing the passages. Water can accumulate in the ducts and restrict the smooth flow of air, reducing the effectiveness of your ventilation system.
It is important to note that these signs may vary depending on the severity and location of the water infiltration. If you notice any of these signs or suspect water in your ventilation system, it is recommended to address the issue promptly to prevent further damage and ensure the health and comfort of your home.
Now that we are familiar with the signs of water in the ventilation system, let’s move on to the next section, where we will discuss the tools and materials you will need to check for water in the system.
Regularly inspect the ventilation system for any signs of water accumulation, such as dampness, mold, or musty odors. This can help prevent potential damage and health hazards.
Tools and Materials Needed
Before you begin checking for water in the ventilation system, it is important to gather the necessary tools and materials. Here’s a list of what you’ll need:
- Flashlight: A flashlight will come in handy to help you see inside the ductwork and identify any signs of water.
- Screwdriver: You may need a screwdriver to remove vent covers or access panels to inspect the interior of the ventilation system.
- Absorbent material: Have some absorbent material, such as paper towels or rags, to wipe away any moisture you encounter during the inspection.
- Mold test kit (optional): If you suspect mold growth in the ventilation system, you may consider using a mold test kit to collect samples for analysis.
- Protective gear: It is always a good idea to wear protective gear, such as gloves and a mask, especially if you suspect the presence of mold or if you will be working with damp materials.
Having these tools and materials prepared in advance will ensure a smoother inspection process and help you stay safe throughout the procedure. Now that you have everything you need, let’s move on to the next section, where we will provide a step-by-step guide on how to check for water in the ventilation system.
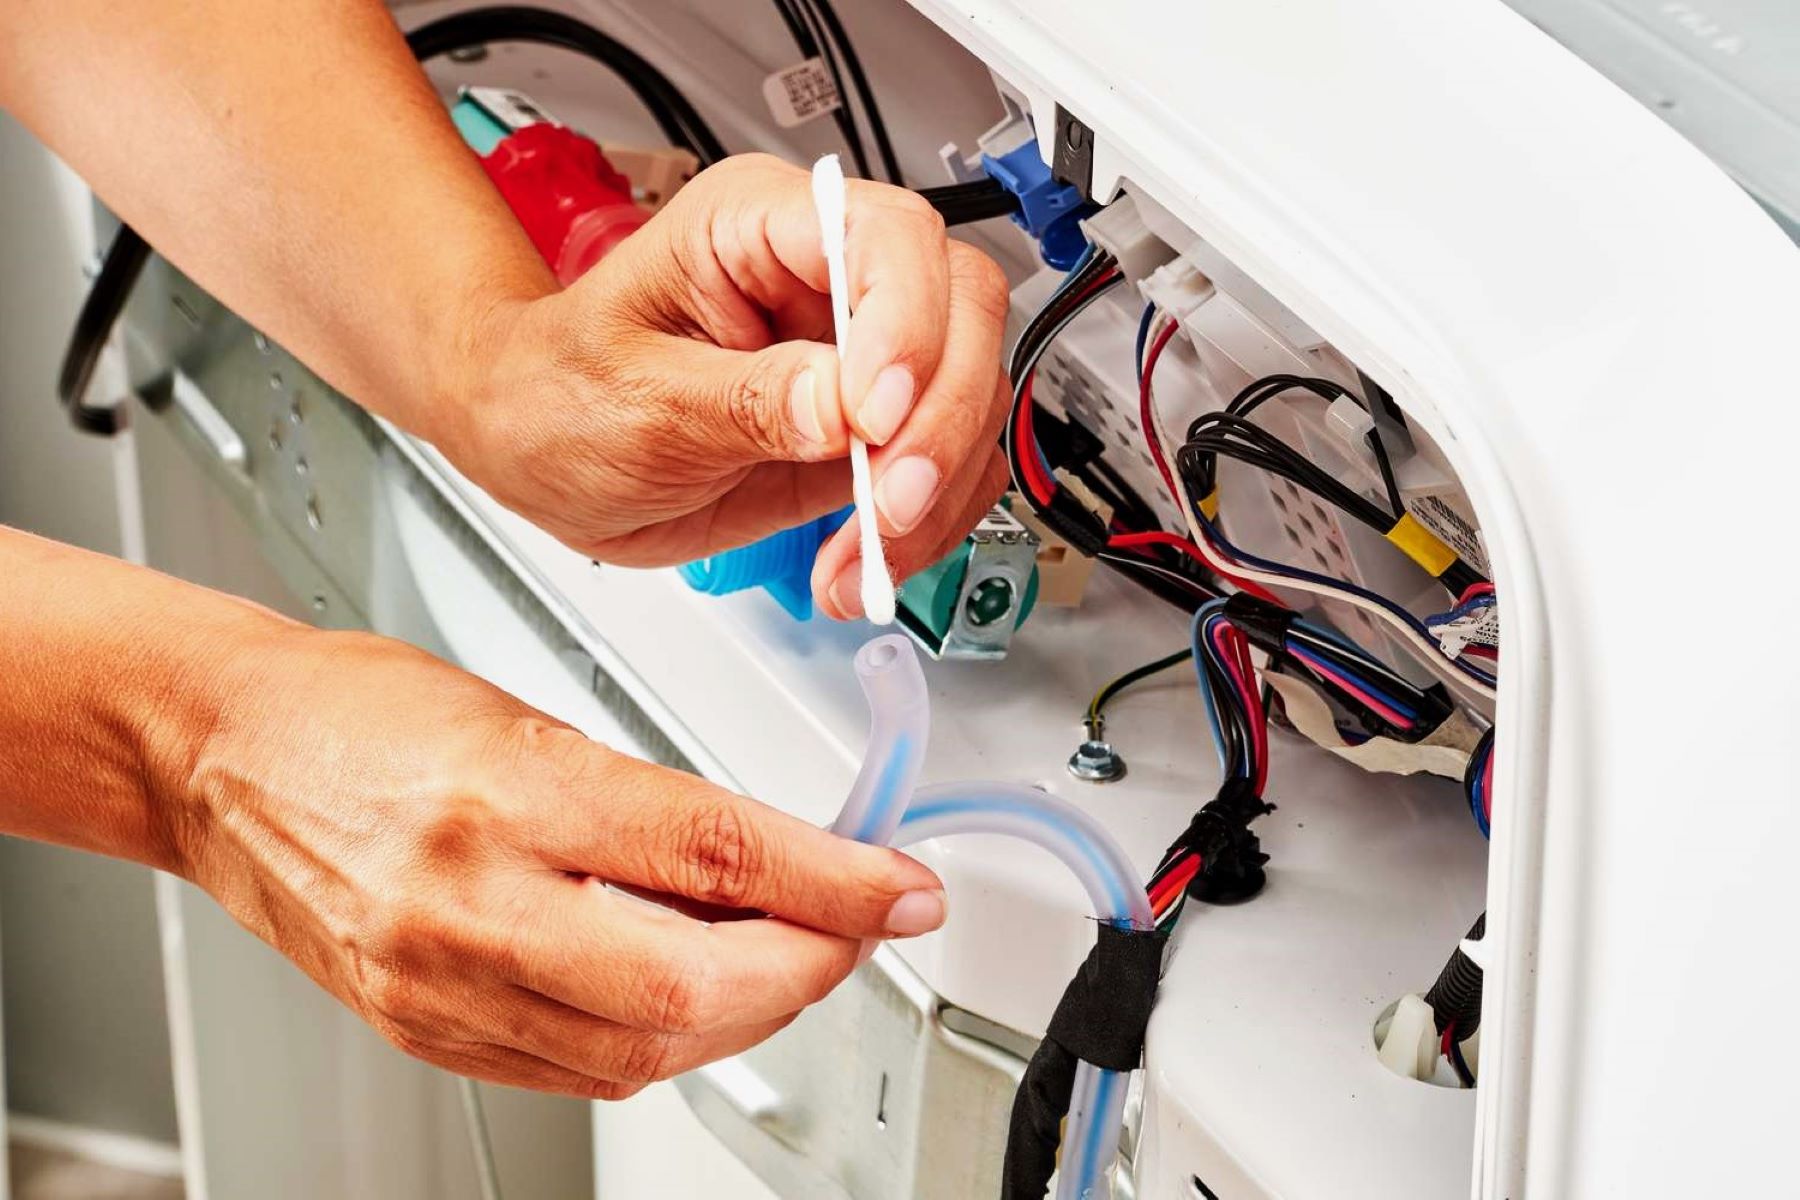
Step-by-step Guide on How to Check for Water in the Ventilation System
Now that you have gathered the necessary tools and materials, let’s dive into the step-by-step process of checking for water in the ventilation system:
- Turn off the HVAC system: Before you begin inspecting the ventilation system, it is important to turn off the HVAC system to ensure your safety and prevent any potential mishaps.
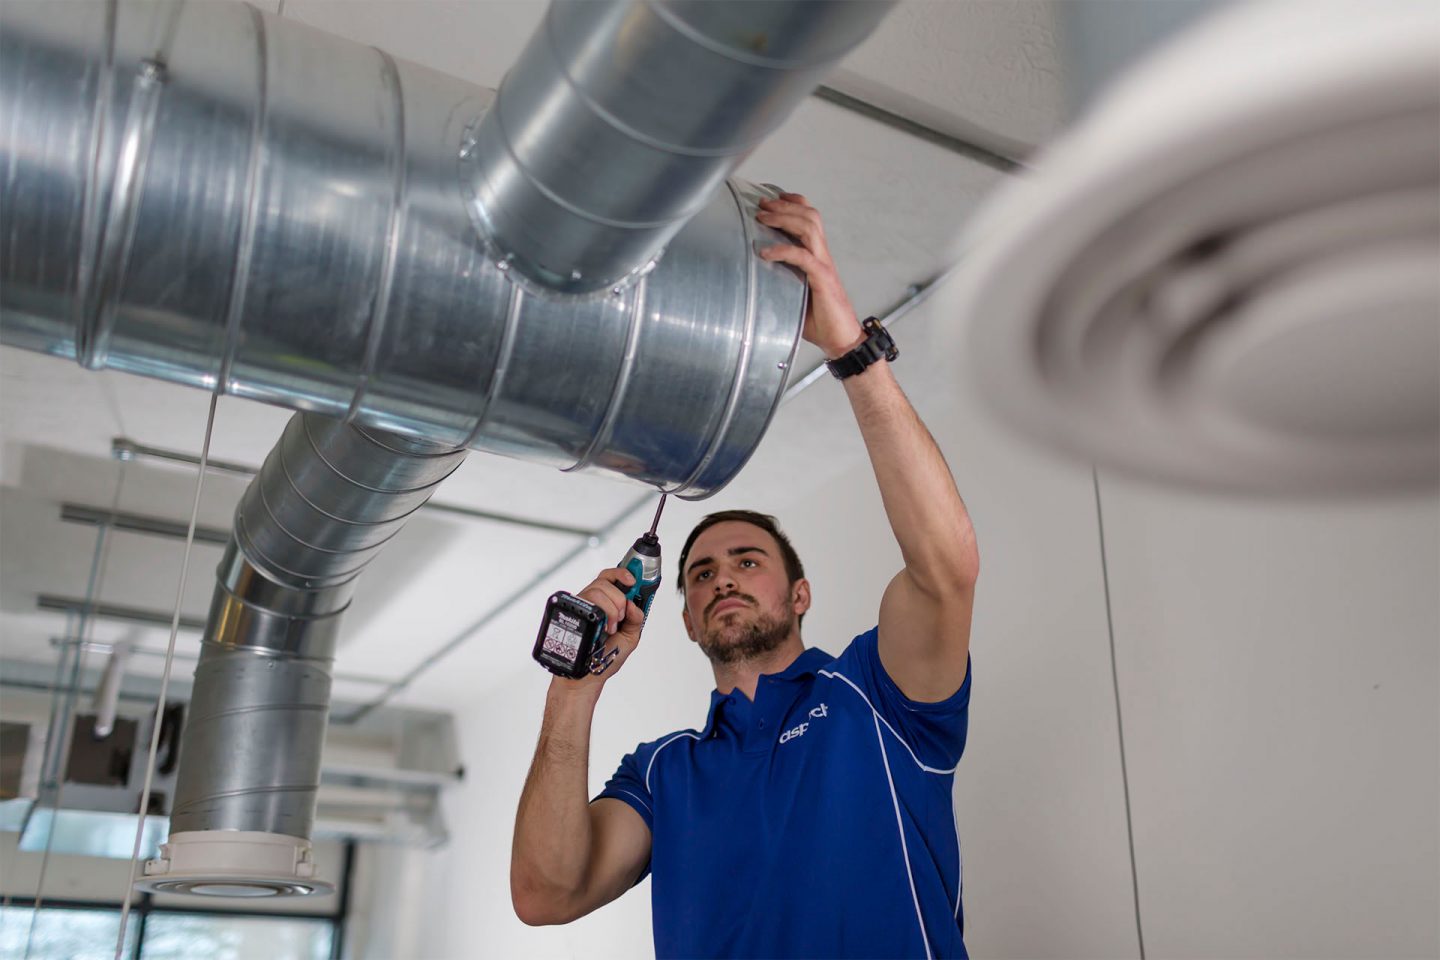
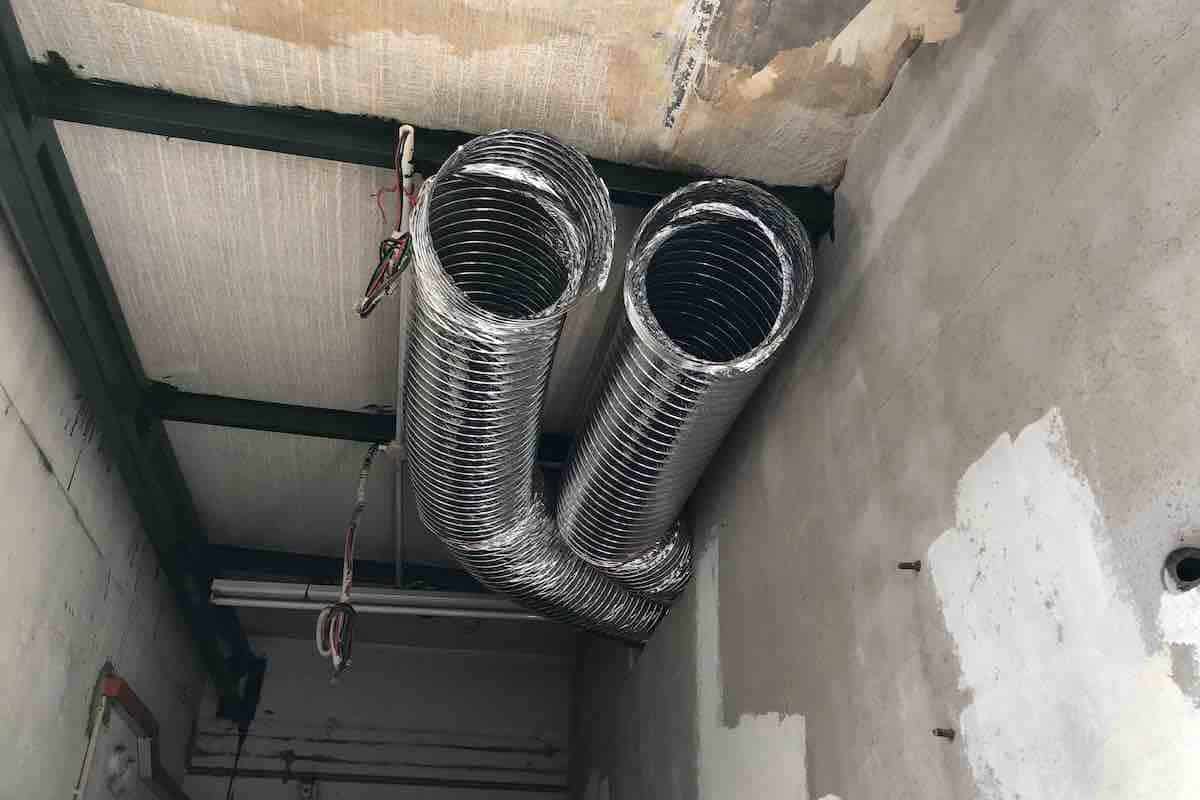
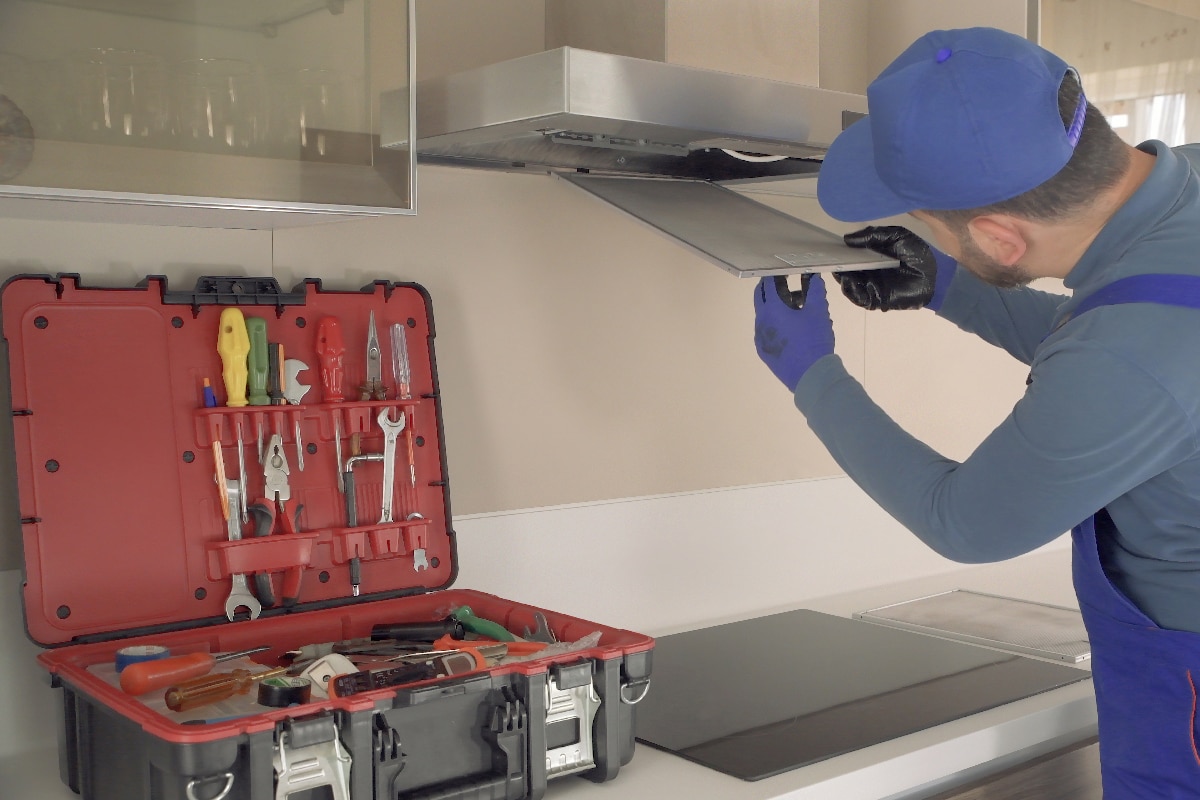
- Remove vent covers or access panels: Using a screwdriver, remove the vent covers or access panels to gain access to the interior of the ventilation system. Be gentle and careful not to damage any components.
- Inspect the ductwork: Use a flashlight to carefully inspect the ductwork for any signs of water, such as dripping, pooling, or condensation. Look for any visible mold or mildew growth as well. Pay close attention to areas where pipes or ducts may intersect, as these are common places for leaks to occur.
- Check for water stains or discoloration: Examine the walls, ceilings, and areas surrounding the vents for any water stains or discoloration. These may indicate water infiltration from the ventilation system.
- Feel for moisture: Gently touch the walls around the vents and along the ductwork to feel for any moisture. If you notice dampness or wetness, there may be a water-related issue that needs to be addressed.
- Use a mold test kit (if necessary): If you suspect mold growth in the ventilation system, follow the instructions provided with the mold test kit to collect samples for analysis. This will help identify the presence of mold and determine the appropriate steps for remediation.
- Clean and address any issues: If you discover any signs of water or mold, it is crucial to take action promptly. Clean any visible mold with appropriate cleaning solutions and address any leaks or condensation problems that you encountered during the inspection.
- Replace vent covers or access panels: Once you have completed the inspection and addressed any issues, securely replace the vent covers or access panels to protect the interior of the ventilation system.
Following these steps will help you effectively check for water in the ventilation system and take necessary measures to resolve any issues you come across. Remember, if you encounter significant water damage or mold growth, it is advisable to consult with a professional for further evaluation and remediation.
Now that you are equipped with the knowledge to check for water in the ventilation system, it’s time to wrap up this guide.
Read more: How To Check Water Heater Element
Conclusion
Regularly checking for water in the ventilation system is an essential part of home maintenance. By proactively identifying and addressing any water-related issues, you can prevent further damage to your ventilation system and ensure the health and comfort of your home.
In this comprehensive guide, we discussed the importance of checking for water in the ventilation system. We explored the signs that indicate the presence of water, the tools and materials needed for the inspection, and provided a step-by-step guide to help you effectively check for water in your ventilation system.
Remember, signs such as dripping or pooling water, musty odors, visible mold, water stains, and decreased airflow may indicate water infiltration in the ventilation system. By being vigilant and conducting regular inspections, you can catch these issues early on and take the necessary steps to address them.
If you come across mold growth or extensive water damage, it is always recommended to consult with a professional to ensure proper remediation and prevent further contamination.
By taking the time to check for water in your ventilation system, you can protect your home from potential damage, maintain indoor air quality, and ensure the efficient operation of your HVAC system.
We hope that this guide has provided you with valuable insights and practical steps to effectively check for water in the ventilation system. By incorporating these practices into your home maintenance routine, you can enjoy a healthier and more comfortable living environment for years to come.
Thank you for reading, and happy inspecting!
Frequently Asked Questions about How To Check For Water In The Ventilation System
Was this page helpful?
At Storables.com, we guarantee accurate and reliable information. Our content, validated by Expert Board Contributors, is crafted following stringent Editorial Policies. We're committed to providing you with well-researched, expert-backed insights for all your informational needs.


0 thoughts on “How To Check For Water In The Ventilation System”