
Articles
Why Does My Bosch Laser Level Keep Blinking
Modified: May 6, 2024
Discover the reasons behind why your Bosch laser level keeps blinking and find helpful articles to troubleshoot and fix the issue with your device.
(Many of the links in this article redirect to a specific reviewed product. Your purchase of these products through affiliate links helps to generate commission for Storables.com, at no extra cost. Learn more)
Introduction
Bosch laser levels are an essential tool for professionals in the construction, carpentry, and home improvement industries. These devices offer precise and accurate measurements, making tasks such as leveling, aligning, and transferring reference points much easier. However, it can be frustrating when you notice that your Bosch laser level is continuously blinking. What could be causing this issue? In this article, we will explore the common reasons behind the blinking lights on Bosch laser levels and provide troubleshooting steps to help you resolve the problem.
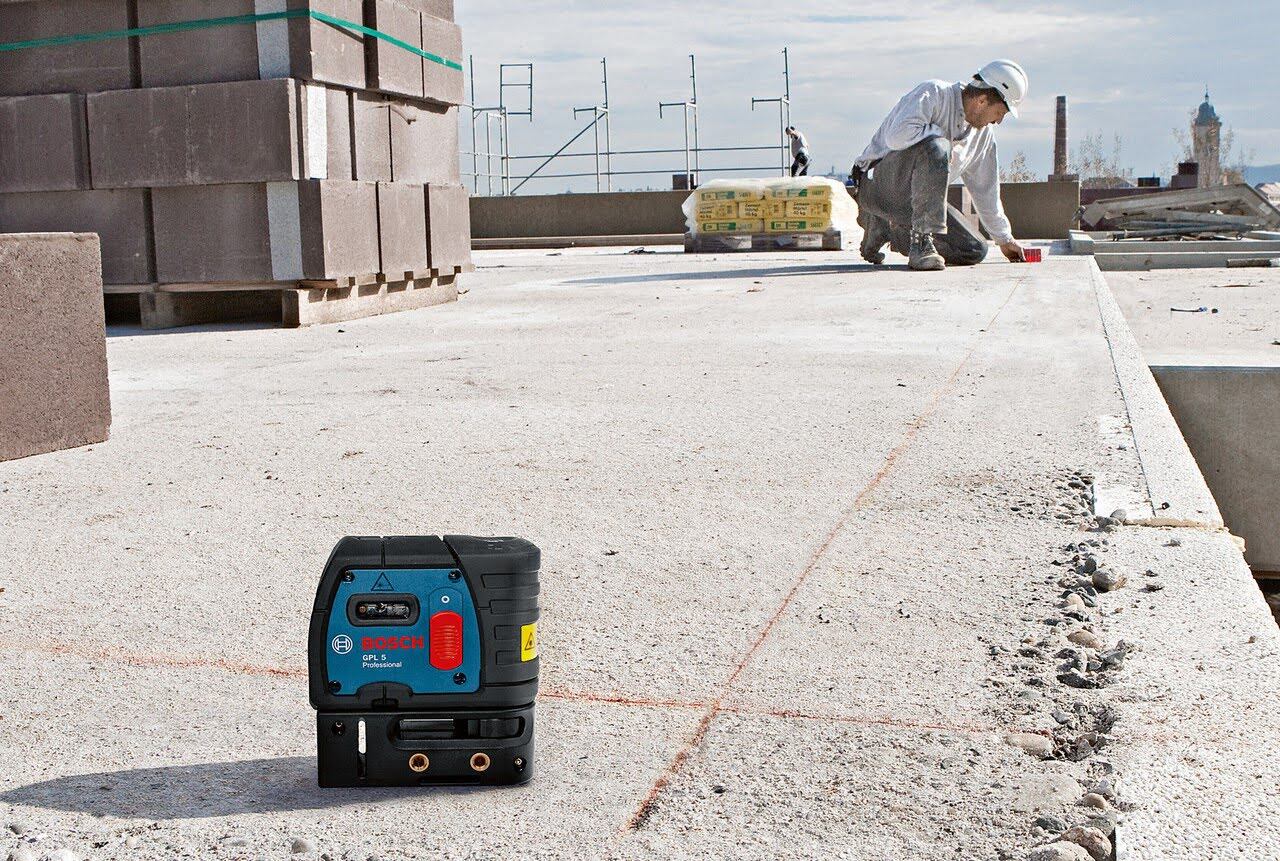
Before we delve into the potential causes, let’s briefly understand the basics of Bosch laser levels. These tools utilize laser technology to emit a level or plumb beam, which creates a reference line or point on surfaces. They typically feature a pendulum system that self-levels the device, ensuring accurate measurements. The laser level’s indicator lights are designed to provide feedback on the level’s status and any potential issues.
Now, let’s uncover the common reasons why your Bosch laser level’s lights might be blinking.
Key Takeaways:
- Regularly check and maintain the battery level of your Bosch laser level to prevent blinking lights. Recharge or replace the battery before it’s completely depleted to ensure smooth operation and accurate measurements.
- Inspect the pendulum for misalignment or dirt, reduce ambient light interference, and troubleshoot faulty sensors to address blinking lights on your Bosch laser level. Following these steps can help restore accurate readings and eliminate the issue.
Read more: How To Use A Bosch Laser Level
Understanding the Basics of Bosch Laser Levels
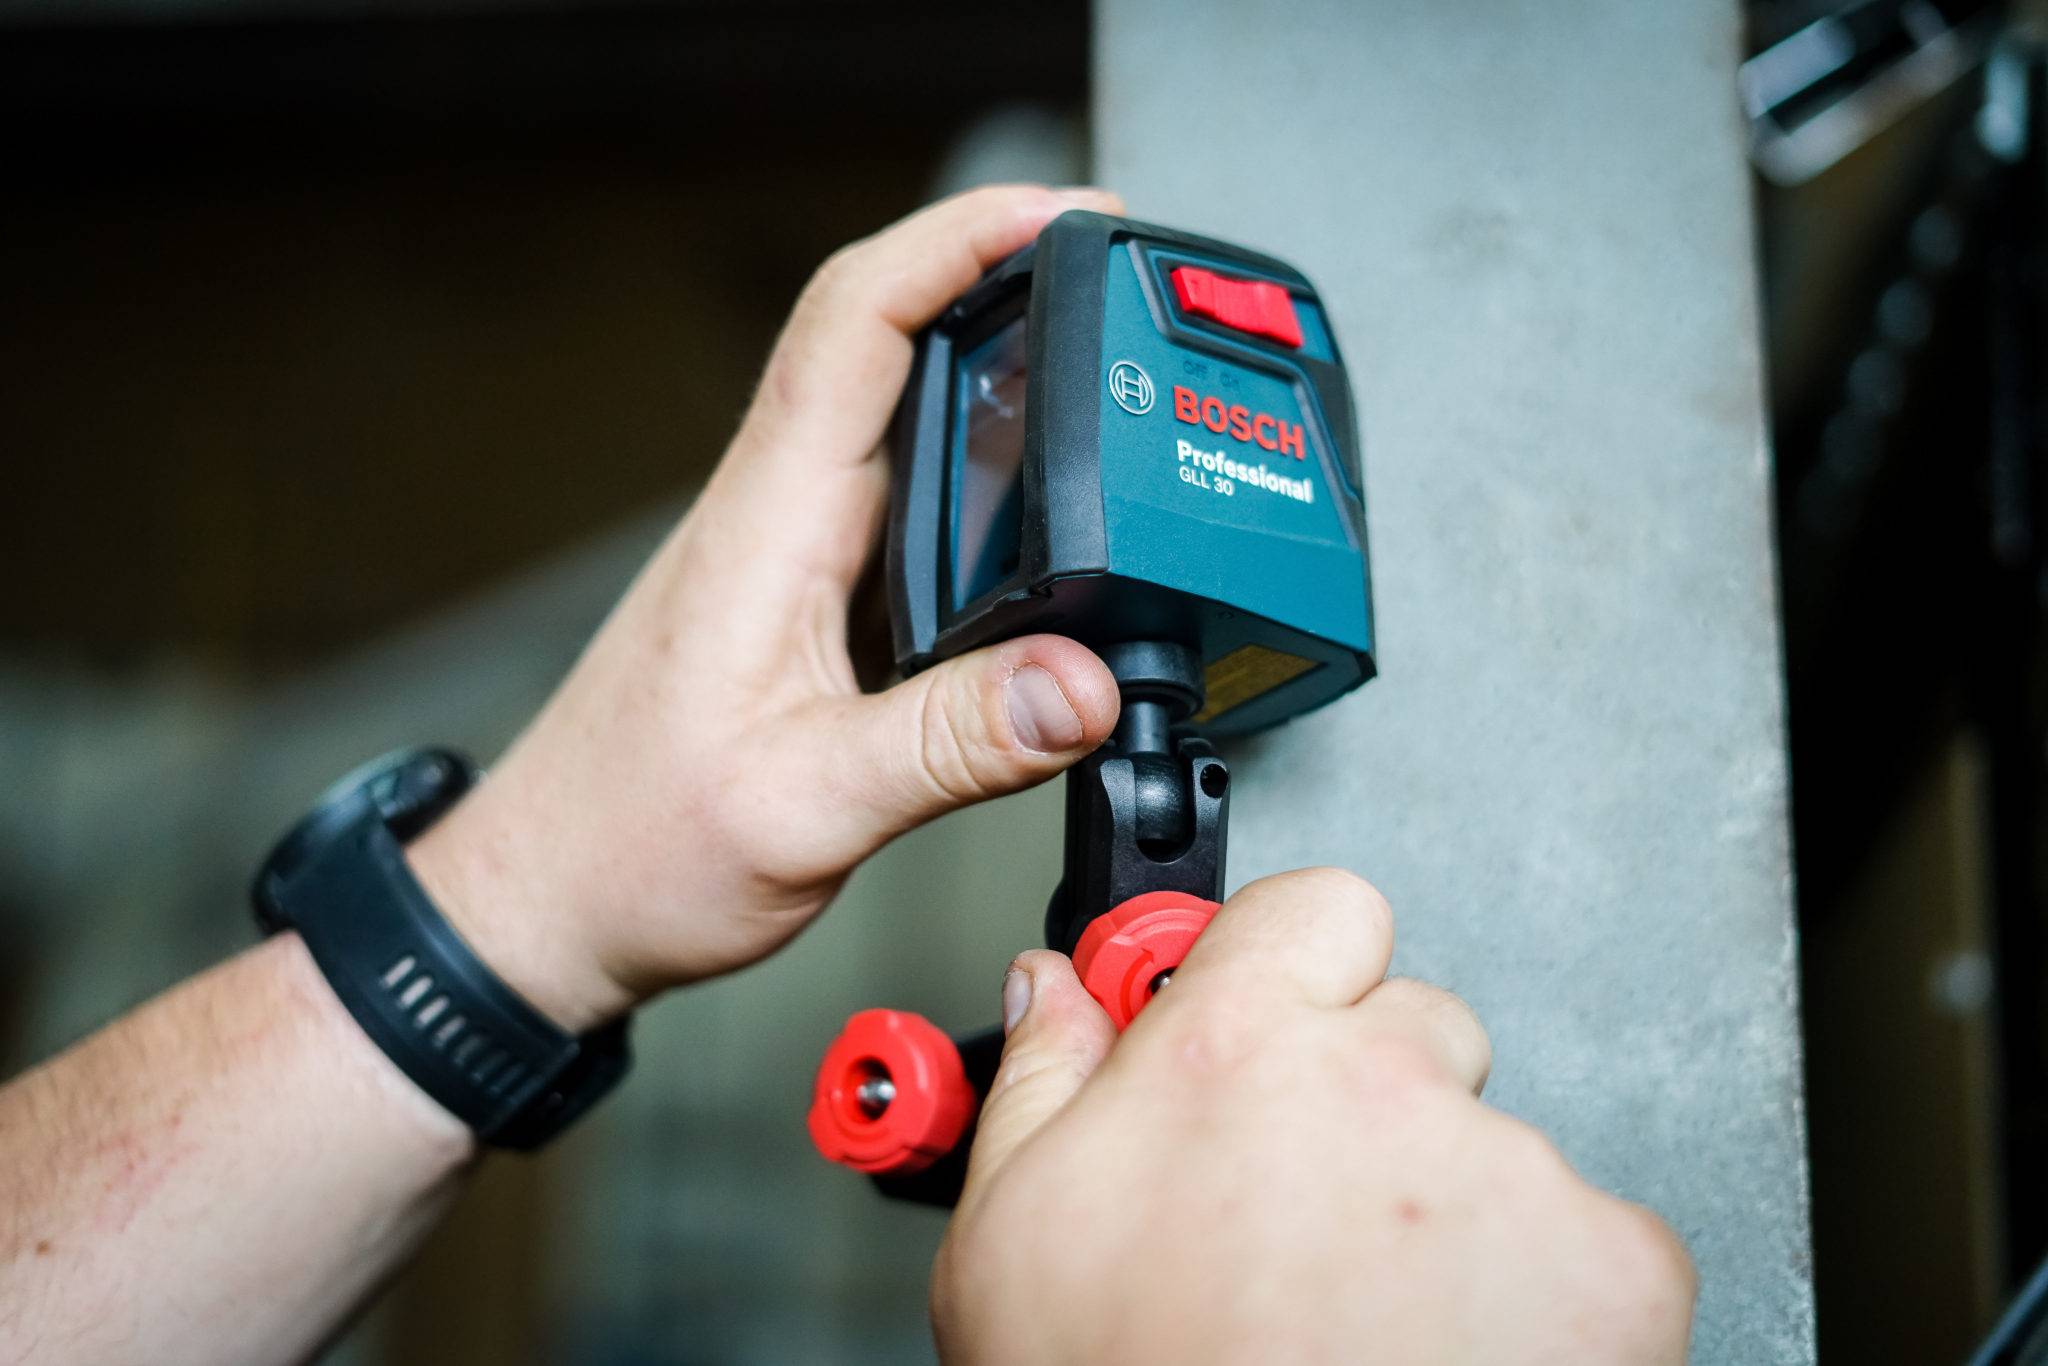
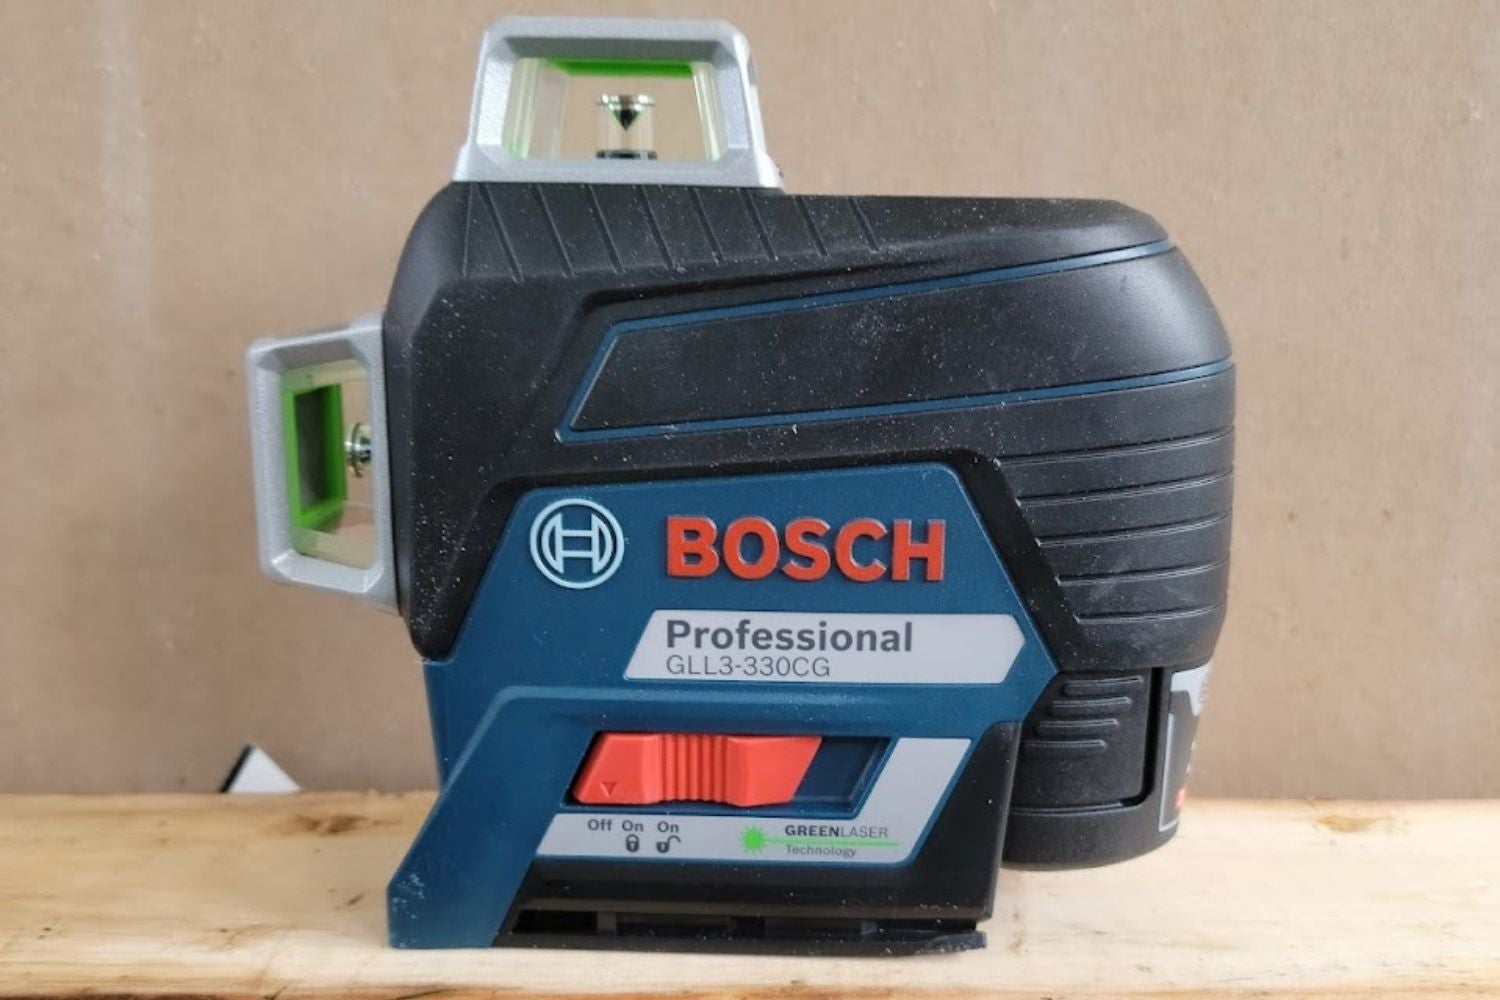
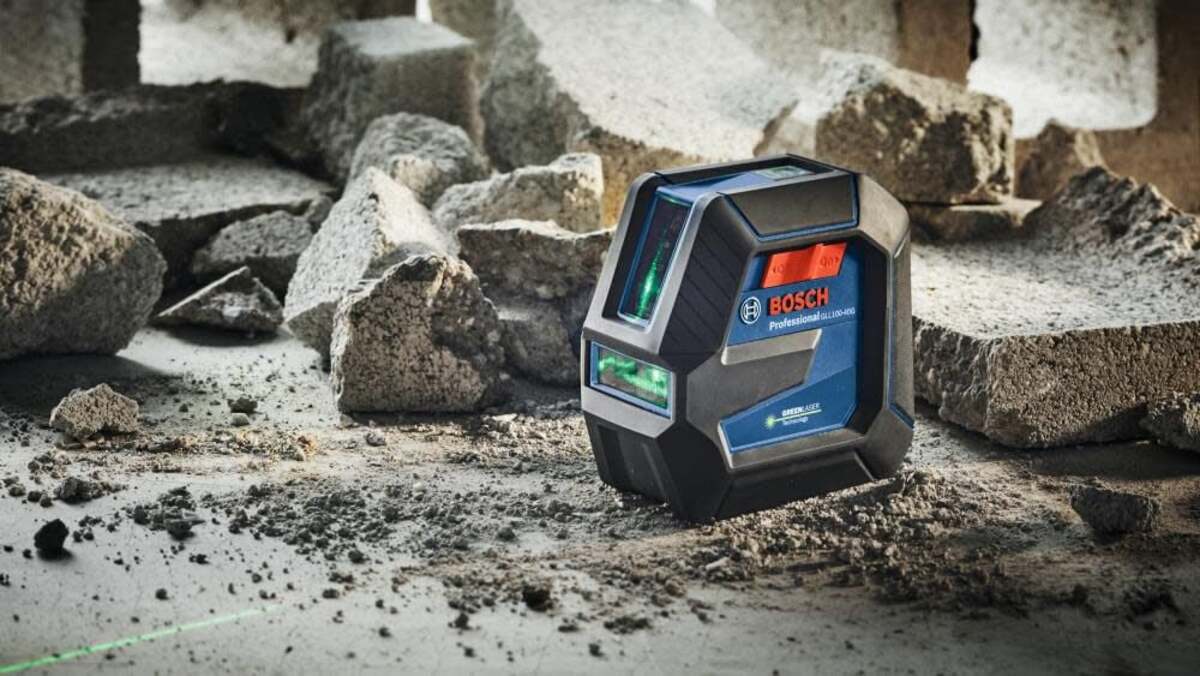
Before we delve into the common reasons for blinking lights on Bosch laser levels, it’s important to have a basic understanding of how these devices work. Bosch laser levels are precision instruments designed to project a laser beam onto a surface to create a straight and level reference line or dot.
One of the key features of Bosch laser levels is the pendulum system. This system allows the laser level to automatically self-level, ensuring accurate measurements every time. When the device is placed on a surface, the pendulum swings freely, aligning itself perpendicular to the earth’s gravitational pull. This ensures that the laser beam emitted by the device is perfectly horizontal or vertical, depending on the desired orientation.
The level of precision achieved by Bosch laser levels is impressive. They typically have a leveling accuracy of around 1/8 inch at 30 feet, allowing for highly accurate measurements over large distances. Some models even offer additional features like plumb beams and cross-line projections for increased versatility.
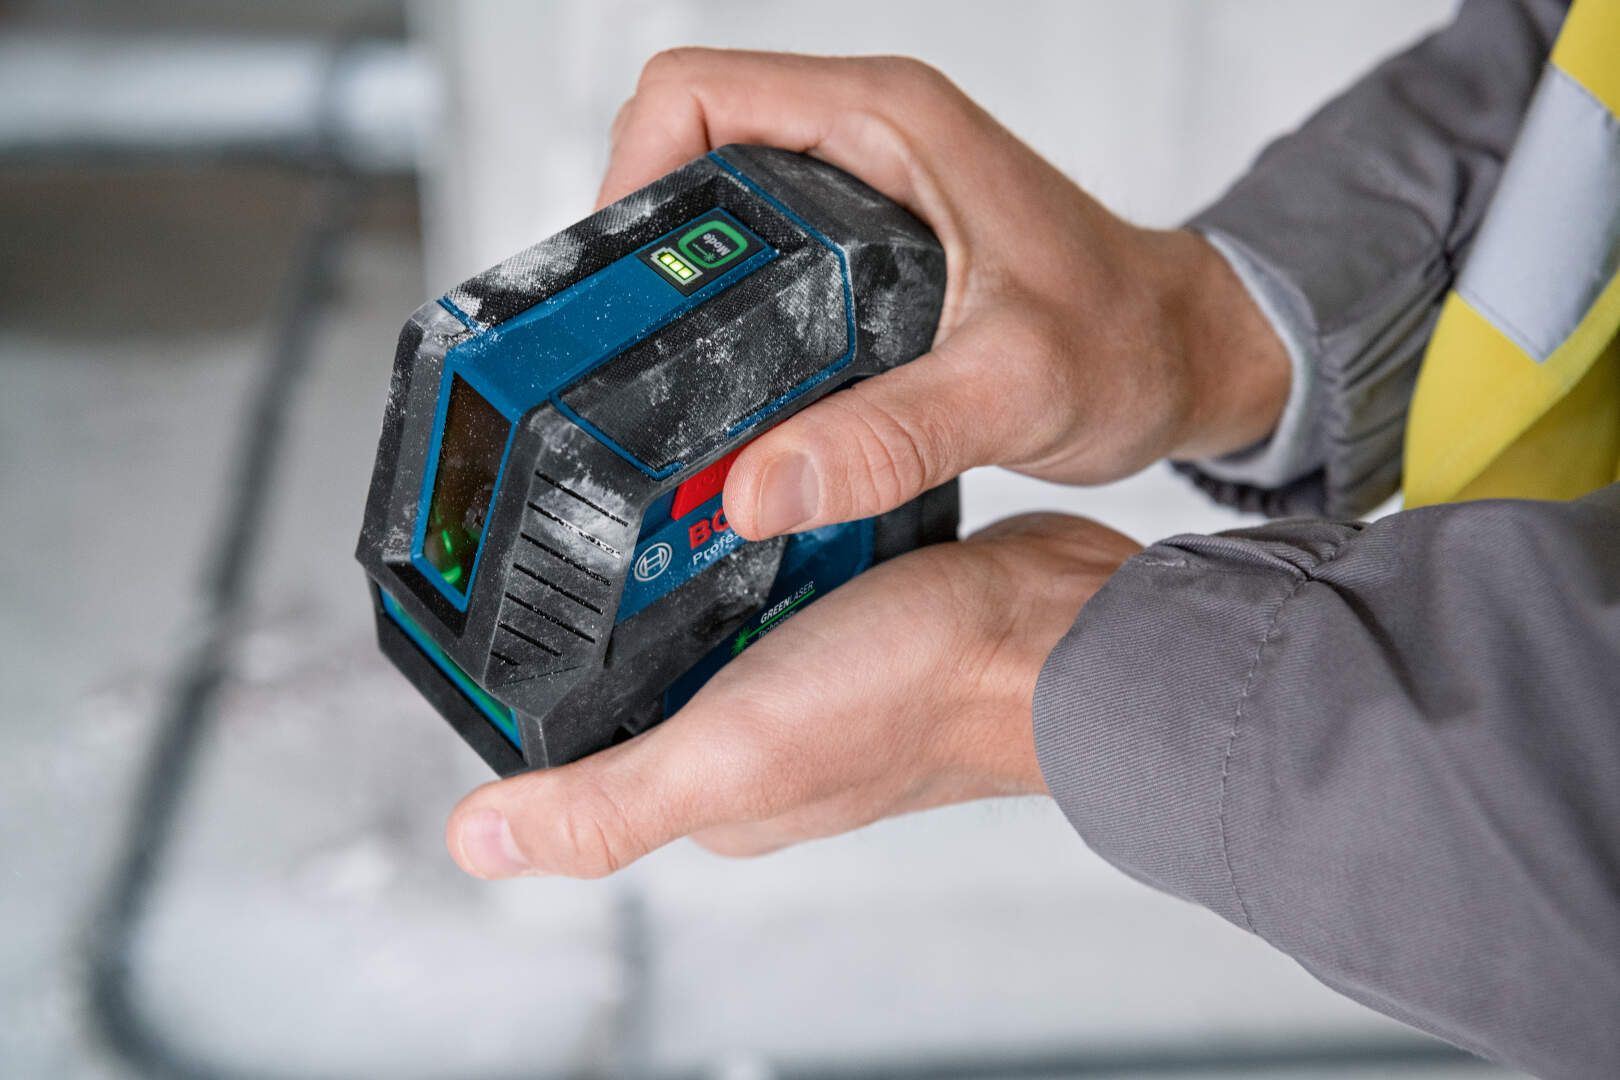
Bosch laser levels also come equipped with a range of indicator lights to provide feedback on the status of the device. These lights can indicate various aspects, including the battery level, out-of-level condition, and any potential errors or malfunctions.
Now that you have a basic understanding of Bosch laser levels, let’s explore the common reasons why your device’s lights might be continuously blinking.
Common Reasons for Blinking Lights on Bosch Laser Levels
If you have noticed that the lights on your Bosch laser level are continuously blinking, there are several potential reasons for this issue. Understanding these common causes will help you troubleshoot and resolve the problem effectively.
1. Low Battery: One of the most common reasons for blinking lights on a Bosch laser level is a low battery. When the battery power is running low, the indicator lights will usually start to blink to alert you to recharge or replace the battery. Make sure to check the battery level and recharge or replace it as necessary.
2. Out-of-Level Condition: Another reason for blinking lights is an out-of-level condition. Bosch laser levels are designed to self-level, but if the device is placed on an uneven surface or if the pendulum is not functioning properly, the lights may blink to indicate that it is not in a level position. Adjusting the level or placing the device on a more level surface should resolve this issue.
3. Misaligned or Dirty Pendulum: A misaligned or dirty pendulum can also lead to blinking lights on a Bosch laser level. If the pendulum is not perfectly aligned or if there is dirt or debris interfering with its movement, the device may not be able to achieve a level position, triggering the blinking lights. Carefully inspect the pendulum and clean it if necessary to ensure smooth operation.
4. Ambient Light Interference: Excessive ambient light can interfere with the laser beam emitted by the device, causing the lights to blink. High levels of sunlight or bright artificial lighting in the working area can disrupt the accuracy of the laser level. By reducing the ambient light or using a target plate provided with the device, you can minimize this interference and stabilize the lights.
5. Faulty Sensors: In some cases, the blinking lights may be indicative of faulty sensors in the Bosch laser level. Malfunctioning sensors can cause inaccurate readings and trigger the blinking lights. If you suspect a sensor issue, it is best to consult the manufacturer or a professional technician for assistance in resolving the problem.
Now that you are aware of the common reasons for blinking lights on Bosch laser levels, you can proceed to troubleshoot and resolve the issue. In the next section, we will provide step-by-step troubleshooting steps to help you stop the blinking lights.
Issue 1: Low Battery
One of the most common reasons for blinking lights on a Bosch laser level is a low battery. When the device’s battery power starts to run low, the indicator lights will typically begin blinking to alert you of the need for a recharge or battery replacement.
To address this issue, you should first check the battery level of your Bosch laser level. Most models have a battery indicator or a battery level icon on the device itself. Take a look at the indicator to determine if the battery is low or depleted.
If the battery level is low, you have a couple of options. If your Bosch laser level uses rechargeable batteries, you can recharge the batteries using the appropriate charging equipment provided with the device. Make sure to follow the manufacturer’s instructions for proper charging procedures.
If the batteries are not rechargeable or if they are too old or damaged, you will need to replace them with fresh ones. Refer to the user manual or the manufacturer’s guidelines to identify the correct battery type and specifications for your Bosch laser level.
Once you have recharged or replaced the batteries, turn on your Bosch laser level to see if the blinking lights have stopped. The device should now function properly, with steady indicator lights indicating a normal level and operation.
It’s worth mentioning that regularly checking and maintaining the battery of your Bosch laser level can help prevent the issue of low battery and blinking lights. Make it a habit to recharge or replace the batteries before they are completely depleted, ensuring smooth operation and accurate measurements.
In case the blinking lights persist even after recharging or replacing the batteries, you may need to explore other potential causes, which we will discuss in the upcoming sections.
Issue 2: Out-of-Level Condition
Another common reason for blinking lights on a Bosch laser level is an out-of-level condition. Bosch laser levels are designed to self-level, meaning they automatically adjust to maintain a level position. However, if the device is placed on an uneven surface or if the pendulum mechanism is not functioning properly, the lights may start blinking to indicate that the level is not in a level position.
To address this issue, start by checking the placement of your Bosch laser level. Ensure that the surface on which you are placing the device is relatively level. If the surface is uneven, the pendulum may not be able to achieve the desired level position, resulting in the blinking lights. Try moving the device to a more level area and observe if the lights stabilize.
If you have confirmed that the surface is level, but the lights continue to blink, there may be an issue with the pendulum mechanism. Inspect the pendulum for any visible misalignment or damage. A misaligned pendulum can prevent the device from self-leveling properly. In such cases, consult the user manual or contact the manufacturer for guidance on how to realign or repair the pendulum mechanism.
It’s also important to ensure that the pendulum is not obstructed or hindered by any dirt, debris, or other obstructions. Even tiny particles can interfere with the pendulum’s movement and cause the lights to blink. Carefully clean the pendulum area using a soft, lint-free cloth or brush to remove any dirt or debris.
Once you have checked the placement, alignment, and cleanliness of the pendulum, power on your Bosch laser level to see if the blinking lights have resolved. The device should now self-level and maintain a steady position, with the lights indicating a level condition.
If the blinking lights persist even after addressing the out-of-level condition, there may be other factors contributing to the issue. In the next sections, we will explore additional potential causes and troubleshooting steps to help you resolve the problem.
Read more: How To Calibrate Bosch Laser Level
Issue 3: Misaligned or Dirty Pendulum
One of the common culprits behind blinking lights on a Bosch laser level is a misaligned or dirty pendulum. The pendulum is a vital component of the device’s self-leveling mechanism, ensuring that the laser level emits a straight and accurate beam.
If the pendulum becomes misaligned, it can disrupt the leveling process and trigger the blinking lights. Similarly, if the pendulum gets dirty or obstructed with debris, it may impede its movement and affect the device’s ability to self-level properly.
To address this issue, start by inspecting the pendulum for any visible misalignment. Look for any signs of physical damage, such as a bent or skewed position. If you notice any misalignment, consult the user manual or contact the manufacturer for instructions on how to realign the pendulum properly. It’s important to follow the recommended procedures to avoid causing further damage to the device.
In addition to misalignment, dirt and debris can also hinder the pendulum’s movement. Even small particles can disrupt the leveling process and lead to blinking lights. Carefully clean the pendulum area using a soft, lint-free cloth or brush. Gently remove any dirt, debris, or obstructions, ensuring that the pendulum can swing freely without any interference.
Once you have realigned and cleaned the pendulum, power on your Bosch laser level and observe if the blinking lights have ceased. The device should now self-level accurately, with the lights indicating a steady and level condition.
If the blinking lights persist even after addressing the misalignment or cleaning the pendulum, there may be other factors contributing to the issue. In the next sections, we will explore additional potential causes and troubleshooting steps to help you resolve the problem.
Issue 4: Ambient Light Interference
Ambient light interference is another potential cause for blinking lights on a Bosch laser level. Excessive ambient light, especially sunlight or bright artificial lighting, can affect the accuracy of the laser level and trigger the blinking lights.
When the laser beam emitted by the device encounters high levels of ambient light, it can become difficult to see or detect properly. This can result in unstable readings and cause the lights to blink as a warning for the compromised accuracy.
To address this issue, it is essential to reduce the ambient light in the working area as much as possible. If you are working outdoors, find a shaded or less illuminated area where the sunlight is not directly hitting the laser level. Indoors, you can close curtains or blinds to minimize the entry of bright light into the workspace.
For situations where reducing ambient light is not feasible or sufficient, Bosch laser levels often come with a target plate or target glasses to enhance visibility. These accessories can help increase the contrast between the laser beam and the surface, making it easier to detect and ensure accurate readings. Follow the manufacturer’s instructions on how to properly attach and use the target plate or glasses.
Additionally, it is worth noting that some Bosch laser levels have a mode specifically designed to combat ambient light interference. This mode may be labeled as “pulse” or “outdoor” mode. When activated, it modulates the laser beam to make it more visible and resistant to the effects of ambient light. Refer to your device’s user manual to learn if such a mode is available and how to enable it.
By reducing ambient light and utilizing tools like target plates or glasses, you can minimize interference and stabilize the lights on your Bosch laser level. However, if the blinking lights persist despite these measures, there may be other factors at play. We will explore additional potential causes and troubleshooting steps in the upcoming sections to help you resolve the issue.
Issue 5: Faulty Sensors
In some cases, blinking lights on a Bosch laser level may be indicative of faulty sensors. The sensors in the device play a crucial role in detecting the position of the laser beam and providing accurate readings. If these sensors are not functioning properly, it can lead to inaccurate measurements and trigger the blinking lights.
If you suspect that the sensors in your Bosch laser level are faulty, there are a few troubleshooting steps you can take to address the issue. First, ensure that the sensors are not obstructed by any dirt, debris, or damage. Carefully examine the sensor area and clean it if necessary using a soft, lint-free cloth or brush.
Next, power off the device and power it back on to see if the blinking lights persist. Sometimes a simple restart can help recalibrate the sensors and resolve any temporary glitches that may have occurred.
If the blinking lights persist, it is recommended to consult the user manual for your specific Bosch laser level model. The manual should provide guidance on how to perform sensor diagnostics or tests. Follow the instructions to check the sensor functionality and identify any potential issues.
If you are unable to troubleshoot the sensor problem on your own, it is advisable to contact the manufacturer’s customer support or consult a professional technician for assistance. They will have the expertise and knowledge to diagnose and resolve more complex sensor-related issues.
Resolving faulty sensors may require repair or replacement of the affected components. It is important to rely on professionals who are trained in the proper maintenance and repair of Bosch laser levels to ensure the best outcome.
By addressing faulty sensors, you can restore the proper function of your Bosch laser level and eliminate the blinking lights. If the issue is indeed due to faulty sensors, it is crucial to address it promptly to maintain accurate measurements in your projects.
In the upcoming sections, we will provide additional troubleshooting steps to help you resolve the issue of blinking lights on your Bosch laser level.
Check the battery level and make sure it is fully charged. If the battery is low, the laser level may blink to indicate the need for a recharge.
Troubleshooting Steps to Stop the Blinking
If you’ve been experiencing blinking lights on your Bosch laser level, there are several troubleshooting steps you can take to address the issue. By following these steps, you can identify and resolve potential problems, allowing your device to function properly once again.
Step 1: Check the Battery Level: Begin by checking the battery level of your Bosch laser level. If the battery is low or depleted, recharge or replace it according to the manufacturer’s instructions. Make sure the device has sufficient power to operate without interruption.
Step 2: Verify the Level’s Position: Ensure that your Bosch laser level is placed on a relatively level surface. If it is placed on an uneven or slanted surface, adjust its position or move to a more level area to allow for proper self-leveling.
Step 3: Inspect the Pendulum for Misalignment or Dirt: Carefully inspect the pendulum of your laser level for any misalignment, physical damage, or dirt/debris accumulation. Realignment or cleaning may be required to ensure the pendulum can swing freely and achieve proper self-leveling.
Step 4: Reduce Ambient Light and Interference: Minimize the impact of ambient light by working in shaded areas or reducing the amount of sunlight or artificial lighting in the workspace. If necessary, use a target plate or glasses provided with your laser level to enhance visibility and accuracy.
Step 5: Determine if Sensors are Functioning Properly: Check for any obstructions or damage to the sensors of your Bosch laser level. Clean the sensor area and perform diagnostic tests as outlined in the user manual to ensure the sensors are functioning correctly. If needed, seek professional assistance for further evaluation and repair.
By following these troubleshooting steps, you can effectively address the common issues that cause blinking lights on a Bosch laser level. Remember to refer to the user manual specific to your device for detailed instructions and always prioritize your safety when handling your laser level.
If the blinking lights persist after these troubleshooting steps, it is advisable to contact the manufacturer’s customer support or consult a professional technician for further assistance. They will have the expertise to diagnose and address any potential hardware or software-related issues with your Bosch laser level.
By resolving the blinking lights, you can restore the accuracy and functionality of your Bosch laser level, ensuring precise measurements and reliable performance for your projects.
Step 1: Check the Battery Level
When encountering blinking lights on your Bosch laser level, the first step in troubleshooting is to check the battery level. A low or depleted battery can often be the cause of this issue.
Locate the battery compartment on your Bosch laser level. Depending on the model, it may be on the back or side of the device. Open the compartment and inspect the battery.
Check the battery indicator on the device, if available, to see if it is showing a low or empty battery level. This indicator is typically represented by a battery icon or LED lights.
If the battery is rechargeable, connect the charger provided with your Bosch laser level. Follow the manufacturer’s instructions for proper charging procedures. Ensure that the charger is securely connected to both the device and a power source.
If the battery is not rechargeable or if it is old and damaged, you will need to replace it with a fresh one. Refer to the user manual or the manufacturer’s guidelines to identify the correct battery type and specifications for your Bosch laser level.
After recharging or replacing the battery, close the battery compartment and power on your Bosch laser level. Observe if the blinking lights have ceased and if the device is functioning as expected. The indicator lights should now indicate a normal level and operation.
To prevent future issues with low battery levels, make it a habit to recharge or replace the batteries before they are completely drained. This proactive approach ensures that your Bosch laser level always has sufficient power for accurate measurements without interruptions.
If the blinking lights persist even after recharging or replacing the batteries, it is necessary to move on to the next troubleshooting steps to identify and address any other potential causes.
Step 2: Verify the Level’s Position
The next step in troubleshooting blinking lights on your Bosch laser level is to verify the position of the level itself. Ensuring that the device is placed on a level surface is crucial for proper self-leveling and accurate measurements.
First, inspect the surface on which you have placed your Bosch laser level. Look for any noticeable slopes, unevenness, or obstacles that may affect its ability to self-level. If the surface is not level, consider moving the device to a more suitable area.
Once you have identified a level surface, place your Bosch laser level on it and wait for it to automatically self-level. This process may take a few seconds, during which the light indicators may be blinking. Be patient and allow the level to complete the self-leveling process.
Keep in mind that Bosch laser levels are designed to operate within a specific range of slopes or angles. Consult the user manual or the manufacturer’s specifications to determine the acceptable range for your device. If the surface exceeds the allowable level range, the device may not be able to self-level properly, resulting in blinking lights.
If you have ensured a level surface and allowed the device to self-level, but the lights continue to blink, there may be an issue with the pendulum mechanism. This warrants further inspection and potential adjustment or repair. Refer to the next troubleshooting steps for guidance if needed.
Verifying the level’s position is essential for accurate measurements with your Bosch laser level. By ensuring the device is on a level surface, you can eliminate potential factors that may cause the lights to blink.
If the blinking lights persist even after verifying the level’s position, proceed to the next troubleshooting steps to identify and address any other potential causes of the issue.
Step 3: Inspect the Pendulum for Misalignment or Dirt
When facing blinking lights on your Bosch laser level, the next step in troubleshooting is to inspect the pendulum. The pendulum is a vital component that allows the device to self-level and emit an accurate laser beam.
Start by carefully examining the pendulum for any visible signs of misalignment or damage. Look for any bent or skewed parts that may indicate a misaligned pendulum. If you notice any misalignment, it may affect the device’s ability to self-level properly and result in blinking lights.
If you suspect a misaligned pendulum, consult the user manual for your specific Bosch laser level to determine the steps for realigning the pendulum. The process for realignment may vary depending on the model, so it’s important to follow the manufacturer’s guidelines precisely.
In addition to misalignment, dirt or debris can also interfere with the pendulum’s movement and trigger blinking lights. Inspect the pendulum area for any accumulation of dust, dirt, or other obstructions. Even tiny particles can hinder the pendulum’s motion and disrupt the self-leveling process.
Take a soft, lint-free cloth or brush and carefully clean the pendulum area, ensuring that any dirt or debris is gently removed. Be cautious not to disturb or damage the delicate components of the pendulum mechanism.
After inspecting and cleaning the pendulum, power on your Bosch laser level to see if the blinking lights have stopped. If the pendulum is aligned correctly and free from dirt, the device should self-level smoothly, and the lights should indicate a stable and level condition.
If the blinking lights persist even after inspecting and cleaning the pendulum, it may be necessary to explore other potential causes. Proceed to the next troubleshooting steps to further diagnose and address the issue.
Step 4: Reduce Ambient Light and Interference
When dealing with blinking lights on your Bosch laser level, it is important to consider the impact of ambient light on the device’s accuracy. Excessive ambient light, such as sunlight or bright artificial lighting, can interfere with the laser beam and trigger the blinking lights.
To address this issue, the first step is to reduce the amount of ambient light in the working area. If you are working outdoors, try to find a shaded area where direct sunlight does not fall directly on the laser level. In an indoor setting, close curtains or blinds to minimize the entry of bright light into the workspace.
If reducing the ambient light is not sufficient, consider using a target plate or target glasses that are provided with your Bosch laser level. These accessories enhance the visibility of the laser beam, making it easier to detect and ensuring accurate readings. Follow the manufacturer’s instructions on how to properly attach and use the target plate or glasses.
Furthermore, some Bosch laser levels have a special mode, often called “pulse” or “outdoor” mode, to combat ambient light interference. Enabling this mode modulates the laser beam to improve its visibility and resistance to ambient light. Refer to your device’s user manual to determine if this mode is available and learn how to activate it.
Reducing ambient light and using the appropriate accessories can help minimize interference and stabilize the lights on your Bosch laser level. By ensuring a clear and visible laser beam, you can achieve accurate measurements and prevent the occurrence of blinking lights.
If, despite reducing the ambient light and using the recommended accessories, the blinking lights persist, it is necessary to move on to the next troubleshooting steps to identify and address any other potential causes.
Read more: How To Attach A Laser Level To The Bosch 150
Step 5: Determine if Sensors are Functioning Properly
If you’re still experiencing blinking lights on your Bosch laser level, it’s important to investigate the functionality of the sensors. The sensors play a crucial role in detecting the position of the laser beam and providing accurate readings. If these sensors are not functioning properly, it can lead to inaccurate measurements and trigger blinking lights.
Start by checking for any obstructions or damage in the sensor area of your Bosch laser level. Inspect the sensor openings or windows for any dirt, debris, or physical obstructions. If you notice any blockages, use a soft, lint-free cloth or brush to carefully clean the sensor area and remove any particles that may be interfering with the sensors’ operation.
After cleaning the sensors, power off the device completely. Then, power it back on to see if the blinking lights persist. A simple restart can sometimes recalibrate the sensors and resolve any temporary glitches that may have occurred.
If the blinking lights persist after the sensor cleaning and restart, it may be necessary to perform additional troubleshooting steps to check the sensor functionality. Consult the user manual or manufacturer’s website for your specific Bosch laser level model to find instructions on how to perform sensor diagnostics or tests.
Follow the recommended procedures to check the sensors and detect any potential issues. This may involve specific button combinations or accessing diagnostic menus on your Bosch laser level. Carefully follow the instructions provided to ensure accurate results and avoid accidental changes to the device’s settings.
If you are unable to troubleshoot the sensor problem or if you determine that the sensors are indeed faulty, it is recommended to contact the manufacturer’s customer support or consult a professional technician for further assistance. They will have the expertise to diagnose and address any potential hardware or software-related issues with your Bosch laser level.
By addressing faulty sensors, if identified, you can restore the proper function of your Bosch laser level and eliminate the blinking lights. Resolving sensor issues may require repair or replacement of the affected components, which should be performed by qualified professionals.
If the blinking lights persist even after checking and troubleshooting the sensors, it is important to proceed to the next troubleshooting steps to identify and address any other potential causes of the issue.
Conclusion
Blinking lights on a Bosch laser level can be frustrating, but by understanding the common causes and following the troubleshooting steps outlined in this article, you can effectively address the issue and get your device back on track. It’s important to remember that each Bosch laser level model may have specific instructions and guidelines, so it’s essential to consult the user manual provided with your device for accurate information.
Throughout the troubleshooting process, we covered several potential causes for blinking lights, including low battery, out-of-level condition, misaligned or dirty pendulum, ambient light interference, and faulty sensors. By thoroughly inspecting and addressing each of these factors, you can eliminate common issues and restore the functionality of your Bosch laser level.
Always begin by checking the battery level and ensuring it is properly charged or replaced, as a low battery can often be a culprit. Verify the level’s position on a level surface and inspect the pendulum for misalignment or dirt, making necessary adjustments and cleaning to enable proper self-leveling.
Reducing ambient light and interference is another crucial step. By finding shaded areas, using target plates or glasses, or enabling specific outdoor modes, you can minimize the impact of excessive light on accurate readings. And finally, checking the functionality of the sensors and seeking professional assistance if necessary can address any hardware or software-related issues.
If you have followed the troubleshooting steps and the blinking lights persist, it is advisable to contact the manufacturer’s customer support or consult a professional technician. They will have the expertise to assist you further and provide advanced troubleshooting or repair guidance.
Remember to always prioritize your safety and follow proper handling instructions when working with your Bosch laser level. Regular maintenance and care, along with correct usage, can help prevent issues and ensure the longevity of your device.
With proper troubleshooting and maintenance, your Bosch laser level will continue to be a reliable tool for precise measurements, assisting you in various construction, carpentry, and home improvement projects.
If you've mastered getting your Bosch laser level to stop blinking, why not tackle some home upgrades next? Our guide on DIY home improvement offers practical tips and creative ideas to refresh your living space without breaking the bank. Whether you're looking to revamp a room or just add some personal touches, this article is packed with advice to help you succeed in your next project.
Frequently Asked Questions about Why Does My Bosch Laser Level Keep Blinking
Was this page helpful?
At Storables.com, we guarantee accurate and reliable information. Our content, validated by Expert Board Contributors, is crafted following stringent Editorial Policies. We're committed to providing you with well-researched, expert-backed insights for all your informational needs.




0 thoughts on “Why Does My Bosch Laser Level Keep Blinking”