Home>Articles>How To Use The Ryobi Compact Laser Level With Air Grip
Articles
How To Use The Ryobi Compact Laser Level With Air Grip
Modified: October 22, 2024
Learn how to effectively use the Ryobi Compact Laser Level with Airgrip through our informative articles. Enhance your precision and accuracy in various DIY projects.
(Many of the links in this article redirect to a specific reviewed product. Your purchase of these products through affiliate links helps to generate commission for Storables.com, at no extra cost. Learn more)
Introduction
Welcome to this guide on how to use the Ryobi Compact Laser Level with Airgrip. If you’re someone who often finds themselves needing to level surfaces, whether it’s for installing shelves, hanging pictures, or any other DIY project, then this tool is for you. The Ryobi Compact Laser Level with Airgrip is designed to make the leveling process quick and easy, thanks to its innovative features and user-friendly design.
In this article, we will walk you through the step-by-step process of using the Ryobi Compact Laser Level with Airgrip. We will cover everything from unboxing and setup to mounting the laser level and utilizing its unique AirGrip technology. By the end of this guide, you’ll feel confident in using this tool for all your leveling needs.
But before we dive into the details, let’s take a closer look at what makes the Ryobi Compact Laser Level with Airgrip stand out from other laser levels on the market.
Key Takeaways:
- The Ryobi Compact Laser Level with Airgrip simplifies leveling with its innovative AirGrip technology, versatile mounting options, and precise measurements, making it a valuable tool for DIY enthusiasts and professional contractors alike.
- From unboxing to leveling horizontal and vertical surfaces, this guide provides comprehensive steps, tips, and resources for maximizing the functionality and accuracy of the Ryobi Compact Laser Level with Airgrip, ensuring effortless and professional results.
Overview of the Ryobi Compact Laser Level with Airgrip
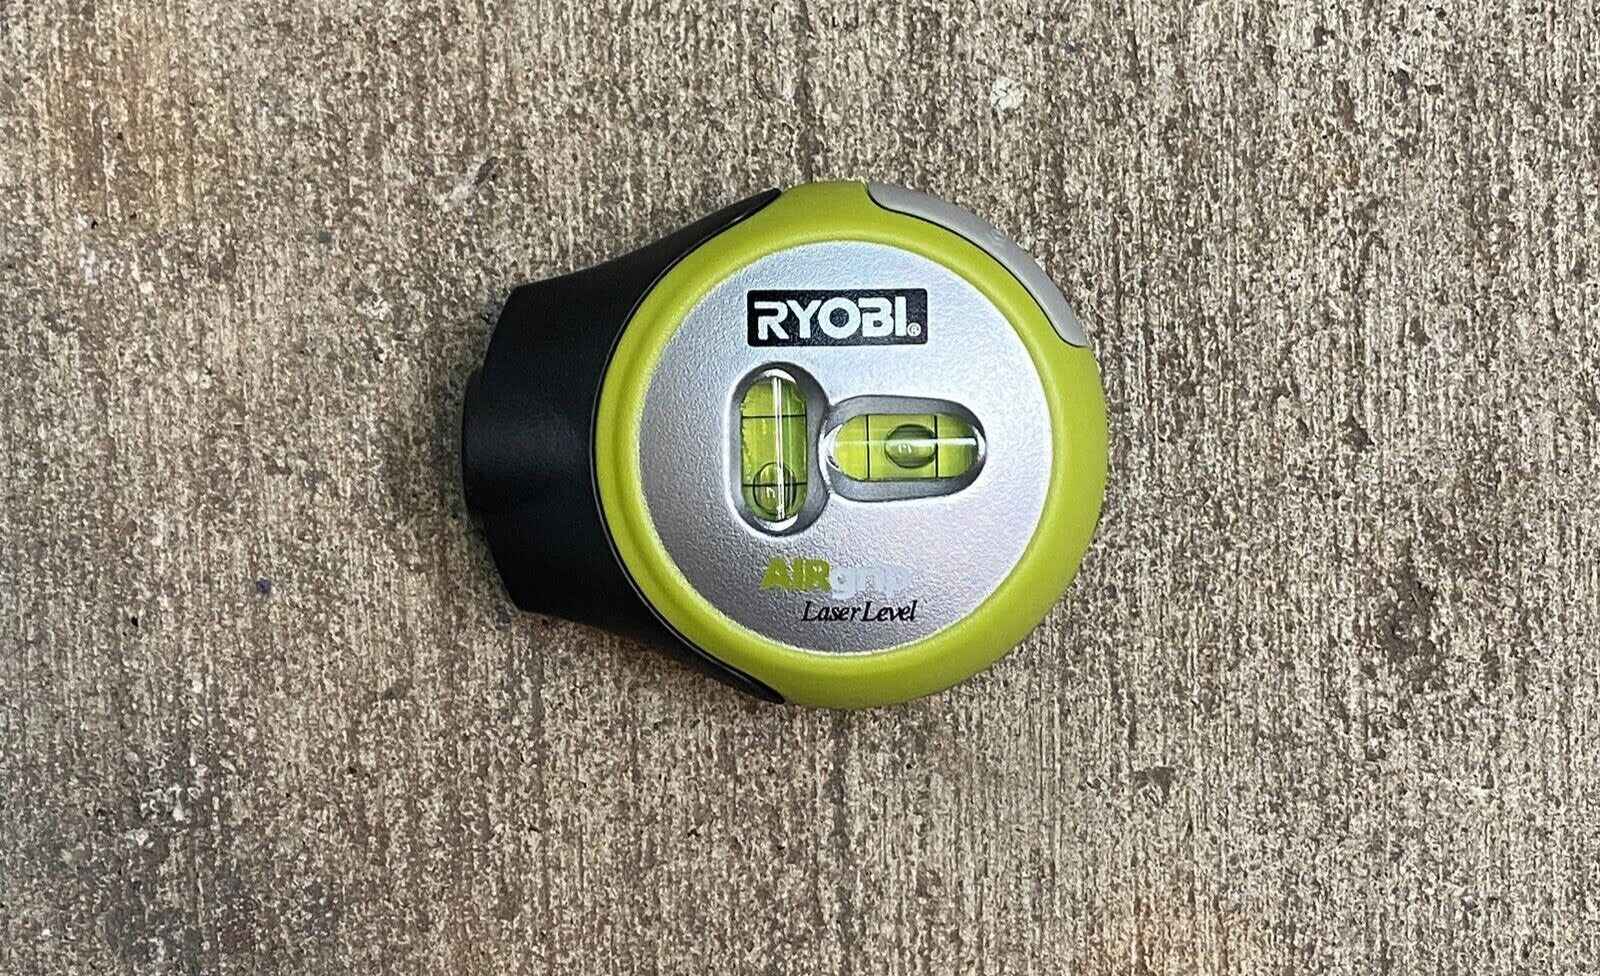
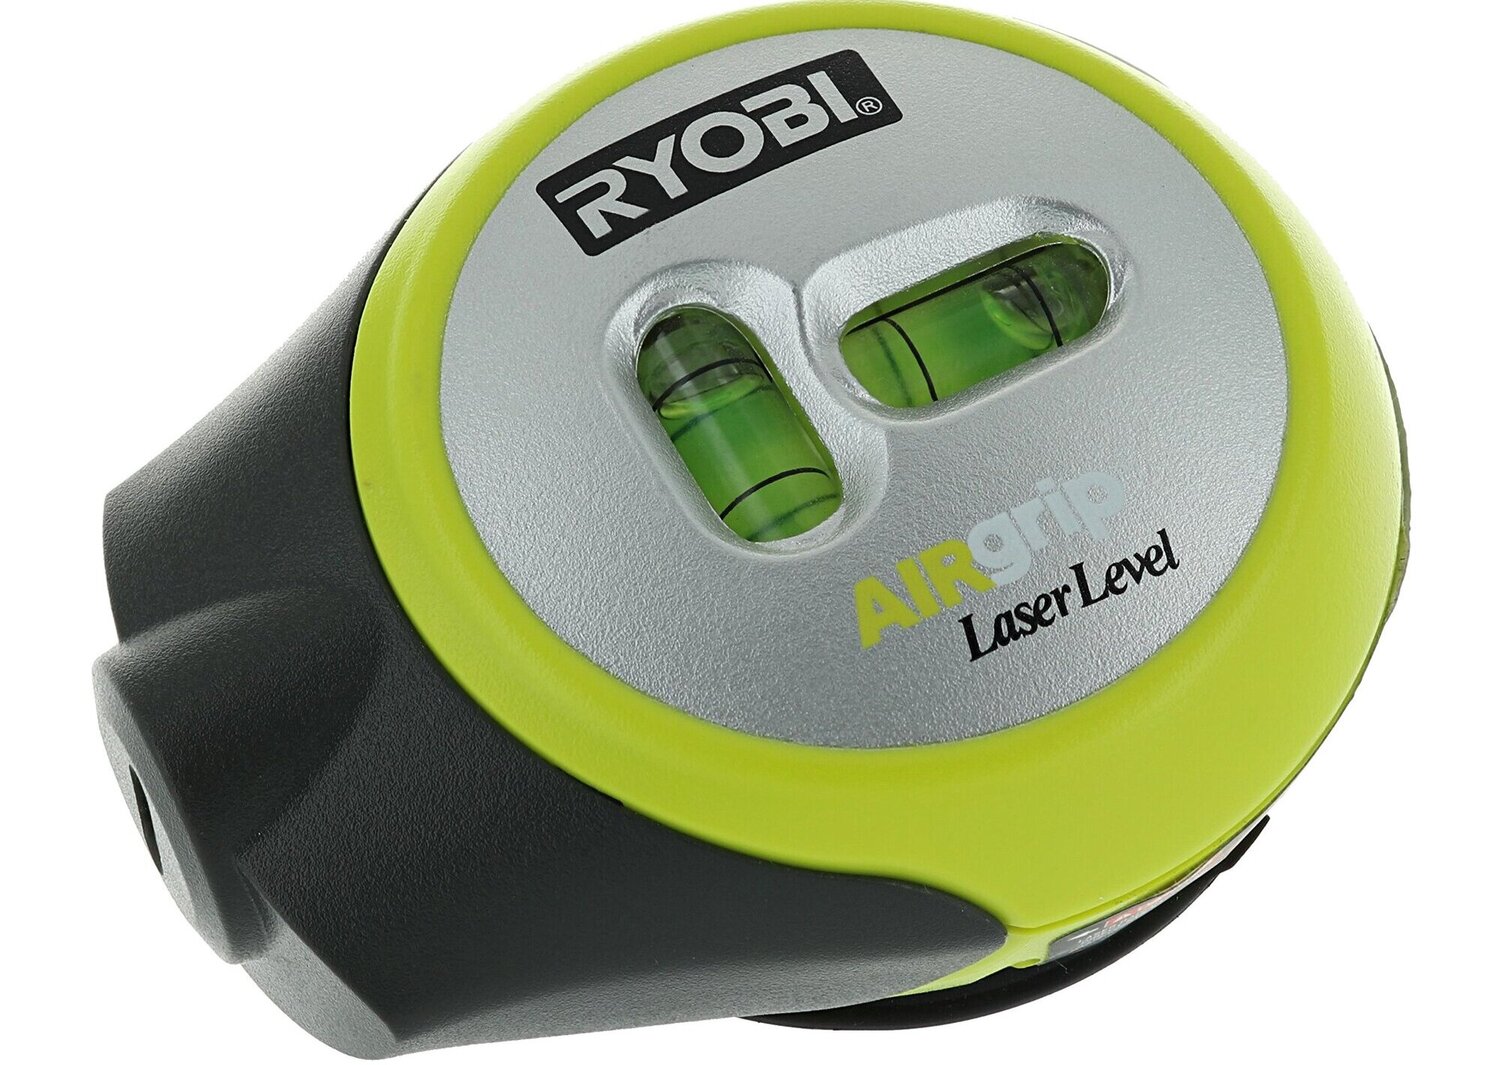
The Ryobi Compact Laser Level with Airgrip is a versatile and easy-to-use tool that simplifies the process of leveling surfaces. It is equipped with a bright laser that projects a level line onto walls, floors, and other surfaces, making it easy to ensure everything is perfectly straight and aligned.
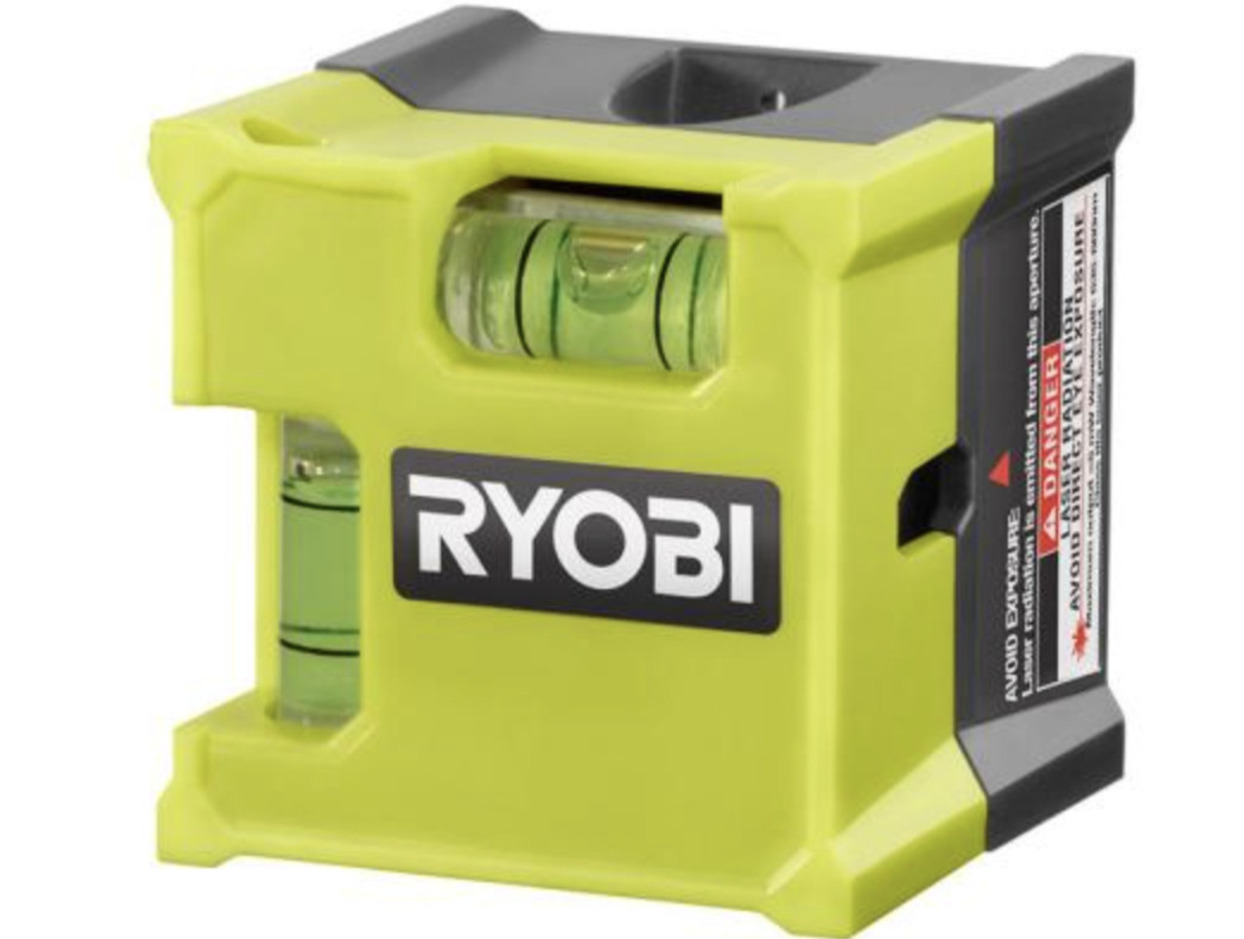
One of the standout features of this laser level is its AirGrip technology. This innovative feature utilizes a built-in air pressure system that allows the level to securely grip to surfaces without the need for traditional mounting options like magnets or adhesive. Simply place the level on the desired surface, press the release button, and watch as the level securely clings to the surface.
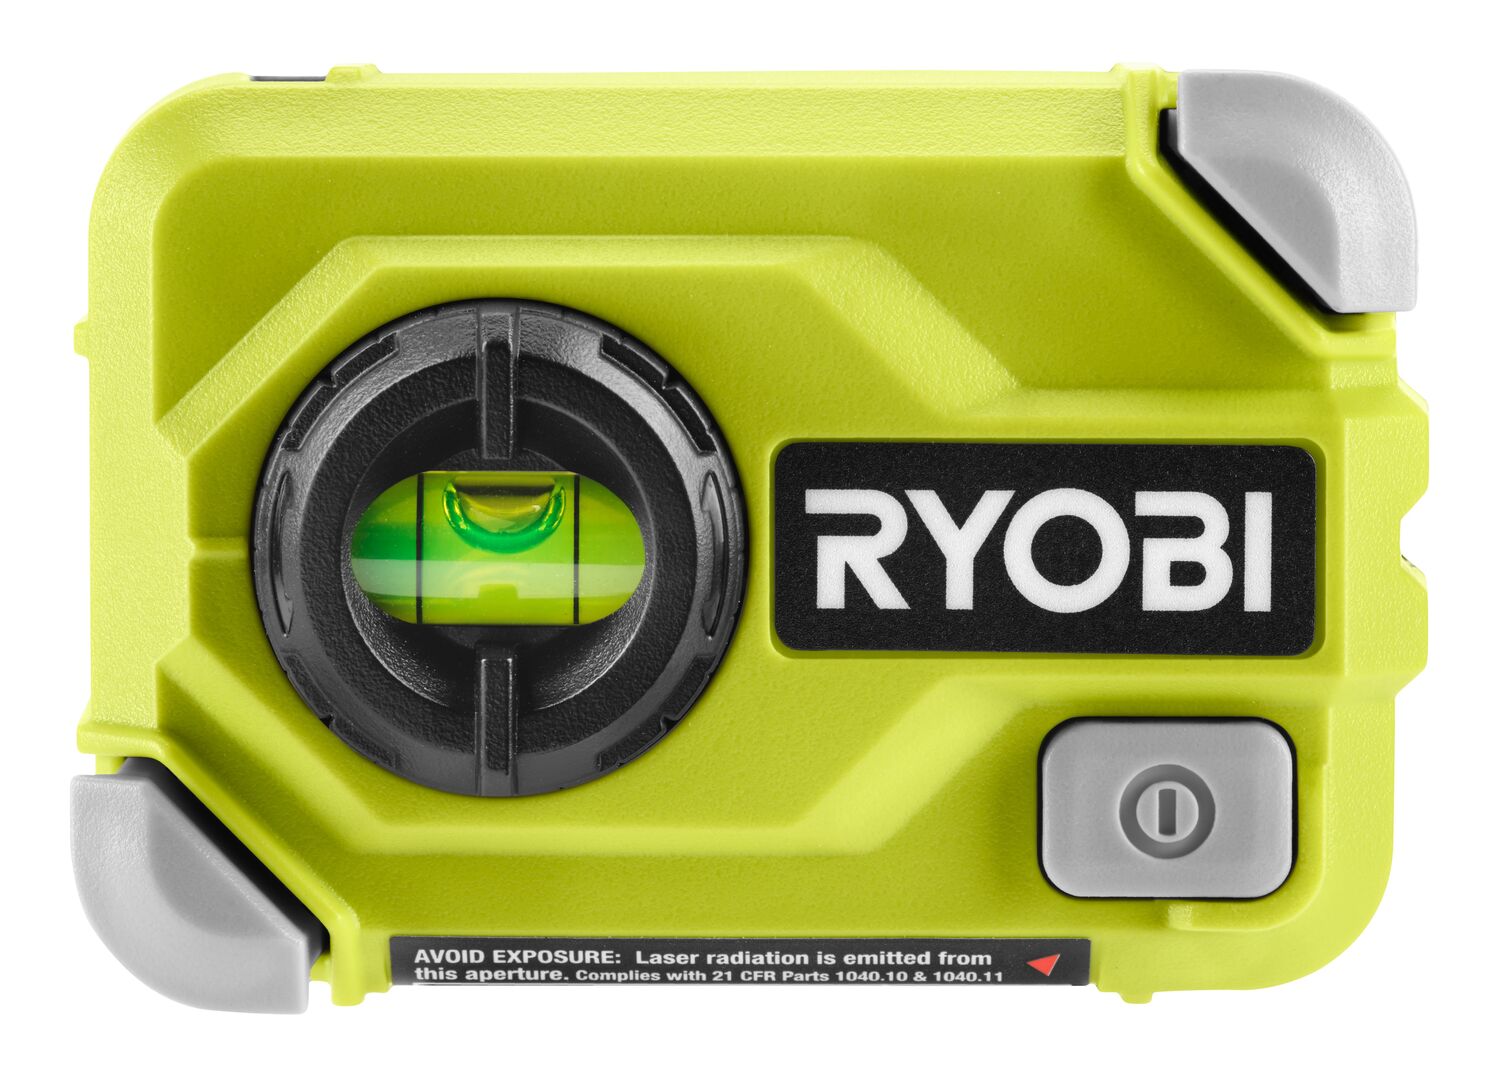
The compact design of the Ryobi Compact Laser Level with Airgrip makes it easy to handle and operate. It fits comfortably in your hand, ensuring a secure grip while in use. The laser level also features a backlit bubble vial, which allows for easy leveling even in low-light conditions.
With a range of up to 20 feet and a ±1/8-inch accuracy, you can trust that the measurements provided by this laser level are precise and reliable. Additionally, the level can be adjusted to project both horizontal and vertical lines, making it a versatile tool for a variety of projects.
Whether you’re a DIY enthusiast or a professional contractor, the Ryobi Compact Laser Level with Airgrip is a valuable addition to your tool collection. Now that you have a general idea of what this tool offers, let’s move on to the step-by-step process of setting it up and using it effectively.
Step 1: Unboxing and Setup
Before you can start using the Ryobi Compact Laser Level with Airgrip, you need to unbox it and set it up properly. Follow these steps to get started:
- Open the package: Carefully remove the laser level from its packaging, ensuring that you have all the necessary components.
- Inspect the contents: Take a moment to inspect the laser level and its accessories. Check for any visible damage and ensure that all parts are present.
- Insert the batteries: The Ryobi Compact Laser Level with Airgrip operates on AA batteries. Open the battery compartment, usually located on the back or bottom of the level, and insert the batteries according to the polarity markings.
- Replace the battery cover: Once the batteries are inserted, securely close the battery compartment cover.
- Power on the laser level: Look for the power button or switch on the laser level and turn it on. You should see the laser beam emit from the device.
- Adjust the laser level: At this point, you may need to adjust the laser level to make sure it is projecting a level line. Most laser levels have adjustable knobs or buttons that allow you to fine-tune the level’s position.
- Calibrate the level: To ensure accurate readings, it’s important to calibrate the laser level. This typically involves placing the level on a known level surface and adjusting it until the bubble vial is centered.
Once you have completed these steps, your Ryobi Compact Laser Level with Airgrip is ready to be used. It’s important to note that some laser levels may have additional setup requirements or calibration procedures, so it’s advisable to refer to the user manual that came with your specific model for detailed instructions.
In the next step, we will explore how to mount the laser level securely for accurate readings.
Step 2: Mounting the Laser Level
Mounting the Ryobi Compact Laser Level with Airgrip securely is essential to ensure accurate readings and reliable leveling. Follow these steps to mount the laser level:
- Choose the mounting surface: Select a smooth and clean surface where you want to project the laser level’s line. It could be a wall, floor, or any other flat surface.
- Activate the AirGrip technology: Press the release button on the laser level to activate the AirGrip technology. This will create a suction effect and allow the level to grip onto the mounting surface securely.
- Place the laser level: Position the laser level against the mounting surface at the desired height and angle. Ensure that it is straight and aligned with the surface.
- Release the release button: Once the laser level is properly positioned, release the release button to secure the level in place using the AirGrip technology. The level should hold onto the surface firmly without any additional support.
- Adjust the level if necessary: Use the adjustable knobs or buttons on the laser level to fine-tune its position and make sure the projected line is perfectly level.
It’s worth noting that the AirGrip technology is designed to work on a wide range of surfaces, including painted walls, tile, drywall, and more. However, extremely rough or textured surfaces may not provide a strong grip. In such cases, it’s recommended to use alternative mounting options like adhesive strips or magnets that are compatible with your laser level.
Now that your Ryobi Compact Laser Level with Airgrip is securely mounted, let’s move on to the next step and explore how to activate the AirGrip technology for precise leveling.
Step 3: Activating the AirGrip Technology
The Ryobi Compact Laser Level with AirGrip features an innovative AirGrip technology that allows it to securely cling to surfaces without the need for traditional mounting options like magnets or adhesive. Here’s how to activate the AirGrip technology:
- Ensure the laser level is securely mounted: Before activating the AirGrip technology, make sure the laser level is properly mounted on the desired surface, following the steps outlined in the previous section.
- Access the AirGrip control: Look for the AirGrip control button or switch on the laser level. It is usually located on the side or top of the device.
- Press the AirGrip control: Press and hold the AirGrip control button to activate the air pressure system. You may hear a slight sound or feel a brief vibration, indicating that the AirGrip technology is active.
- Release the AirGrip control: Once the AirGrip technology is activated, release the AirGrip control button. The laser level should now be securely attached to the mounting surface.
With the AirGrip technology engaged, you can now confidently use the laser level without worrying about it accidentally falling or shifting during the leveling process. This feature is especially useful when working on vertical surfaces or in situations where traditional mounting options are limited or inconvenient.
Keep in mind that the AirGrip technology requires a flat and smooth surface for optimal performance. Rough or textured surfaces may not provide a strong grip, so it’s important to ensure the mounting surface is appropriate for the AirGrip technology to work effectively.
Now that the AirGrip technology is activated, let’s move on to the next step and explore how to level a horizontal surface using the Ryobi Compact Laser Level with AirGrip.
Step 4: Leveling a Horizontal Surface
Leveling a horizontal surface with the Ryobi Compact Laser Level with AirGrip is a breeze. Whether you’re installing shelves, aligning cabinets, or hanging artwork, this tool will help you achieve precise and straight results. Follow these steps to level a horizontal surface:
- Ensure the laser level is securely mounted: Make sure the laser level is properly mounted on the desired surface using the steps outlined earlier. The AirGrip technology should hold the level securely in place.
- Activate the laser beam: Turn on the laser level and adjust its position or height as needed, ensuring that the projected line is at the desired level.
- Align the level: Position the laser level in a way that the projected line is directly on the surface you want to level. It should ideally be parallel to the surface.
- Check the bubble vial: Look at the bubble vial on the laser level to ensure it is centered. The bubble should be within the marked lines, indicating that the surface is level.
- Make adjustments: If the bubble vial is not centered, it means the surface is not level. Adjust the surface or the laser level until the bubble is centered. You can use shims or adjust the height of the surface to achieve a level position.
- Double-check your work: Once the bubble vial is centered and the laser projected line is parallel to the surface, check multiple points along the surface to ensure consistent leveling.
Remember to take measurements and mark the leveling points as needed. The laser level will help you achieve accuracy and uniformity on the horizontal surface, making your projects look professional and well-aligned.
Now that you know how to level a horizontal surface, let’s move on to the next step and explore leveling vertical surfaces using the Ryobi Compact Laser Level with AirGrip.
When using the Ryobi Compact Laser Level with Airgrip, make sure to attach it securely to a smooth, clean surface for accurate leveling. Adjust the laser to the desired height and angle for precise measurements.
Step 5: Leveling Vertical Surfaces
The Ryobi Compact Laser Level with AirGrip is not limited to leveling horizontal surfaces – it can also be used to level vertical surfaces such as walls, cabinets, and tiles. Follow these steps to level a vertical surface:
- Ensure the laser level is securely mounted: Just like with leveling a horizontal surface, make sure the laser level is properly mounted on the desired surface using the AirGrip technology.
- Activate the laser beam: Turn on the laser level and adjust its position or height so that the projected line is at the desired level on the vertical surface.
- Align the level: Position the laser level in a way that the projected line is aligned with the surface you want to level. The line should be straight and parallel to the vertical surface.
- Use a reference point: Identify a fixed point on the vertical surface as a reference. It could be a corner, a mark, or any other spot that you want to line up with the laser level line.
- Check for alignment: Compare the laser level line with the reference point and make adjustments to the surface or the laser level as necessary. The goal is to ensure that the line is perfectly aligned with the reference point.
- Double-check your work: Once the line is aligned with the reference point at one spot, check other points along the vertical surface to ensure consistent leveling.
By following these steps, you can easily level vertical surfaces using the Ryobi Compact Laser Level with AirGrip. Whether you’re installing tiles in a bathroom or aligning cabinets in a kitchen, this tool will provide you with accurate and straight lines, ensuring a professional finish.
Now that you know how to level both horizontal and vertical surfaces, let’s explore some additional features and tips for using the Ryobi Compact Laser Level with AirGrip in the next step.
Step 6: Additional Features and Tips
The Ryobi Compact Laser Level with AirGrip comes with additional features and tips that can further enhance your leveling experience. Here are some of the noteworthy features and tips to keep in mind:
- Locking mechanism: Some models of the Ryobi Compact Laser Level with AirGrip come equipped with a locking mechanism. Once you have achieved the desired leveling position, engage the lock to securely hold the level in place. This can be especially useful when working on larger projects that require prolonged leveling.
- Snap switch: Some laser levels feature a snap switch that allows you to activate a quick pulse mode. This mode causes the laser level to blink on and off rapidly. It can be helpful when working in bright or outdoor conditions where the laser beam may be less visible.
- Adjustable angle: Ensure that you take advantage of the adjustable angle feature of the laser level. This allows you to project lines at different angles, making it suitable for a wide range of projects and applications.
- Utilize measurement markings: The Ryobi Compact Laser Level often comes with built-in measurement markings on the device itself. This can assist you in quickly measuring distances for precise installation or alignment.
- Store in a protective case: When not in use, always store the laser level in a protective case to prevent damage and extend its lifespan. This will keep the device safe from dust, moisture, and accidental bumps or knocks.
- Refer to the user manual: For specific instructions and additional features that may be unique to your model of the Ryobi Compact Laser Level, be sure to consult the user manual provided by the manufacturer. This will provide you with comprehensive information and guidance on the best practices for using your specific laser level model.
By taking advantage of these additional features and following these tips, you can maximize the functionality and accuracy of the Ryobi Compact Laser Level with AirGrip.
Now that we’ve covered all the steps, features, and tips, let’s wrap up this guide.
Conclusion
Congratulations! You now have a comprehensive understanding of how to use the Ryobi Compact Laser Level with AirGrip. From unboxing and setup to mounting the level securely and utilizing the innovative AirGrip technology for precise leveling, you’re well-equipped to tackle a variety of projects that require accurate alignment and straight lines.
The Ryobi Compact Laser Level with AirGrip offers versatility, ease of use, and reliable performance. Whether you’re a DIY enthusiast or a professional contractor, this tool will prove to be a valuable addition to your toolkit.
Remember to always follow the manufacturer’s instructions and guidelines to ensure safe and proper operation of the laser level. Take advantage of the additional features and tips provided in this guide, such as the locking mechanism, adjustable angle, and measurement markings, to optimize your leveling experience.
By using the Ryobi Compact Laser Level with AirGrip, you’ll be able to achieve professional results in your projects, whether it’s installing shelves, aligning cabinets, or hanging artwork. The precise leveling capabilities of this tool will save you time and effort, ensuring that everything is perfectly aligned and level.
Lastly, don’t forget to store your laser level in a protective case when not in use to keep it in optimal condition. This will help ensure its longevity and consistent performance in future projects.
Now, armed with the knowledge and understanding of how to use the Ryobi Compact Laser Level with AirGrip, it’s time to put it to use and enjoy the benefits of effortless and accurate leveling.
Thank you for reading, and happy leveling!
Read also: 13 Best Sure Grip Laser Level for 2025
Resources and FAQs
Here are some additional resources and frequently asked questions for further information on using the Ryobi Compact Laser Level with AirGrip:
Resources:
- Ryobi Official Website: Visit the official Ryobi website to access product information, user manuals, and support resources specific to your model of the Ryobi Compact Laser Level with AirGrip.
- YouTube Tutorials: Search for tutorial videos on platforms like YouTube, where you can find visual demonstrations and tips on using the Ryobi Compact Laser Level with AirGrip effectively.
- Home Improvement Forums: Engage in online forums or communities dedicated to DIY projects or home improvement. These platforms allow you to ask questions, seek advice, and share experiences with other users who have used laser levels.
FAQs:
-
- Q: Can the Ryobi Compact Laser Level with AirGrip be used outdoors?
A: Yes, the Ryobi Compact Laser Level with AirGrip can be used outdoors, but keep in mind that the laser visibility may be affected by bright sunlight. In such cases, using the snap switch or working in shaded areas can help improve visibility.
-
- Q: How do I calibrate the Ryobi Compact Laser Level with AirGrip?
A: Calibration procedures may vary between different models, so referring to the user manual is recommended. In general, calibration involves placing the level on a known level surface and adjusting it until the bubble vial is centered.
-
- Q: Can I use the Ryobi Compact Laser Level with AirGrip on textured surfaces?
A: While the AirGrip technology is designed to work on a wide range of surfaces, extremely rough or textured surfaces may not provide a strong grip. In such cases, alternative mounting options like adhesive strips or magnets may be required.
-
- Q: How long do the batteries last in the Ryobi Compact Laser Level with AirGrip?
A: The battery life can vary depending on usage and the type of batteries used. It’s recommended to use high-quality AA batteries and keep extra batteries on hand for longer projects.
Remember, always consult the manufacturer’s instructions and guidelines for specific information pertaining to your model of the Ryobi Compact Laser Level with AirGrip.
We hope this guide has been helpful in understanding how to use the Ryobi Compact Laser Level with AirGrip effectively. Remember to prioritize safety and accuracy while using this tool, and enjoy its convenience and reliability in all your leveling projects.
Frequently Asked Questions about How To Use The Ryobi Compact Laser Level With Air Grip
Was this page helpful?
At Storables.com, we guarantee accurate and reliable information. Our content, validated by Expert Board Contributors, is crafted following stringent Editorial Policies. We're committed to providing you with well-researched, expert-backed insights for all your informational needs.


0 thoughts on “How To Use The Ryobi Compact Laser Level With Air Grip”