Articles
Why Is My Blink Doorbell Not Recording
Modified: October 20, 2024
Looking for articles on why your Blink doorbell is not recording? Our experts have the answers you need to troubleshoot and fix the issue.
(Many of the links in this article redirect to a specific reviewed product. Your purchase of these products through affiliate links helps to generate commission for Storables.com, at no extra cost. Learn more)
Introduction
Welcome to the modern world of home security, where smart devices like the Blink Doorbell have taken center stage. These innovative doorbells not only allow you to see who’s at your doorstep but also record any activity that takes place in front of them. However, like any technological device, there can be instances where your Blink Doorbell may not be recording.
In this article, we will explore the possible reasons why your Blink Doorbell is not recording and provide solutions to help you troubleshoot the issue. Whether it’s a connectivity issue, a settings problem, or a firmware update, we’ve got you covered. So let’s dive in and get your Blink Doorbell back on track!
Key Takeaways:
- Troubleshoot connectivity, motion settings, power source, firmware updates, and camera obstructions to resolve Blink Doorbell recording issues and ensure reliable home security.
- Contact Blink support for expert assistance if troubleshooting steps do not resolve Blink Doorbell recording problems, ensuring peace of mind and efficient home security.
Read more: Why Is My Blink Doorbell Blinking Red
Understanding Blink Doorbell
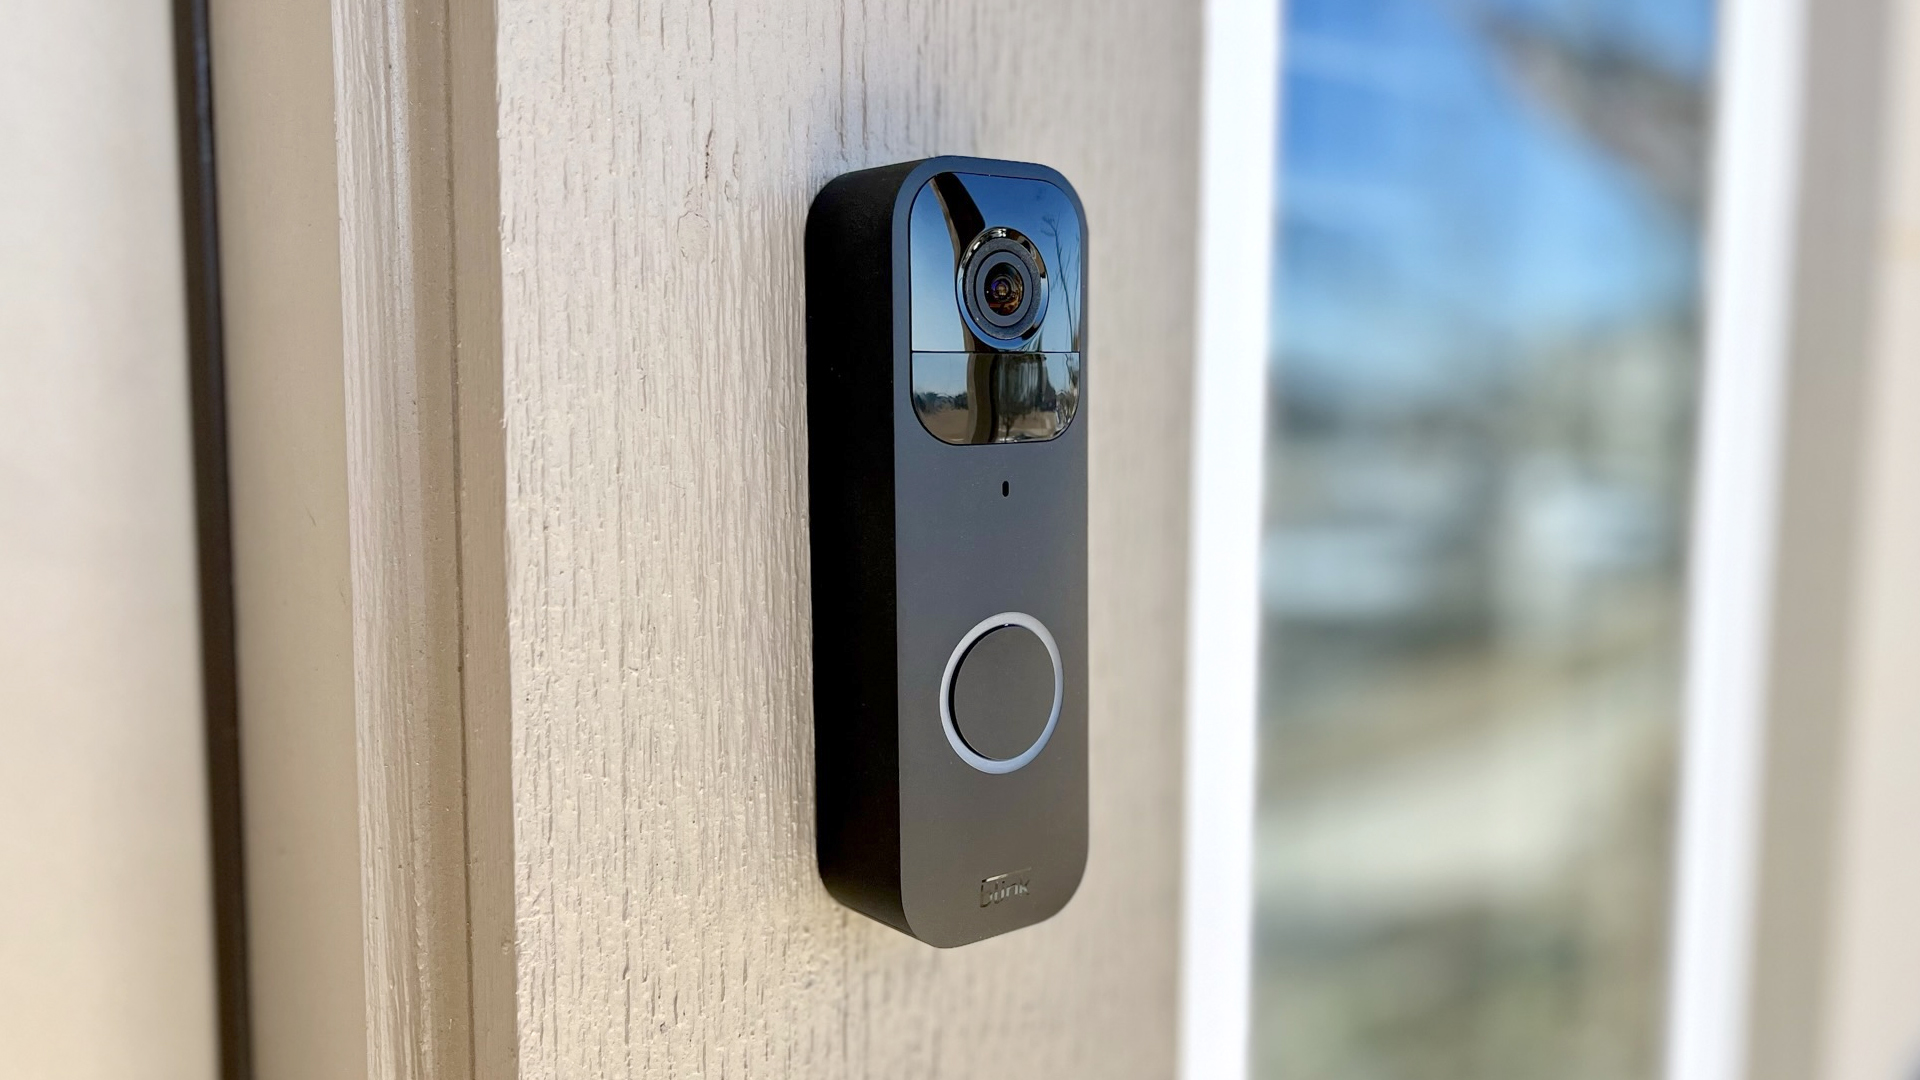
Before we delve into the reasons why your Blink Doorbell may not be recording, let’s first understand how this smart device works. The Blink Doorbell is a wireless video doorbell that allows you to monitor your front door through a mobile app on your smartphone or tablet.
Equipped with a high-definition camera, the Blink Doorbell captures and records videos of any activity that occurs in front of it. Whether it’s a visitor ringing the doorbell, a package being delivered, or even potential intruders, the Blink Doorbell is designed to keep you informed and secure.
One of the key features of the Blink Doorbell is its motion detection capability. It uses advanced sensors to detect any motion in its field of view and automatically starts recording. This ensures that you have a record of any events at your doorstep, even if the visitor doesn’t ring the doorbell.
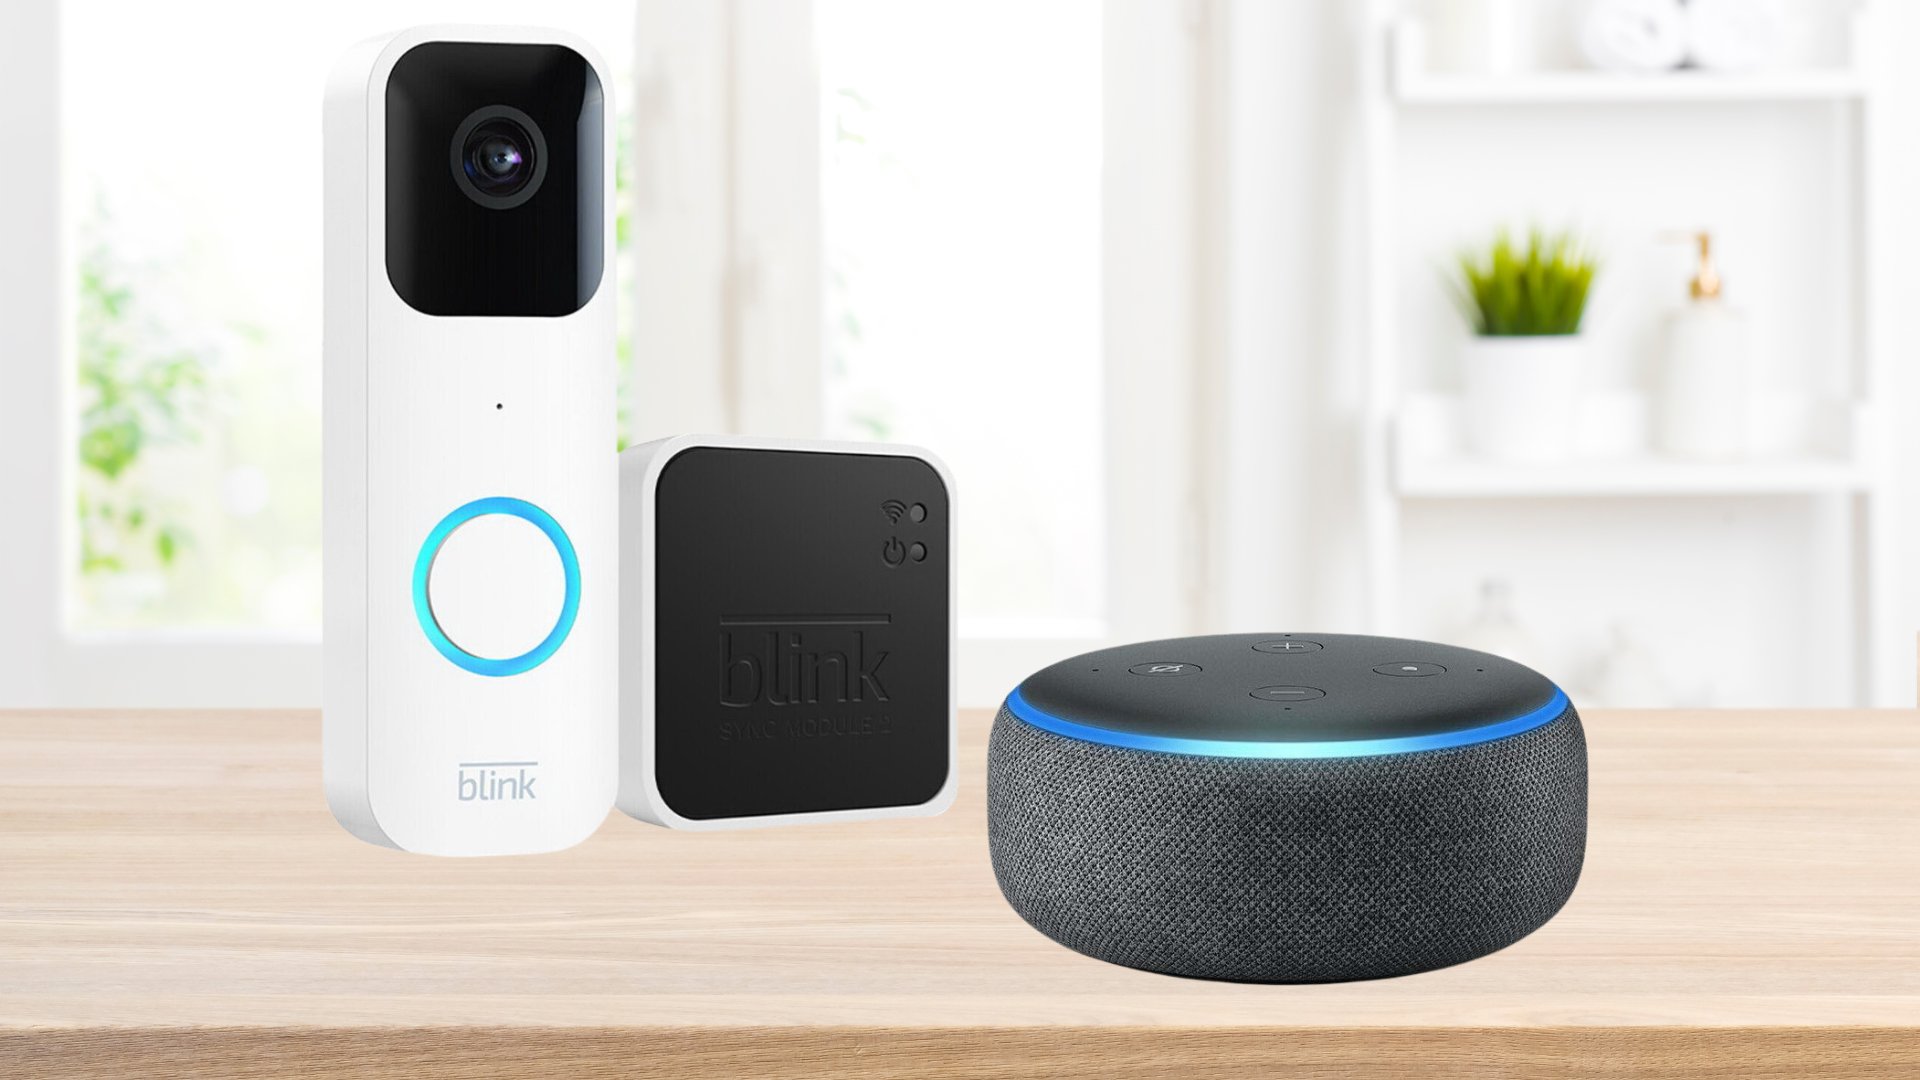
With the Blink Doorbell, you can view the live video feed, receive instant alerts whenever motion is detected, and even have two-way communication with your visitors using the built-in microphone and speaker. It’s a convenient and effective way to enhance your home security and stay connected to your front door, even when you’re not at home.
Common Reasons Why Blink Doorbell is Not Recording
There can be several reasons why your Blink Doorbell is not recording. It’s important to identify the underlying cause in order to resolve the issue. Here are some common reasons why your Blink Doorbell may not be recording:
- Connectivity Issues: The Blink Doorbell relies on a stable internet connection to transmit and store recorded videos. If your Wi-Fi signal is weak or your internet service is experiencing interruptions, it can prevent the Blink Doorbell from recording properly. Ensure that your Wi-Fi network is strong and stable, and consider moving your router closer to the doorbell or installing a Wi-Fi extender if needed.
- Motion Detection Settings: Check the motion detection settings in the Blink app. It’s possible that the sensitivity level is set too low, causing the doorbell to miss recording events. Adjust the sensitivity settings to ensure that it captures all relevant activity without being triggered by false alarms, such as passing vehicles or tree branches.
- Power Source Issues: The Blink Doorbell requires a sufficient power source to operate and record videos. If the battery level is low or the device is not properly connected to a power outlet (in the case of wired installations), it may not be able to record. Make sure the battery is charged or replace it if necessary. For wired installations, check that the doorbell is securely connected to the power source.
- Firmware Updates: Outdated firmware can sometimes cause issues with your Blink Doorbell’s recording functionality. Check for firmware updates in the Blink app and install them if available. These updates often include bug fixes and improvements that can resolve recording issues.
- Camera Obstructions: Ensure that the camera lens on your Blink Doorbell is clean and free from any obstructions, such as dirt, dust, or cobwebs. A dirty lens can affect the quality of the recorded videos or even prevent recording altogether.
By addressing these common issues, you can troubleshoot and resolve the problem of your Blink Doorbell not recording. In the next sections, we will discuss the steps to take for each of these potential causes, helping you get your doorbell back to recording all the important events at your doorstep.
Checking the Internet Connection
An unstable or weak internet connection can be one of the main reasons why your Blink Doorbell is not recording. Here are some steps you can take to check and improve your internet connection:
- Check Wi-Fi Signal Strength: Walk around your home and check the signal strength of your Wi-Fi network near the location of your Blink Doorbell. If the signal is weak, your doorbell may struggle to connect to the internet consistently. Consider moving your router closer to the doorbell or installing a Wi-Fi range extender to boost the signal strength in that area.
- Restart Router: Sometimes, a simple router restart can resolve connectivity issues. Unplug your router from the power source, wait for about 30 seconds, and then plug it back in. This can refresh the network connection and resolve any temporary issues.
- Ensure Proper Band Connection: Make sure that your Blink Doorbell is connected to the appropriate Wi-Fi band (2.4GHz or 5GHz) supported by your router. Some older doorbell models only support the 2.4GHz band, so double-check the specifications of your device.
- Reduce Interference: Other electronic devices in your home, such as cordless phones, baby monitors, or microwave ovens, can cause interference with your Wi-Fi signal. Keep these devices away from your router and Blink Doorbell, or try changing the channel on your router settings to avoid interference.
- Test Internet Speed: Perform an internet speed test using a computer or smartphone near the location of your Blink Doorbell. If the upload and download speeds are significantly lower than your internet service provider’s advertised rates, you may need to contact your ISP to troubleshoot potential issues with your connection.
By checking and improving your internet connection, you can ensure that your Blink Doorbell has a stable connection to record and transmit videos. If the issue persists even after optimizing your internet connection, you may need to explore other troubleshooting steps.
Adjusting the Motion Detection Settings
If your Blink Doorbell is not recording, the motion detection settings may need to be adjusted. Follow these steps to ensure that the motion detection feature is properly tuned:
- Access the Blink App: Open the Blink app on your smartphone or tablet and log in to your account. Make sure you are connected to the same Wi-Fi network as your Blink Doorbell.
- Select Camera Settings: Navigate to the settings for your Blink Doorbell camera. This can usually be found in the “Camera Settings” or “Device Settings” section of the app.
- Adjust Sensitivity: Look for the motion detection sensitivity setting and modify it according to your needs. If the sensitivity is set too low, the doorbell may not detect and record all relevant motion events. On the other hand, if it is set too high, it can be triggered by false alarms such as passing vehicles or animals. Experiment with different sensitivity levels to find the optimal setting.
- Set Motion Zone: Some Blink Doorbell models allow you to define specific motion zones within the camera’s field of view. This can be useful if you want to focus on a specific area while ignoring others. Adjust the motion zone settings to ensure that the camera is capturing the desired area where motion is most likely to occur.
- Enable Activity Zones: Check if your Blink Doorbell supports activity zones, which allow you to create virtual boundaries within the camera’s field of view. By enabling activity zones, you can specify areas where you want the motion detection feature to be more sensitive, while ignoring motion in less relevant areas. Configure the activity zones to match your preferences and requirements.
After adjusting the motion detection settings, test the Blink Doorbell by triggering motion in front of it. Walk within the configured motion zone or create movement in the designated activity zones to see if the doorbell detects and records those events correctly. Continue fine-tuning the settings until you achieve the desired results.
The right combination of sensitivity, motion zone, and activity zone settings can ensure that your Blink Doorbell captures all the important events while minimizing false alarms. If adjusting the motion detection settings does not resolve the recording issue, there may be other factors to consider.
Make sure your Blink doorbell has a strong Wi-Fi connection and is within range of the router. Check for any firmware updates and ensure the device is properly powered and connected to the app. If the issue persists, contact Blink customer support for further assistance.
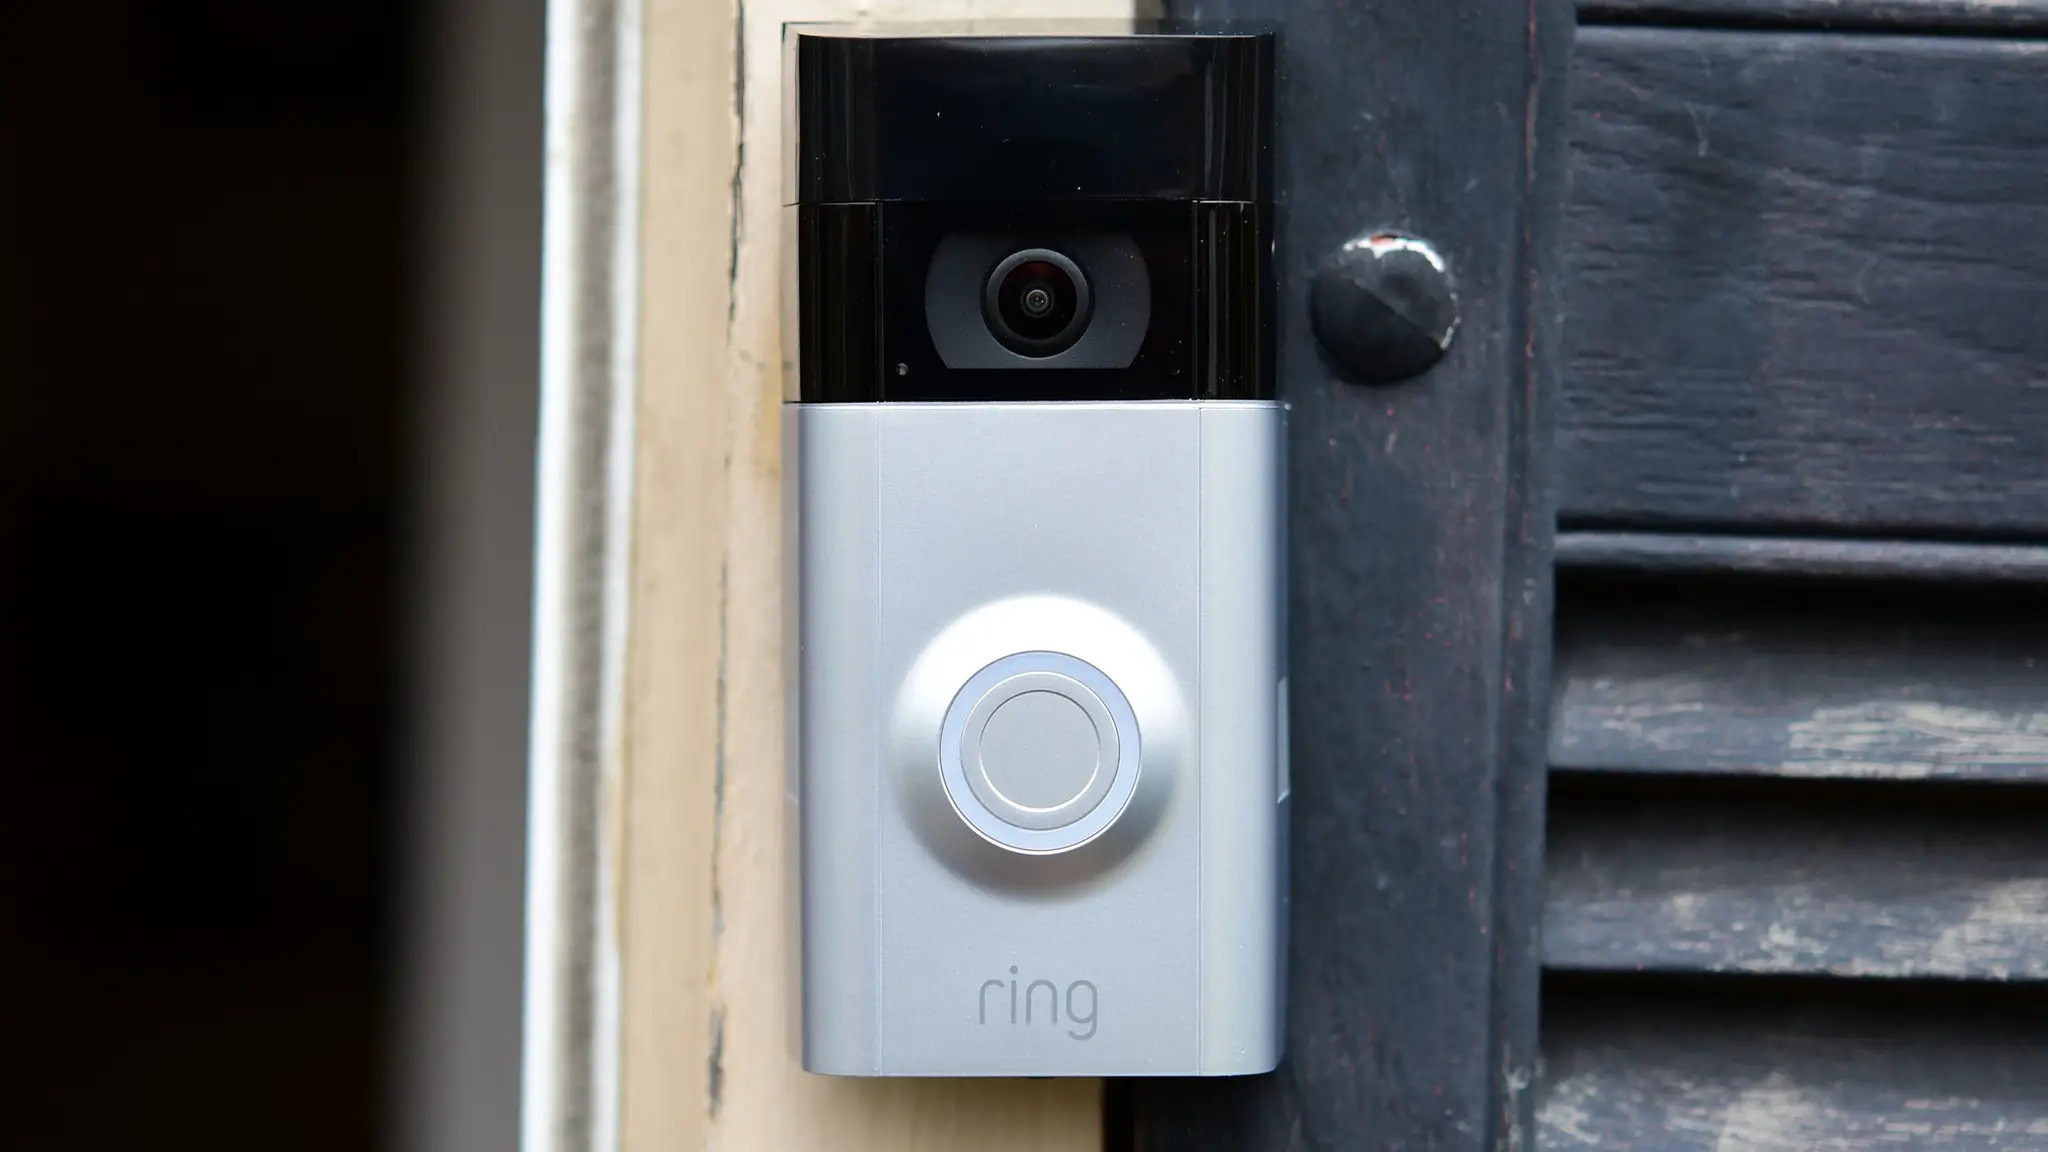
Read more: Why Is My Ring Doorbell Blinking Blue
Verifying the Device’s Power Source
If your Blink Doorbell is not recording, it’s important to check the power source to ensure that the device is receiving sufficient power. Here are some steps to verify the power source of your Blink Doorbell:
- Battery-Powered Doorbell: If you have a battery-powered Blink Doorbell, check the battery level in the Blink app. A low battery could prevent the doorbell from functioning properly and recording videos. If the battery level is low, replace it with a fully charged battery or recharge it according to the manufacturer’s instructions.
- Wired Doorbell: For wired installations, make sure that the Blink Doorbell is properly connected to the power source. Check the wiring connections and ensure that they are secure. If the doorbell is connected to a transformer, verify that the transformer is supplying the correct voltage to power the doorbell.
- Power Cycle the Device: Sometimes, power cycling the Blink Doorbell can resolve any issues related to the power source. To do this, remove the battery from the battery-powered device or disconnect the wired doorbell from its power source for a few seconds. Then, reconnect the power source and allow the device to power back on.
- Verify Power Outlet: If your Blink Doorbell is connected to a power outlet, make sure that the outlet is functioning properly. Plug in another device or use a voltage tester to confirm that the outlet is providing power. If the outlet is not working, try using a different outlet or consult an electrician to resolve the issue.
By verifying the power source of your Blink Doorbell, you can ensure that it is receiving adequate power to function and record videos. If power-related issues are ruled out and the device is still not recording, it may be necessary to consider other troubleshooting steps.
Updating the Blink Doorbell Firmware
Keeping your Blink Doorbell firmware up to date is essential for optimal performance and functionality. Firmware updates often include bug fixes, performance improvements, and new features that can help resolve issues, including recording problems. Here’s how you can update the firmware on your Blink Doorbell:
- Open the Blink App: Launch the Blink app on your smartphone or tablet and log in to your account. Ensure that you are connected to the same Wi-Fi network as your Blink Doorbell.
- Access Device Settings: Navigate to the device settings for your Blink Doorbell. This is usually found in the “Camera Settings” or “Device Settings” section of the app.
- Check for Updates: Look for an option to check for firmware updates. It may be labeled as “Firmware Update,” “Check for Updates,” or something similar. Tap on this option to initiate the firmware update process.
- Follow the Prompts: The Blink app will guide you through the firmware update process. This typically involves downloading and installing the latest firmware version for your Blink Doorbell. Make sure your device remains connected to a stable internet connection throughout the update process.
- Wait for the Update: The firmware update may take a few minutes to complete. During this time, it’s important not to disconnect or power off your Blink Doorbell. Wait for the app to notify you when the update is successfully installed.
Once the firmware update is complete, test your Blink Doorbell to see if it is now recording properly. Trigger motion in front of the doorbell or test other features to ensure that the update has resolved any recording issues.
If there are no available firmware updates or if updating the firmware does not resolve the recording problem, it may be necessary to consider other troubleshooting steps or contact Blink support for further assistance.
Resetting the Blink Doorbell
If your Blink Doorbell is still not recording after trying the previous troubleshooting steps, a factory reset may be necessary. Resetting the doorbell can restore it to its default settings and resolve any software or configuration issues that may be causing the problem. Here’s how you can reset your Blink Doorbell:
- Access Device Settings: Open the Blink app on your smartphone or tablet and navigate to the device settings for your Blink Doorbell. Look for the option to reset or restore the device.
- Select Reset: Tap on the reset option, which may be called “Reset Device” or “Factory Reset.” Keep in mind that performing a reset will erase all device settings and recordings, so make sure to download any important videos before proceeding.
- Confirm Reset: The app will prompt you to confirm the reset action. Read the warning message carefully and understand that all data will be lost. Once you are sure, proceed with the reset process.
- Wait for Reset: The reset process may take a few moments to complete. During this time, it’s important to keep the doorbell connected to power and refrain from interrupting the process. The doorbell will restart and return to its default settings.
- Reconfigure the Doorbell: After the reset is complete, you’ll need to set up your Blink Doorbell again. Follow the initial setup instructions provided by the Blink app to connect the doorbell to your Wi-Fi network and personalize the settings.
Once the doorbell is reset and reconfigured, check if it is now recording properly. Trigger motion in front of the doorbell or perform a test to see if it captures and records events correctly.
If resetting the Blink Doorbell does not resolve the recording issue, it may be necessary to contact Blink support for further assistance. They can provide additional troubleshooting steps or guide you through the process of replacing the device if needed.
Contacting Blink Support
If you have gone through the troubleshooting steps mentioned above and your Blink Doorbell is still not recording, it’s time to reach out to Blink support for further assistance. The Blink support team is readily available to help you troubleshoot and resolve any issues you may be experiencing. Here’s how you can get in touch with Blink support:
- Visit the Blink Website: Go to the official Blink website and navigate to the support section. Look for a “Contact Us” or “Support” page, where you can find the necessary contact information.
- Email Support: Send an email to the Blink support team explaining the issue you are facing with your Blink Doorbell. Provide as much detail as possible, including the troubleshooting steps you have already taken. Be sure to include your contact information and any relevant device information to help expedite the support process.
- Live Chat Support: Some companies offer live chat support, allowing you to chat with a support representative in real-time. Check if Blink offers this option on their website or within their support app. This can be a quick way to get assistance and resolve your recording issue.
- Phone Support: Check if Blink provides a phone support hotline for customers. If available, dial the support number and explain the issue to a support representative. They will guide you through additional troubleshooting steps or provide instructions for further action.
When contacting Blink support, it’s helpful to have your device information such as the model, serial number, and any error messages or symptoms you have noticed. This will assist the support team in diagnosing and resolving the recording problem more efficiently.
Remember to be patient and polite when interacting with the support team. They are there to assist you and are knowledgeable in troubleshooting Blink Doorbell issues. Follow their instructions, answer any questions they may have, and provide any requested information to facilitate a smooth support experience.
If the support team is unable to resolve the recording issue, they may be able to initiate a replacement process or offer alternative solutions. They are your best resource in getting your Blink Doorbell back to recording all the important moments at your doorstep.
Read more: Why Is My Surge Protector Blinking
Conclusion
In conclusion, the Blink Doorbell is an excellent device that provides convenient and effective home security. However, there can be instances where your Blink Doorbell is not recording, which can be frustrating. By following the troubleshooting steps mentioned in this article, you can identify and resolve the potential issues causing the recording problem.
First and foremost, make sure to check your internet connection and ensure that it is stable and strong. Adjusting the motion detection settings can also help fine-tune the doorbell’s sensitivity to capture all relevant motion events. Verifying the power source is essential, whether it’s checking the battery level or ensuring proper wiring for wired installations. Updating the Blink Doorbell firmware is crucial to benefit from the latest bug fixes and enhancements. And if all else fails, performing a reset can help resolve any software or configuration issues.
If you have exhausted all troubleshooting steps and the Blink Doorbell is still not recording, don’t hesitate to contact Blink support. Their team of experts will provide further assistance and guide you through the resolution process. Whether it’s through email, live chat, or phone support, they are dedicated to helping you get your Blink Doorbell back on track.
Remember, maintaining a strong and stable internet connection, regularly updating firmware, and ensuring proper power source connectivity are key to the continued smooth functioning of your Blink Doorbell.
With the right troubleshooting steps and support, you can resolve the recording issue and once again enjoy the peace of mind that comes with having a reliable and efficient Blink Doorbell recording all the important activities at your doorstep.
After resolving your Blink doorbell issues, consider enhancing your living space's safety and efficiency. Learn why robust home security systems are vital for protecting your property and loved ones. Plus, get ahead with the latest trends in home automation, essential for those striving for a smarter, easier-to-manage home environment in the upcoming year.
Frequently Asked Questions about Why Is My Blink Doorbell Not Recording
Was this page helpful?
At Storables.com, we guarantee accurate and reliable information. Our content, validated by Expert Board Contributors, is crafted following stringent Editorial Policies. We're committed to providing you with well-researched, expert-backed insights for all your informational needs.


0 thoughts on “Why Is My Blink Doorbell Not Recording”