Articles
Why Won’t My Garage Door Open All The Way
Modified: October 20, 2024
Having trouble with your garage door not opening all the way? Check out our informative articles for solutions and tips to fix this common issue.
(Many of the links in this article redirect to a specific reviewed product. Your purchase of these products through affiliate links helps to generate commission for Storables.com, at no extra cost. Learn more)
Introduction
Having a garage door that won’t open all the way can be frustrating and inconvenient. Whether you’re trying to park your car, get something in or out of your garage, or simply access your belongings, a malfunctioning garage door can really put a damper on things. However, there can be various reasons why your garage door is not opening fully, and understanding these causes can help you troubleshoot and resolve the issue.
In this article, we will explore the common causes behind garage doors not opening all the way and provide you with troubleshooting steps to help you fix the problem. From obstructions in the door pathway to problems with the garage door opener remote or wall switch, we will cover everything you need to know to get your garage door back in working order.
So, if you’re wondering why your garage door won’t open all the way and how to fix it, read on to discover the possible issues and solutions that will have your garage door functioning properly again in no time.
Key Takeaways:
- Regularly inspect and clear your garage door’s pathway to ensure smooth operation. Addressing obstructions, damaged springs, and motor issues can help resolve common causes of a garage door not opening fully.
- Troubleshoot and test the garage door opener remote, wall switch, sensors, and limit settings to diagnose and resolve issues. Seek professional assistance for complex problems and prioritize safety at all times.
Read more: Why Is My Garage Door Opening By Itself
Common Causes for Garage Doors Not Opening All the Way
When your garage door refuses to open all the way, it’s important to identify the underlying cause so you can take appropriate action. Here are some common reasons why your garage door may not be opening fully:
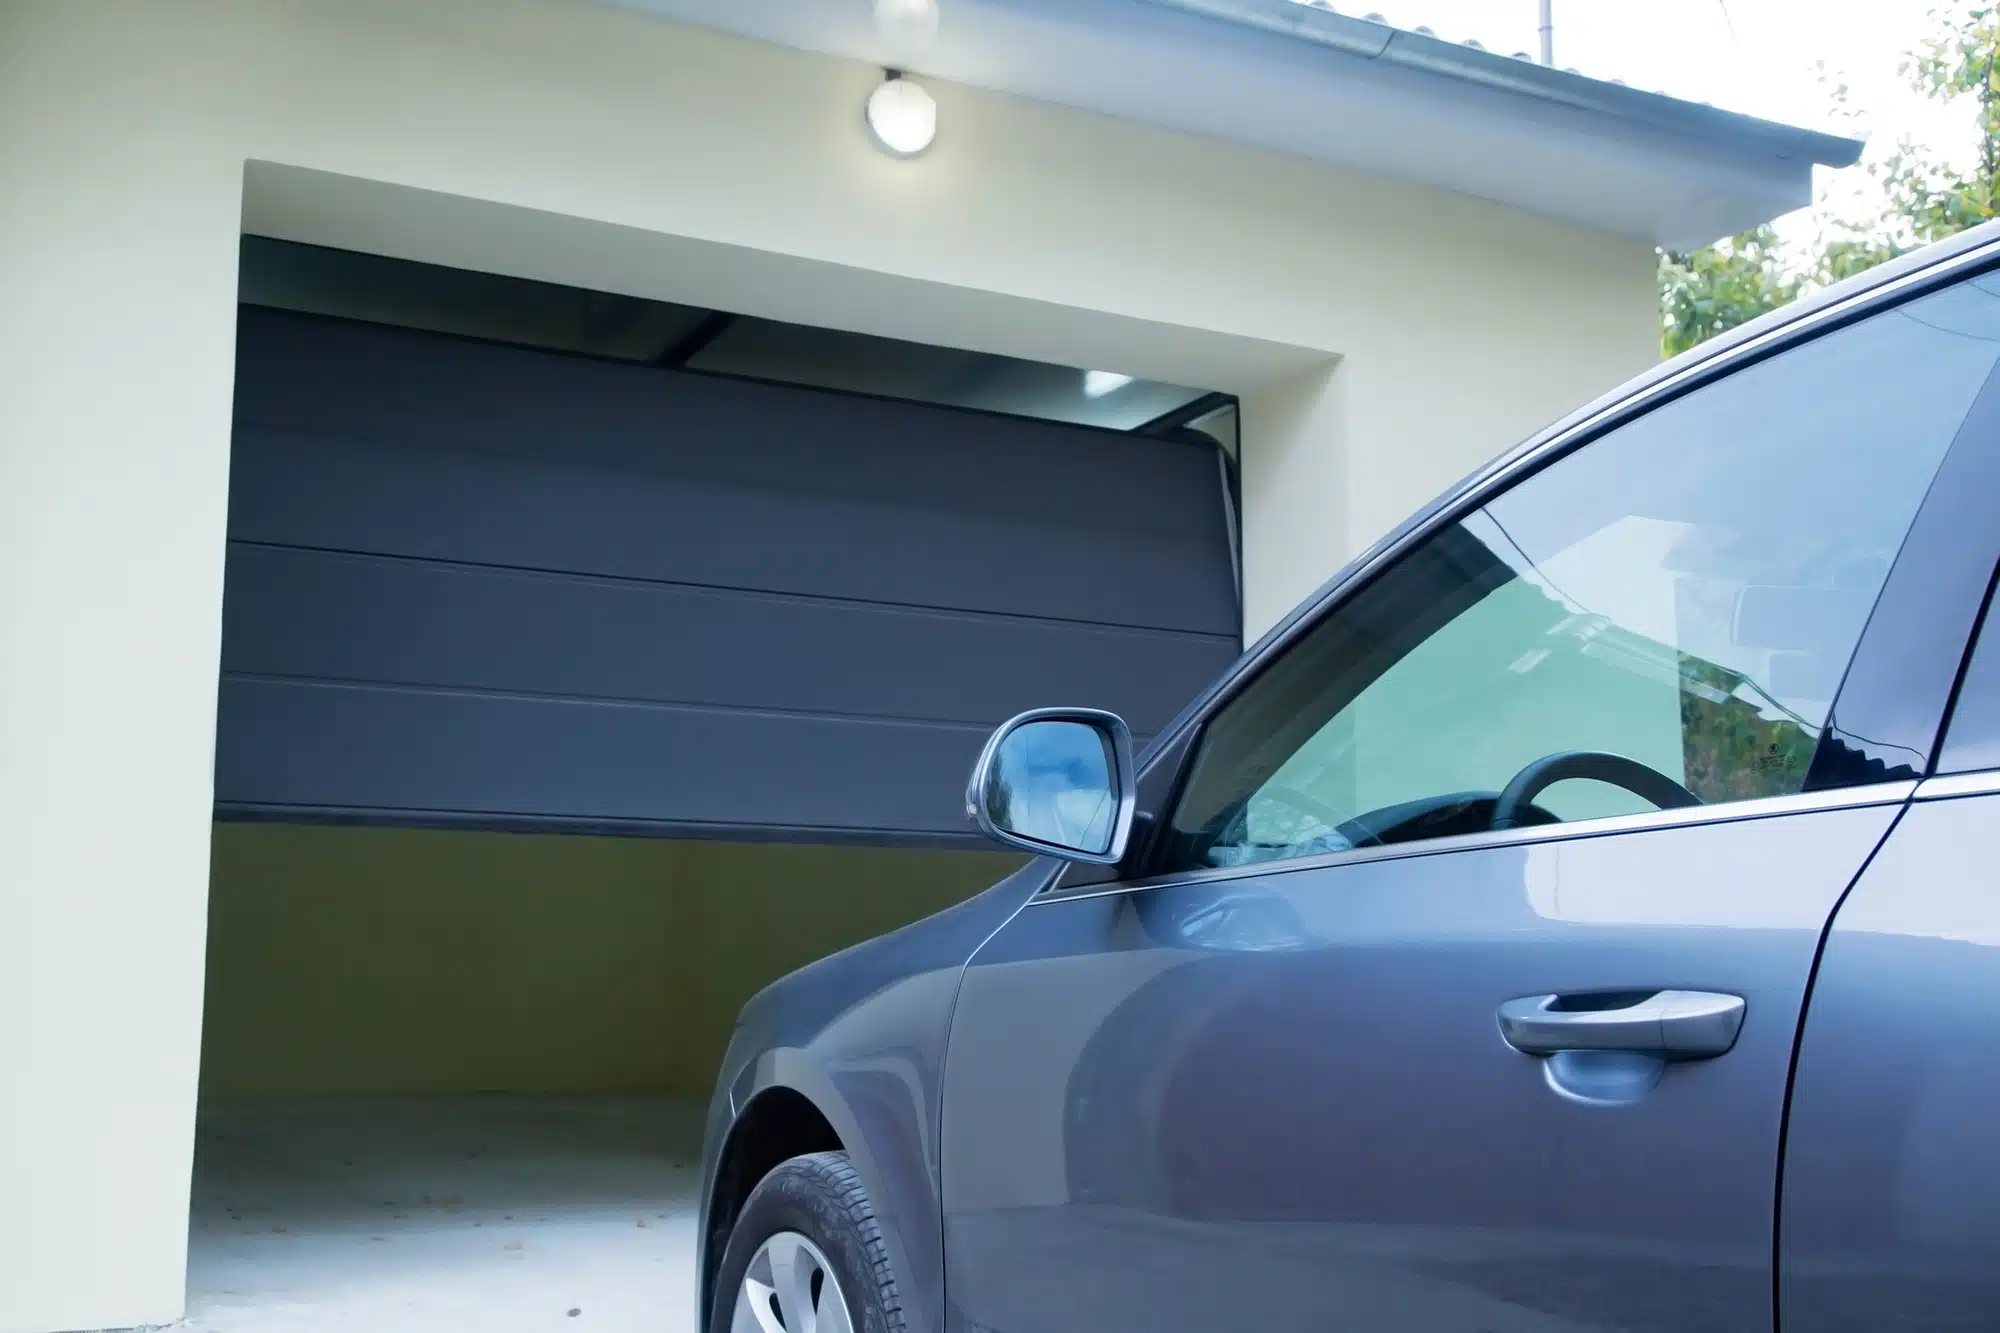
1. Obstructions in the Door Pathway: The most obvious and common cause of a garage door not opening all the way is the presence of obstructions in the door’s pathway. Objects such as tools, debris, or even a vehicle parked too close to the door can prevent it from opening fully. Carefully inspect the area around the door and remove any obstructions that may be causing the issue.
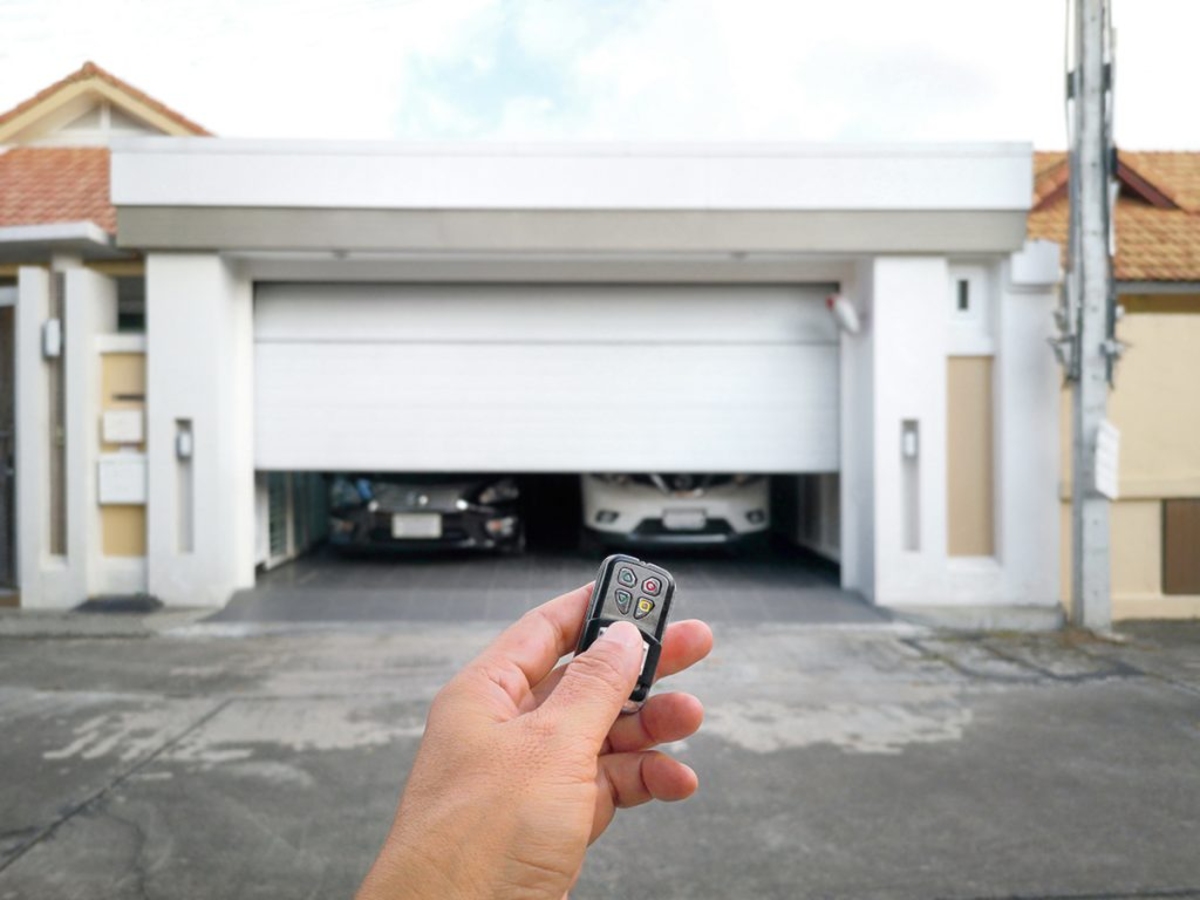
2. Problems with the Garage Door Opener Remote or Wall Switch: A malfunctioning garage door opener remote or wall switch can also prevent the door from opening all the way. Check the batteries in your remote and replace them if necessary. If the wall switch is not working, it may need to be repaired or replaced.
3. Broken or Misaligned Sensors: Modern garage doors are equipped with safety sensors that detect objects in the door’s path and prevent it from closing fully. If these sensors are misaligned or damaged, they may mistakenly detect an obstruction and prevent the door from opening all the way. Make sure the sensors are properly aligned and free from any dirt or debris.
4. Damaged or Worn-out Garage Door Springs: Garage doors rely on tightly wound springs to assist in the opening and closing process. Over time, these springs can become worn out or even break, causing the door to only partially open. If you suspect an issue with the door springs, it’s best to seek professional help to safely replace them.
5. Malfunctioning Garage Door Opener Motor: The motor in your garage door opener is responsible for powering the mechanism that opens and closes the door. If the motor is not functioning properly, it may not have enough power to fully open the door. In such cases, a motor repair or replacement may be necessary.
6. Incorrect Limit Settings on the Garage Door Opener: Garage door openers have limit settings that determine how far the door should open and close. If these settings are not correctly adjusted, the door may not open all the way or may close prematurely. Consult your garage door opener’s manual to learn how to properly adjust the limit settings.
Now that we’ve explored the common causes of garage doors not opening all the way, let’s move on to troubleshooting steps that can help you fix the issue.
Issue #1: Obstructions in the Door Pathway
One of the most common reasons why a garage door may not open all the way is the presence of obstructions in its pathway. Objects that are blocking the door’s movement can prevent it from fully opening, causing frustration and inconvenience. Here are some steps you can take to address this issue:
1. Inspect the Door Pathway: Start by carefully examining the area around your garage door. Look for any objects, tools, or debris that may be obstructing the door’s movement. Common culprits include bikes, garbage cans, gardening equipment, and even snow or ice during winter months. Remove any obstacles that you find, ensuring that the pathway is clear for the door to open freely.
2. Check the Garage Floor: Sometimes, the bottom seal of the garage door can get damaged or worn out, causing it to sag or get stuck on the floor. Inspect the seal and if necessary, replace it to prevent any friction or resistance that may be impeding the door’s movement.
3. Check the Tracks: Examine the tracks that guide the garage door’s movement. Debris, dirt, or misalignment of the tracks can hinder the smooth operation of the door. Use a clean cloth to wipe away any dirt or grime and make sure the tracks are properly aligned. If you notice any damage or significant misalignment, it may be necessary to seek professional assistance to repair or replace the tracks.
4. Clear the Photo-Eye Sensors: Most modern garage doors are equipped with photo-eye sensors that detect objects in the door’s path and prevent accidents. These sensors are usually placed on either side of the door tracks near the floor. Check to see if the sensors are dirty or misaligned, as this can result in the door not opening all the way. Gently clean the sensors with a soft cloth and ensure that they are aligned properly.
5. Check the Garage Door’s Balance: An unbalanced garage door can also prevent it from opening fully. Close the door and disconnect the opener by pulling the release cord. Then, manually lift the door about halfway and let go. If the door stays in place, it’s properly balanced. However, if it falls or rises, it signifies an imbalance. In such cases, it’s best to contact a professional technician to adjust the spring tension and restore the door’s balance.
By addressing the issue of obstructions in the door pathway, you can eliminate a common cause for your garage door not opening all the way. It’s important to regularly inspect and clear the door’s pathway to ensure smooth and uninterrupted operation.
Issue #2: Problems with the Garage Door Opener Remote or Wall Switch
Another common issue that can prevent a garage door from opening all the way is problems with the garage door opener remote or wall switch. If these components are malfunctioning, it can be frustrating and inconvenient. Here are some steps you can take to troubleshoot and resolve this issue:
1. Check the Batteries: The first thing you should do is check the batteries in your garage door opener remote. If the batteries are low or dead, it can prevent the remote from sending the signal to open the door. Replace the batteries with fresh ones and test the remote to see if it resolves the issue.
2. Inspect the Wall Switch: If the remote is not the issue, check the wall switch that controls the garage door opener. Look for any visible signs of damage, such as loose wires or a cracked switch. If you notice any issues, it’s best to contact a professional electrician to repair or replace the wall switch.
3. Reset the Opener: Sometimes, a simple reset can fix the problem. Locate the power source for your garage door opener and unplug it for a few minutes. This will reset the system. After a few minutes, plug it back in and try using the remote or wall switch to open the door again.
4. Reprogram the Remote: If the garage door opener remote is still not working, you may need to reprogram it. Consult the instruction manual for your specific remote or refer to the manufacturer’s website for the proper programming instructions. Follow the steps carefully to reprogram the remote and see if it resolves the issue.
5. Test the Wall Switch Connections: If the wall switch is not working, it’s possible that there may be a problem with its electrical connections. Turn off the power to the garage door opener and carefully inspect the wires connected to the wall switch. Ensure that all connections are secure and tight. If any wires are loose or damaged, it’s best to contact a professional electrician to fix the wiring.
By addressing the potential problems with the garage door opener remote or wall switch, you can eliminate a common cause for your garage door not opening all the way. Remember to follow the troubleshooting steps carefully and, if needed, consult professional help to ensure the proper functioning of your garage door opener system.
Issue #3: Broken or Misaligned Sensors
Broken or misaligned sensors can be another reason why your garage door is not opening all the way. Garage doors are equipped with safety sensors that detect any obstructions in the door’s path to prevent accidents or damage. When these sensors are not in proper working condition, they can mistakenly detect an obstruction and prevent the door from fully opening. Here are some steps you can take to address this issue:
1. Inspect the Sensor Alignment: Begin by checking the alignment of the sensors. They are usually mounted on each side of the garage door, near the floor. Ensure that the sensors are facing each other and their beams are aligned. If the sensors are misaligned, adjust them until the beams are aligned properly.
2. Clean the Sensor Lenses: Sometimes, the sensor lenses may become dirty or covered in dust or debris, which can disrupt their functionality. Use a soft, clean cloth to gently wipe the lenses and remove any dirt or obstructions. Take extra care not to scratch or damage the lenses during the cleaning process.
3. Check the Wiring and Connections: Inspect the wiring and connections of the sensors to make sure they are secure and intact. Loose or damaged wiring can disrupt the proper functioning of the sensors. If you notice any loose or damaged wiring, it’s best to seek professional assistance for repairs.
4. Test the Sensors: To determine if the sensors are functioning correctly, perform a simple test. With the garage door fully closed, press and hold the wall-mounted control button or remote control to initiate the door’s closing sequence. While the door is closing, interrupt the safety sensor beam by placing an object in its path. If the sensors are working correctly, the door should stop and reverse its direction. If the door continues to close without reversing, it indicates a problem with the sensors.
5. Replace Faulty Sensors: If the sensors are damaged beyond repair or are not properly aligned, they may need to be replaced. Contact a professional garage door technician to assess the situation and replace the faulty sensors with new ones. They will have the expertise and tools necessary to ensure proper installation and alignment.
By addressing the issue of broken or misaligned sensors, you can ensure that your garage door operates safely and opens fully without any disruptions. Regularly inspect and maintain the sensors to prevent any issues from occurring in the future.
Read more: Why Is My Garage Door Opener Beeping
Issue #4: Damaged or Worn-out Garage Door Springs
One of the critical components that help in the smooth and efficient operation of a garage door are the springs. Garage door springs assist in the lifting and lowering of the door, counterbalancing its weight. However, over time, these springs can become damaged or worn out, leading to issues such as a door that won’t open all the way. Here are some details about this issue and steps you can take to address it:
1. Signs of Damaged or Worn-out Springs: Before taking any action, it’s important to evaluate whether your garage door springs are damaged or worn out. Look for signs such as visible damage, rust, or gaps in the coils. If the springs appear stretched or show signs of wear, they likely need to be replaced. Also, if you hear loud noises or notice the door struggling to open or close, it might be an indication of spring issues.
2. Seek Professional Help: Springs are under high tension and replacing or repairing them can be dangerous. It is recommended to seek the assistance of a professional garage door technician who has the expertise and proper tools to handle spring replacements. They will ensure the job is done safely and efficiently, restoring the proper functioning of your garage door.
3. Regular Maintenance: Regular maintenance can help prolong the lifespan of your garage door springs. Lubricate the springs periodically with a silicone-based lubricant to reduce friction and prevent premature wear. Additionally, keep the springs clean and free from debris to avoid any unnecessary strain on them.
4. Adjust the Spring Tension: In some cases, the spring tension may need to be adjusted to ensure proper door operation. However, adjusting spring tension requires specialized knowledge and tools. It is best to leave this task to a professional technician who can accurately adjust the tension to the manufacturer’s specifications.
5. Replace Both Springs: If one spring is damaged or worn out, it is recommended to replace both springs at the same time. Since springs usually have a similar lifespan, replacing both ensures balanced and even operation, preventing strain on the new spring and promoting the longevity of your garage door system.
Addressing the issue of damaged or worn-out garage door springs is essential for the proper functioning and longevity of your garage door. Always prioritize safety and consult a professional technician for any spring-related repairs or replacements.
Issue #5: Malfunctioning Garage Door Opener Motor
When your garage door opener motor malfunctions, it can prevent the door from opening all the way. The motor is responsible for powering the mechanism that moves the door up and down. If it is not functioning properly, it may lack the power necessary to fully open the door. Here are some details about this issue and steps you can take to address it:
1. Check the Power: Make sure that the garage door opener is properly connected to a power source. Check the power cord and ensure it is securely plugged into a working outlet. If the motor is not receiving power, it won’t be able to operate the door. Try plugging the opener into a different outlet or checking the circuit breaker to ensure it hasn’t tripped.
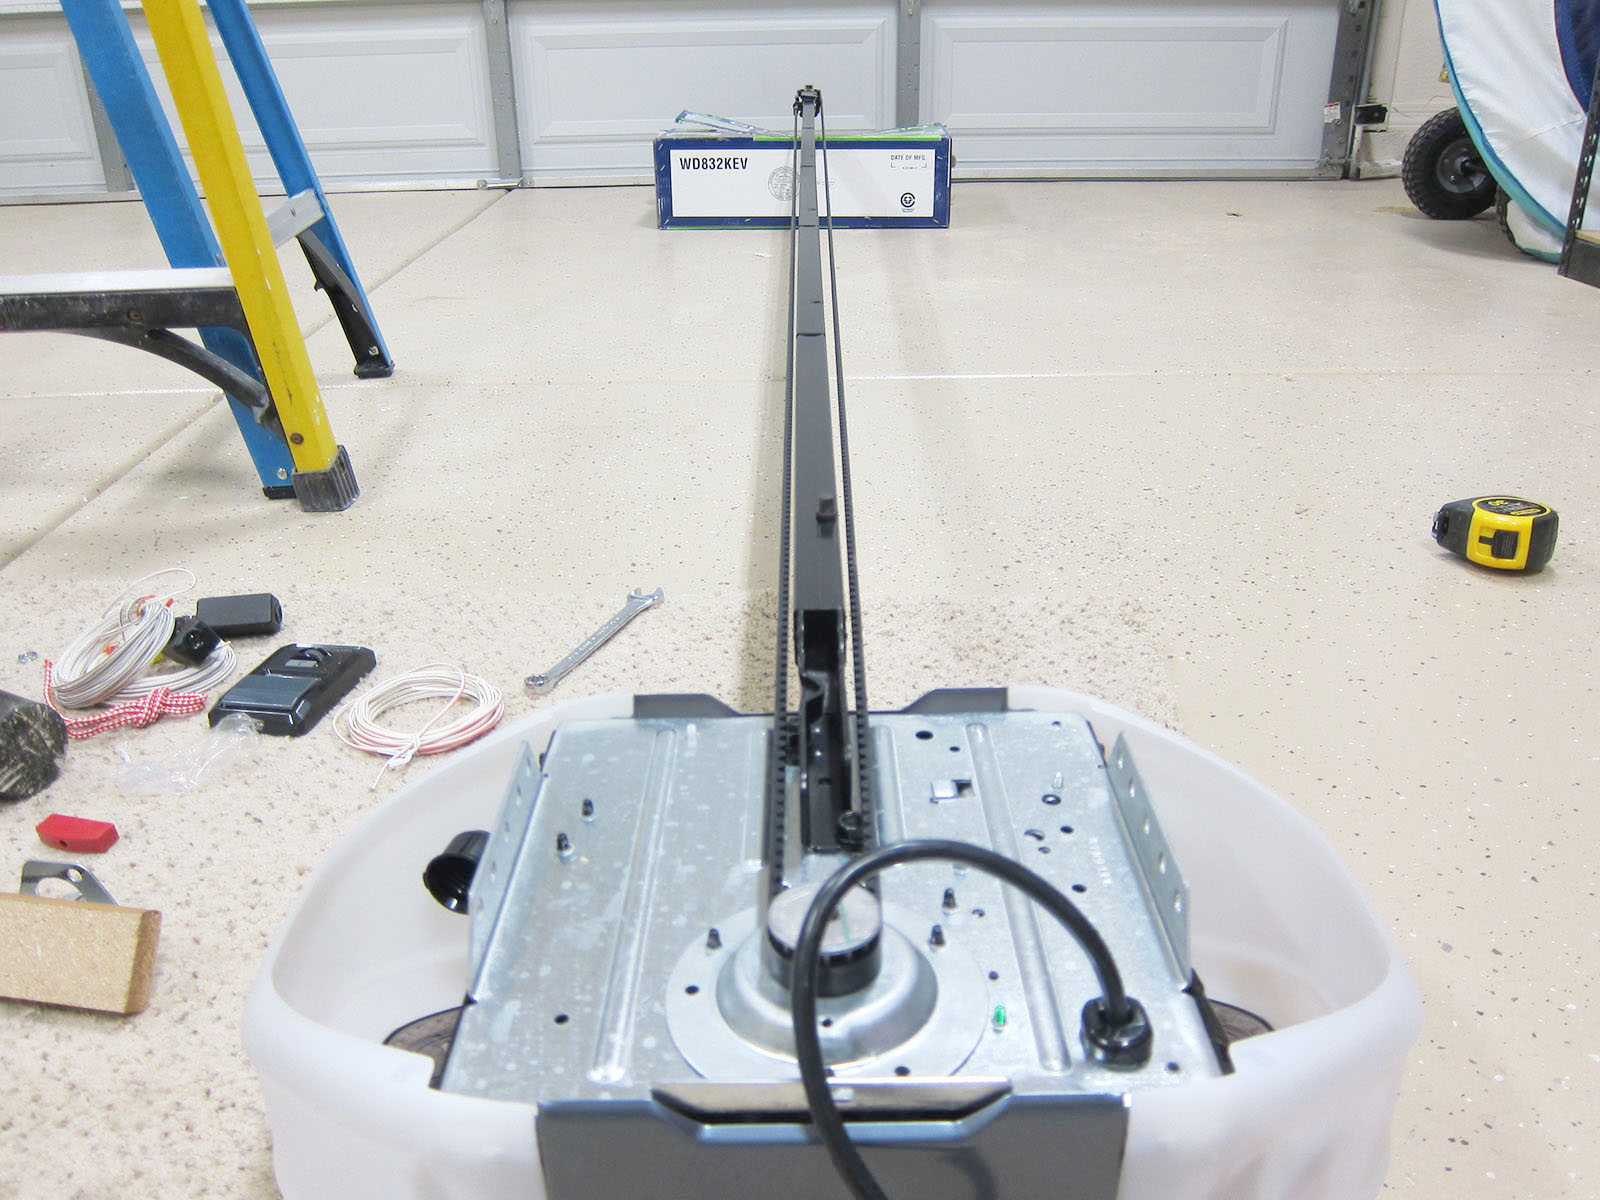
2. Inspect the Drive Belt or Chain: In some cases, the garage door opener motor may be functioning properly, but the drive belt or chain may be worn out or broken. Inspect the belt or chain for any signs of damage, such as fraying, cracking, or missing pieces. If you notice any issues, it may be necessary to replace the belt or chain to restore proper operation.
3. Lubricate Moving Parts: The motor and other moving parts of the garage door opener may require regular lubrication to ensure smooth operation. Check the manufacturer’s recommendations for the proper type of lubricant to use and apply it to the necessary areas, such as the motor gears, drive screw, or chain. Regular lubrication can help reduce friction and extend the lifespan of the motor.
4. Consult the Owner’s Manual: If the motor continues to malfunction, consult the owner’s manual that came with your garage door opener. The manual may provide troubleshooting steps specific to your model, or it may have a list of error codes that can help diagnose the problem. Follow the instructions carefully to identify and address any motor-related issues.
5. Seek Professional Assistance: If you have tried the above steps and the garage door opener motor still does not function correctly, it is recommended to consult a professional technician. They have the expertise and specialized tools to inspect and repair the motor. They can diagnose any complex issues and recommend the most appropriate course of action, whether it involves repairing or replacing the motor.
Dealing with a malfunctioning garage door opener motor can be frustrating, but by following these steps, you can troubleshoot the issue and restore the proper functioning of your garage door. Prioritize safety and consult a professional if necessary to ensure the motor is repaired or replaced correctly.
Issue #6: Incorrect Limit Settings on the Garage Door Opener
One of the common reasons why a garage door may not open all the way is incorrect limit settings on the garage door opener. The limit settings determine the range of motion for the door, specifying how far it should open and close. If these settings are incorrect, it can result in the door not opening or closing fully. Here are some details about this issue and steps you can take to address it:
1. Identify the Limit Setting Controls: Depending on the model and type of garage door opener, the limit settings can be adjusted using different methods. Most modern garage door openers have limit adjustment screws on the motor unit or a digital control panel. Consult your opener’s manual to locate the limit setting controls specific to your model.
2. Determine the Correct Limit Settings: The correct limit settings depend on the height and size of your garage door. Refer to the manufacturer’s guidelines or the owner’s manual for the recommended settings. Typically, the open limit determines how far the door should open, while the close limit specifies how far it should close. Adjusting these limits will ensure that the door opens and closes fully as intended.
3. Test and Adjust the Open Limit: To adjust the open limit, start by closing the garage door completely. Then, using the limit adjustment control, gradually increase the opening limit until the door reaches the desired fully open position. Test the door by opening and closing it a few times to ensure it opens to the correct position consistently.
4. Test and Adjust the Close Limit: After adjusting the open limit, close the door fully. Using the limit adjustment control again, gradually decrease the closing limit until the door reaches the desired fully closed position. Test the door’s operation and ensure it closes to the correct position without any issues.
5. Fine-Tune the Limits: Sometimes, slight adjustments may be needed to fine-tune the limit settings. If the door does not open or close fully, or if it reverses when it shouldn’t, make small incremental adjustments to the limits until the door operates as it should. Be patient and make small changes to avoid setting the limits incorrectly.
6. Seek Professional Assistance: If you are unsure about adjusting the limit settings or if the door still does not open all the way after multiple adjustments, it is best to seek professional assistance. Garage door technicians have the expertise and specialized tools to accurately adjust the limit settings and ensure the door operates correctly.
By addressing the issue of incorrect limit settings on the garage door opener, you can ensure that your garage door opens and closes fully as intended. Follow the steps carefully and, if needed, consult a professional to ensure the limit settings are adjusted correctly.
Check the garage door opener’s settings to ensure the limit switch is properly adjusted. If it’s set too low, the door won’t open all the way. Adjust it as needed to allow for full opening.
Troubleshooting Steps to Fix a Garage Door That Won’t Open All the Way
Dealing with a garage door that won’t open all the way can be frustrating, but there are several troubleshooting steps you can take to resolve the issue. Here are some steps to follow:
Step 1: Check for Obstructions in the Door Pathway: The first thing you should do is check for any obstructions that may be blocking the door’s pathway. Look for objects such as tools, debris, or vehicles that may be preventing the door from fully opening. Remove any obstructions and make sure the pathway is clear.
Step 2: Inspect and Test the Garage Door Opener Remote and Wall Switch: Verify that the garage door opener remote and wall switch are functioning properly. Check the batteries in the remote and replace them if needed. Inspect the wall switch for any visible damage or loose connections. If necessary, repair or replace the remote or wall switch.
Step 3: Verify the Alignment and Functioning of the Garage Door Sensors: Ensure that the safety sensors on either side of the garage door are properly aligned and functioning. Clean the sensor lenses and make sure there are no obstructions blocking the beams. If the sensors are misaligned, adjust them until the beams are aligned properly.
Step 4: Examine and Replace Damaged or Worn-out Garage Door Springs: Inspect the garage door springs for any signs of damage or wear. If you notice any visible damage, such as frayed or stretched springs, it is best to seek professional assistance to replace them safely. Garage door springs are under high tension and can be dangerous to handle without proper knowledge and tools.
Step 5: Assess and Repair a Malfunctioning Garage Door Opener Motor: If the garage door opener motor is not functioning properly, check if it is receiving power. Ensure that it is properly plugged in and that the power source is functioning. If the motor is not receiving power, try plugging it into a different outlet or check the circuit breaker. If the motor still does not work, consult the owner’s manual for troubleshooting steps or seek professional assistance to repair or replace the motor.
Step 6: Adjust the Limit Settings on the Garage Door Opener: Check the limit settings on the garage door opener to ensure they are properly adjusted. Refer to the manufacturer’s guidelines or the owner’s manual for the recommended settings. Adjust the open and close limits as needed to ensure that the door opens and closes fully. Make small incremental adjustments if necessary to fine-tune the limits.
By following these troubleshooting steps, you can address common issues that may prevent your garage door from opening all the way. However, if you are not comfortable performing these steps yourself or if the issue persists, it is best to seek professional help from a qualified garage door technician. They have the expertise and experience to diagnose and fix the problem, ensuring your garage door operates smoothly and efficiently.
Step 1: Check for Obstructions in the Door Pathway
When your garage door won’t open all the way, the first step in troubleshooting the issue is to check for obstructions in the door pathway. Objects that are blocking the door’s movement can prevent it from fully opening, causing frustration and inconvenience. Here’s how you can address this step:
1. Inspect the Door Pathway: Start by carefully examining the area around your garage door. Look for any objects, tools, or debris that may be obstructing the door’s movement. Common culprits include bikes, garbage cans, gardening equipment, and even snow or ice during winter months. Remove any obstacles that you find, ensuring that the pathway is clear for the door to open freely.
2. Check the Garage Floor: Sometimes, the bottom seal of the garage door can get damaged or worn out, causing it to sag or get stuck on the floor. Inspect the seal and if necessary, replace it to prevent any friction or resistance that may be impeding the door’s movement.
3. Check the Tracks: Examine the tracks that guide the garage door’s movement. Debris, dirt, or misalignment of the tracks can hinder the smooth operation of the door. Use a clean cloth to wipe away any dirt or grime and make sure the tracks are properly aligned. If you notice any damage or significant misalignment, it may be necessary to seek professional assistance to repair or replace the tracks.
4. Clear the Photo-Eye Sensors: Most modern garage doors are equipped with photo-eye sensors that detect objects in the door’s path and prevent accidents. These sensors are usually placed on either side of the door tracks near the floor. Check to see if the sensors are dirty or misaligned, as this can result in the door not opening all the way. Gently clean the sensors with a soft cloth and ensure that they are aligned properly.
5. Check the Garage Door’s Balance: An unbalanced garage door can also prevent it from opening fully. Close the door and disconnect the opener by pulling the release cord. Then, manually lift the door about halfway and let go. If the door stays in place, it’s properly balanced. However, if it falls or rises, it signifies an imbalance. In such cases, it’s best to contact a professional technician to adjust the spring tension and restore the door’s balance.
By addressing the issue of obstructions in the door pathway, you can eliminate a common cause for your garage door not opening all the way. It’s important to regularly inspect and clear the door’s pathway to ensure smooth and uninterrupted operation. If the door still fails to open fully after this step, proceed to the next troubleshooting step to further diagnose the issue.
Step 2: Inspect and Test the Garage Door Opener Remote and Wall Switch
If your garage door won’t open all the way, the next step in troubleshooting is to inspect and test the garage door opener remote and wall switch. A malfunctioning remote or wall switch can prevent the door from opening and closing properly. Follow these steps to address this issue:
1. Check the Batteries: Begin by checking the batteries in the garage door opener remote. If the batteries are low or dead, it can prevent the remote from sending the signal to open the door. Replace the batteries with fresh ones and test the remote to see if it resolves the issue.
2. Inspect the Wall Switch: If the remote is not the issue, check the wall switch that controls the garage door opener. Look for any visible signs of damage, such as loose wires or a cracked switch. If you notice any issues, it’s best to contact a professional electrician to repair or replace the wall switch.
3. Test the Wall Switch: Press and hold the wall switch to see if it activates the garage door opener. Listen for any clicking or humming sounds that indicate the switch is working. If you do not hear any noise, it may be a sign of a faulty switch that needs to be repaired or replaced.
4. Test the Remote: Stand within range of the garage door opener and use the remote to open the door. Ensure that you are pressing the correct buttons and that the remote is pointed directly at the opener. If the door opens fully when using the remote, it indicates that the remote is functioning correctly.
5. Check for Interference: Interference from other electronic devices can sometimes disrupt the signal between the remote and the garage door opener. Try moving closer to the garage door opener or standing in a different location within the garage to see if the remote functions properly. If the remote works without interference, it’s possible that other devices are causing signal disruption and may need to be relocated or turned off.
By inspecting and testing the garage door opener remote and wall switch, you can determine if they are functioning correctly and rule out any issues with these components. If the remote and wall switch are working properly, but the door still doesn’t open all the way, proceed to the next troubleshooting step to further diagnose the problem.
Step 3: Verify the Alignment and Functioning of the Garage Door Sensors
If your garage door won’t open all the way, one of the potential causes to investigate is the alignment and functioning of the garage door sensors. These sensors are a crucial safety feature that detects any obstructions in the door’s path and prevent it from closing. Follow these steps to address this issue:
1. Locate the Sensors: The garage door sensors are typically located on both sides of the door, near the floor. Each sensor consists of a small electronic eye that transmits and receives an invisible beam of light. It’s important to ensure that nothing is obstructing the sensors or blocking the invisible beam.
2. Verify Sensor Alignment: Stand inside the garage and visually inspect the alignment of the sensors. Ensuring that both sensors are facing each other directly is essential for proper functioning. Any misalignment can cause the door to stop or reverse during operation. Use a level or measuring tape to ensure that they are correctly aligned vertically and horizontally.
3. Clean the Sensor Lenses: The sensor lenses can accumulate dirt, dust, or debris over time, which may interfere with the beam of light. Use a clean and soft cloth to wipe off any dirt or grime from the lenses. Ensure that the lenses are clear and unobstructed for accurate beam transmission and reception.
4. Check Sensor Wiring: Inspect the wiring connections between the sensors and the garage door opener unit. Check for any loose or damaged wires that may affect the signal transmission. Tighten any loose connections or consider utilizing electrical tape to secure any exposed or frayed wires.
5. Test Sensor Operation: Activate the garage door opener to close the door. While the door is closing, intentionally disrupt the sensor beam by placing an object in its path. If the sensors are functioning properly, the door should stop and reverse immediately upon obstruction. If the door continues to close or acts erratically, it may indicate a sensor issue.
6. Adjust Sensor Alignment if Needed: If the sensors are misaligned or not detecting the beam, gently adjust their position until the alignment is correct. Most sensors have an indicator light that helps determine when the alignment is optimal. Consult the manufacturer’s instructions for specific guidelines on adjusting the sensors.
By verifying the alignment and functioning of the garage door sensors, you can ensure they are not causing any hindrance to the door’s operation. If the sensors are misaligned, dirty, or not working correctly, adjusting their position or cleaning them can help resolve the issue. If the problem persists, proceed to the next troubleshooting step to further diagnose the problem.
Step 4: Examine and Replace Damaged or Worn-out Garage Door Springs
If your garage door won’t open all the way, it’s essential to examine the condition of the garage door springs. Springs play a vital role in counterbalancing the weight of the door, making it easier to open and close. Over time, these springs can become damaged or worn out, causing issues with the door’s operation. Here are the steps to address this issue:
1. Observe Visible Signs of Damage: Start by visually inspecting the garage door springs for any visible signs of damage or wear. Look for elongation, gaps between coils, rust, or any signs of breakage. If you notice any significant damage or if the springs appear worn out, they likely need to be replaced.
2. Consider Professional Help: Dealing with garage door springs can be dangerous, as they are under high tension. It’s strongly recommended to seek professional assistance when dealing with spring-related issues. Garage door technicians have the experience, knowledge, and proper tools to handle spring replacements safely and efficiently.
3. Test the Balance of the Garage Door: A garage door with damaged or worn springs may become unbalanced. To test the balance, close the door and disconnect the opener by pulling the release cord. Lift the door manually halfway and observe. If the door stays in place, it is properly balanced. However, if the door rises or falls, it indicates an imbalance that may be related to spring issues.
4. Do Not Attempt DIY Spring Repairs: Repairing or replacing garage door springs is not a DIY task. The high tension in the springs can result in severe injuries if mishandled. It’s crucial to leave this job to trained professionals who have the necessary knowledge, skills, and tools to safely perform spring replacements.
5. Seek Professional Assistance: If you suspect that your garage door springs are damaged or worn out, it’s best to contact a professional garage door technician. They will inspect the springs, determine the appropriate spring type and size for your door, and safely replace them. Professional assistance ensures that the springs are installed correctly, maintaining the safety and proper functionality of your garage door.
Dealing with damaged or worn-out garage door springs requires expert attention. Seeking professional help will ensure that the replacement process is performed safely and efficiently, restoring proper functionality to your garage door. Remember, when it comes to garage door springs, prioritizing safety should always be the top consideration.
Read more: How Come My Toilet Wont Flush All The Way
Step 5: Assess and Repair a Malfunctioning Garage Door Opener Motor
If your garage door won’t open all the way, it’s possible that the garage door opener motor is malfunctioning. The motor is responsible for powering the mechanism that moves the door. If it’s not functioning properly, it may be unable to generate enough power to fully open the door. Follow these steps to assess and repair a malfunctioning garage door opener motor:
1. Check the Power Supply: Ensure that the garage door opener is receiving power. Check the power cord and make sure it is properly plugged into a functioning outlet. If the opener is hardwired, inspect the connections to ensure they are secure. If there are any issues with the power supply, address them before proceeding.
2. Listen for Motor Operation: Activate the garage door opener and listen for any sounds coming from the motor. A functioning motor should emit a humming sound as it operates. If there is no sound at all or if the motor sounds strained or noisy, it may indicate a motor problem.
3. Perform a Visual Inspection: Inspect the motor for any visible signs of damage, such as frayed wires, loose connections, or burnt components. If you notice any issues, it’s best to consult a professional garage door technician for repair or replacement.
4. Lubricate Moving Parts: Lack of proper lubrication can cause motor strain and reduce its lifespan. Apply a silicone-based lubricant to the moving parts of the opener, including the motor gears, pulleys, and chain or belt drive. Follow the manufacturer’s guidelines for proper lubrication techniques and frequency.
5. Test the Safety Functions: Most garage door openers are equipped with safety features, such as auto-reverse and force sensors. Test these functions to ensure they are working correctly. Place an obstacle, such as a roll of paper towels, in the door’s path and attempt to close it. If the door doesn’t reverse upon contact, the safety functions may need adjustment or repair.
6. Seek Professional Assistance: If you have performed the above steps and the motor still does not function properly, it is recommended to seek professional assistance. Garage door technicians have the expertise and specialized tools necessary to diagnose and repair complex motor issues. They can determine if the motor needs repair or replacement and ensure that the job is done safely and effectively.
By assessing and repairing a malfunctioning garage door opener motor, you can restore the proper functionality of your garage door. Follow these steps carefully and, if needed, consult a professional to ensure that the motor is repaired or replaced correctly.
Step 6: Adjust the Limit Settings on the Garage Door Opener
If your garage door won’t open all the way, it’s possible that the limit settings on the garage door opener are incorrect. The limit settings determine how far the door should open and close. If these settings are not properly adjusted, it can result in the door not reaching its full open or closed position. Here’s how to adjust the limit settings on the garage door opener:
1. Identify the Limit Adjustment Controls: Locate the limit adjustment controls on your garage door opener. The controls may be in the form of adjustment screws or a digital control panel. Consult your owner’s manual to find specific information on the location of the controls for your particular model.
2. Determine the Correct Position: The correct limit settings depend on the height and size of your garage door. Refer to the manufacturer’s guidelines or the owner’s manual for the recommended settings. Typically, the open limit determines how far the door should open, while the close limit specifies how far it should close. Adjusting these limits will ensure that the door opens and closes fully as intended.
3. Test the Door: Close the garage door completely and activate the opener to open the door. Observe the door as it opens and look for any signs that it has reached the desired open position. If the door doesn’t open all the way, proceed to the next step.
4. Adjust the Open Limit: Use the appropriate adjustment screw or control on the opener to increase or decrease the open limit as needed. Make small adjustments, usually a quarter-turn at a time, and test the door after each adjustment. Continue making small adjustments until the door opens fully to the desired position.
5. Test the Close Limit: Once the open limit is adjusted correctly, activate the opener to close the door. Observe the door as it closes and look for any signs that it has reached the desired closed position. If the door doesn’t close all the way, proceed to the next step.
6. Adjust the Close Limit: Use the appropriate adjustment screw or control on the opener to increase or decrease the close limit as needed. Again, make small adjustments and test the door after each adjustment. Continue making small adjustments until the door closes fully to the desired position.
7. Fine-Tune the Limits: After adjusting the open and close limits, you may need to fine-tune them for optimal operation. Make small incremental adjustments if necessary. It’s important to be patient and make gradual changes to avoid setting the limits too far or causing the door to operate improperly.
By adjusting the limit settings on the garage door opener, you can ensure that the door opens and closes fully as intended. Carefully follow the steps, making small adjustments as needed, and test the door’s operation after each adjustment. If you are unsure about adjusting the limit settings or if the problem persists, it is best to seek professional assistance from a qualified garage door technician.
Conclusion
Dealing with a garage door that won’t open all the way can be frustrating, but by following the troubleshooting steps outlined in this article, you can diagnose and resolve the problem. From checking for obstructions in the door pathway to inspecting and testing the garage door opener remote, wall switch, sensors, springs, motor, and adjusting the limit settings on the opener, each step is designed to address common issues that can cause a garage door to not open fully.
By performing a thorough inspection and taking appropriate action, such as removing obstructions, replacing batteries or repairing components, aligning sensors, replacing damaged springs, addressing motor malfunctions, and adjusting limit settings, you can resolve many of the common causes of a garage door not opening all the way.
However, it’s important to remember that garage doors are complex mechanical systems, and some issues may require the expertise of a professional garage door technician. If you are unsure or uncomfortable with any step of the troubleshooting process, it’s best to seek professional assistance to avoid causing further damage or risking personal injury.
Regular maintenance and inspection of your garage door can also help prevent issues from arising in the first place. Lubricating moving parts, keeping the door’s pathway clear, and scheduling professional maintenance checks can ensure that your garage door operates smoothly and efficiently for years to come.
In conclusion, addressing the underlying causes of a garage door not opening all the way requires a systematic approach, patience, and knowledge. By following the troubleshooting steps outlined in this article and seeking professional help when needed, you can restore the proper functioning of your garage door, providing you with convenience and peace of mind.
Frequently Asked Questions about Why Won't My Garage Door Open All The Way
Was this page helpful?
At Storables.com, we guarantee accurate and reliable information. Our content, validated by Expert Board Contributors, is crafted following stringent Editorial Policies. We're committed to providing you with well-researched, expert-backed insights for all your informational needs.

0 thoughts on “Why Won’t My Garage Door Open All The Way”