Home>Articles>How To Install A Belt Drive Garage Door Opener
Articles
How To Install A Belt Drive Garage Door Opener
Modified: August 17, 2024
Learn how to install a belt drive garage door opener with this comprehensive guide. Find step-by-step instructions, tips, and articles to help you complete the installation process efficiently.
(Many of the links in this article redirect to a specific reviewed product. Your purchase of these products through affiliate links helps to generate commission for Storables.com, at no extra cost. Learn more)
Introduction
Installing a belt drive garage door opener can be a great addition to your home, providing convenience and ease of use. With a belt drive system, you can enjoy quieter operation compared to other types of garage door openers, making it an ideal choice for homes with attached garages or living spaces near the garage. In this article, we will guide you through the step-by-step process of installing a belt drive garage door opener.
Before we begin, it is important to note that although the process may vary slightly depending on the specific model and brand of your garage door opener, the general steps remain the same. It is also recommended to consult the instruction manual provided by the manufacturer for your particular model, as it may contain additional specifications or requirements.
Now, let’s gather the necessary tools and materials before we get started.
Key Takeaways:
- Installing a belt drive garage door opener can enhance home convenience with its quiet operation. Follow the step-by-step guide for a safe and efficient installation process, ensuring proper functionality and longevity.
- Prioritize safety and regular maintenance to enjoy the benefits of a belt drive garage door opener. Follow manufacturer’s instructions, conduct regular inspections, and address any issues promptly for a smooth and convenient garage door operation.
Read more: How To Install Meross Garage Door Opener
Tools and Materials Needed
Before you begin the installation process, make sure you have the following tools and materials on hand:
- Flathead and Phillips screwdrivers
- Tape measure
- Power drill
- Adjustable wrench
- Socket and ratchet set
- Step ladder or work platform
- Pencil or marker
- Safety glasses and gloves
- Belt drive garage door opener kit (including motor unit, rail, trolley, belt, and necessary hardware)
- Mounting bracket
- Safety sensors
- Control panel and wall switch
Ensure that you have all the tools and materials ready before starting the installation process. This will help ensure a smooth and efficient installation process without any interruptions.
Now that we have everything we need, let’s move on to the first step: preparing the garage door opener kit.
Step 1: Prepare the Garage Door Opener Kit
The first step in installing a belt drive garage door opener is to prepare the garage door opener kit. Start by unpacking all the components from the kit and familiarizing yourself with each part.
Next, locate the motor unit which contains the motor, drive system, and the control panel. Verify that all the necessary parts are included and in good condition.
Refer to the instruction manual to identify any additional components that may need to be assembled before installation, such as the gear assembly or carriage. Follow the instructions provided by the manufacturer to assemble these components if required.
It is also essential to ensure that you have the correct length of rail for your specific garage door height. Measure the height of your garage door and compare it with the specified rail length in the instruction manual. If necessary, the rail can be cut to the appropriate size using a saw or a pipe cutter.
Take this time to gather all the necessary hardware, including screws, nuts, and bolts, that will be needed to secure the various components during installation. Make sure they are organized and easily accessible.
Once everything is prepared, you are now ready to move on to the next step: measuring and attaching the mounting bracket.
Step 2: Measure and Attach Mounting Bracket
Now that you have prepared the garage door opener kit, it’s time to measure and attach the mounting bracket. This bracket will securely hold the motor unit in place.
Start by determining the location where the motor unit will be mounted. The ideal placement is typically on the ceiling near the center of the garage. Measure and mark the exact spot where the mounting bracket will be attached.
Using a power drill and the appropriate drill bit, create pilot holes at the marked spot. Ensure that the holes are in the proper alignment and level. This will provide a stable base for the mounting bracket.
Next, attach the mounting bracket to the ceiling using screws and anchors. Make sure to securely fasten the bracket to ensure stability. Double-check the alignment and levelness of the bracket before proceeding to the next step.
Before we move on, it is important to note that the mounting bracket serves as the foundation for the entire garage door opener system. It must be securely attached to withstand the weight and pressure of the motor unit and drive system.
With the mounting bracket in place, we can now move on to the next step: assembling the rail and trolley.
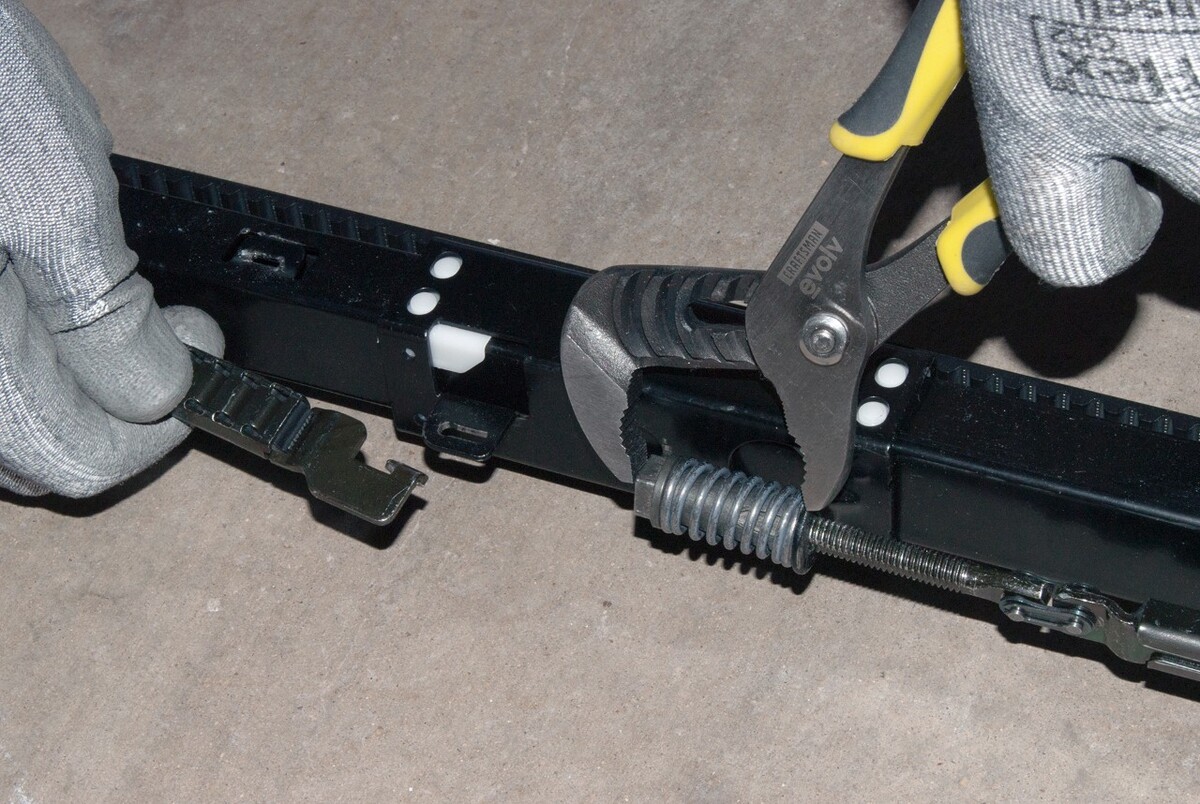
Step 3: Assemble the Rail and Trolley
With the mounting bracket securely attached, it’s time to assemble the rail and trolley, which will be responsible for the movement of the garage door.
Start by positioning the rail against the ceiling and align it with the mounting bracket. Make sure the rail is centered and level. This will help ensure smooth and seamless operation of the garage door opener.
Using the provided hardware, attach the rail to the mounting bracket. Use a socket and ratchet set or an adjustable wrench to tighten the bolts securely. Double-check the alignment and levelness of the rail before proceeding to the next step.
Next, attach the trolley to the rail. The trolley is responsible for carrying the belt and connecting the motor unit to the garage door. Follow the manufacturer’s instructions to properly attach the trolley to the rail. Ensure that it moves smoothly and without any obstructions along the rail.
Once the trolley is securely attached, make sure to connect the belt to both the trolley and the motor unit. Refer to the instruction manual for the correct method of attaching the belt. Ensure that the belt is tensioned properly and moves freely within the pulley system.
With the rail and trolley assembled, we can now move on to the next step: installing the belt on the pulley system.
Read more: How To Open A Chamberlain Garage Door Opener
Step 4: Install the Belt on the Pulley System
Now that the rail and trolley are securely assembled, it’s time to install the belt on the pulley system. The belt is responsible for transferring the motion from the motor unit to the trolley, which will move the garage door.
Start by locating the pulley system on the rail. This is usually located near the motor unit. Ensure that the pulley system is aligned properly and in good condition.
Take the belt provided in the garage door opener kit and properly thread it through the pulley system. Follow the manufacturer’s instructions for the correct placement and threading of the belt. Ensure that the belt is properly tensioned and securely attached to the pulleys.
Once the belt is installed, move the trolley back and forth along the rail to ensure the belt moves smoothly and without any obstructions. Check for any signs of friction or misalignment, and adjust the belt if necessary.
It is important to mention that improper installation of the belt can result in noisy and inefficient operation of the garage door opener. Take your time to ensure the belt is properly installed, tensioned, and aligned for optimal performance.
With the belt installed on the pulley system, we can now move on to the next step: attaching the rail to the mounting bracket.
When installing a belt drive garage door opener, make sure to carefully follow the manufacturer’s instructions for proper installation and alignment of the belt and pulley system. This will ensure smooth and efficient operation of the opener.
Step 5: Attach the Rail to the Mounting Bracket
With the belt properly installed on the pulley system, it’s time to attach the rail to the mounting bracket. This step will securely fasten the rail to the ceiling and ensure stability during operation.
Position the rail against the mounting bracket, ensuring that it is aligned properly and level. The rail should fit snugly into the mounting bracket, creating a secure connection.
Using the provided hardware, such as screws and nuts, attach the rail to the mounting bracket. Make sure to tighten the fasteners securely, using a socket and ratchet set or an adjustable wrench.
Double-check the alignment and levelness of the rail once it is attached to the mounting bracket. Ensure that there is no excessive movement or wobbling.
It is important to note that a stable and properly attached rail is crucial for the smooth and efficient operation of the garage door opener. Any misalignment or instability may result in noisy or problematic functioning.
Once the rail is securely attached to the mounting bracket, we can now move on to the next step: connecting the motor unit.
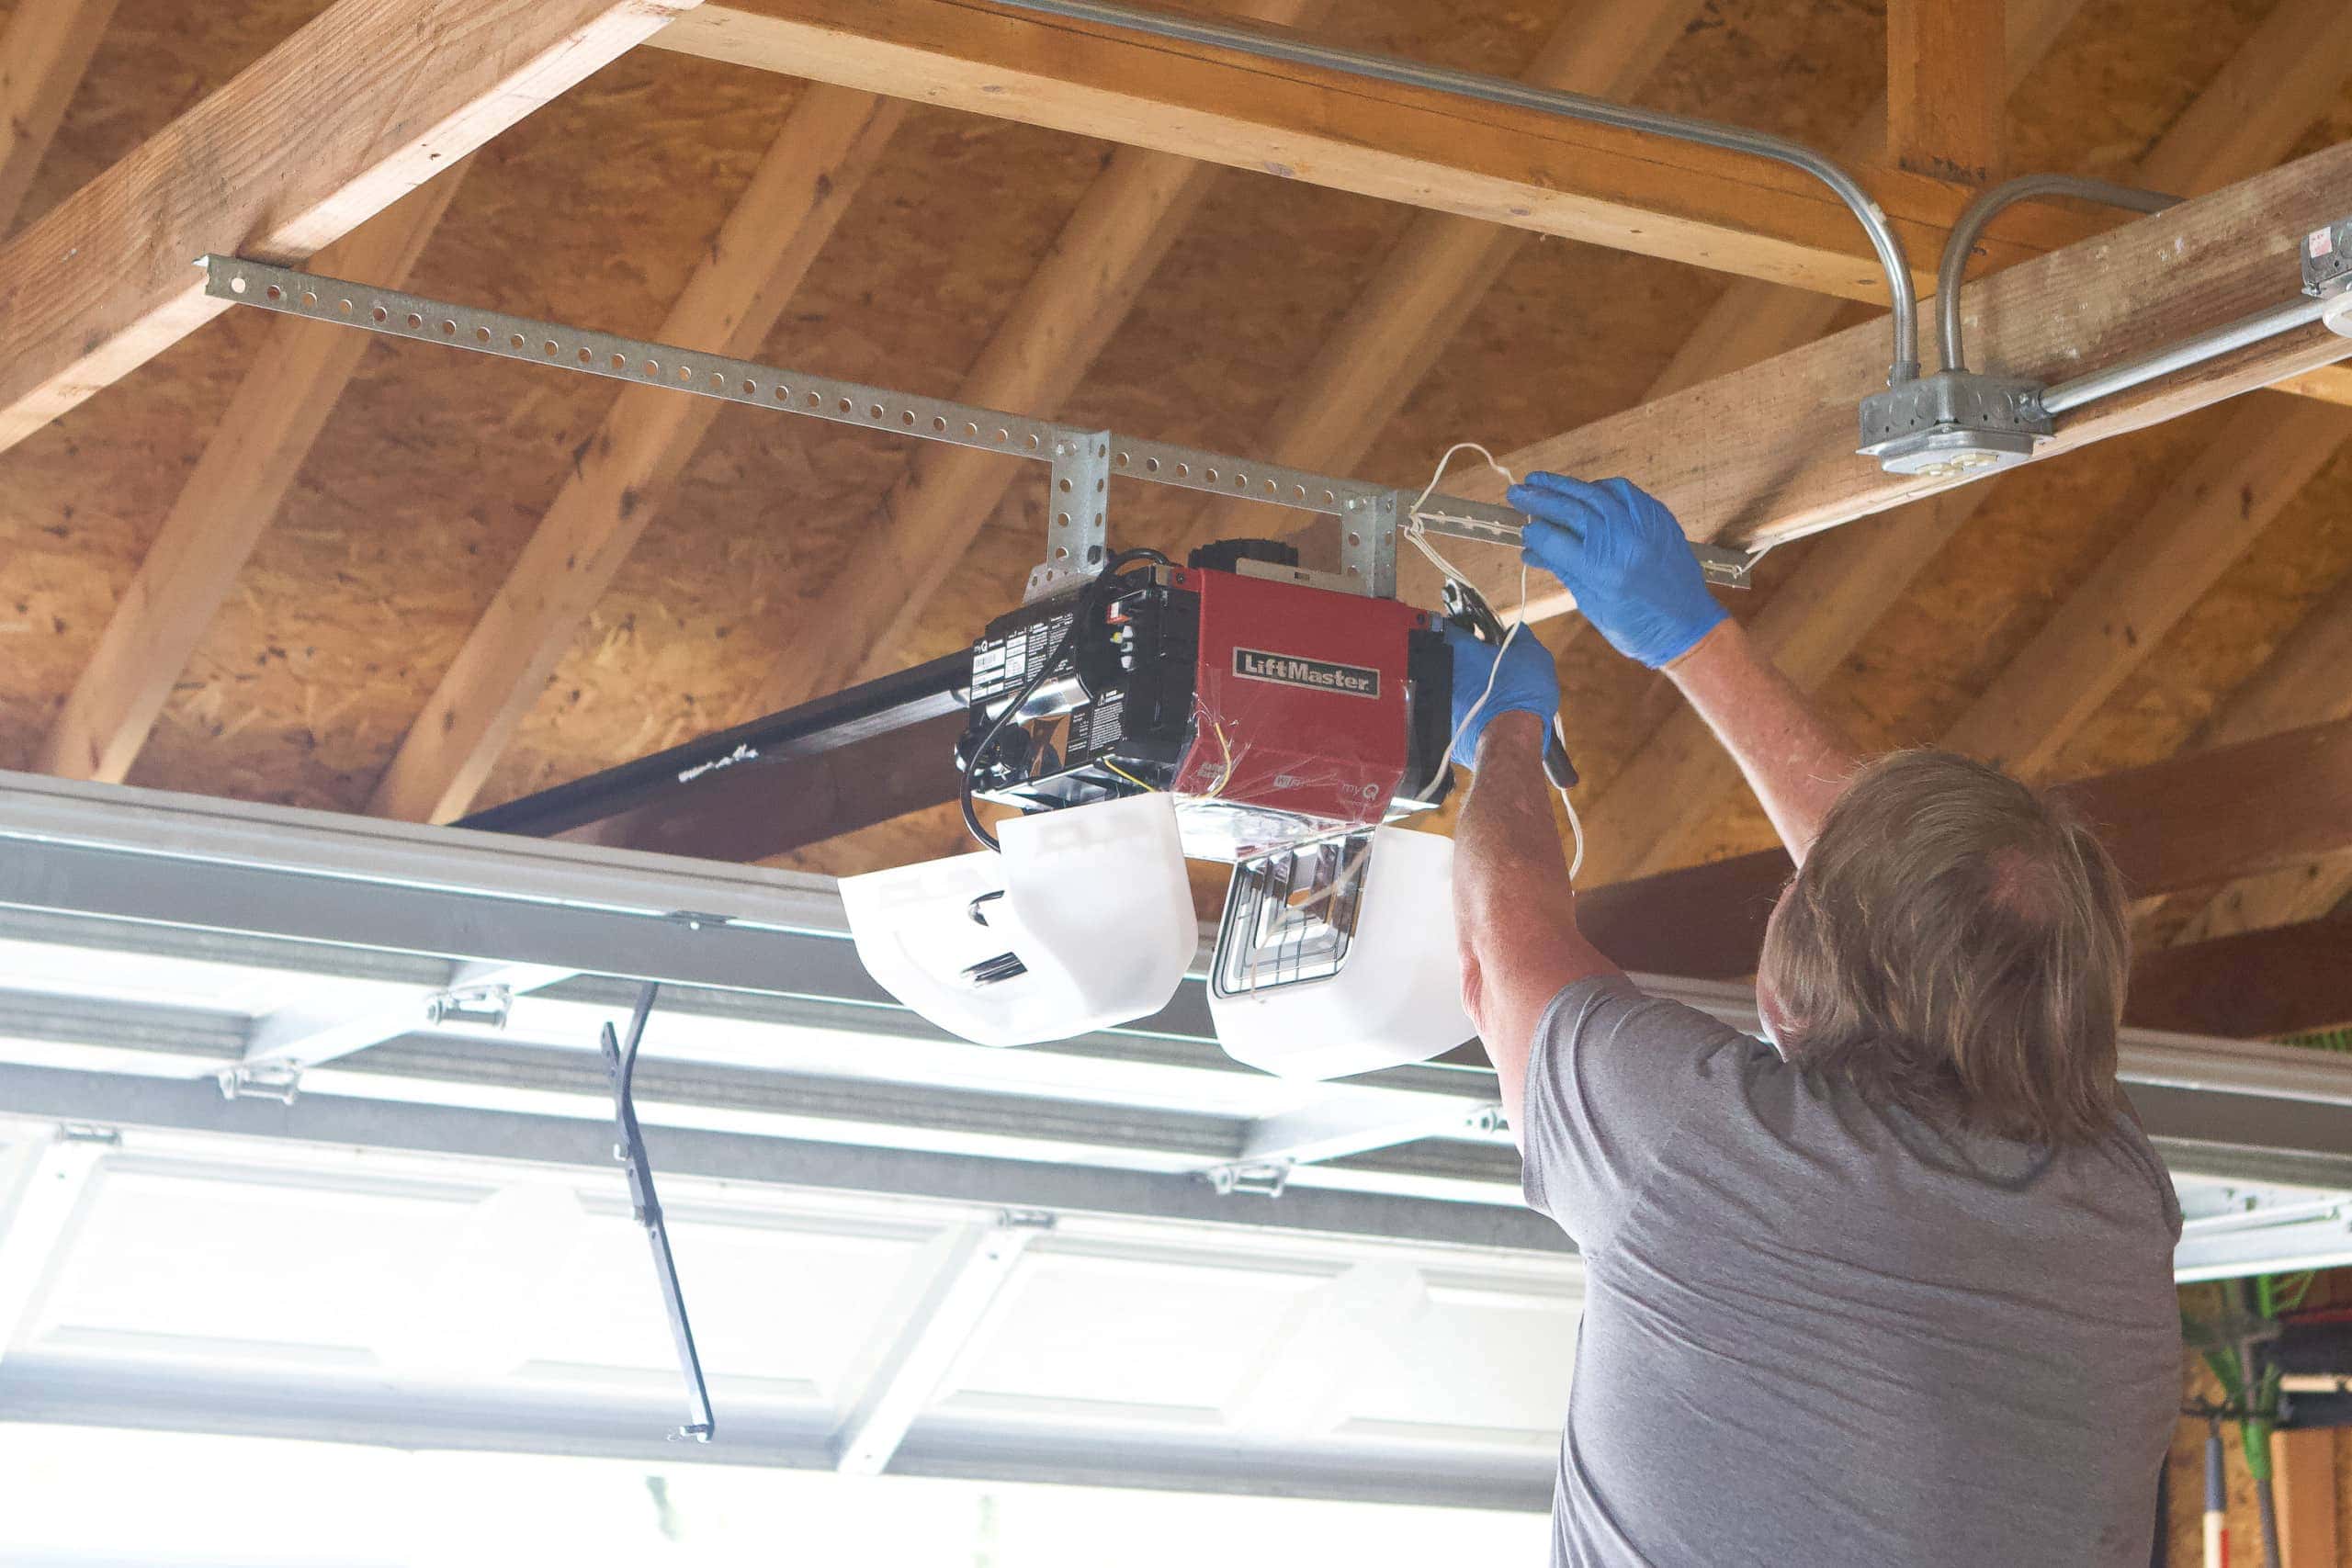
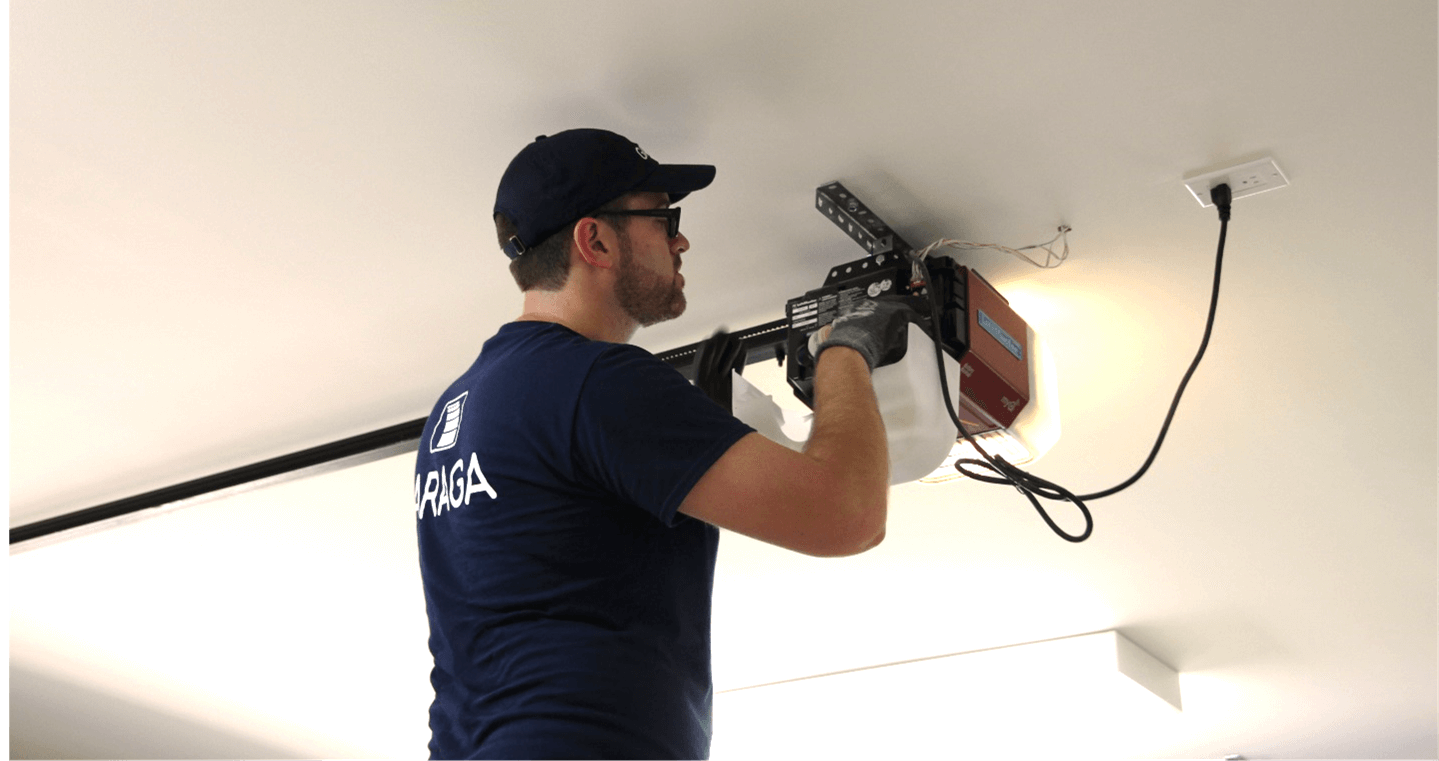
Step 6: Connect the Motor Unit
Now that the rail is securely attached to the mounting bracket, it’s time to connect the motor unit. The motor unit is the main component of the garage door opener and houses the motor, drive system, and control panel.
Position the motor unit below the rail and align it with the mounting bracket. Make sure the motor unit is centered and level before proceeding.
Using the provided hardware, such as screws and bolts, attach the motor unit to the mounting bracket. Ensure that the fasteners are tightened securely to prevent any movement or dislodgement during operation.
Once the motor unit is securely attached, connect the belt to the motor unit. Follow the manufacturer’s instructions for the proper method of connecting the belt to the motor unit. Ensure that the belt is tensioned properly and moves freely without any obstructions.
Now is also a good time to connect any additional cables or wires from the motor unit, such as the power supply and any safety devices or accessories. Follow the specific instructions provided by the manufacturer to ensure proper wiring and connections.
It is important to remember that dealing with electrical components can be hazardous. If you are unsure about the wiring process, it is recommended to hire a professional electrician to ensure the safety and functionality of your garage door opener system.
With the motor unit securely connected and properly wired, we can now move on to the next step: installing safety sensors.
Step 7: Install Safety Sensors
Safety sensors are a crucial component of a garage door opener system, as they are responsible for detecting any obstructions or objects in the path of the closing garage door. Installing safety sensors will help prevent accidents or damage caused by a closing garage door.
Start by locating the safety sensor brackets on both sides of the garage door opening. These brackets are typically installed near the bottom of the door tracks or on the vertical supports.
Attach the safety sensor brackets to the designated areas, using the provided screws or bolts. Ensure that the brackets are securely fastened and level with each other.
Next, position the safety sensors on the installed brackets. The sensors should face each other and be aligned properly for effective operation.
Connect the safety sensor wires to the motor unit according to the manufacturer’s instructions. The wiring process may vary depending on the specific model and brand of your garage door opener system.
Once the sensors are properly installed and wired, test their functionality by closing the garage door. Observe if the sensors detect any obstructions and prevent the door from closing completely.
It is vital to regularly check and ensure that the safety sensors are properly aligned and free from any obstructions, such as dirt or debris. This will help maintain their effectiveness and prevent any malfunctions.
With the safety sensors installed and tested, we can now move on to the next step: connecting the control panel and wall switch.
Step 8: Connect the Control Panel and Wall Switch
Connecting the control panel and wall switch is the next step in the installation process of a belt drive garage door opener. These components allow you to conveniently operate your garage door opener system from inside your garage.
Start by identifying the control panel and wall switch that came with your garage door opener kit. The control panel is typically mounted on the wall near the entrance to your garage, while the wall switch is installed near the inside of your garage door.
Mount the control panel on the desired location using the provided screws and brackets. Ensure that it is easily accessible and at a suitable height for convenient operation.
Next, locate the wires from the control panel and wall switch. These wires are typically color-coded and marked for easy identification. Follow the manufacturer’s instructions to properly connect the corresponding wires.
Connect the control panel wires to the motor unit according to the labeled terminals. Double-check the wiring connections to ensure they are secure and properly aligned.
Similarly, connect the wall switch wires to the appropriate terminals on the motor unit. Ensure that all connections are tight and secure to prevent any loose wires or malfunctions.
Once the control panel and wall switch are properly connected, test their functionality by operating the garage door opener. Check if the control panel and wall switch can open and close the garage door smoothly.
It is important to note that these control components provide convenient access to your garage door opener system. Ensure that they are mounted securely and out of reach of children to prevent any accidental operations.
With the control panel and wall switch connected, we are now ready for the final step: testing the garage door opener.
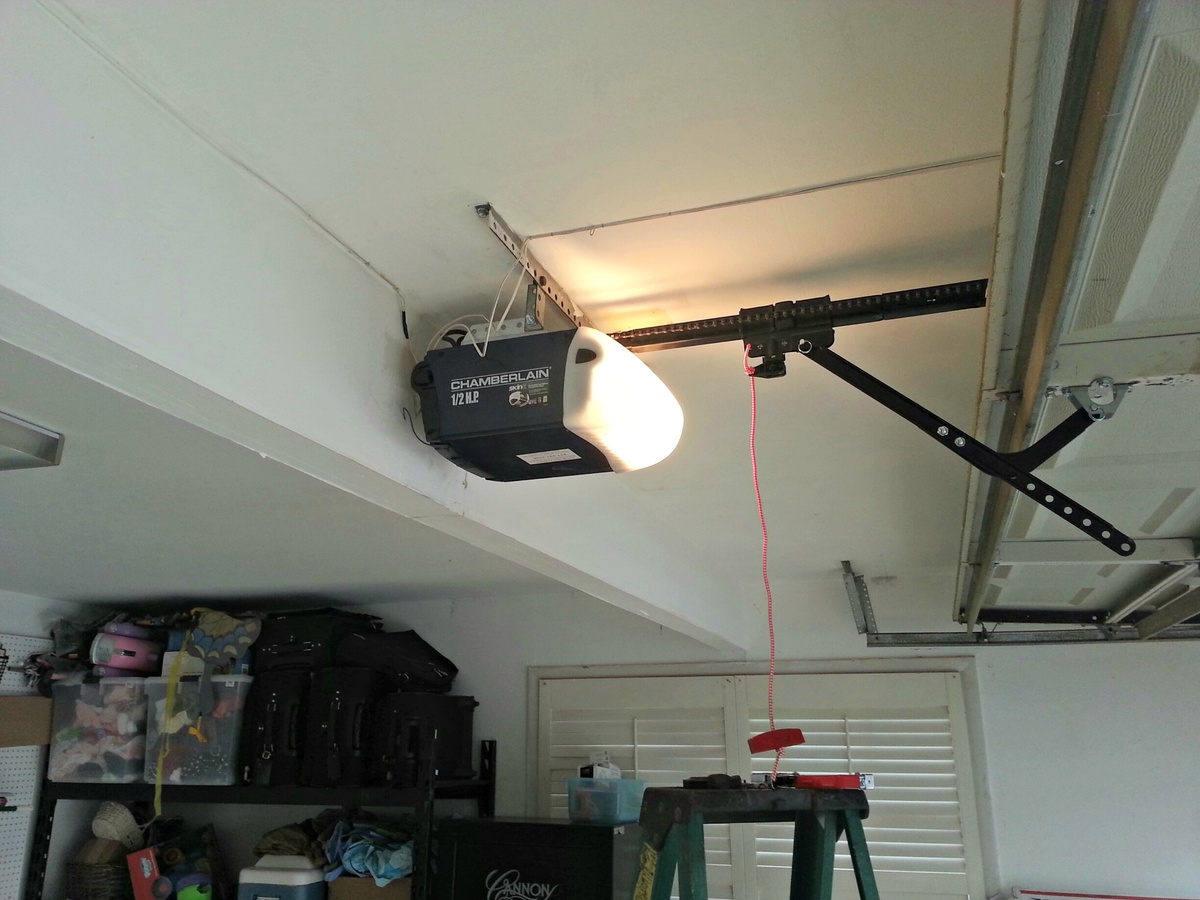
Step 9: Test the Garage Door Opener
The final step in installing a belt drive garage door opener is to test its functionality to ensure everything is working correctly. This step is crucial to ensure the safety and proper operation of your garage door.
Start by clearing the area around the garage door and ensuring that there are no obstructions in its path.
With the area clear, activate the garage door opener using the control panel, wall switch, or remote control. Observe the garage door as it opens and closes. Pay attention to any unusual noises, jerky movements, or delays.
Listen for any unusual sounds coming from the motor or drive system. A properly installed belt drive garage door opener should operate quietly and smoothly.
Keep an eye on the garage door’s movement and check if it closes and opens fully. It should stop and reverse if it encounters any obstruction, thanks to the safety sensors that were installed in the previous step.
If you notice any issues or abnormalities during the testing process, consult the troubleshooting section of the instruction manual or contact the manufacturer for assistance.
After ensuring that the garage door opener is functioning correctly, make sure to familiarize yourself with the safety features and emergency release mechanism. This will allow you to safely operate the garage door opener and handle any unforeseen situations.
Congratulations! You have successfully installed a belt drive garage door opener. Enjoy the convenience and ease of opening and closing your garage door with the simple push of a button.
Remember to regularly inspect and maintain your garage door opener to ensure its continued performance and longevity.
With the installation process complete and the garage door opener tested, your garage is now ready for secure and efficient operation.
Now that you have successfully installed your belt drive garage door opener, you can enjoy the convenience and ease it brings to your daily life. Remember to follow the manufacturer’s instructions and conduct regular maintenance to keep your garage door opener in optimal condition.
Thank you for reading this article, and we hope it has been helpful in guiding you through the installation process of a belt drive garage door opener.
For any further questions or assistance, do not hesitate to reach out to a professional garage door installer or the manufacturer of your specific garage door opener model.
Happy and safe garage door operation!
Conclusion
Installing a belt drive garage door opener can greatly enhance the convenience and functionality of your home. With its smooth and quiet operation, a belt drive opener is a popular choice for homeowners seeking a reliable and efficient opening mechanism for their garage doors.
In this article, we have provided a step-by-step guide to help you successfully install a belt drive garage door opener. From preparing the kit and measuring the mounting bracket to connecting the control panel and testing the functionality of the opener, each step is crucial to ensure a safe and proper installation.
Throughout the installation process, it is important to carefully follow the manufacturer’s instructions and take the necessary precautions, such as using the correct tools and wearing appropriate safety gear. If you encounter any difficulties or have any uncertainties, it is best to consult the instruction manual or seek professional assistance.
Regular maintenance and inspection of your garage door opener are also important to ensure its continued performance and longevity. Stay vigilant and promptly address any issues or abnormalities you may notice during operation.
By following the steps outlined in this article, you can confidently install a belt drive garage door opener, improving the convenience, security, and functionality of your garage. Enjoy the ease of opening and closing your garage door with just a push of a button.
Remember to prioritize safety at all times and keep the necessary emergency releases and safety features in mind. This will help ensure the well-being of you, your family, and anyone using the garage door.
Thank you for reading this comprehensive guide. We hope it has provided you with valuable insights and guidance for installing a belt drive garage door opener. Enjoy the benefits of your new garage door opener and have a safe and convenient experience!
Frequently Asked Questions about How To Install A Belt Drive Garage Door Opener
Was this page helpful?
At Storables.com, we guarantee accurate and reliable information. Our content, validated by Expert Board Contributors, is crafted following stringent Editorial Policies. We're committed to providing you with well-researched, expert-backed insights for all your informational needs.


0 thoughts on “How To Install A Belt Drive Garage Door Opener”