
Articles
How To Reset My Garage Door Opener
Modified: December 7, 2023
Learn how to reset your garage door opener with our helpful articles. Get step-by-step instructions and troubleshooting tips to resolve any issues.
(Many of the links in this article redirect to a specific reviewed product. Your purchase of these products through affiliate links helps to generate commission for Storables.com, at no extra cost. Learn more)
Introduction
Welcome to the comprehensive guide on how to reset your garage door opener. If you’ve experienced issues with your garage door opener, such as it not responding to your commands or failing to open or close properly, a simple reset can often resolve the problem.
A garage door opener is a motorized device that allows for convenient opening and closing of your garage door. It operates through a remote control or wall-mounted control panel, providing easy access to your garage without the need for physically lifting the heavy door.
However, just like any electronic device, garage door openers can encounter occasional glitches or malfunctions that require a reset. This can be caused by power surges, signal interference, or programming errors. Fortunately, resetting your garage door opener is typically a straightforward process that can be done in just a few simple steps.
Before we dive into the reset process, it’s essential to identify the type of garage door opener you have. There are three main types: chain-drive, belt-drive, and screw-drive. Each operates differently but generally follows the same reset procedure.
In the following sections, we will guide you through the step-by-step process of resetting your garage door opener, regardless of the type you have. So, let’s get started!
Key Takeaways:
- Easily troubleshoot and reset your garage door opener by identifying the type, locating the reset button, and following the step-by-step process. Ensure safety and test the functionality for smooth operation.
- If issues persist, use troubleshooting tips such as checking power sources, inspecting batteries, clearing obstructions, and aligning safety sensors. Prioritize safety and seek professional assistance if problems persist.
Read more: How To Reset A Garage Door Opener Remote
Step 1: Identify the type of garage door opener
Before you proceed with the reset process, it’s crucial to determine the type of garage door opener you have. This information will help you follow the appropriate reset procedure for your specific opener.
The three most common types of garage door openers are:
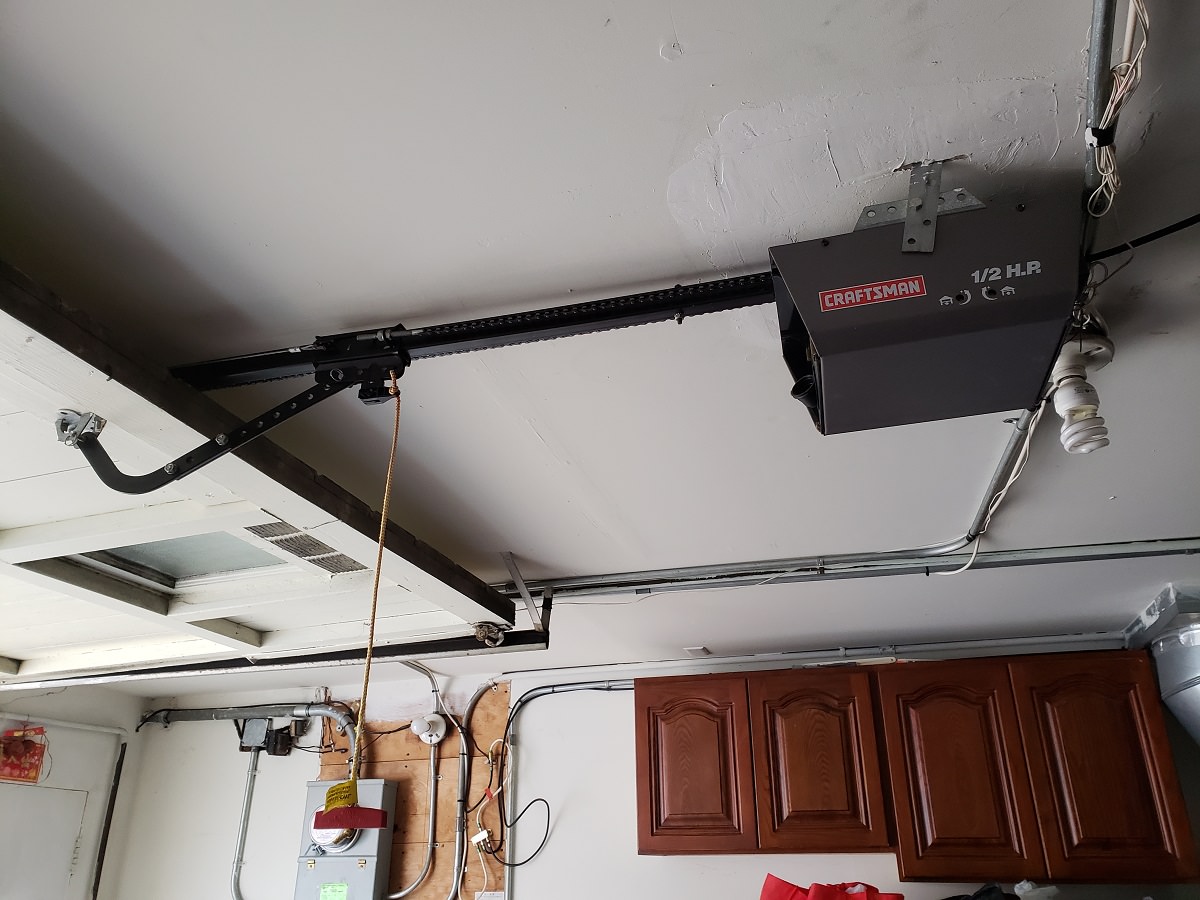
- Chain-drive opener: This type uses a chain to move the garage door along a track. It’s known for its durability and affordability. Look for a metal chain mechanism near the motor unit of your opener to identify if you have a chain-drive opener.
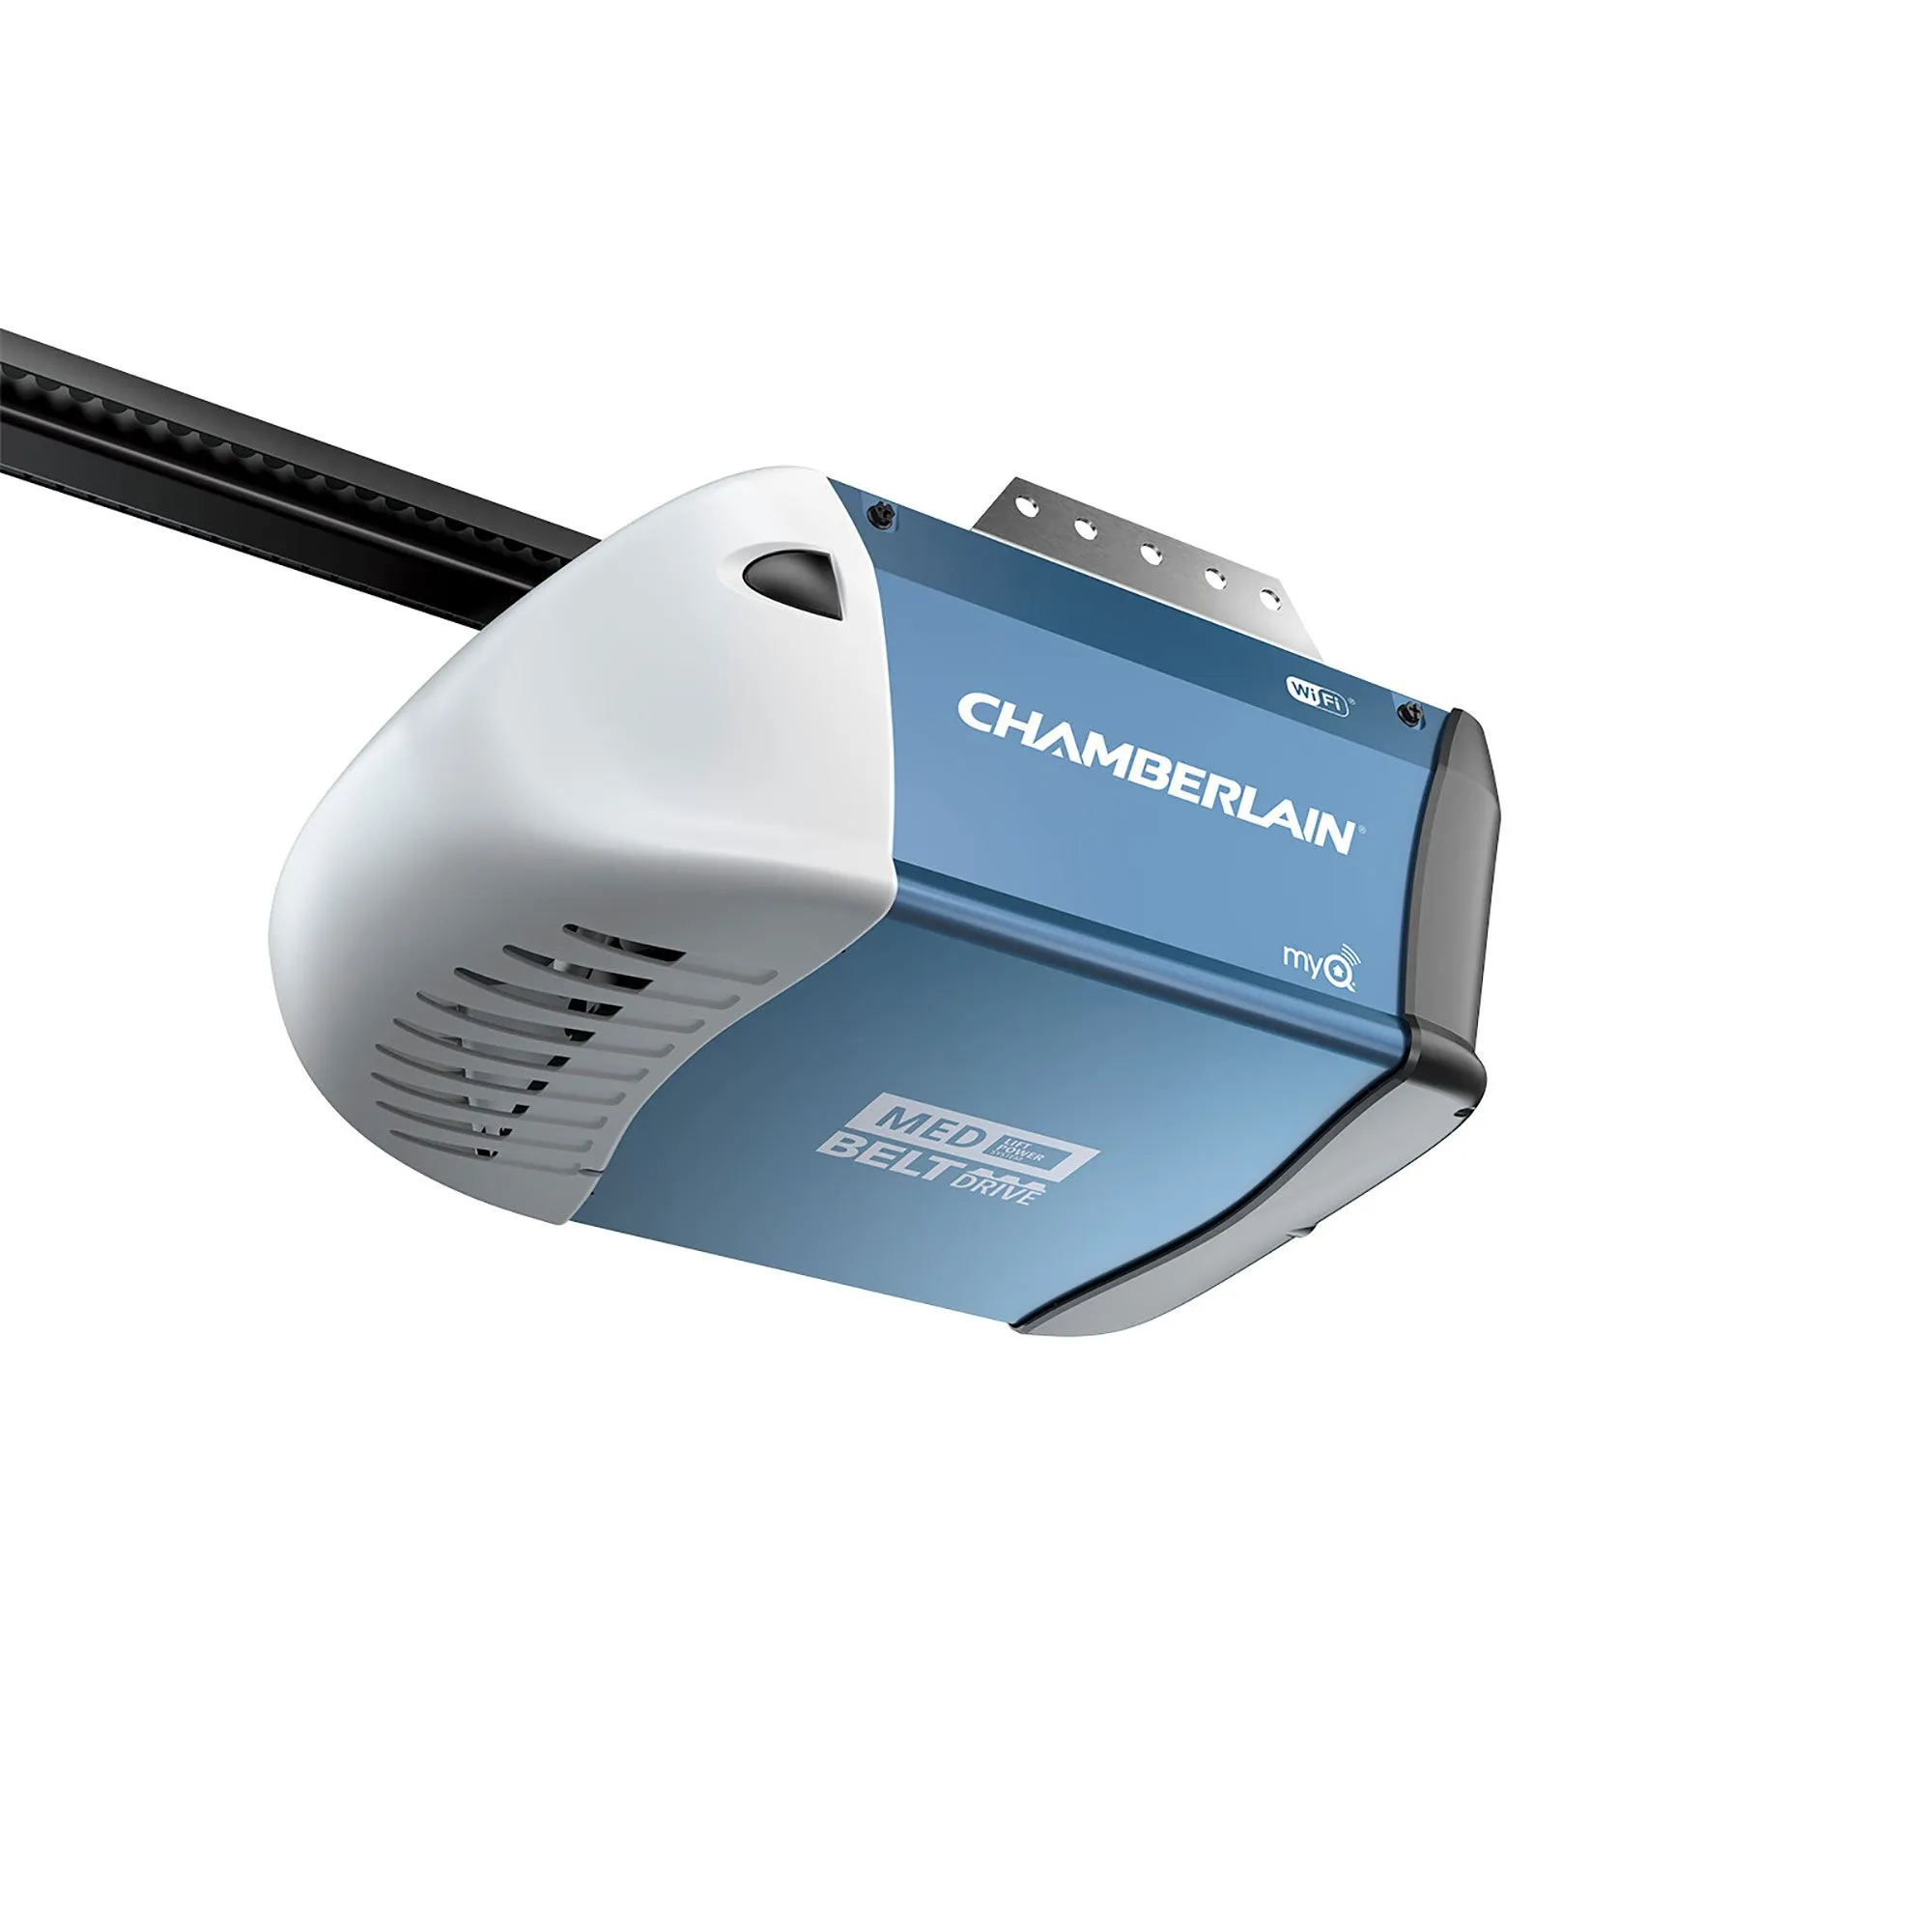
- Belt-drive opener: Instead of a chain, a belt-drive opener uses a reinforced rubber belt to operate the garage door. This type is known for its quiet operation and is ideal for garages located near bedrooms or living spaces. You can identify a belt-drive opener by the absence of a chain mechanism, replaced by a smooth rubber belt.
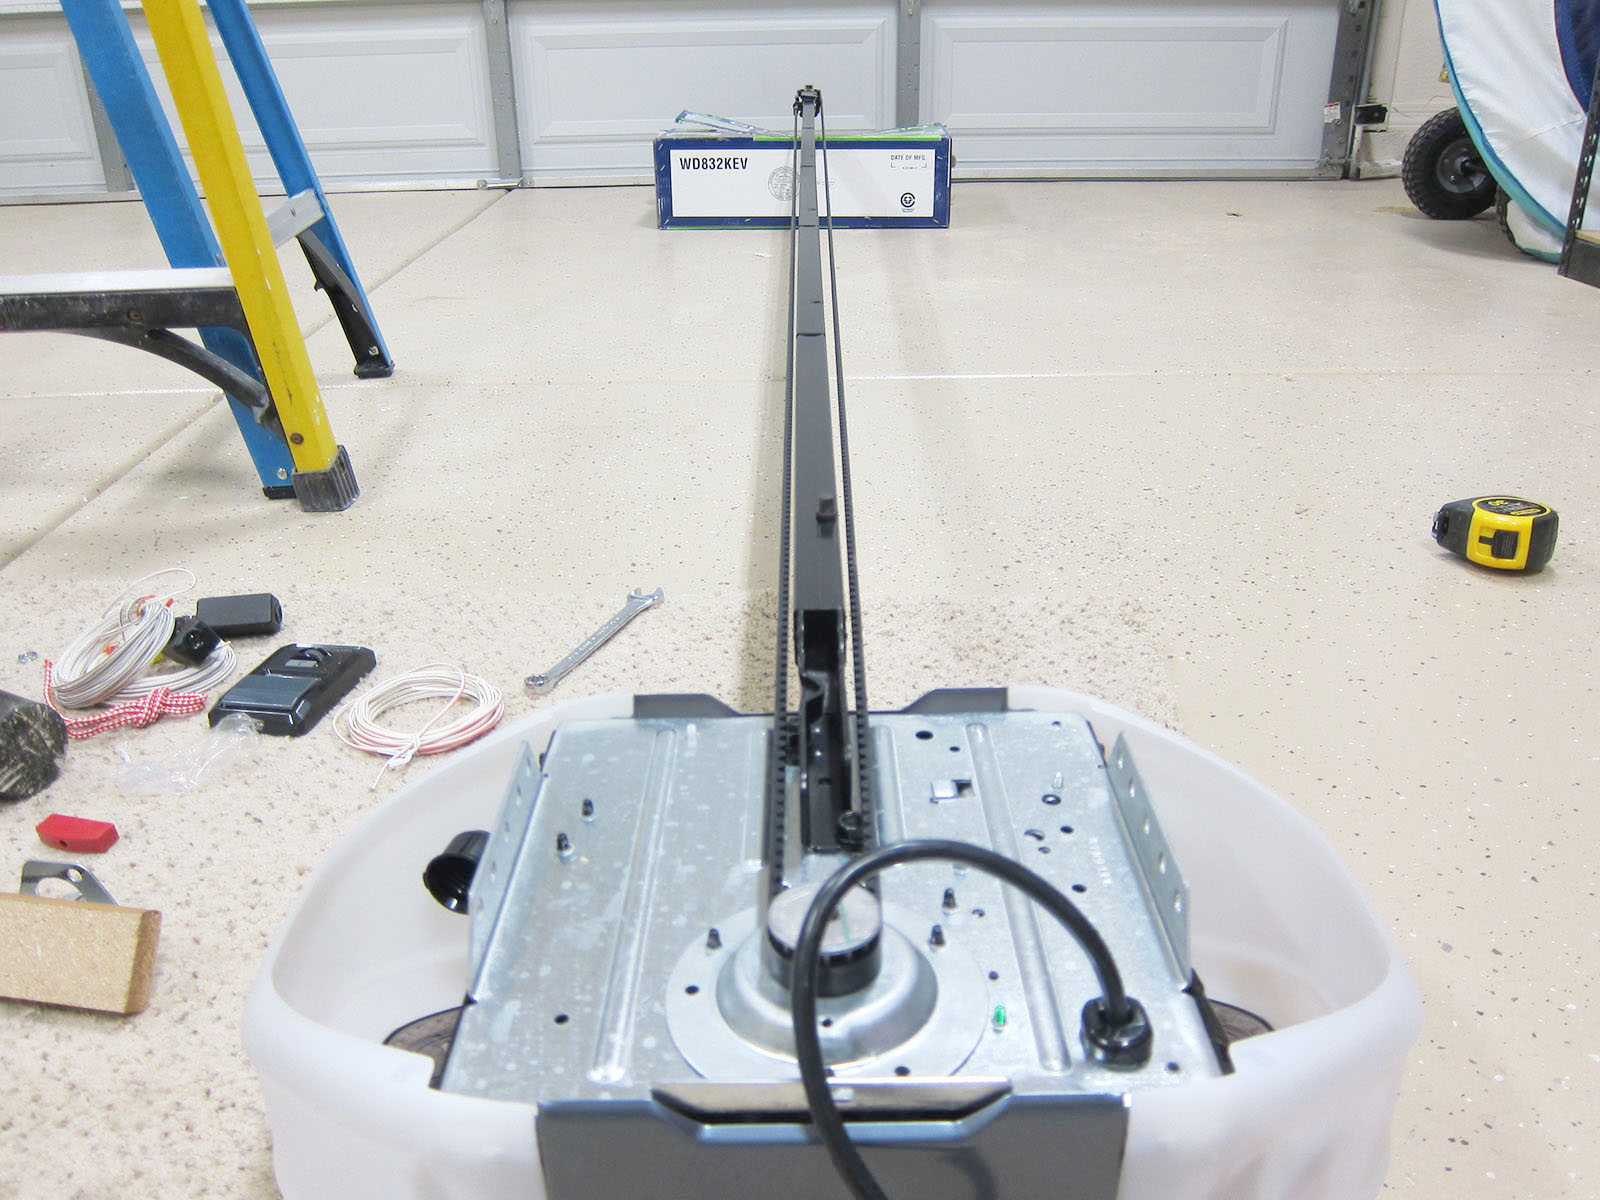
- Screw-drive opener: A screw-drive opener utilizes a threaded steel rod to move the door. It is known for its simplicity and requires minimal maintenance. Look for a long metal rod extending horizontally from the motor unit to identify a screw-drive opener.
Identifying the type of opener you have is crucial because each type may have a slightly different reset procedure. While the basic steps remain the same, understanding your opener’s mechanism will ensure a successful reset.
If you’re unsure of your opener’s type, consult the manufacturer’s manual or check the model number on the motor unit. This information can often be found on a sticker or plate attached to the unit. Once you’ve identified your opener’s type, you’re ready to move on to the next step: locating the reset button.
Step 2: Locate the reset button
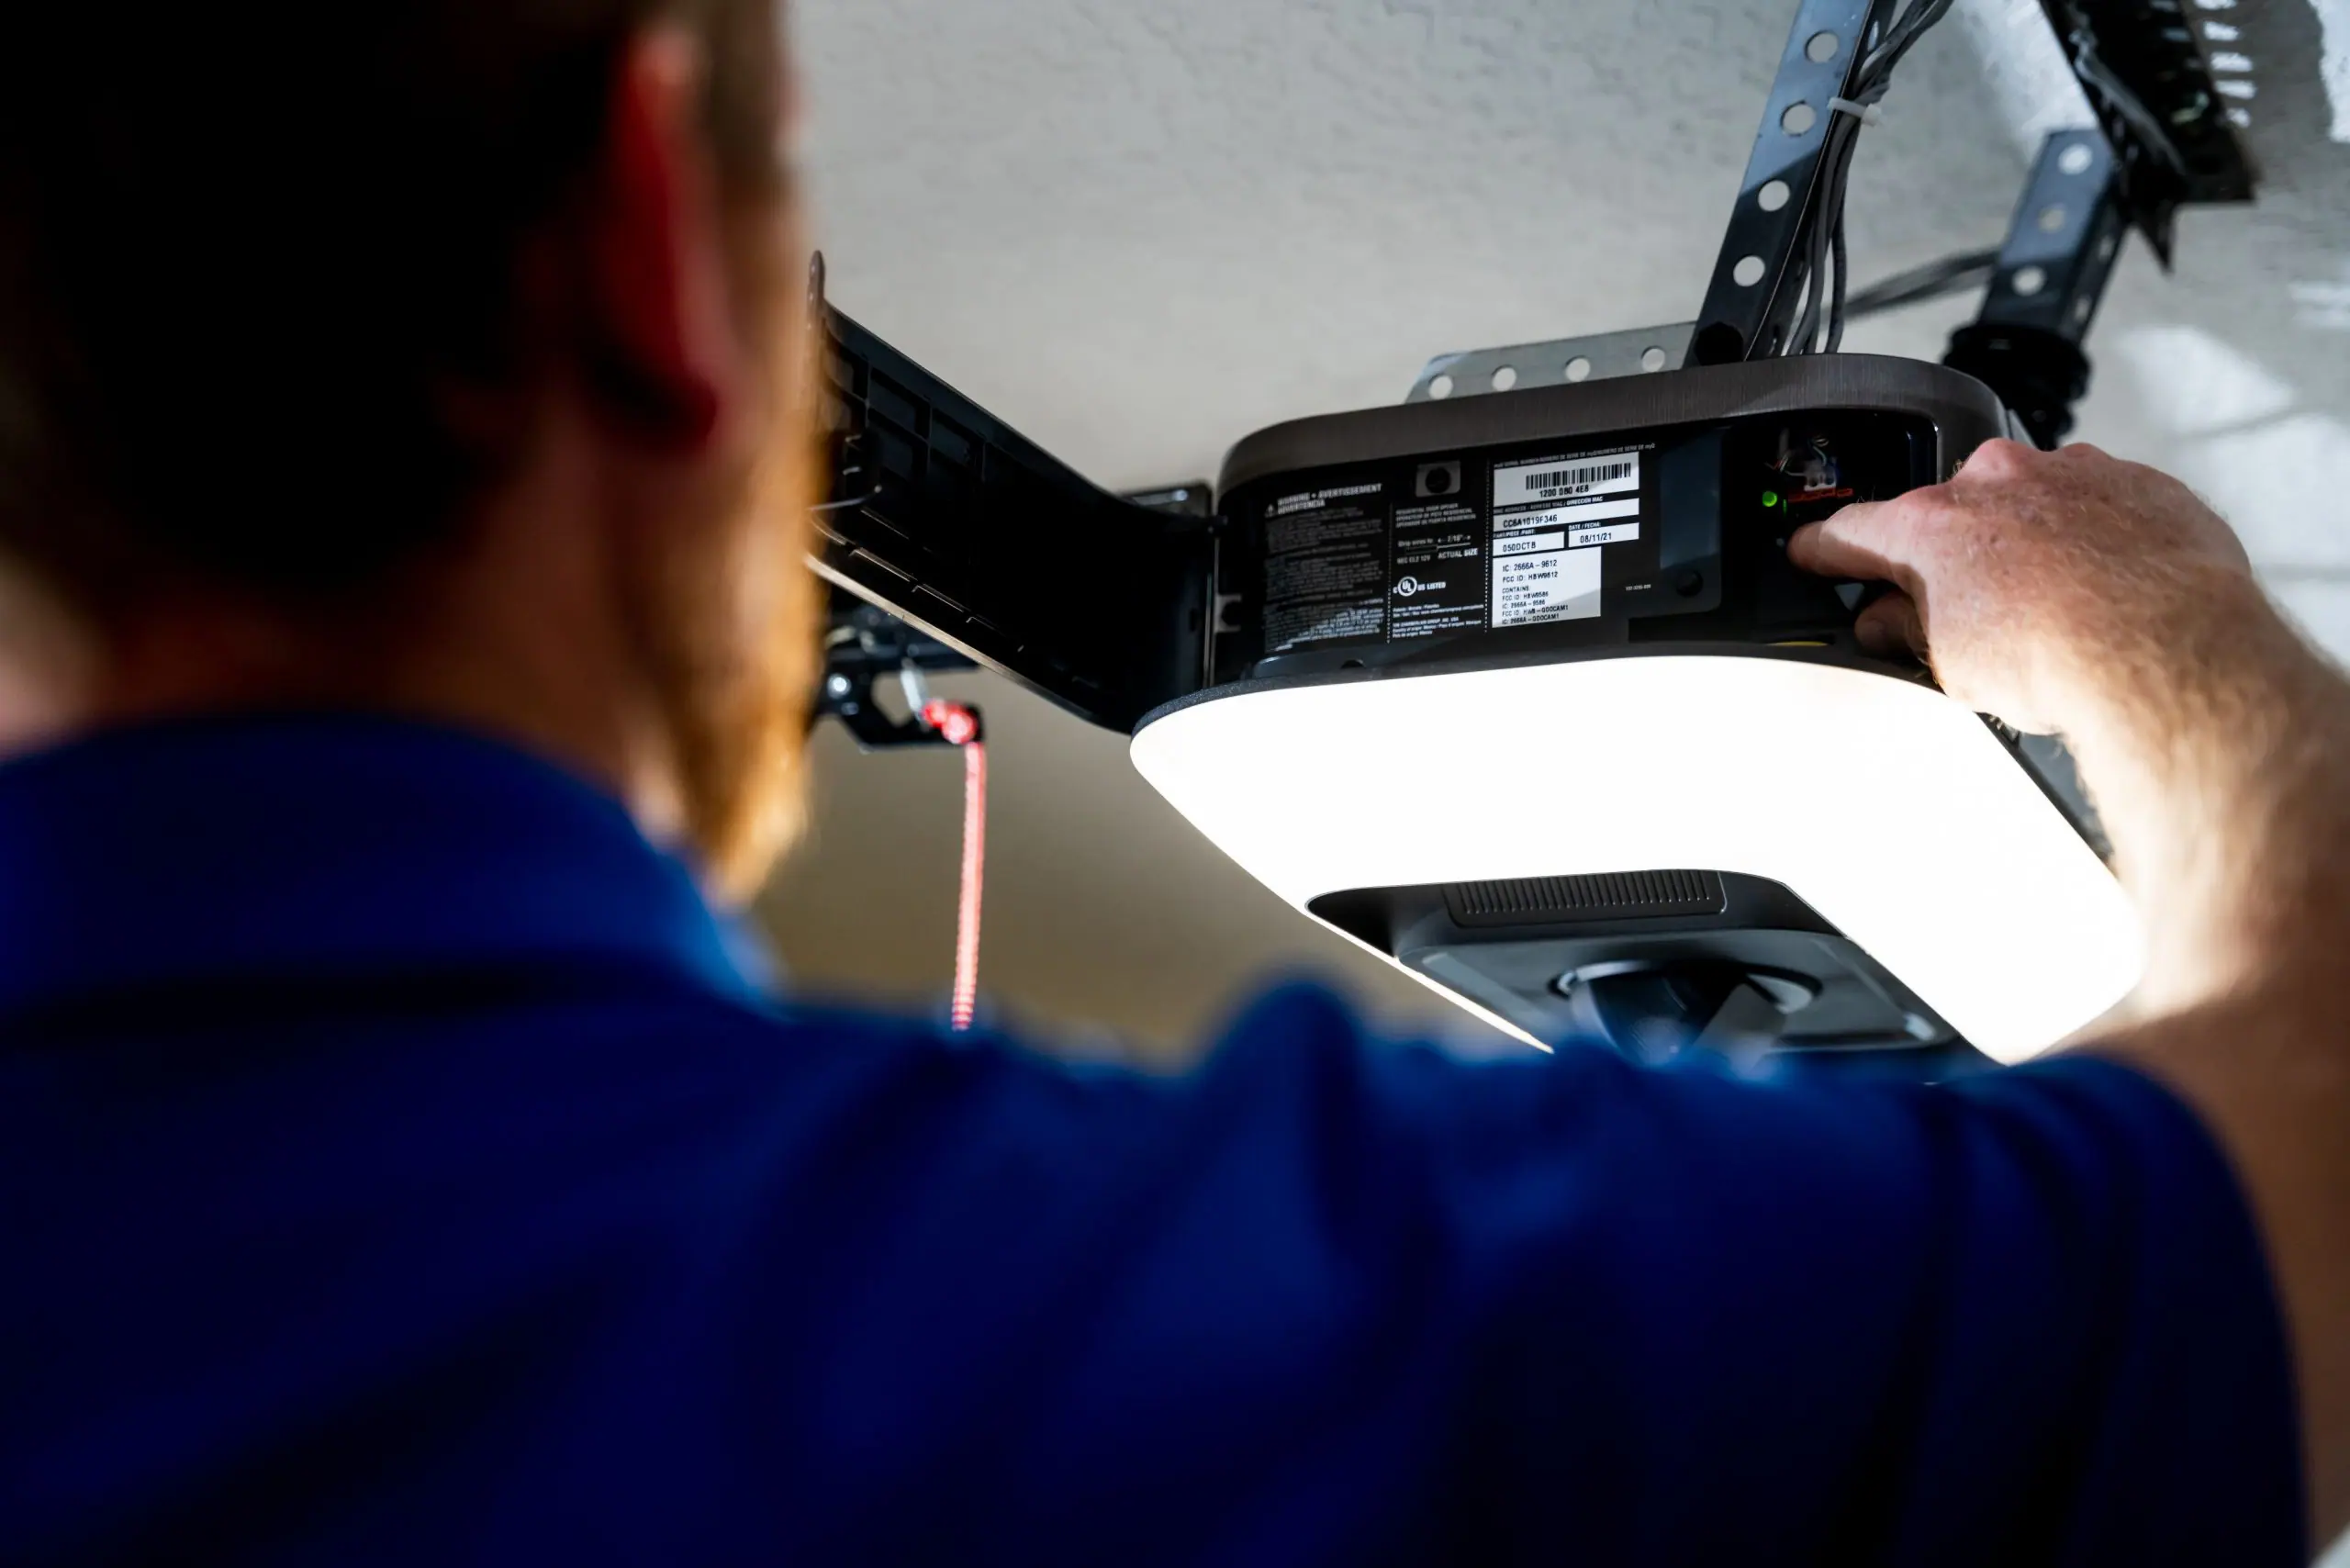
Once you’ve identified the type of garage door opener you have, the next step is to locate the reset button. The reset button is an essential component that allows you to reset the opener’s programming and restore it to its default settings.
The location of the reset button may vary depending on the manufacturer and model of your garage door opener. Here are the common places where you can find the reset button:
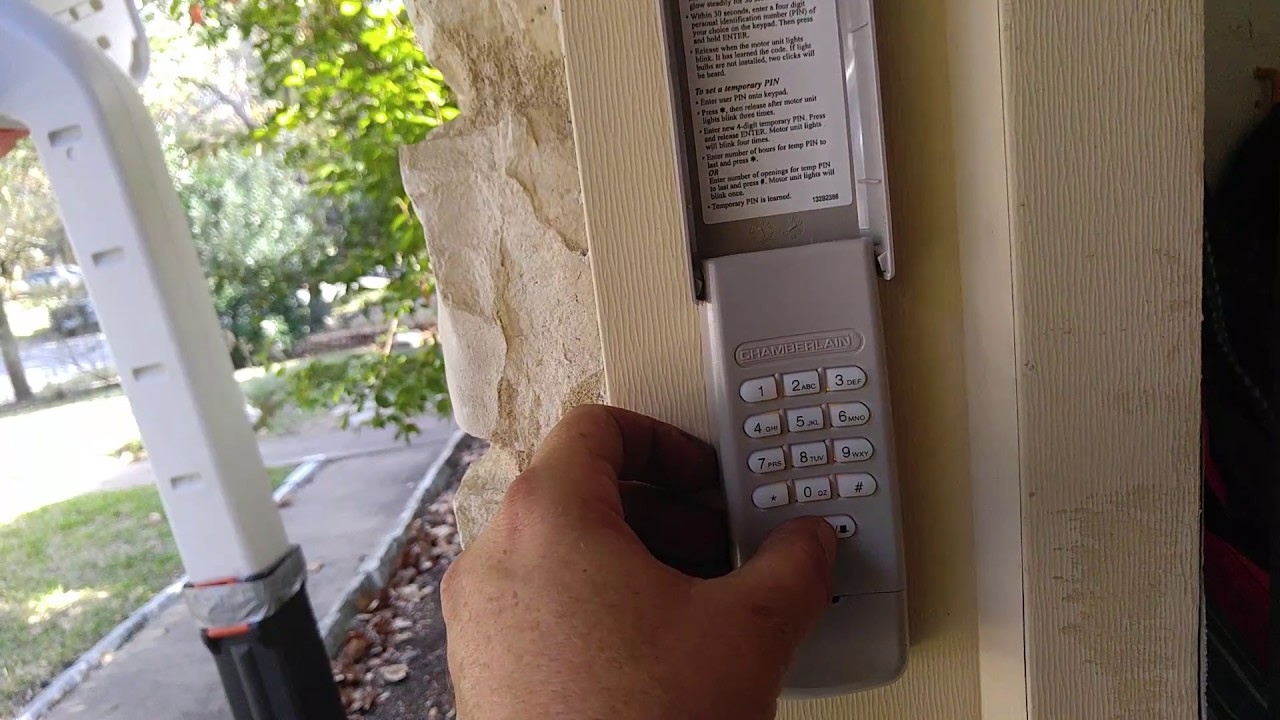
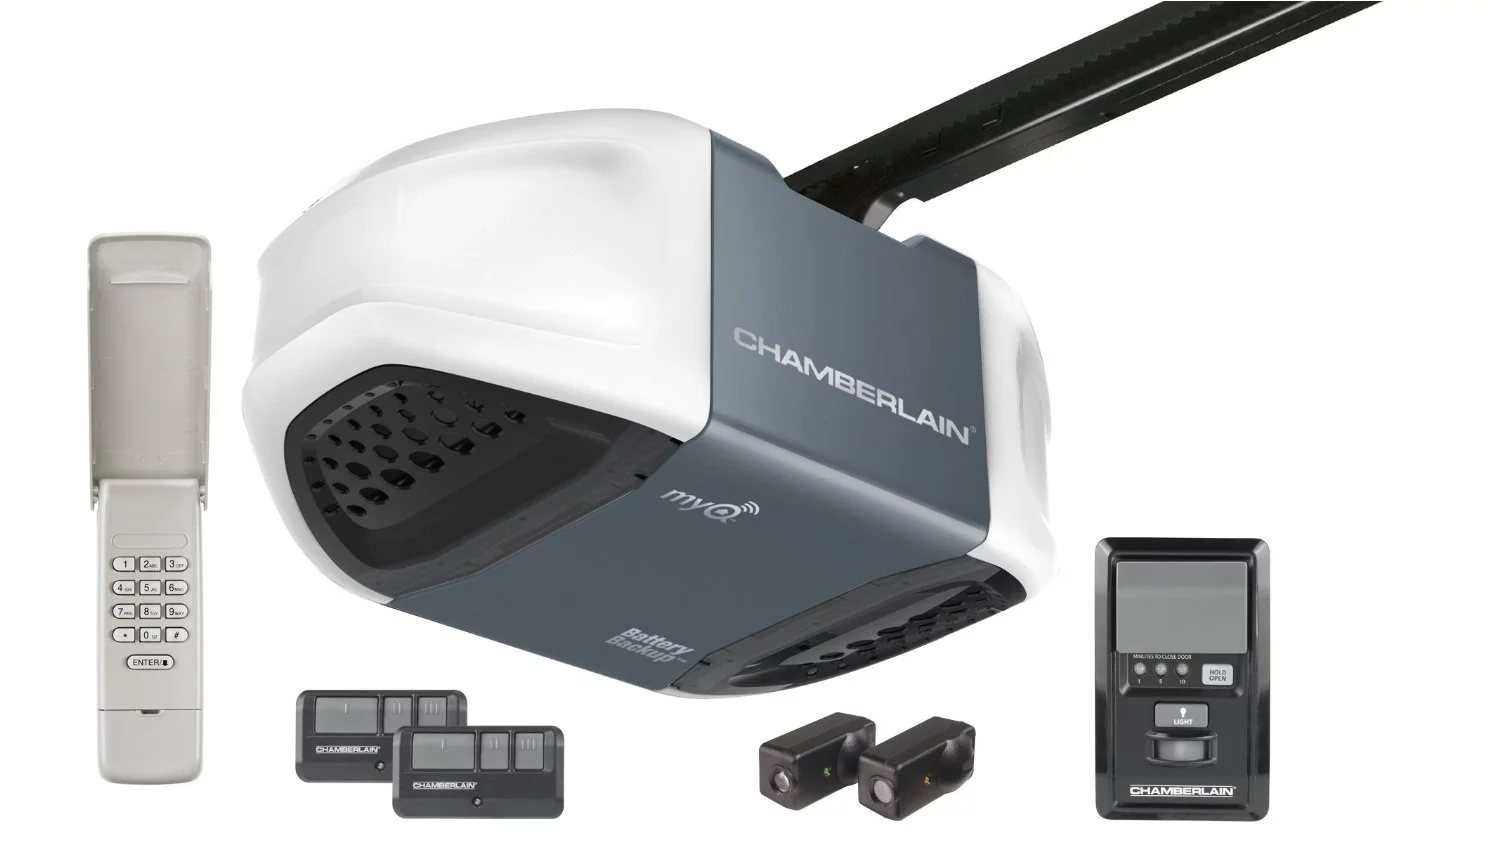
- Wall-mounted control panel: If your garage has a wall-mounted control panel, check for a small rectangular button labeled “reset” or “program.” This button is typically located near the main control buttons.
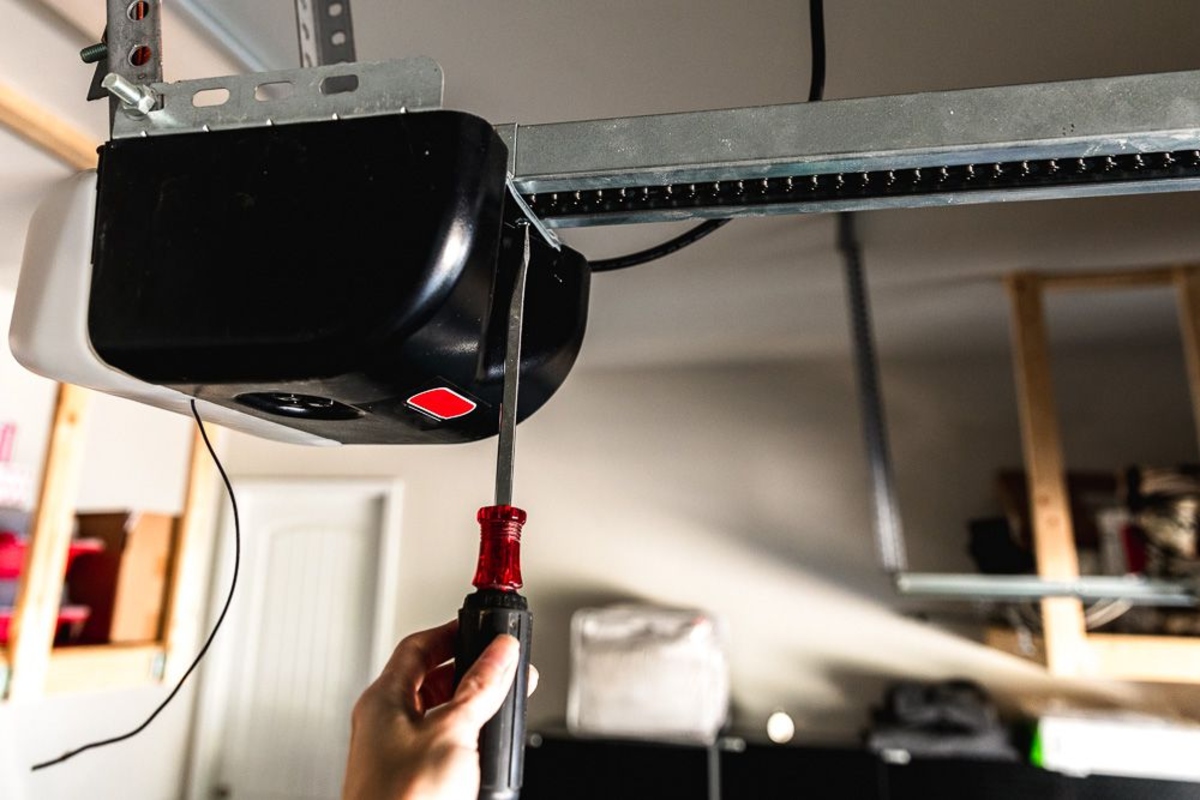
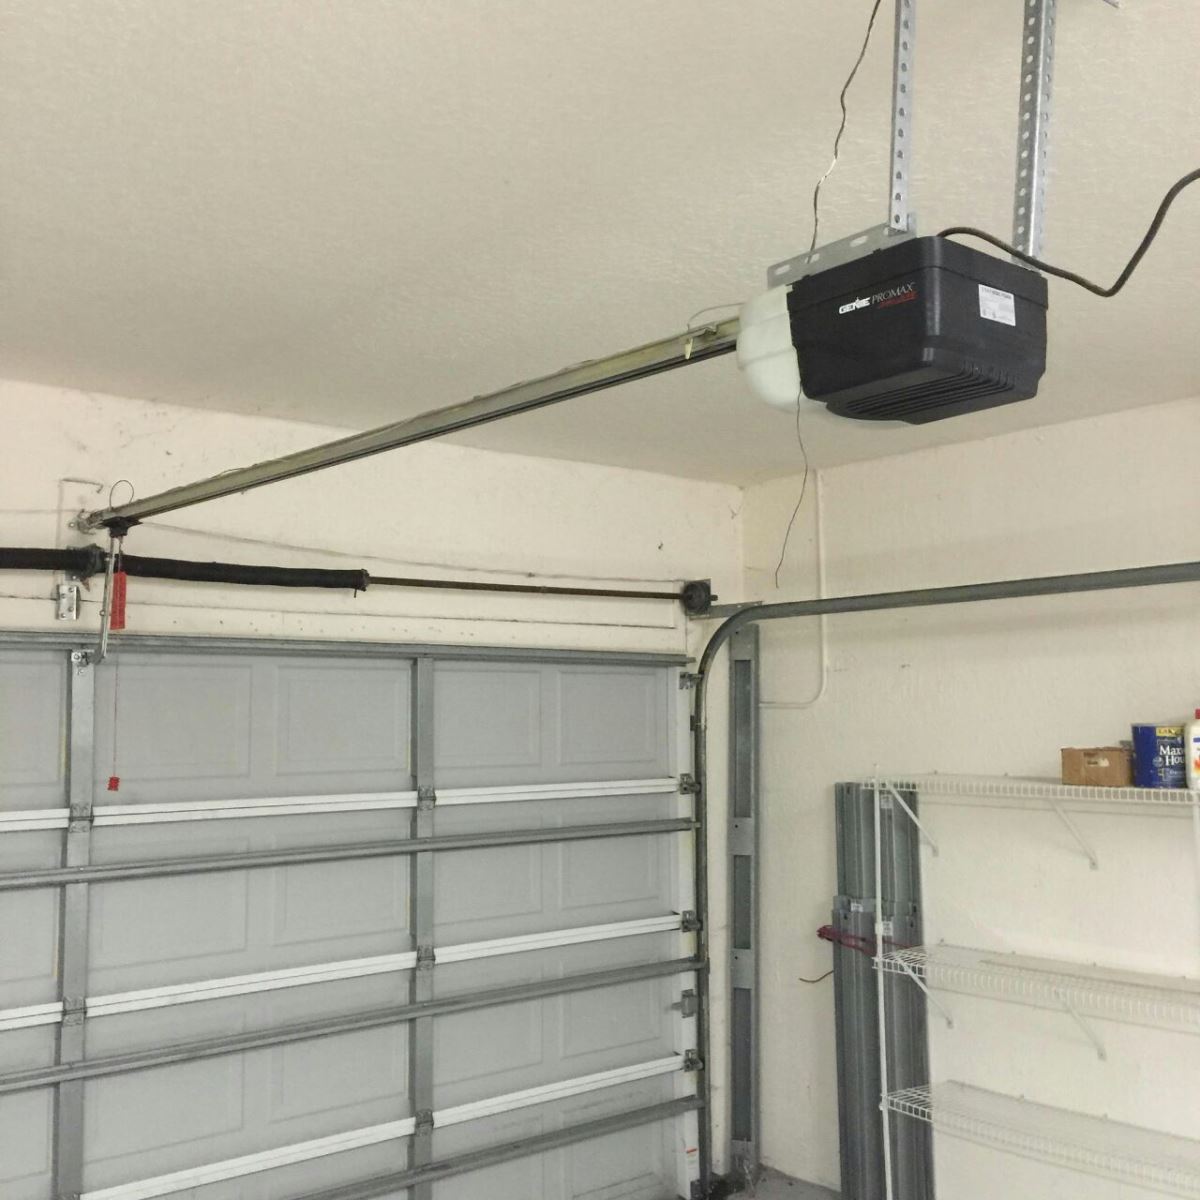
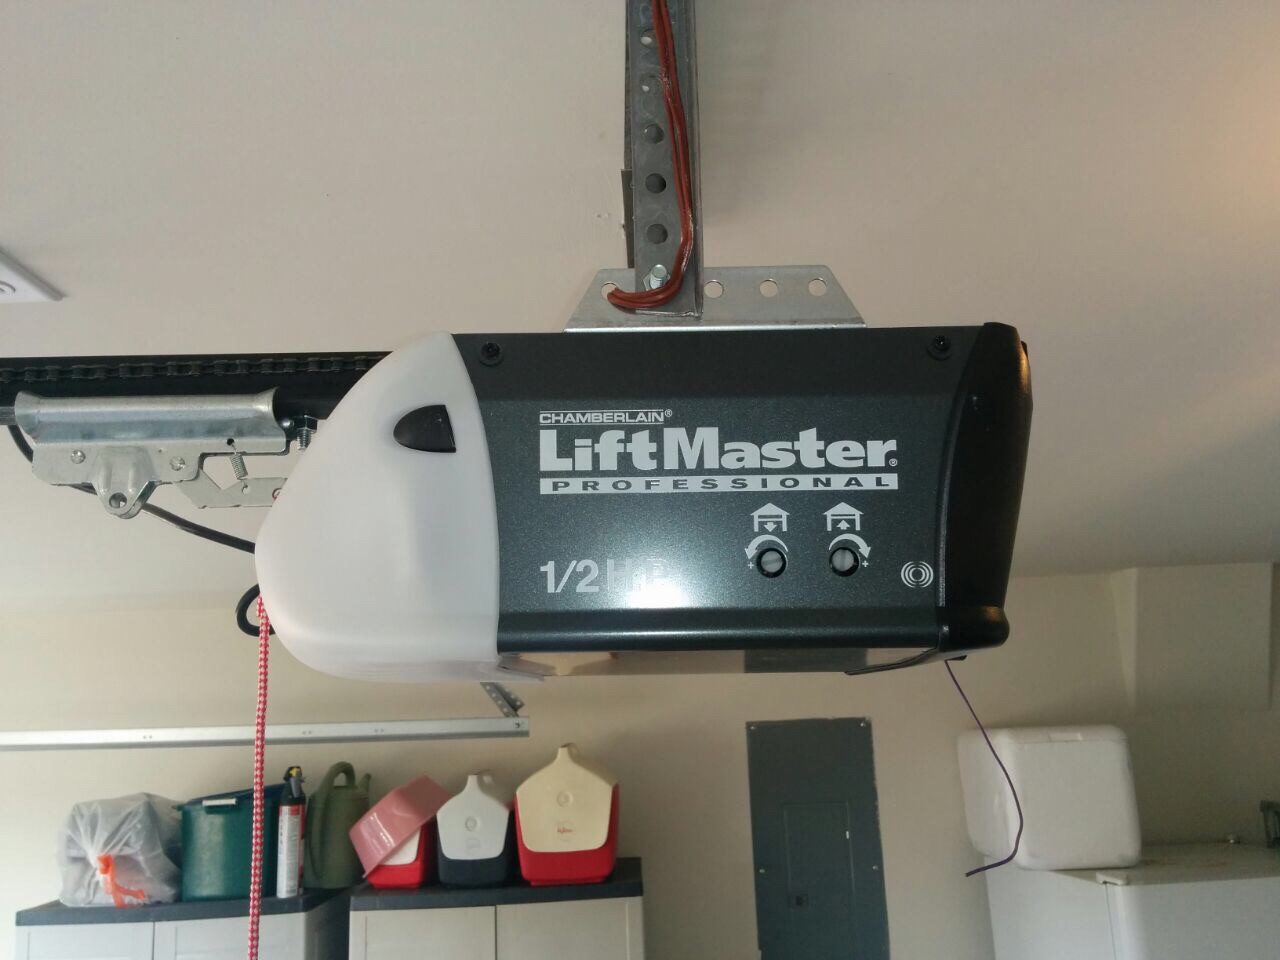
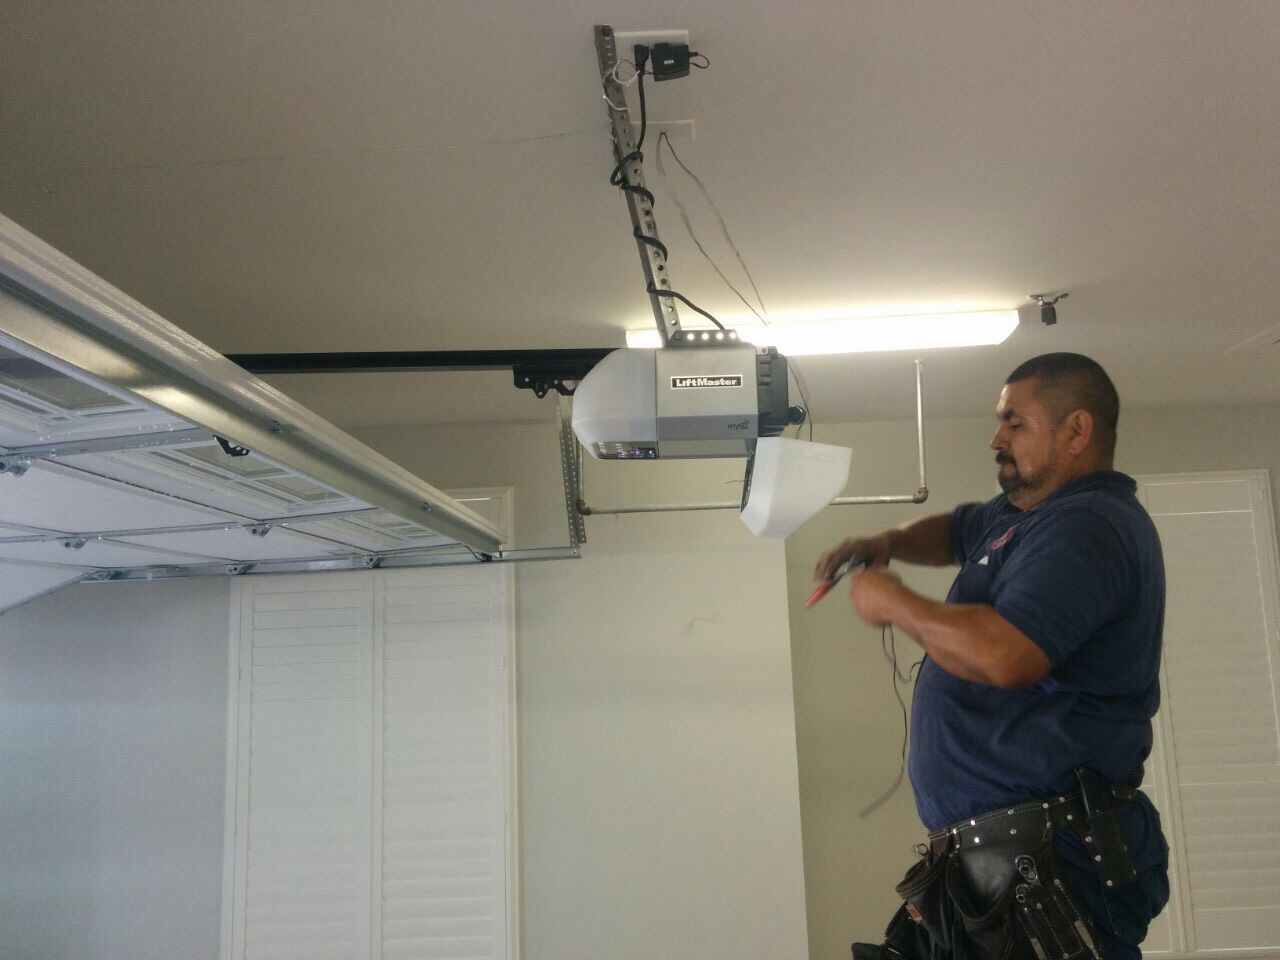
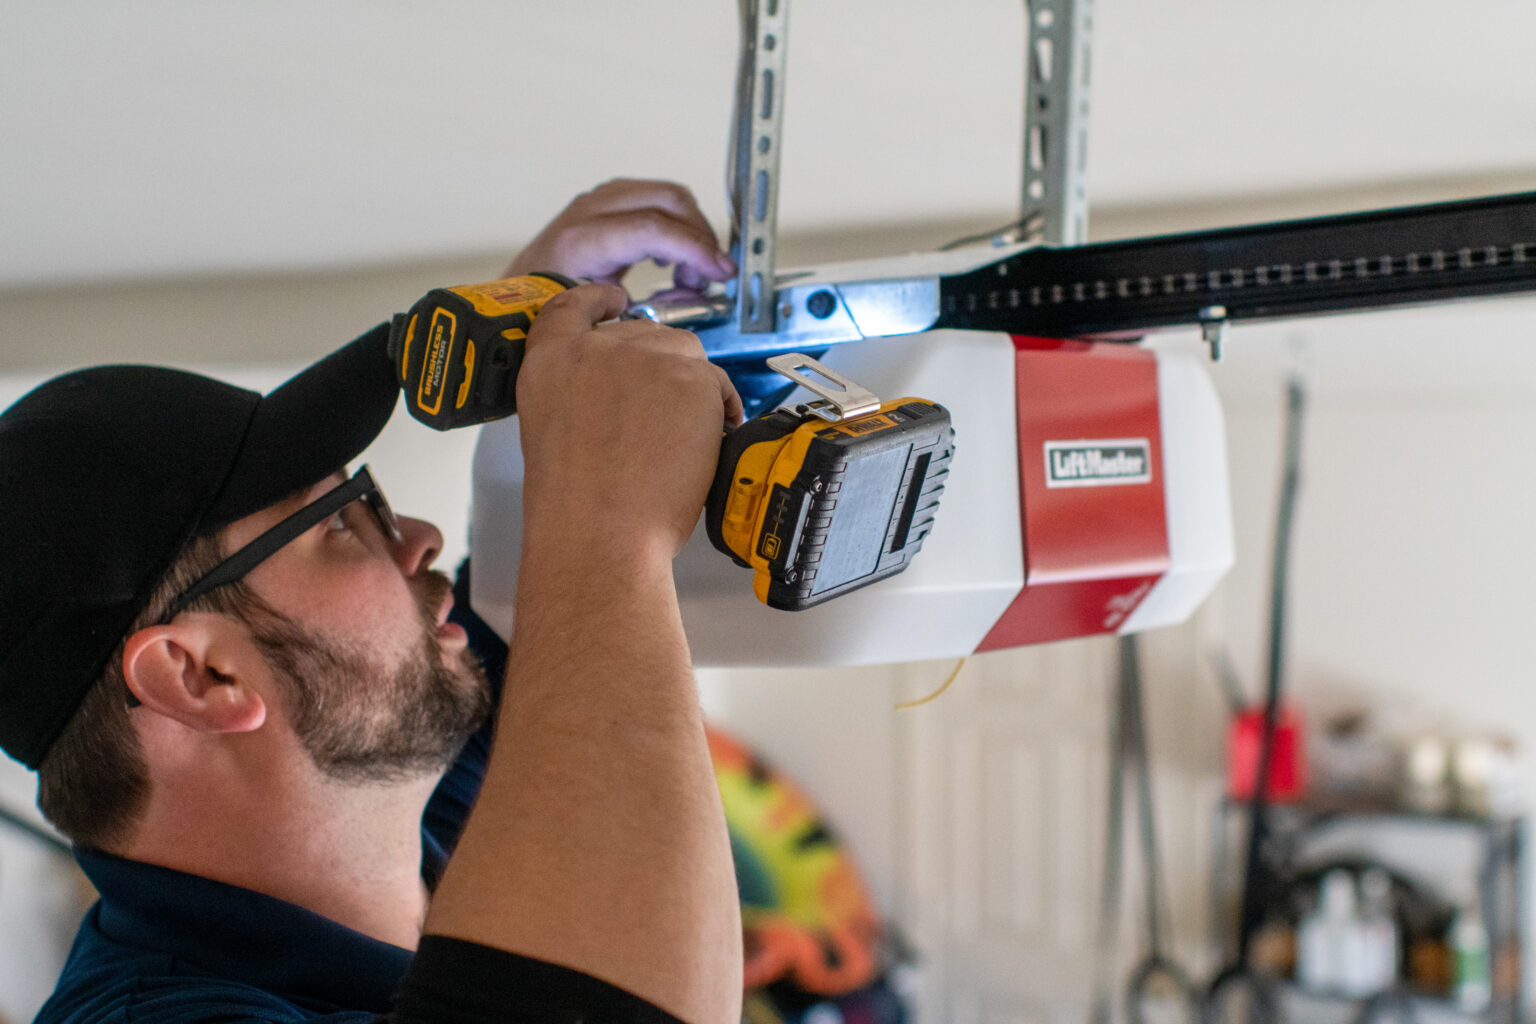
- Motor unit: The motor unit of your garage door opener, which is usually mounted on the ceiling or wall near the garage door, may also have a reset button. Look for a small button, often colored red or yellow, labeled “reset” or with a similar indication.
- Remote control: Some remote controls have a hidden reset button that requires a small tool, such as a paper clip or pin, to access. Look for a small hole or indentation on the remote control, and gently press the reset button inside.
In some cases, the reset button may not be clearly labeled. In this situation, refer to the manufacturer’s manual or website for specific instructions on locating the reset button for your particular model.
Once you’ve located the reset button, you’re ready to proceed to the next step, where we’ll guide you on how to reset your garage door opener using the reset button.
Step 3: Press and hold the reset button
Now that you’ve identified and located the reset button on your garage door opener, it’s time to perform the actual reset. This step involves pressing and holding the reset button for a specific duration to initiate the reset process. Here’s how to do it:
- Ensure safety: Before pressing the reset button, make sure the garage door is fully closed and there are no obstructions in its path. This will prevent any accidents or damage during the reset process.
- Press and hold the reset button: Using your finger or a small tool, such as a pen or paper clip, press and hold the reset button. The duration you need to hold the button may vary depending on your garage door opener model. Typically, you will need to hold it for about 10-15 seconds. Refer to your opener’s manual for the specific time requirement.
- Observe the indicator lights: While holding down the reset button, observe any indicator lights or flashing LEDs on the control panel or motor unit. These lights may flash or change color to indicate that the reset process has been initiated. Keep holding the button until the lights change or turn off, indicating that the reset is complete.
- Release the reset button: Once the reset process is complete, release the reset button. Your garage door opener has now been successfully reset and restored to its default settings.
It’s important to note that during the reset process, your garage door opener may emit a beeping sound or flash its lights. These are normal indications that the reset is in progress. Additionally, some openers may require additional steps or button combinations to complete the reset. Refer to your opener’s manual for any specific instructions.
Now that you’ve completed the reset, it’s time to move on to the next step, where we’ll guide you on how to test your garage door opener to ensure it’s working correctly.
Most garage door openers have a reset button on the motor unit. Press and hold this button for about 30 seconds to reset the opener to its factory settings. This can help resolve issues with the opener’s operation.
Step 4: Test the garage door opener
After successfully resetting your garage door opener, it’s crucial to test its functionality to ensure everything is in working order. Here’s how you can test your garage door opener:
- Stand clear of the door: Before testing, make sure to stand clear of the garage door and any potential hazards. This is important for your safety.
- Press the remote control or wall button: Grab your remote control or use the wall-mounted control panel to command the garage door opener to open or close. Press the appropriate button and observe the door’s response.
- Check for smooth operation: As the garage door opens or closes, pay attention to its movement. It should operate smoothly without any jerking or unusual noises. If you notice any issues, such as a stuck door or grinding sounds, stop the operation immediately and consult a professional for further inspection and repair.
- Test all remotes and control methods: If you have multiple remote controls or alternate control methods, such as a keypad or smart home integration, test each one to ensure they all function properly. This step ensures that all your control devices are synchronized with the reset garage door opener.
- Repeat the test: Perform the test a few times to ensure consistent and reliable operation. This will help identify any intermittent issues that may arise.
If your garage door opener passes the test, congratulations! You’ve successfully reset and verified the functionality of your garage door opener. However, if you encounter any problems or the issues persist, you can proceed to the next step, where we’ll provide some troubleshooting tips to help you resolve common problems.
Remember, if you are unsure about any aspect of testing your garage door opener or if you experience persistent issues, it’s always recommended to seek professional assistance from a qualified technician or the opener’s manufacturer.
Read more: How To Reset A Ryobi Garage Door Opener
Step 5: Troubleshooting tips
If you’ve followed the previous steps and your garage door opener is still not functioning correctly, there may be underlying issues that require additional troubleshooting. Here are some common troubleshooting tips to help you diagnose and resolve problems with your garage door opener:
- Check power source: Ensure that the garage door opener is properly connected to a power source. Check the power cord for any damages or loose connections. If the opener is hardwired, inspect the circuit breaker or fuse box to ensure the breaker has not tripped or the fuse has not blown.
- Inspect the batteries: If you’re using a remote control to operate your garage door opener, check the batteries. Replace them if necessary. Weak or dead batteries can prevent the remote control from sending signals to the opener.
- Clear obstructions: Inspect the tracks and rollers for any debris or obstructions that may impede the garage door’s movement. Remove any objects that may be blocking the door’s path.
- Lubricate moving parts: Lack of lubrication can cause friction and make the garage door opener operate erratically. Apply a silicone-based lubricant to the rollers, tracks, hinges, and springs to ensure smooth movement.
- Check safety sensors: Most modern garage door openers are equipped with safety sensors that detect obstacles in the door’s path. Ensure that the sensors are properly aligned and free from any dirt or debris. Clean the sensors and adjust their positions if necessary.
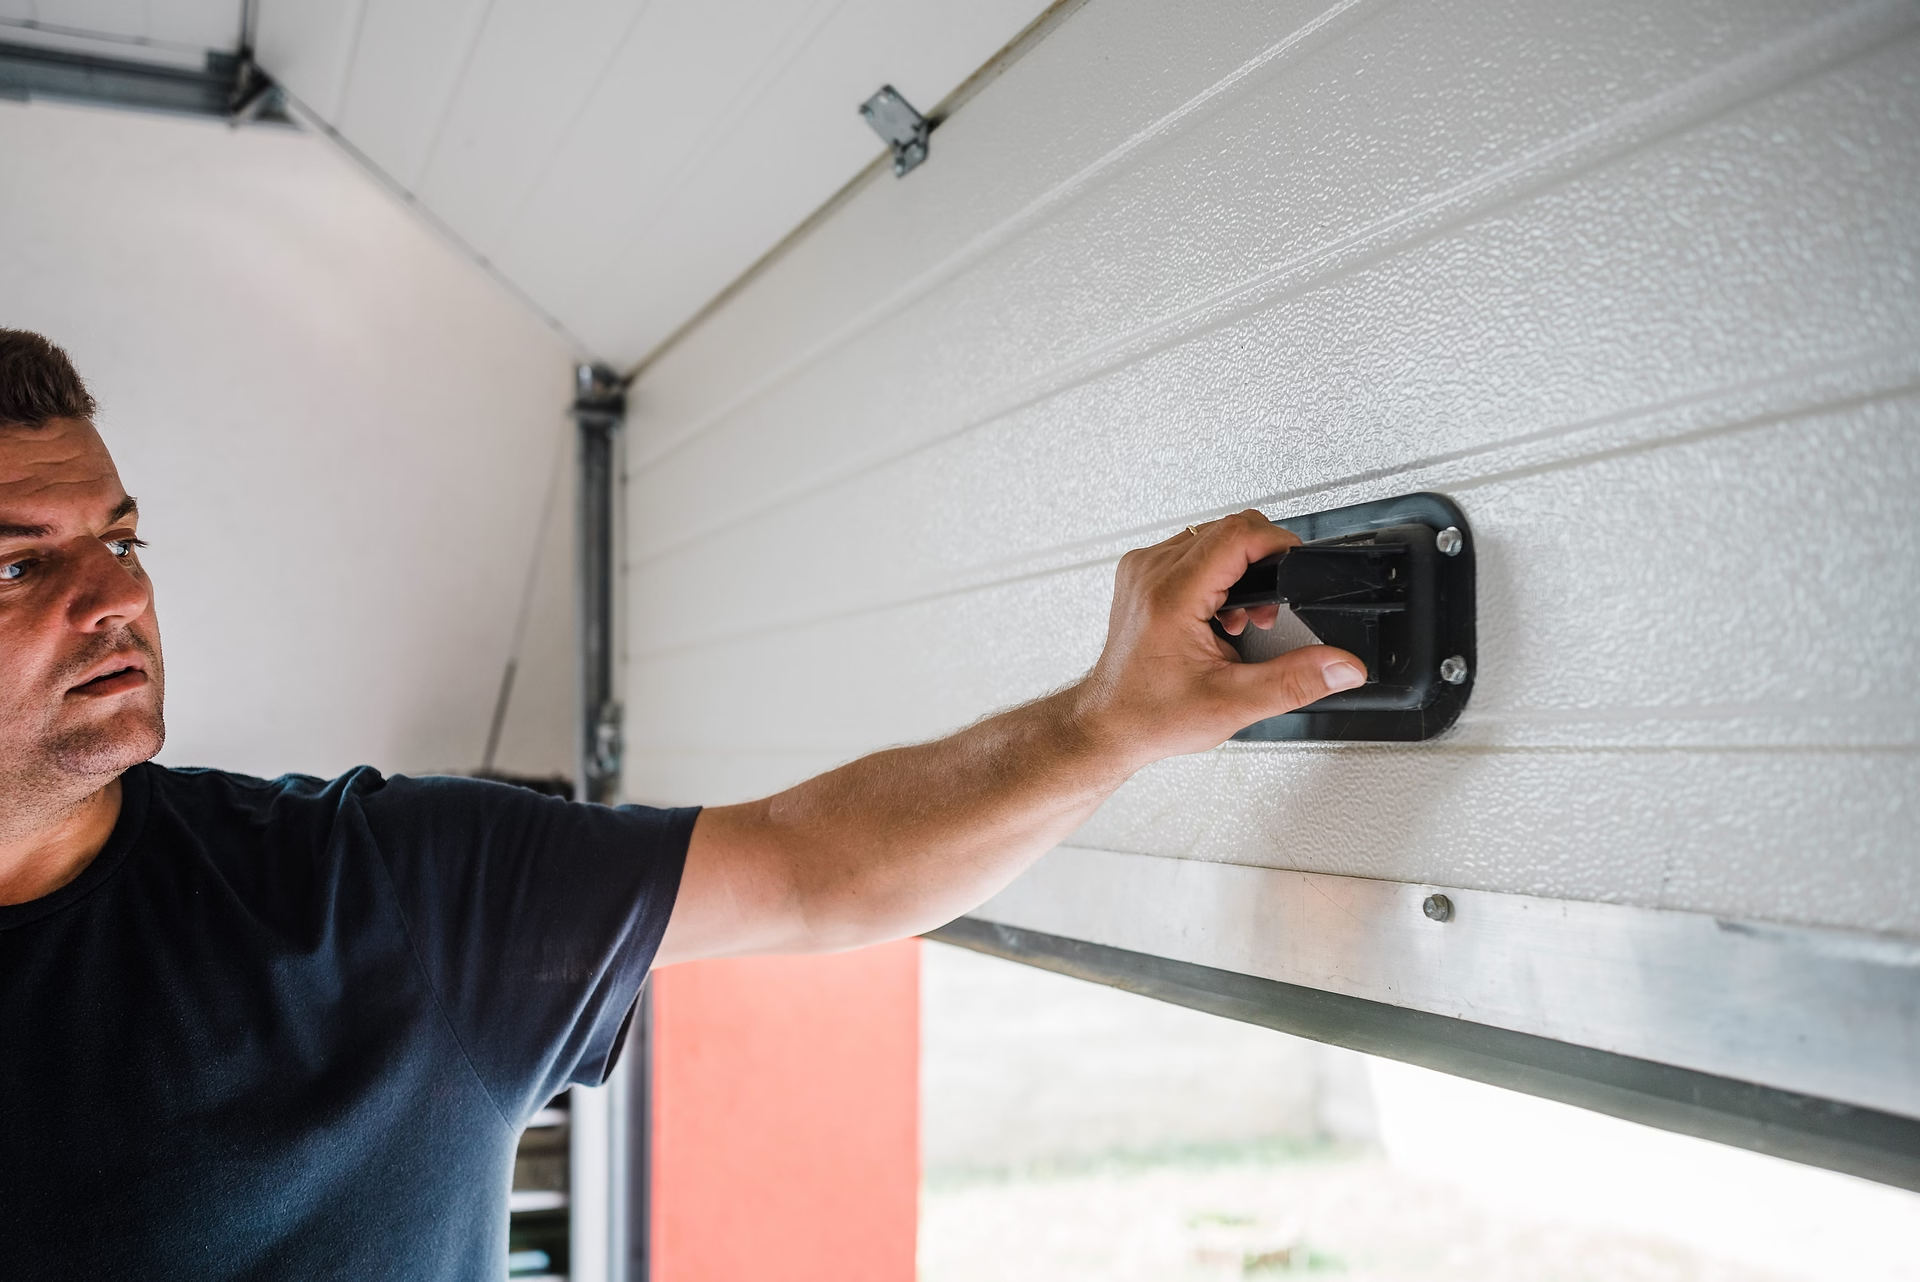
- Inspect the garage door: Examine the garage door itself for any issues that may prevent proper operation. Look for broken springs, damaged panels, or misaligned tracks. Consult a professional if you identify any significant problems.
- Reset the opener again: If you’ve tried all the troubleshooting steps and the issues persist, try resetting the garage door opener once more. Sometimes, a second reset can resolve communication or programming errors.
If none of these troubleshooting tips resolve the issue with your garage door opener, it’s recommended to contact a professional technician who specializes in garage door opener repair. They will have the necessary tools and expertise to diagnose and fix more complex problems.
Remember, safety should always be a priority when working with garage doors and openers. If you are uncomfortable or unsure about any troubleshooting steps, it’s best to seek professional assistance to avoid any accidents or further damage.
Conclusion
Resetting your garage door opener can be a simple and effective way to resolve common issues and restore its functionality. By following the step-by-step guide outlined in this article, you should be able to reset your garage door opener with ease, regardless of the type you have.
Remember to identify the type of opener you have, locate the reset button, and press and hold it for the specified duration. Be attentive to any indicator lights or flashing LEDs that signify the reset process. Once the reset is complete, test your garage door opener to ensure smooth operation.
If despite the reset, your garage door opener is still experiencing issues, try troubleshooting common problems such as checking power sources, inspecting batteries, clearing obstructions, lubricating moving parts, and ensuring proper alignment of safety sensors. If the problems persist, it may be necessary to seek professional assistance.
Lastly, always prioritize safety when working with garage doors and openers. Take necessary precautions, ensure the door is fully closed and no obstructions are present before performing any resets or tests. If in doubt or uncomfortable with any step, consult a professional to avoid accidents or further damage.
By following these guidelines, you can confidently reset your garage door opener and maintain smooth and hassle-free operation, keeping your garage secure and accessible. Now go ahead and give your garage door opener a reset!
Frequently Asked Questions about How To Reset My Garage Door Opener
Was this page helpful?
At Storables.com, we guarantee accurate and reliable information. Our content, validated by Expert Board Contributors, is crafted following stringent Editorial Policies. We're committed to providing you with well-researched, expert-backed insights for all your informational needs.

0 thoughts on “How To Reset My Garage Door Opener”