Home>Construction & Tools>Building Materials>How To Clean A Brick Patio

Building Materials
How To Clean A Brick Patio
Modified: October 30, 2024
Learn how to effectively clean your brick patio using simple building materials. Discover the best techniques for maintaining a pristine outdoor space.
(Many of the links in this article redirect to a specific reviewed product. Your purchase of these products through affiliate links helps to generate commission for Storables.com, at no extra cost. Learn more)
Introduction
Welcome to the ultimate guide on how to clean a brick patio. Brick patios are timeless, adding a touch of rustic charm and elegance to any outdoor space. However, over time, exposure to the elements and foot traffic can leave your brick patio looking worn and dirty. Fear not! With the right materials, techniques, and a little elbow grease, you can restore your brick patio to its former glory.
In this comprehensive guide, we will walk you through the step-by-step process of cleaning a brick patio, from clearing the area to removing stubborn stains and giving the bricks a fresh, new look. Whether you’re preparing for a gathering, revitalizing your outdoor living space, or simply maintaining your home, this guide has got you covered.
So, roll up your sleeves, put on your work gloves, and let’s dive into the rewarding task of rejuvenating your brick patio!
Key Takeaways:
- Revive your brick patio by clearing debris, targeting stains, and sealing the bricks. With basic materials and elbow grease, you can restore its beauty and ensure long-lasting enjoyment.
- Maintain your rejuvenated brick patio with regular sweeping, stain removal, and periodic resealing. By caring for it, you’ll create a tranquil outdoor sanctuary for years to come.
Read more: How To Clean Algae Off A Brick Patio
Materials Needed
Before you begin the cleaning process, it’s essential to gather the necessary materials. Here’s a list of items you’ll need to effectively clean your brick patio:
- Broom: A sturdy broom will be your first line of defense in clearing the patio of loose debris and dirt.
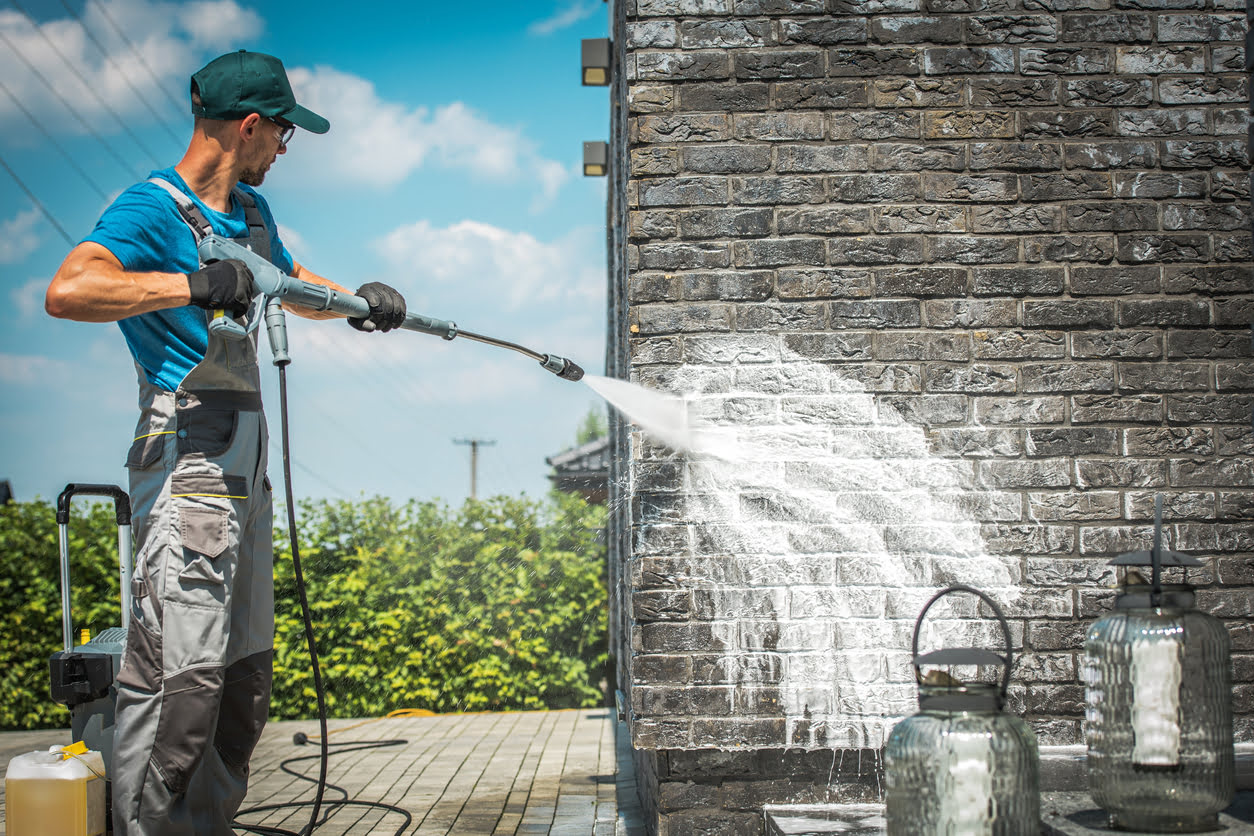
- Pressure Washer: If available, a pressure washer can significantly expedite the cleaning process by efficiently removing built-up grime and stains.
- Bucket: You’ll need a bucket for mixing cleaning solutions and for transporting water to the patio.
- Stiff-Bristled Brush: An essential tool for scrubbing and loosening tough stains and dirt from the surface of the bricks.
- Mild Detergent: Opt for a gentle, biodegradable detergent to protect both the bricks and the surrounding environment.
- Vinegar: A natural and effective cleaner, vinegar can be used to tackle mold, mildew, and mineral deposits on the bricks.
- Baking Soda: This household staple is excellent for targeting specific stains and adding extra scrubbing power.
- Sealer: Once the bricks are clean, a high-quality sealer will help protect them from future staining and deterioration.
- Protective Gear: Don’t forget to equip yourself with gloves, safety goggles, and a mask to shield against cleaning chemicals and debris.
By ensuring you have these materials on hand, you’ll be well-prepared to tackle the task of cleaning your brick patio with confidence and efficiency.
Clearing the Patio
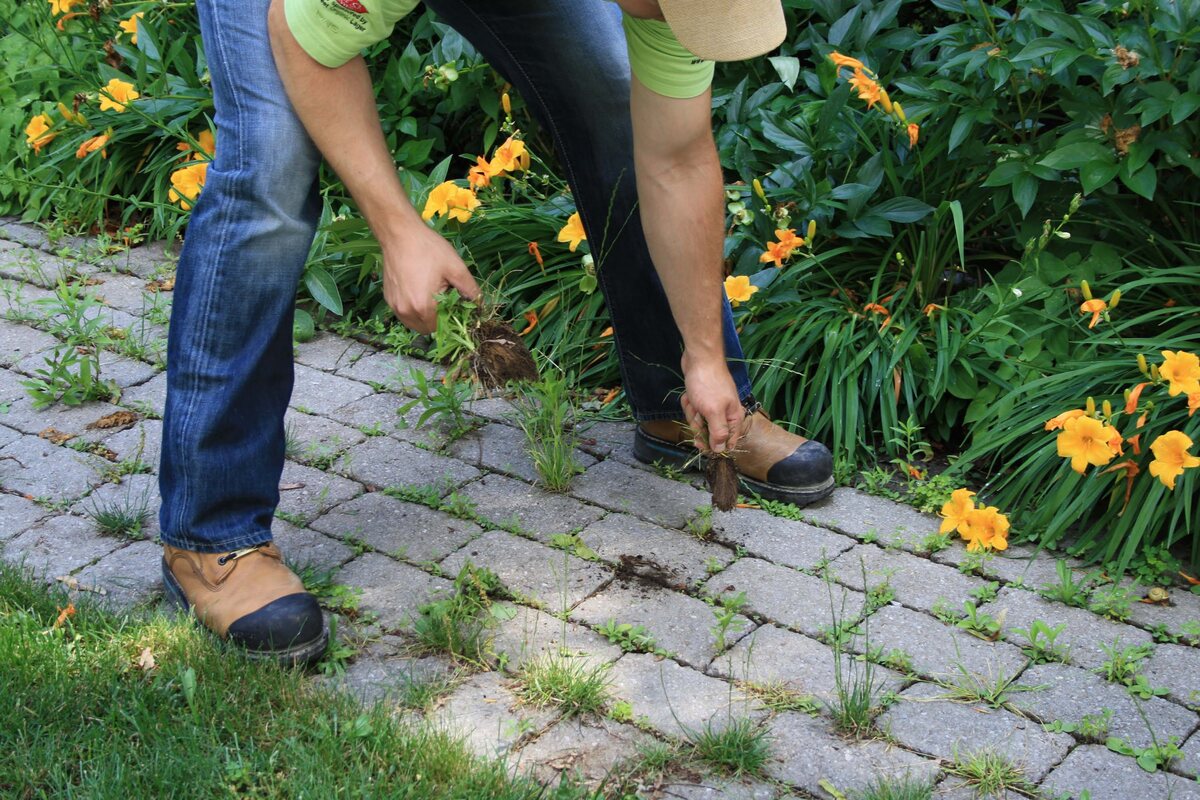
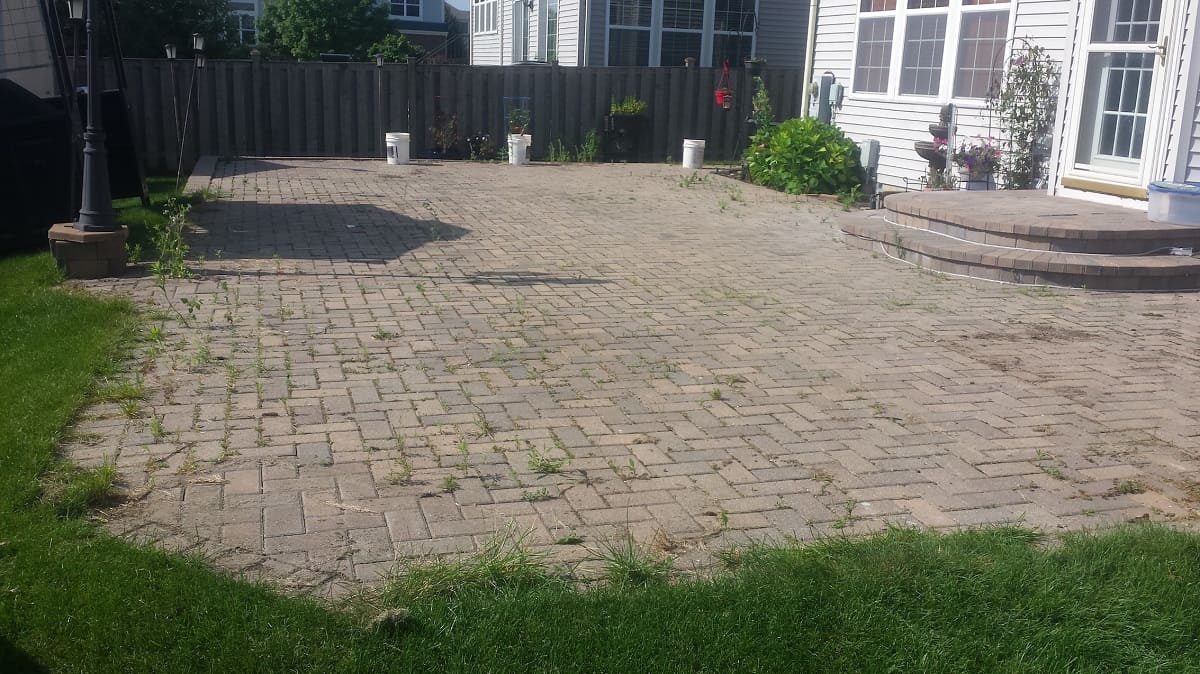
Before diving into the cleaning process, it’s crucial to clear the patio of any debris, loose dirt, and obstructions. This step not only ensures a more effective cleaning process but also minimizes the potential for dirt and debris to become further embedded in the bricks.
Begin by using a broom to sweep the entire patio surface, starting from one end and working your way methodically to the other. Pay close attention to corners, crevices, and areas around plants or furniture, as these spots often accumulate the most debris.
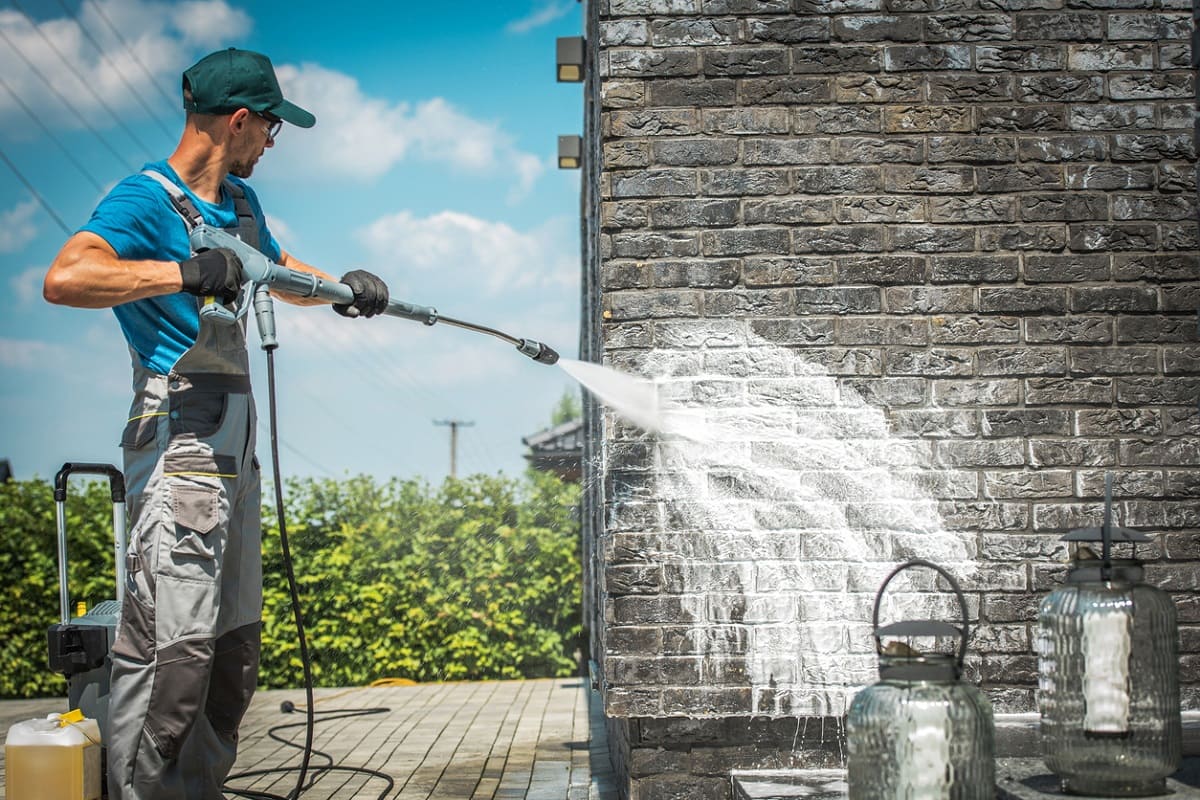
If you have access to a pressure washer, this can be a game-changer for clearing the patio. Use the pressure washer to blast away stubborn dirt, leaves, and other debris. Be mindful of the pressure setting to avoid damaging the bricks, especially if they are older or more delicate.
Once the loose debris has been cleared, take a moment to inspect the patio for any larger obstructions, such as fallen branches or accumulated mulch. Remove these items by hand to ensure a clean and unobstructed surface for the next steps in the cleaning process.
By thoroughly clearing the patio, you’ll set the stage for a more efficient and successful cleaning process, allowing you to focus on restoring the natural beauty of the bricks without the interference of debris and dirt.
Removing Stains
Stains on a brick patio can detract from its overall appearance and diminish the visual appeal of your outdoor space. Whether it’s from food and beverage spills, rust, mold, or other sources, addressing stains is a crucial step in the cleaning process. Here’s how to tackle common stains:
Food and Beverage Stains:
For organic stains such as food and beverage spills, start by creating a paste using baking soda and water. Apply the paste to the stained areas and gently scrub with a stiff-bristled brush. Allow the paste to sit for a few minutes before rinsing with water. This method is effective for lifting fresh stains and is gentle on the bricks.
Read more: How To Make A Brick Patio
Rust Stains:
Rust stains can be particularly stubborn, but they can be treated with a solution of equal parts water and vinegar. Apply the solution to the affected areas and let it sit for a few minutes. Use a brush to agitate the stain, then rinse thoroughly. For more persistent rust stains, consider using a commercial rust remover specifically formulated for masonry surfaces.
Mold and Mildew:
Mold and mildew can thrive in damp, shaded areas of a patio. To combat these unsightly growths, create a solution of one part bleach to four parts water. Apply the solution to the affected areas and allow it to sit for 10-15 minutes before scrubbing with a brush. Rinse the area thoroughly with water to remove the bleach solution and any remaining mold or mildew.
It’s important to note that when using cleaning solutions, always test a small, inconspicuous area of the patio first to ensure that the treatment does not discolor or damage the bricks. Additionally, be mindful of nearby plants and vegetation, as some cleaning solutions can be harmful to greenery.
By addressing stains with targeted treatments, you can restore the natural beauty of your brick patio and create a more inviting outdoor environment.
Cleaning the Bricks
Once the patio has been cleared and stains have been addressed, it’s time to focus on cleaning the bricks themselves. This step is essential for revitalizing the appearance of the patio and ensuring that the bricks are free from embedded dirt and grime.
Pre-Cleaning Preparation:
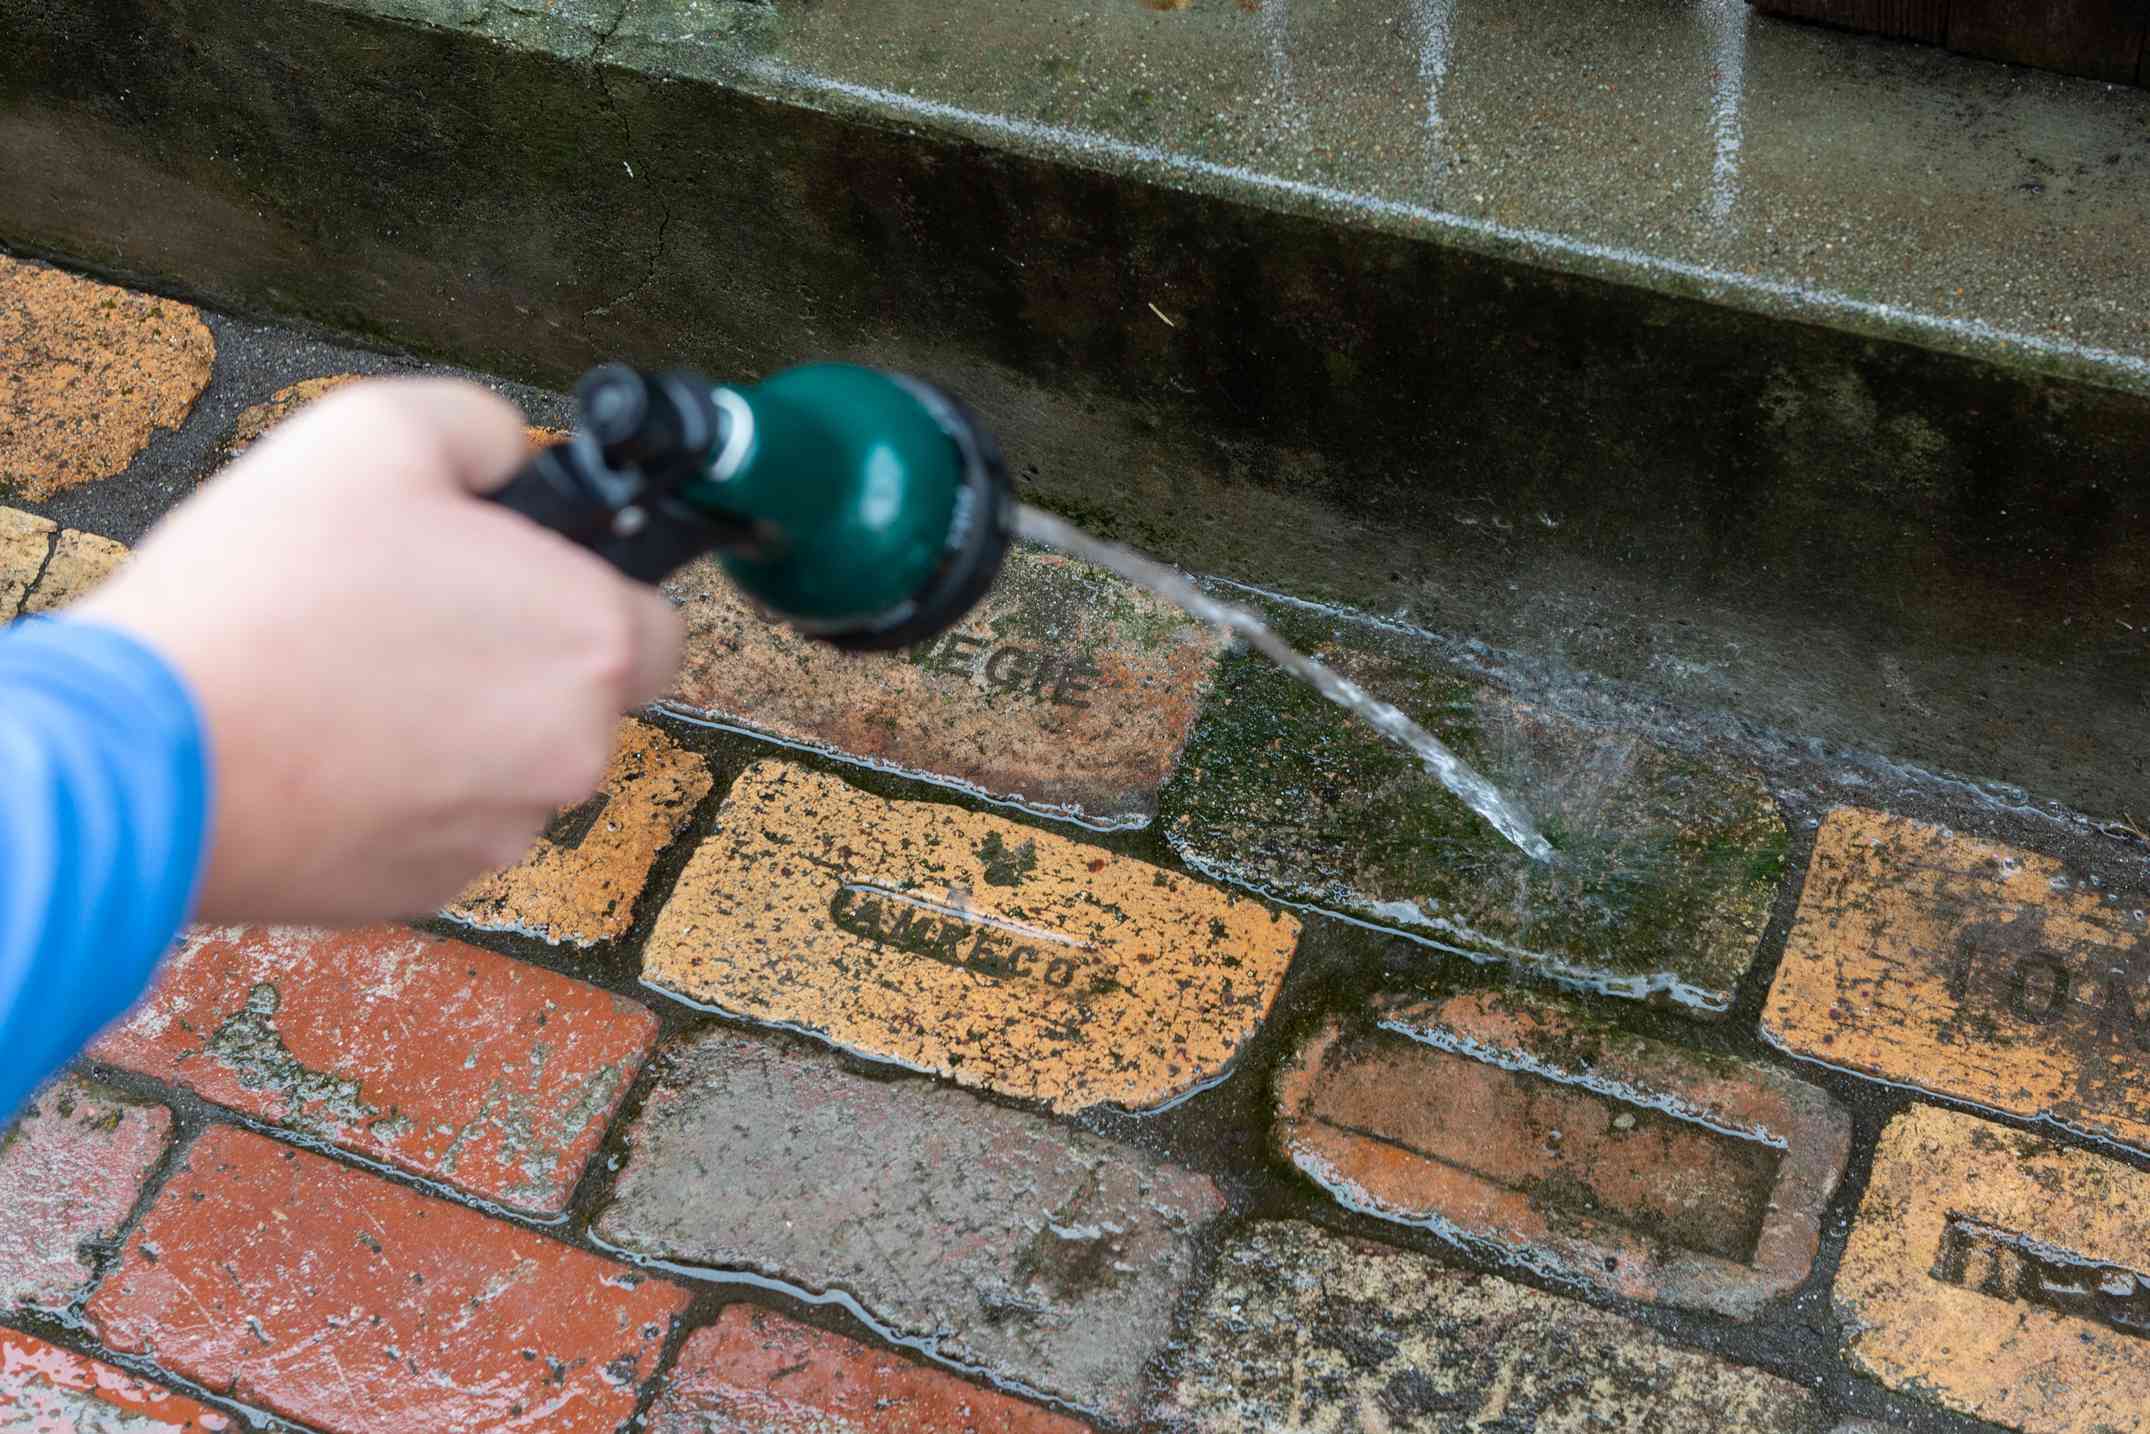
Before applying any cleaning solutions to the entire patio, start by thoroughly wetting the bricks with water. This initial step helps to prevent the bricks from absorbing an excessive amount of cleaning solution, allowing for a more effective and controlled cleaning process.
Read more: How To Fix A Brick Patio
Cleaning Solution Application:
For general cleaning of the bricks, a mild detergent mixed with water can be highly effective. Apply the soapy solution to the wet bricks and use a stiff-bristled brush to scrub the surface. Work in small sections, ensuring that the entire area is scrubbed thoroughly to dislodge dirt and grime. For particularly stubborn areas, a paste of baking soda and water can provide extra cleaning power.
Rinsing and Drying:
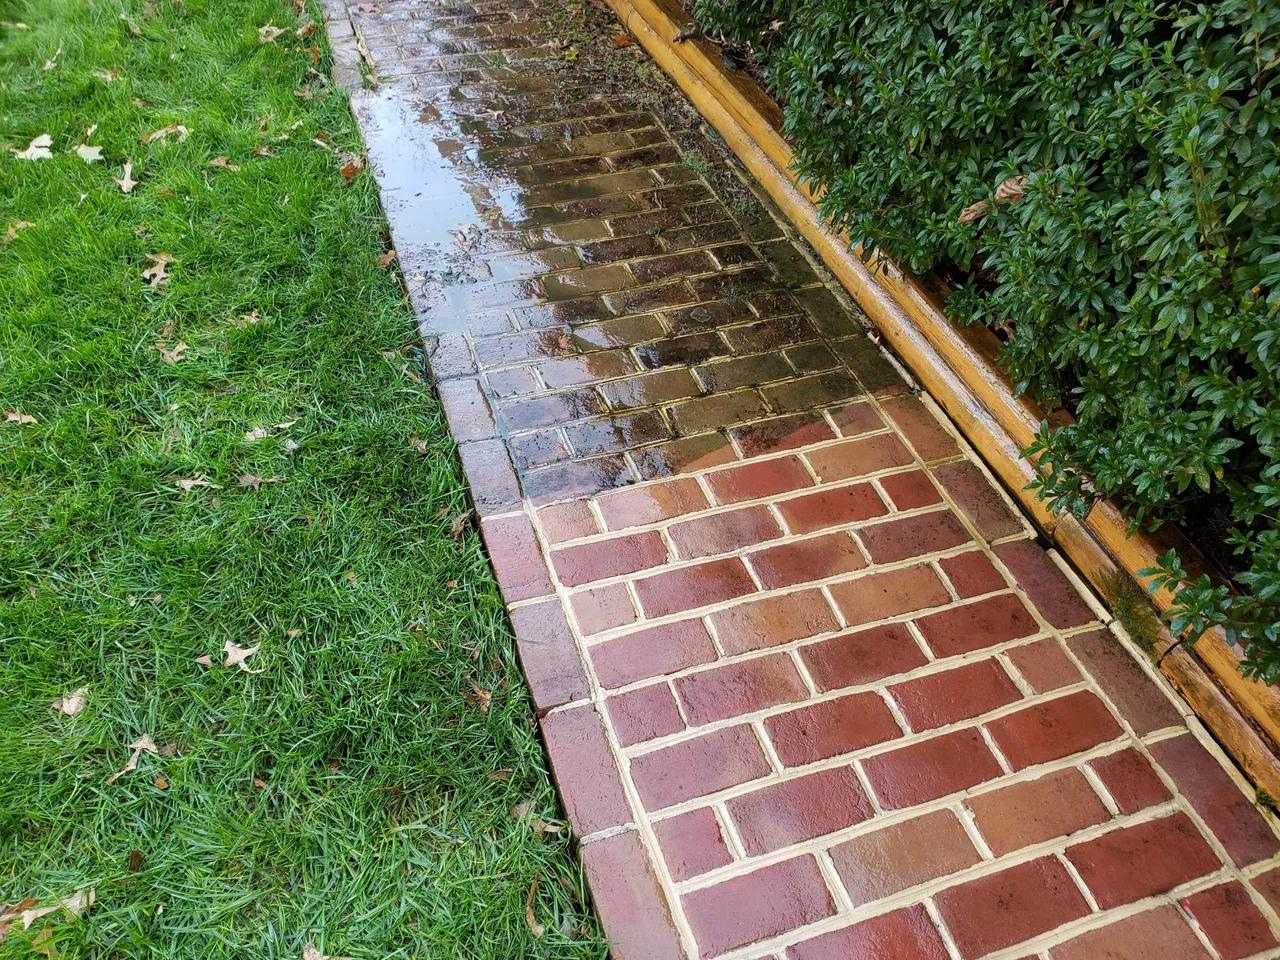
After scrubbing the bricks, rinse the entire patio surface with clean water. A garden hose or pressure washer set to a gentle spray can be used for this purpose. Thoroughly rinse away the soapy residue and any loosened dirt, ensuring that the bricks are left clean and free from cleaning solution. Allow the patio to dry completely before proceeding to the final step of the cleaning process.
By methodically cleaning the bricks, you can restore their natural color and texture, bringing new life to your brick patio and creating a welcoming outdoor space for relaxation and entertainment.
Sealing the Patio
After cleaning the bricks, it’s highly recommended to seal the patio to protect the surface from future stains, moisture penetration, and general wear and tear. Sealing the bricks not only enhances their appearance but also prolongs their lifespan, ensuring that your patio remains beautiful and functional for years to come.
Choosing the Right Sealer:
Before applying a sealer, it’s important to select the appropriate product for your specific type of bricks. There are various sealers available, including penetrating sealers and film-forming sealers. Penetrating sealers are designed to be absorbed into the bricks, providing protection without altering the natural appearance, while film-forming sealers create a protective layer on the surface of the bricks.
Read more: How To Seal A Brick Patio
Application Process:
Prior to applying the sealer, ensure that the patio is completely dry to allow for optimal penetration and adhesion. Using a paint roller or sprayer, apply the sealer evenly across the entire surface of the patio, working in manageable sections. Be sure to follow the manufacturer’s instructions regarding application techniques, coverage, and drying times.
Multiple Coats:
Depending on the type of sealer used, it may be necessary to apply multiple coats for effective protection. Allow each coat to dry according to the manufacturer’s recommendations before applying the next. This step ensures thorough coverage and maximum durability of the sealed surface.
Maintenance and Reapplication:
Once the patio has been sealed, it’s important to maintain the protective layer by regularly cleaning the surface with a mild detergent and water. Additionally, be mindful of any signs of wear or diminished water repellency, as this may indicate the need for reapplication of the sealer to uphold the patio’s protection.
By sealing your brick patio, you can safeguard its beauty and integrity, providing long-lasting enjoyment and minimizing the need for frequent deep cleaning and restoration.
Conclusion
Congratulations on successfully revitalizing your brick patio! By following the steps outlined in this guide, you’ve not only restored the natural beauty of your outdoor space but also ensured its longevity and resilience against the elements. As you step back and admire the clean, rejuvenated bricks, take pride in the effort you’ve invested in maintaining and enhancing your home.
Remember that regular maintenance and proactive care will help preserve the pristine condition of your brick patio. By implementing simple practices such as regular sweeping, prompt stain removal, and periodic resealing, you can prolong the life and allure of your patio for years to come.
As you enjoy the fruits of your labor, take the time to savor the tranquil ambiance of your refreshed outdoor sanctuary. Whether it’s hosting gatherings, unwinding with a good book, or simply basking in the beauty of your surroundings, your clean brick patio provides the perfect backdrop for creating lasting memories and moments of relaxation.
Thank you for embarking on this cleaning journey with us. We hope this guide has empowered you with the knowledge and confidence to maintain and care for your brick patio, allowing it to remain a cherished feature of your home for generations to come.
Here’s to many more years of enjoyment and comfort in your rejuvenated outdoor oasis!
Frequently Asked Questions about How To Clean A Brick Patio
Was this page helpful?
At Storables.com, we guarantee accurate and reliable information. Our content, validated by Expert Board Contributors, is crafted following stringent Editorial Policies. We're committed to providing you with well-researched, expert-backed insights for all your informational needs.



0 thoughts on “How To Clean A Brick Patio”